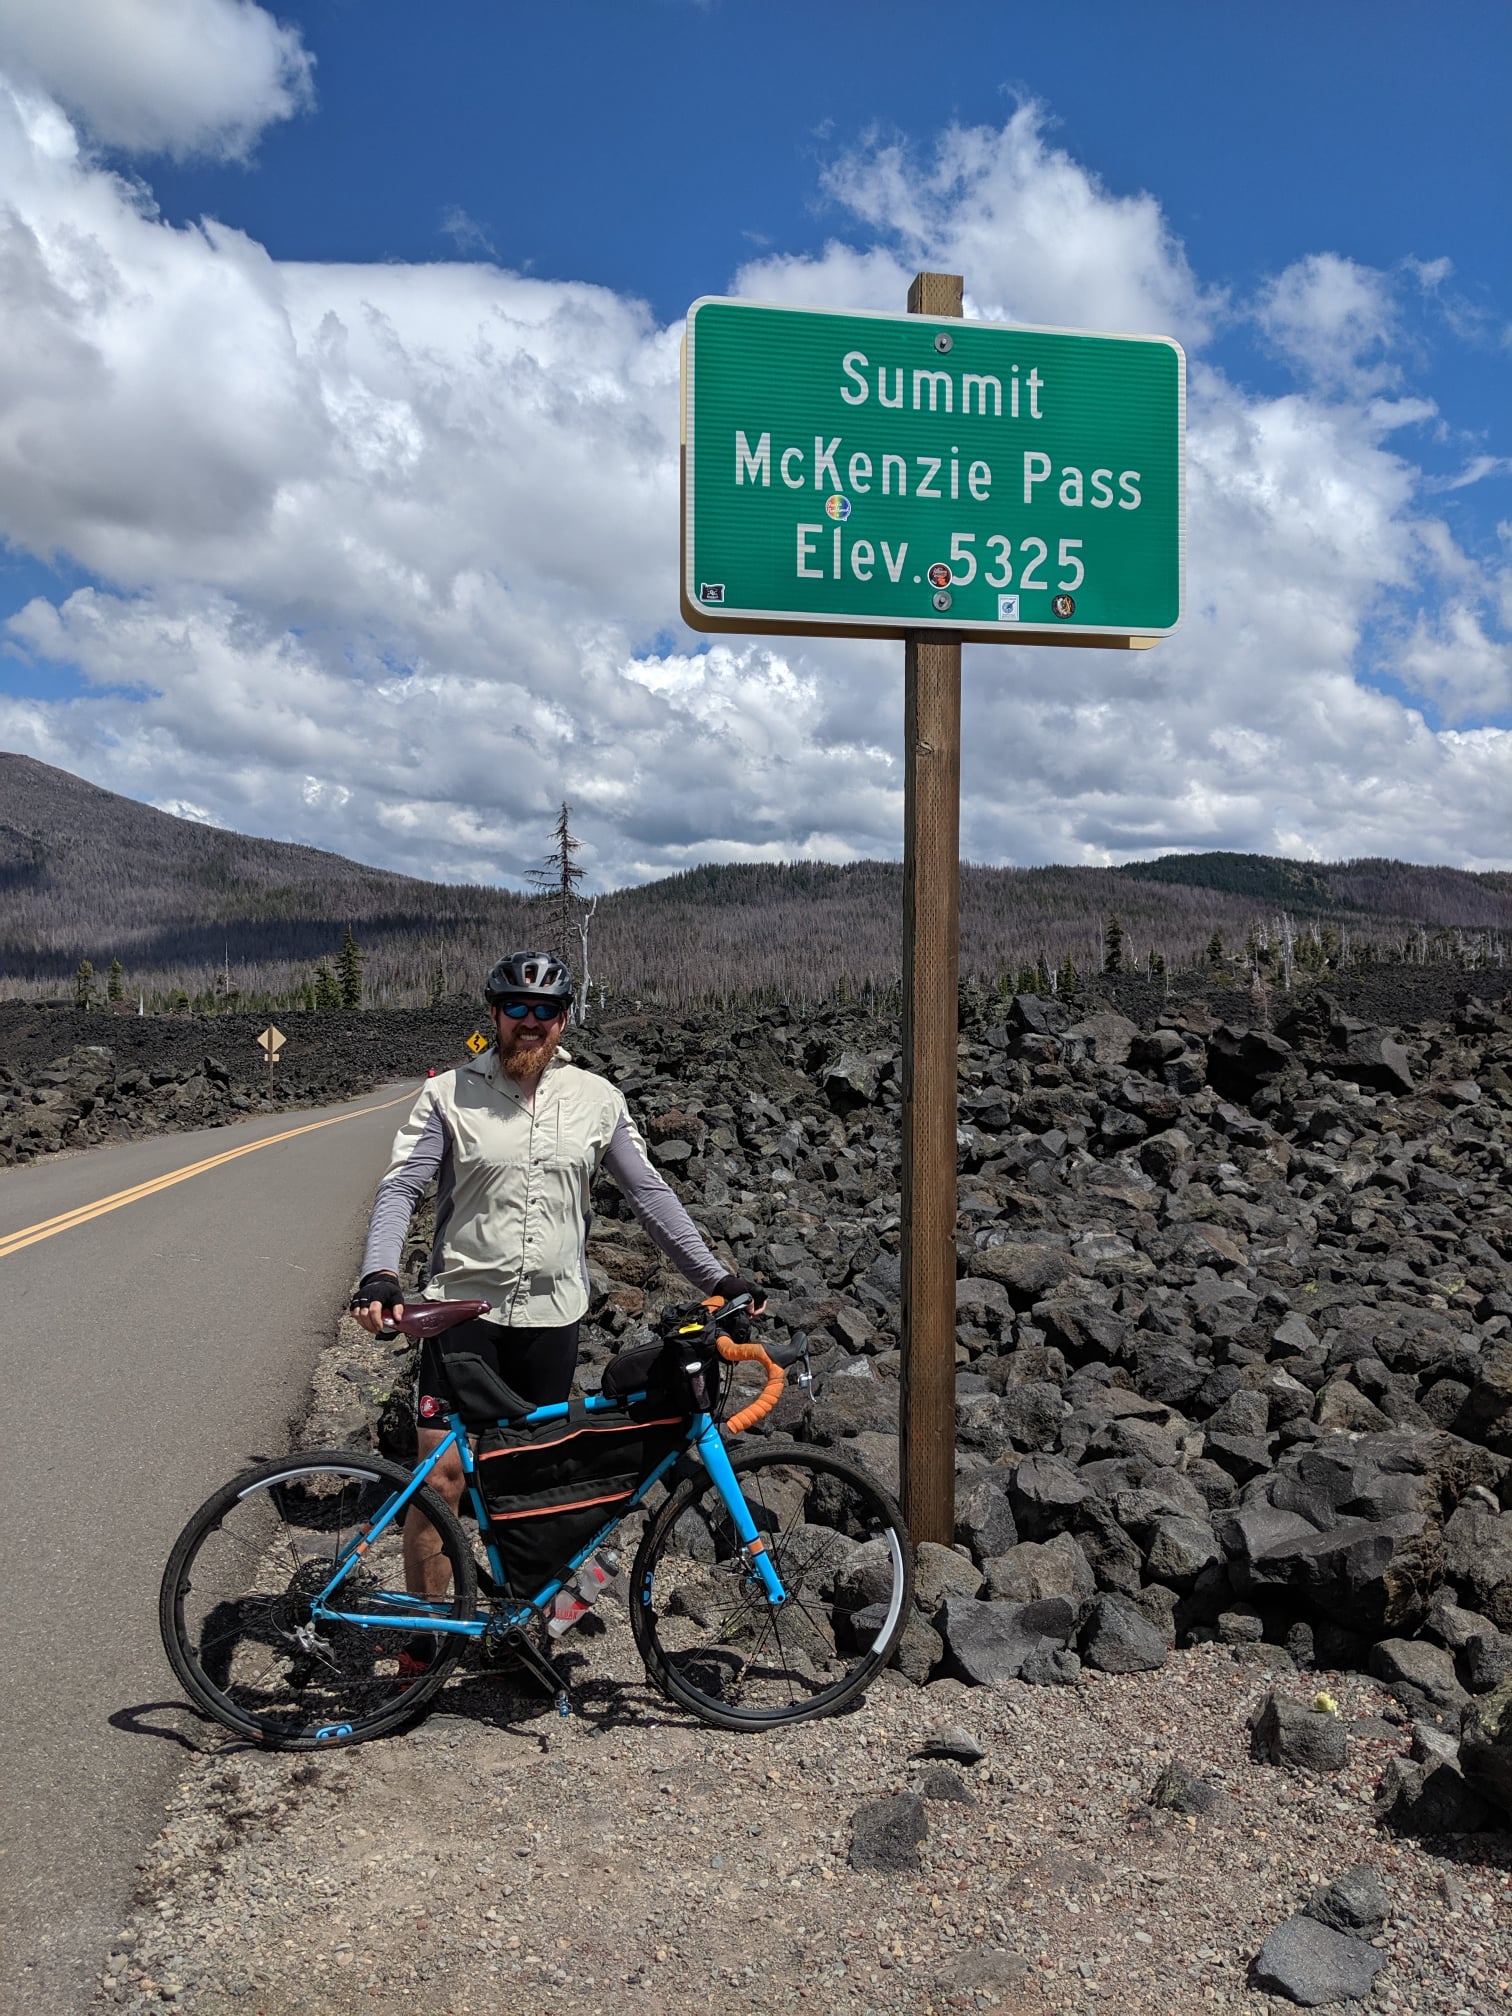
So I spend a lot of time meticulously making things that can be readily purchased. I’m not sure why I’m like this, but it seems to be a running theme in my life. This time I wanted to make a set of bags for our gravel bicycles so we can go bikepacking. (that’s camping on a bicycle if you didn’t know) This isn’t even the first time I’ve made sets of custom bike bags… I made the bag that Jason used on his big road trip from Oregon to Montana.
I was even looking for bags to buy, but they’re so expensive for something I *know* I can make and I just hate paying for stuff like that… so I’ll spend the same amount of money on fabric for it.. but ohwell. They turned out awesome!
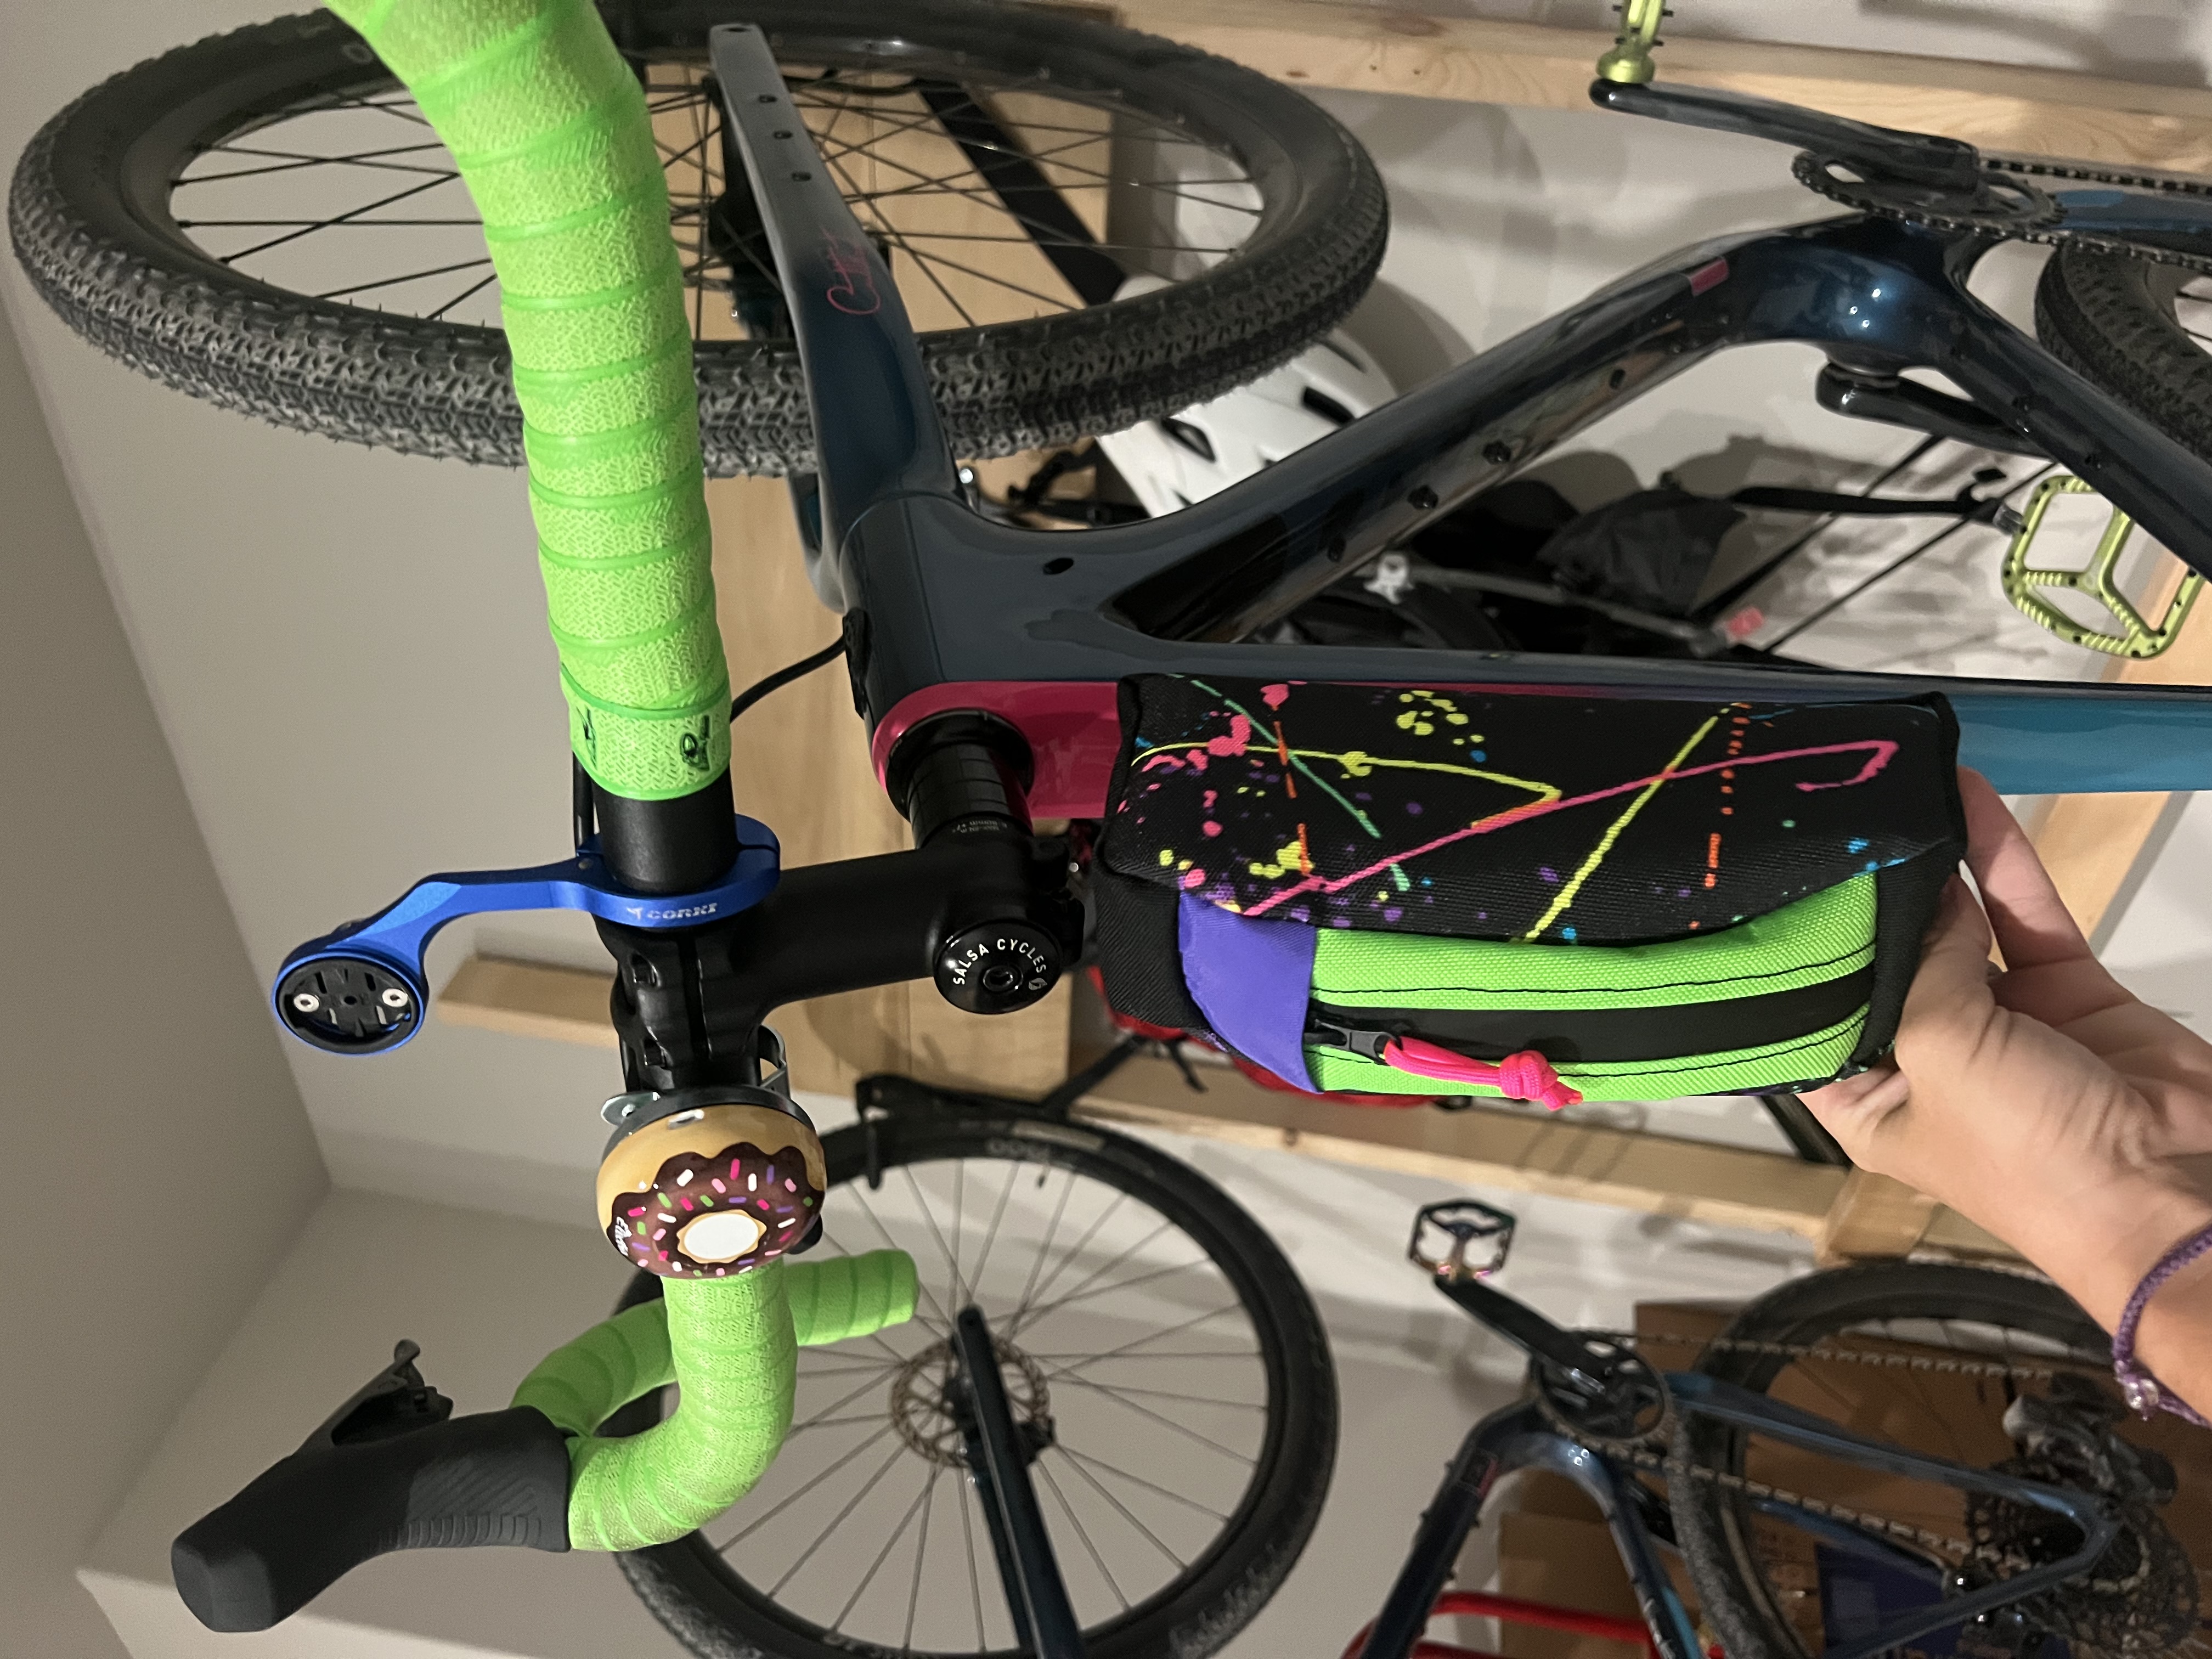
I started with “tank bags” that go just behind the handlebars. These are great for snacks and phones and whatnot. Usually bike bags are held on with velcro (or other) straps, but our bikes are made to be traveled on so they have threaded holes in the frame for the bags to bolt to instead. This is a really clean way to install things without straps everywhere rubbing grit into your paint. For the bolting platform I cut up a set of thin plastic cutting boards off Amazon.
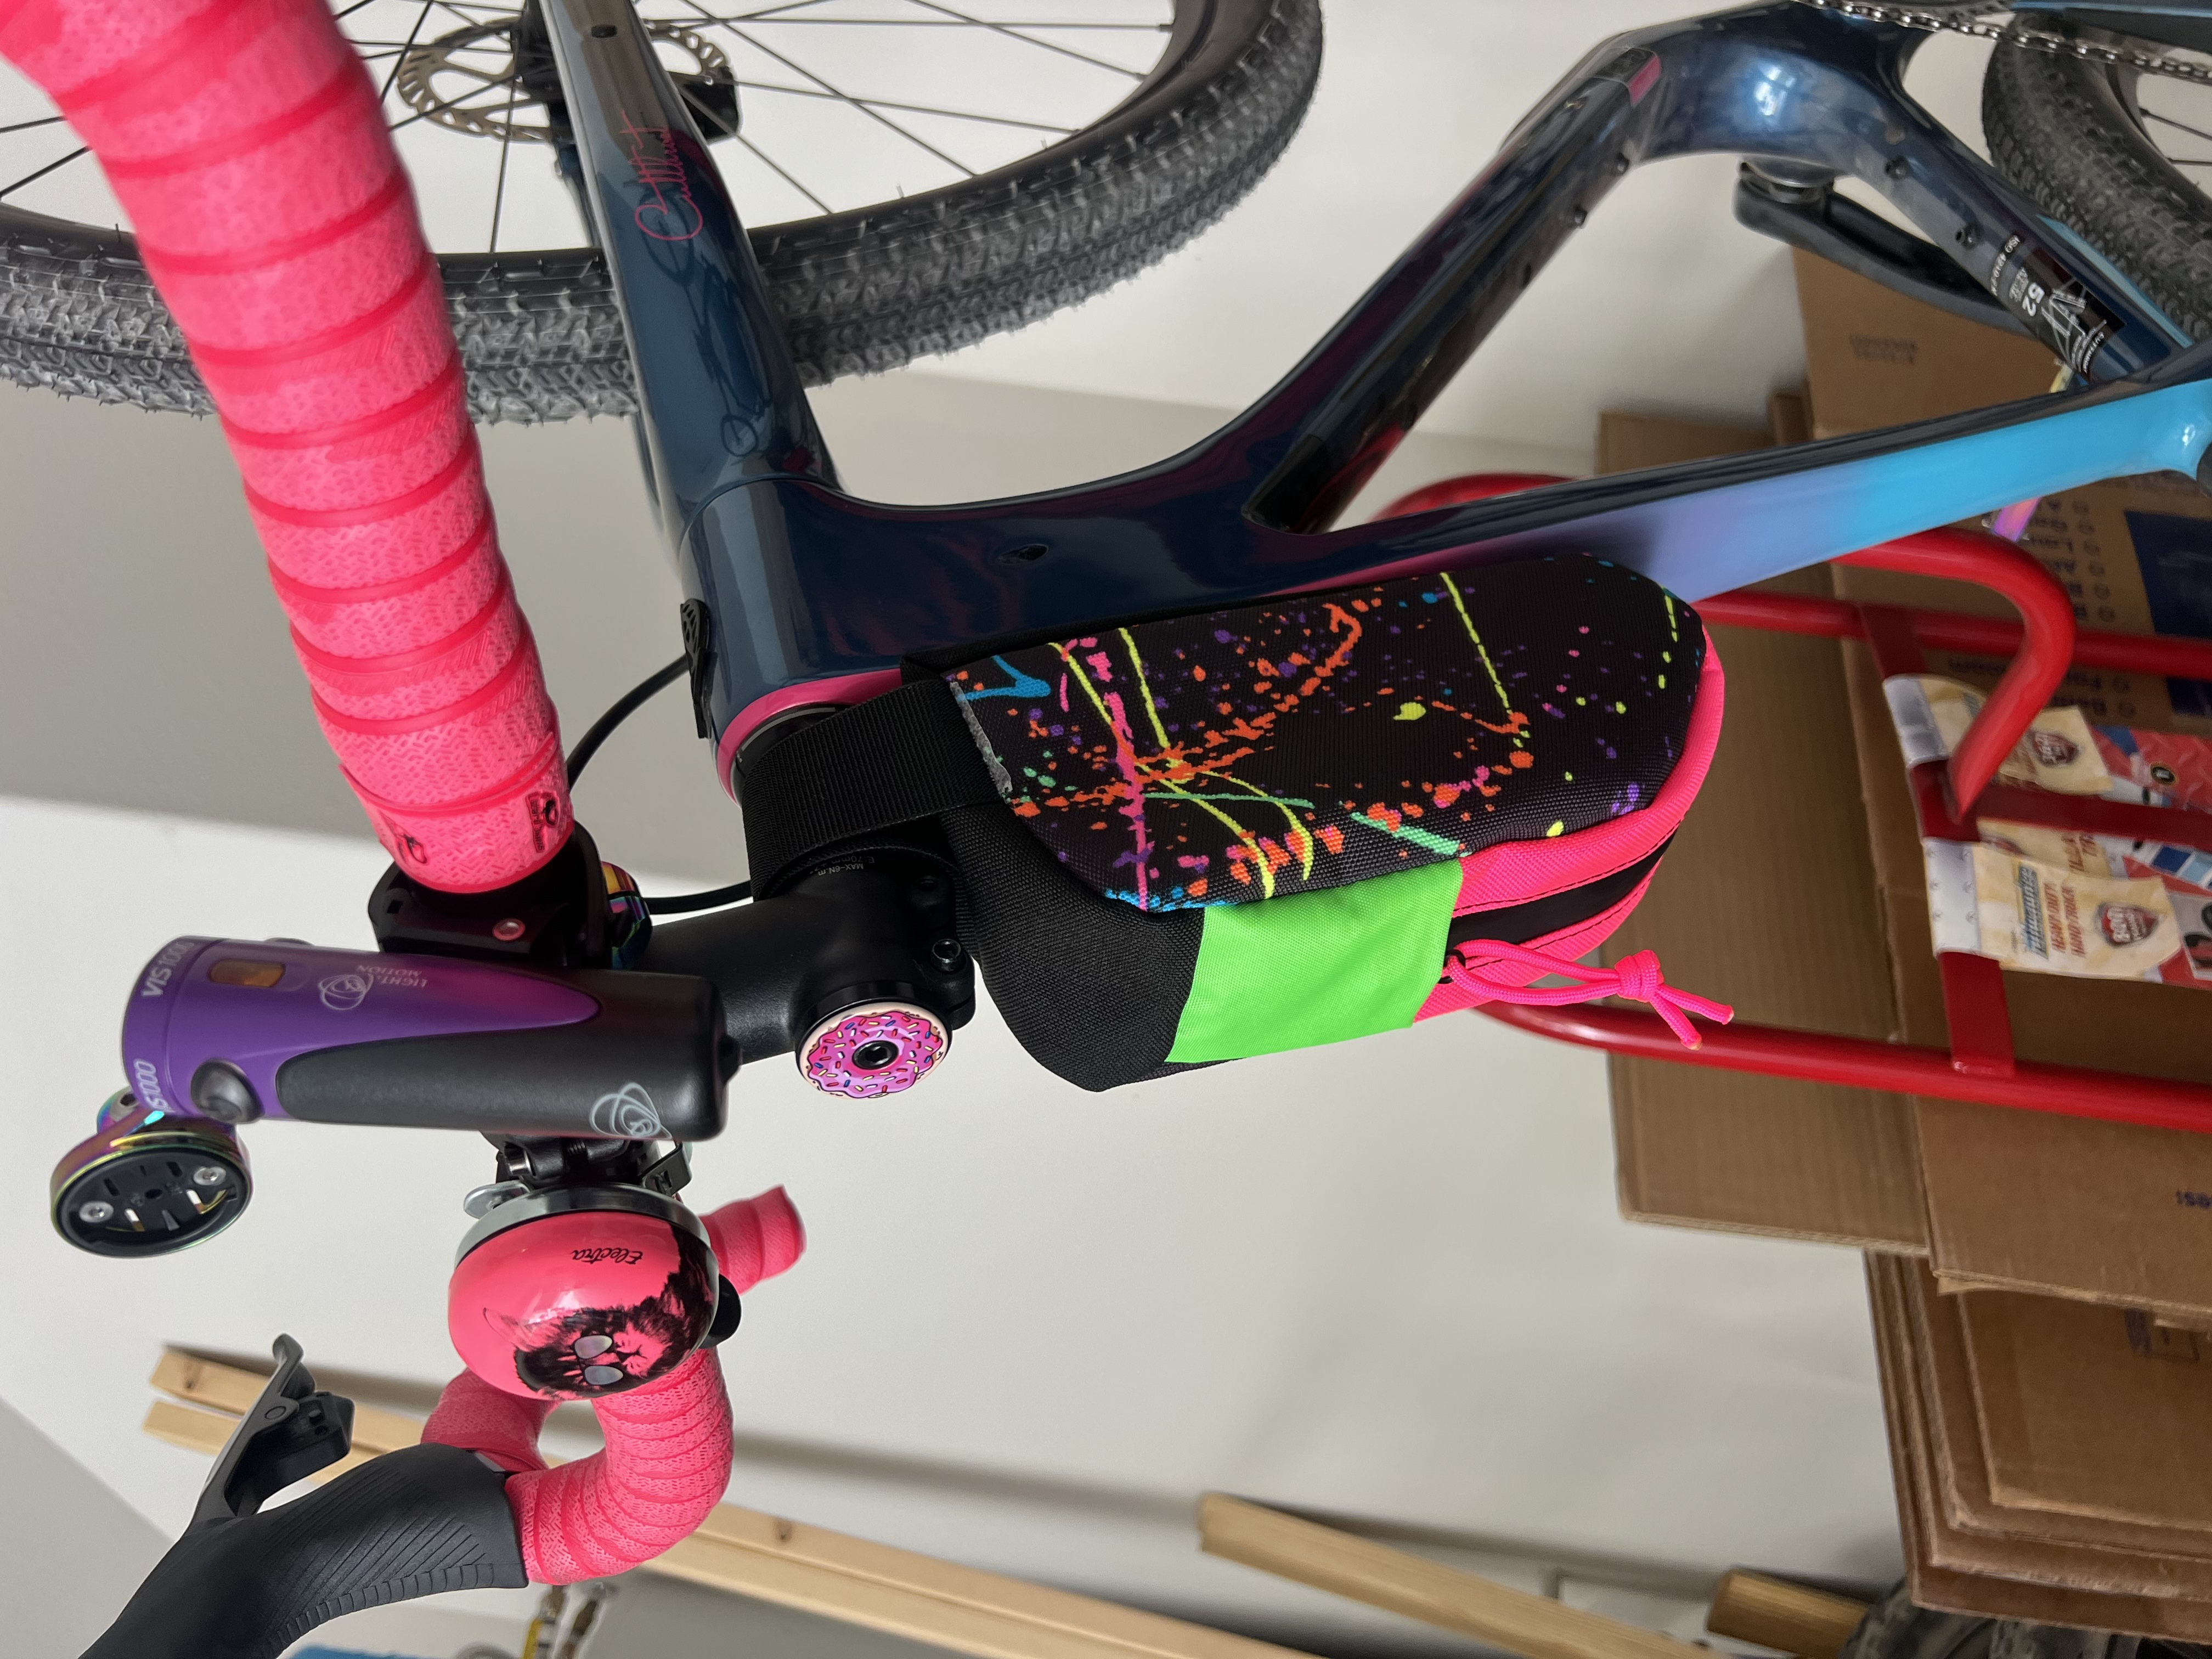


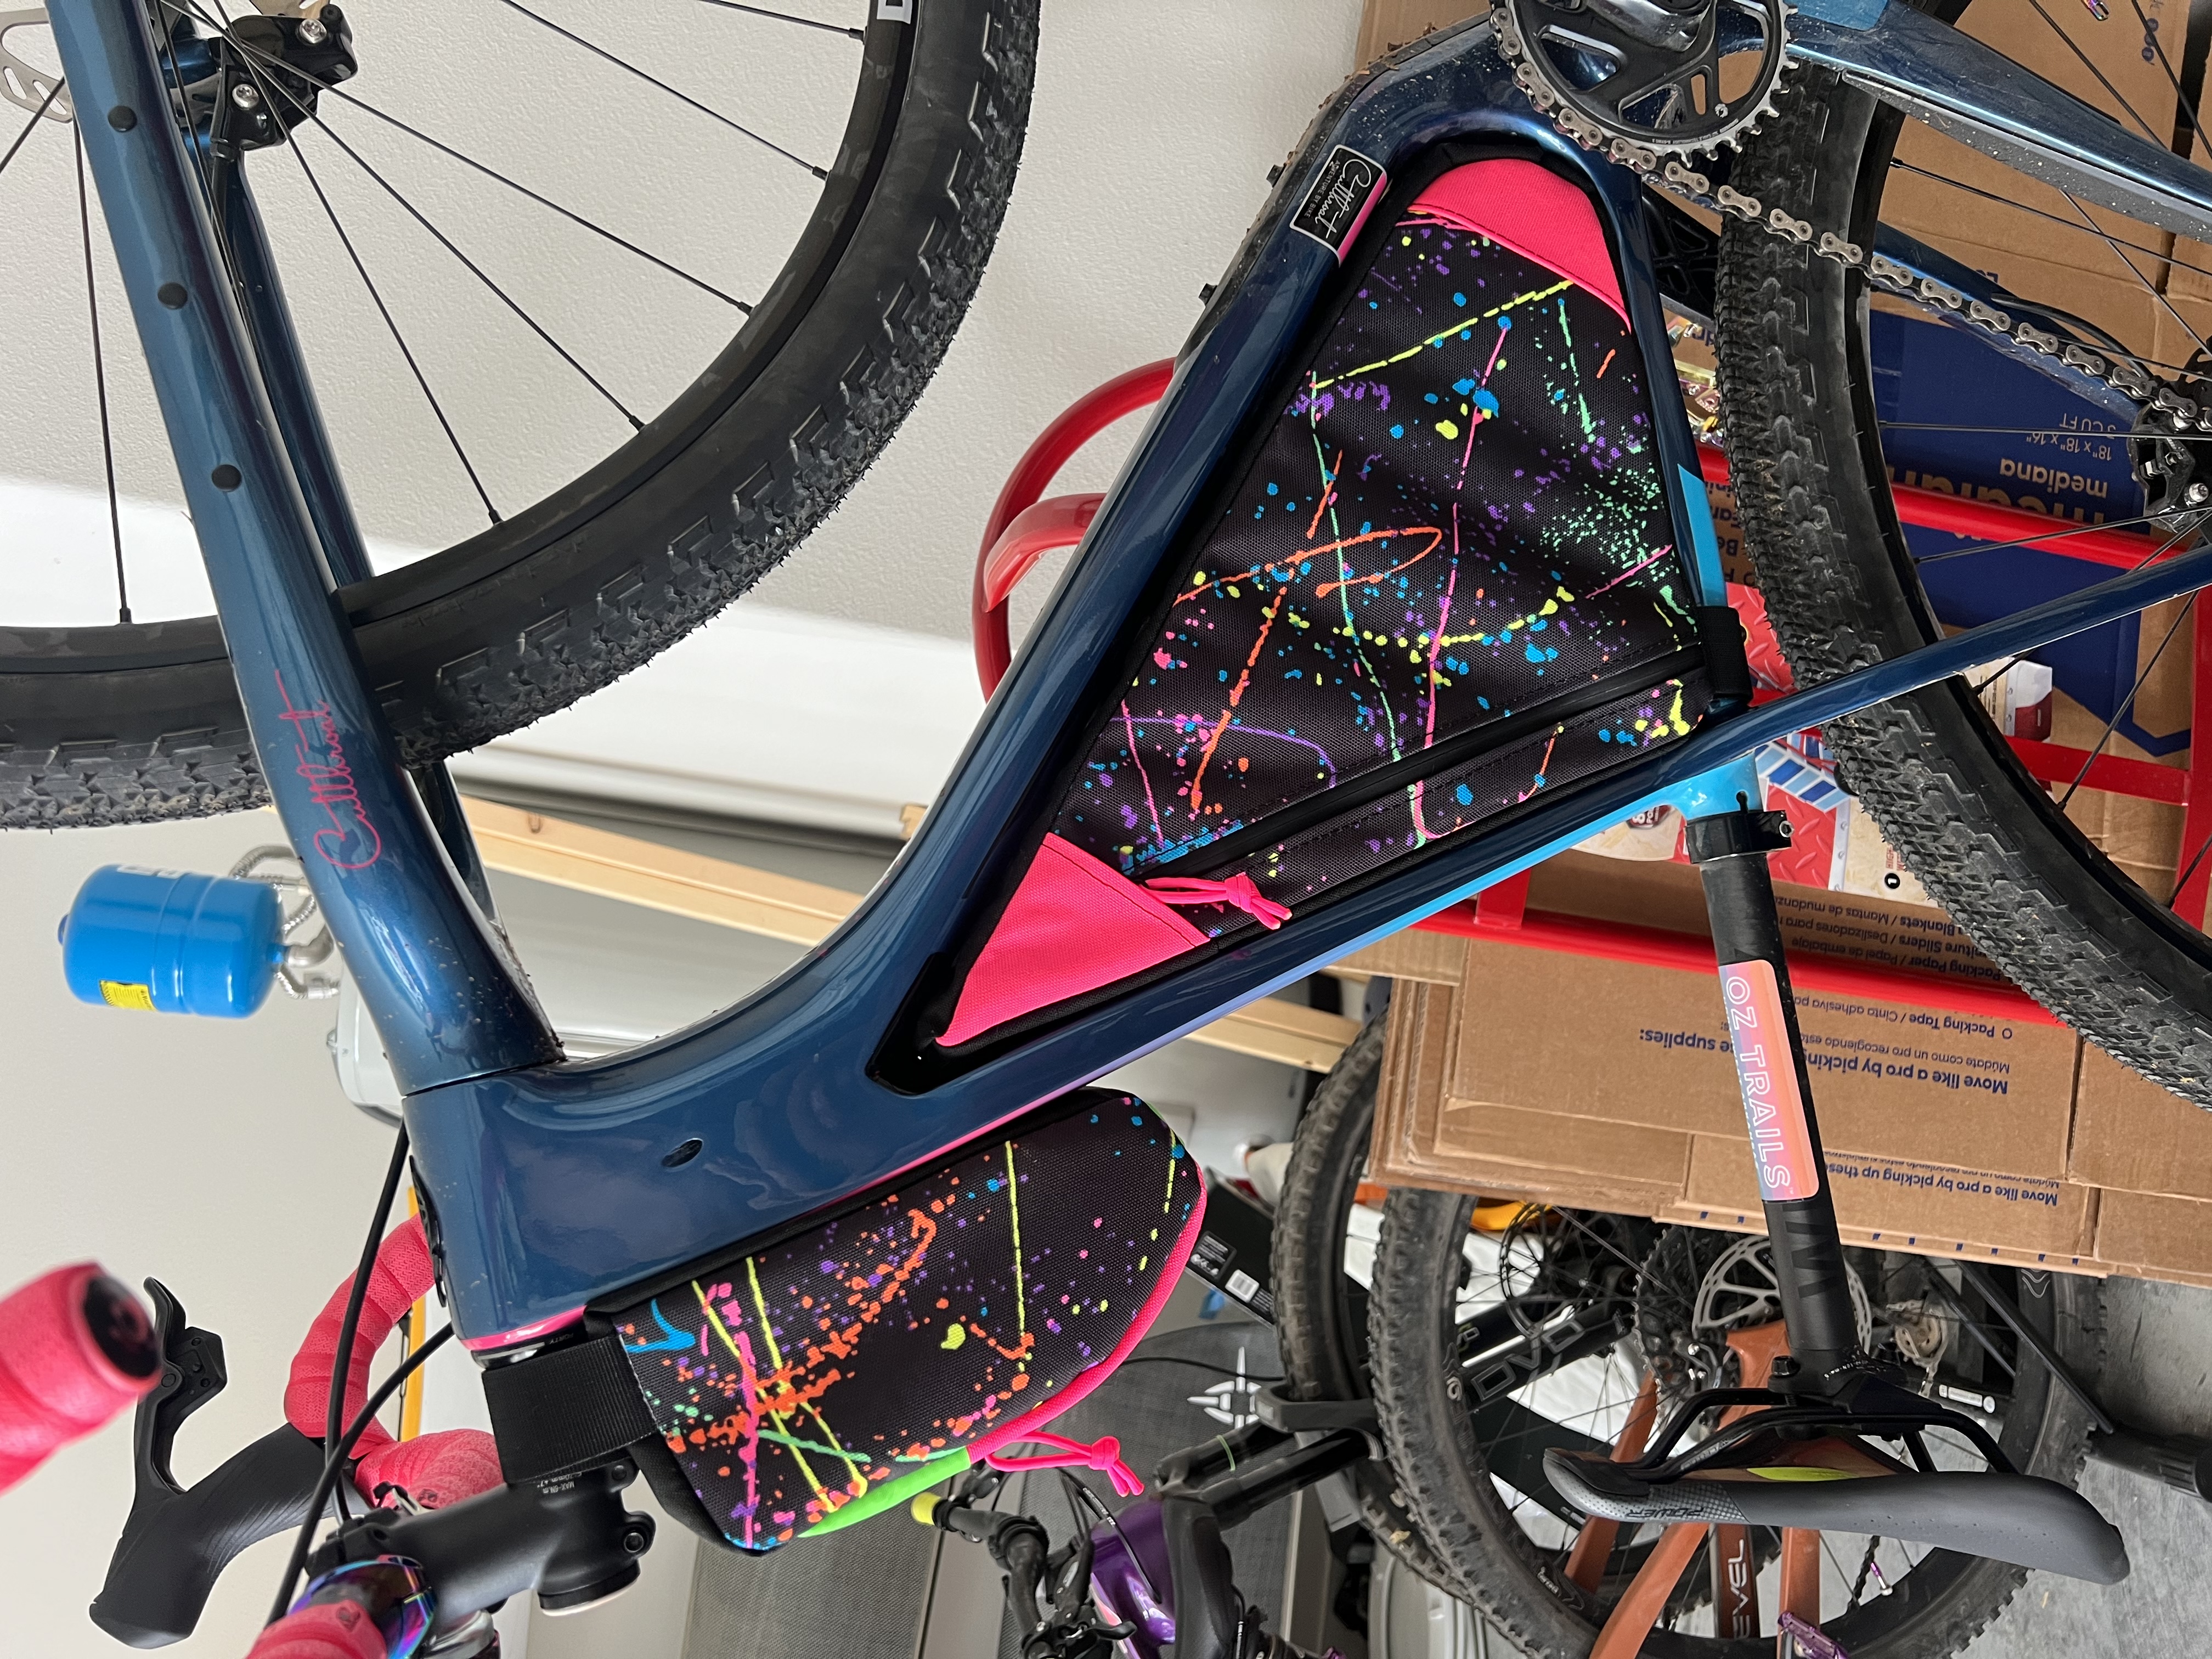
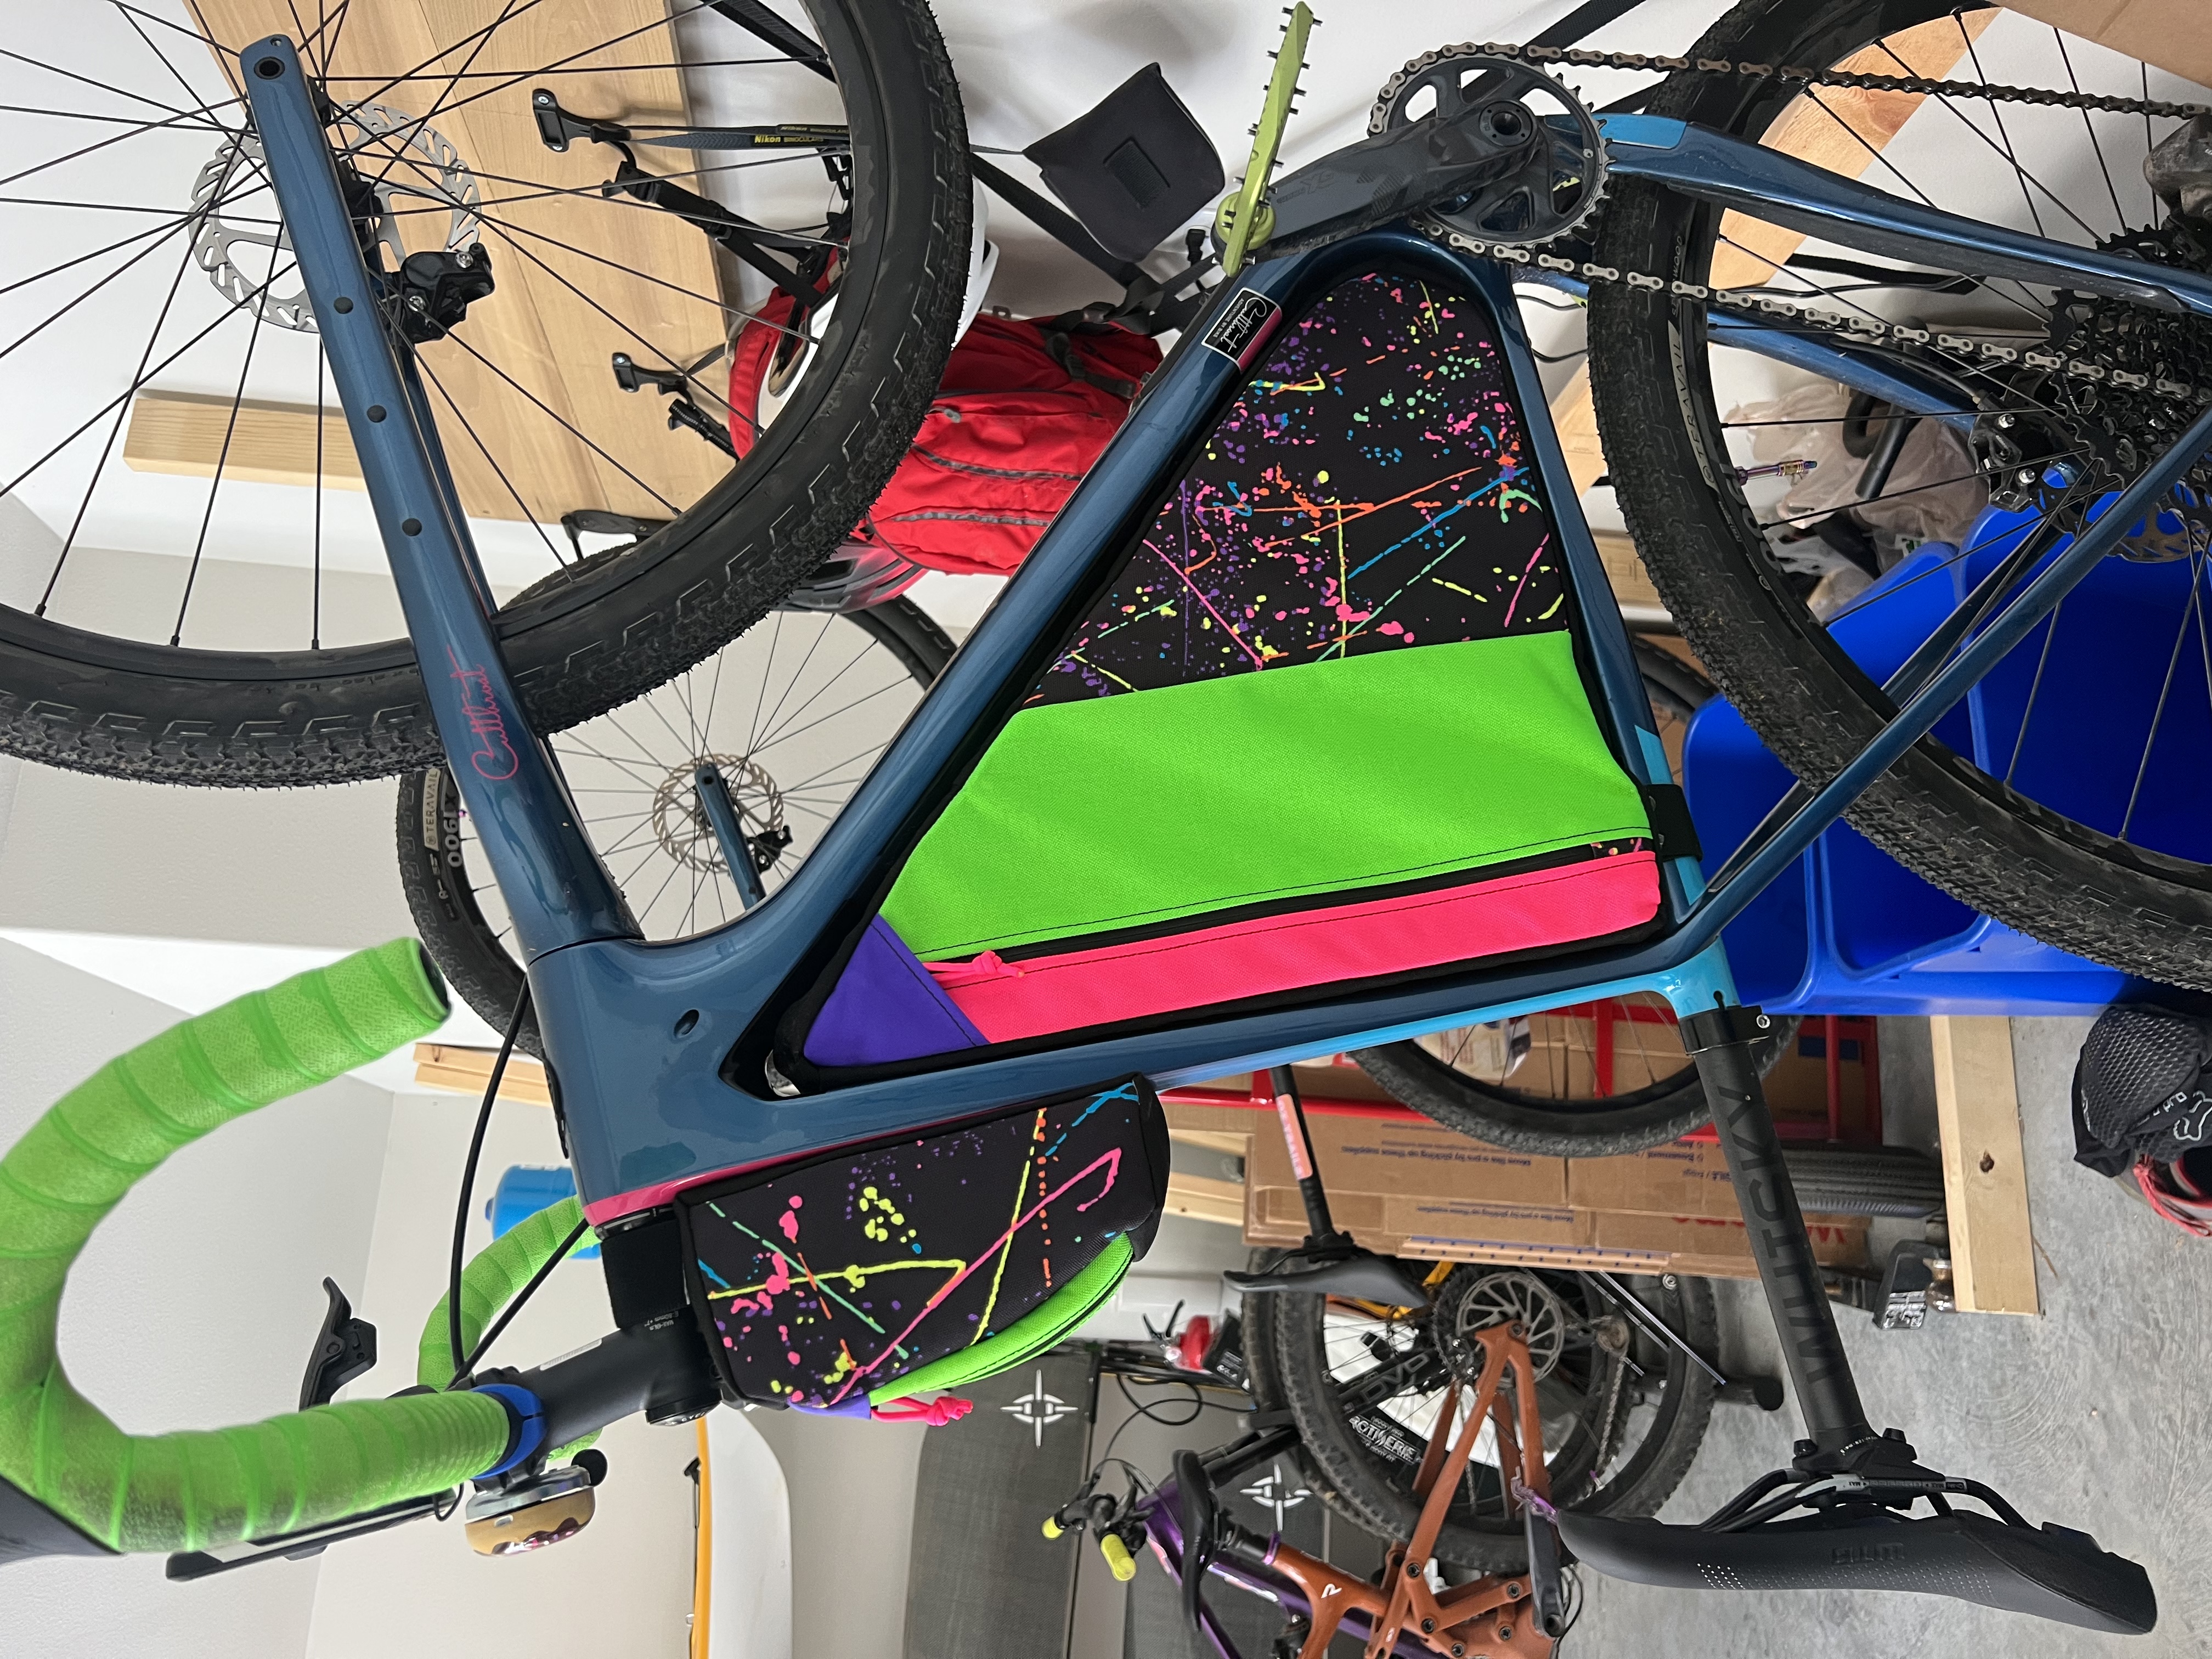
So next up was the real deal: frame bags. These would attach the same way the tank bags did, with the threaded holes on the frame, that meant I had to measure well because I wouldn’t be able to use the velcro to tighten it all. (crap!) My bike is much smaller than Jason’s so I made my bag with a single compartment and zipper. Jason’s bike is much larger and I worried that a single compartment would get too bulky…. so I decided to complicate it and have two compartments with a velcro divider in the middle and two zippers on opposite sides.
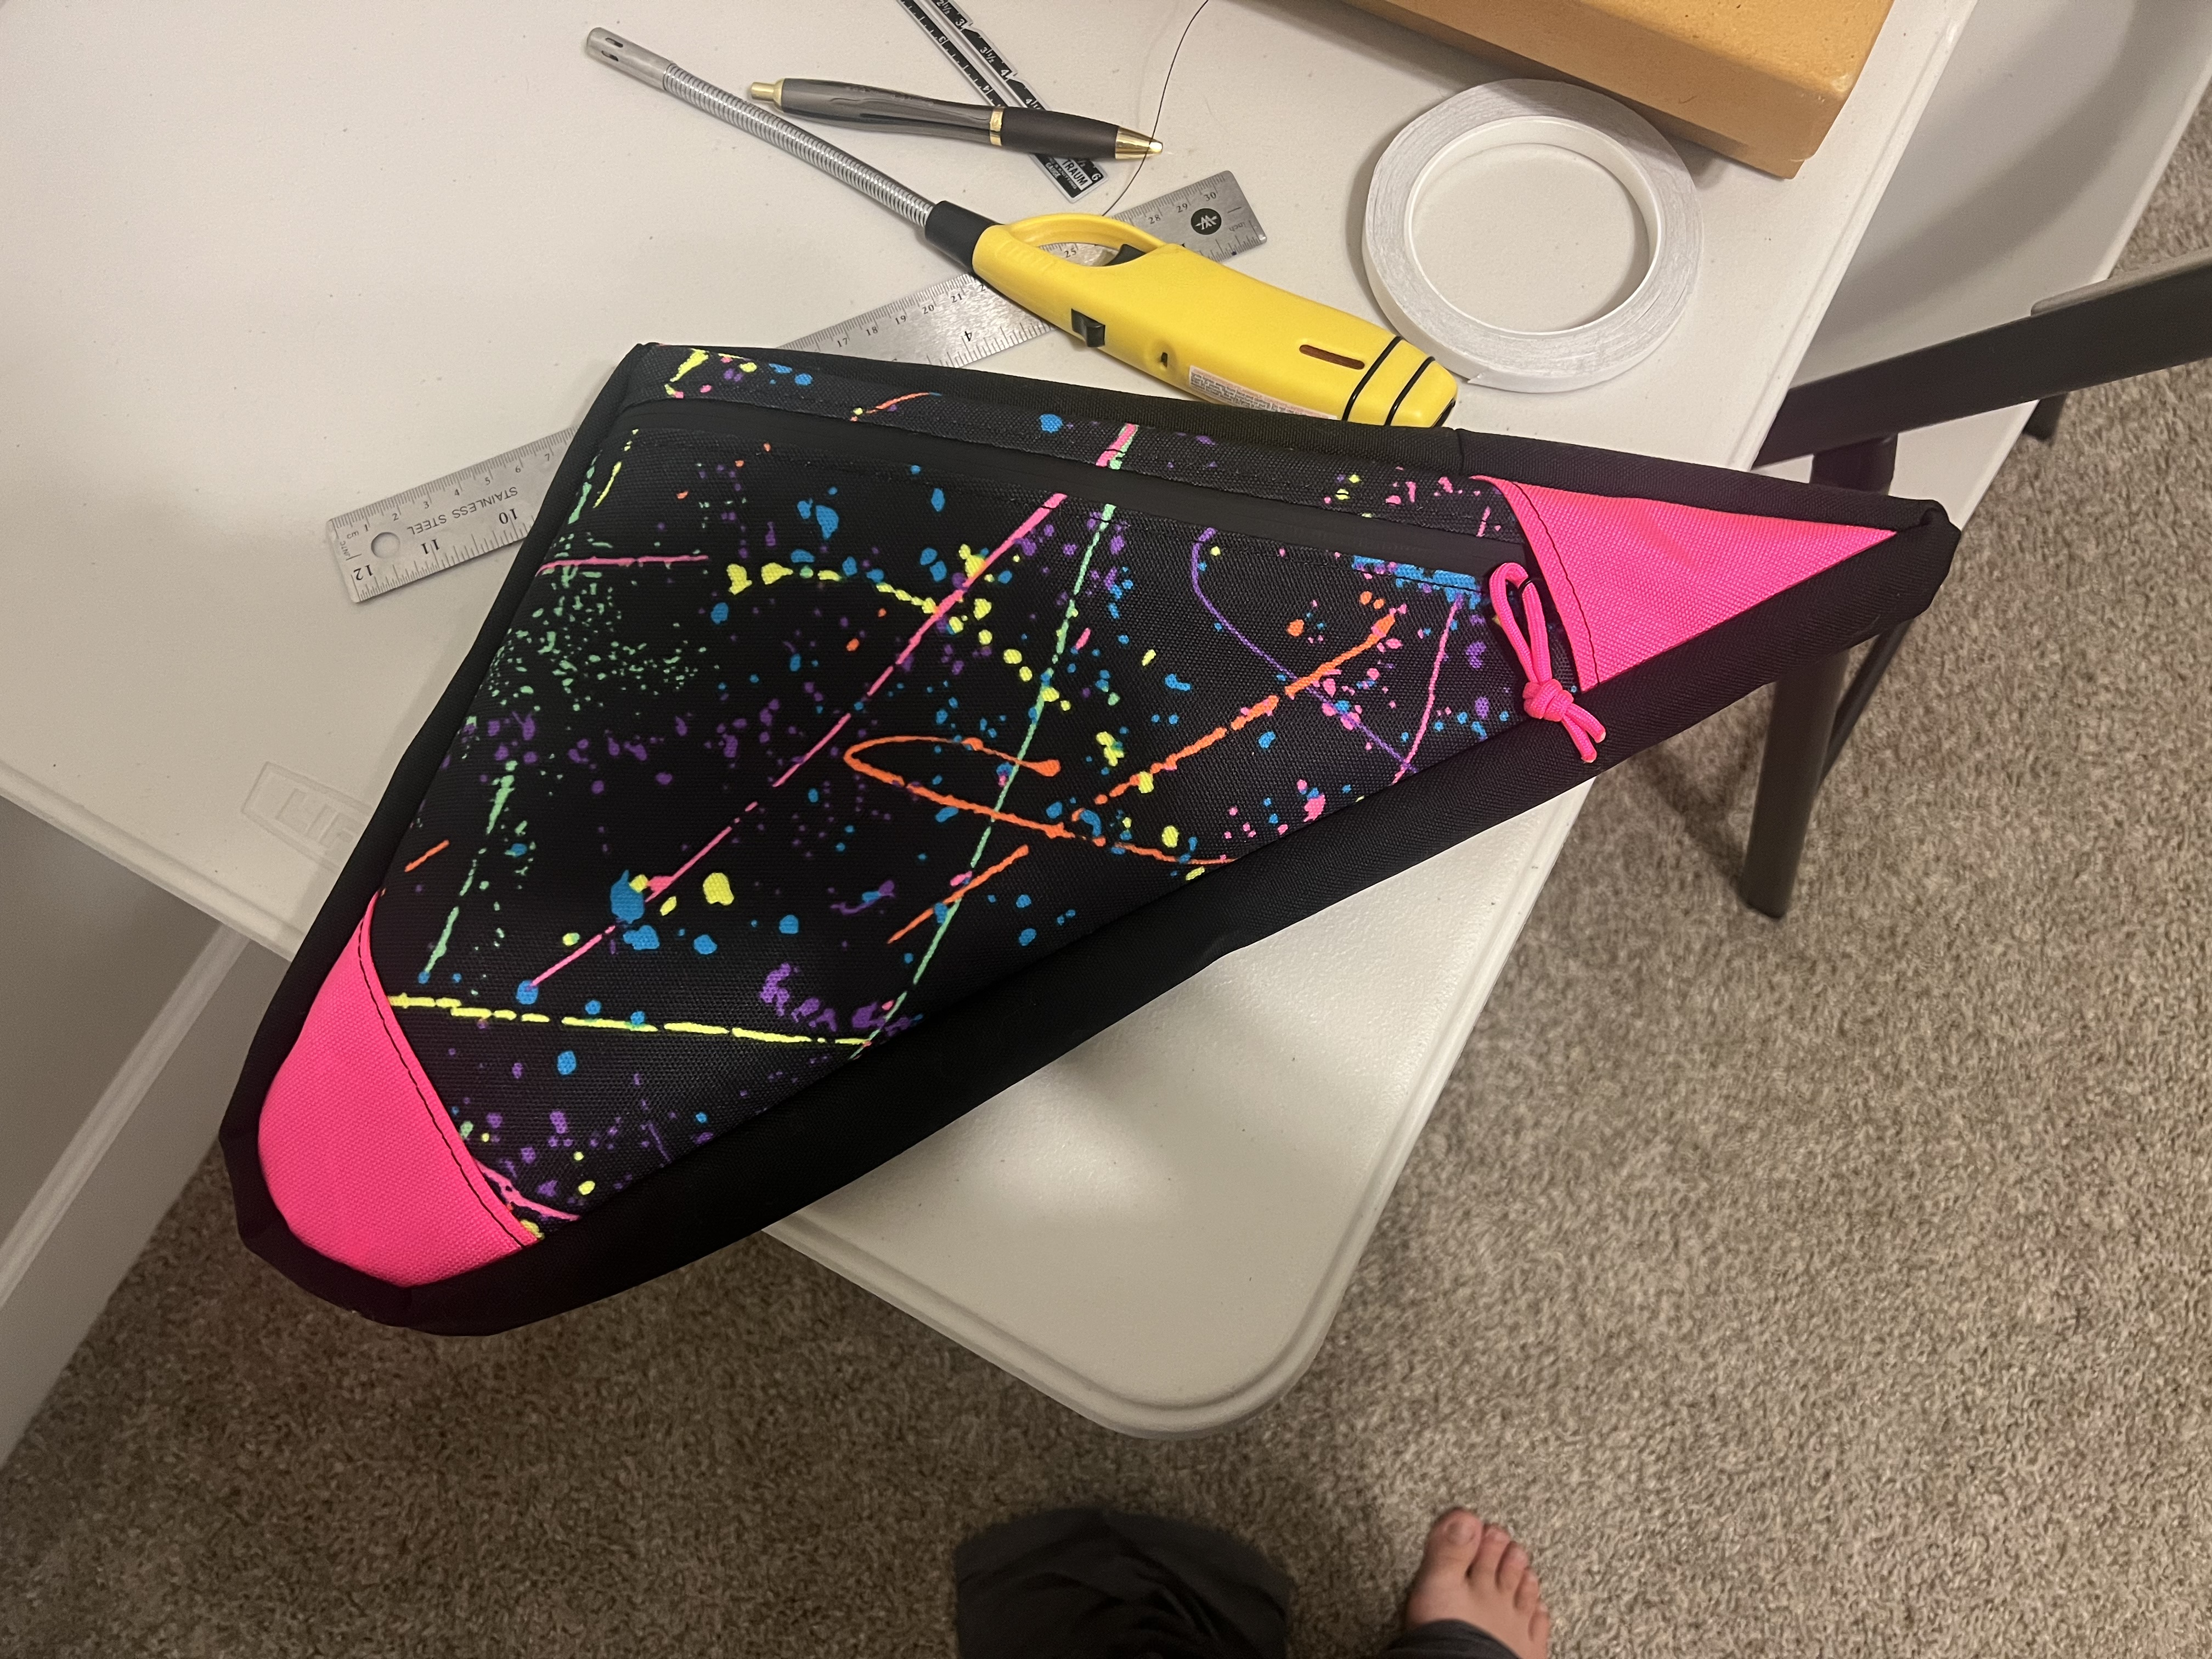
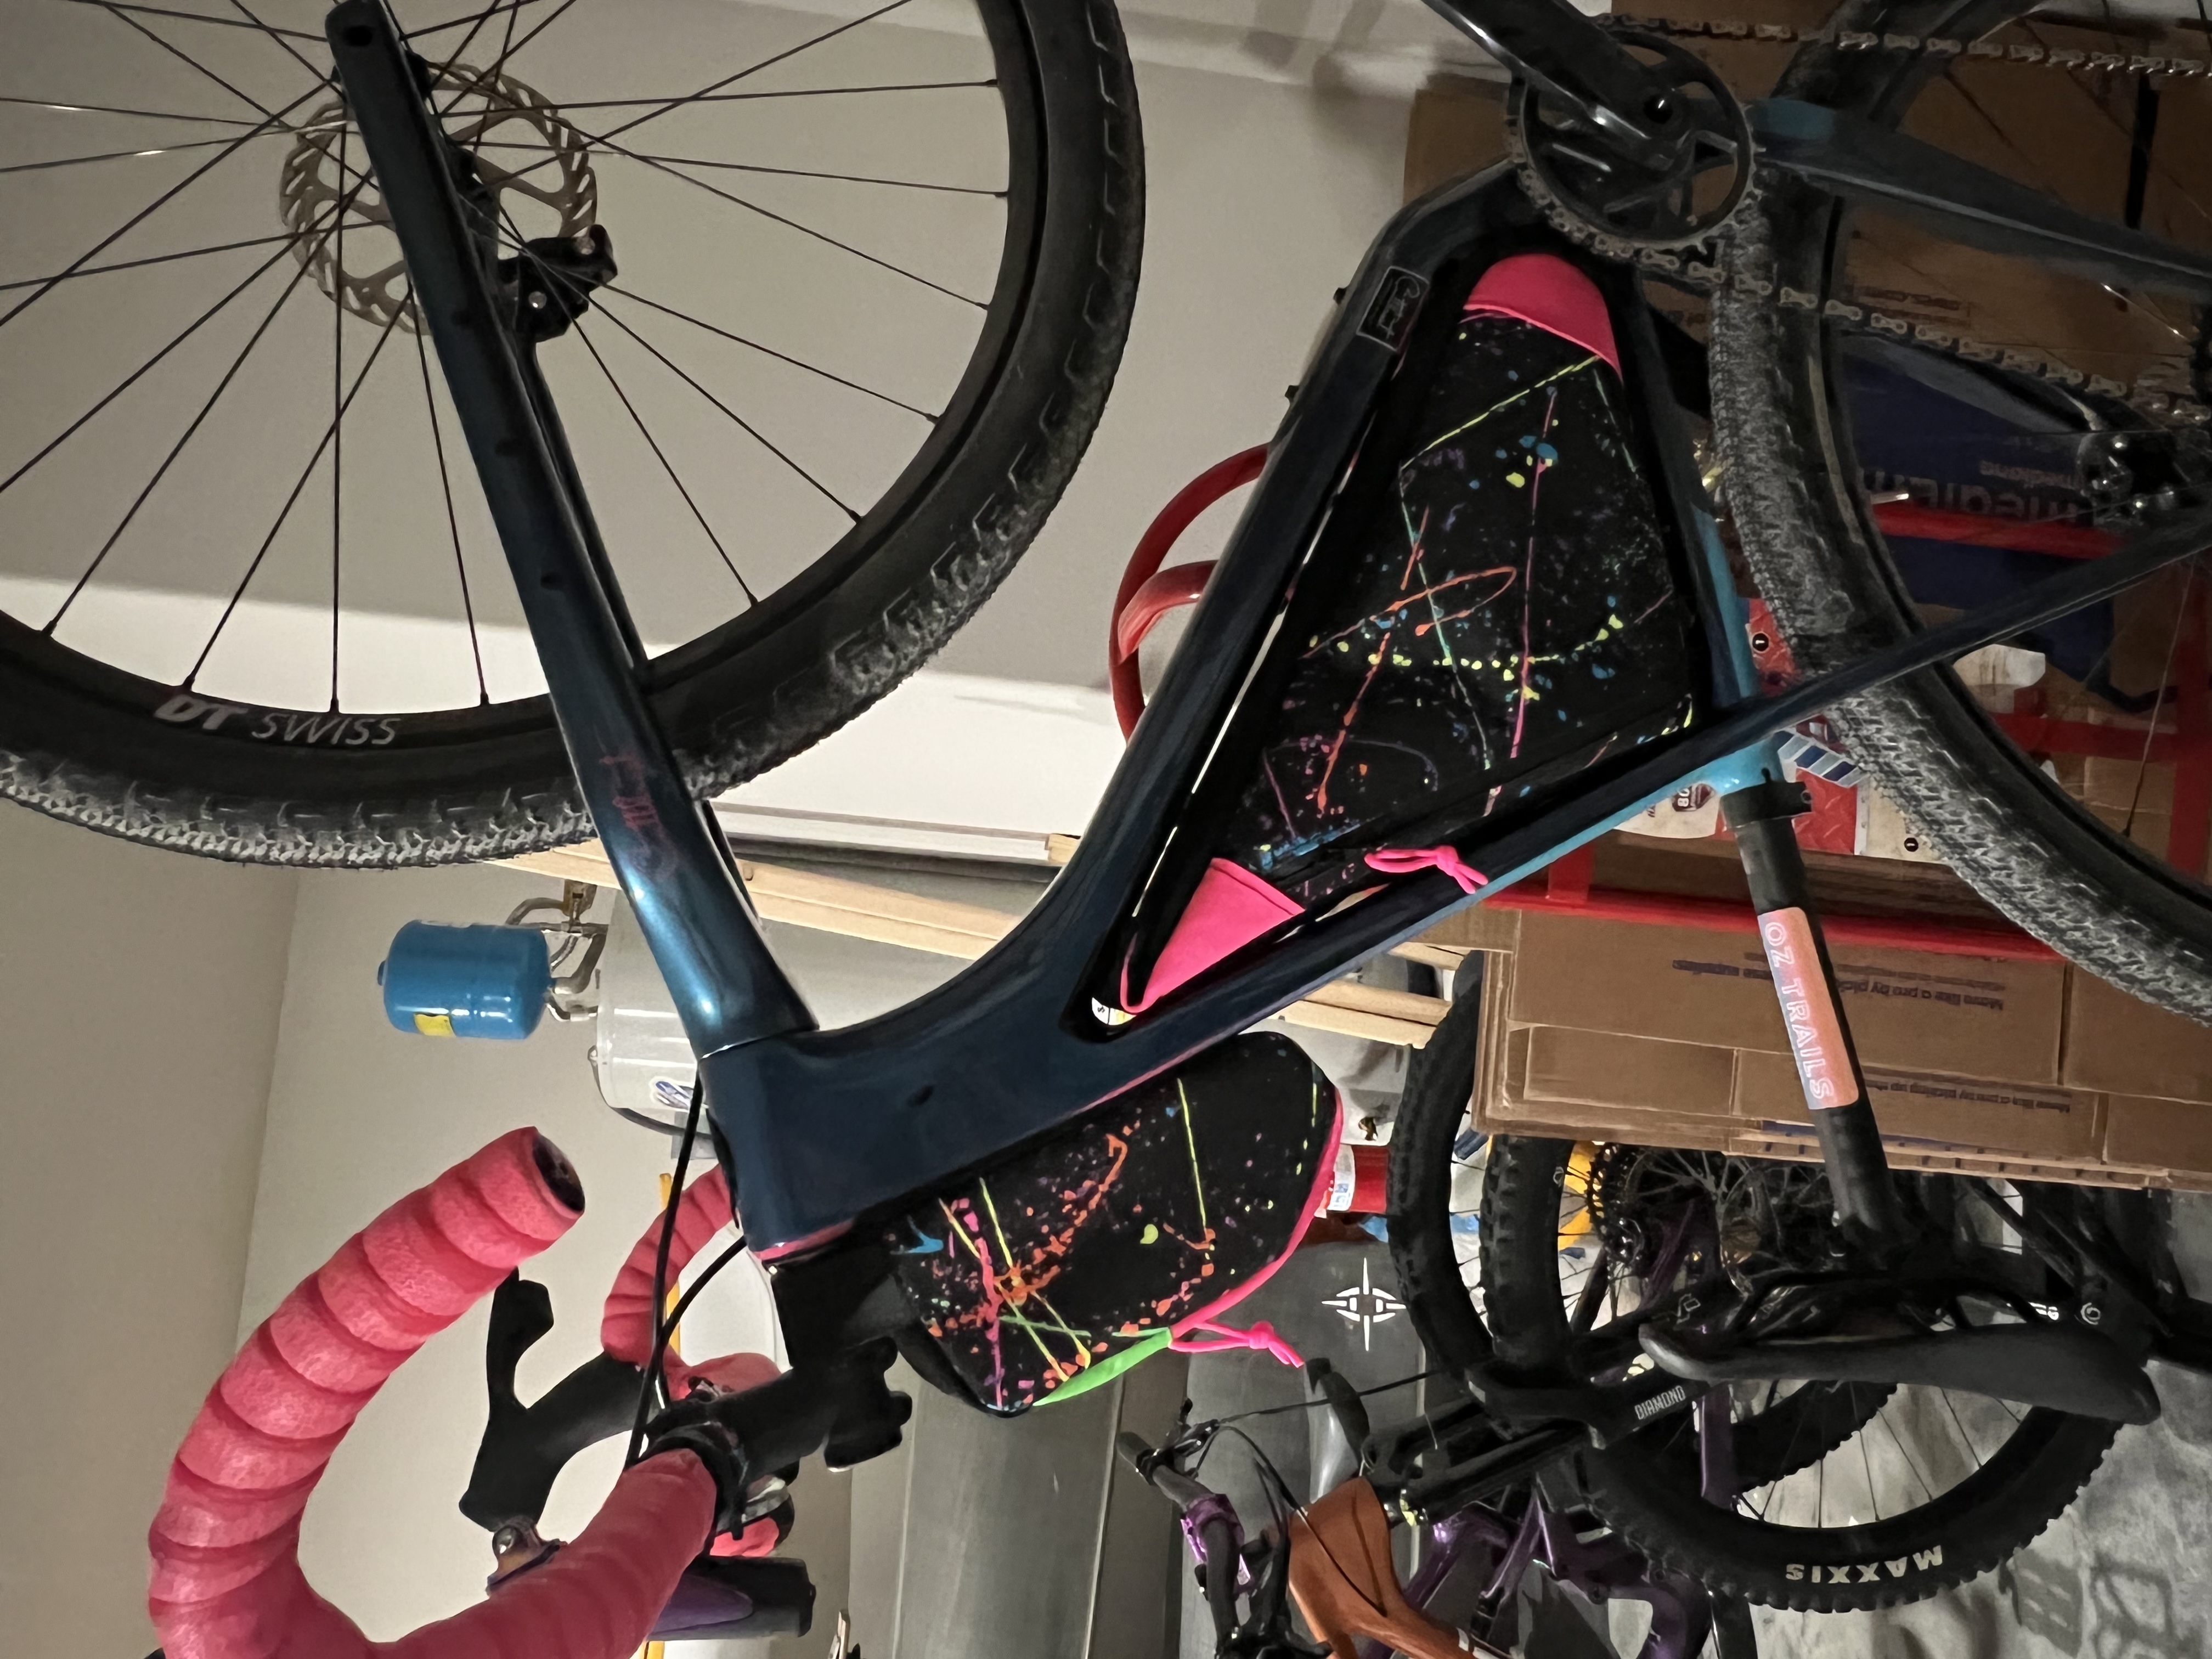

After finishing the main bags, I then had to cut the bolting strips for the inside out of the aforementioned cutting board material. Then I had to figure out where to drill the holes in the plastic, make sure it fit, mark the center of the inside of the bags, and cut the holes in the fabric for the bolts to go through. I ended up with both bags fully installed (yay) and then having to take them allll back off again (boo) so I could spray the bags with waterproofing spray. They’re not ever going to be truly waterproof but mostly I wanted to protect the bags from UV and fading. I didn’t go through all this effort making badass neon bags only for them to fade in the sun in a week! 😮 Either way, the final installation actually went pretty smoothly and now all the bags are on the bikes and we really are ready to go on an adventure!