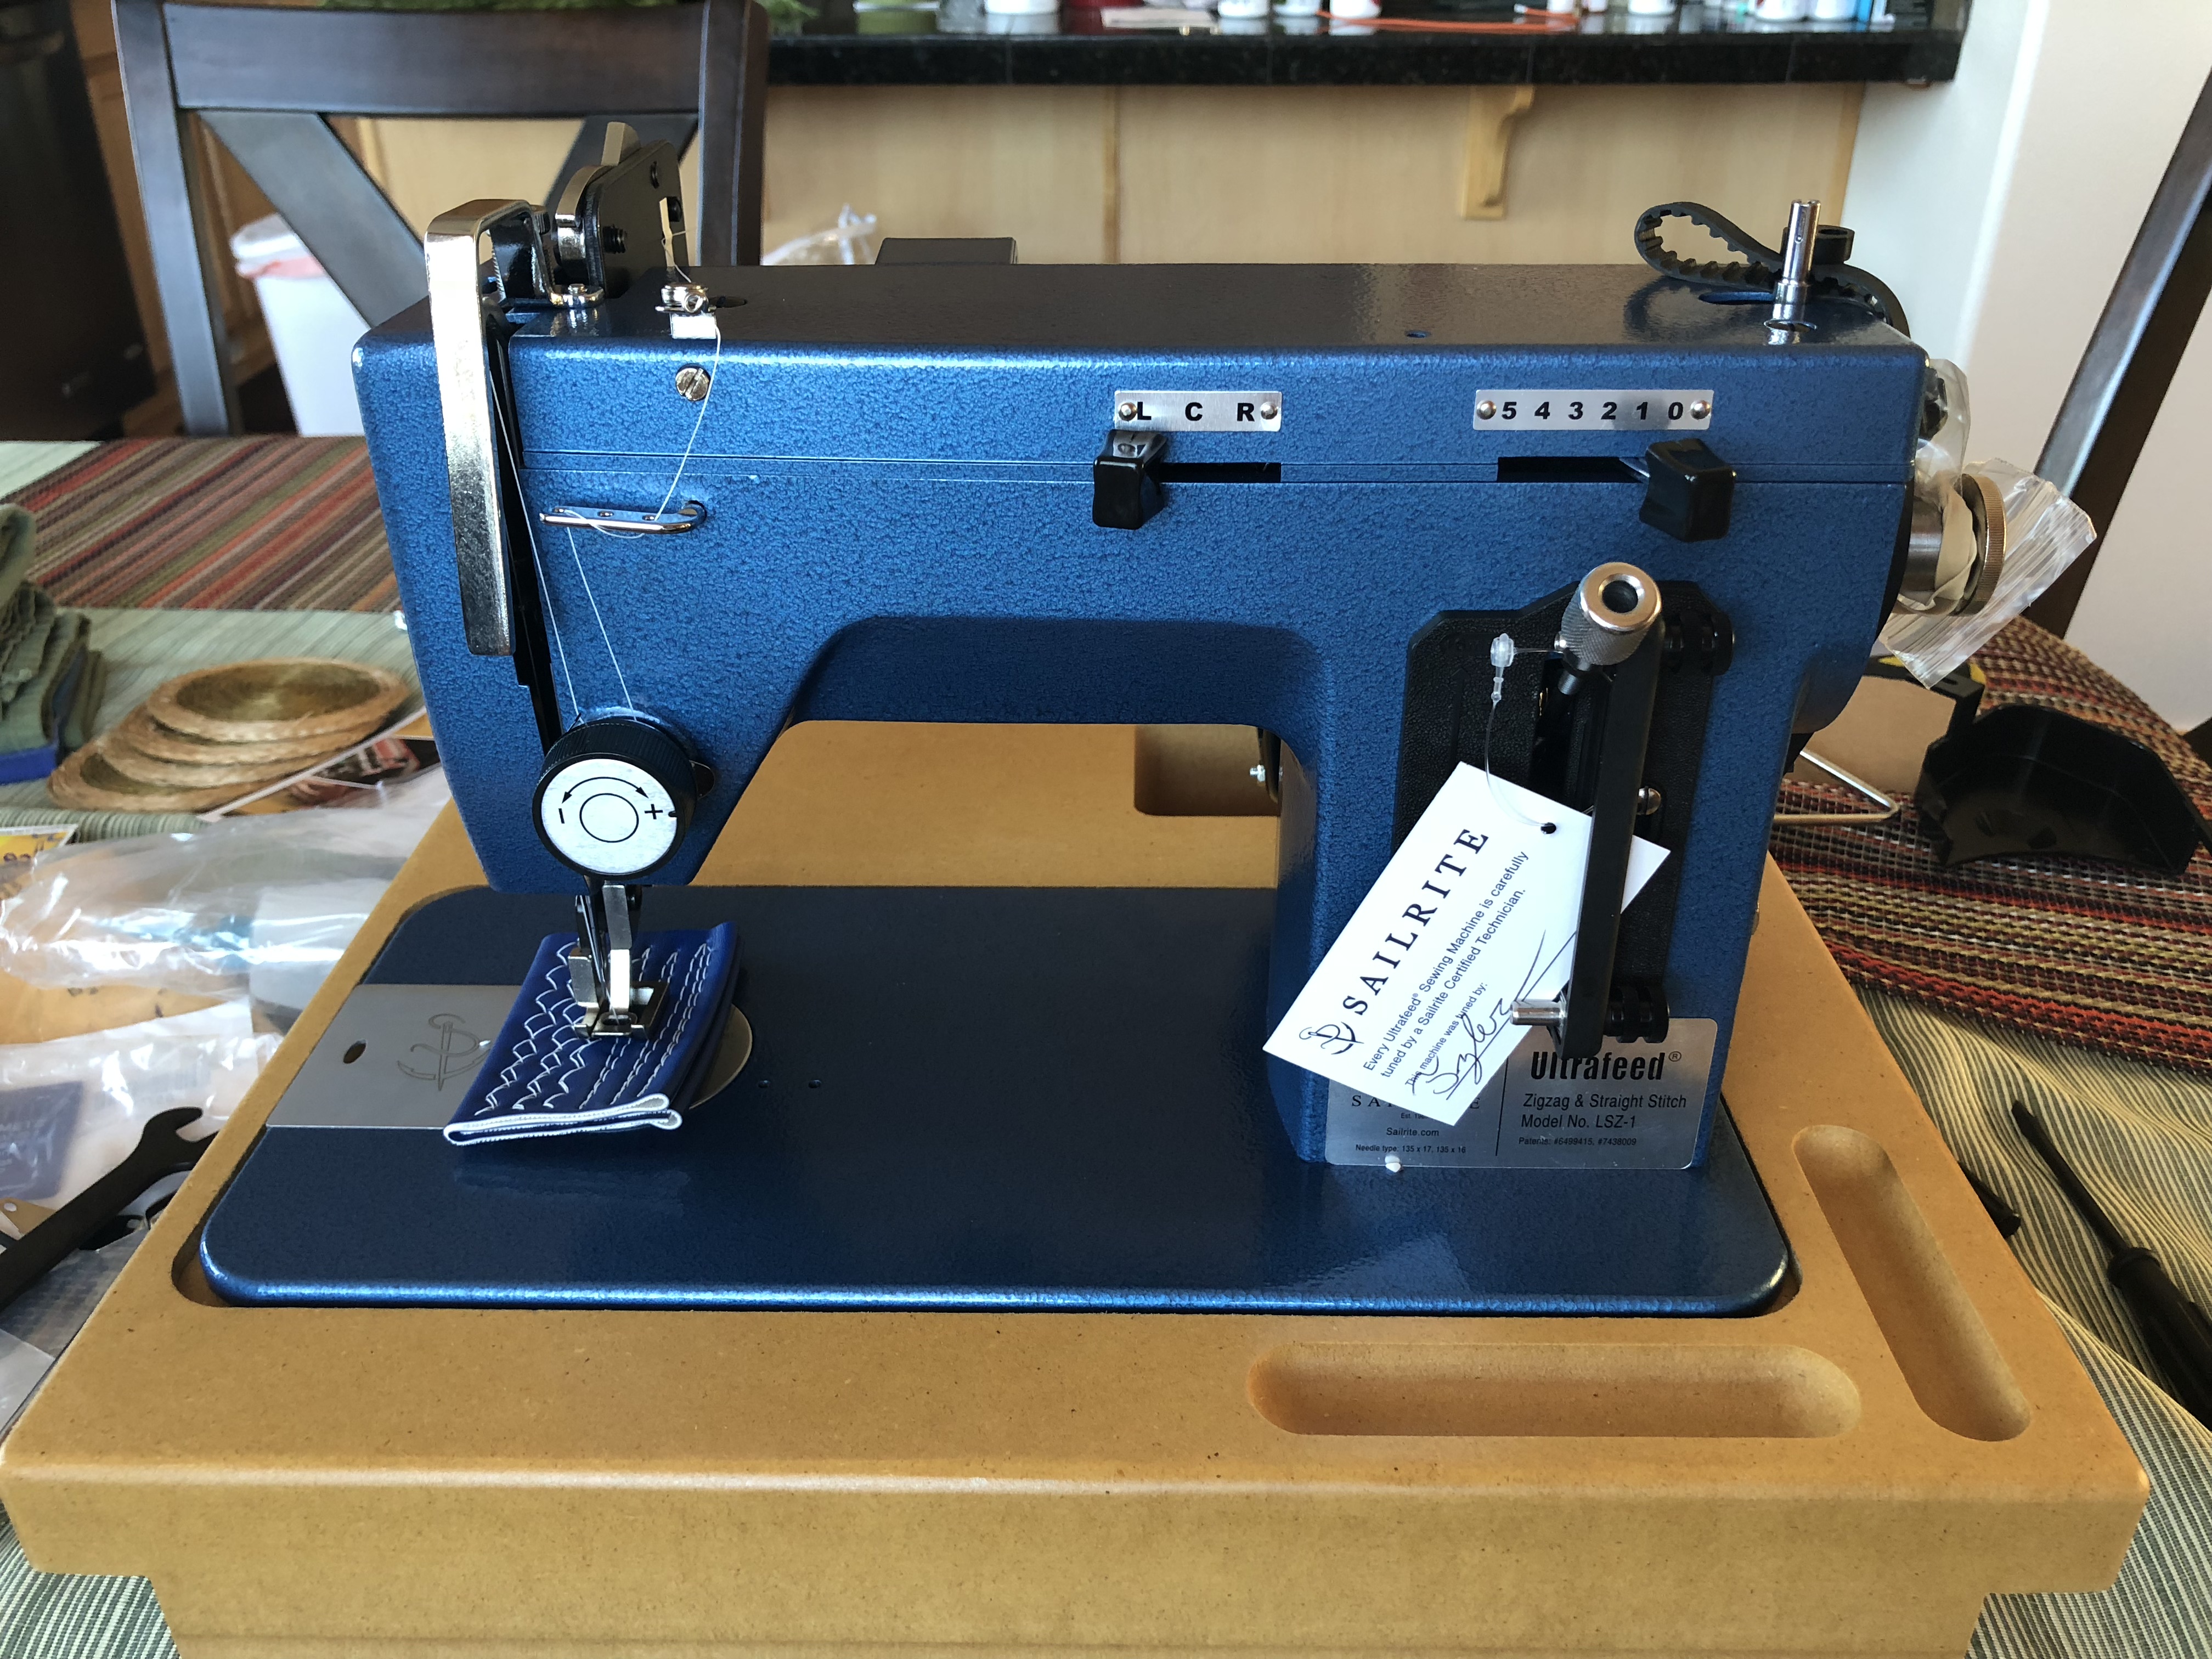
There’s a big part of this build that I’ve been neglecting: the canvas. Without this, the camper shell isn’t waterproof at all, the heater will be useless, and we will have bugs. I even bought that fancy new sewing machine! The camper itself is far enough along that it’s definitely time to get this done!
I’ve actually had the fabric for quite a while now. I bought like 6 yards of bright orange vinyl coated polyester and 2 yards of black for “just in case” and “oh crap I want a cover for this thing!” I chose 18oz weight because that’s apparently what most pop up campers are using, so it seemed like a safe bet. It’s actually a lot more flexible and thin than I thought it was going to be, but it should fold nicely inside the camper. I also keep calling it “canvas” but, like I said above, it’s vinyl coated poly. This means it’s completely waterproof, super rugged, and won’t rip. Mytarps.com, where I bought all this stuff, has great prices and a huge selection of fabric.
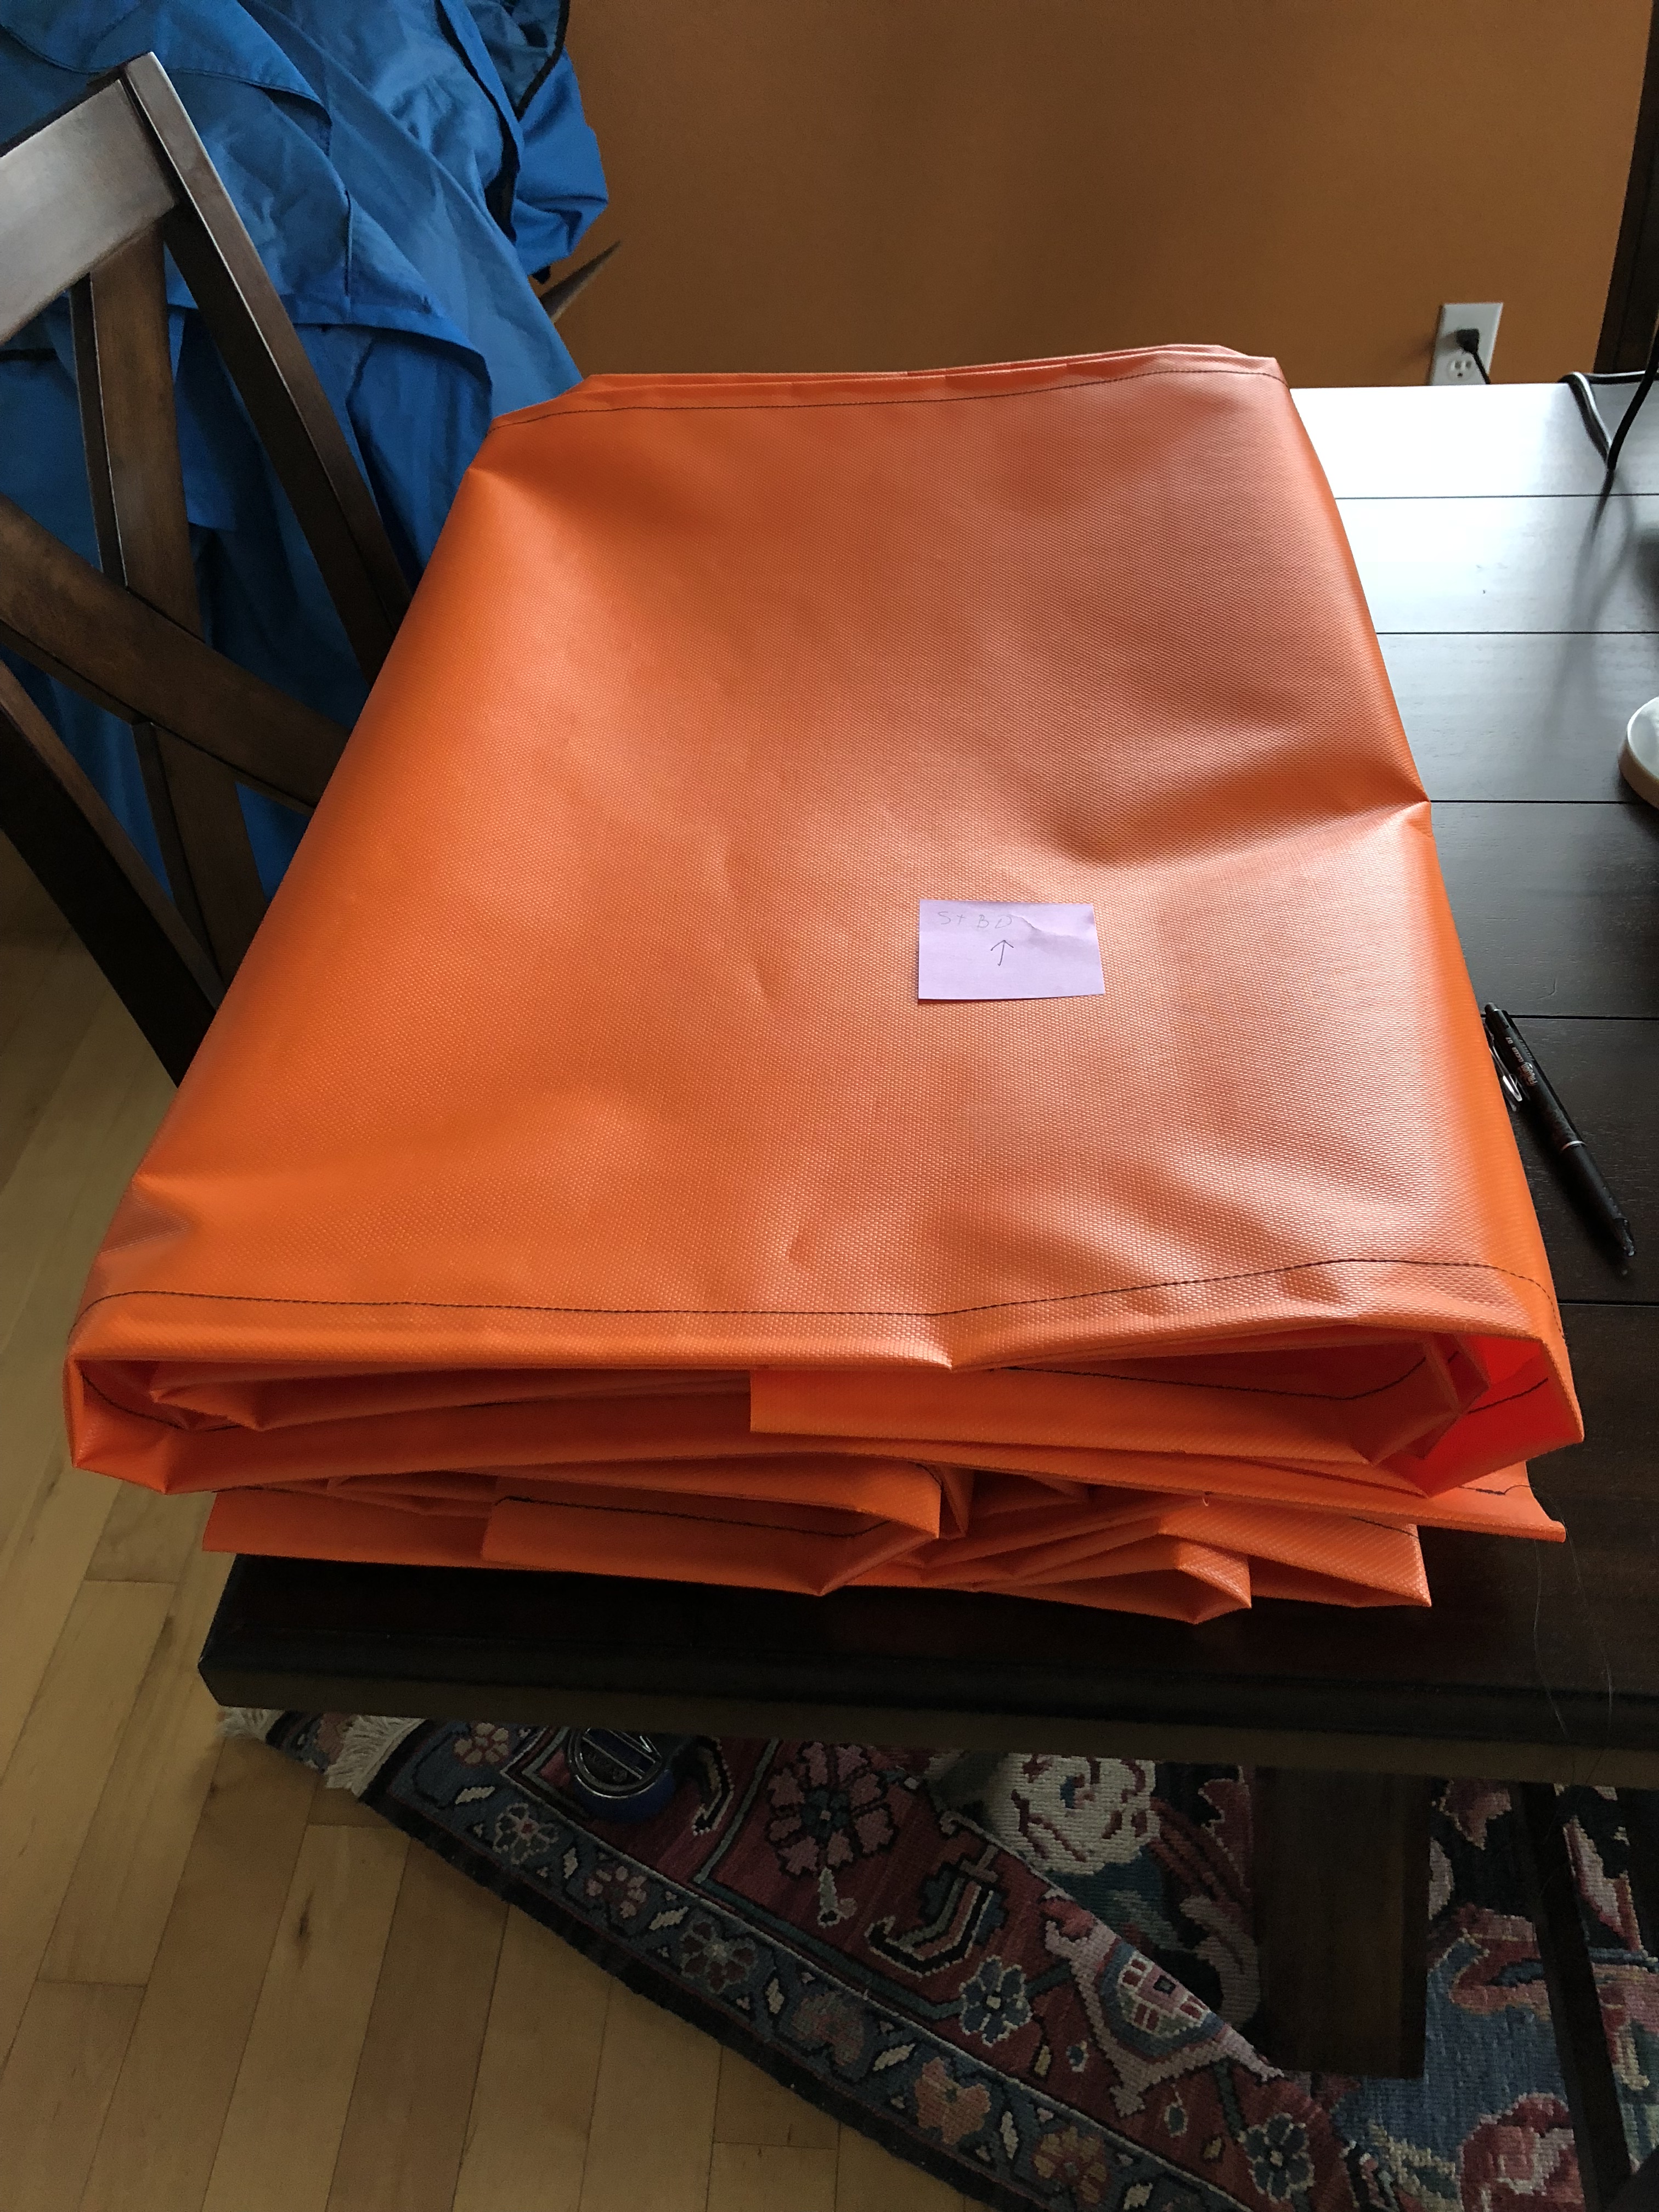
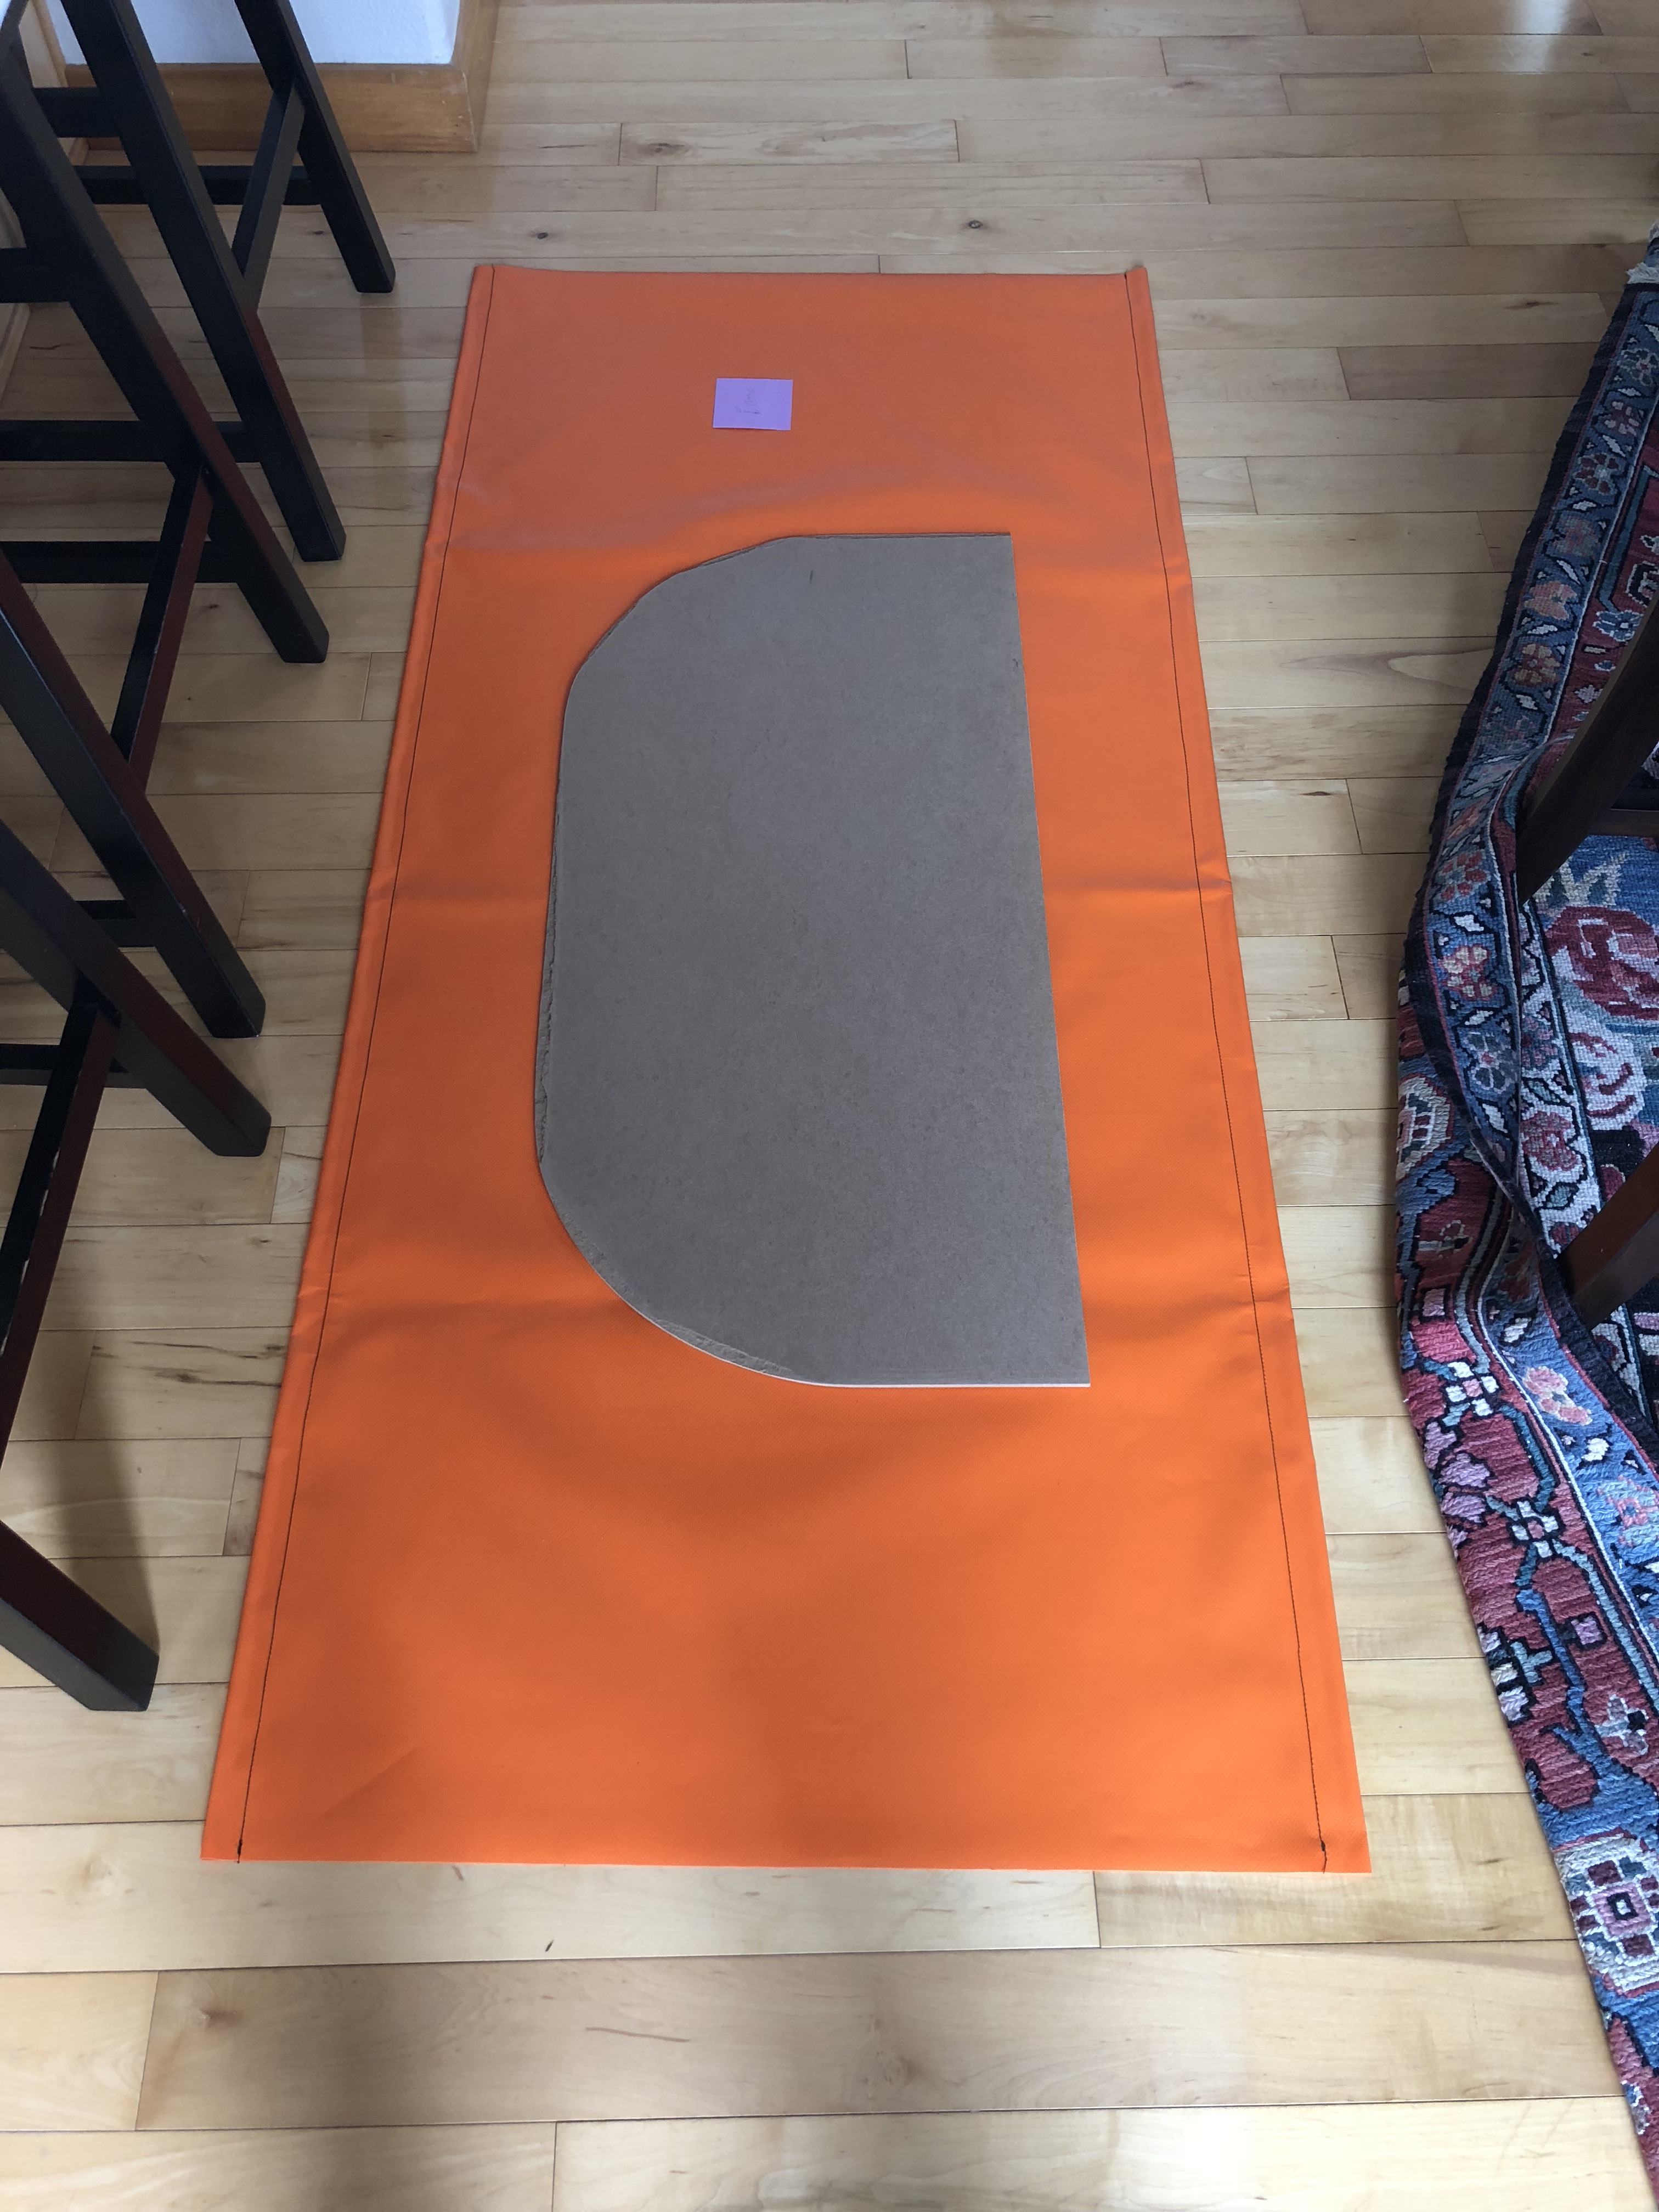
The first step was to take the orange canvas and cut it in half lengthwise. It comes 61″ wide and the height I need is 28″. Worked out pretty perfectly!
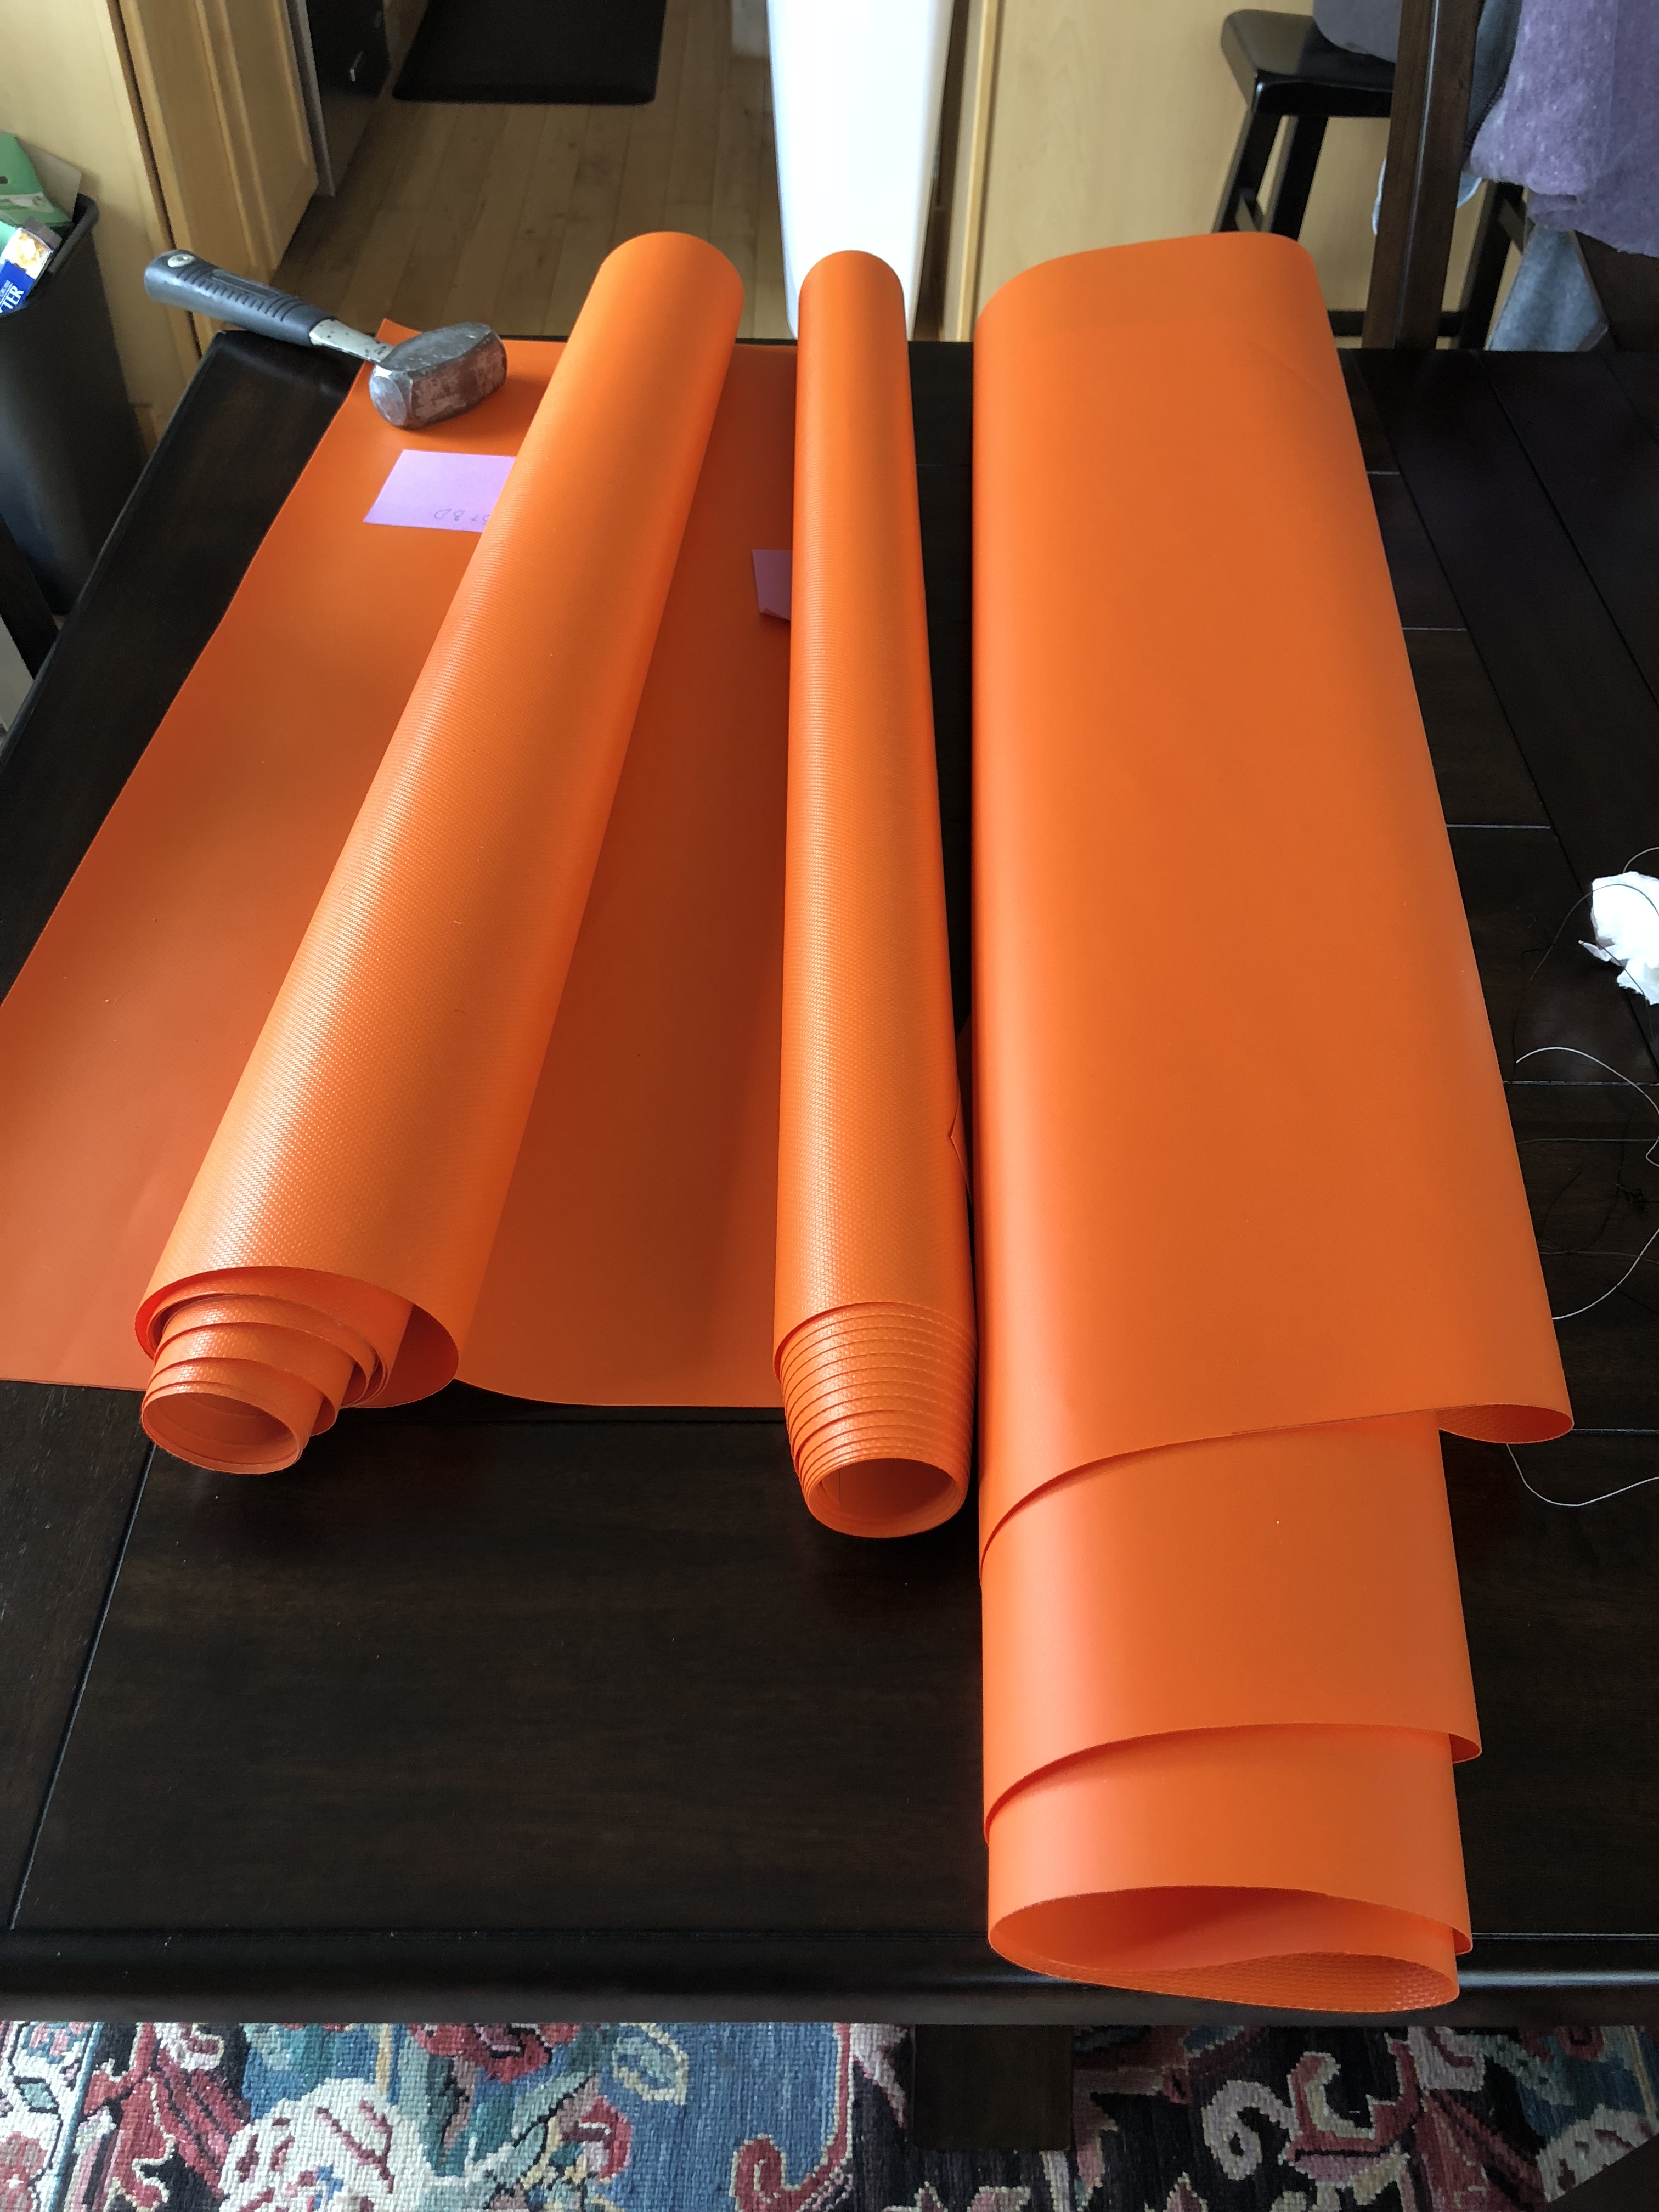
My plan is to get all 4 sides done, and then sew them together. I’m doing this all on our kitchen table, which is big, but not big enough for all of that! So… multiple pieces it is!
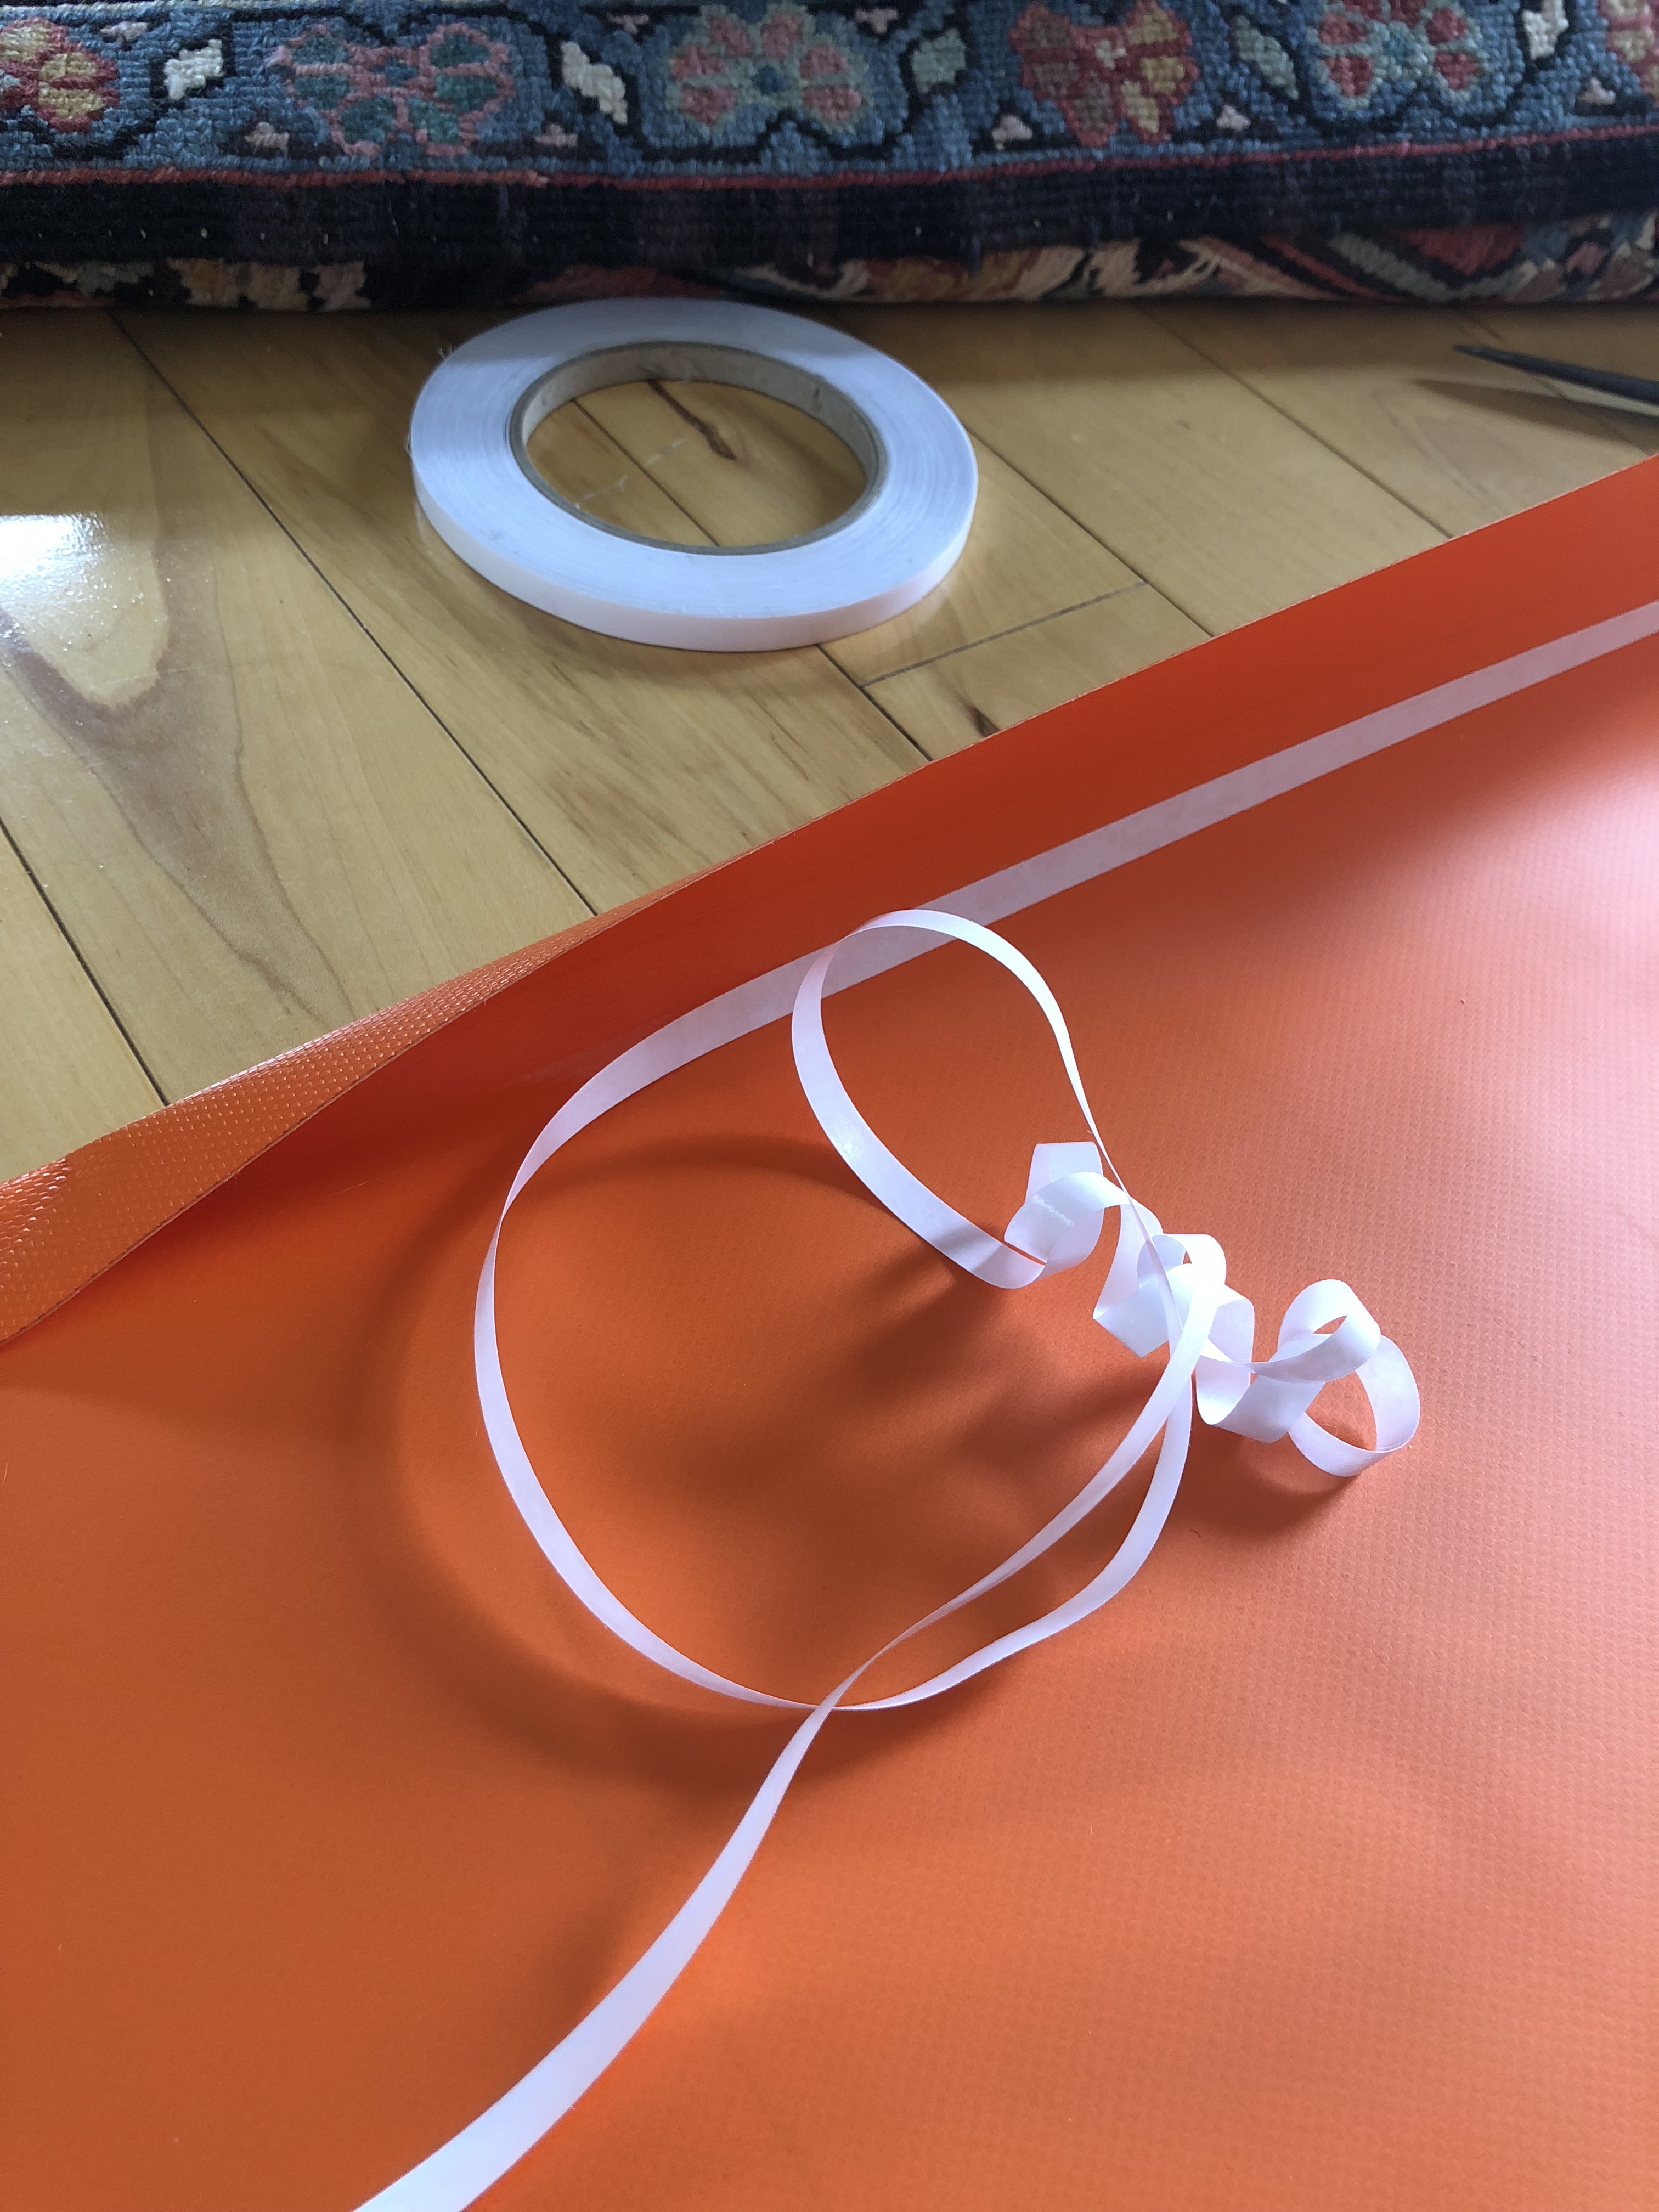
The first step to actual sewing (besides obsessive amounts of measuring), was using the basting tape (essentially badass double sided tape…) to hold my fabric down so I can sew it. Apparently you use this stuff instead of pins when you have heavy duty fabric or waterproof fabric… and I have both!
I had to watch an entire youtube video to figure out how to set up the new sewing machine. It’s actually a very simple machine overall, but the threading is different than my old one.
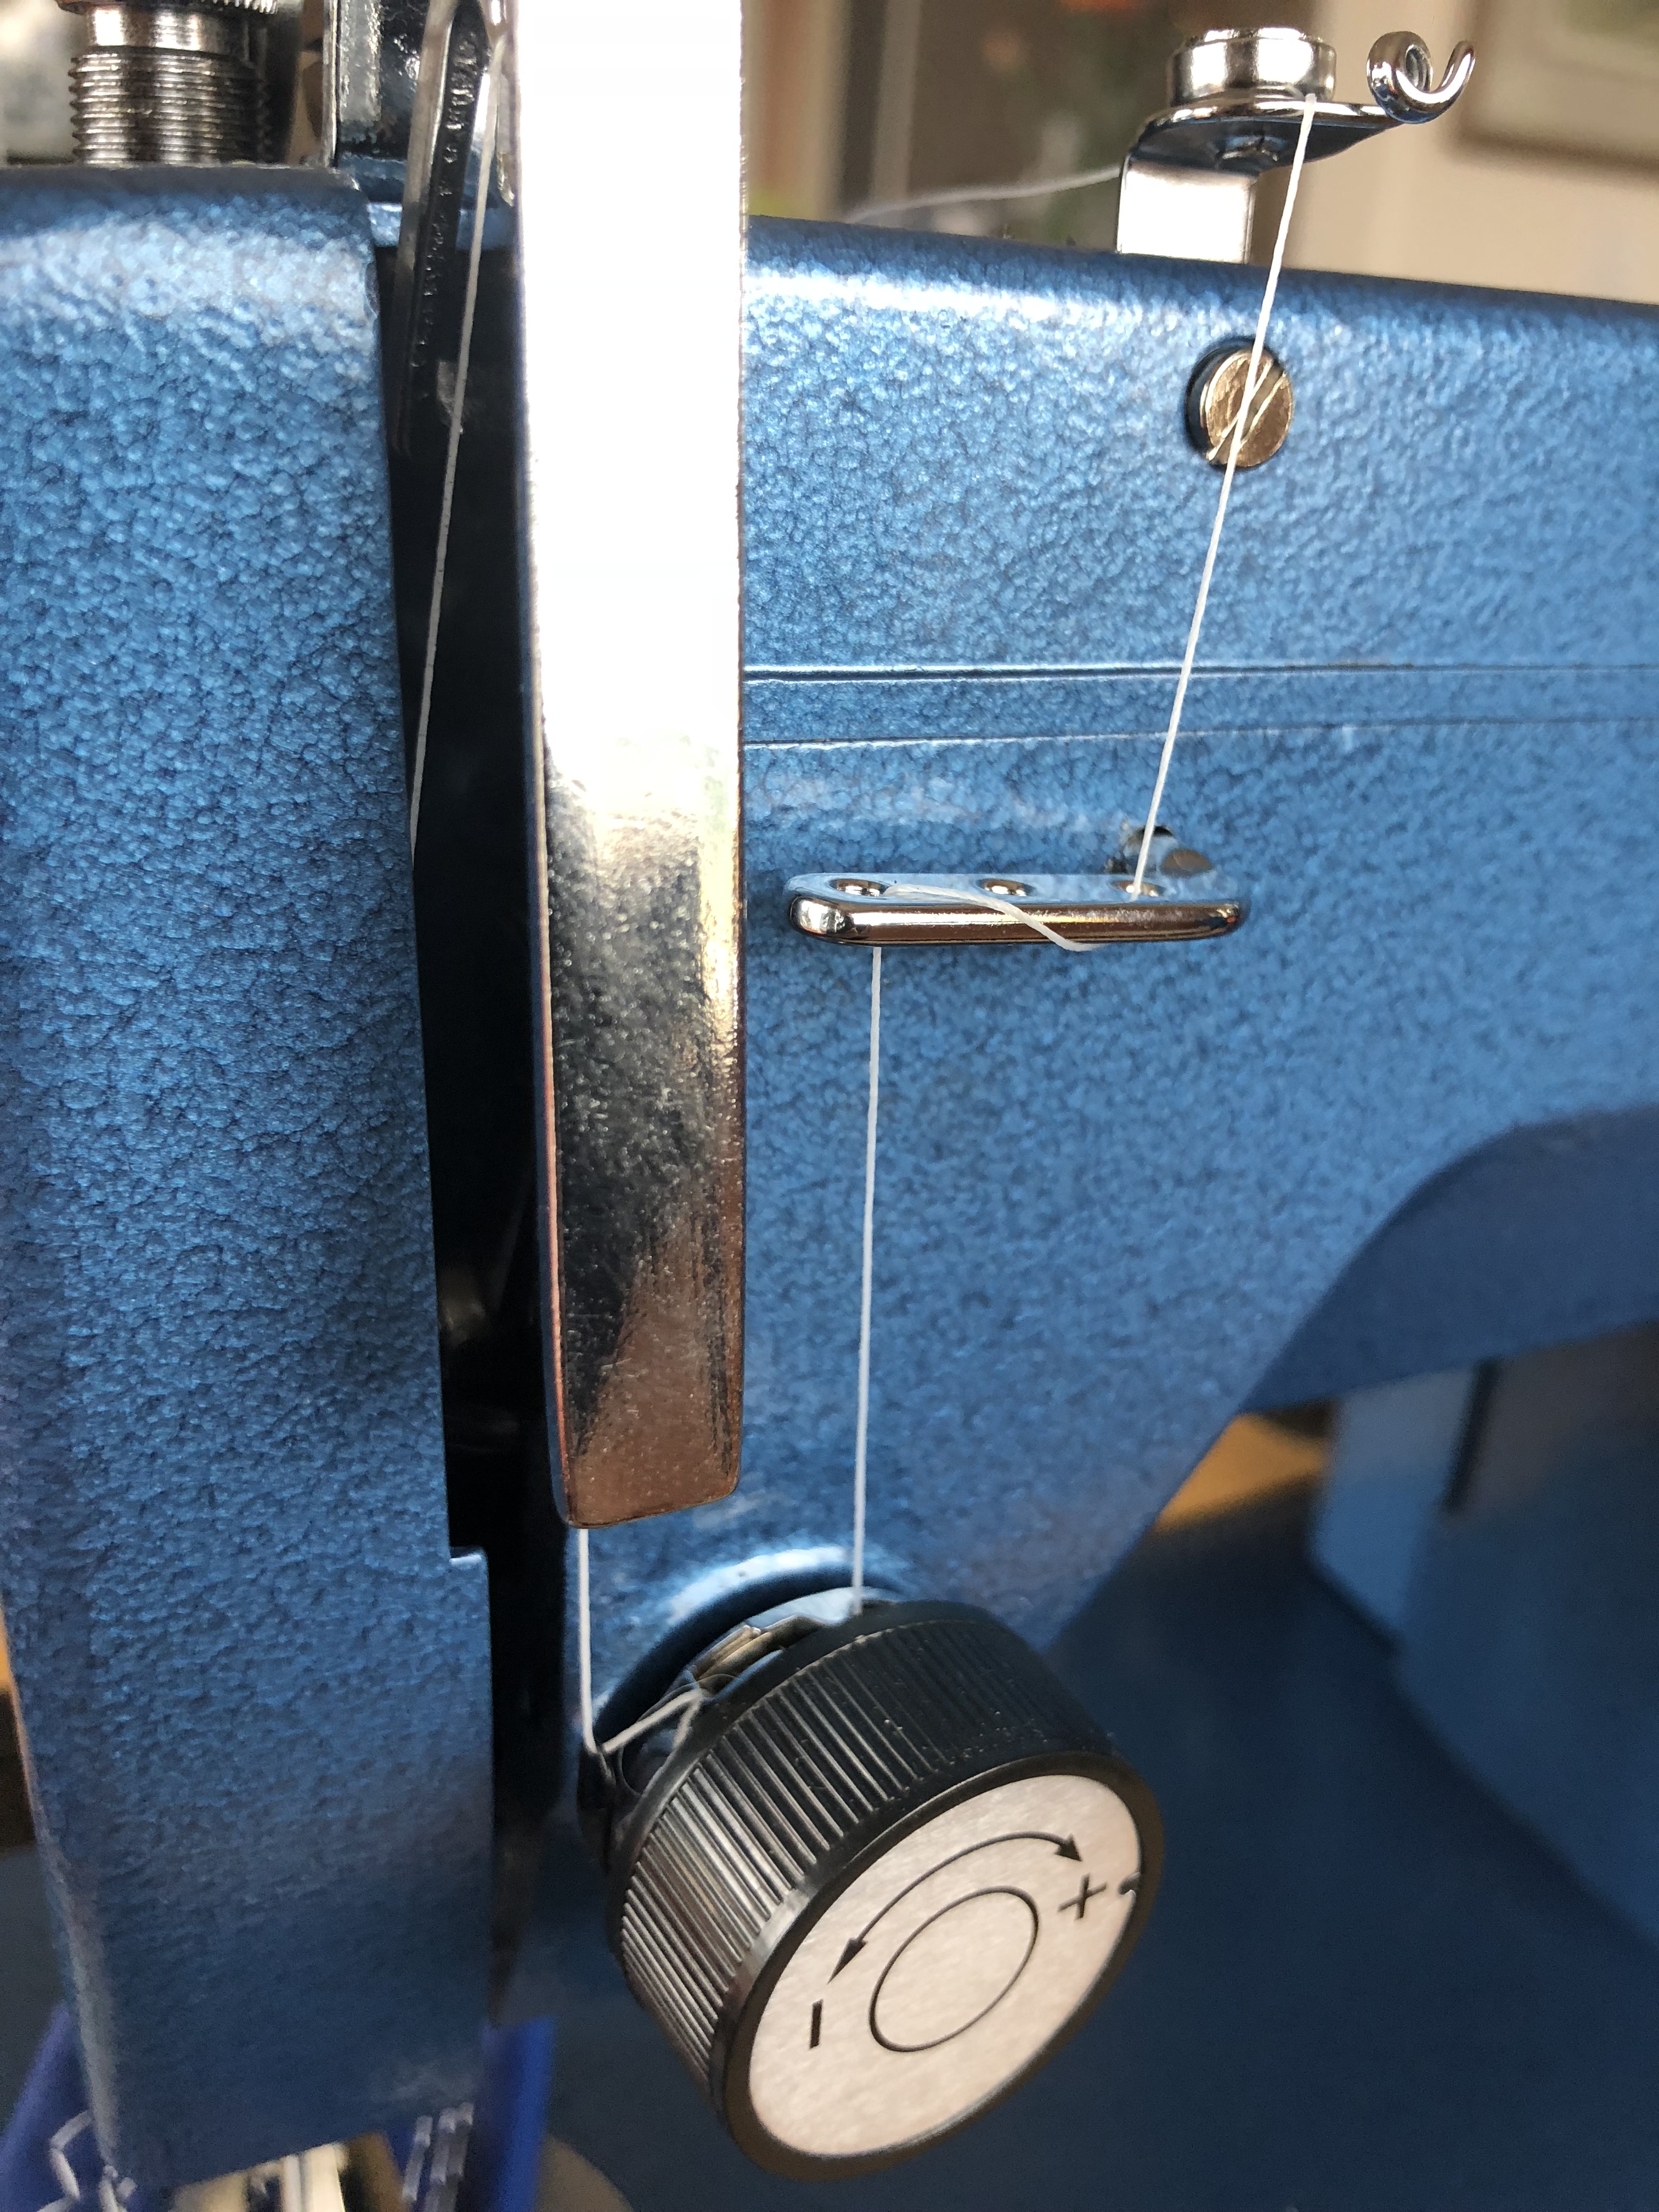
It does two stitches: straight and zigzag. I used some scraps to make sure I had it set up the way I wanted it.

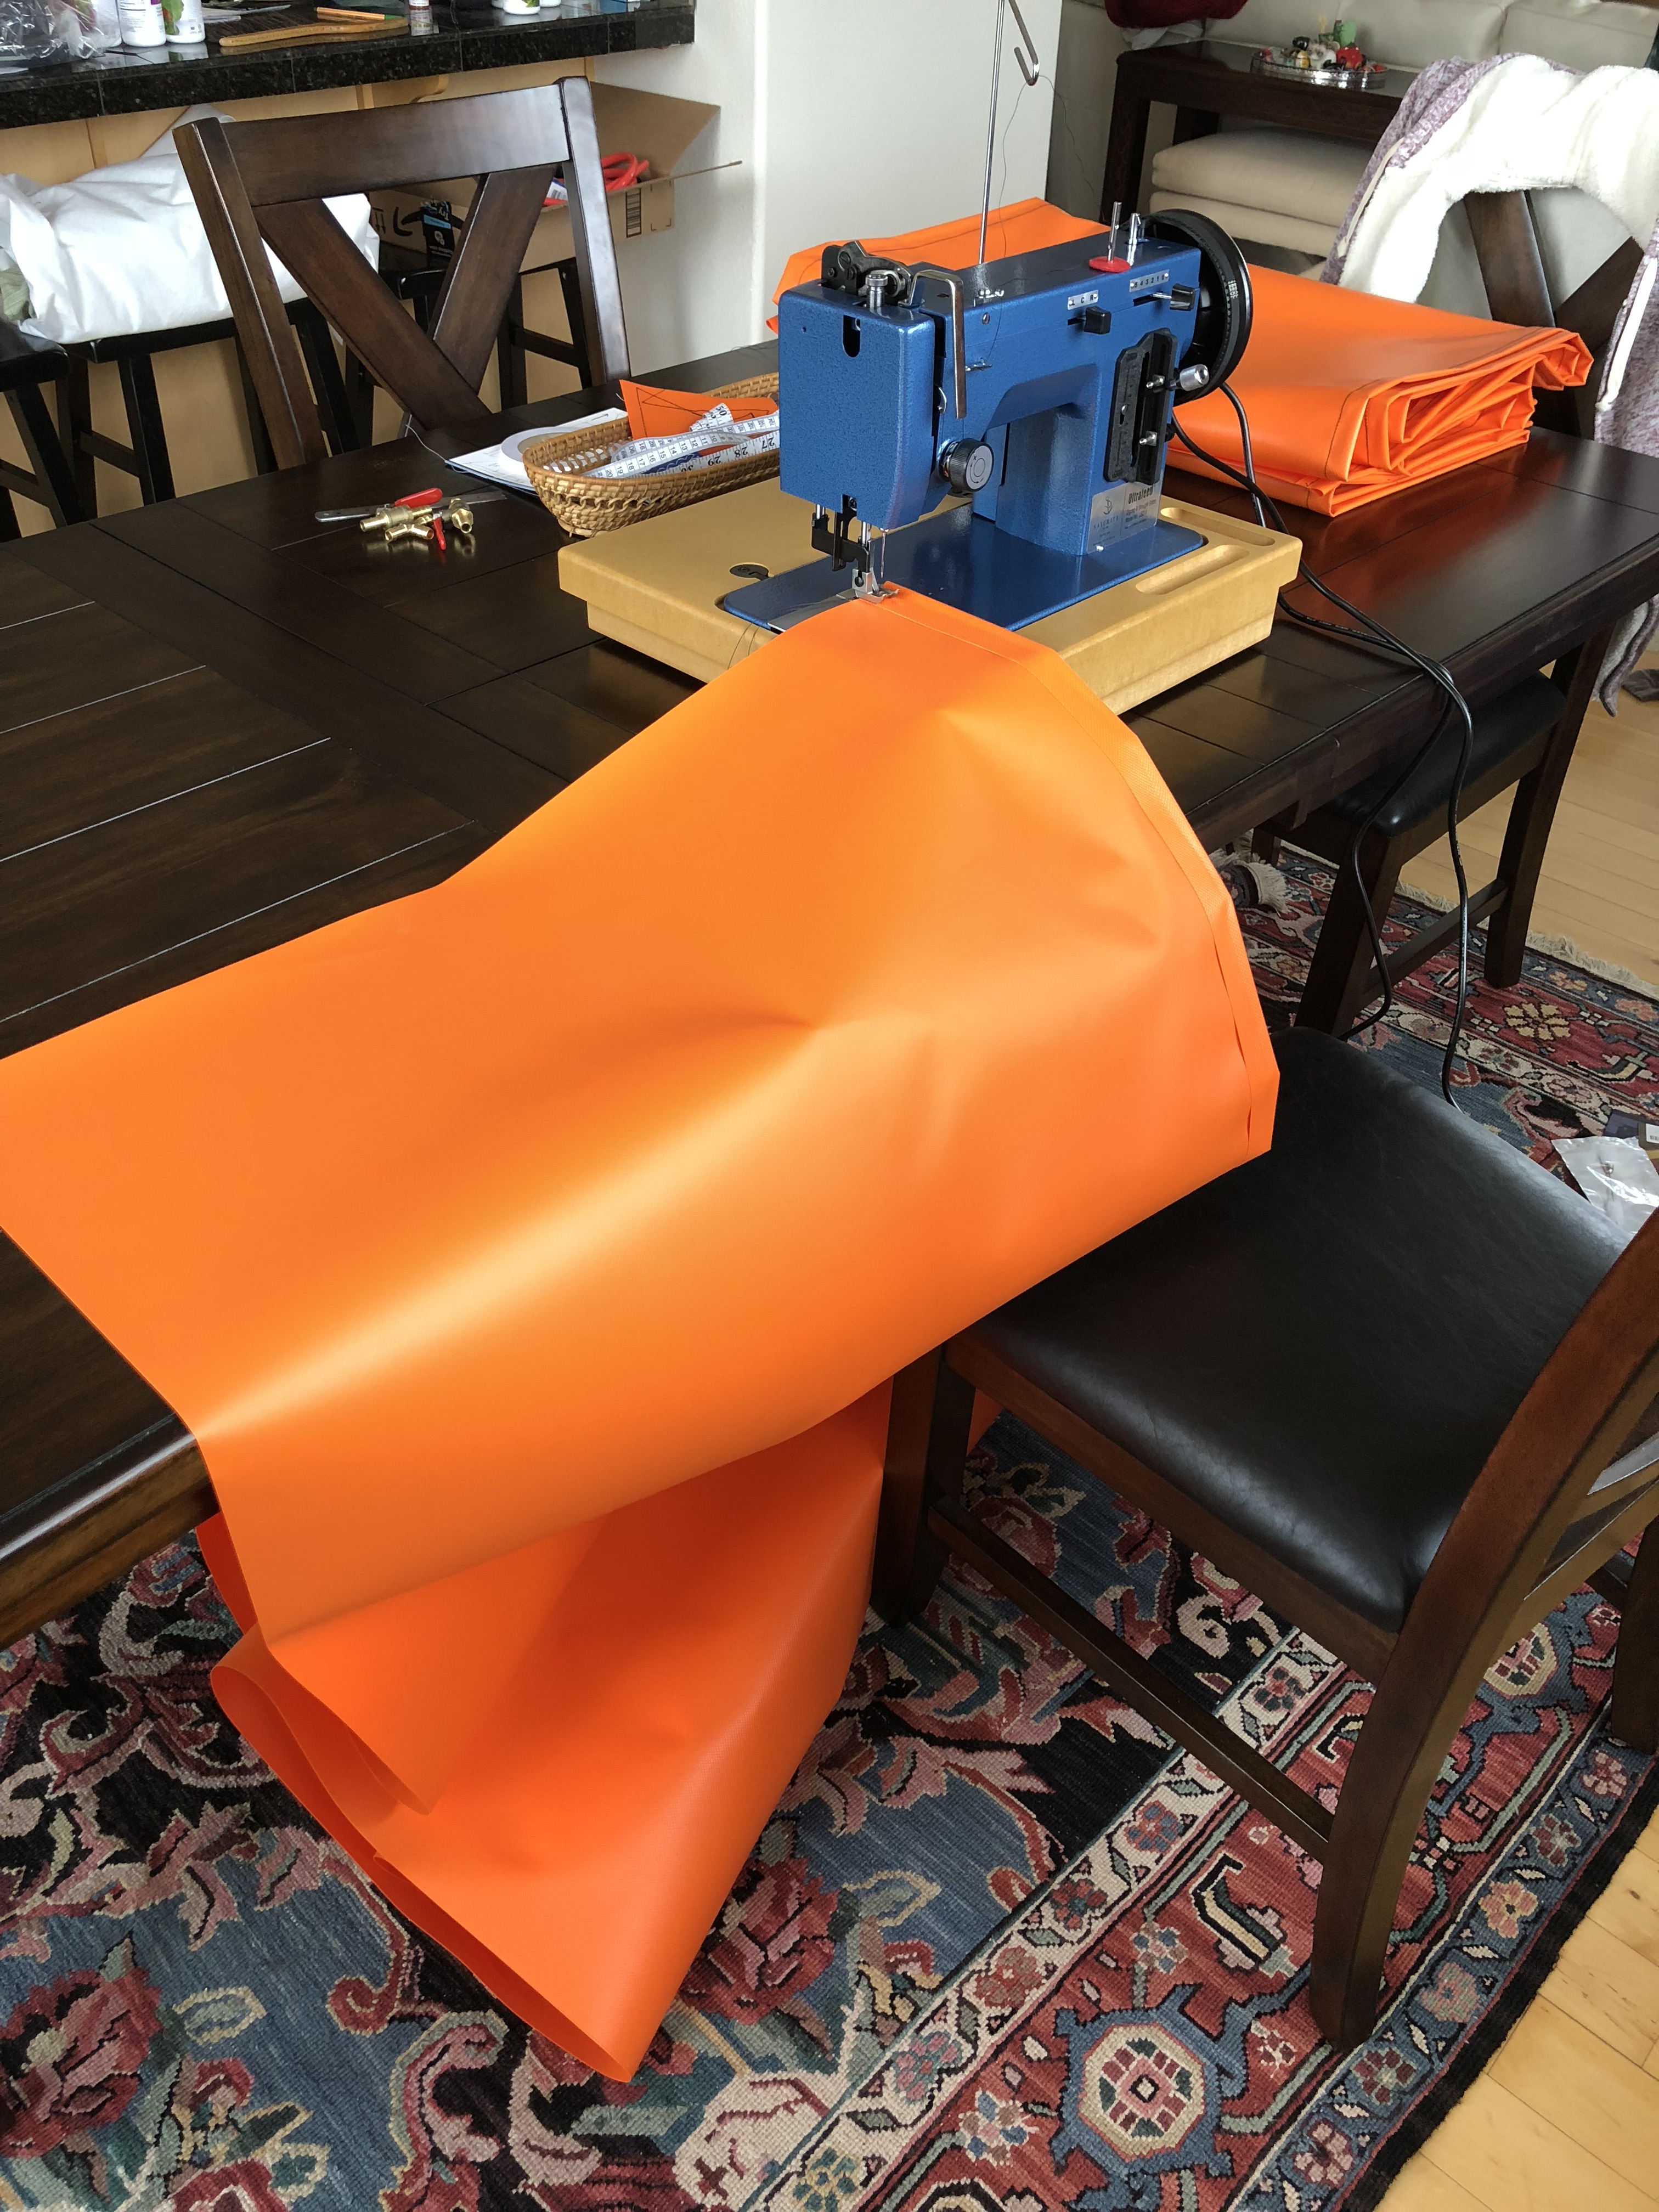
So I have chunks of fabric and I have a working sewing machine! Time to roll!

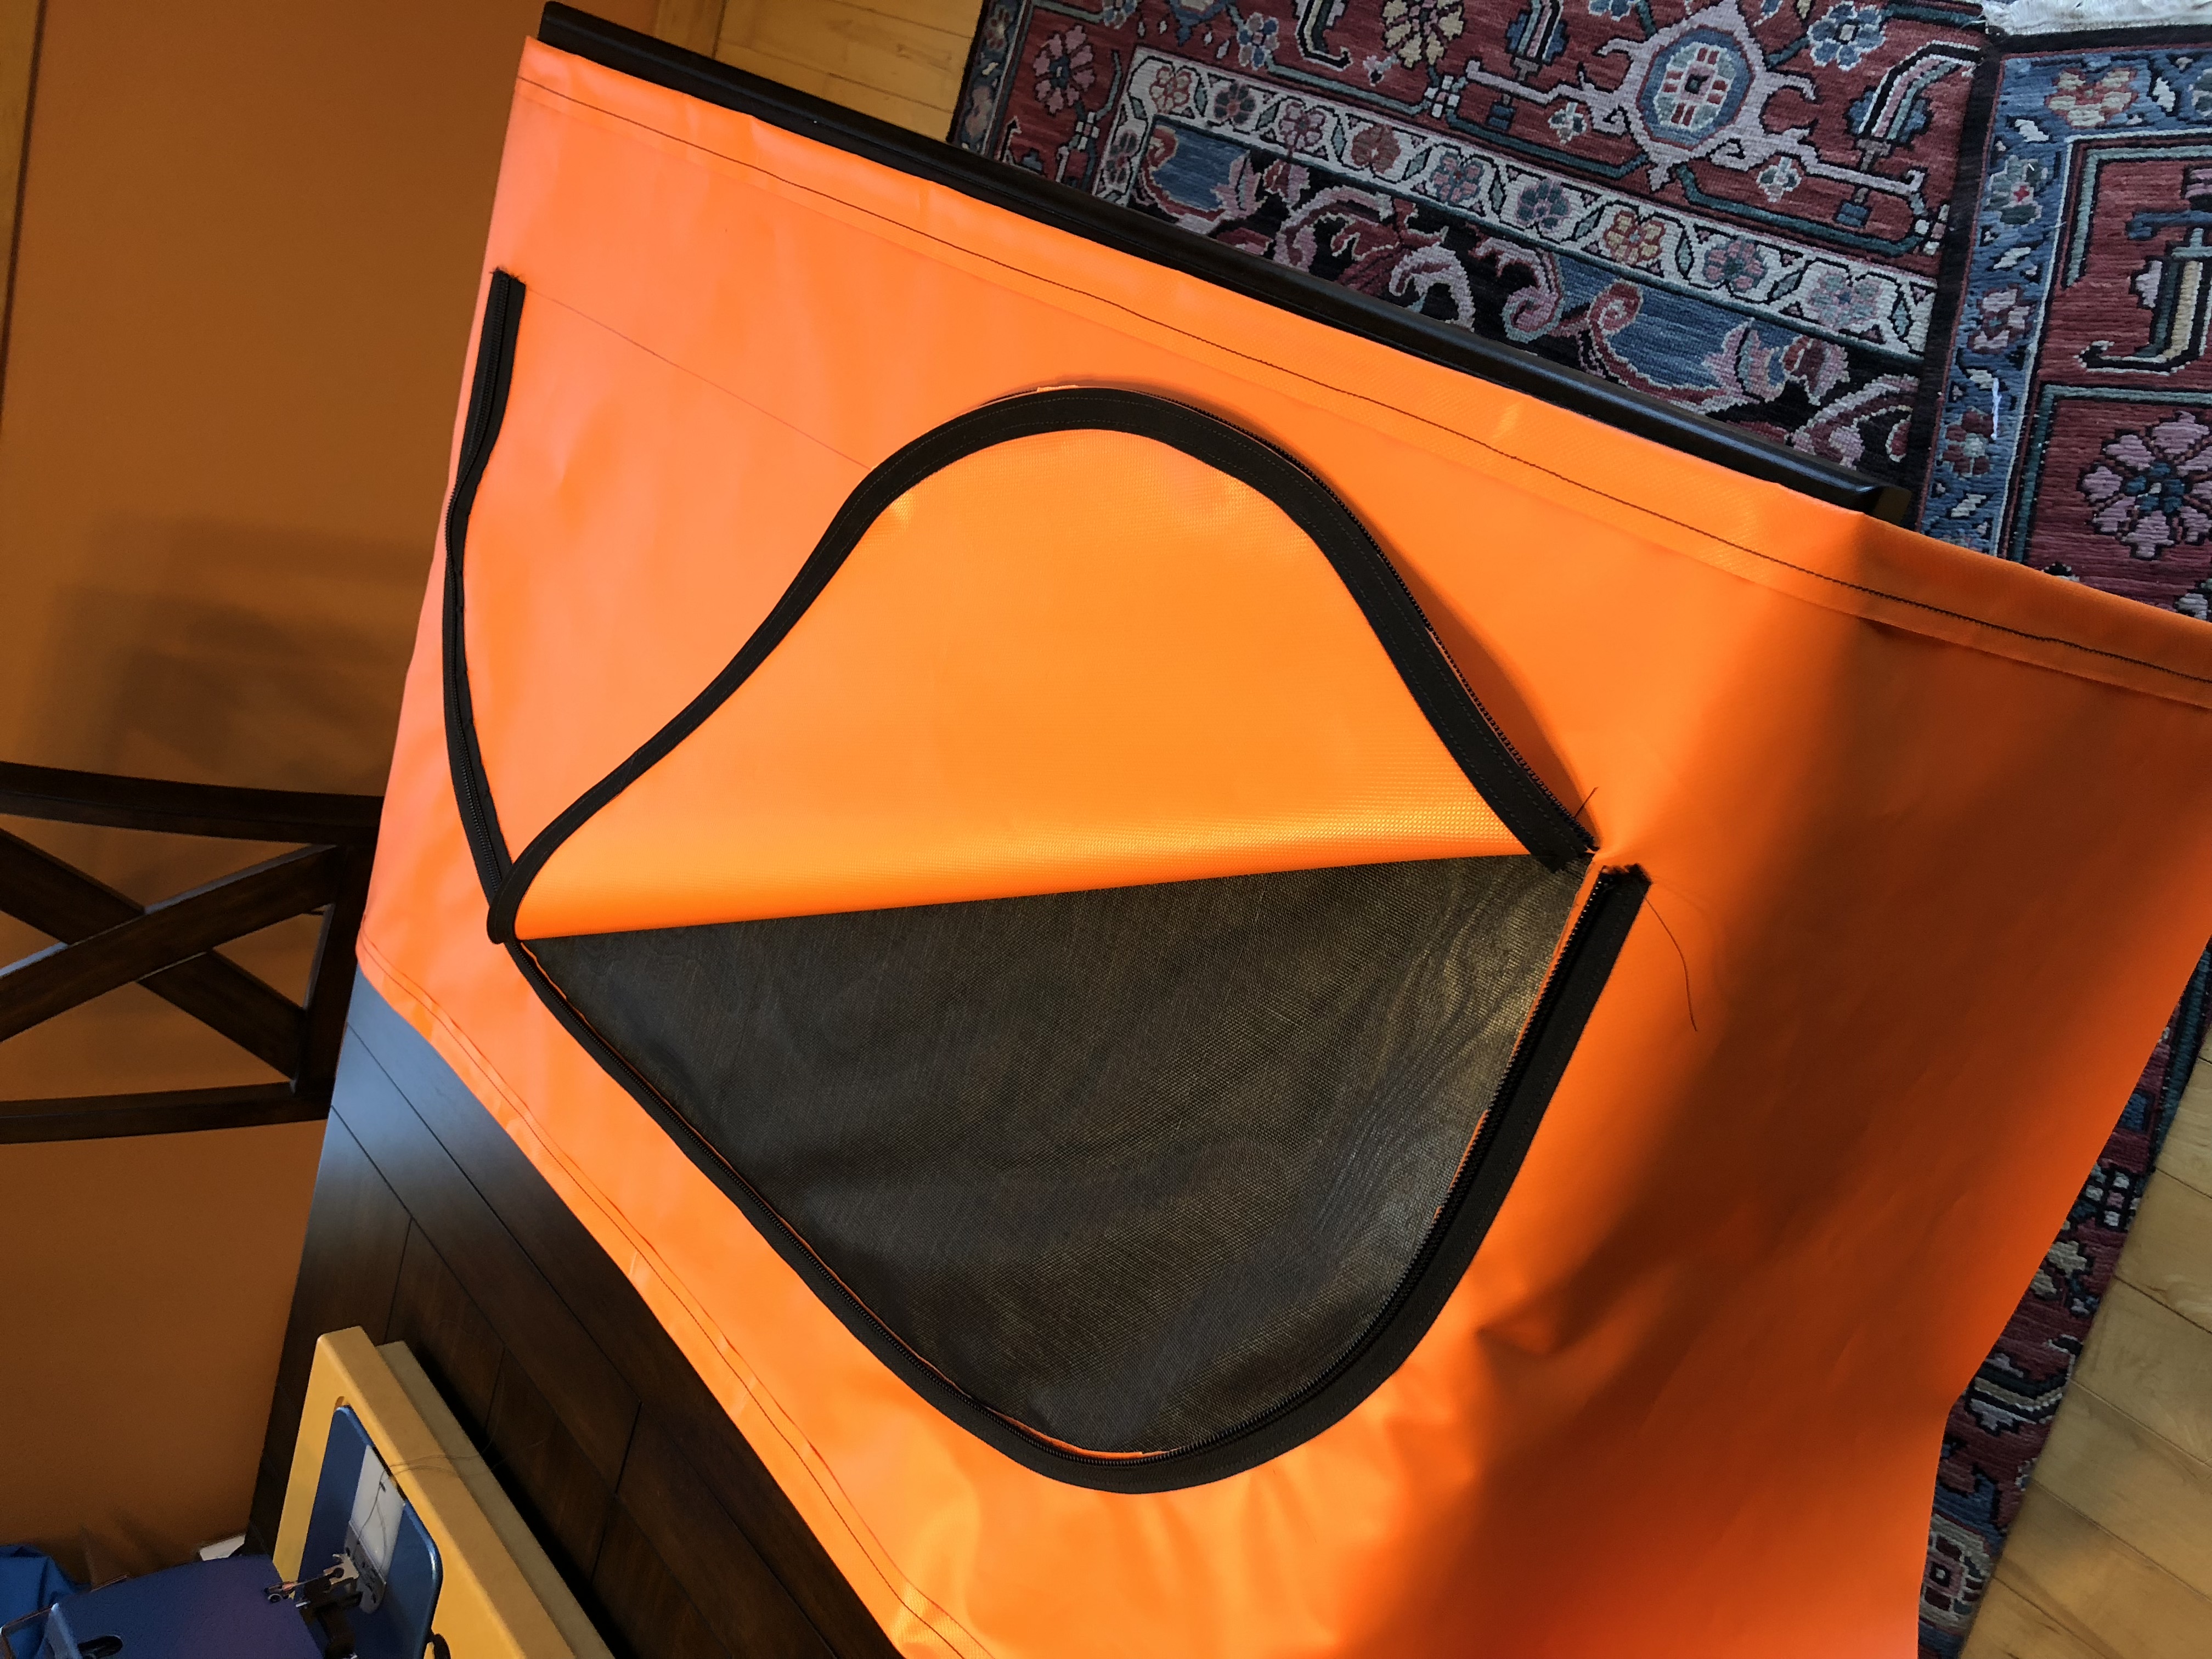
Now that I have all 4 pieces the correct height, I need to put in the windows! I could have just done normal sides and probably been done already, but when I dive into a project I dive alllll the way in. So… windows! With screens! and zippers! Why am I like this?!!?!
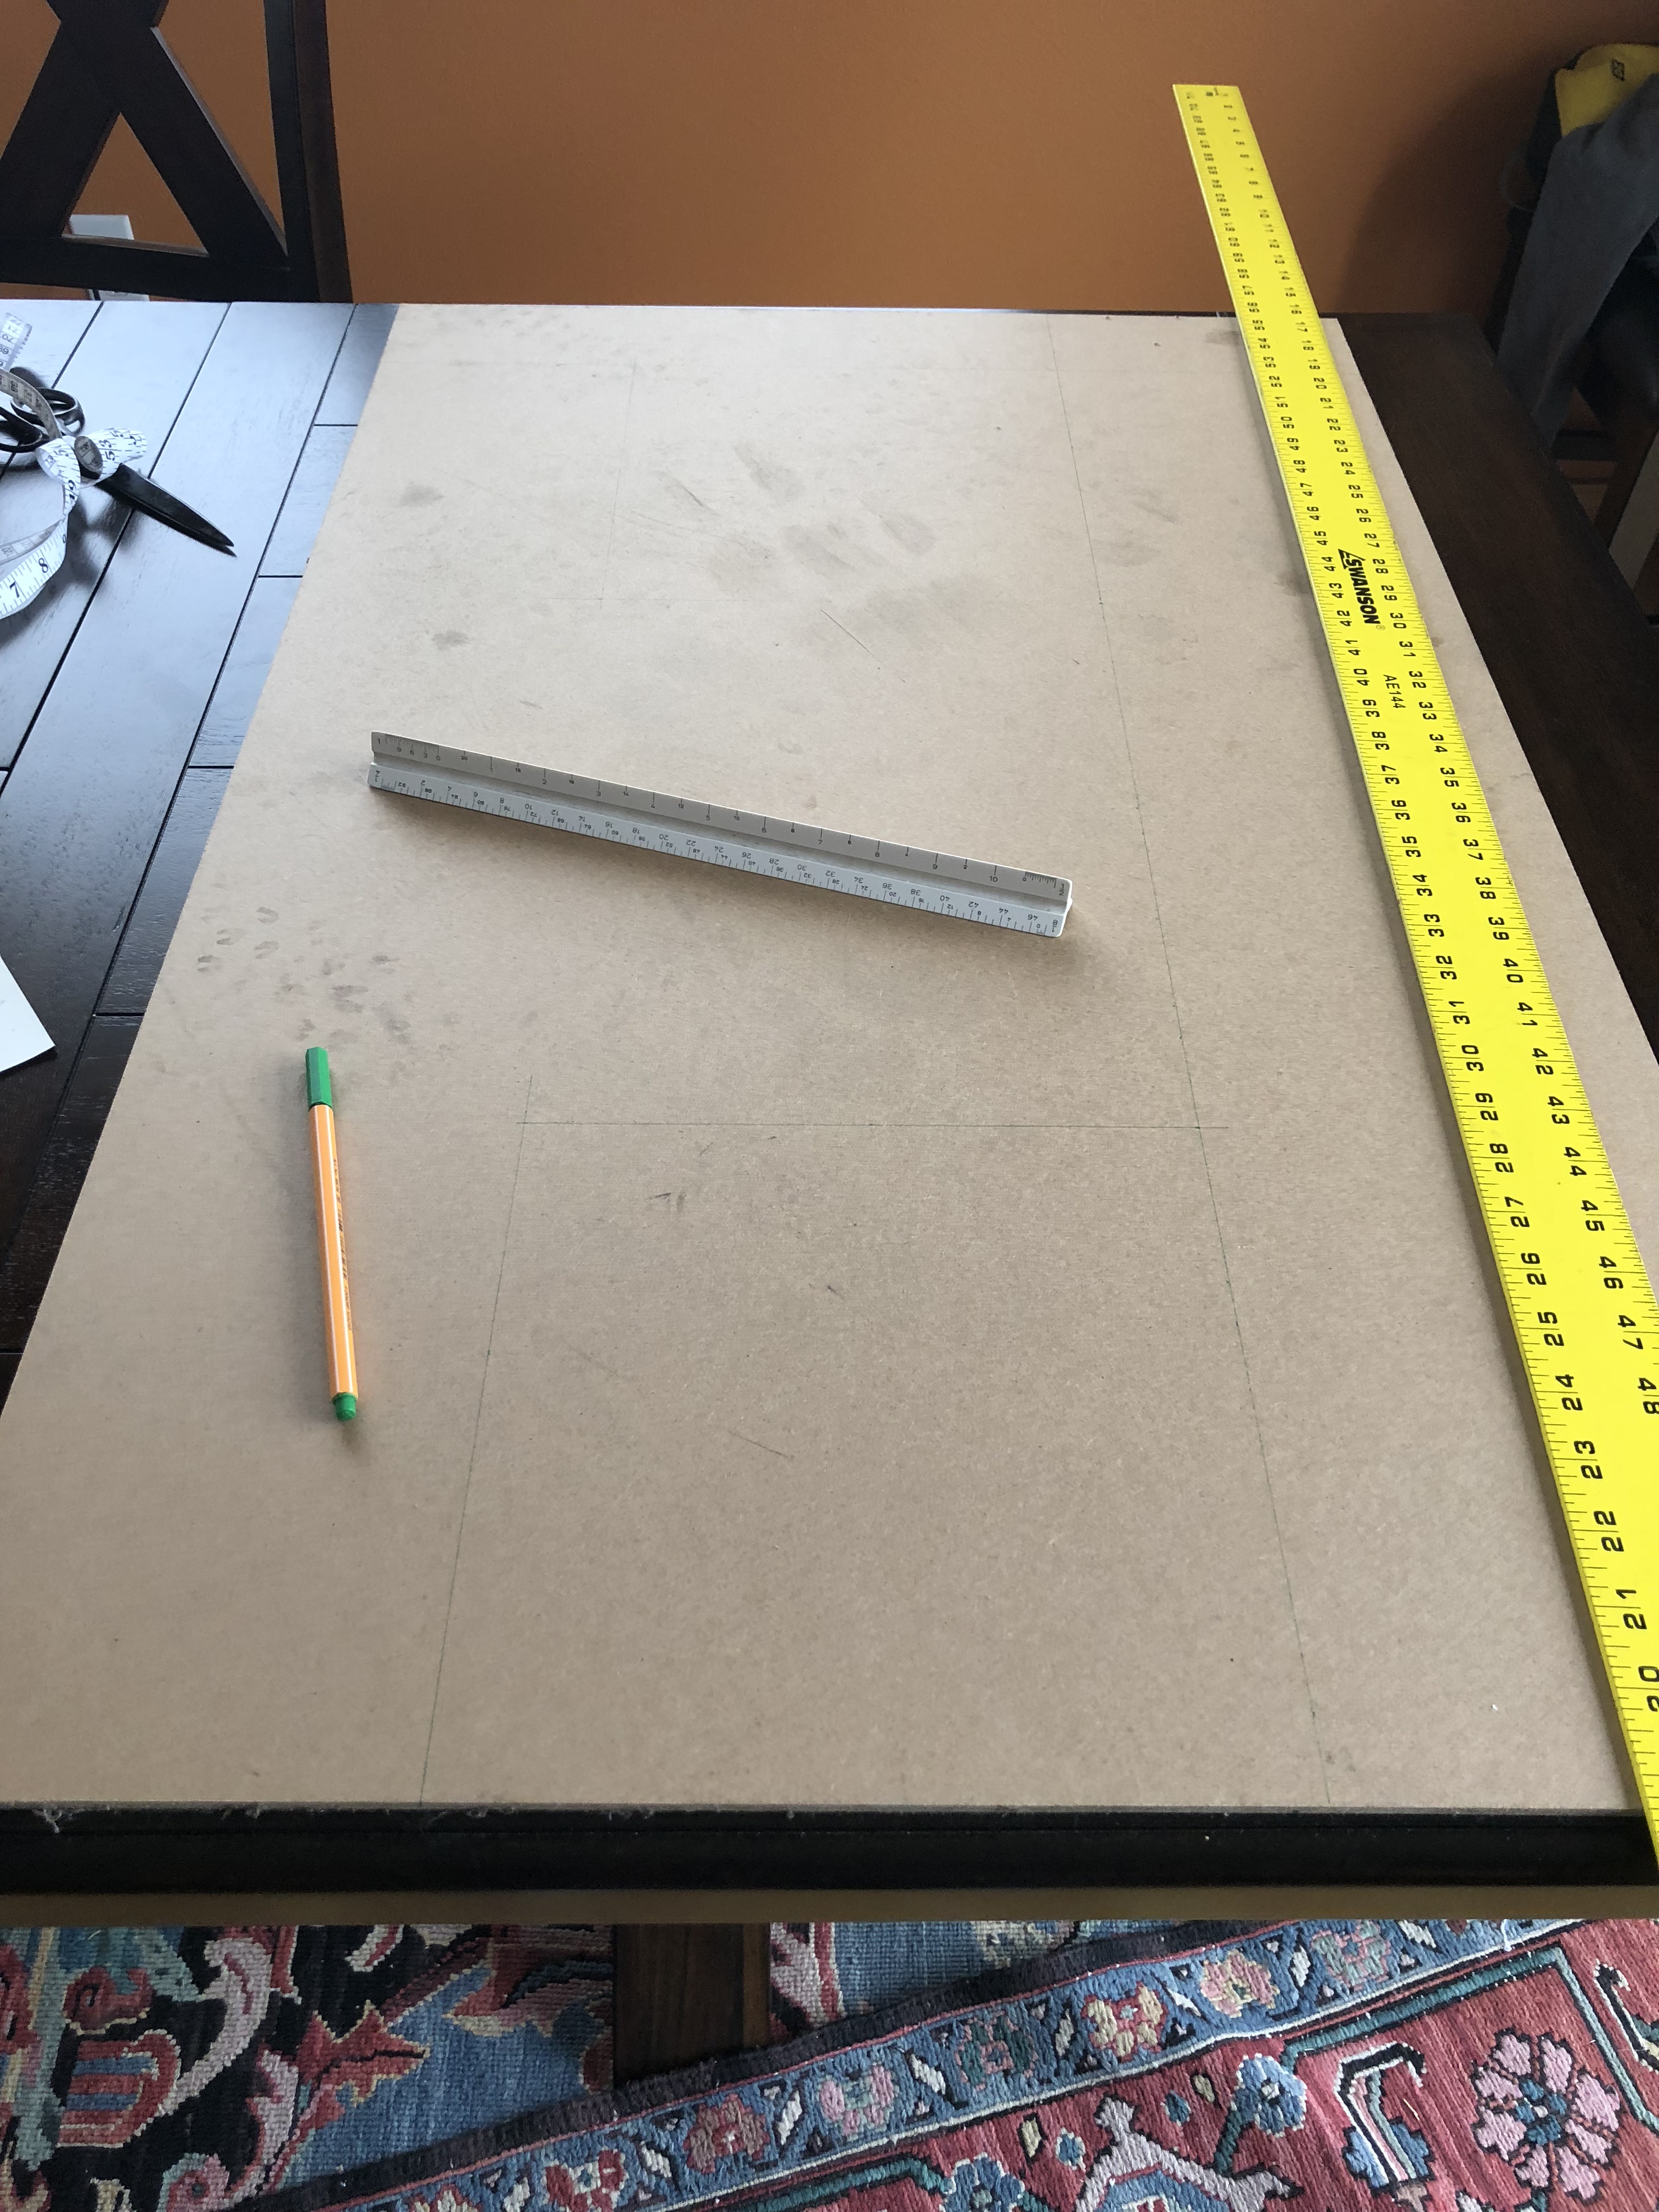
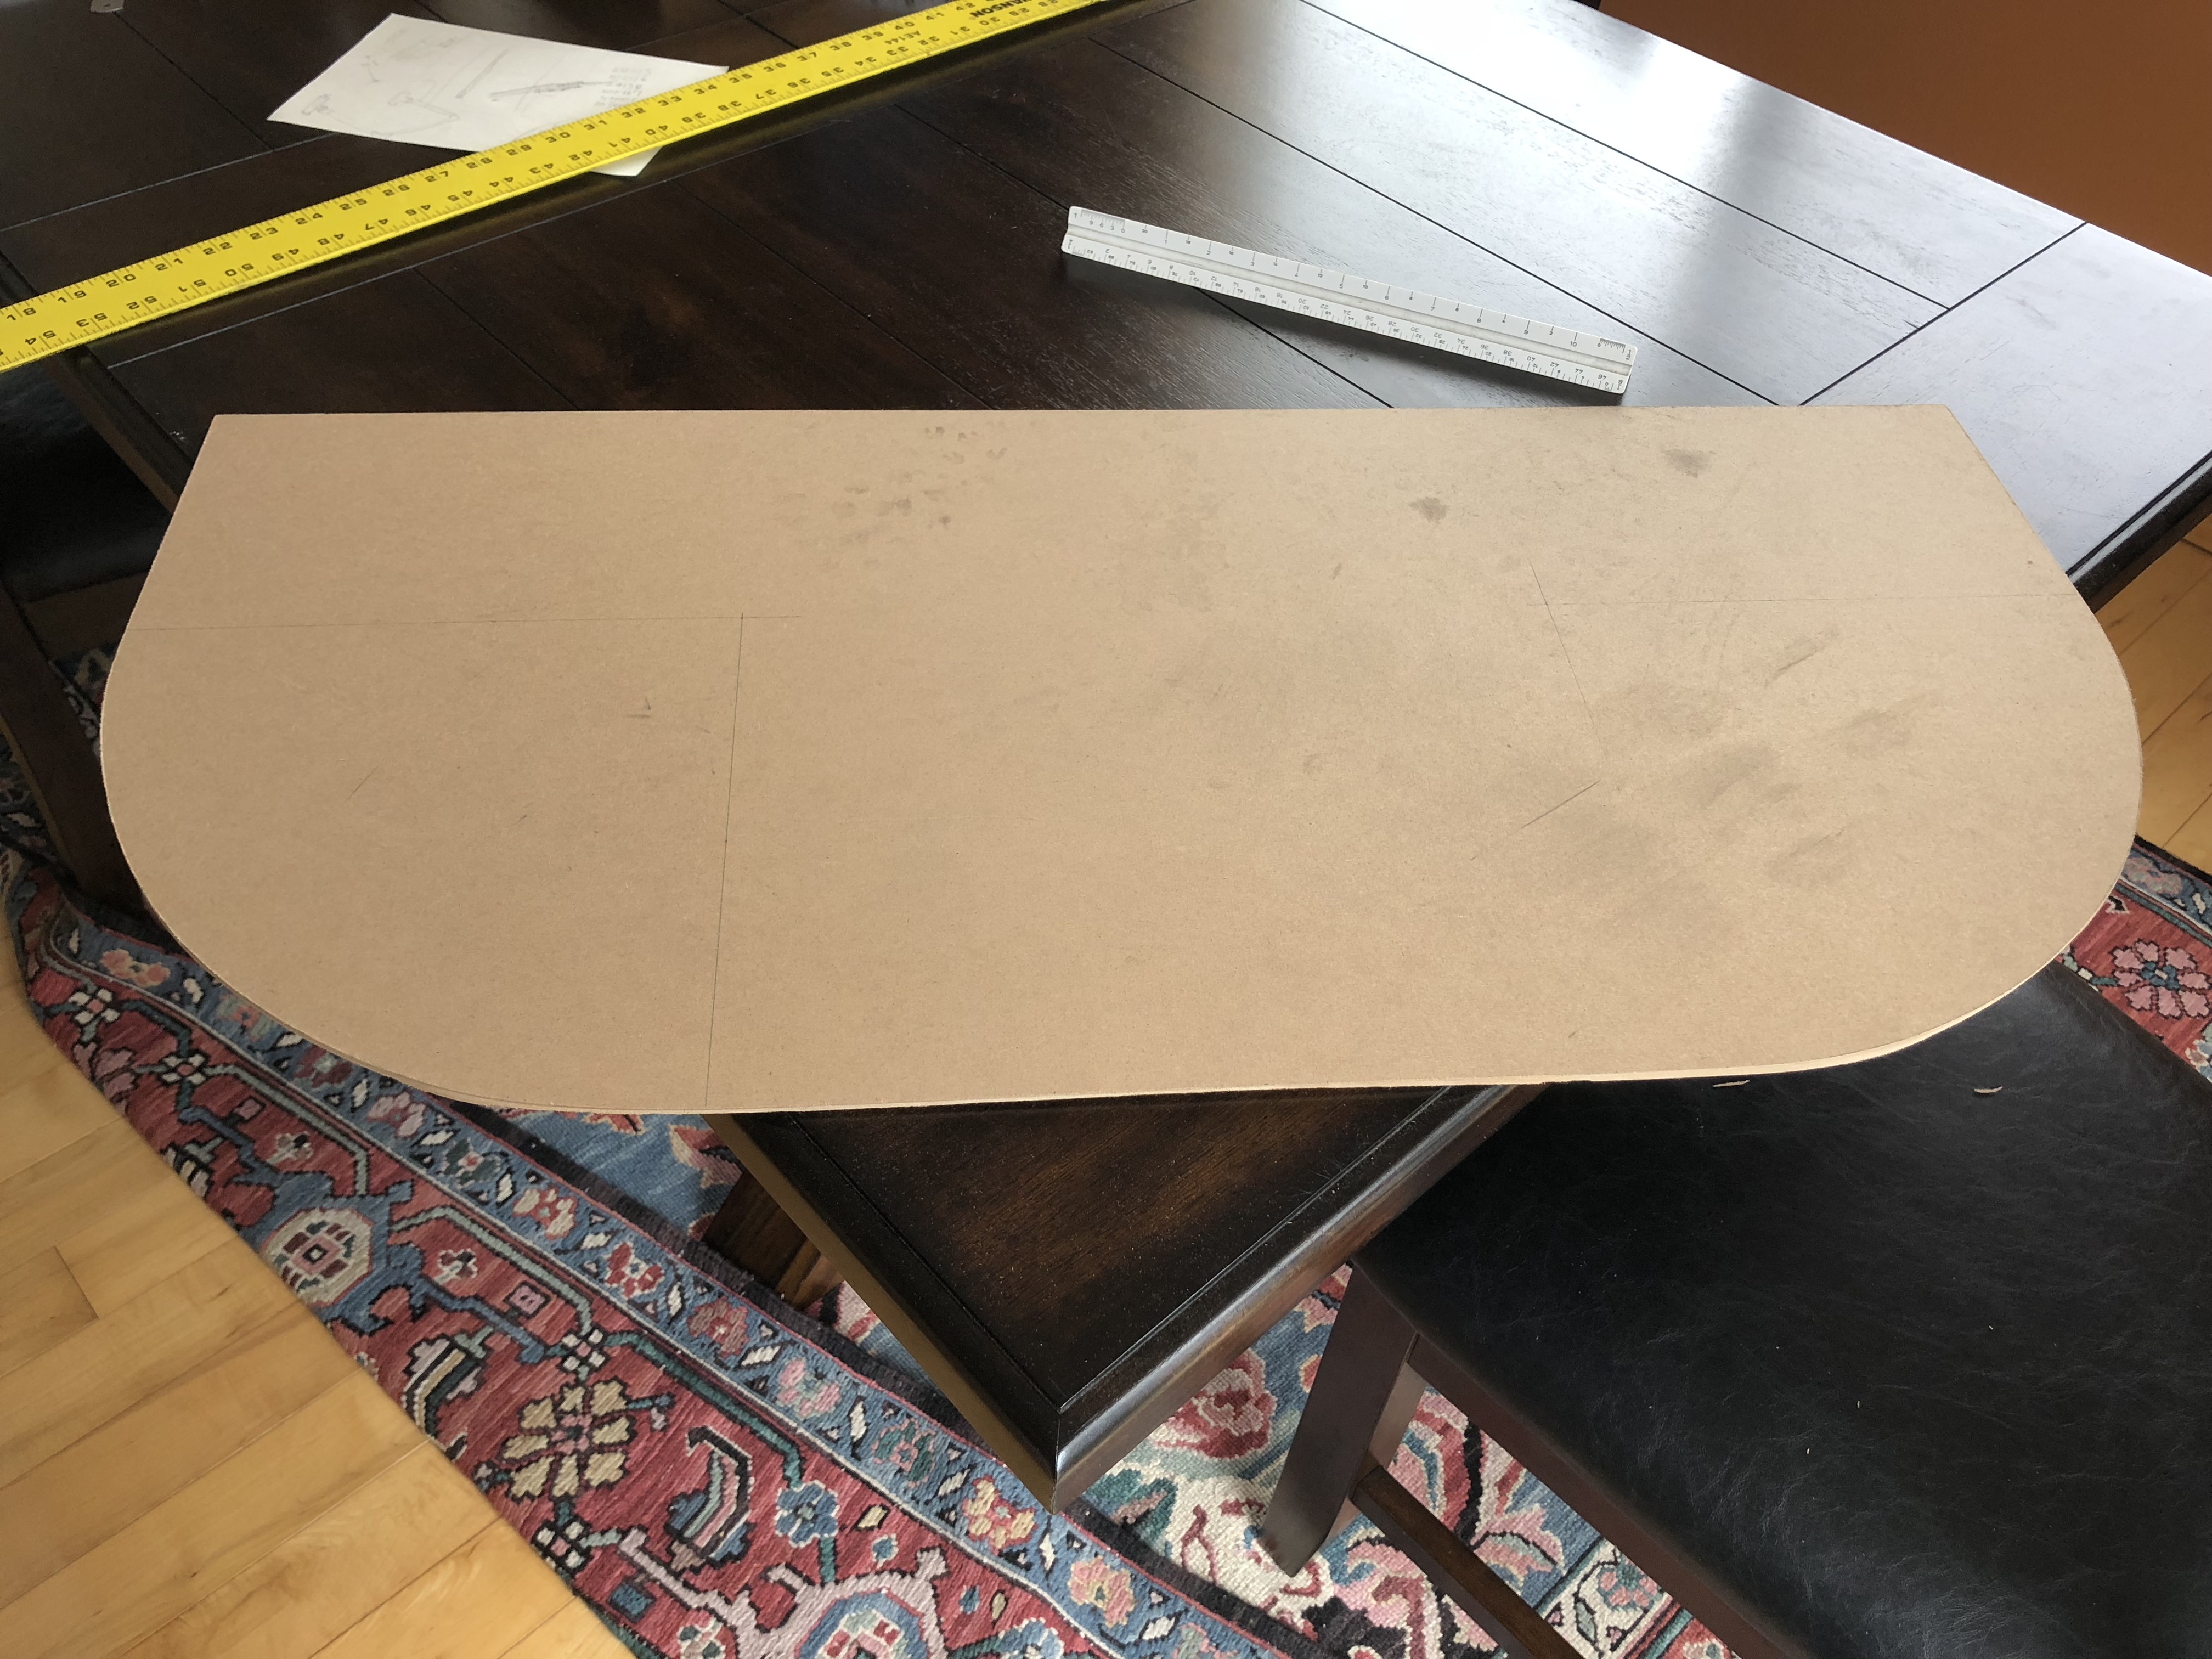
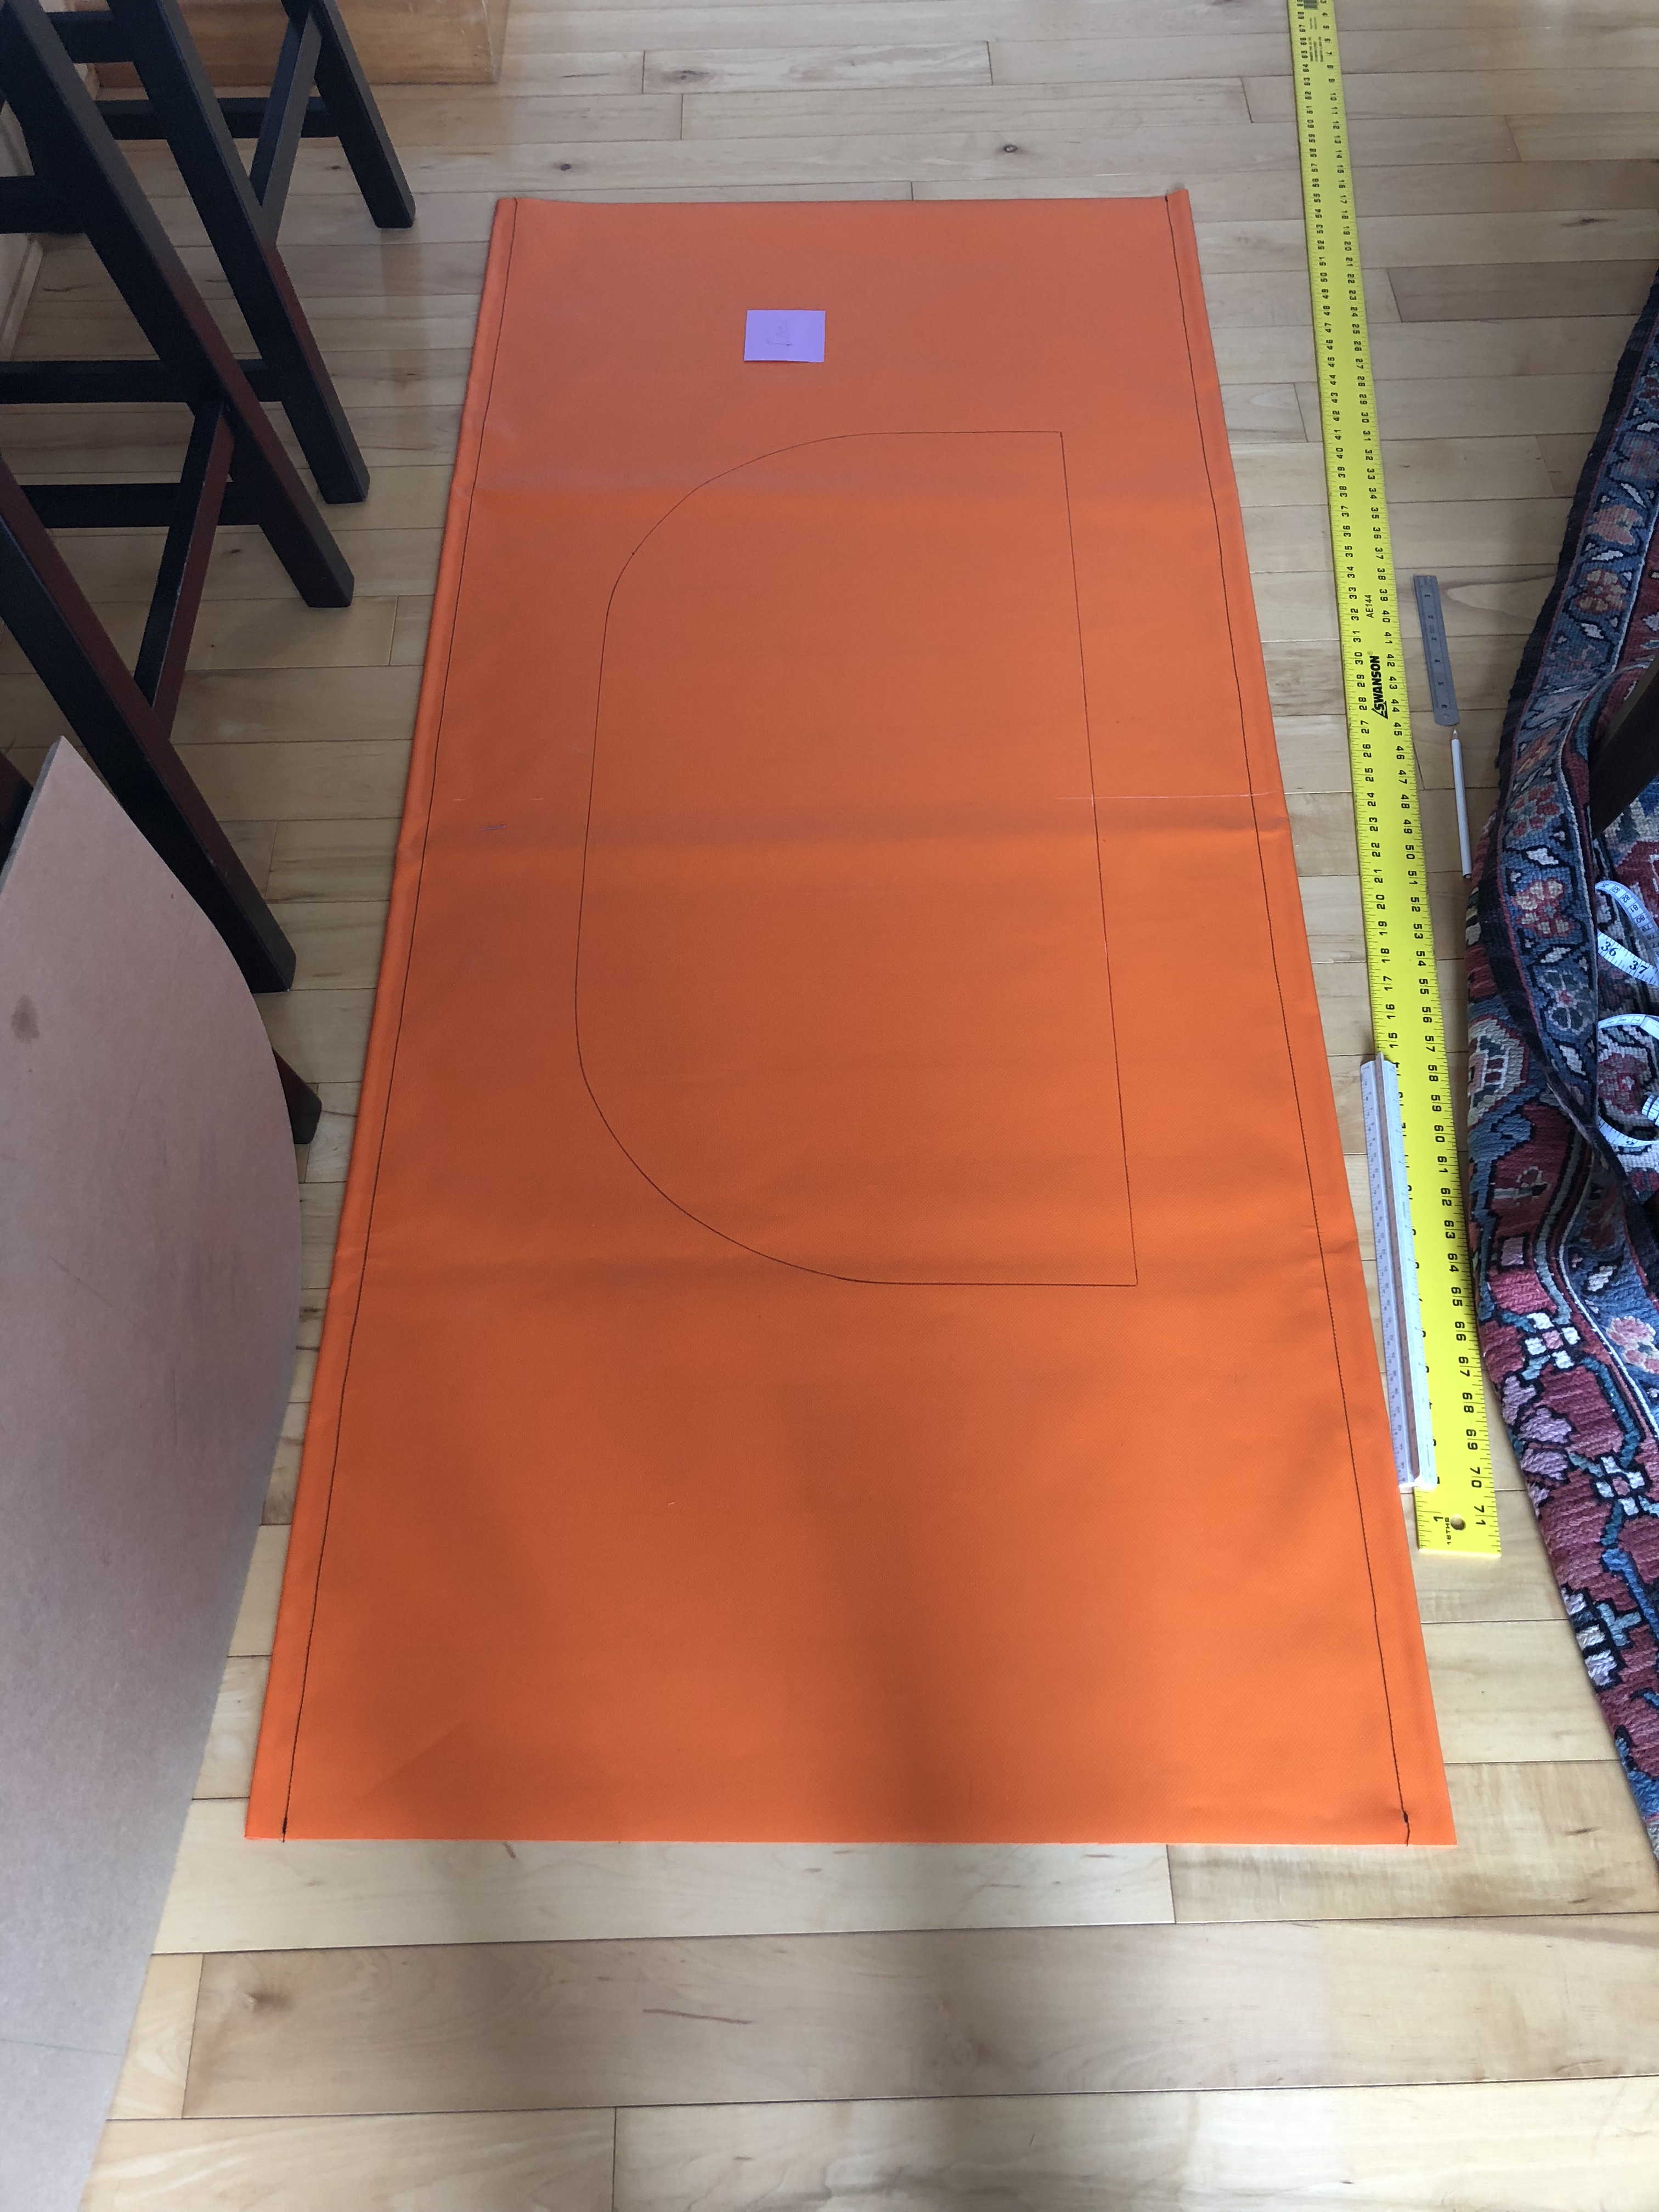
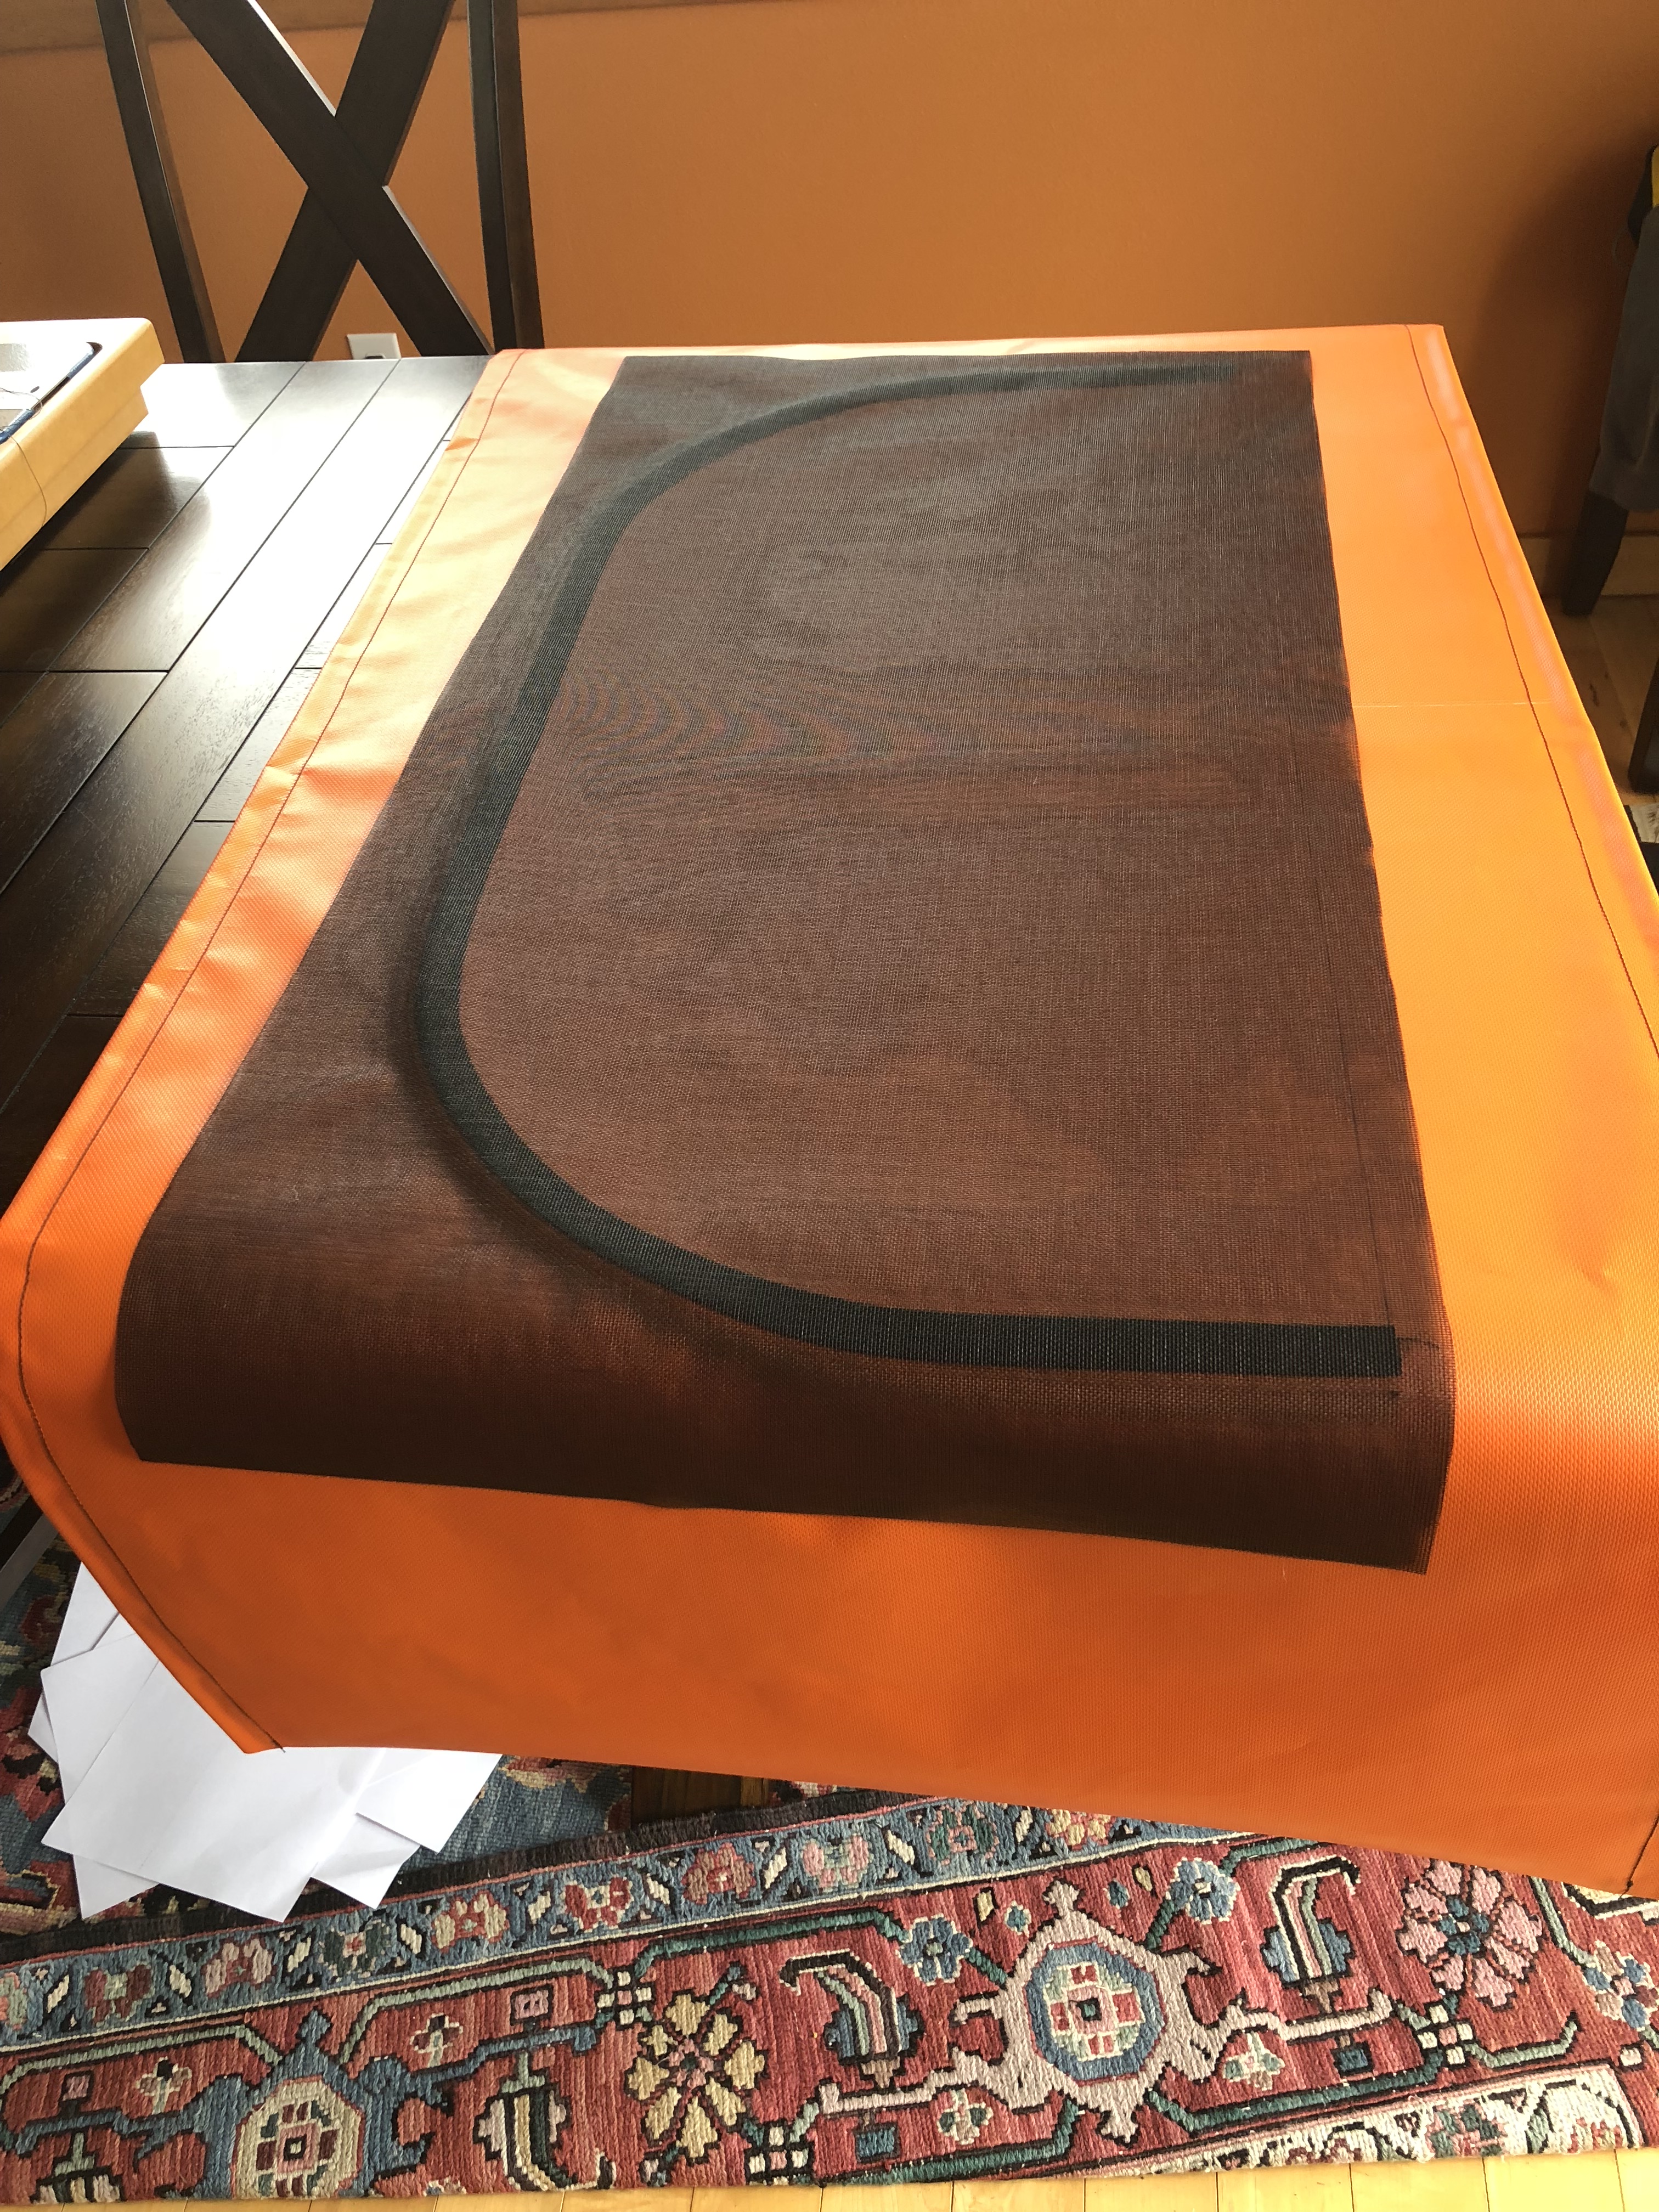
The tutorial I’m following is actually for windows in the clear plastic of a boat enclosure. Since I can’t see through my material, my plan was to make a pattern and then draw the same shape on both sides of the fabric. The first step in this devious plan is to actually make a pattern. I had a sheet of plywood/laminate/cardboard that was used for shipping something. (don’t remember what). I figured it would work great. The tutorial also recommended a minimum radius of 8″… so I went with 10″ just so I had less issues with the corners.


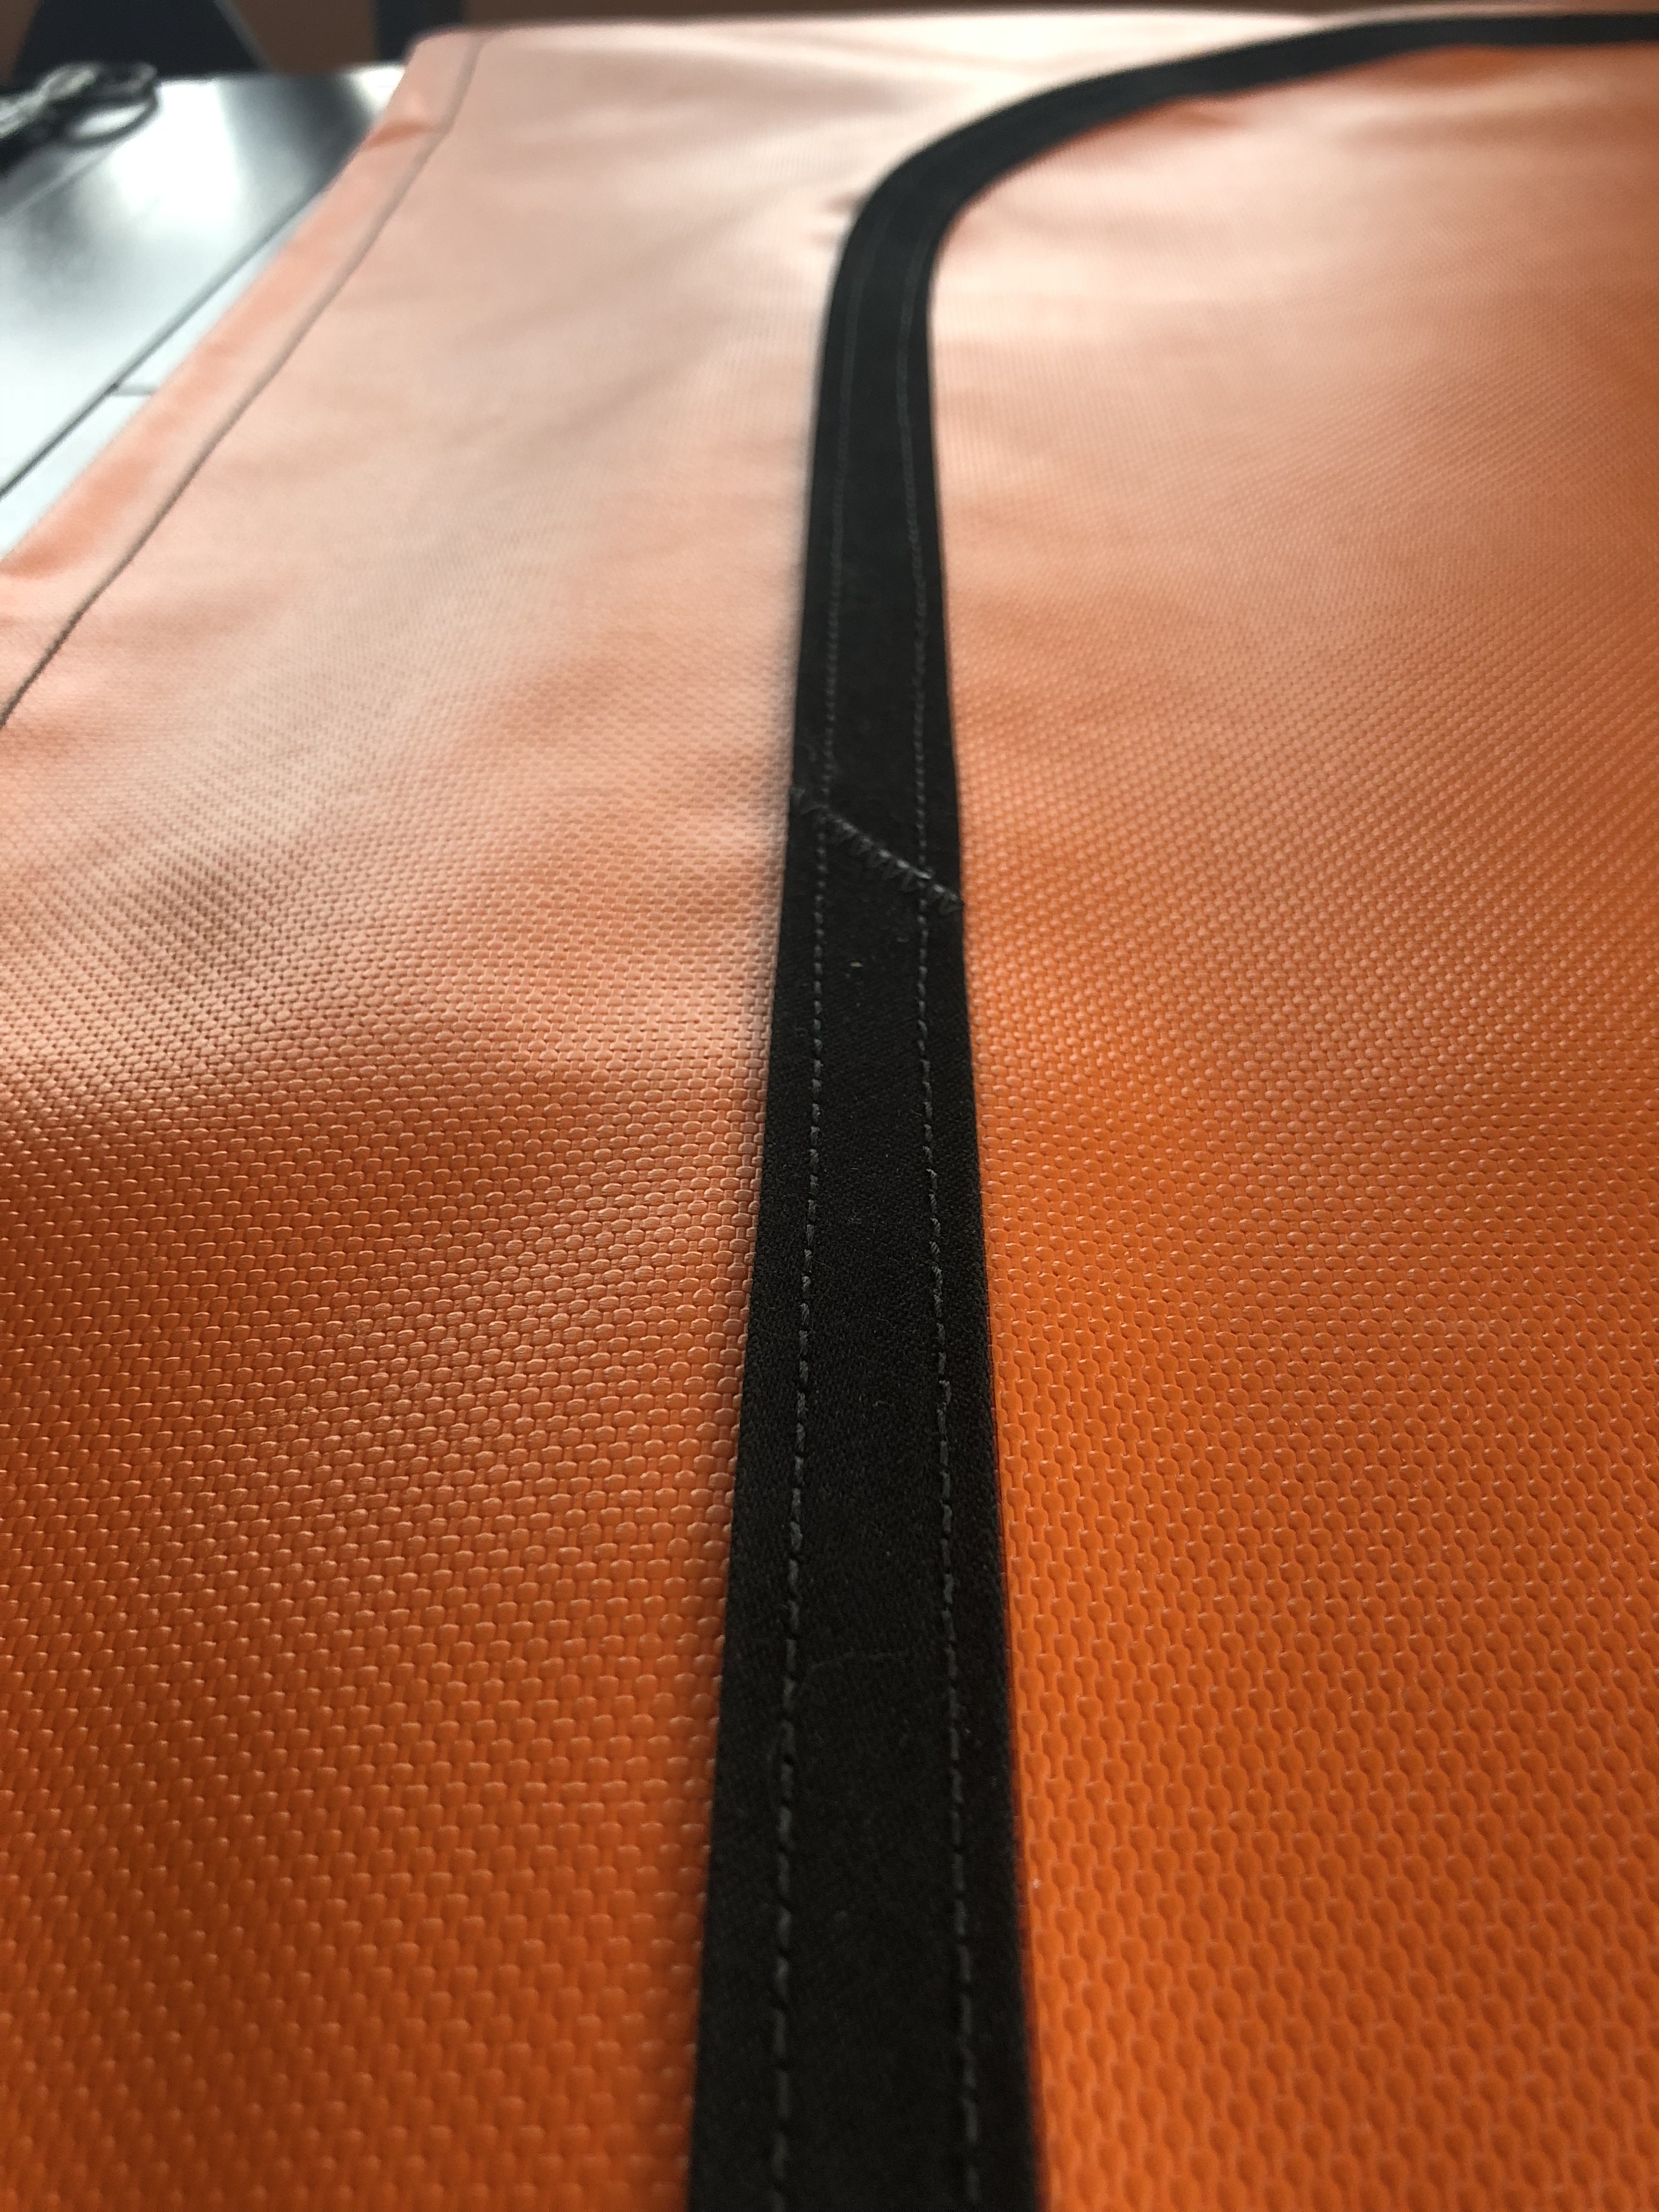
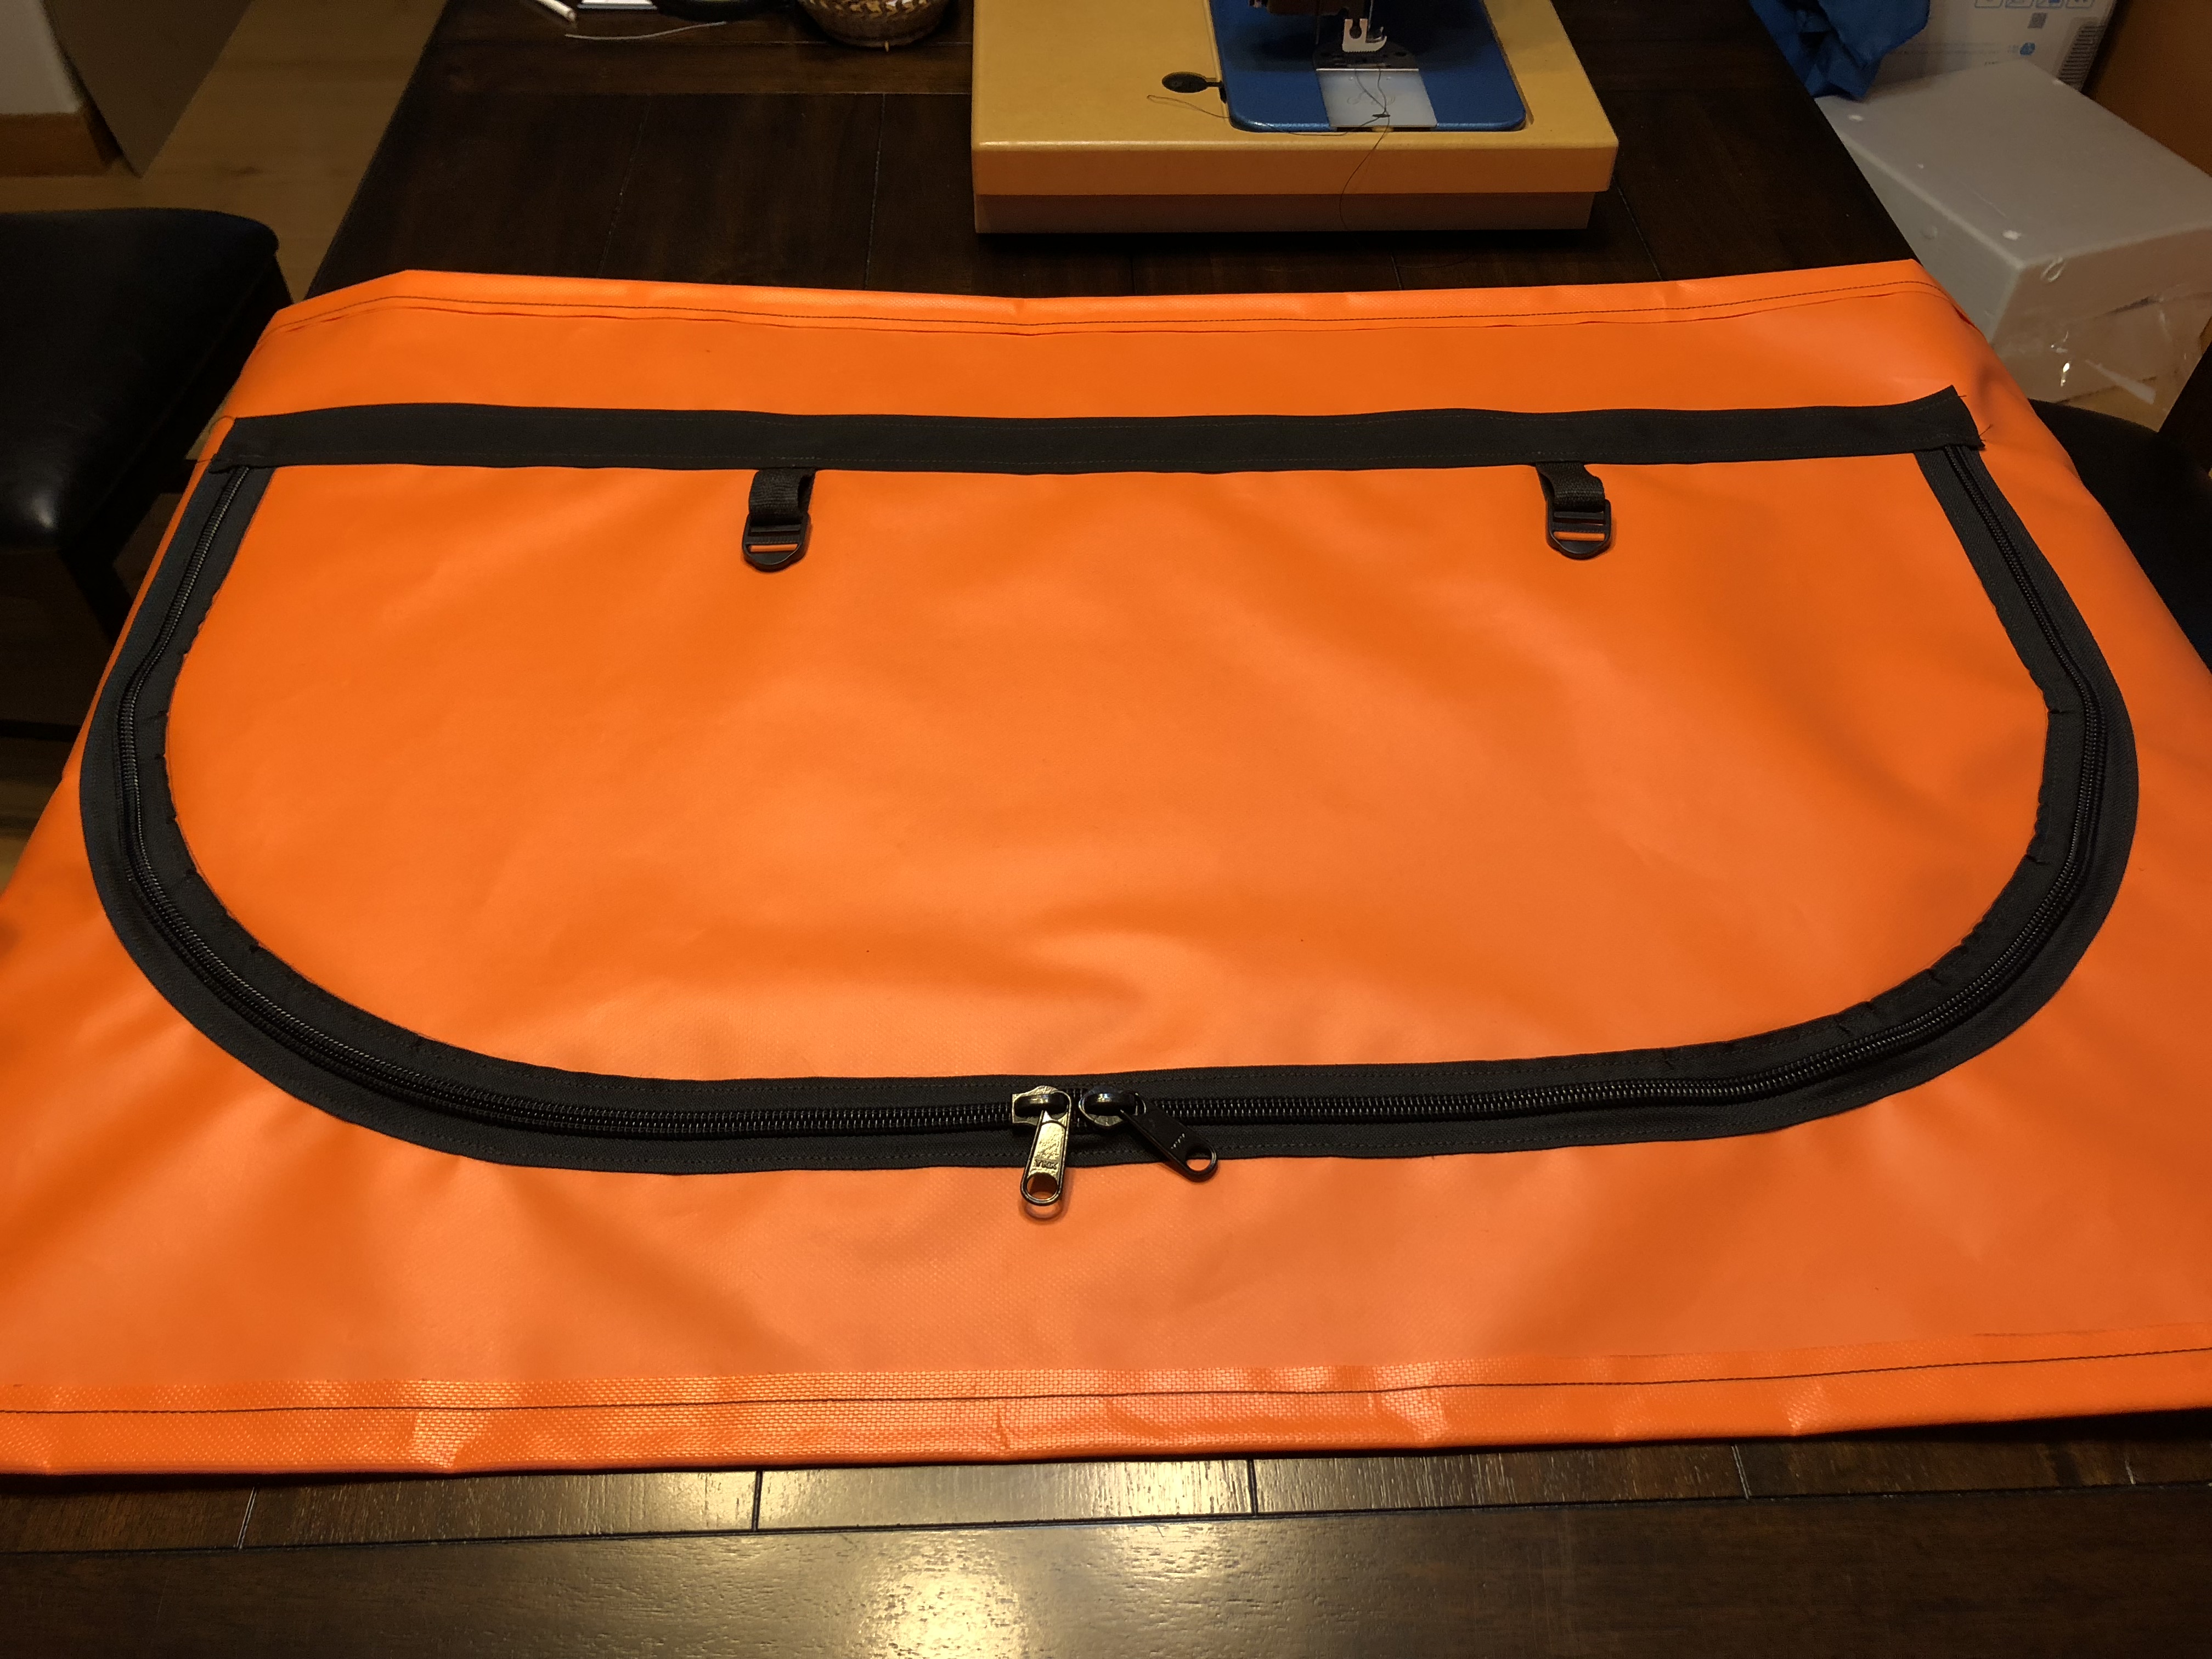
Now it’s time to sew the zipper in. I started by putting basting tape on both sides of the zipper and then very carefully aligning it with the tape on the other side. The zipper will curve around the radius, but it gets a little awkward.


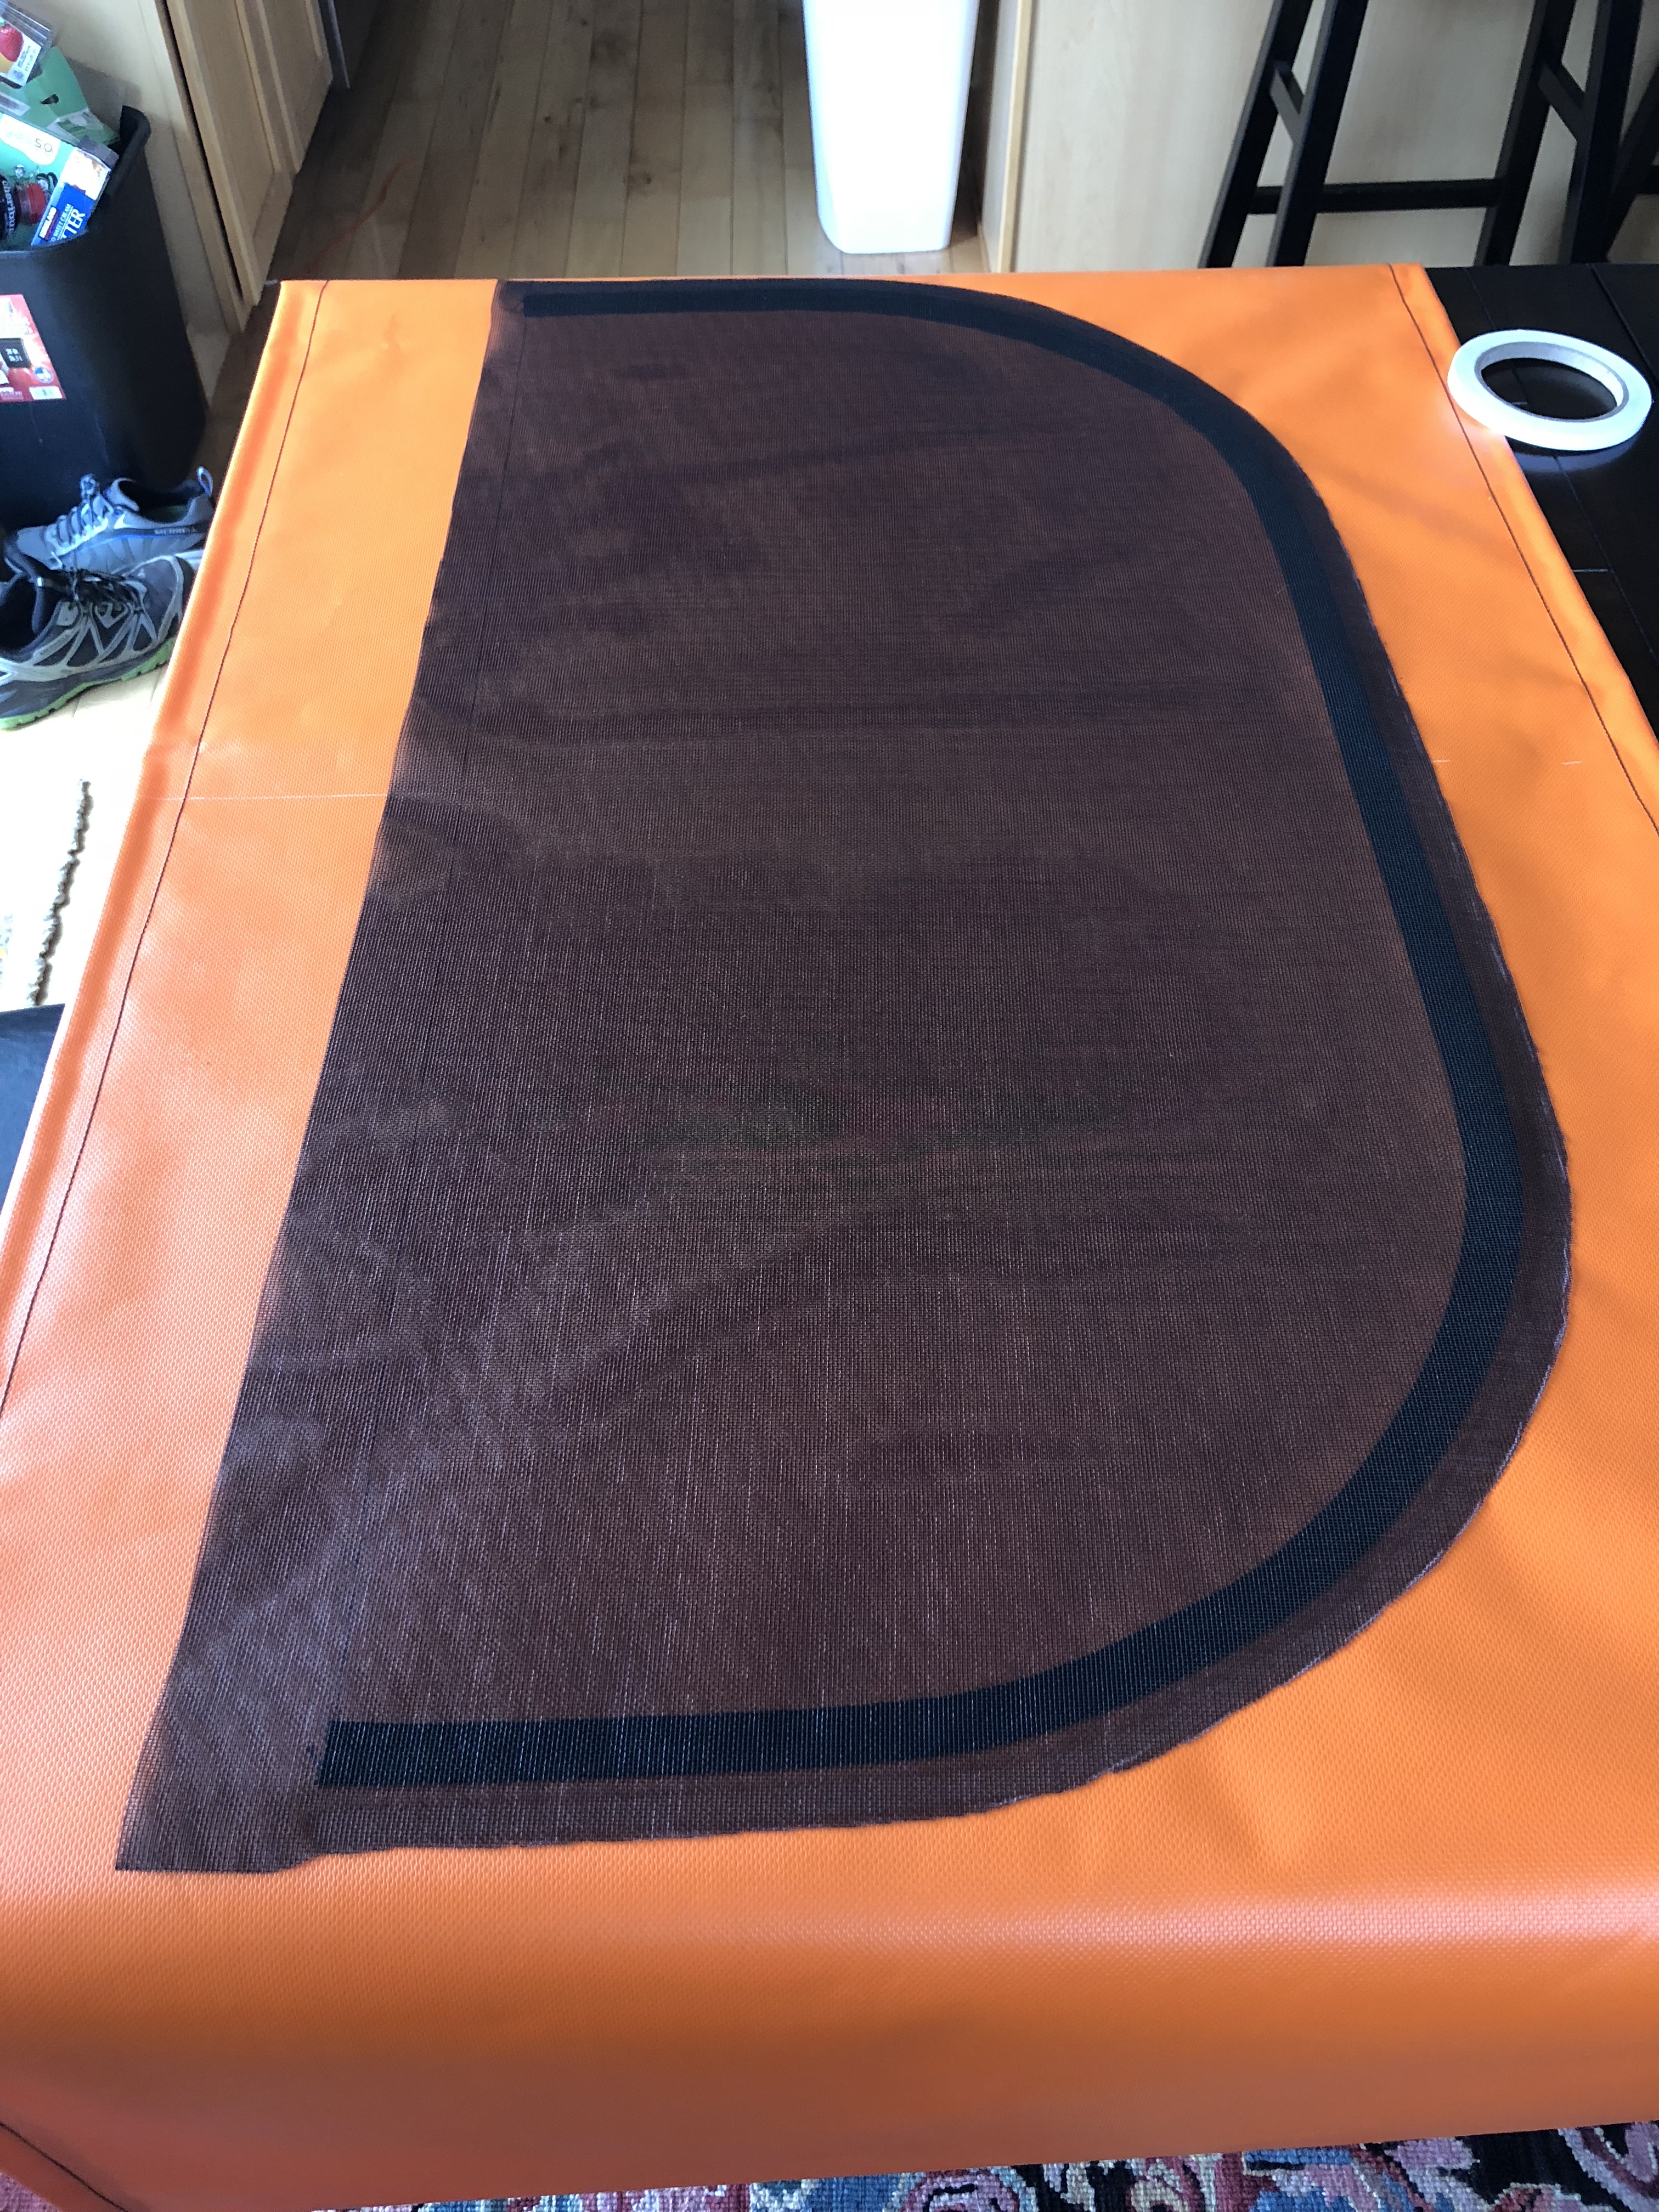
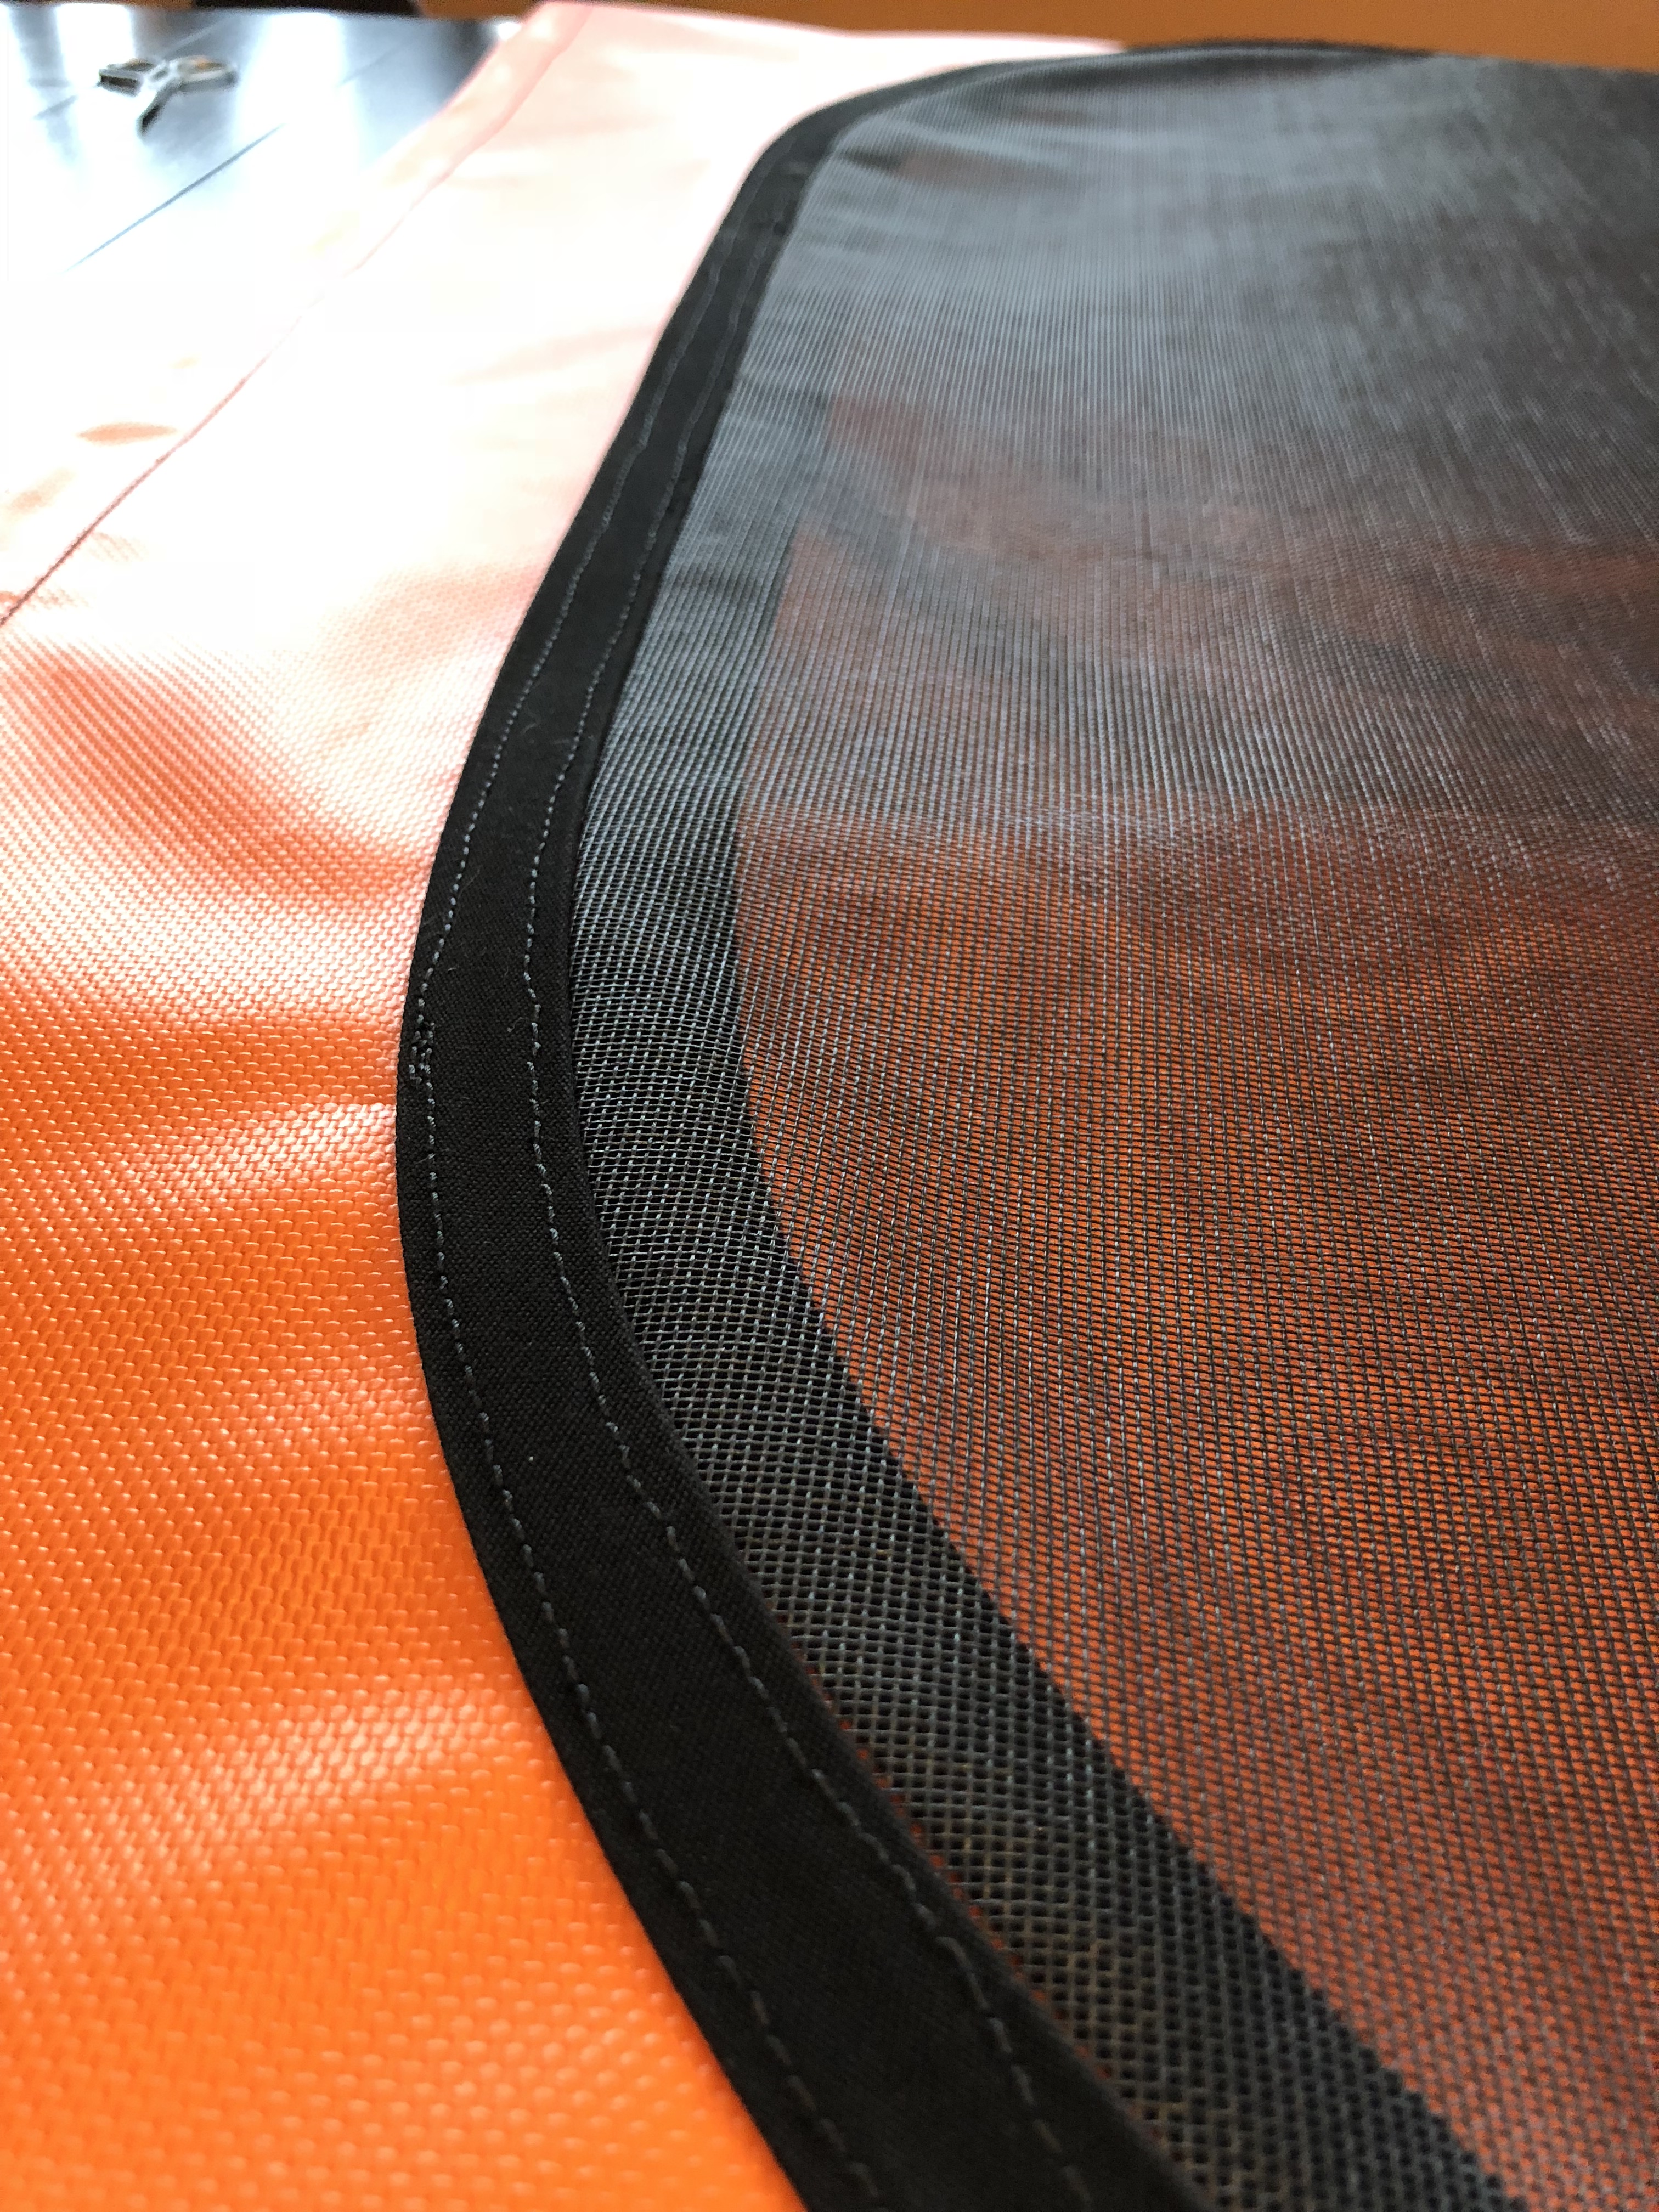
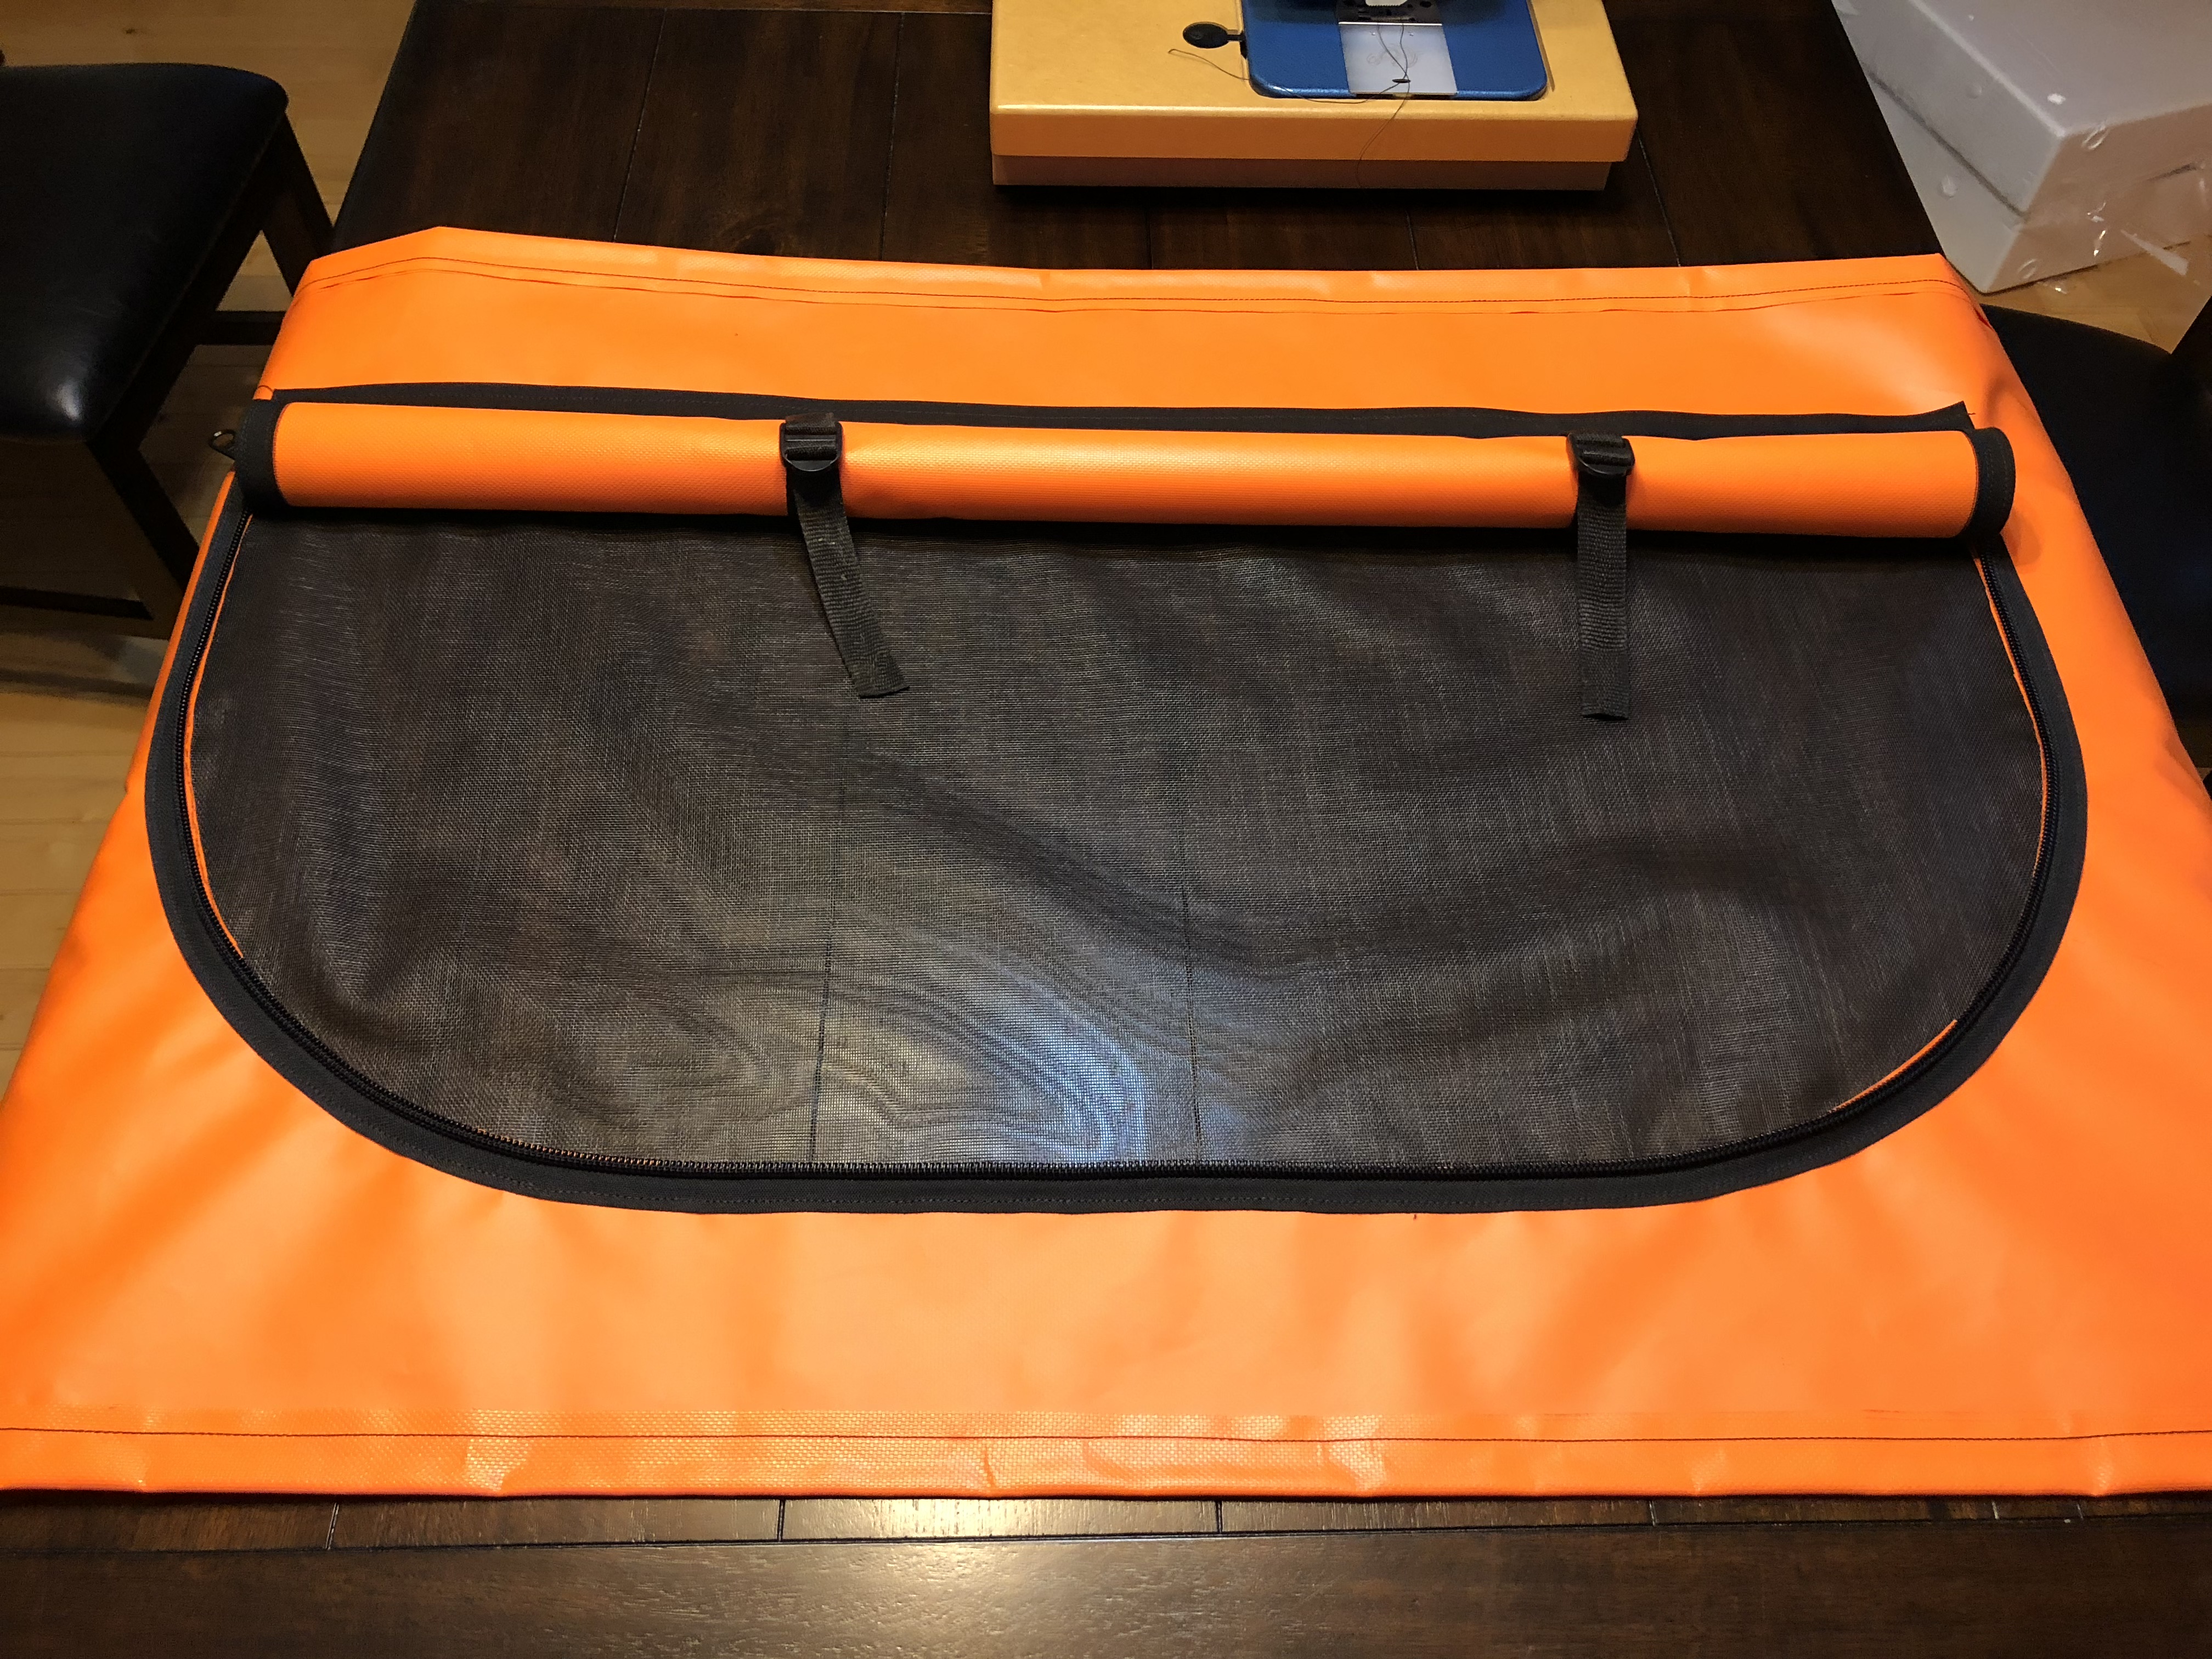
The next step is to put on the mesh screen!


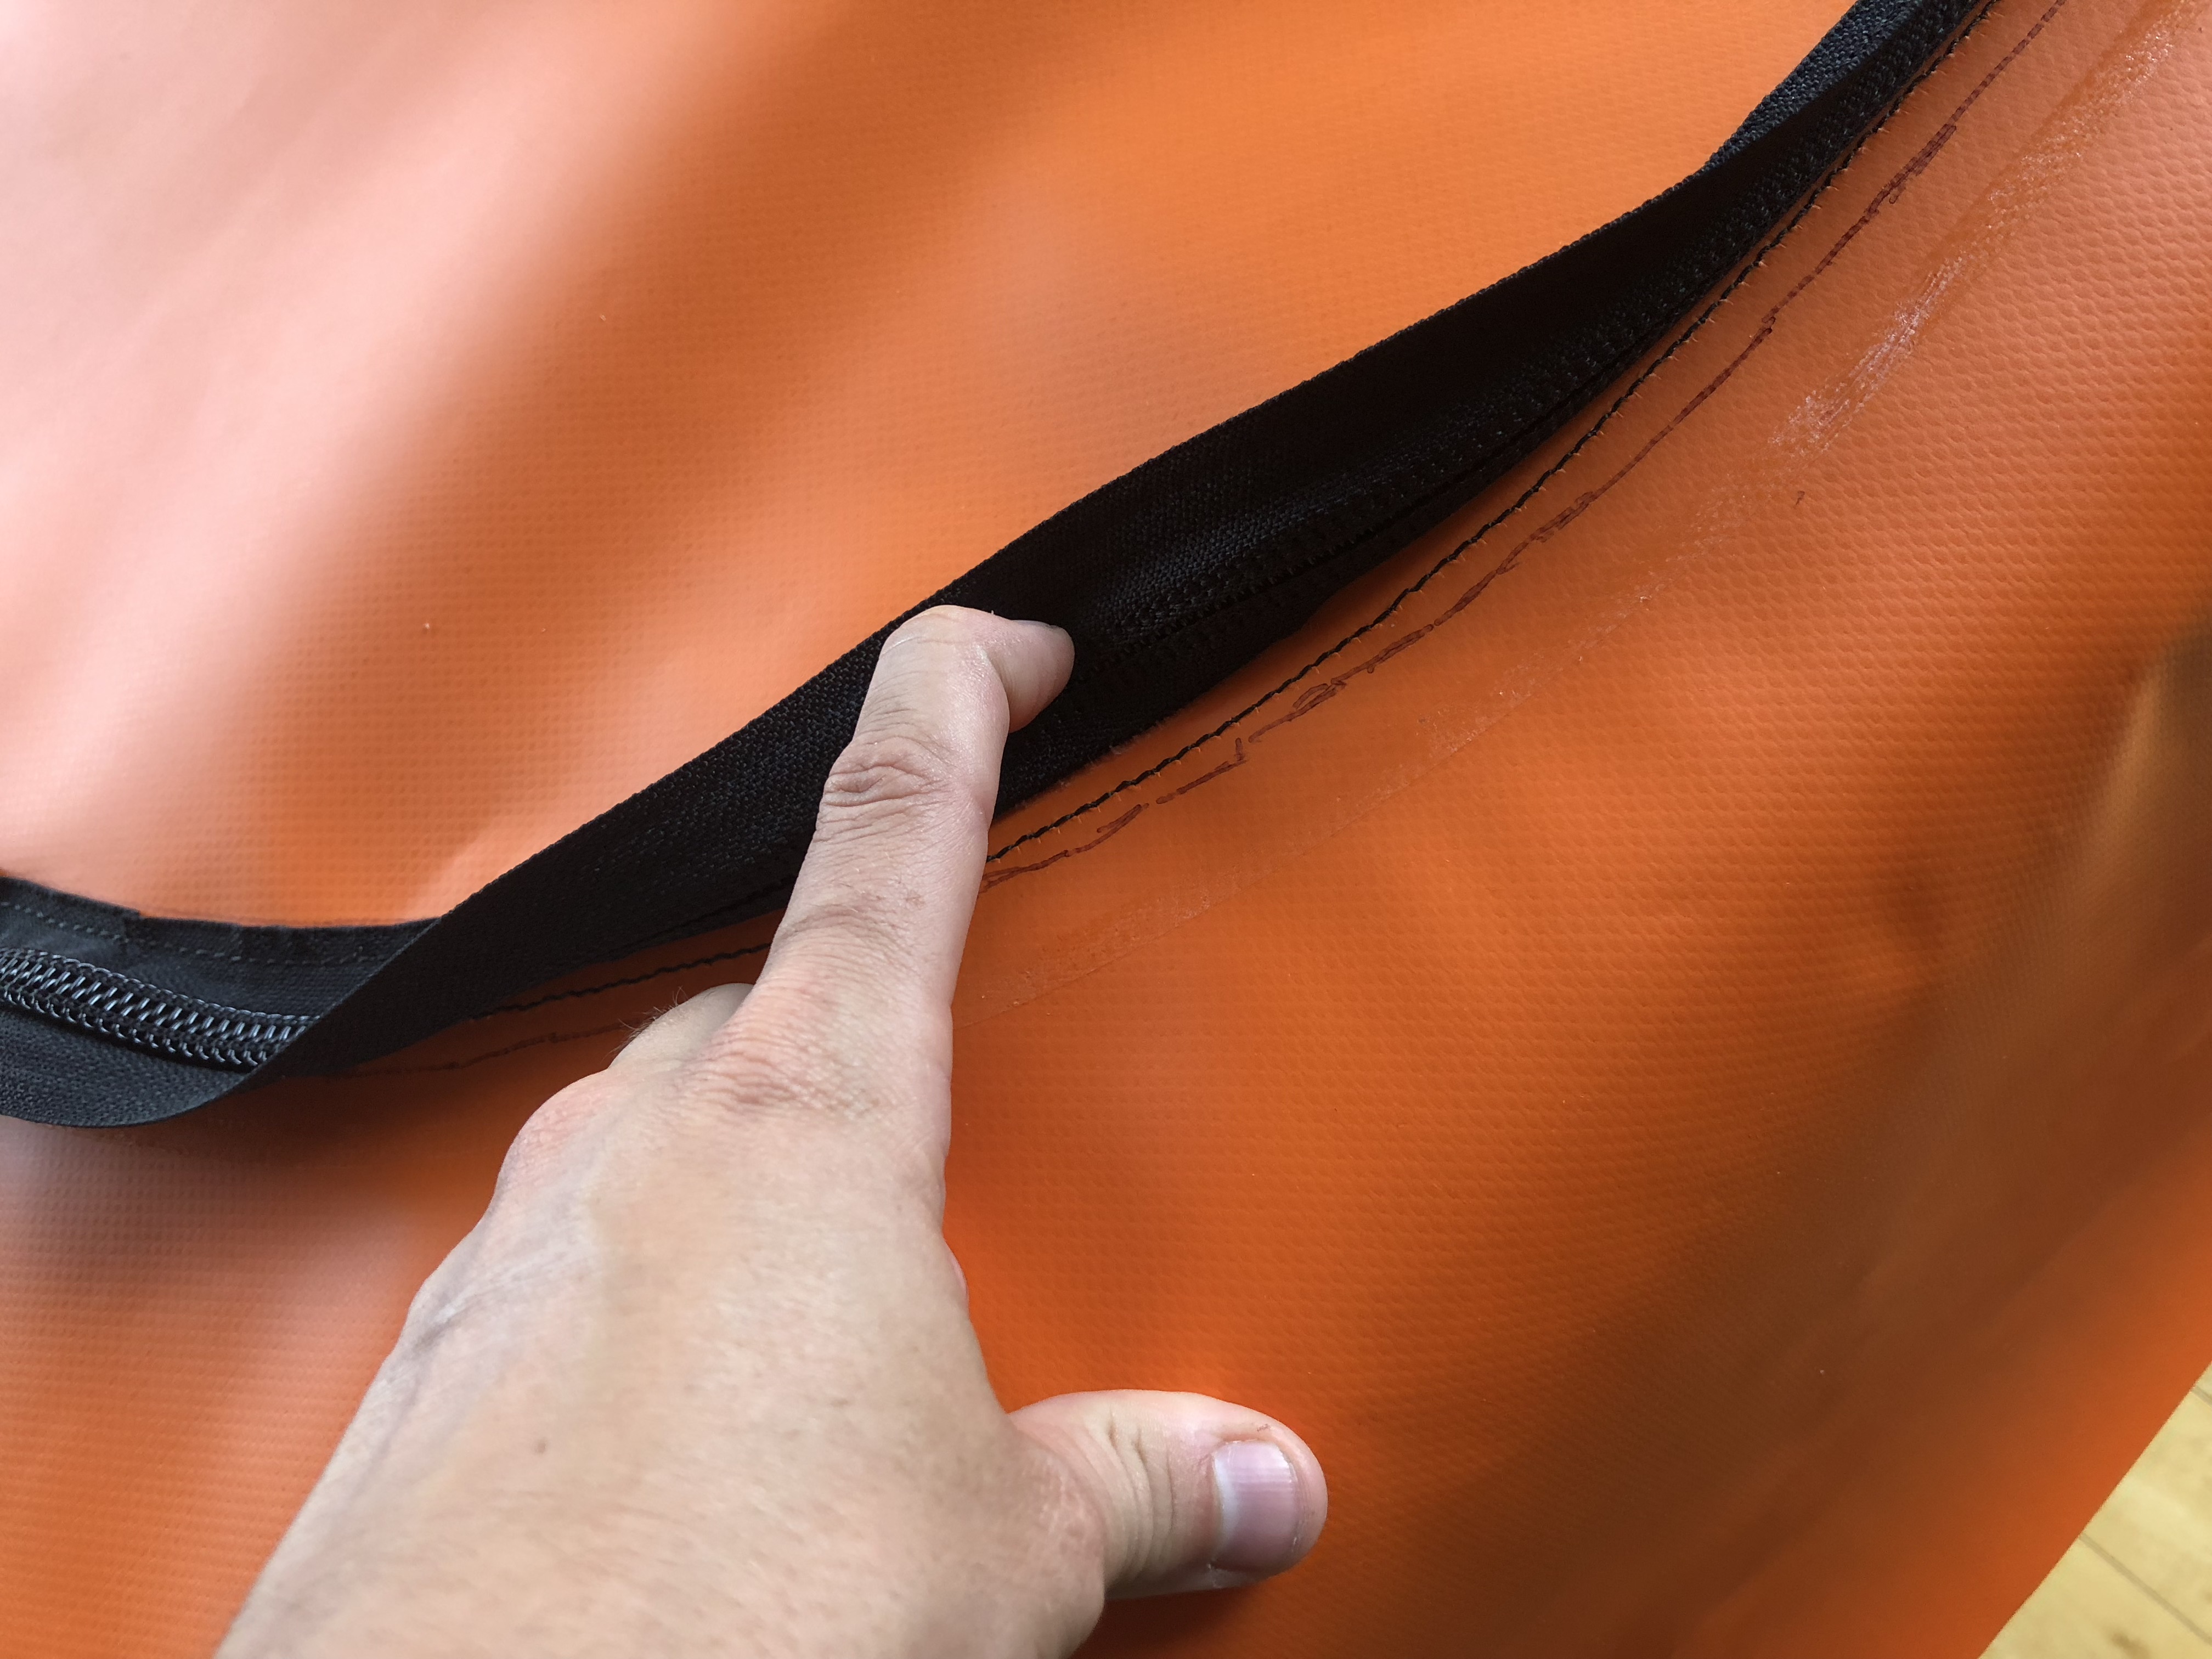

It was about this point that all hell broke loose. I had been trying to check my stitches to make sure I was lining up on the other side, but I couldn’t see anything until there was enough fabric to flip up and look. Turns out that not only did I get off on my distances and was now sewing the outside edge of the tape when I wanted to sew the inside edge… but the bias tape had come unglued and wasn’t anywhere near where it should have been. I had to rip most of the seam out and start over. I got to about the same spot and then ran out of bobbin thread. So I got to start over again. I was so annoyed I ate dinner instead of continuing.


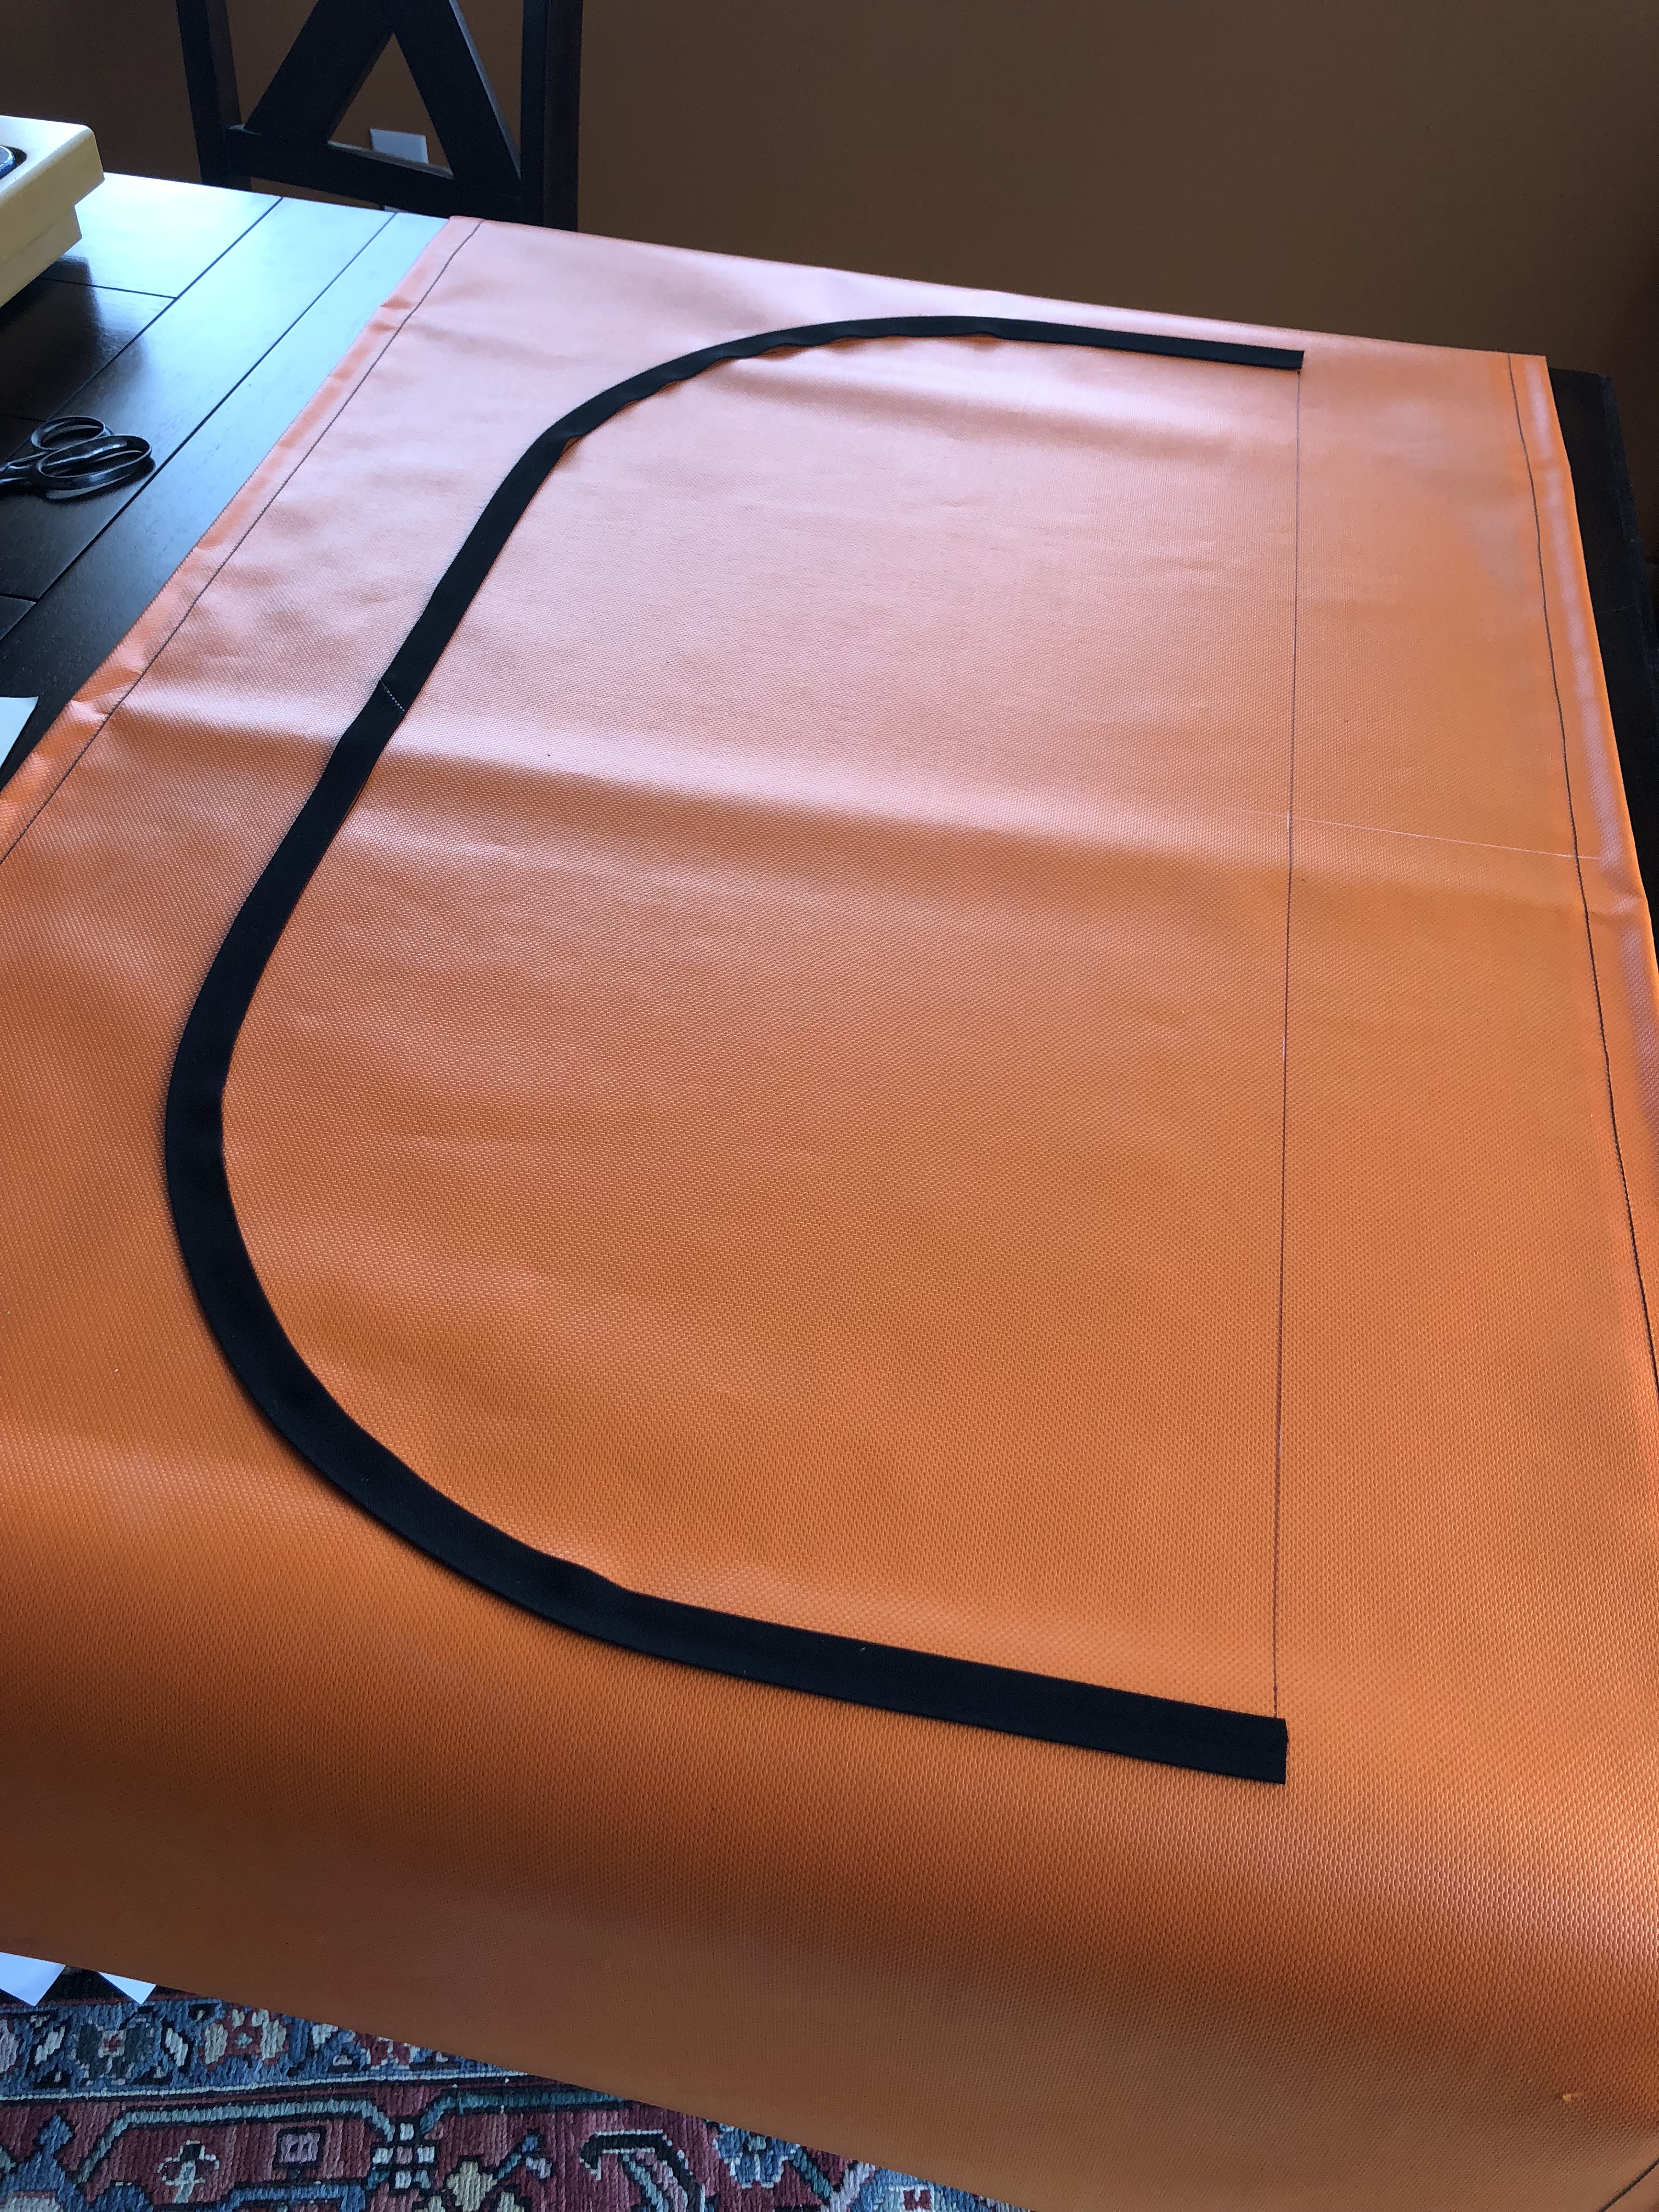
Despite my rampant negativity, I did actually manage to finish this stupid bias tape and it doesn’t look awful from a few feet away because it’s black and I bought black thread! Ironically I only bought the black thread because they were out of the clear/white thread that’s usually used. So that worked out nicely!
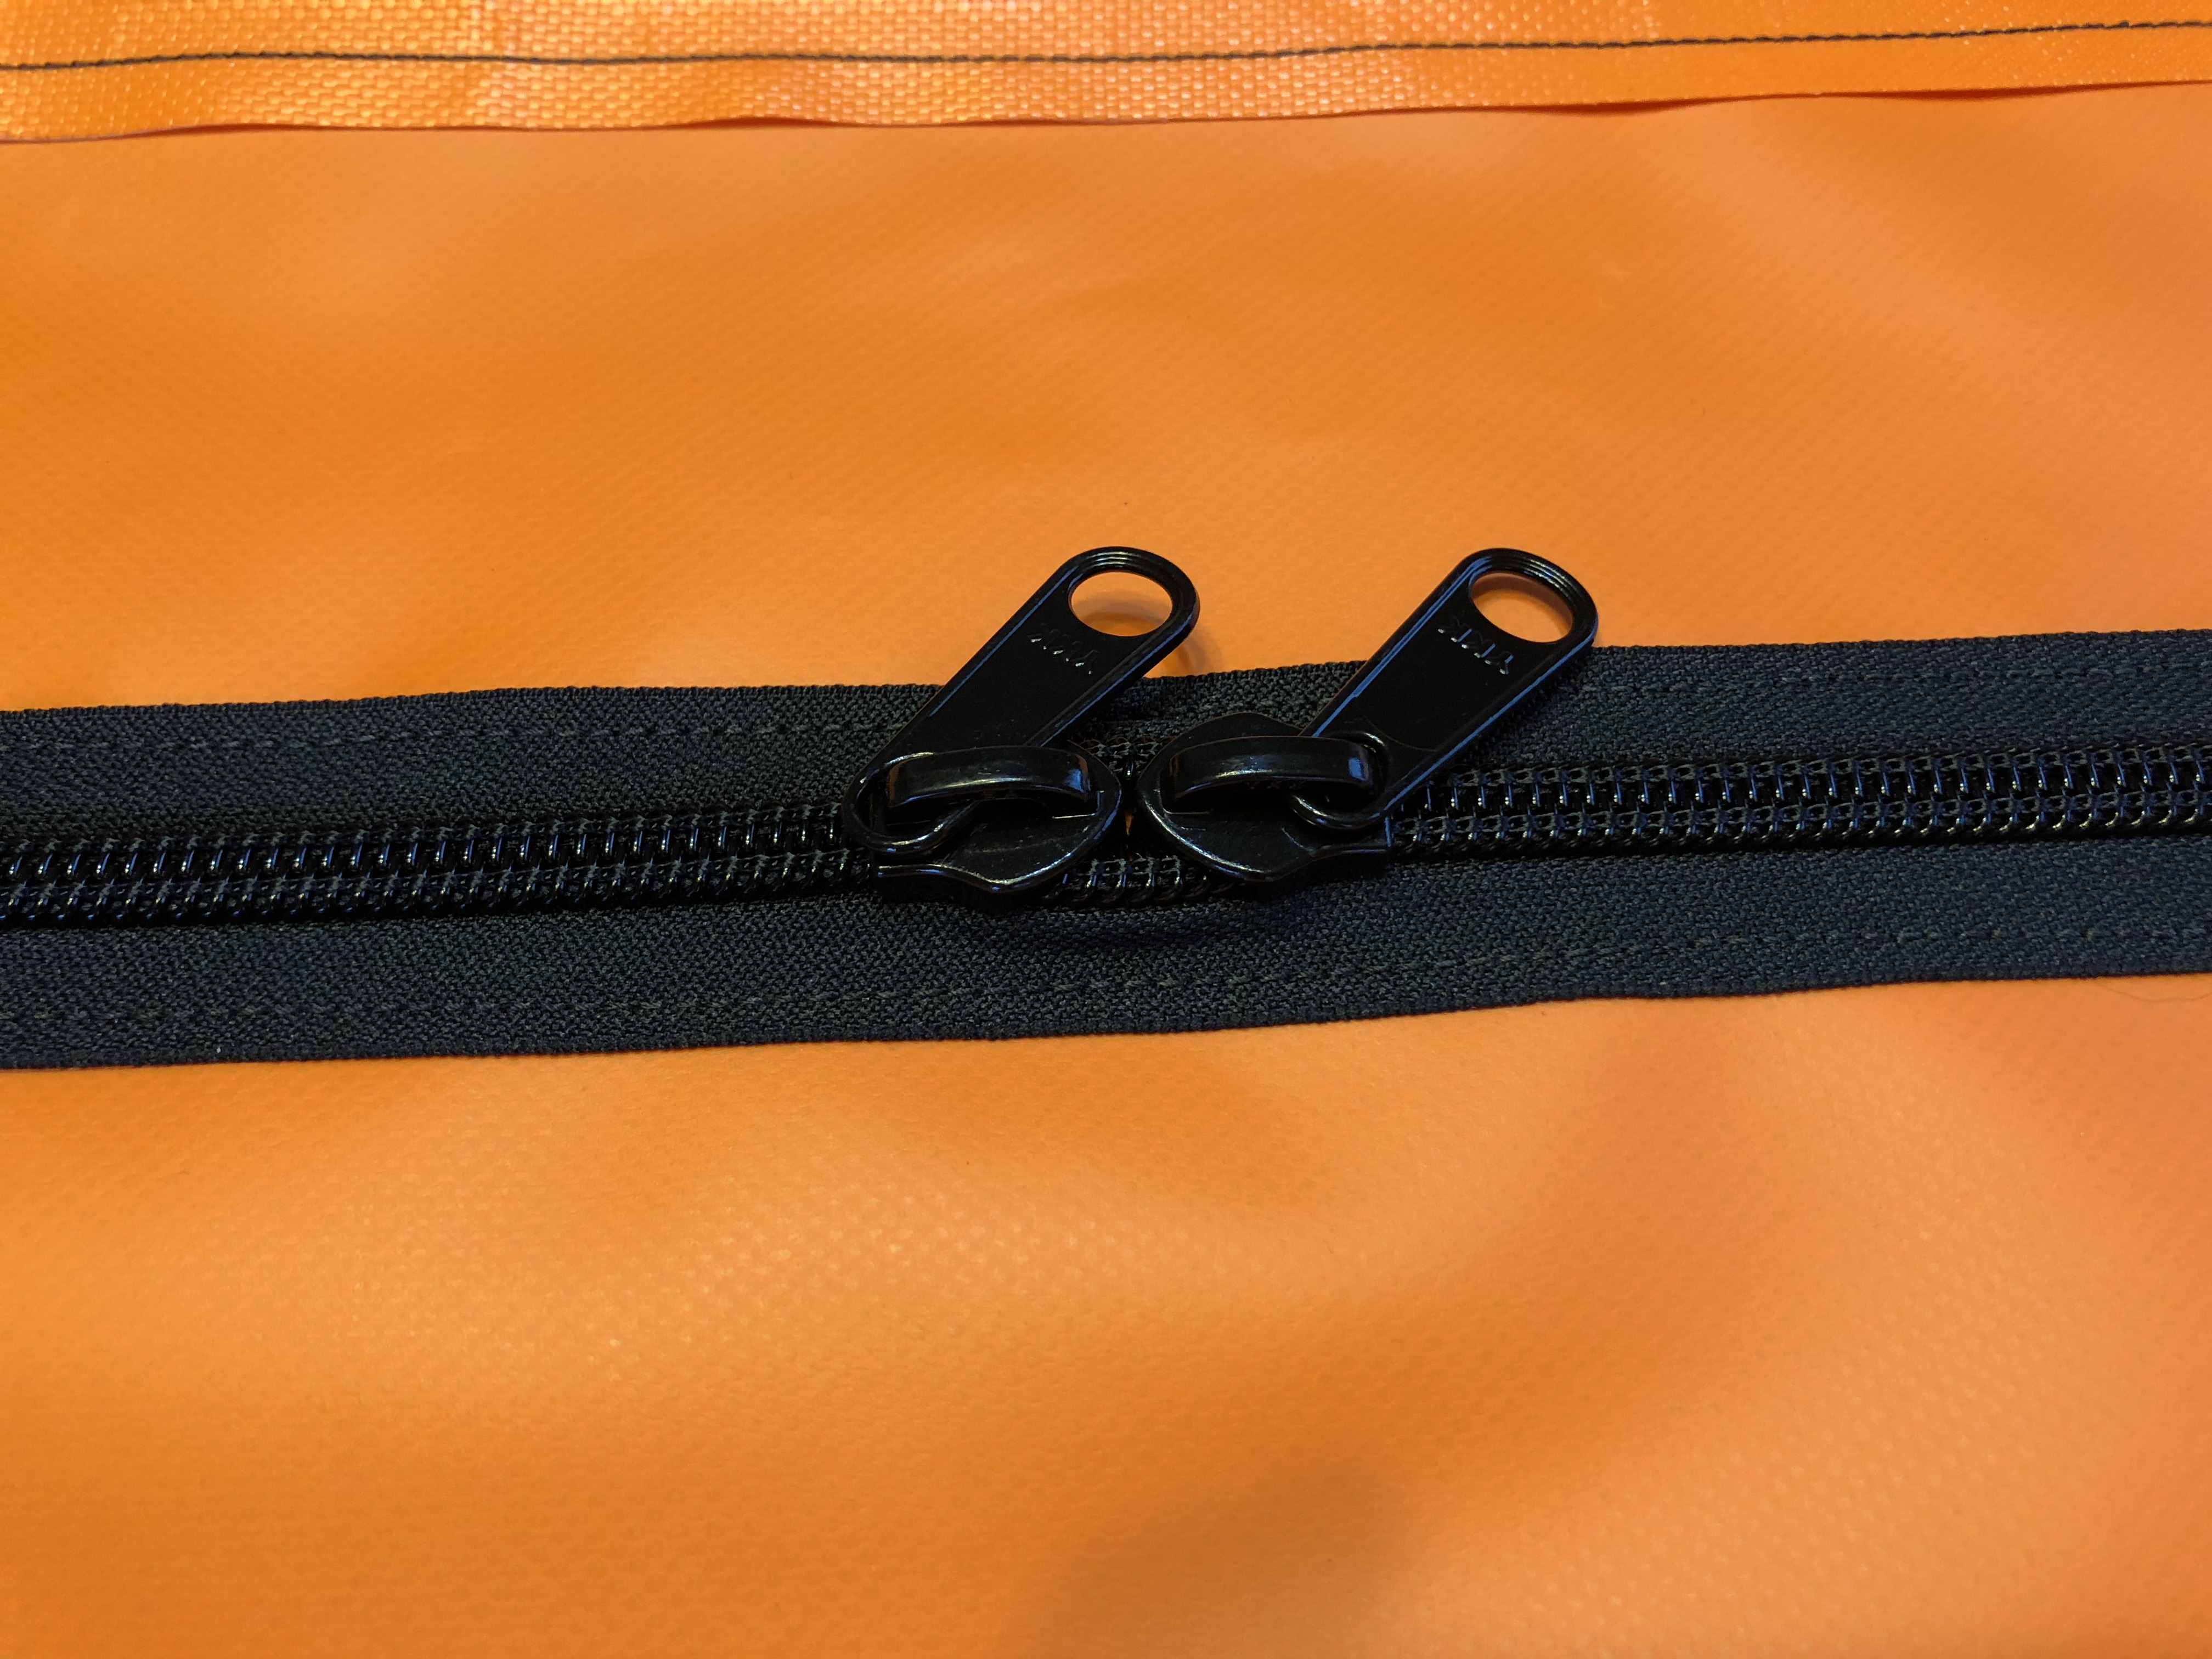
I’m now done with the actual window/zipper situation. The next step is to separate the zipper and cut the canvas so the window opens. (but NOT to accidentally cut the screen!)
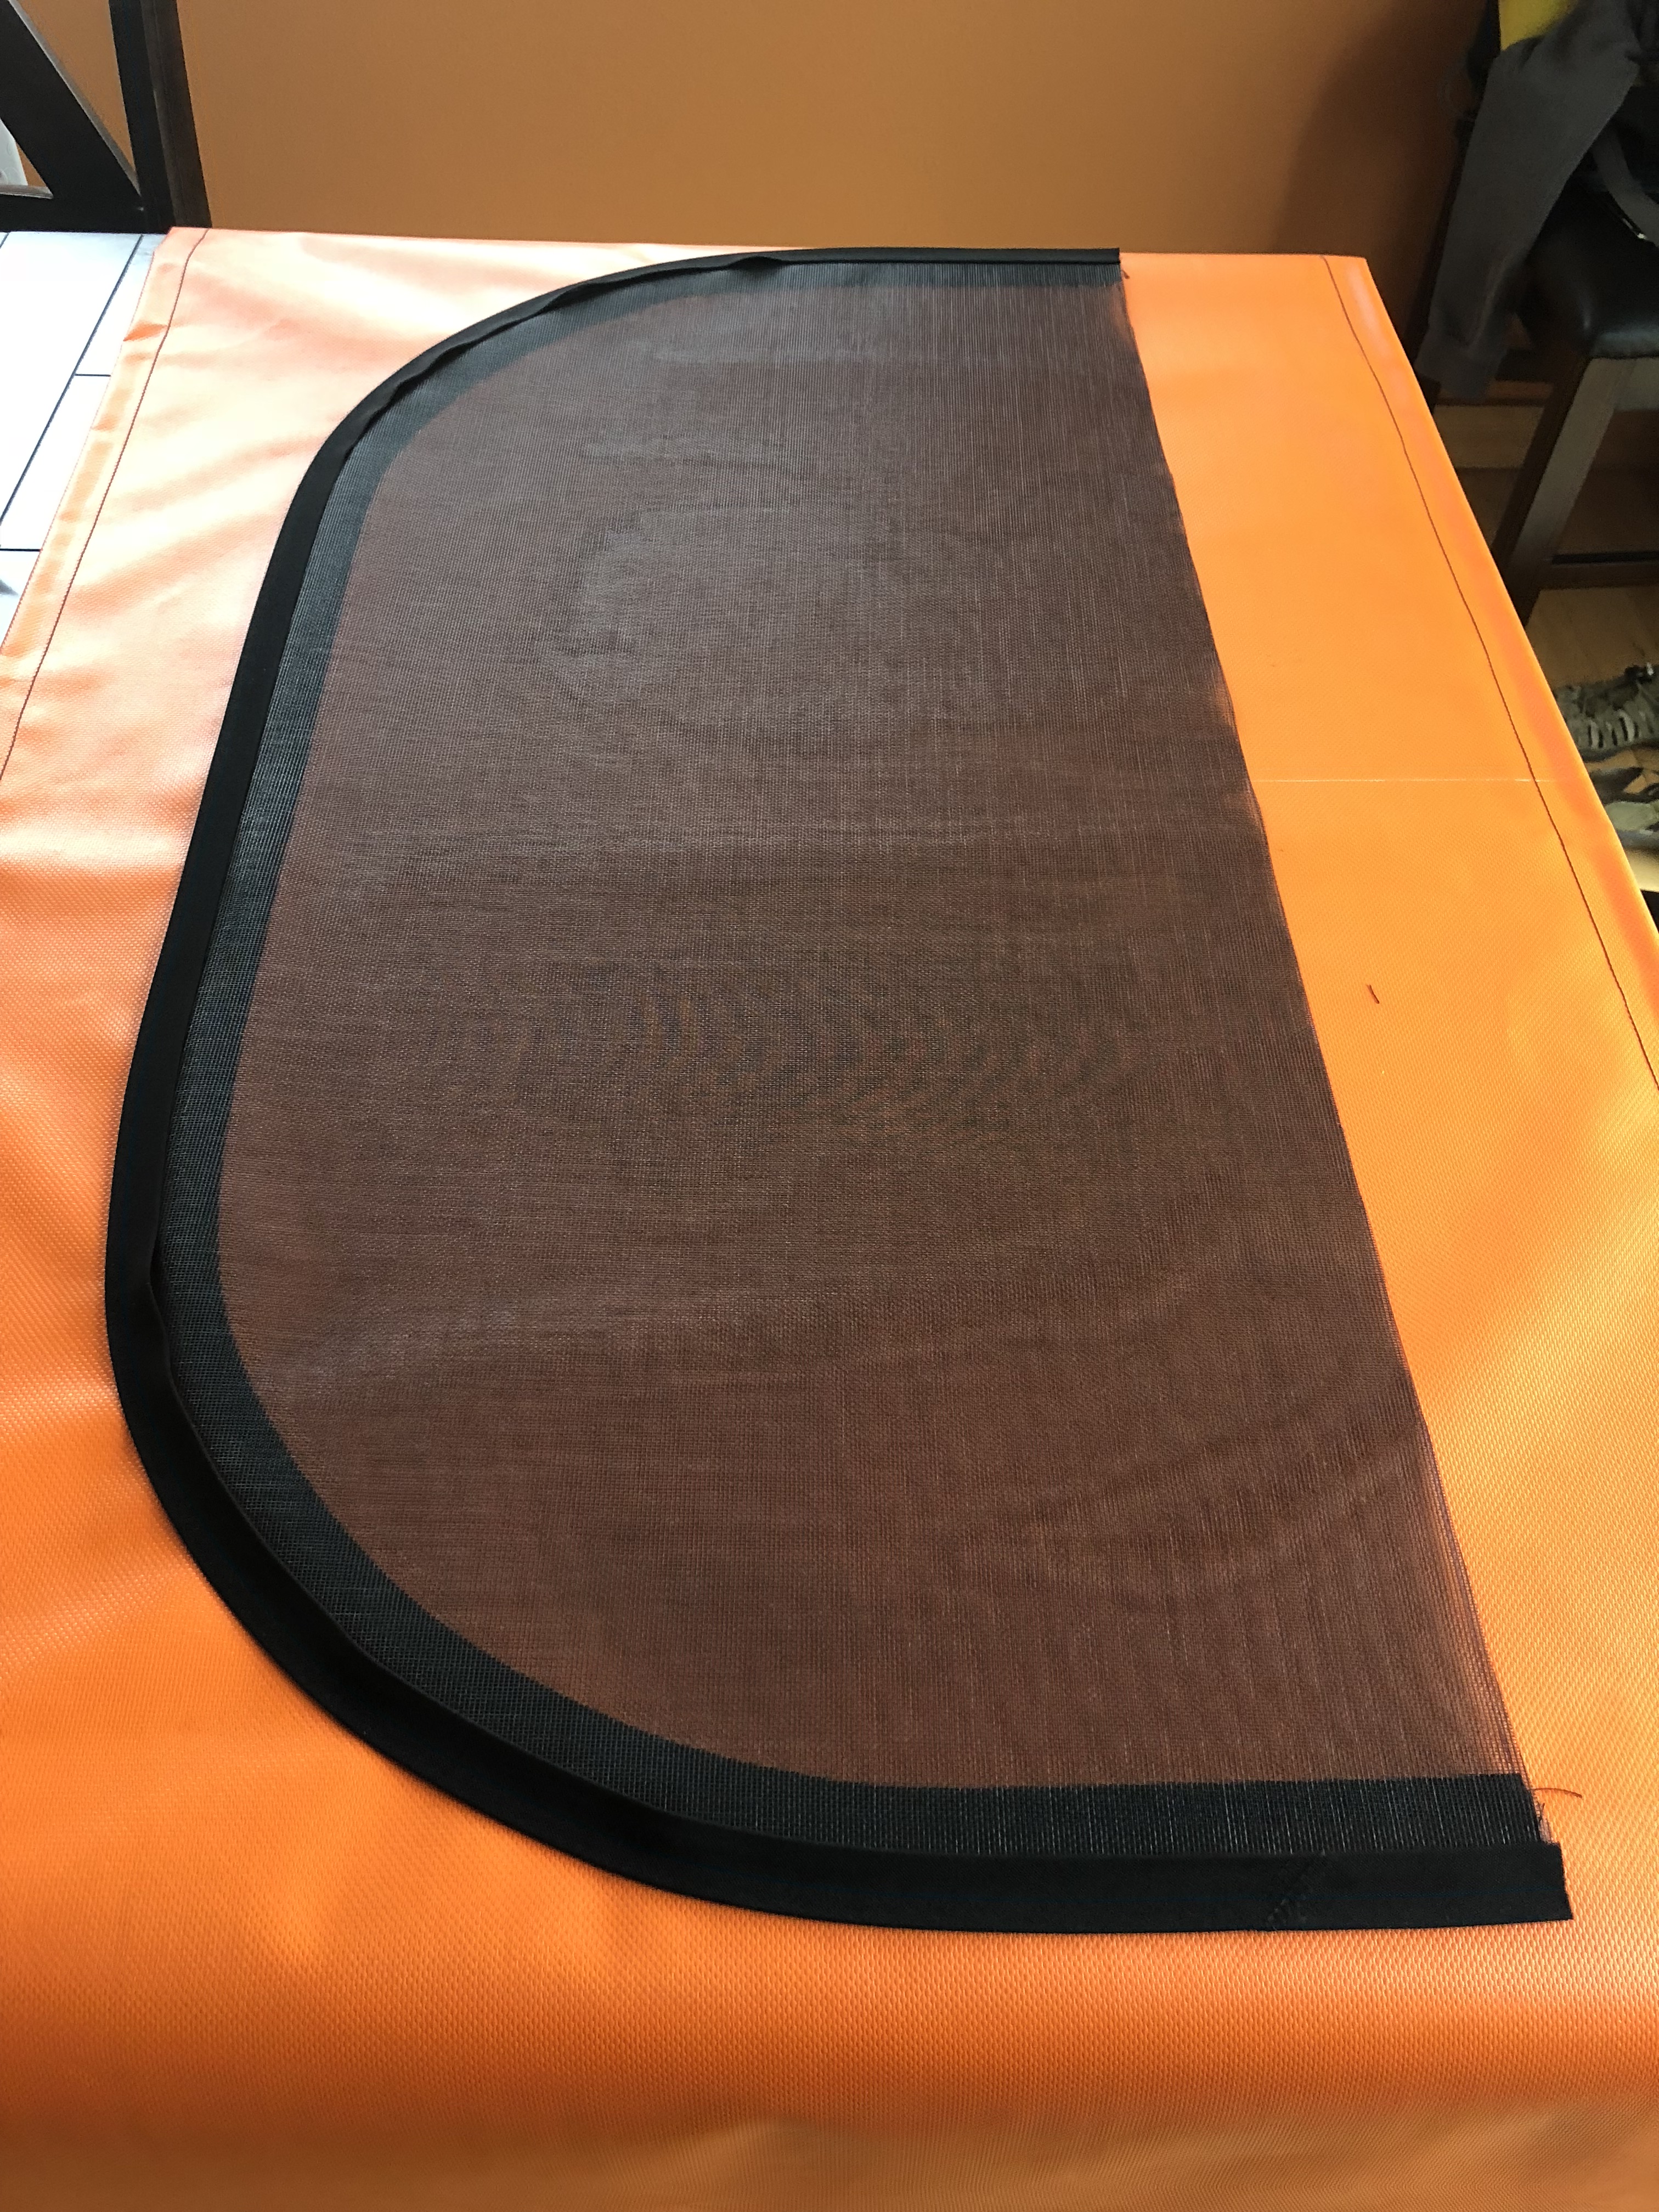
The last step in the window process is to sew on the 2″ tape at the top to cover the ends of the zippers and the screen. It also makes it look a lot more finished! Also at this point is where you do whatever you want to hold the canvas up when you want the screen exposed. I have a lot of little buckle things leftover from destroying the boat cover, so instead of buying something I actually wanted (and having to go to the store…) I just used those.
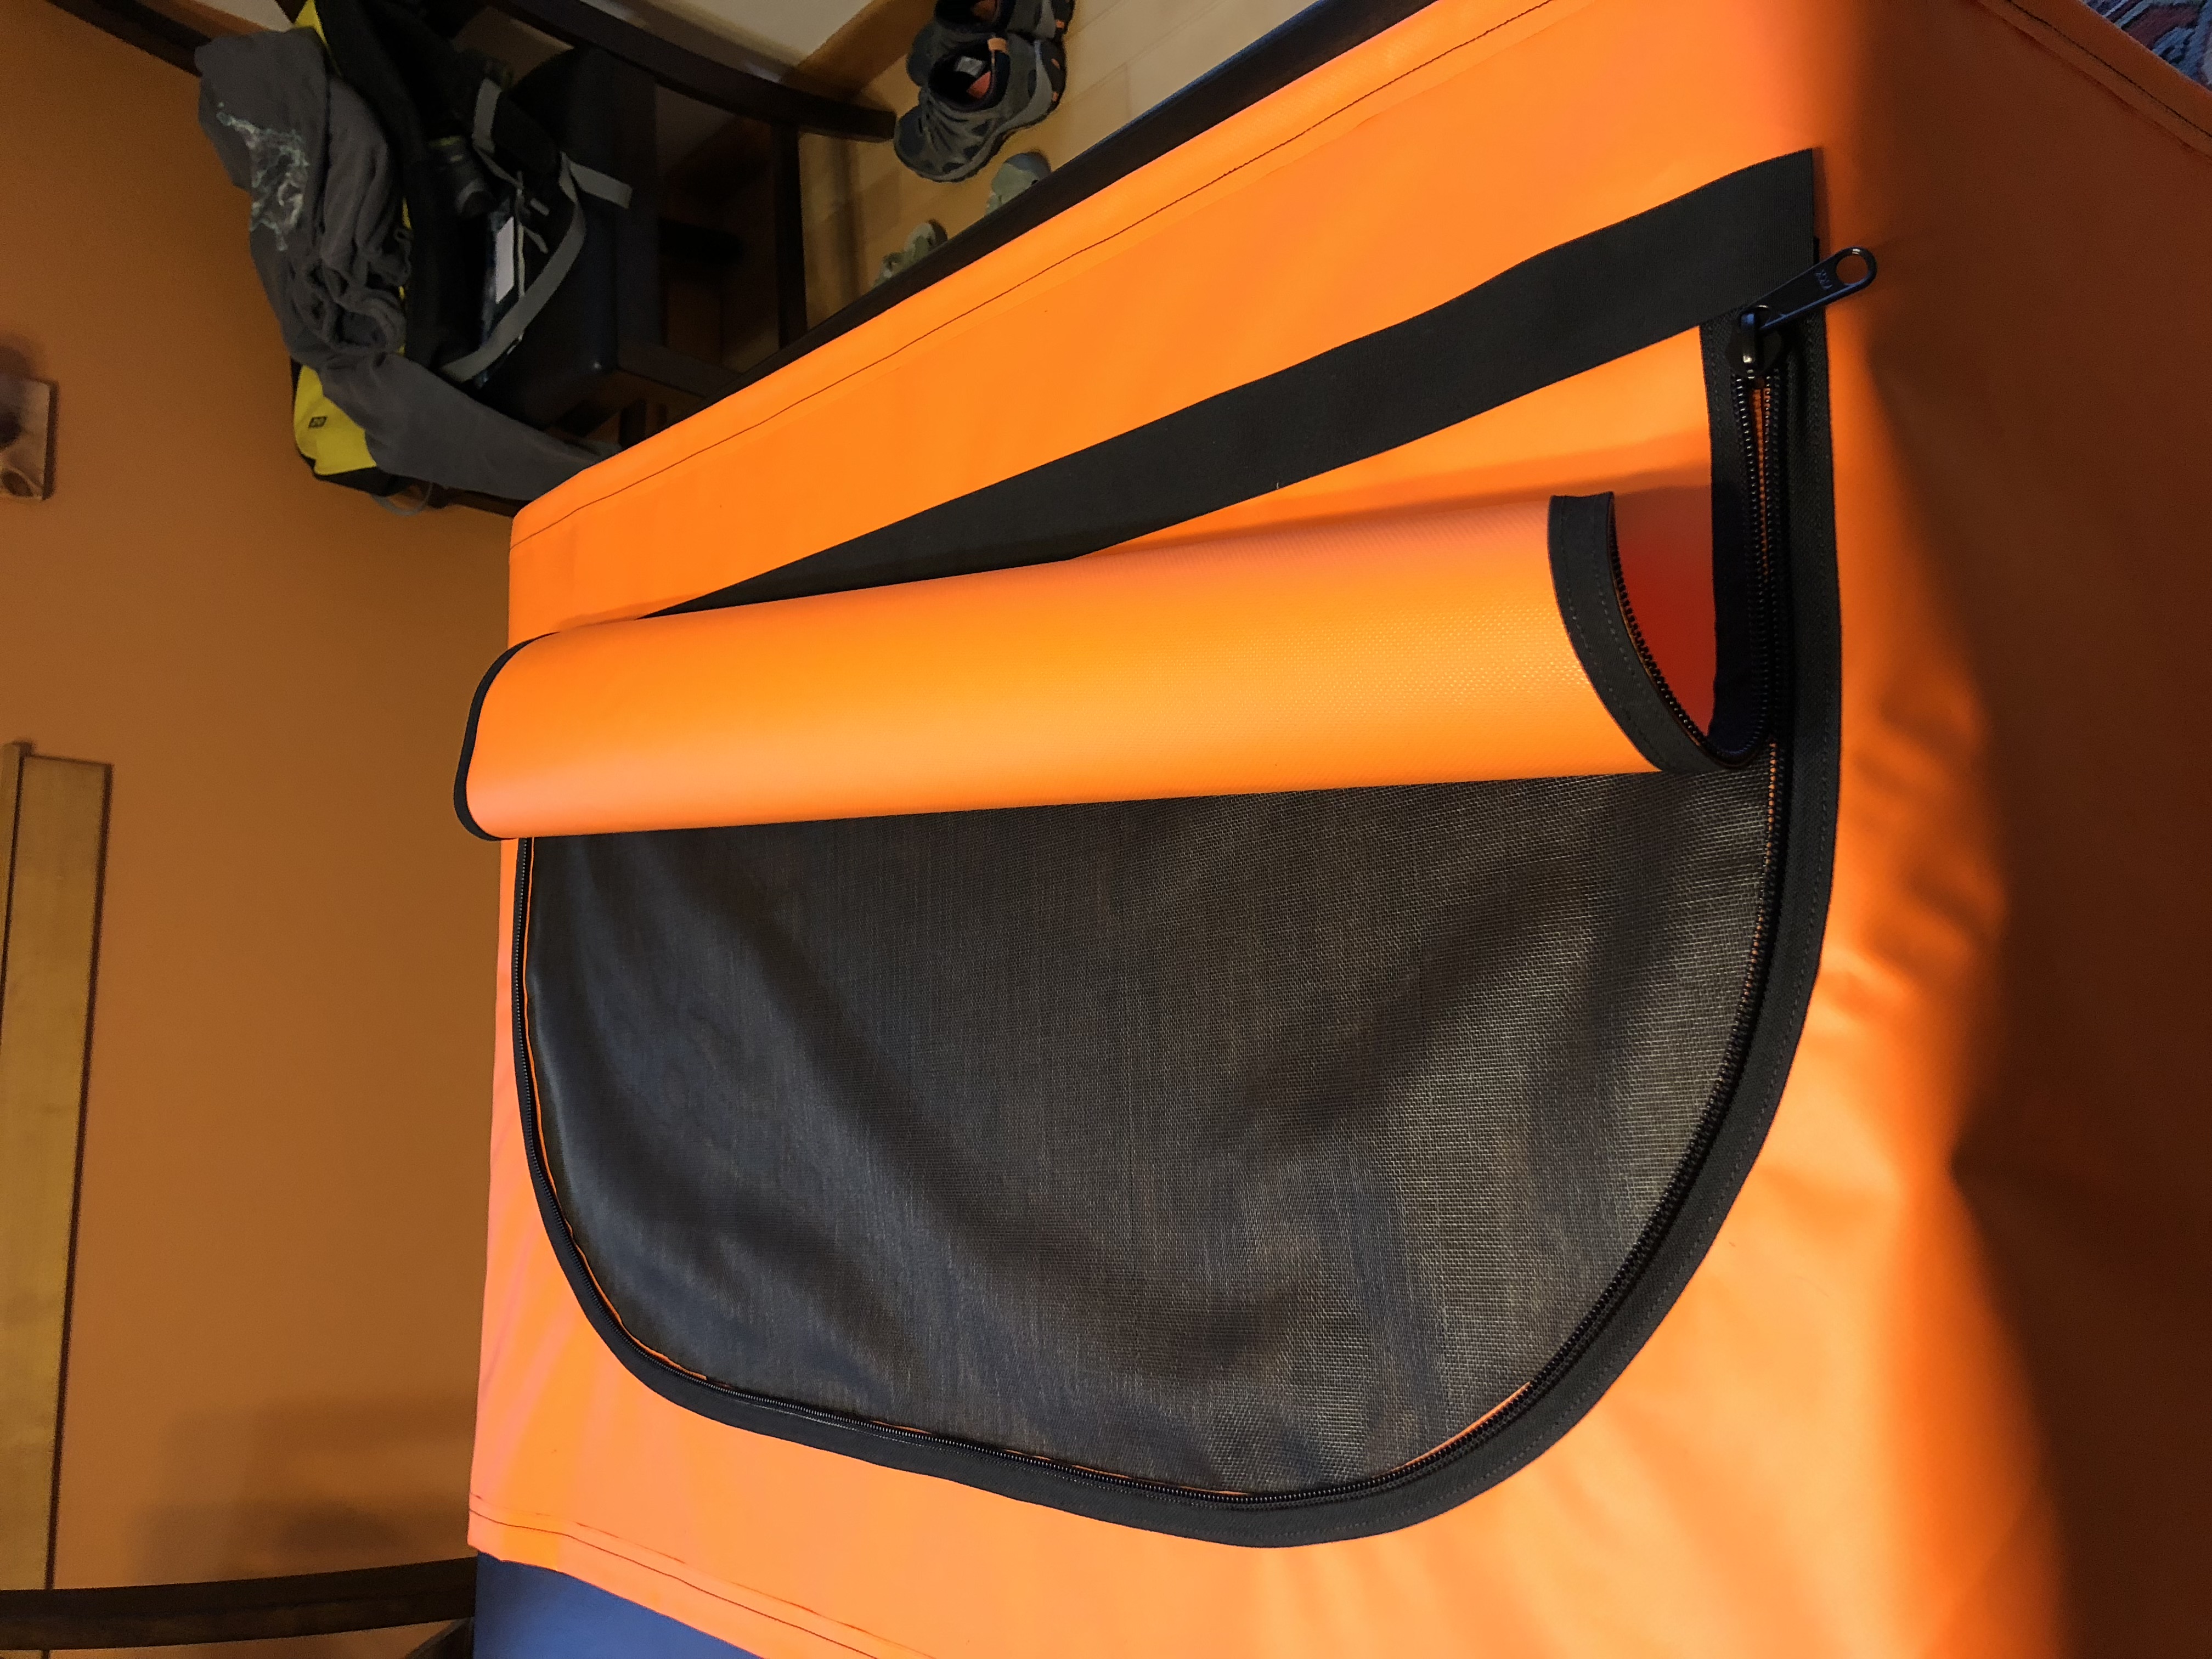
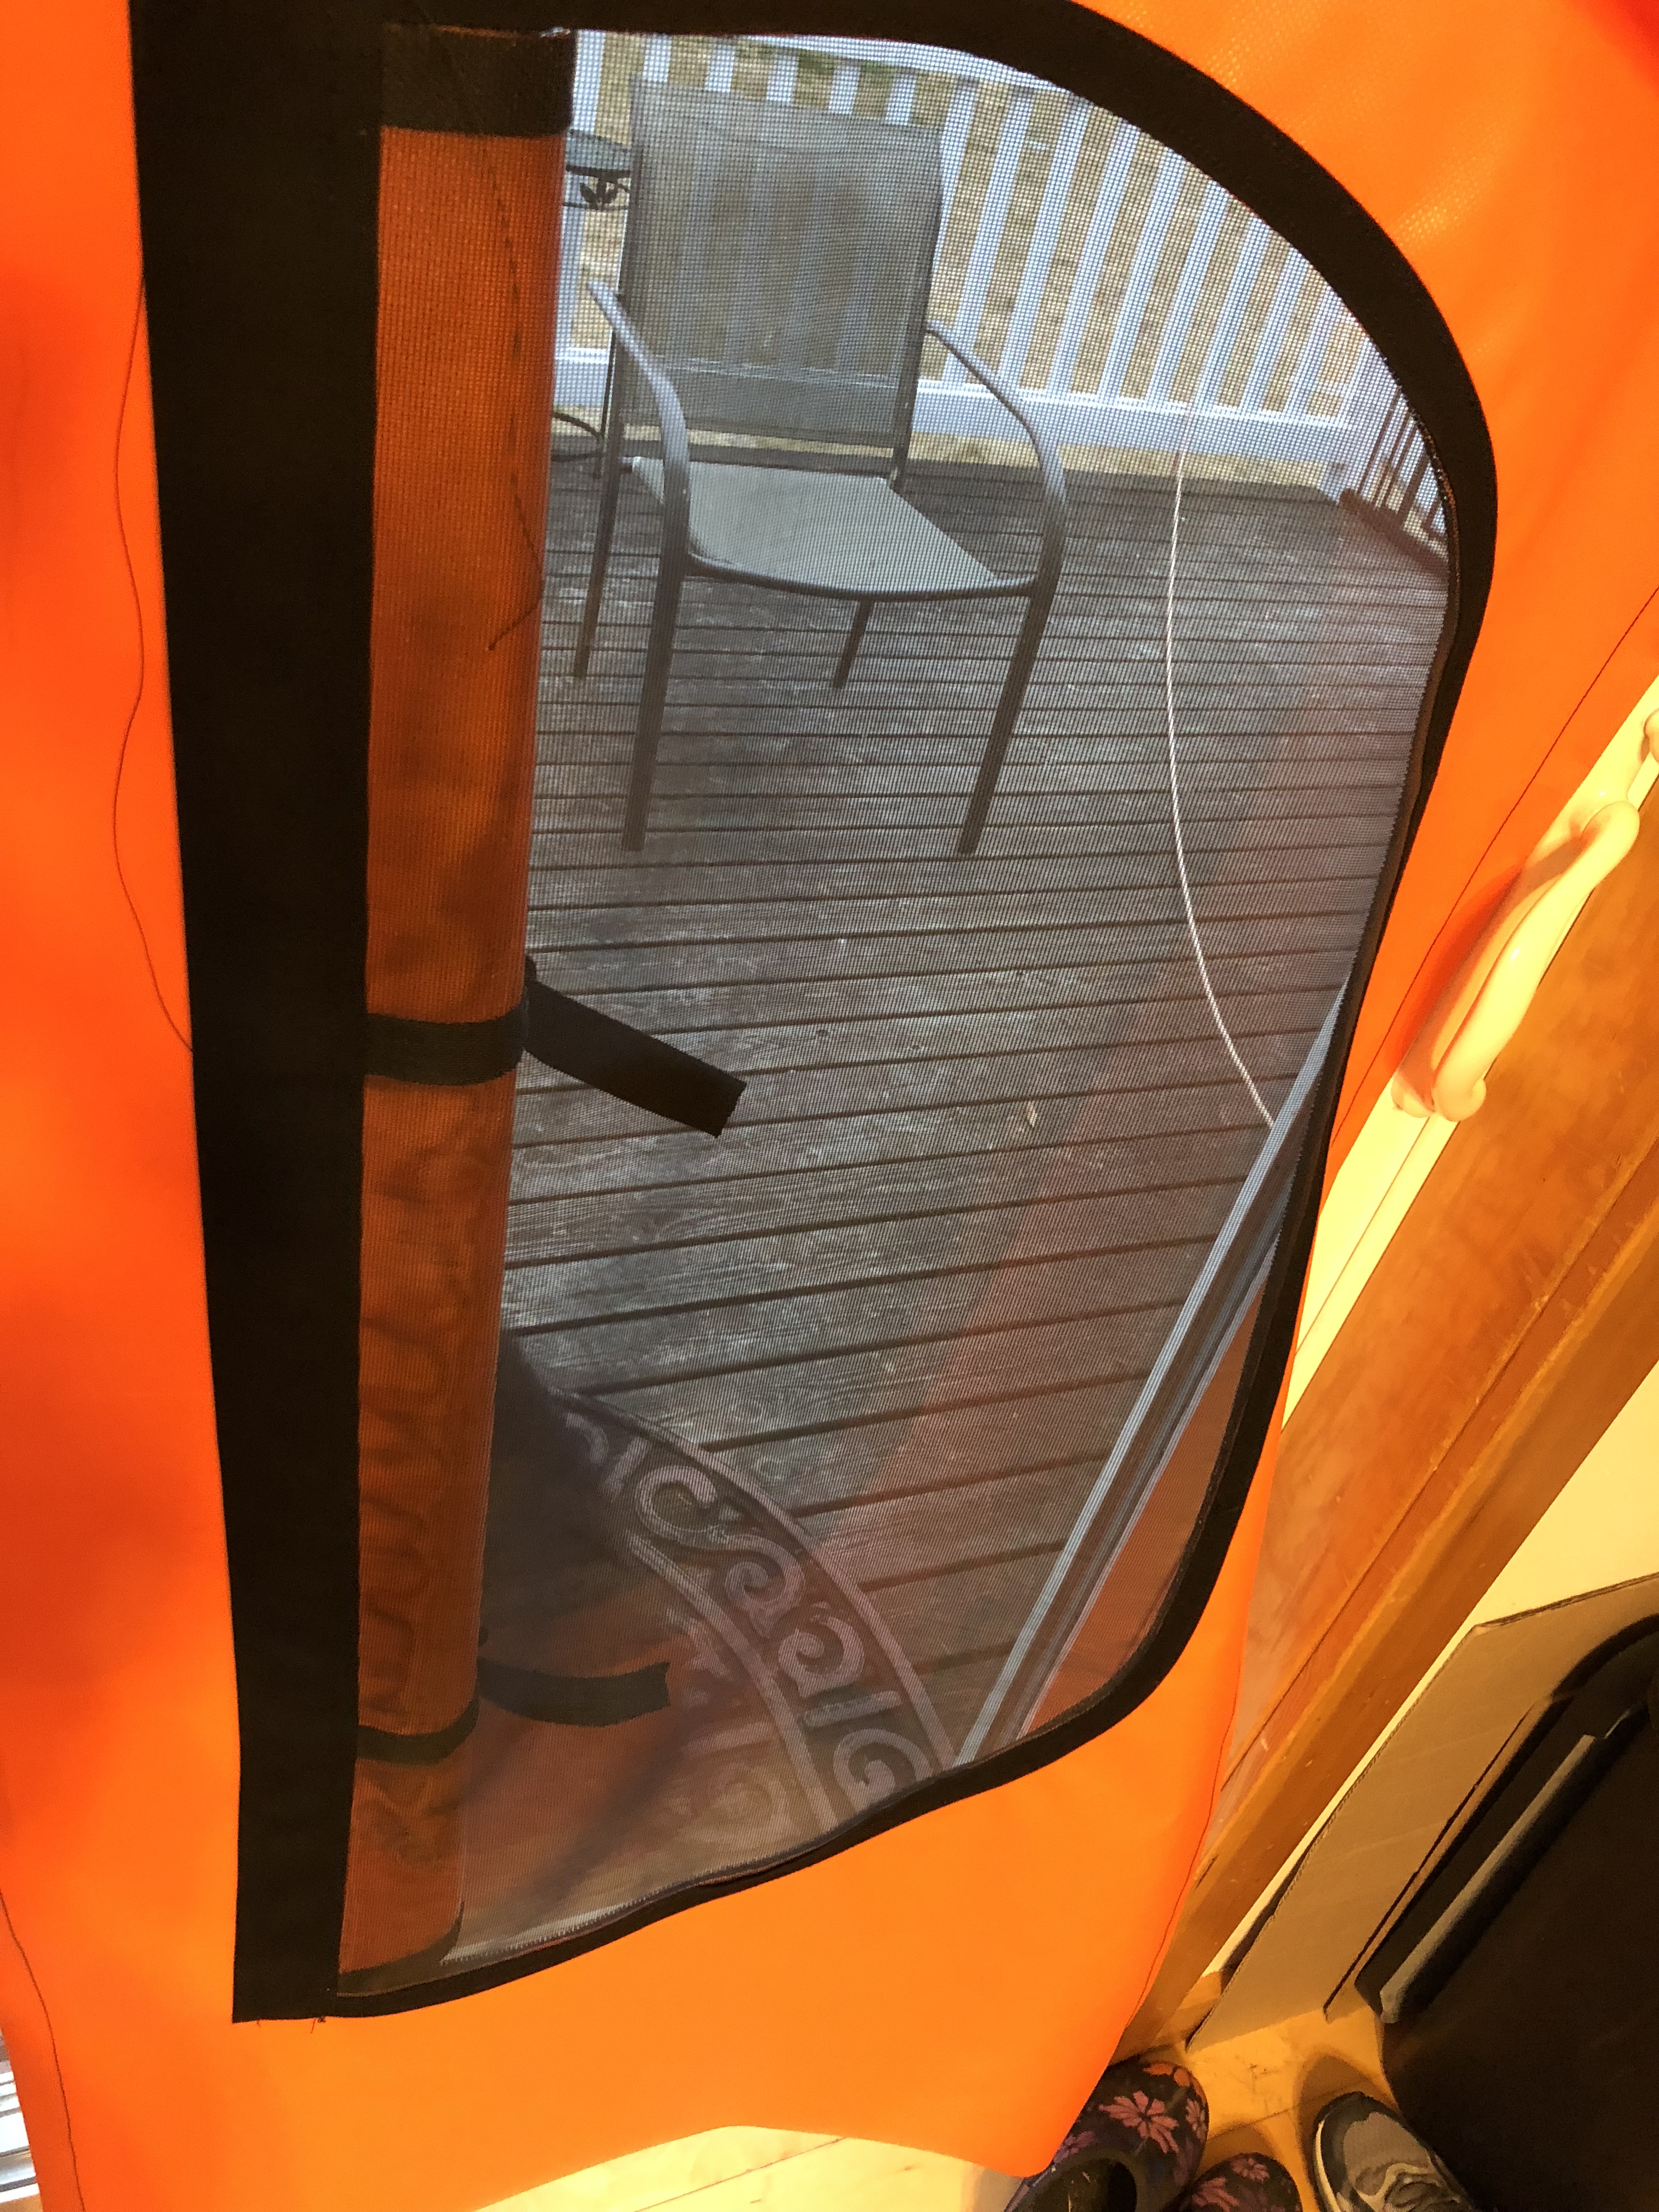
The windows are 34″ x 16″. So they’re actually pretty darn huge! 😮 We never opened the windows in our roof top tent, so I hope all of this effort to put these windows in is worth it. At least they’re going to be bit enough to flow a ton of air and allow us to look outside.
This thing took me on and off most of the day today. I’m hoping the remaining 3 windows go a little quicker and a little smoother. Overall, I’m pleased with how it turned out, minus the few issues I had.
…and the orange look rad next to the gray camper! 🙂