This is another one of those projects that I started under the misguided idea of “why buy something if you are capable of making it yourself?” and then I spend time and money making something I can readily purchase. In this case, I had seen some cool cargo nets that go in the ceiling of the truck for lightweight stuff like jackets, pillows, sleeping bags, tents etc. It looked super useful because I hate just stacking all of that stuff on the ground where it can get dirty and wet!
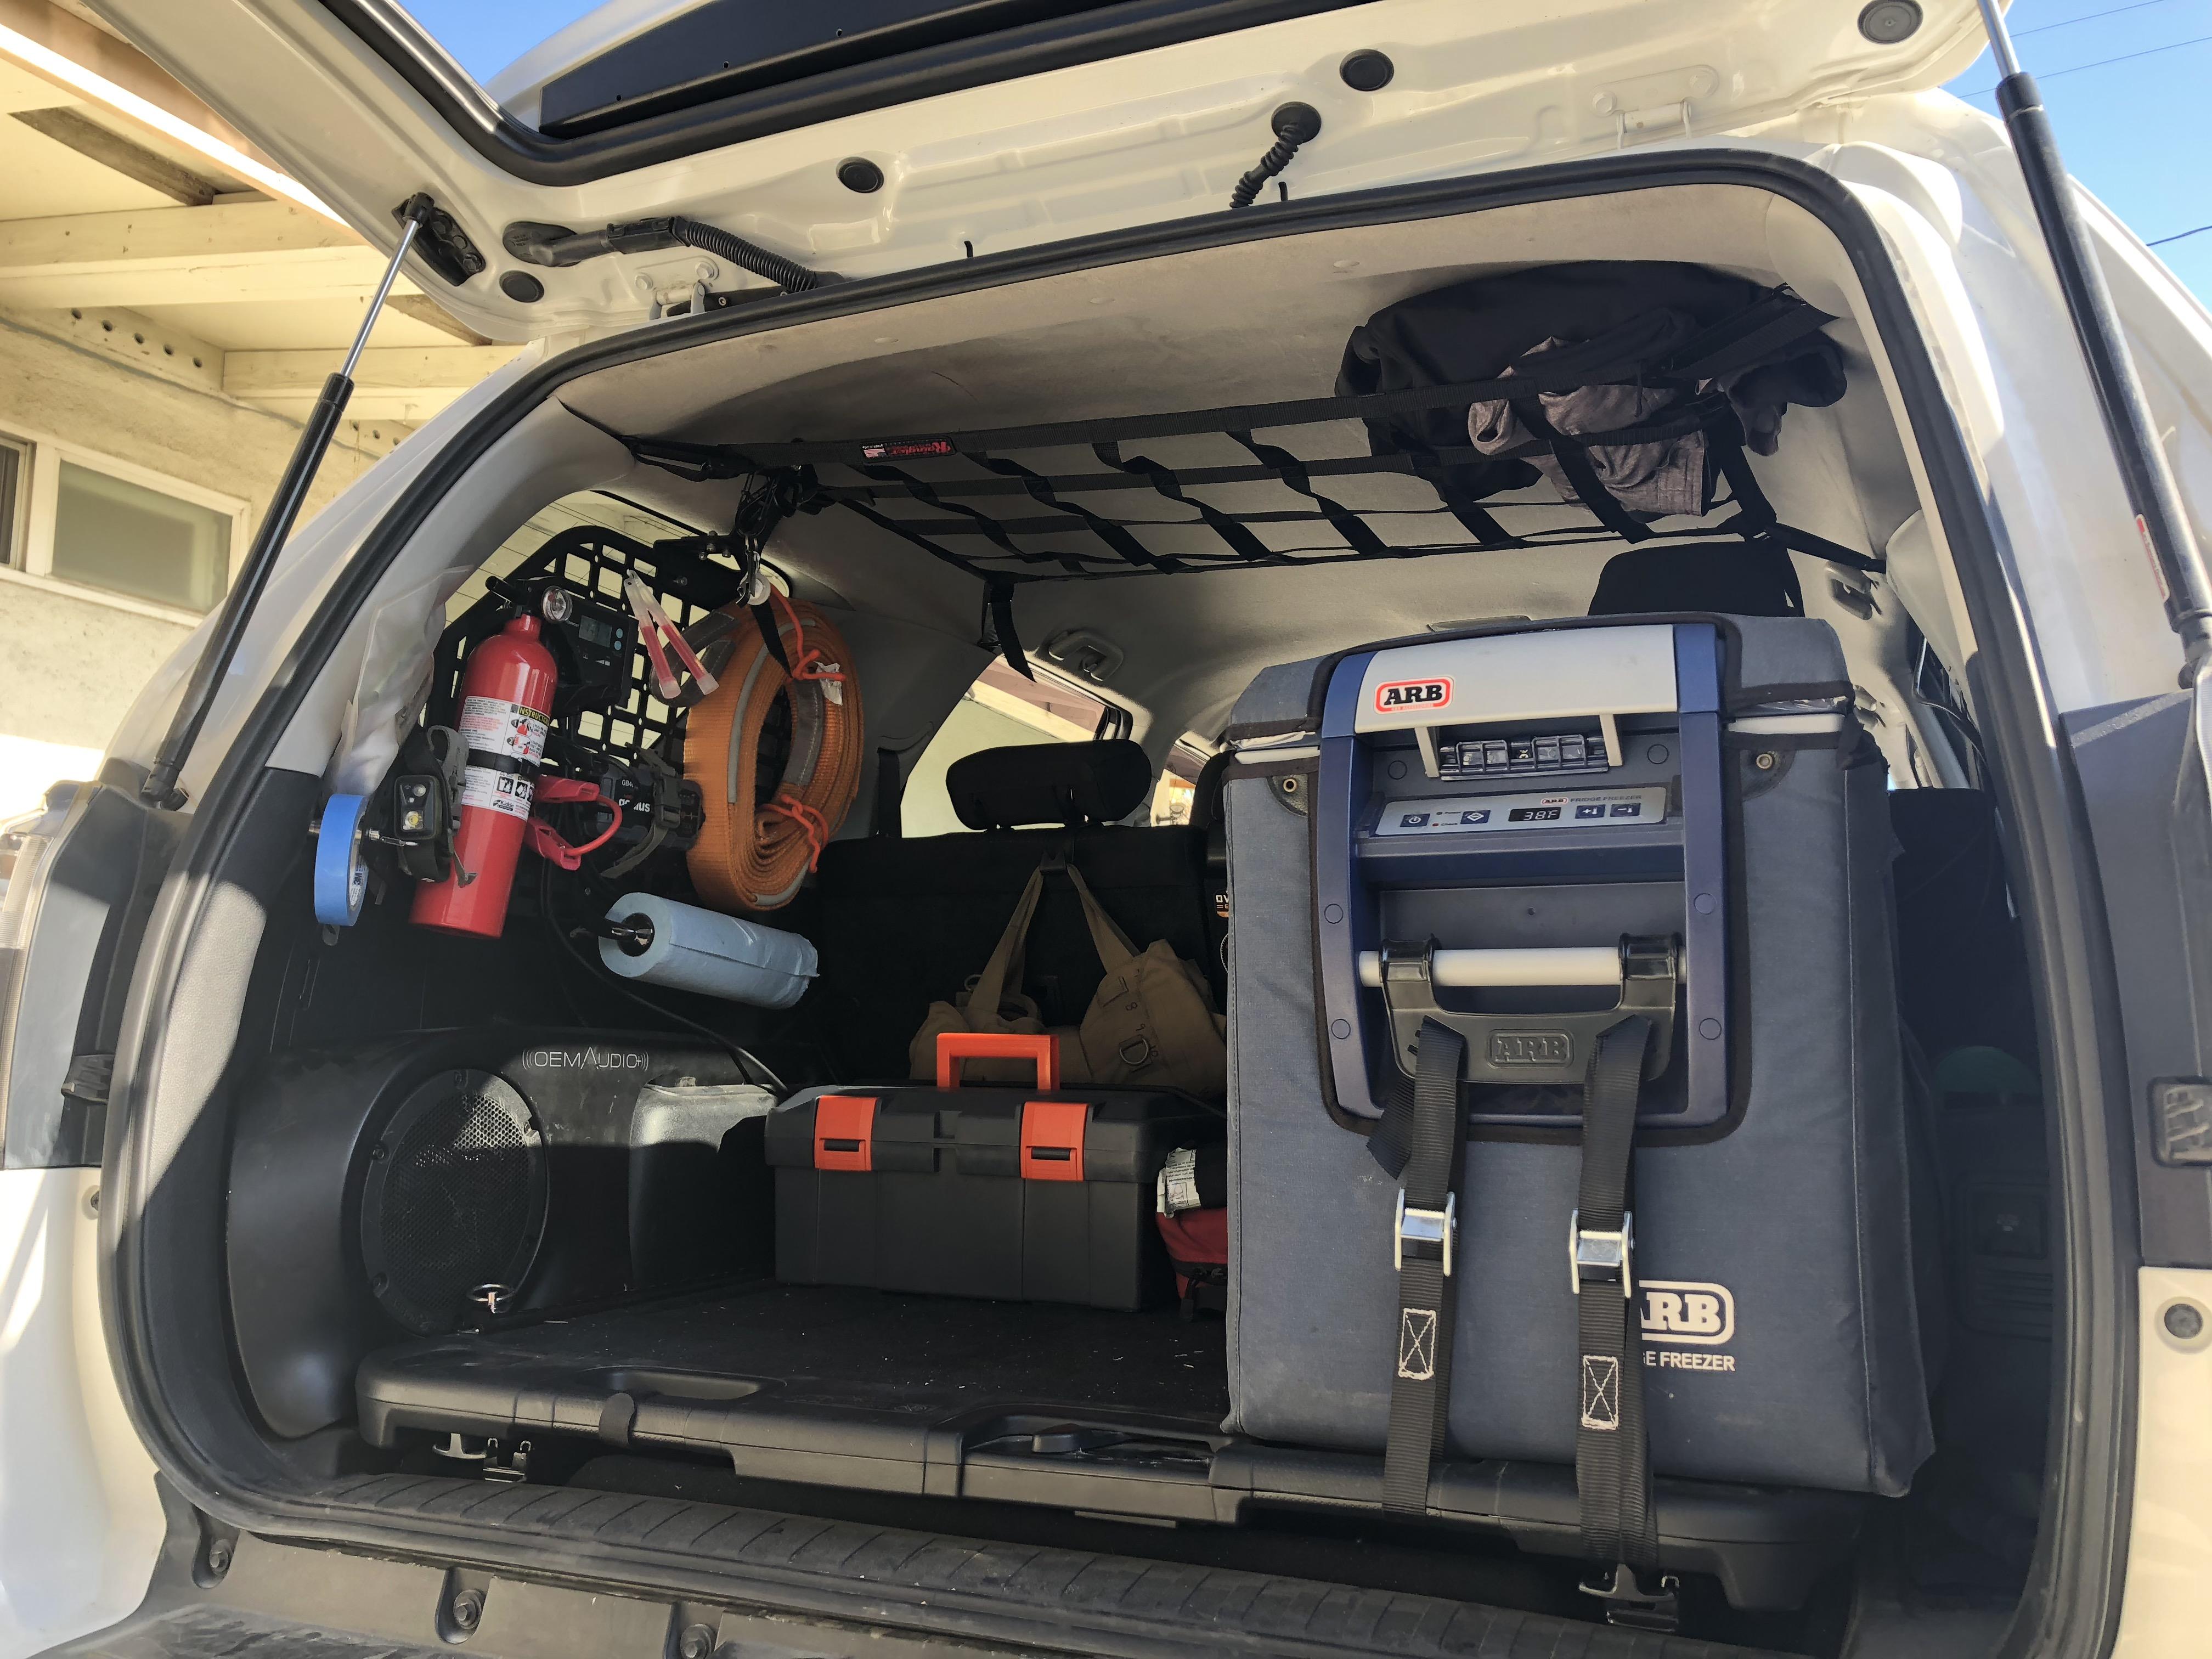
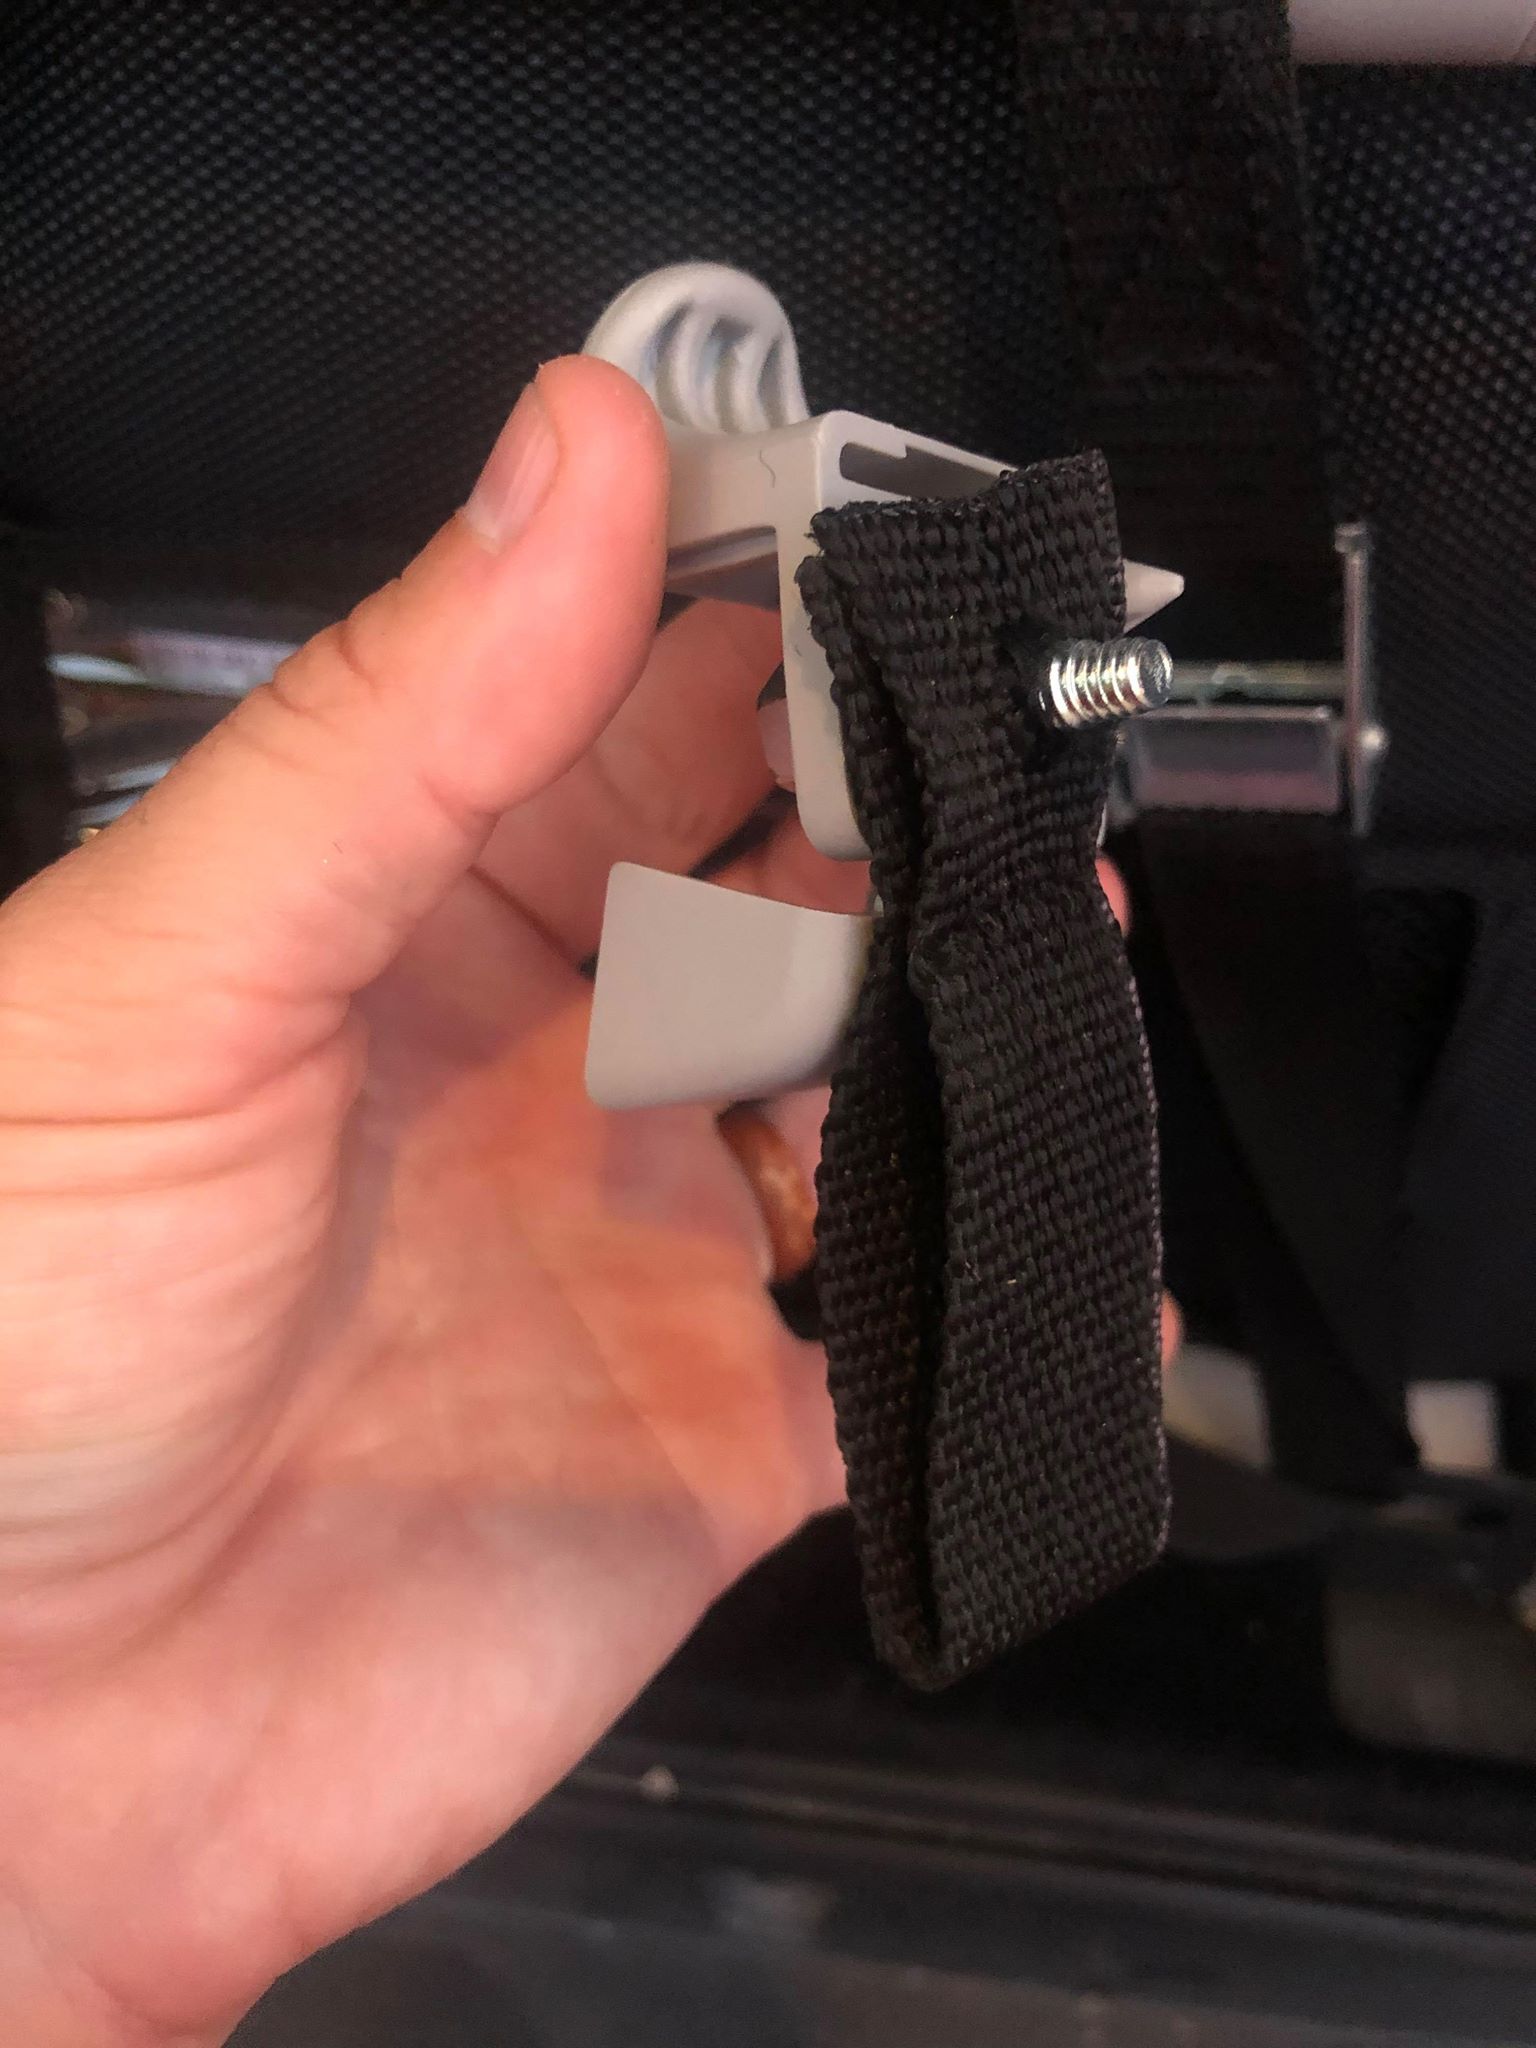
The nets you can buy actually add additional attachment points to the truck. I didn’t want to deal with that so I decided to make my net strap to the grab handle in the back seat and to the hanger in the trunk area.
Famous last words: “how hard can it be?”
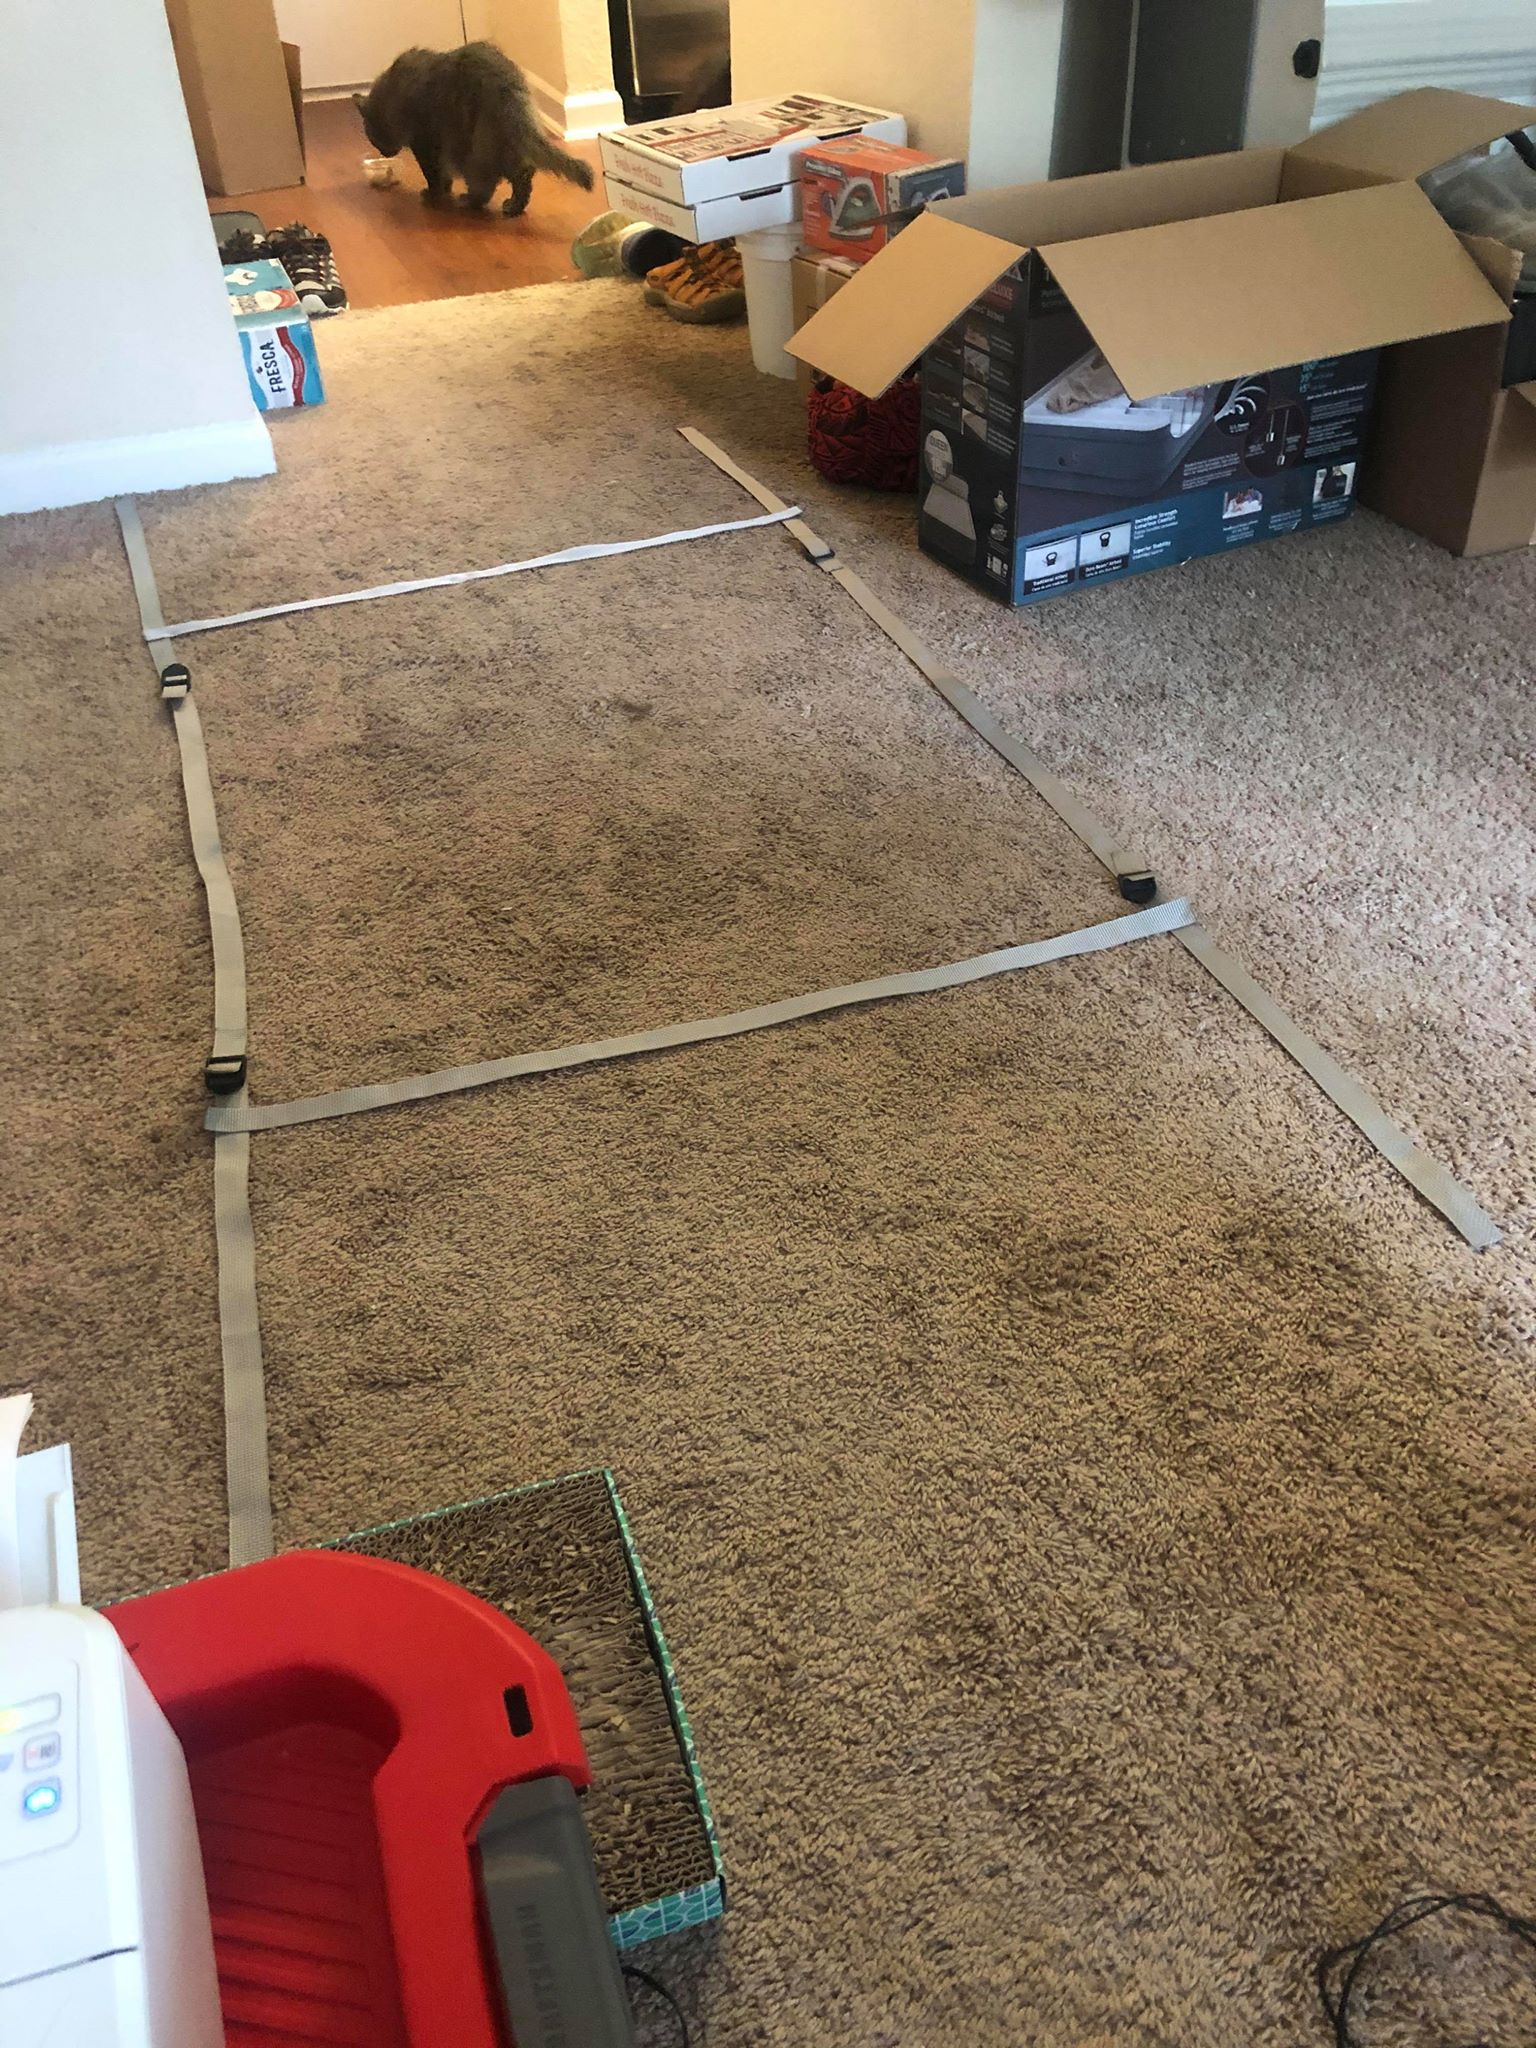
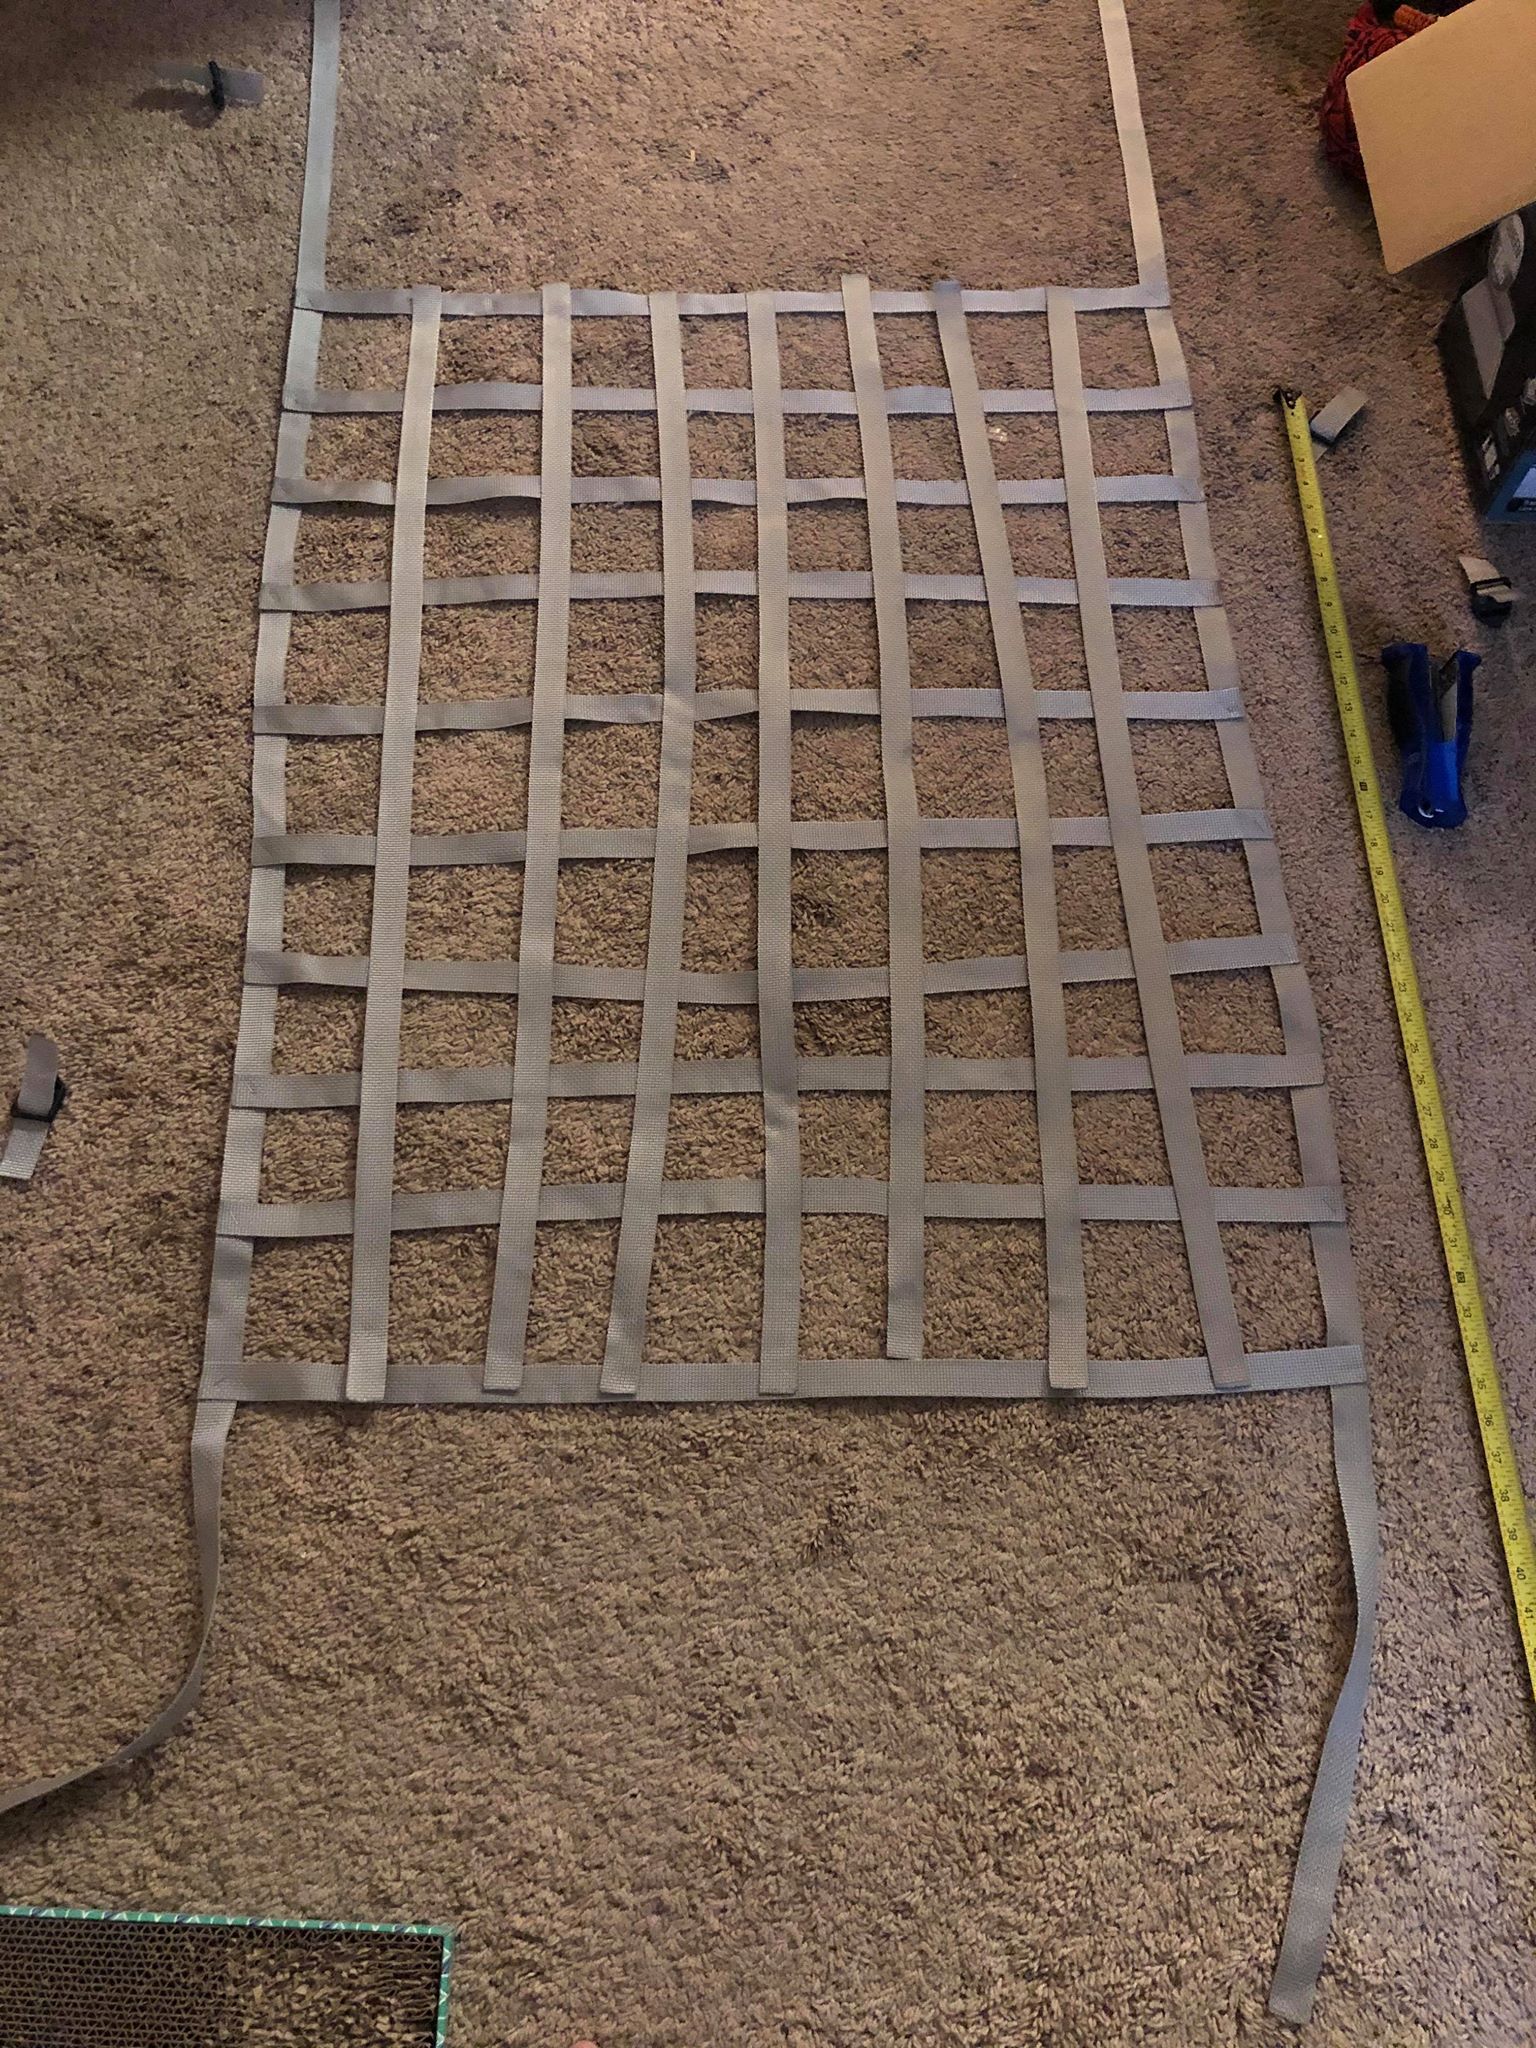
Step one was finding my sewing machine, watching a video on how to thread the darn thing, and watching another video on how to sew the little box with the X in it that they use to join webbing together. It’s been a while since I’ve sewn and this machine isn’t very user friendly. The dimensions for the netting were set by the spacing across the inside of the roof and the distance between tie down points. After measuring a few times, I cut some webbing and laid it out on the floor. I found that stapling the webbing together would keep it in place enough to sew it and not have it move, so I did that one section at a time.
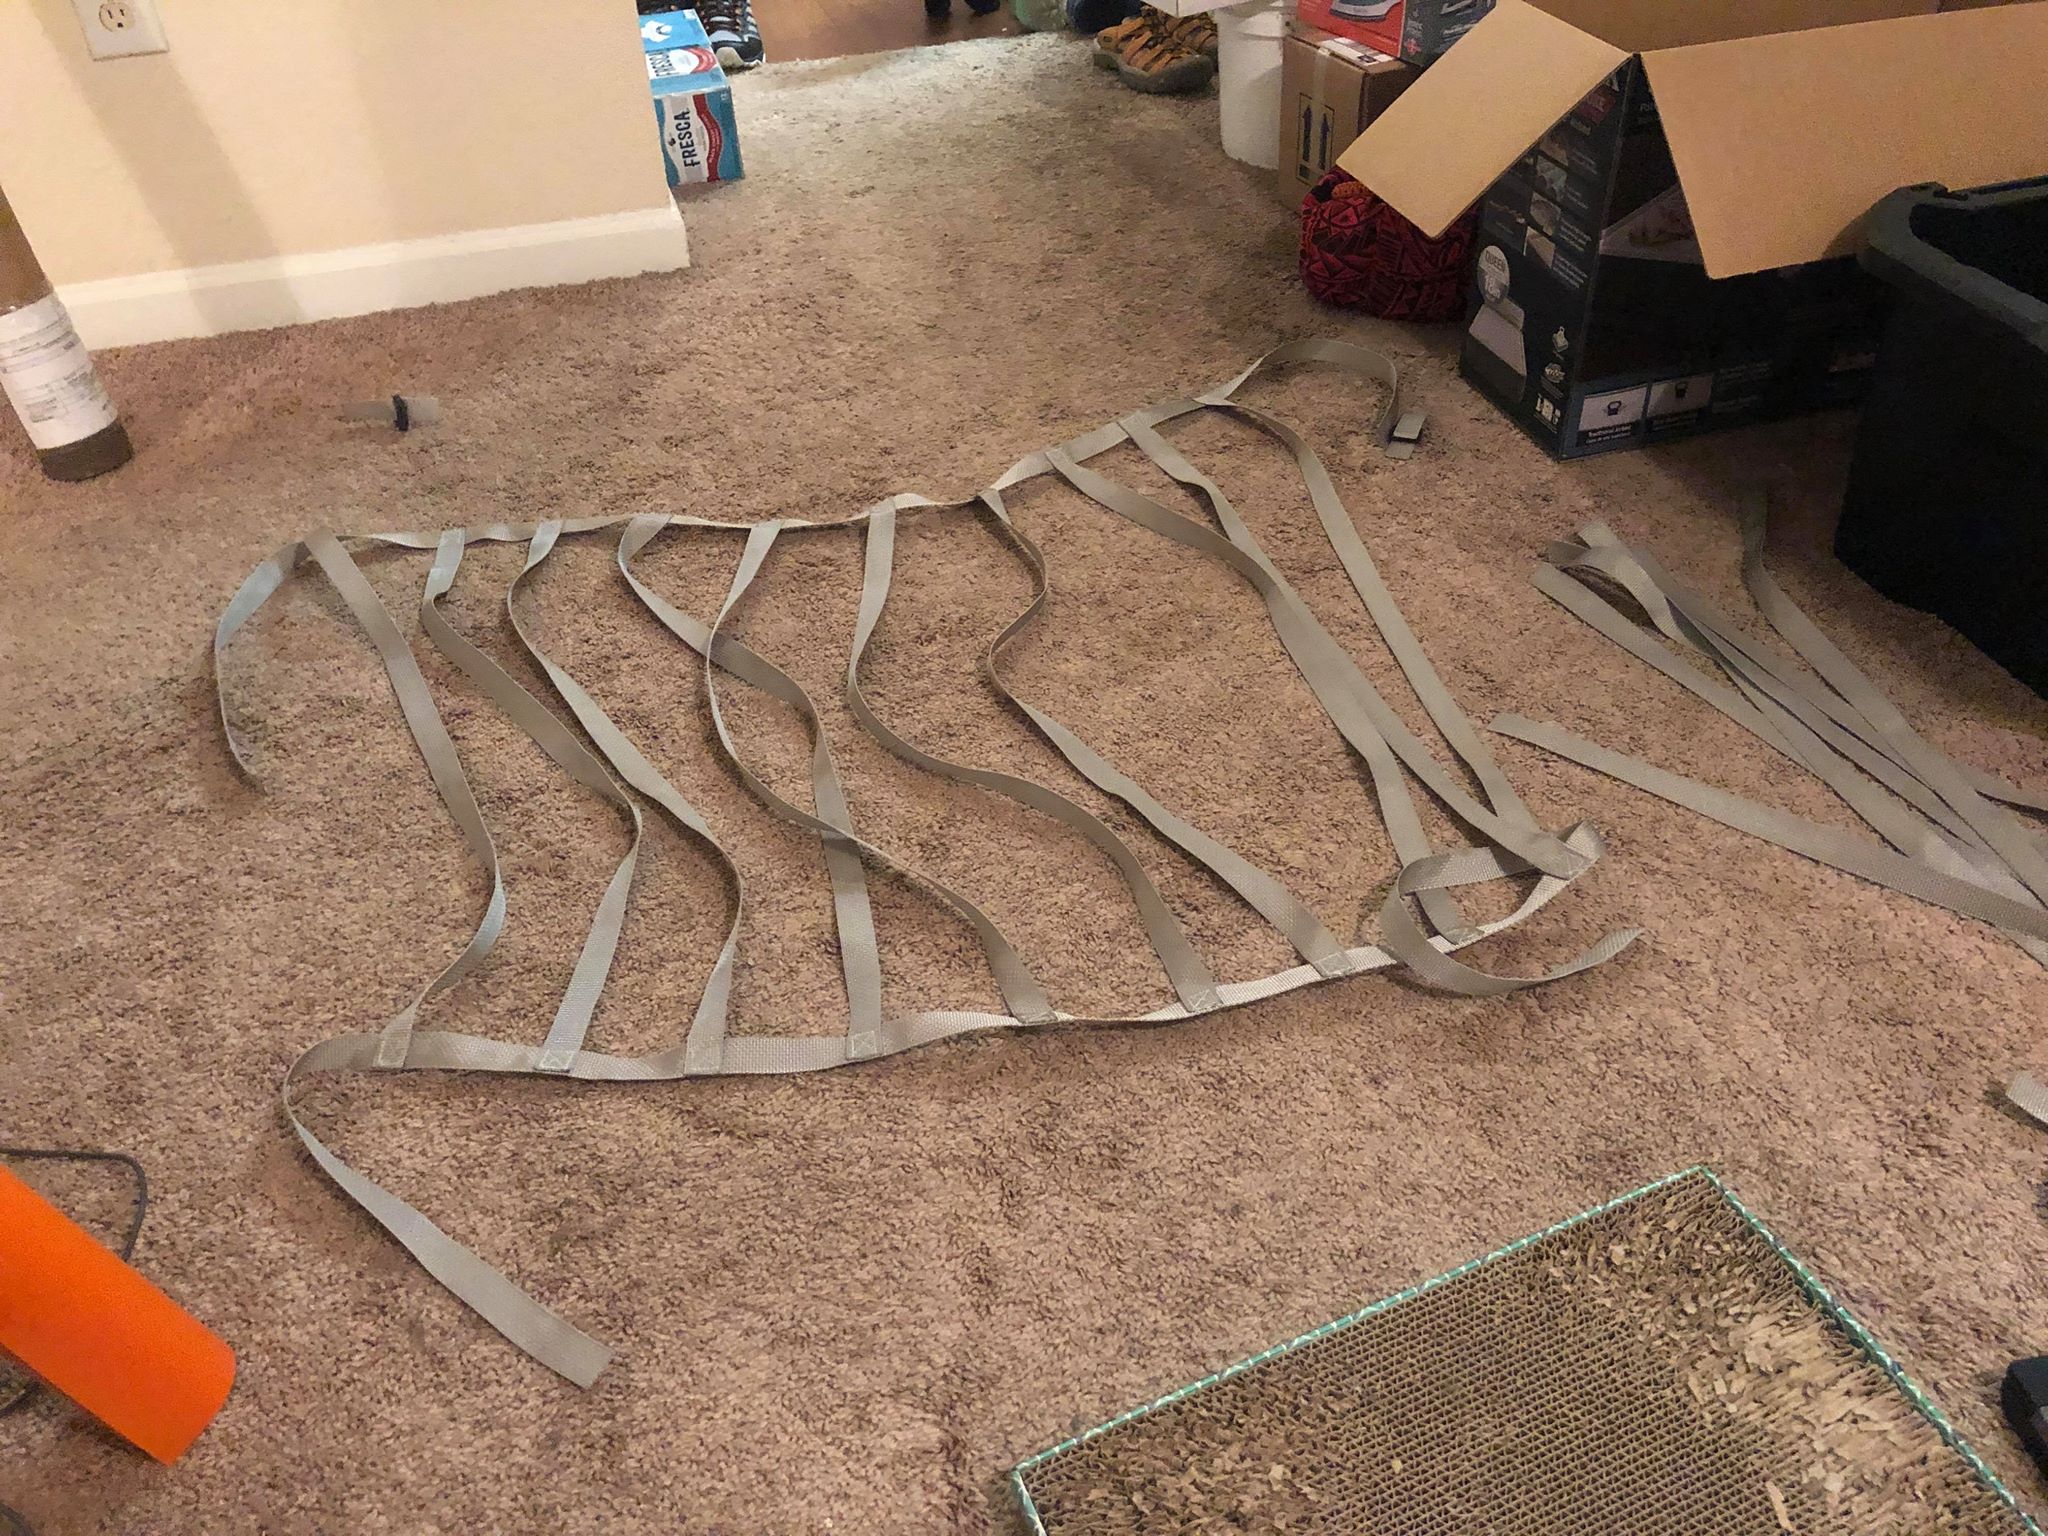
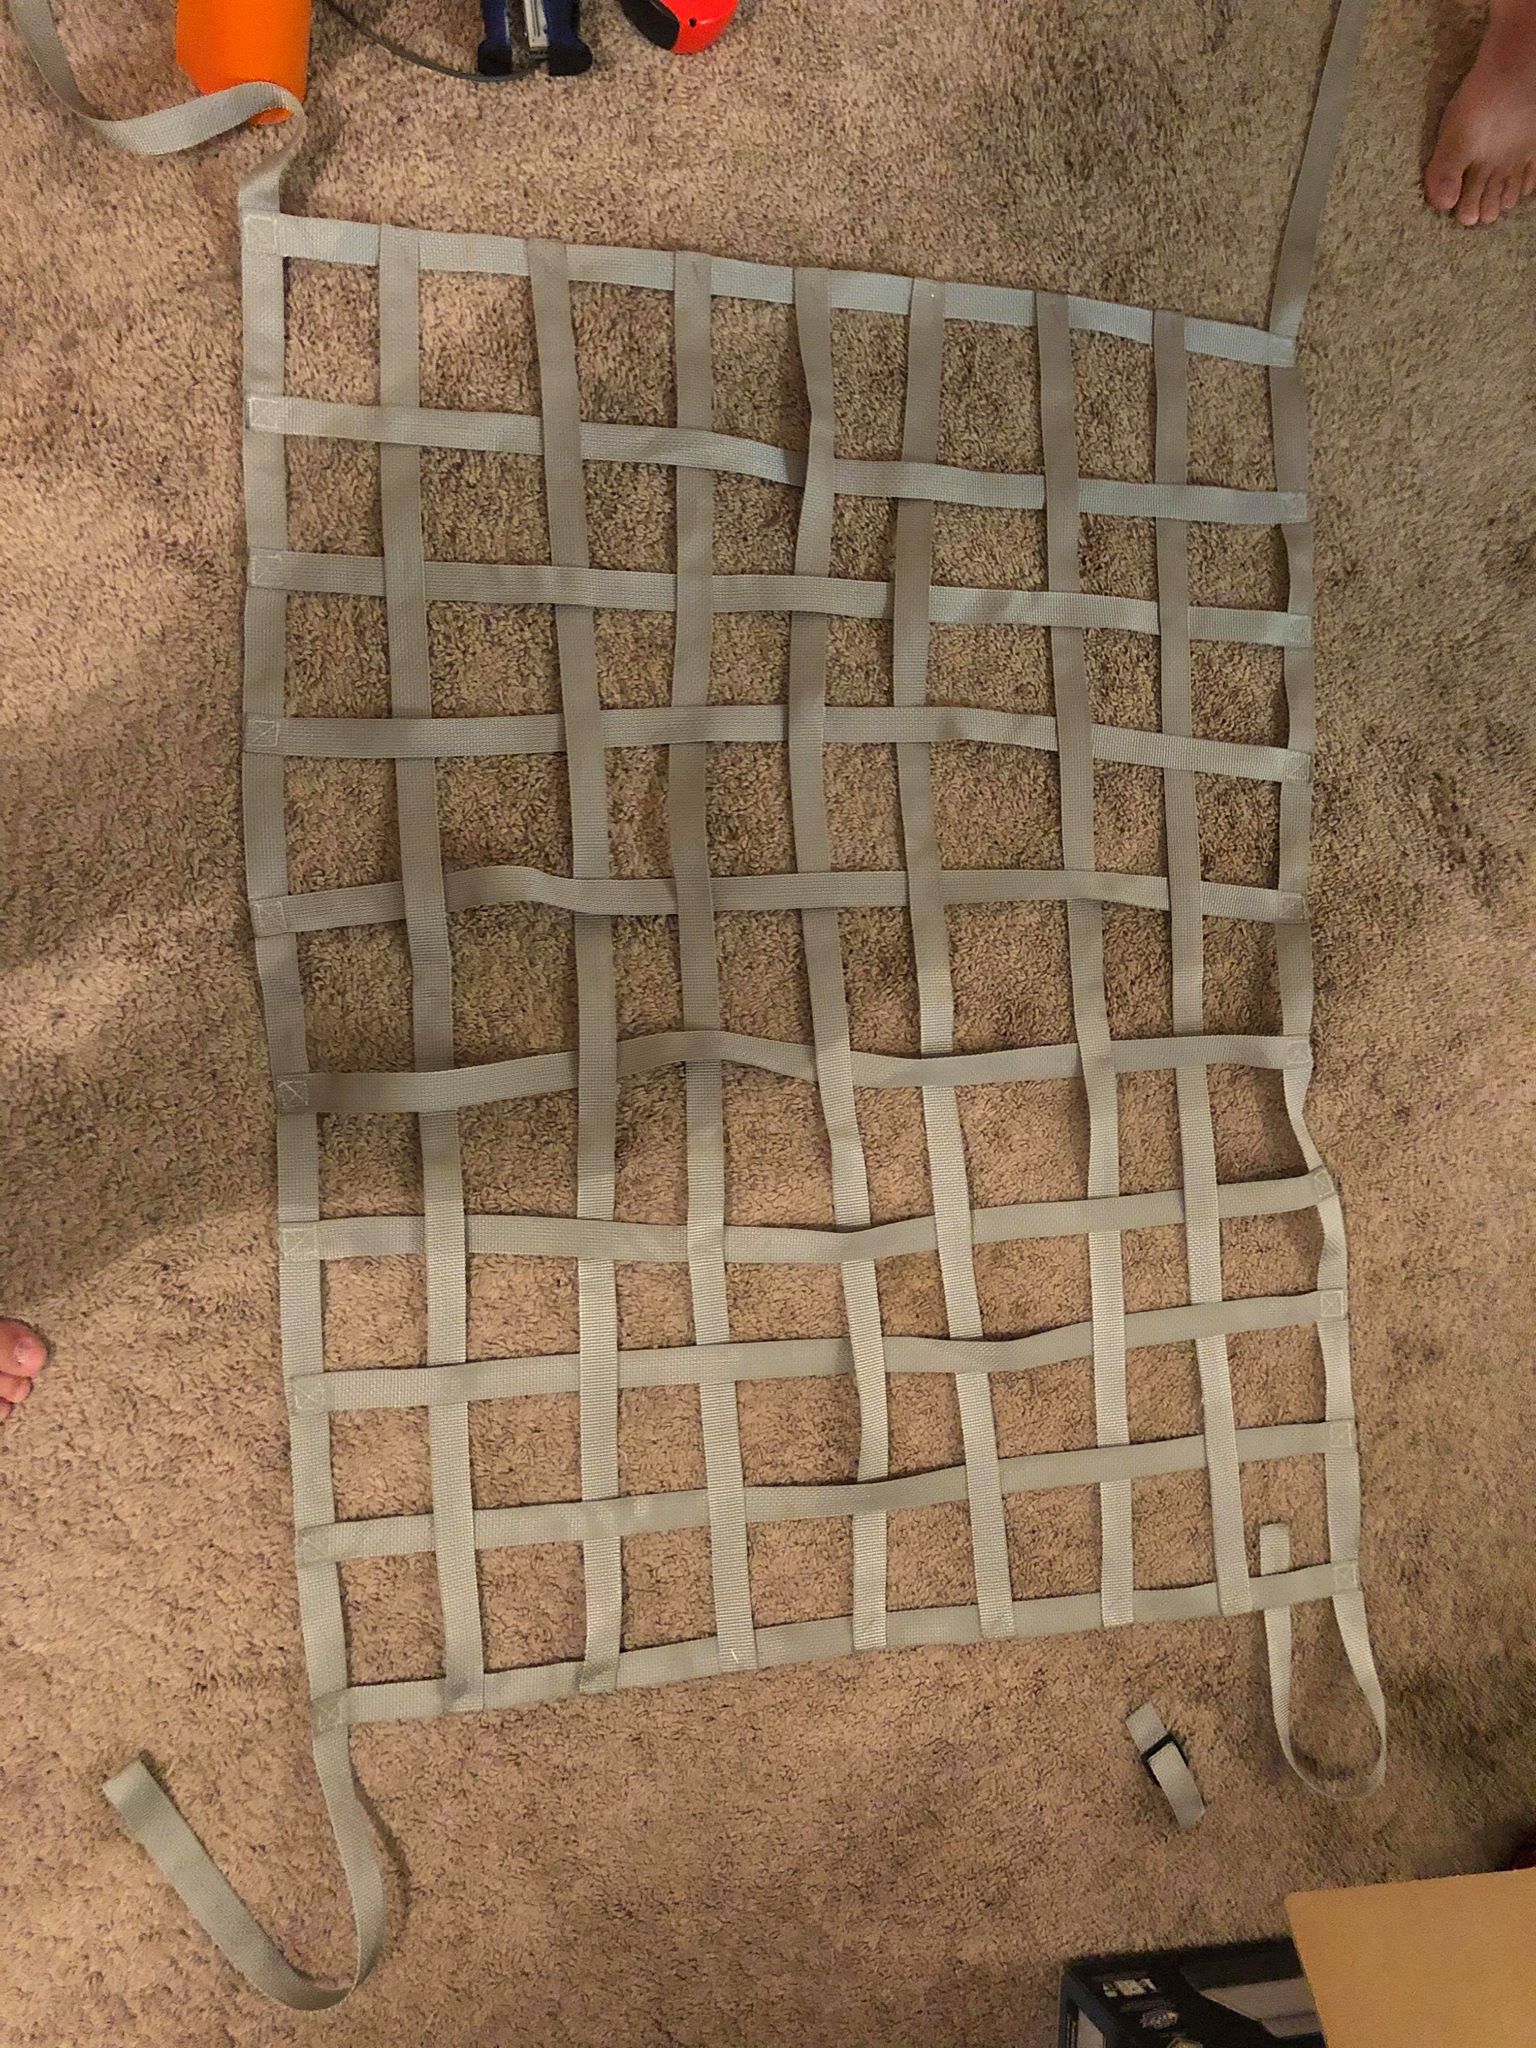
One thing I failed to take into account when I thought webbing would be the easiest way to go was that each of these squares has to be sewn together in the middle otherwise everything will just fall out. That’s a LOT of staple pulling and sewing little squares… I started out doing the nice little boxes, and then gave up and used my zig zag stitch in a straight line. Realistically all I’ll have up here is pillows, sleeping bags, and maybe a camp chair so it’ll all be light weight stuff. I don’t need maximum strength. That made it go a little quicker!
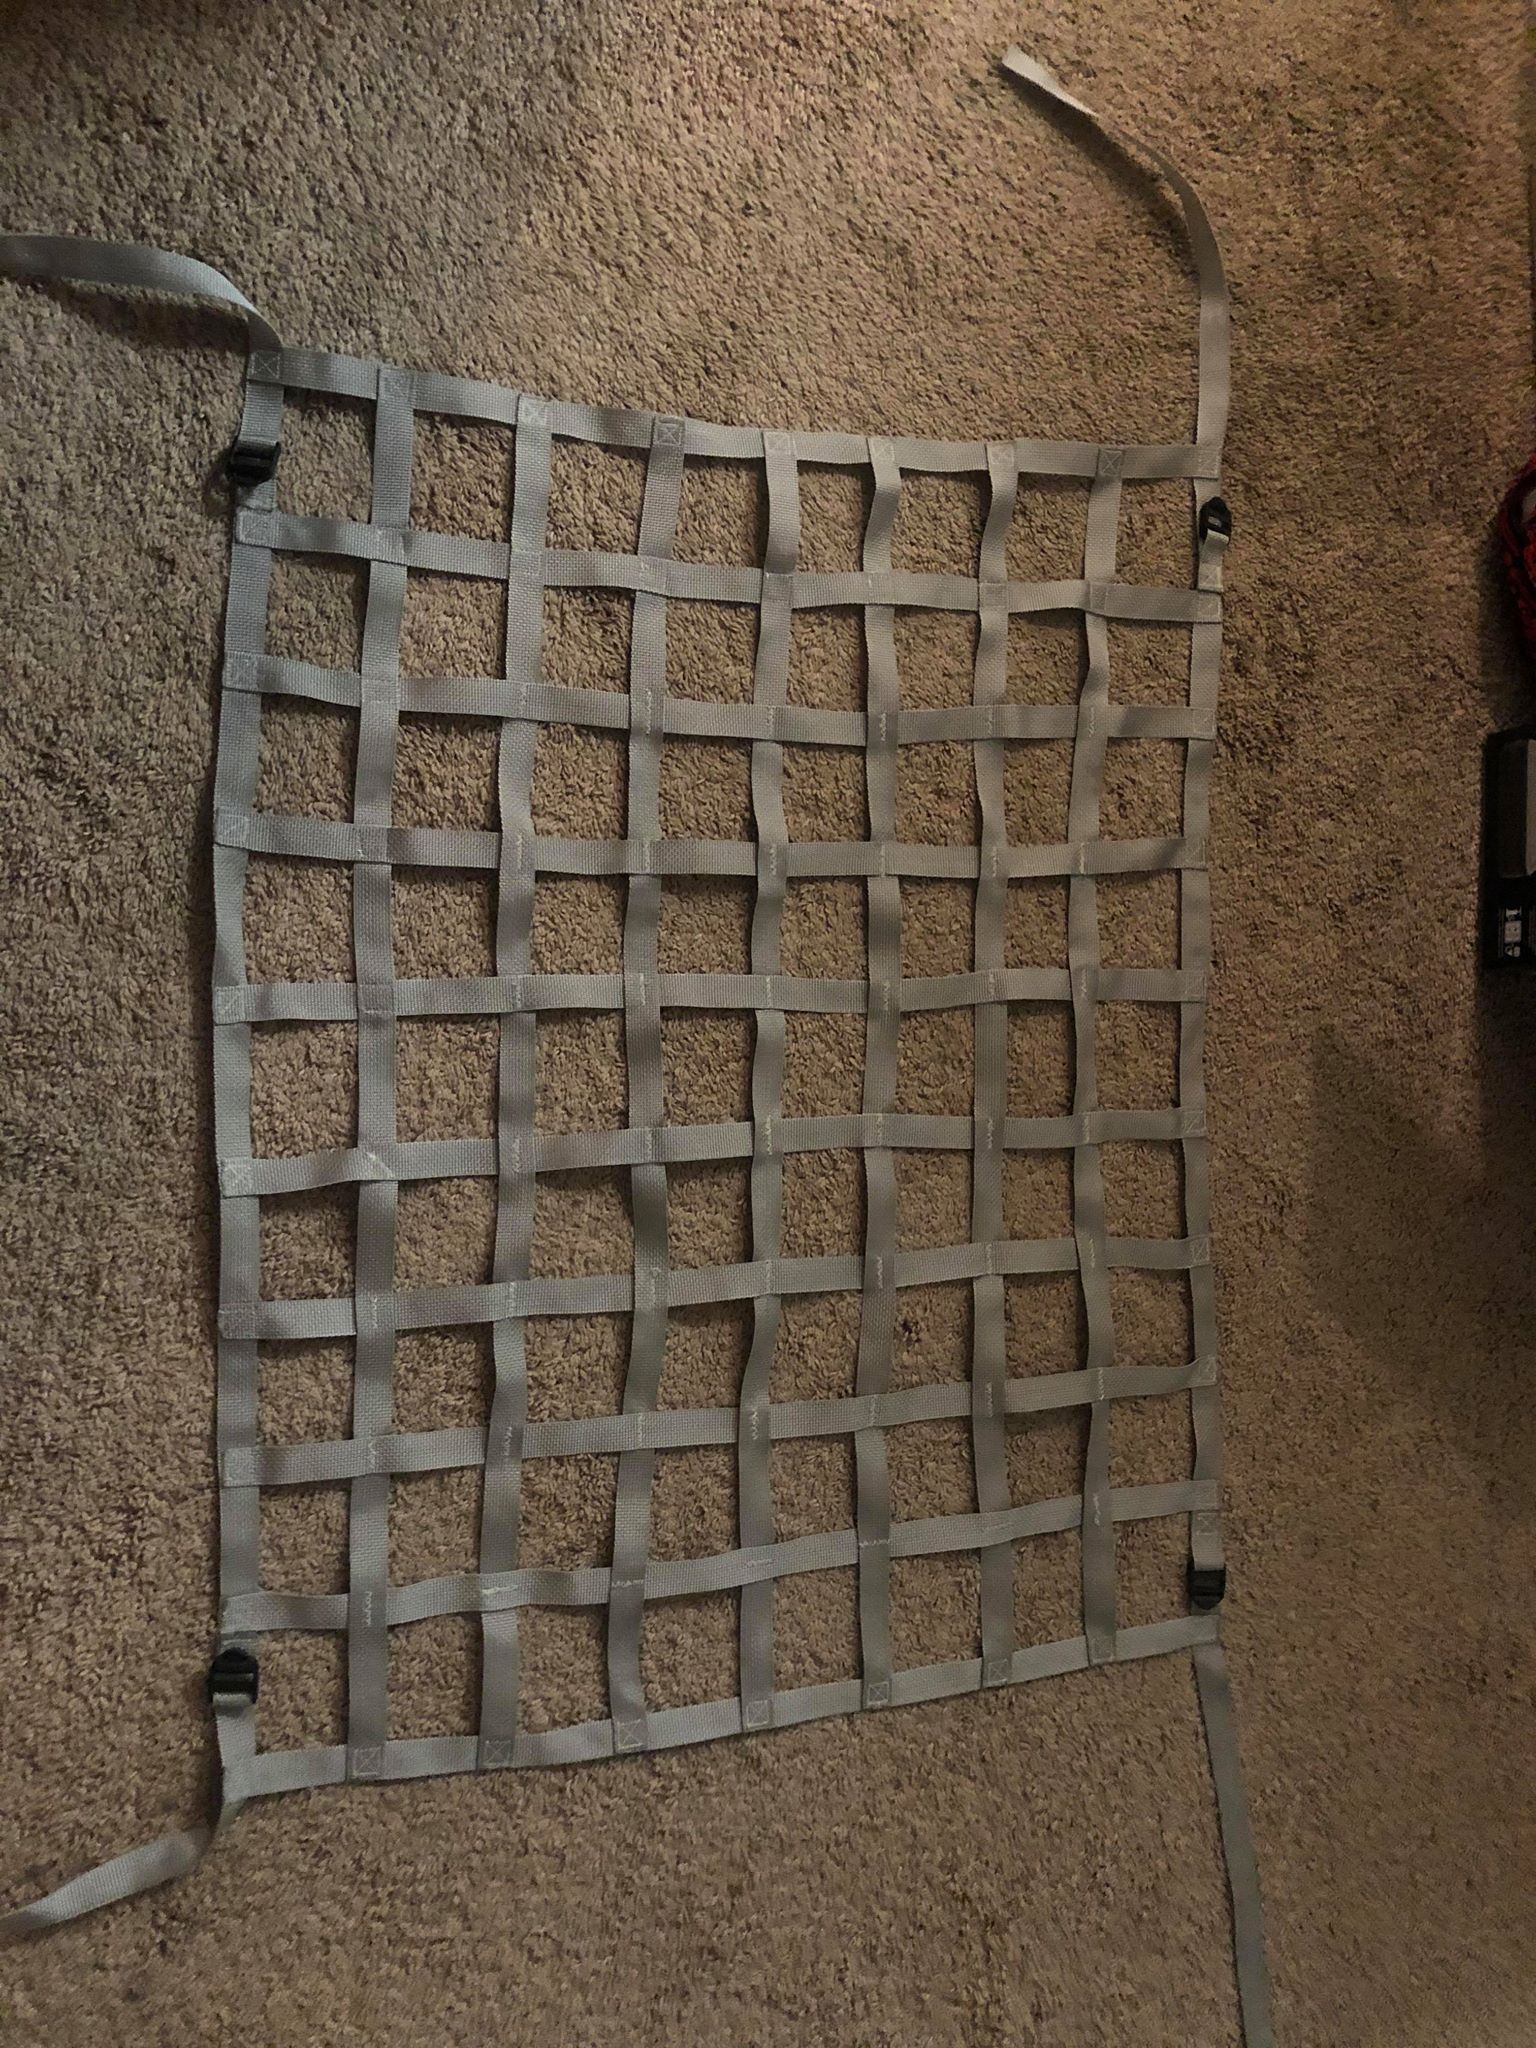
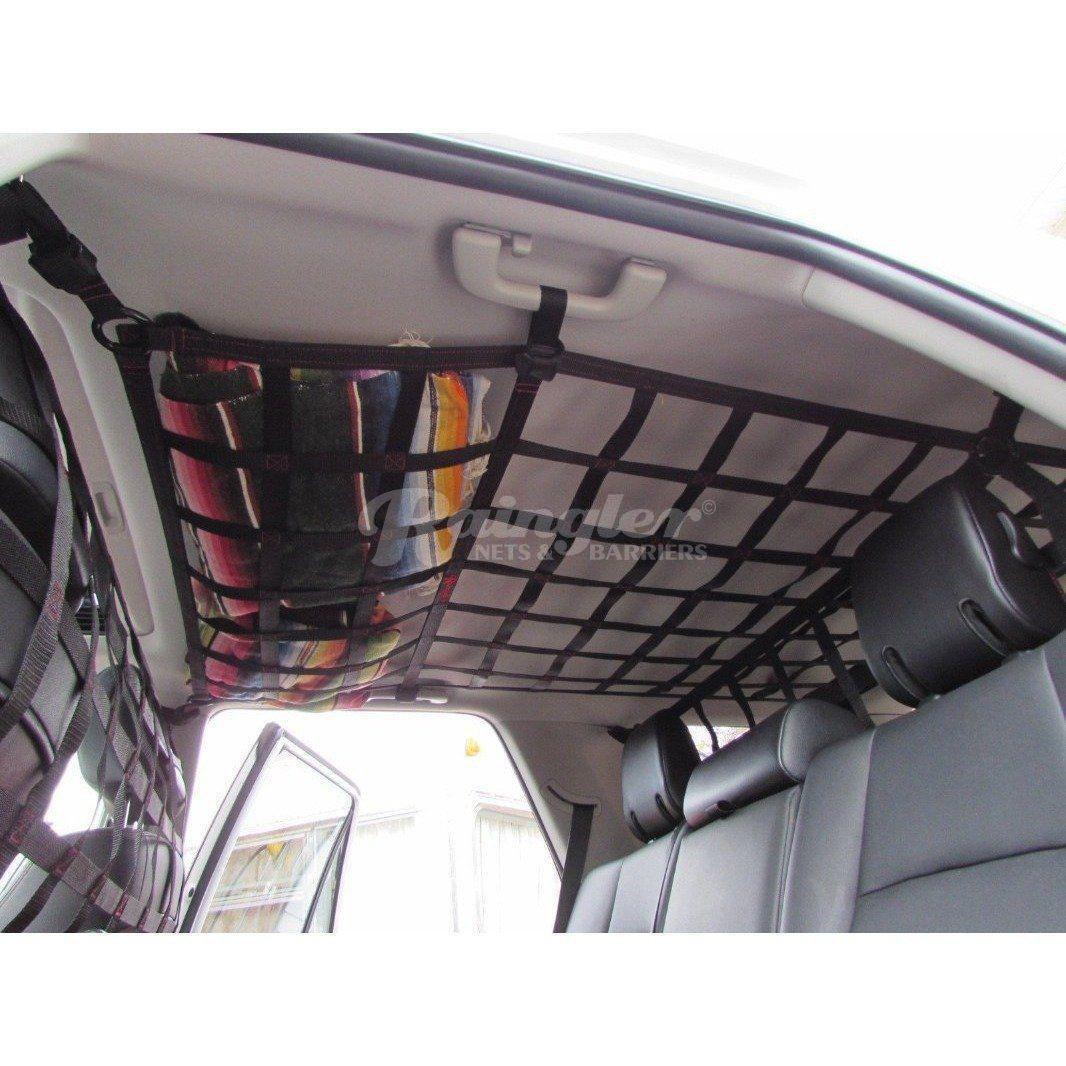
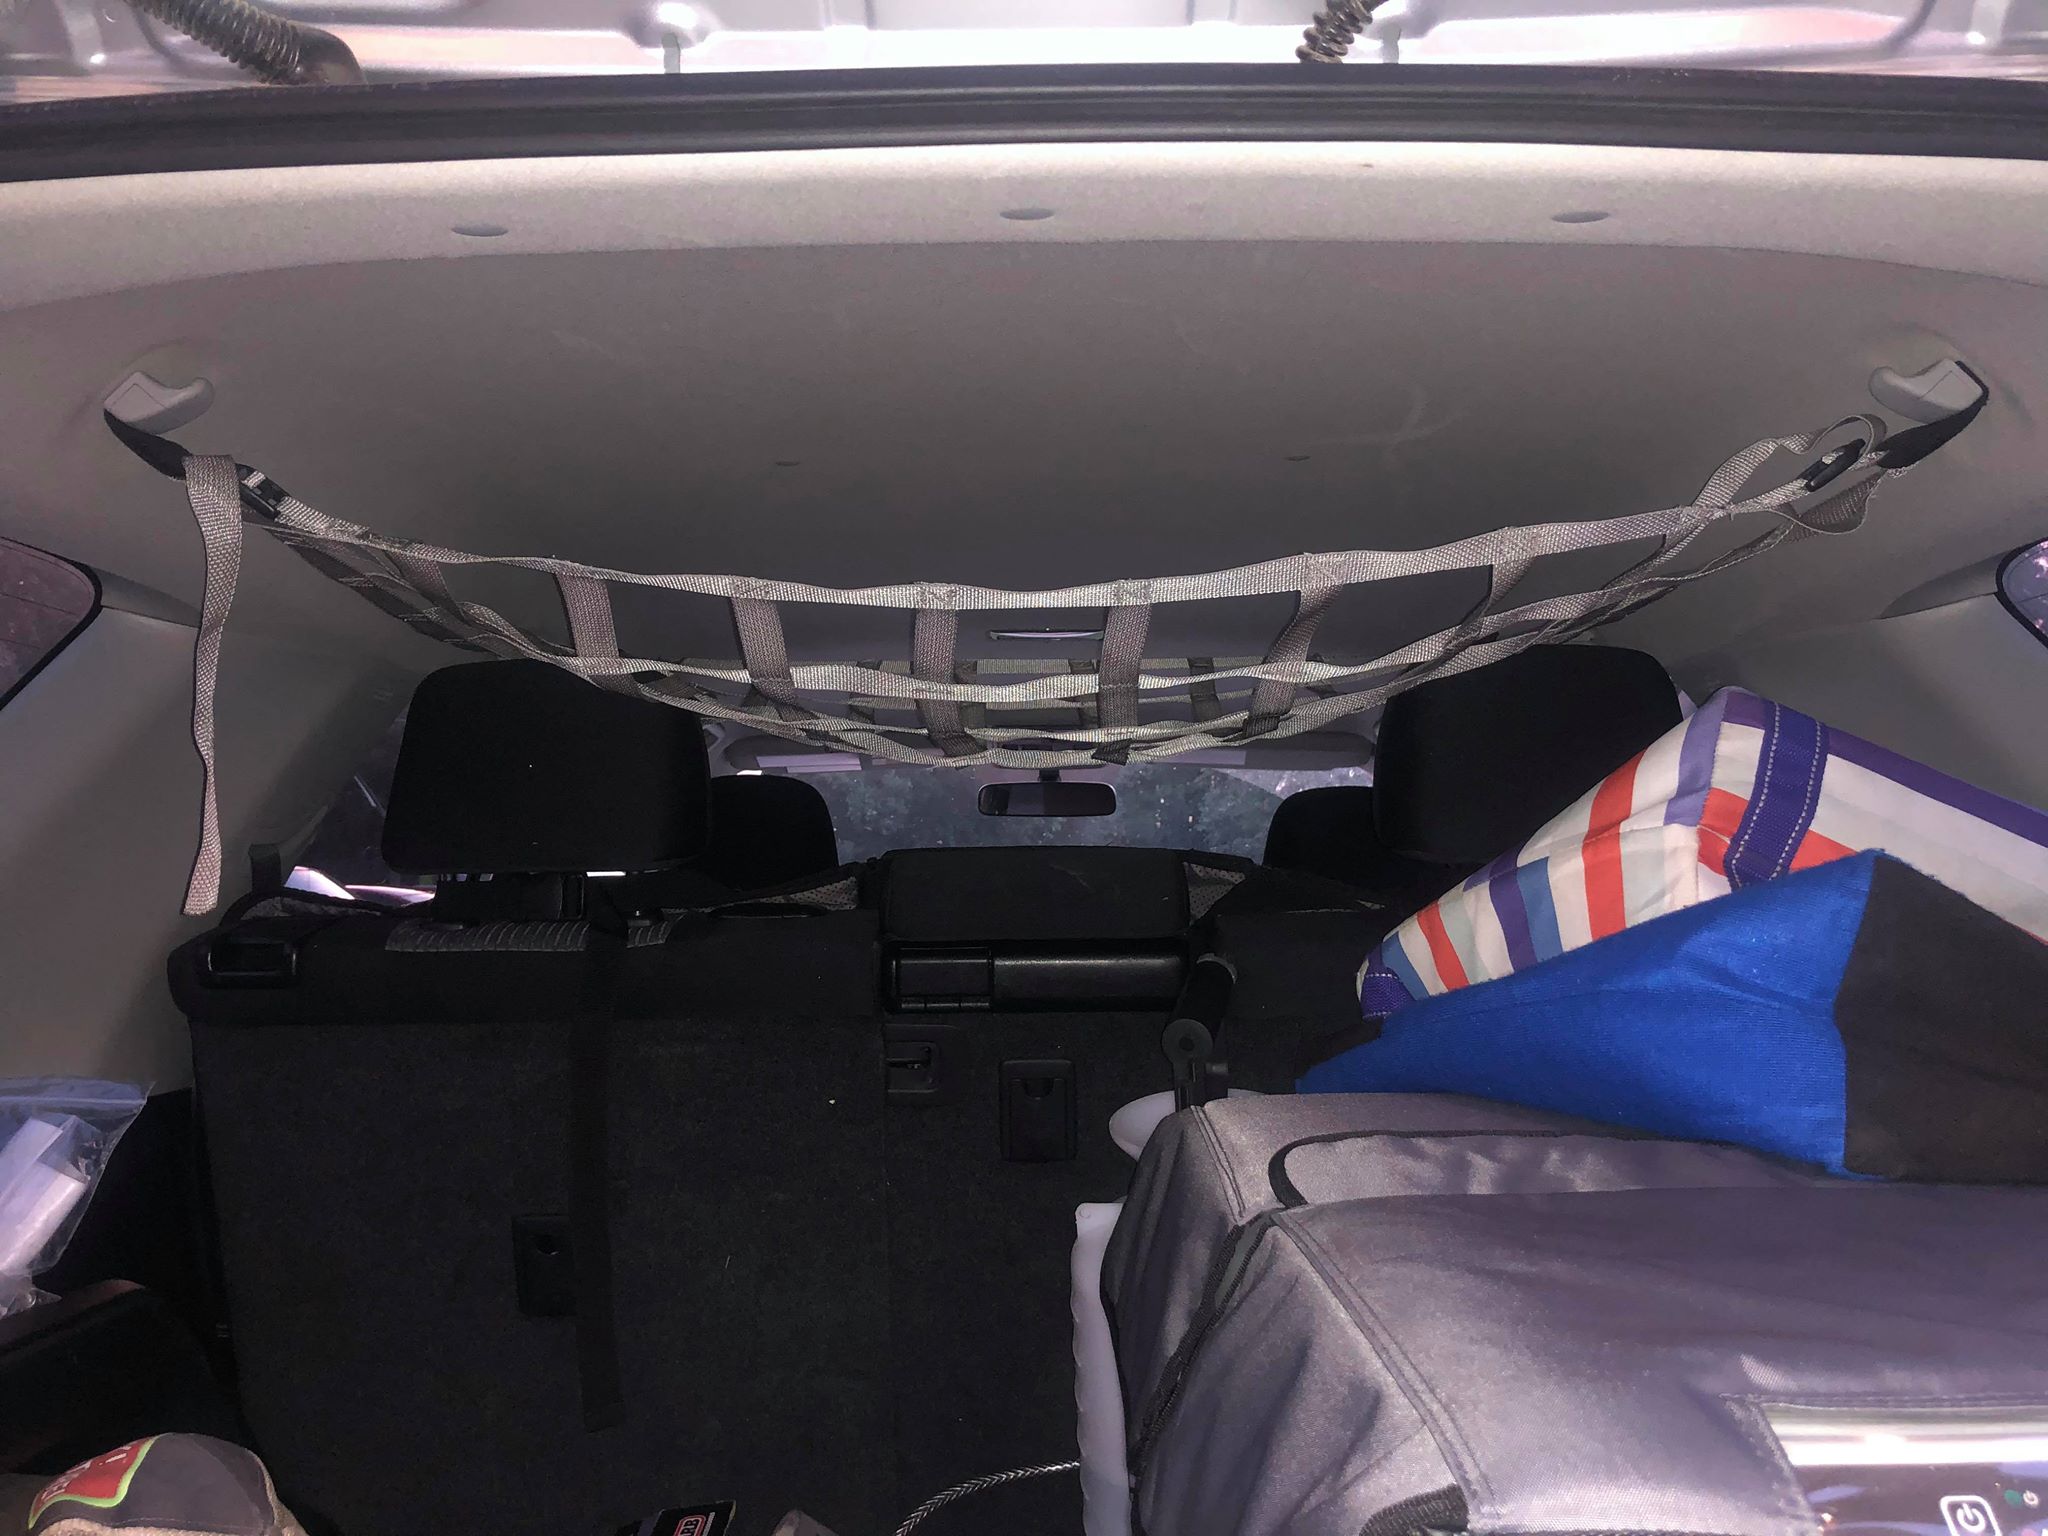
I overestimated the distance between the tie down points, so when I first installed the net it was a little loose. We eventually got it adjusted so that it was flat across the ceiling.
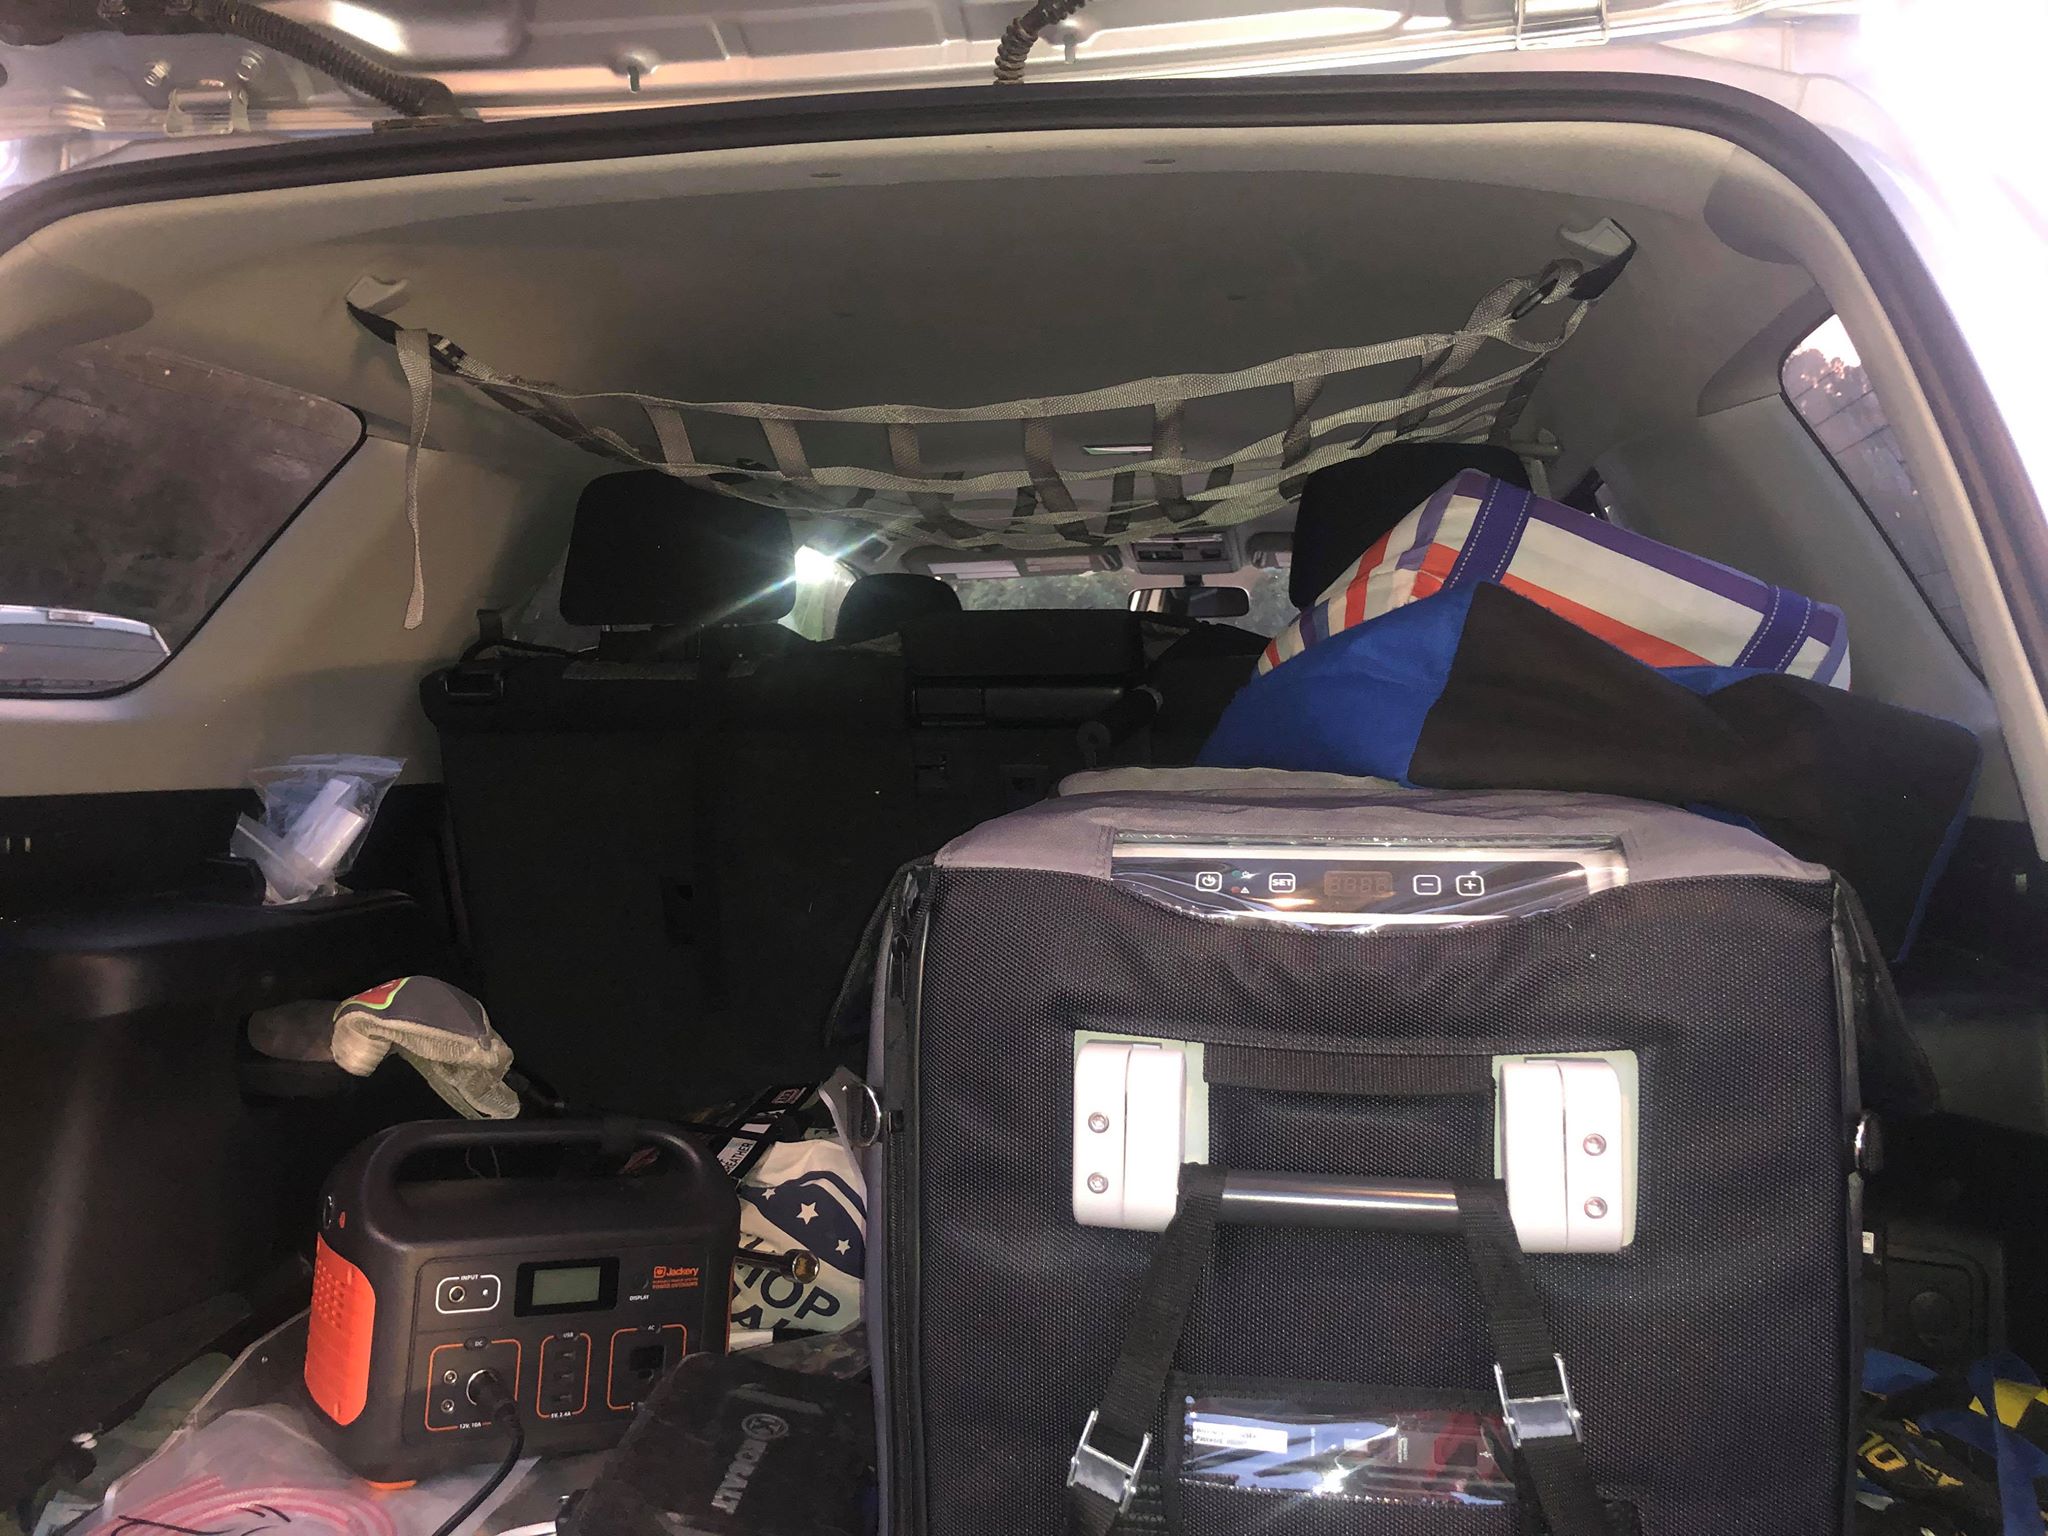
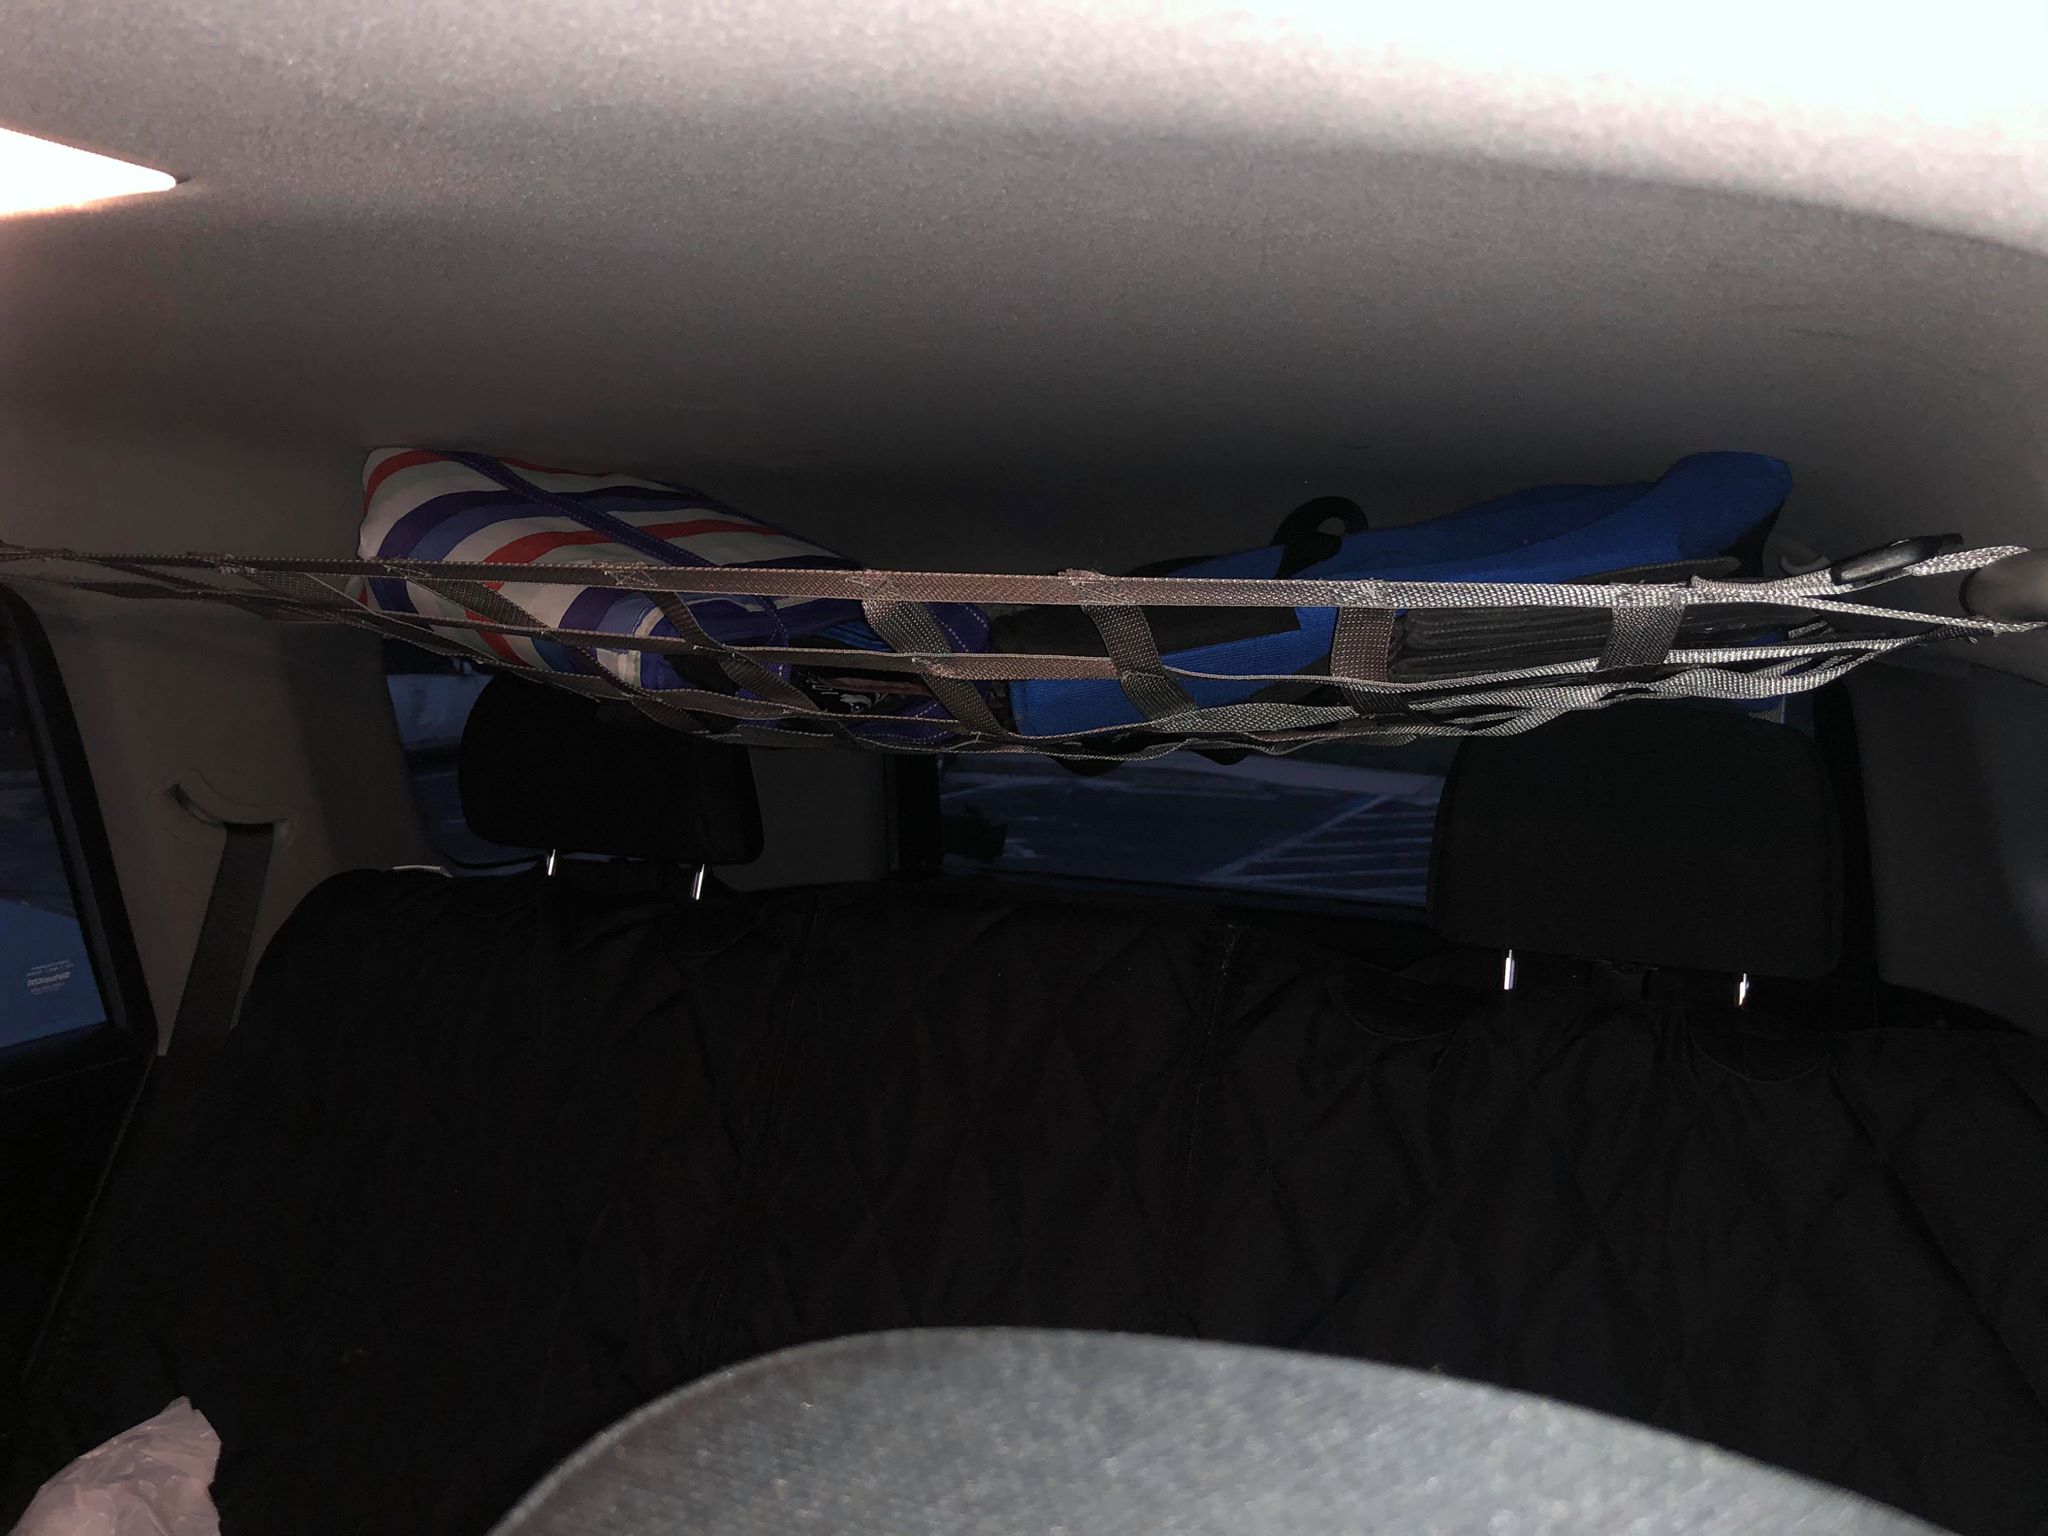
Since we’re not camping right now, the net is a good place to put our windshield shade and Costco shopping bags.
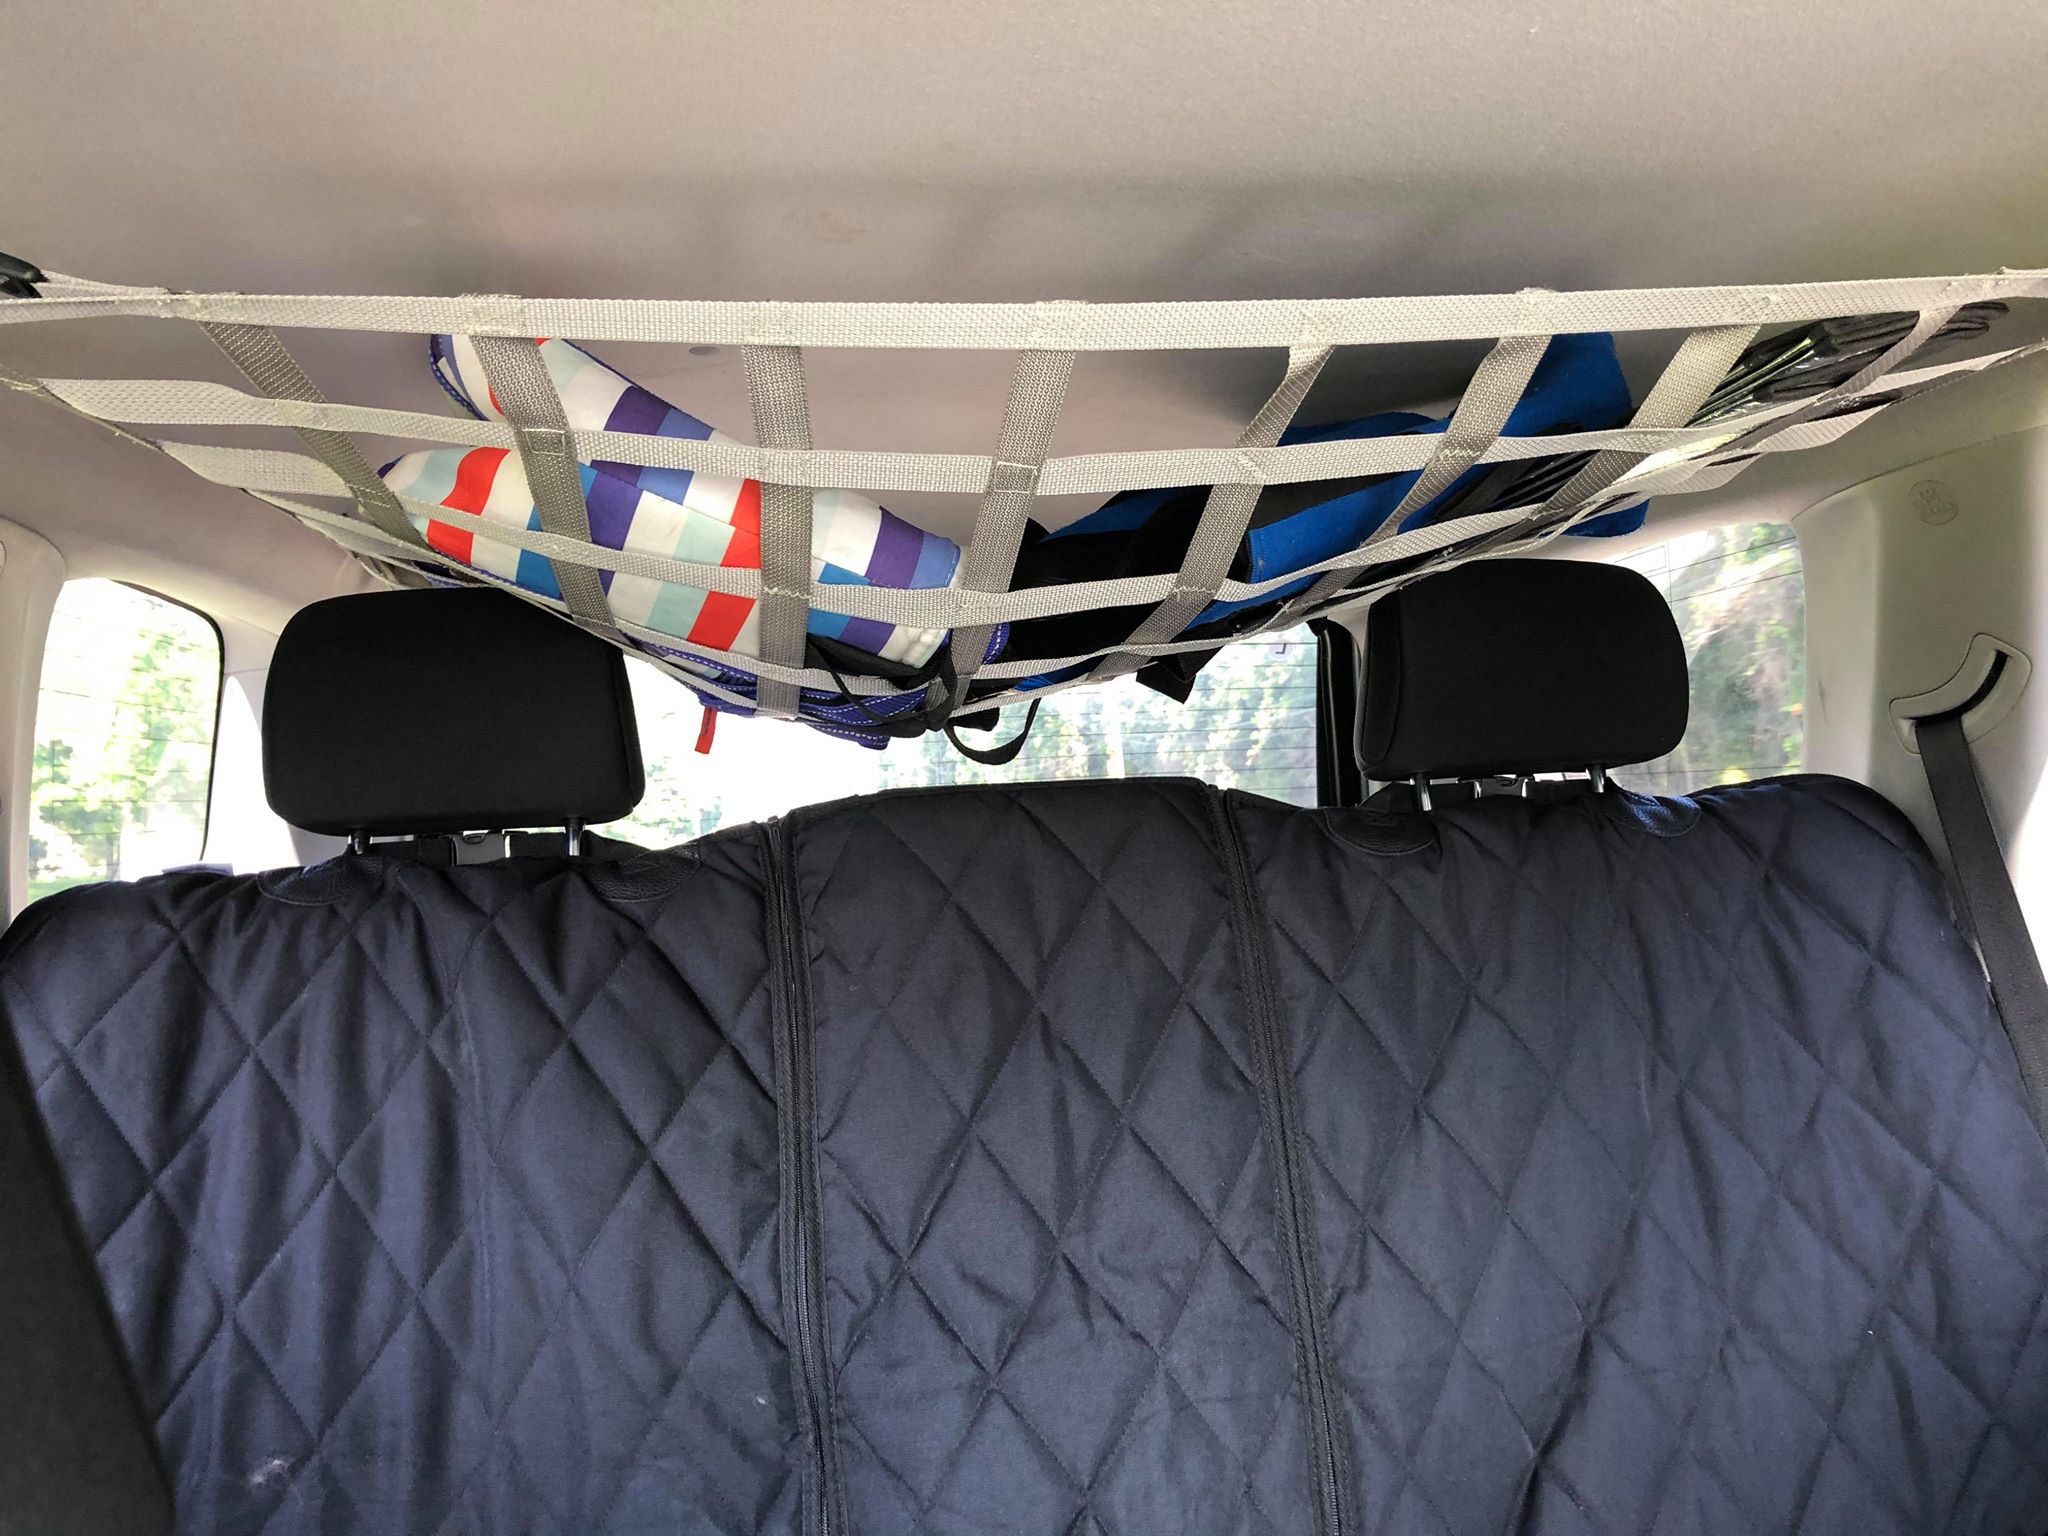
So there’s the finished product! If I make another one I’ll just use a strong mesh instead of the webbing. Not bad for $20 worth of material and more labor than I care to admit to!
Either way… I finished something!!! 🙂