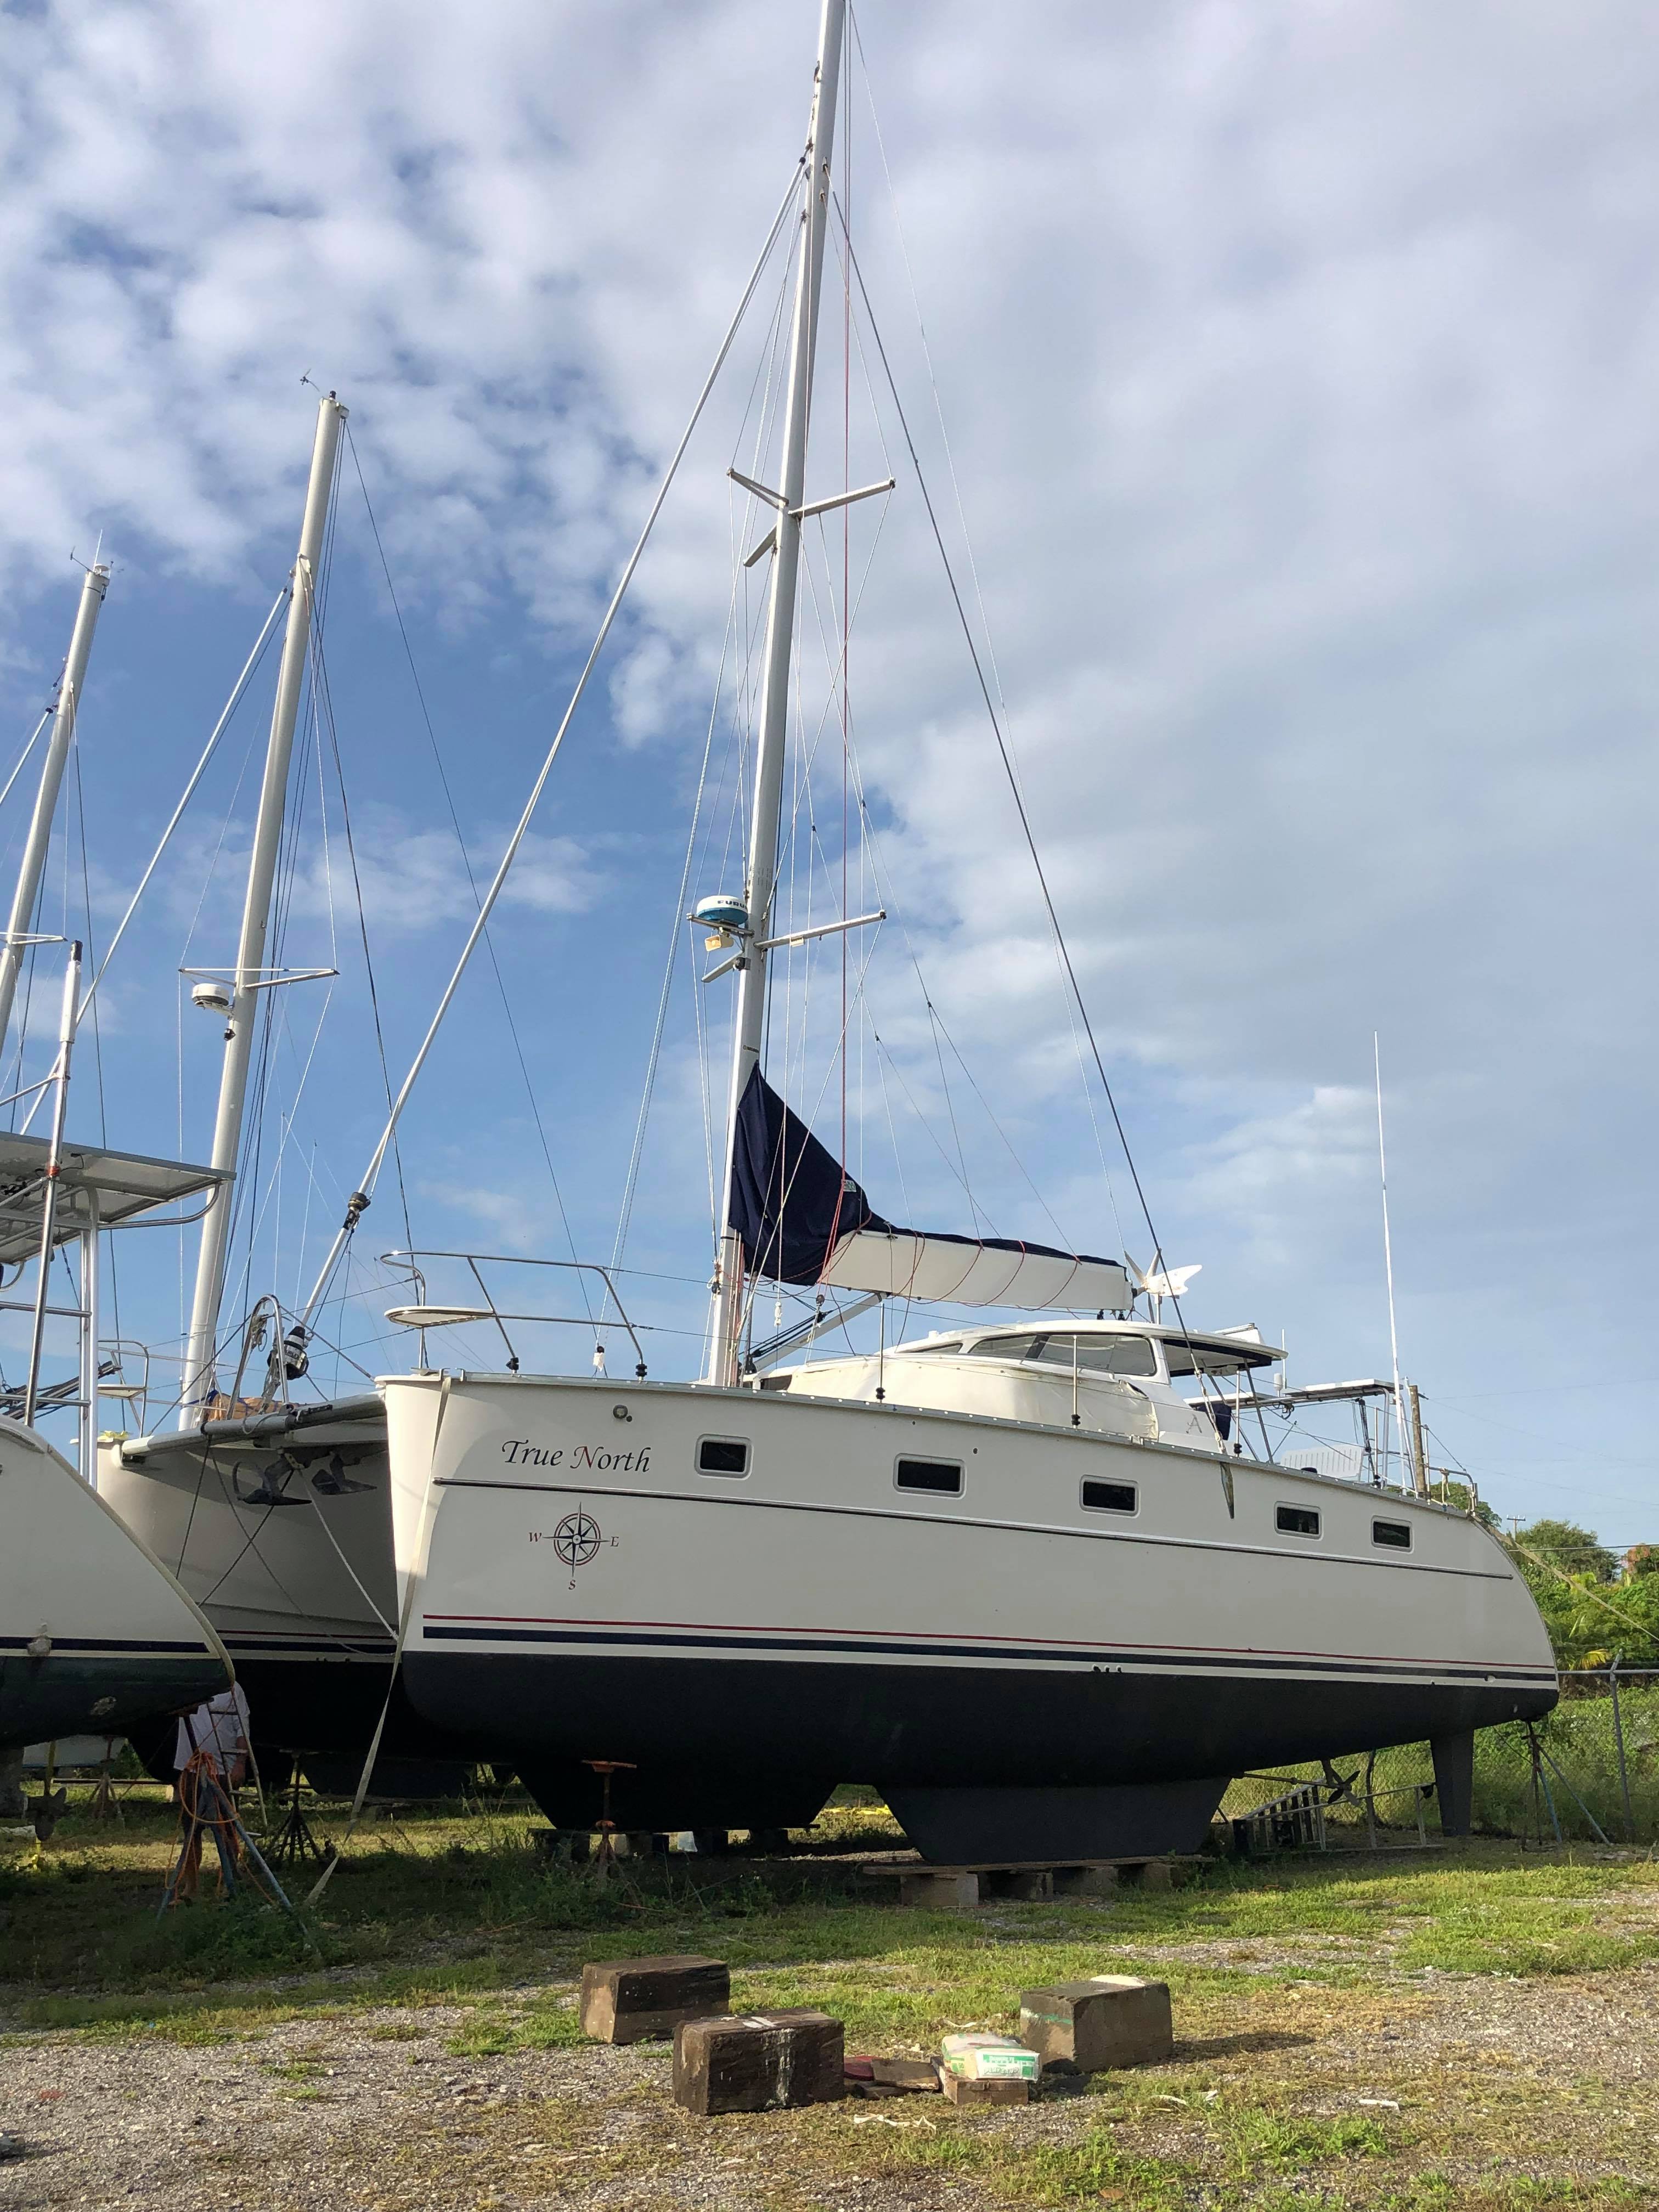
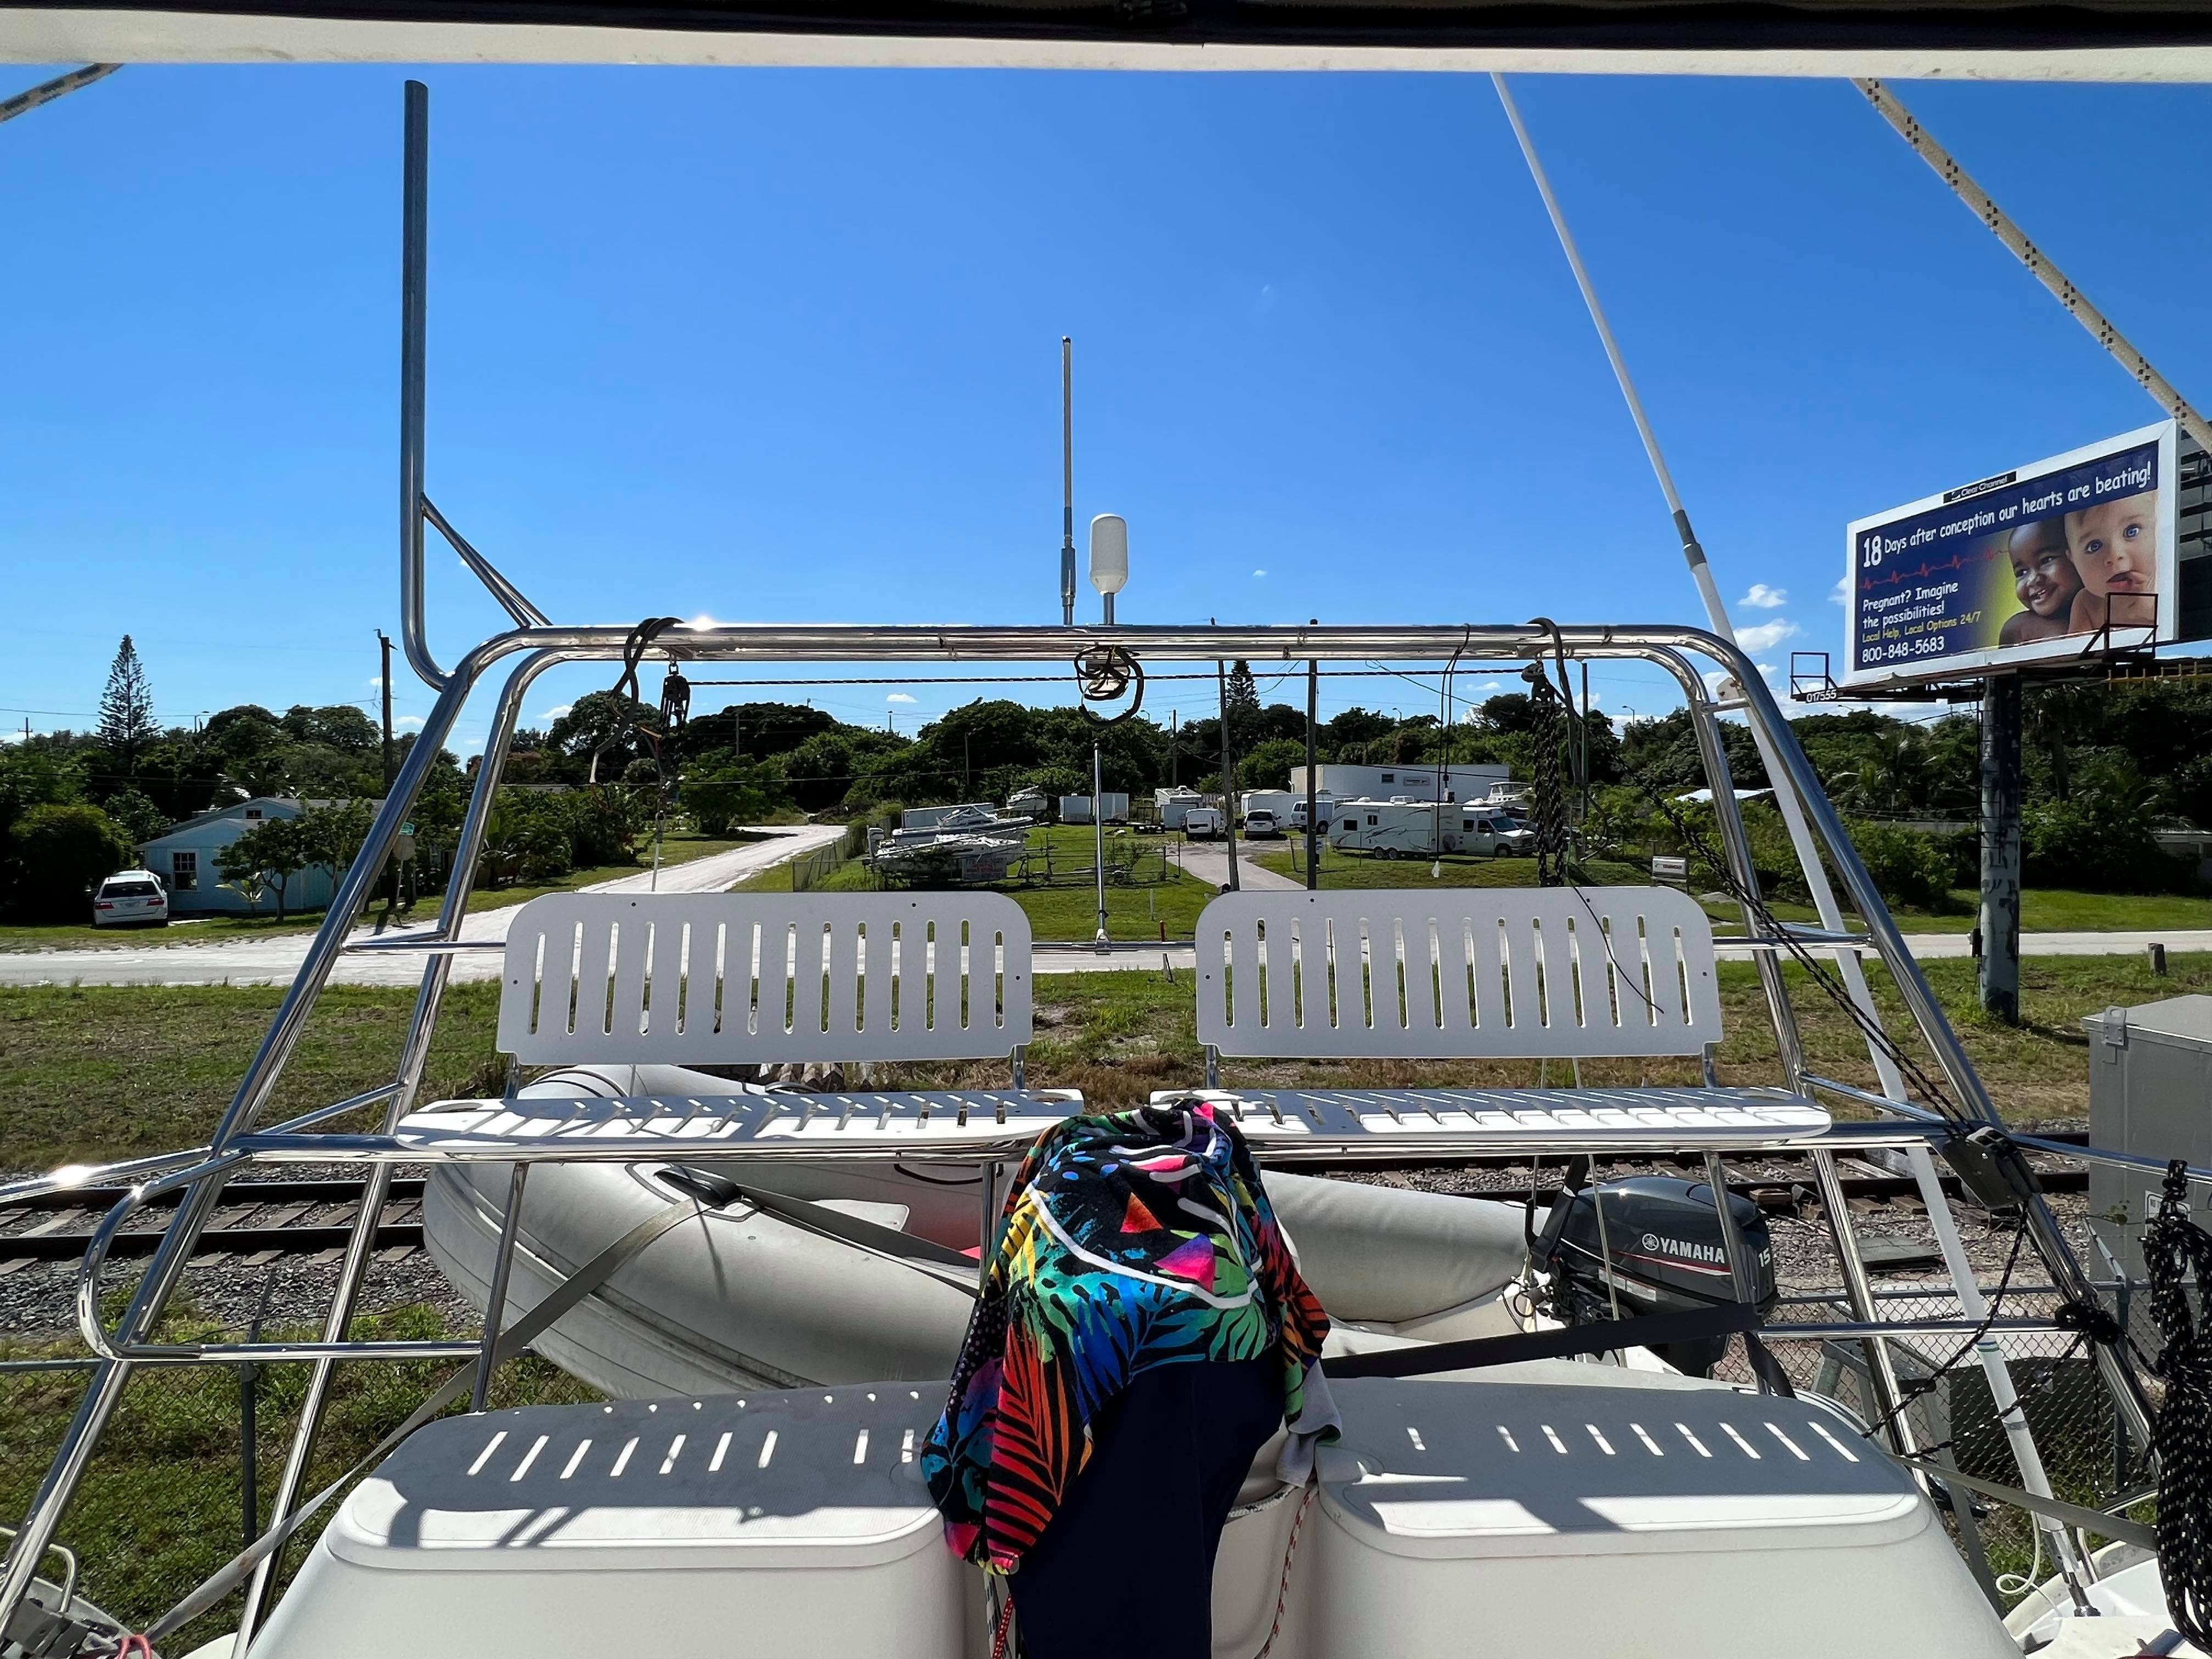
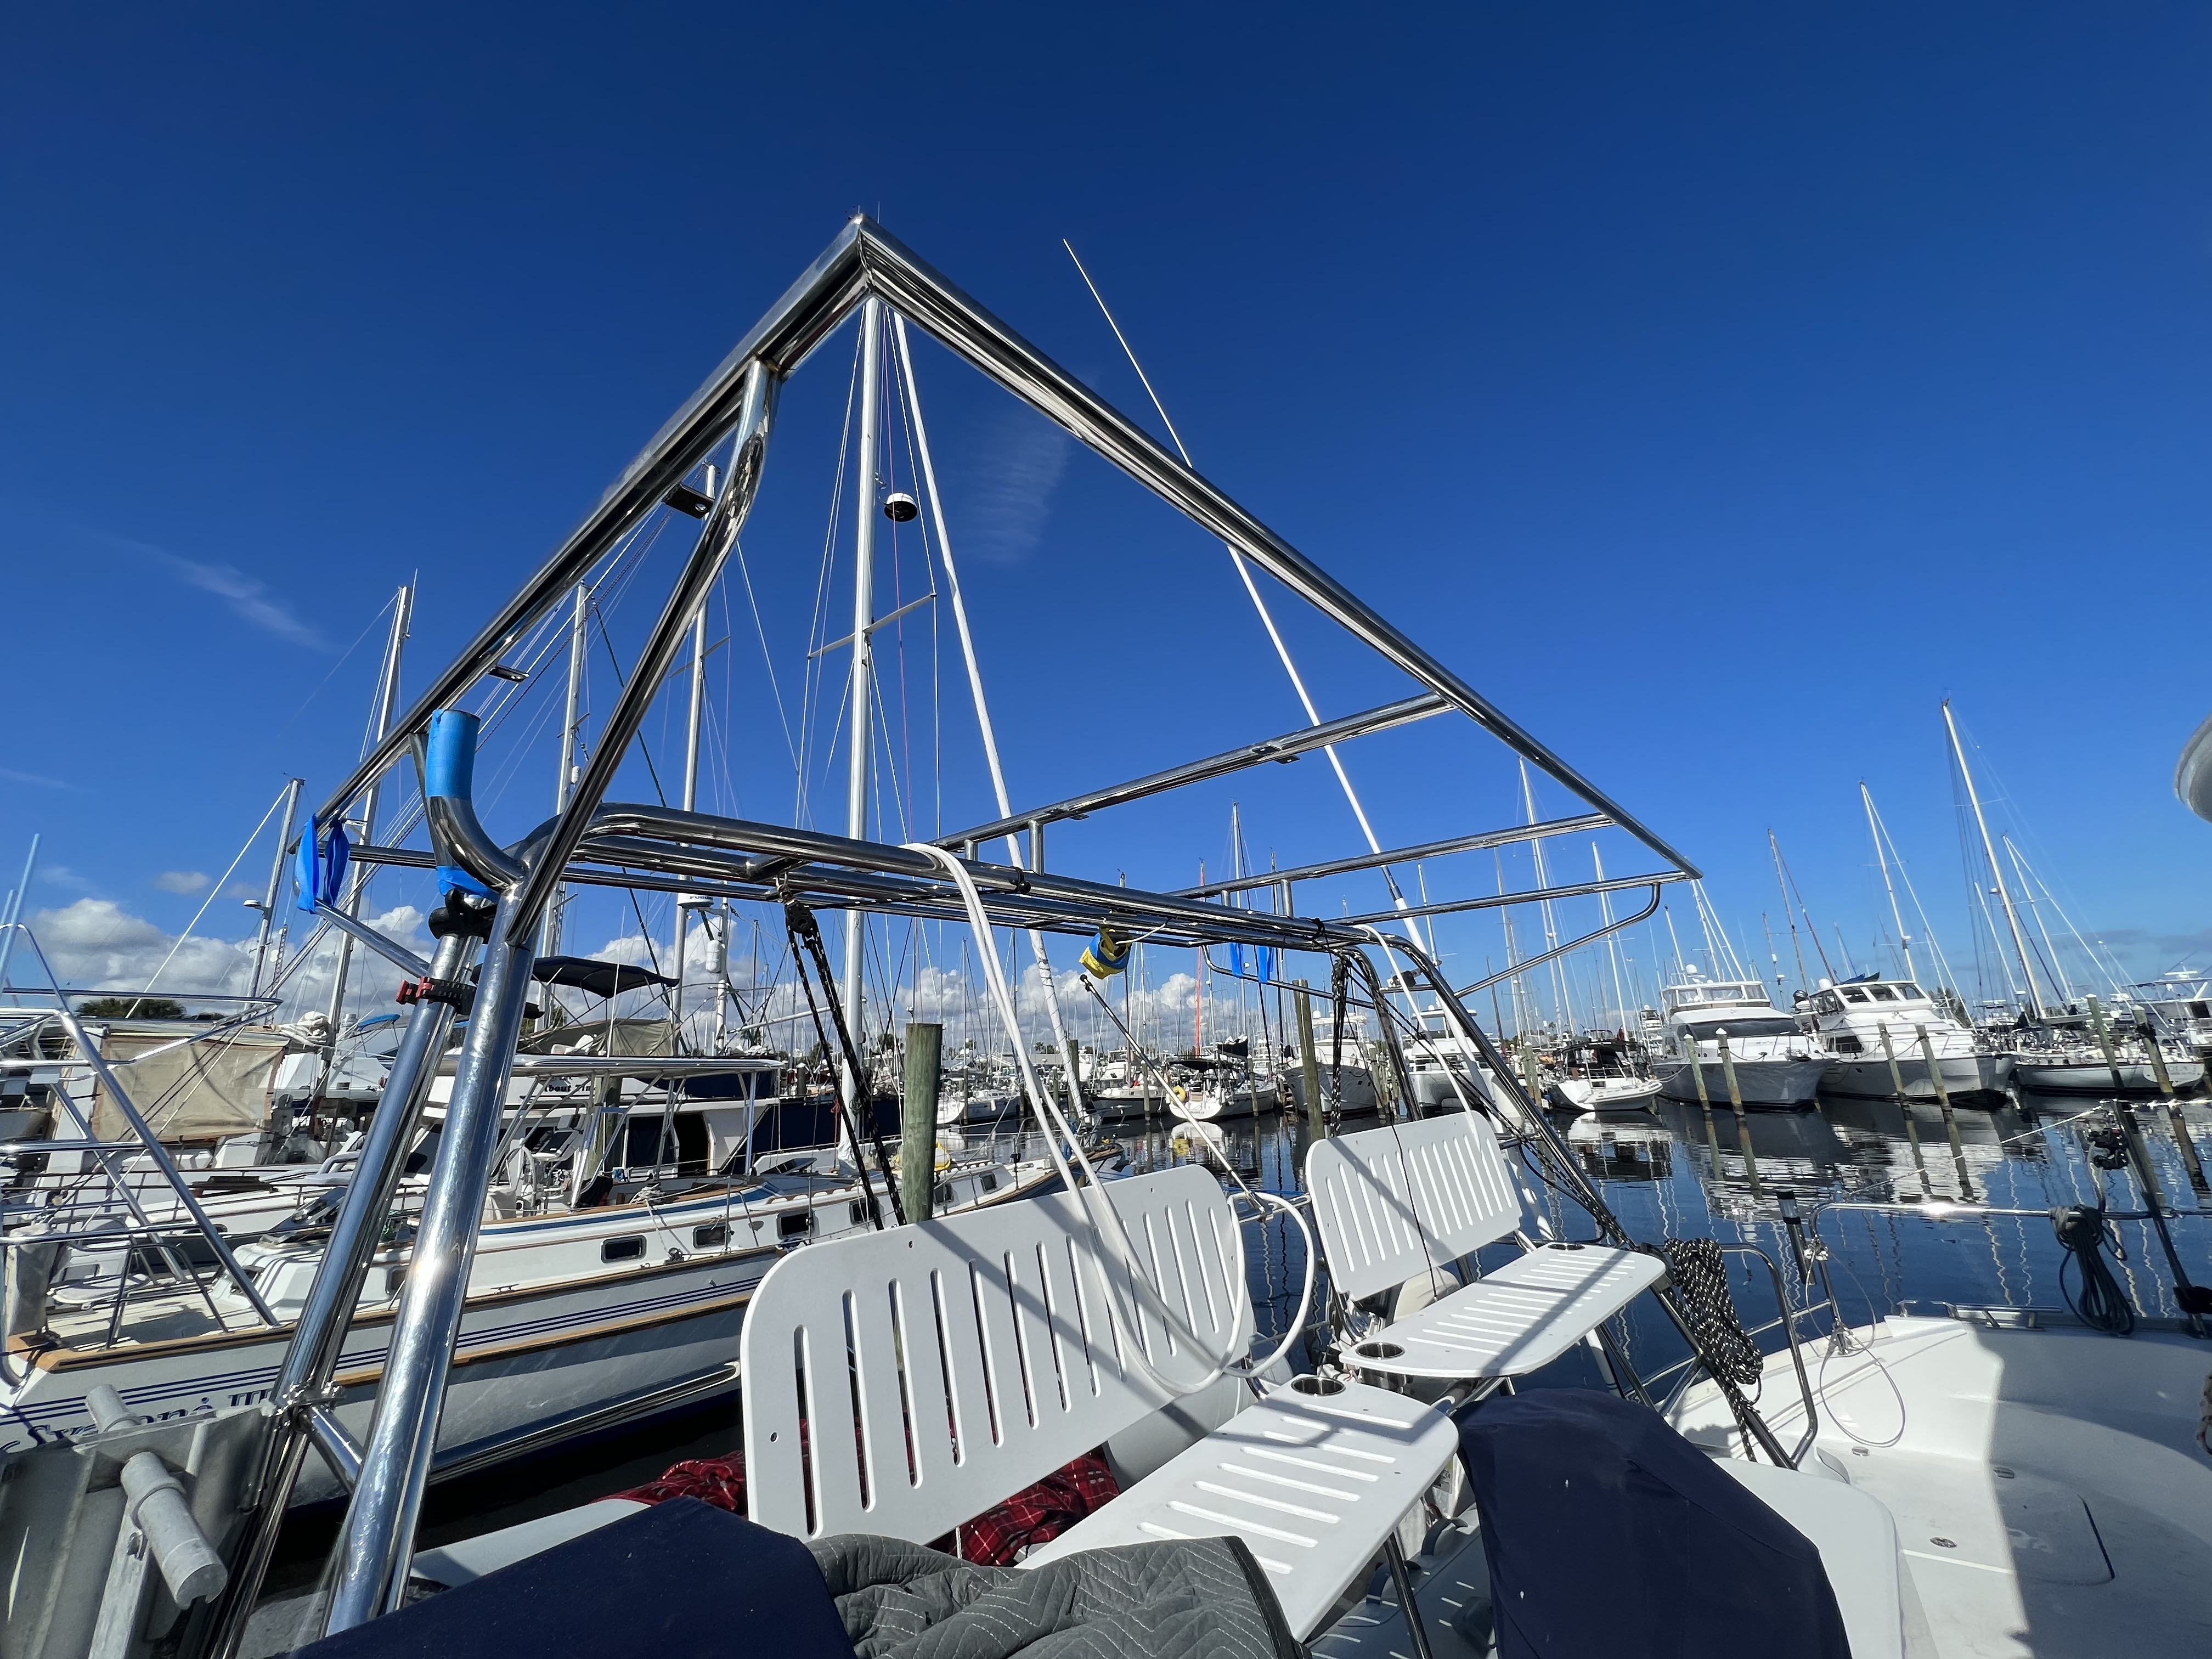
On our last boat, Peregrine, we had a full custom stainless arch fabricated for the back of the boat topped with (3) 375 watt solar panels. True North already has a really nice arch, but has two sad little 100 watt solar panels and a wind generator on the back. We’re planning on doing another lithium battery bank upgrade, so we’re going to need more solar!
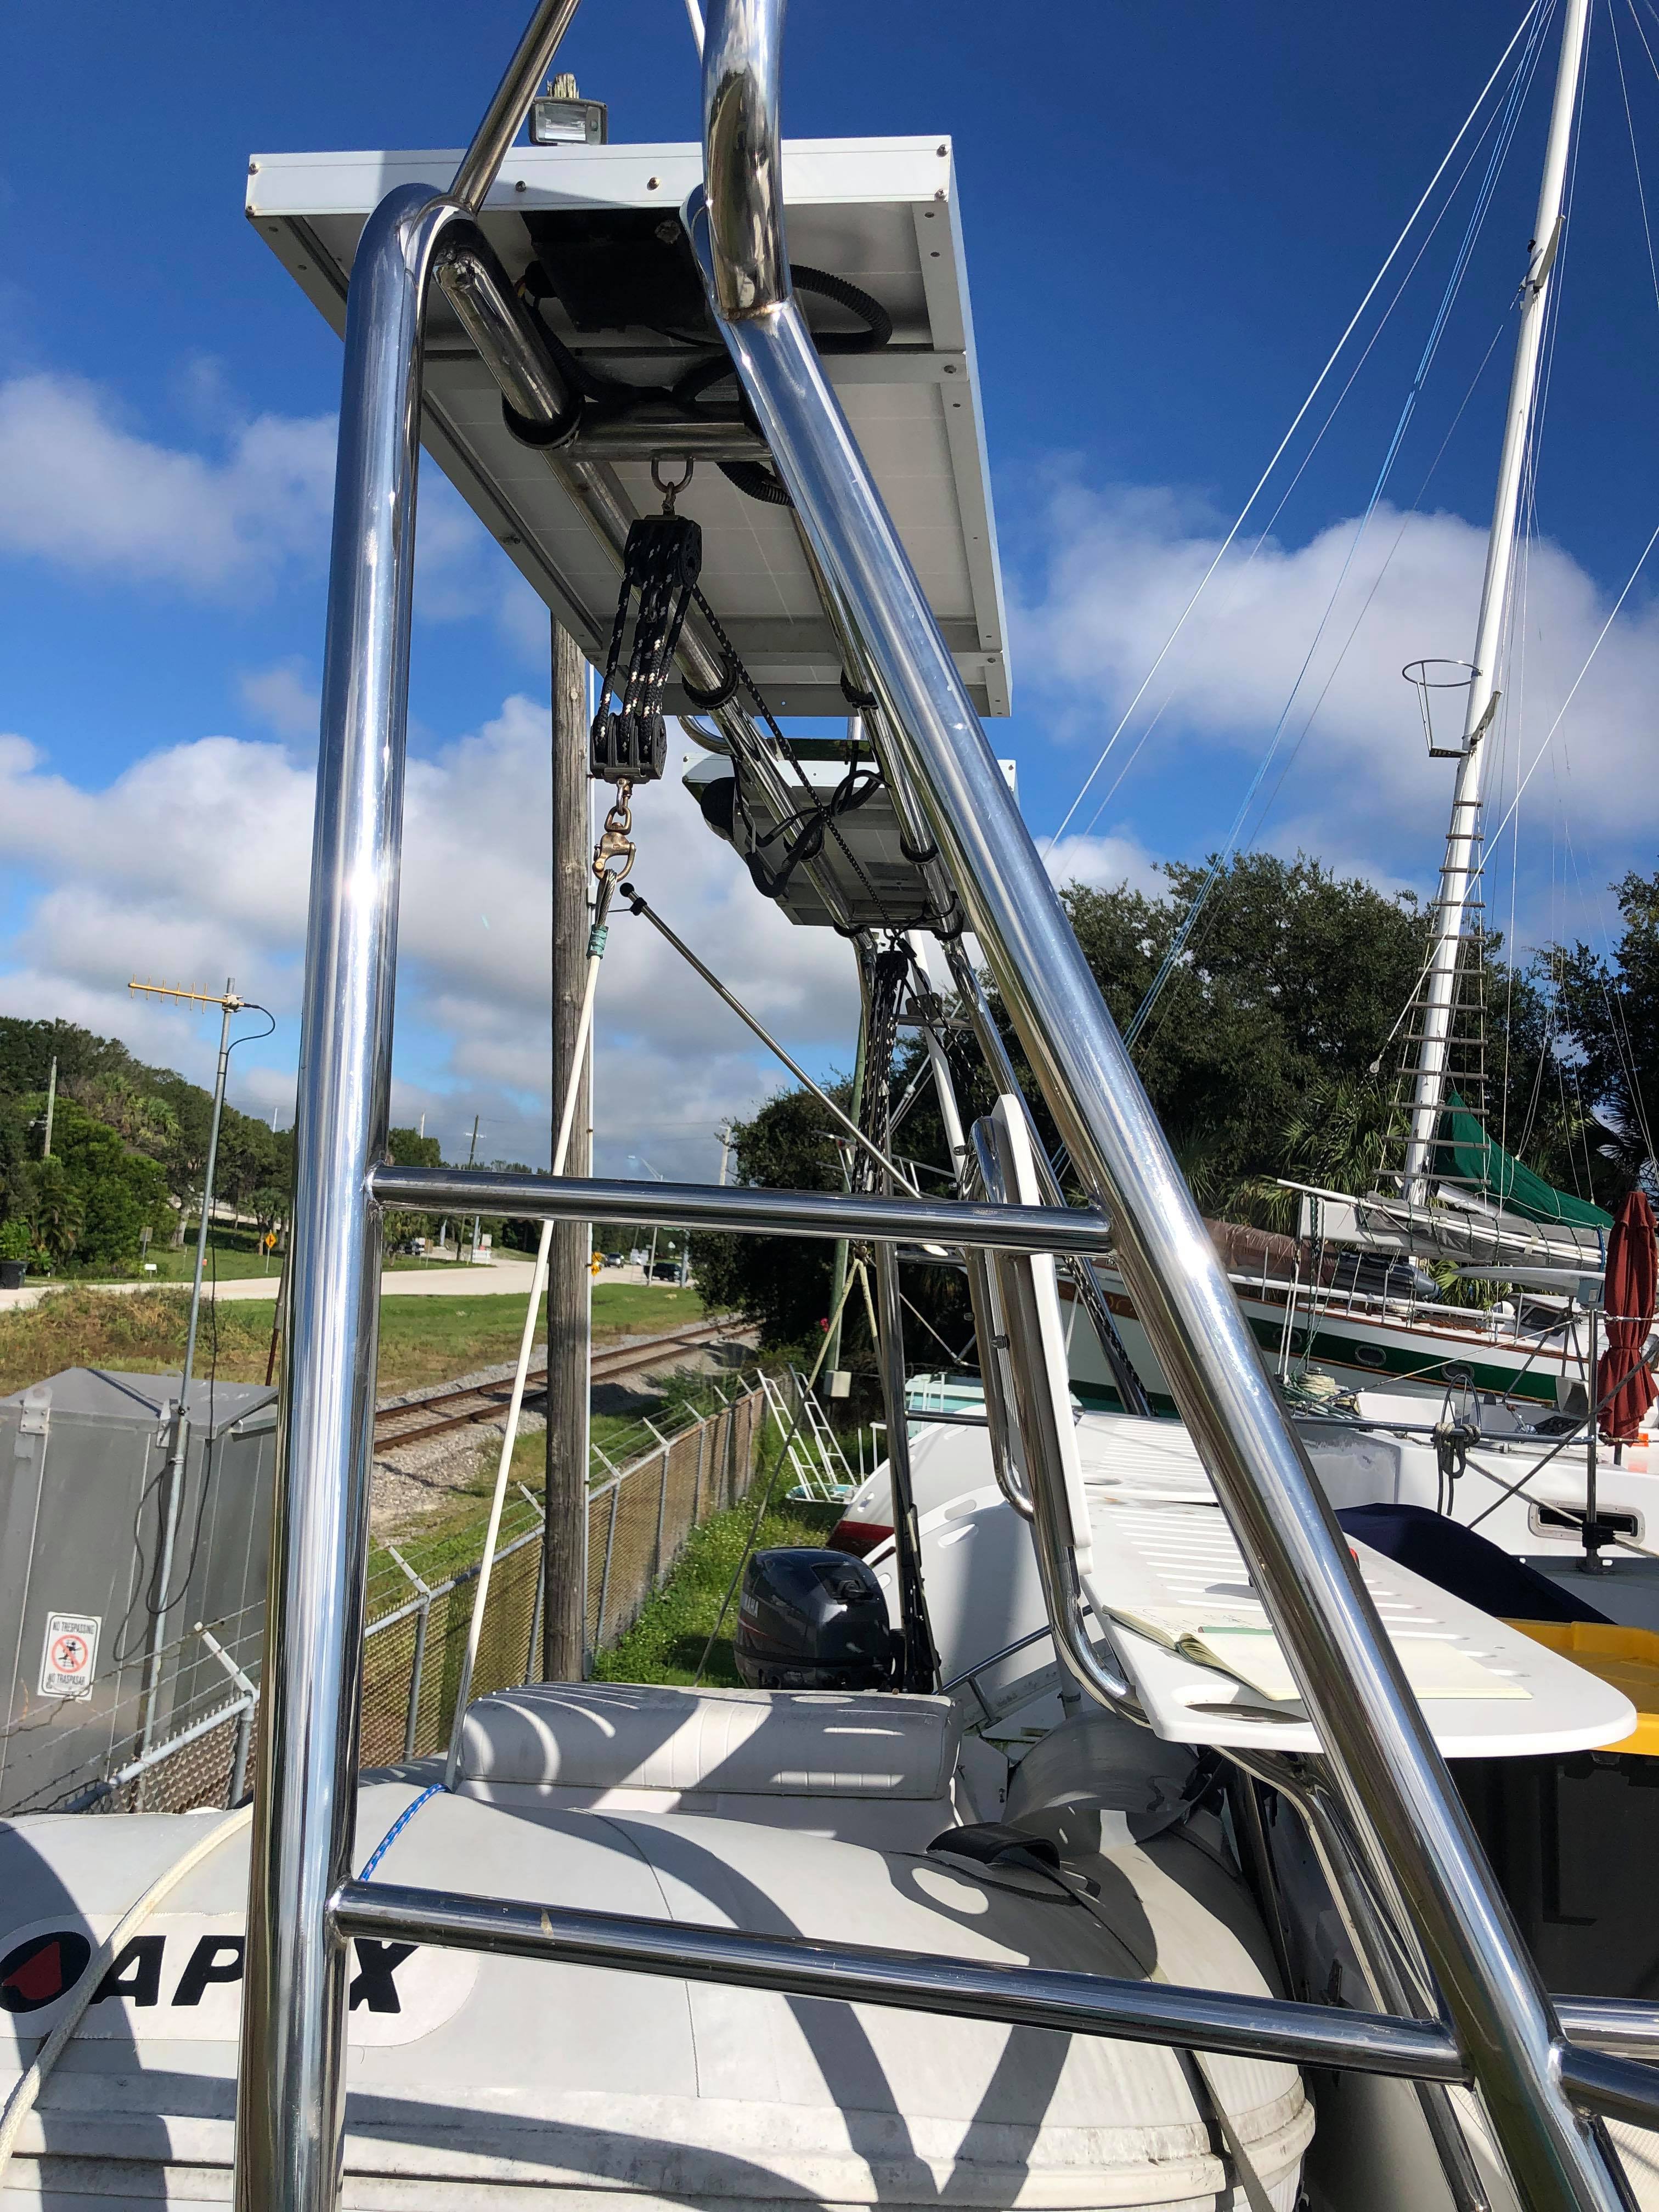
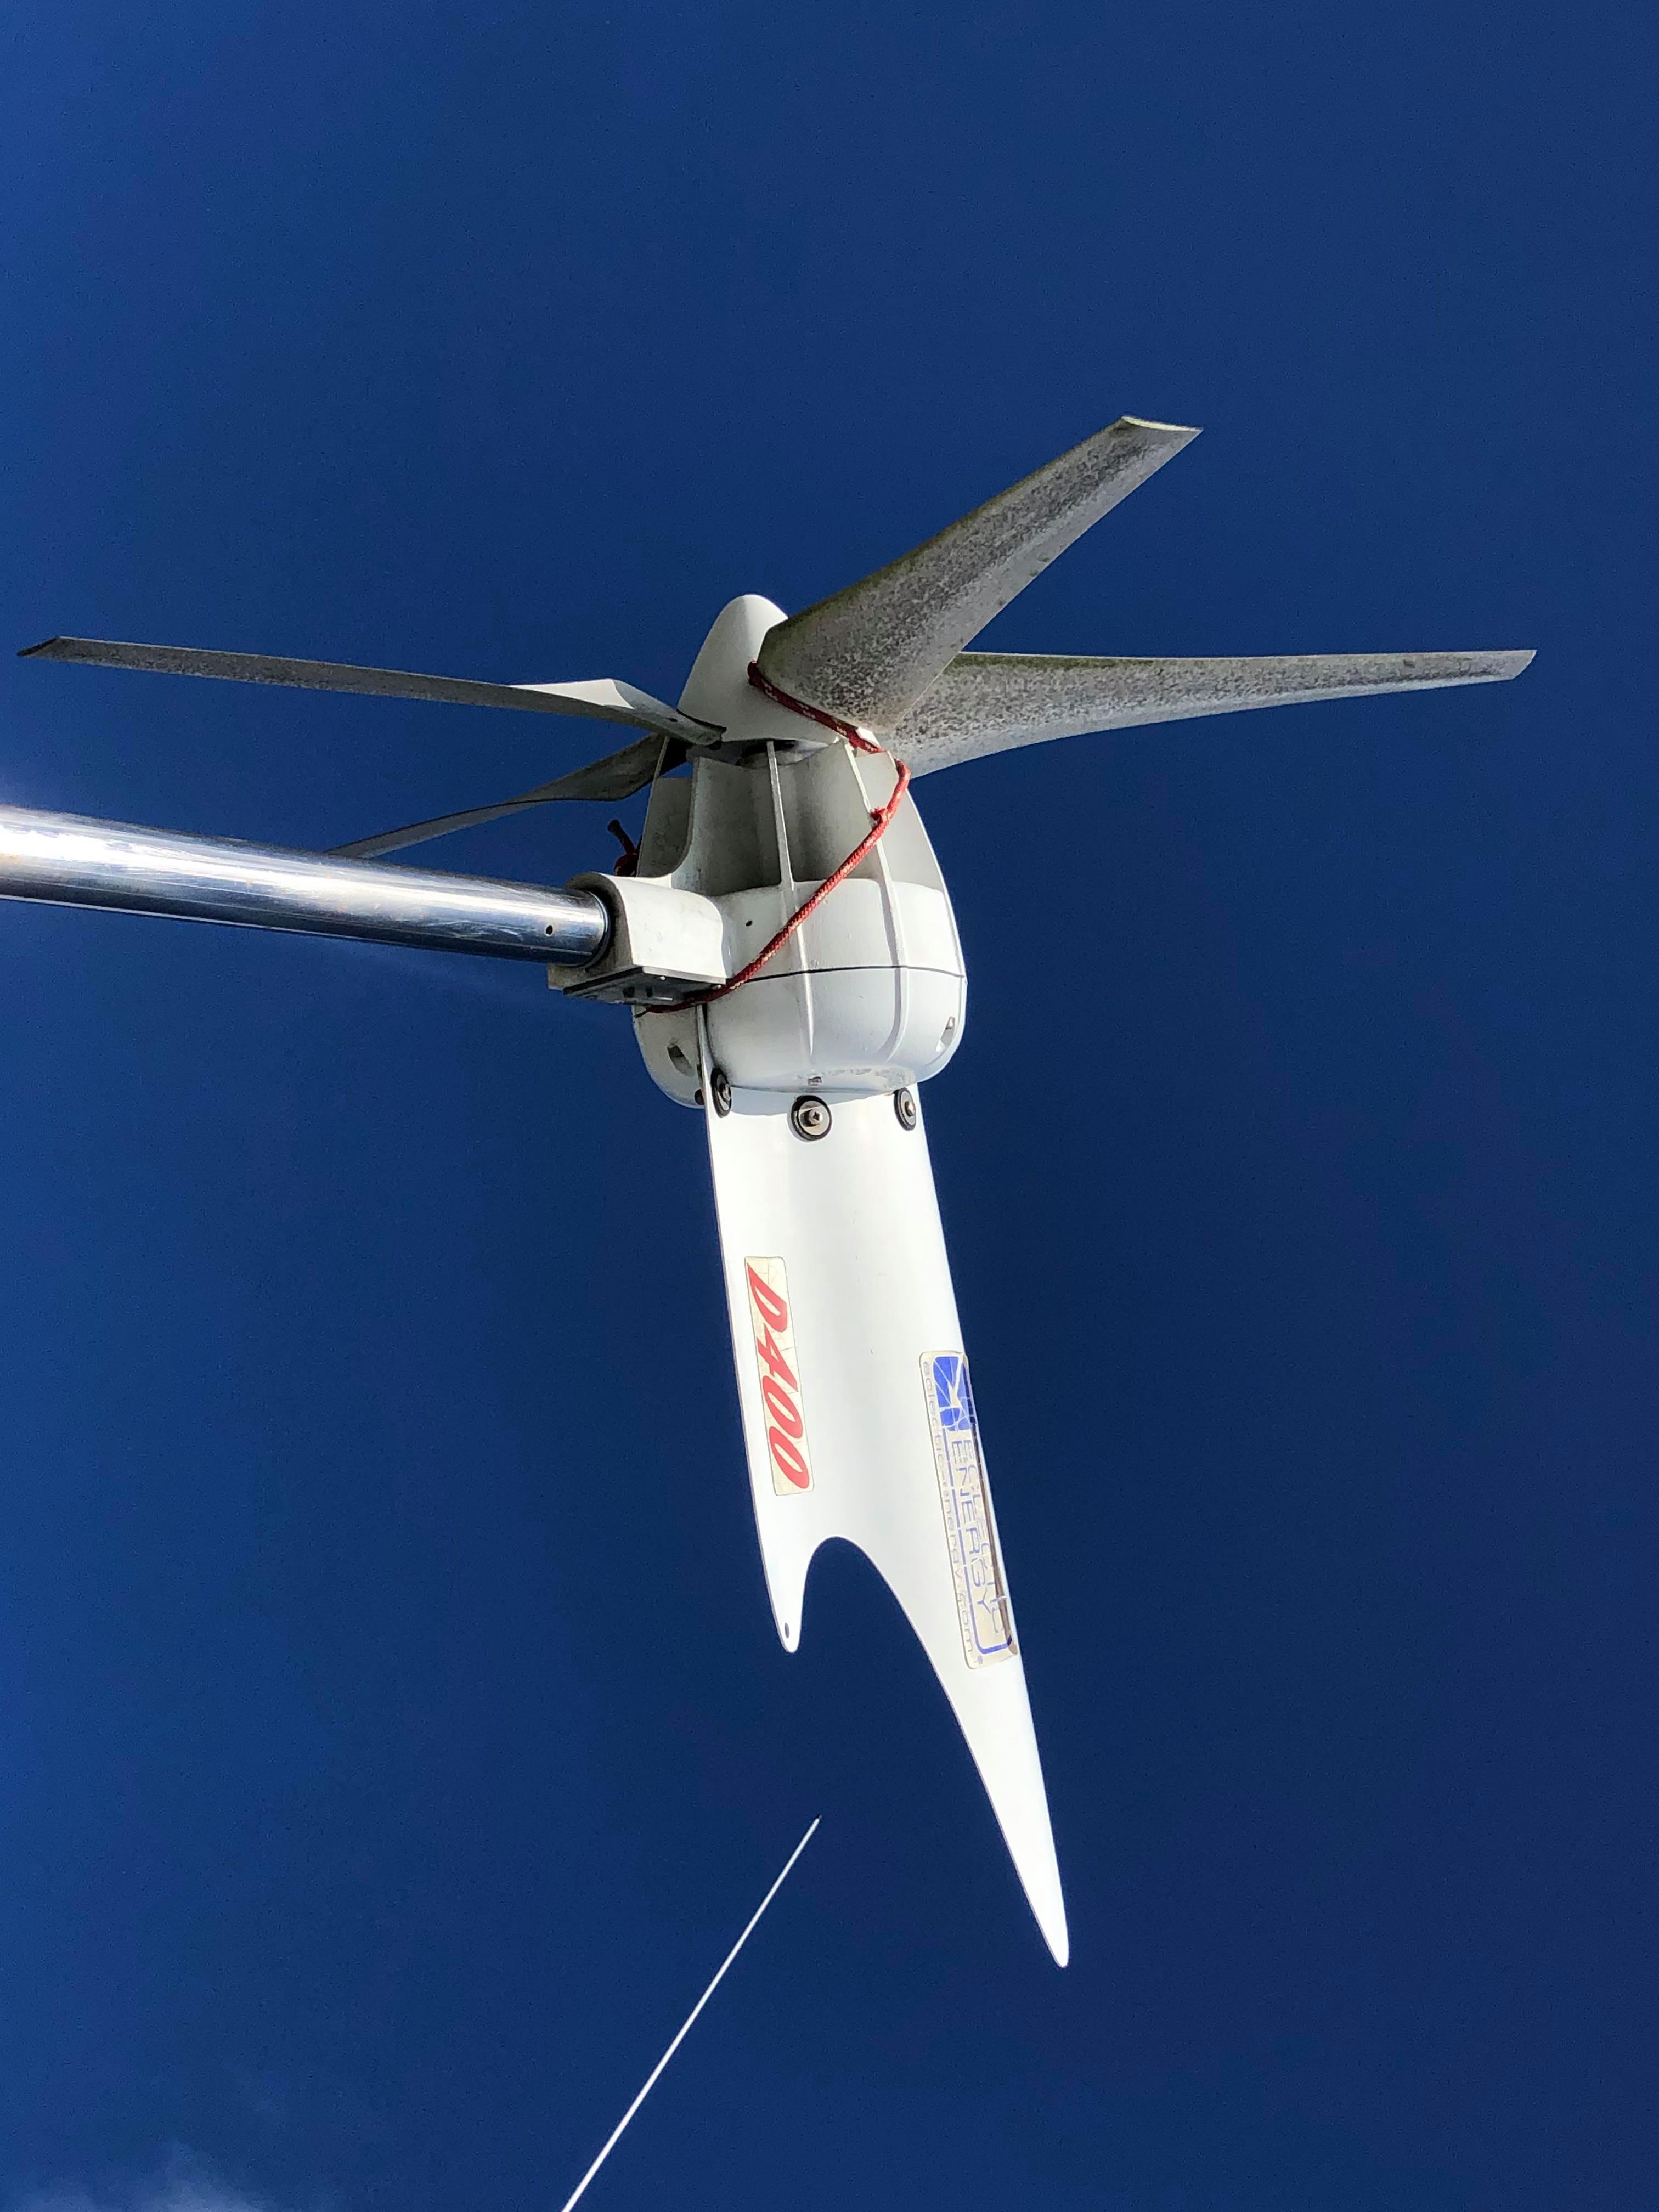
So obviously our first action is to rip off those old solar panels. That didn’t take too long, luckily. Next up was removing the old wind generator. This was going to be more of a challenge because the blades are sharp, it’s pretty heavy, and it’s mounted on a post that’s a few feet taller than the top of the arch. We don’t have a ladder or any way to get up to the generator to pick it up like normal, so we improvised. Jason used the halyard to tie to the top of the generator, but now the angle is terrible because the generator is all the way at the back of the boat. We need a line behind the boat to keep it from swinging forward. To solve this little problem, we tied a rope to the generator and I threw it over the barbed wire fence to Jason on the other side of the train tracks. We cranked the winch to hoist it up while Jason steadied it from behind with the other rope. Then we slowly lowered it to the deck easy peasy!
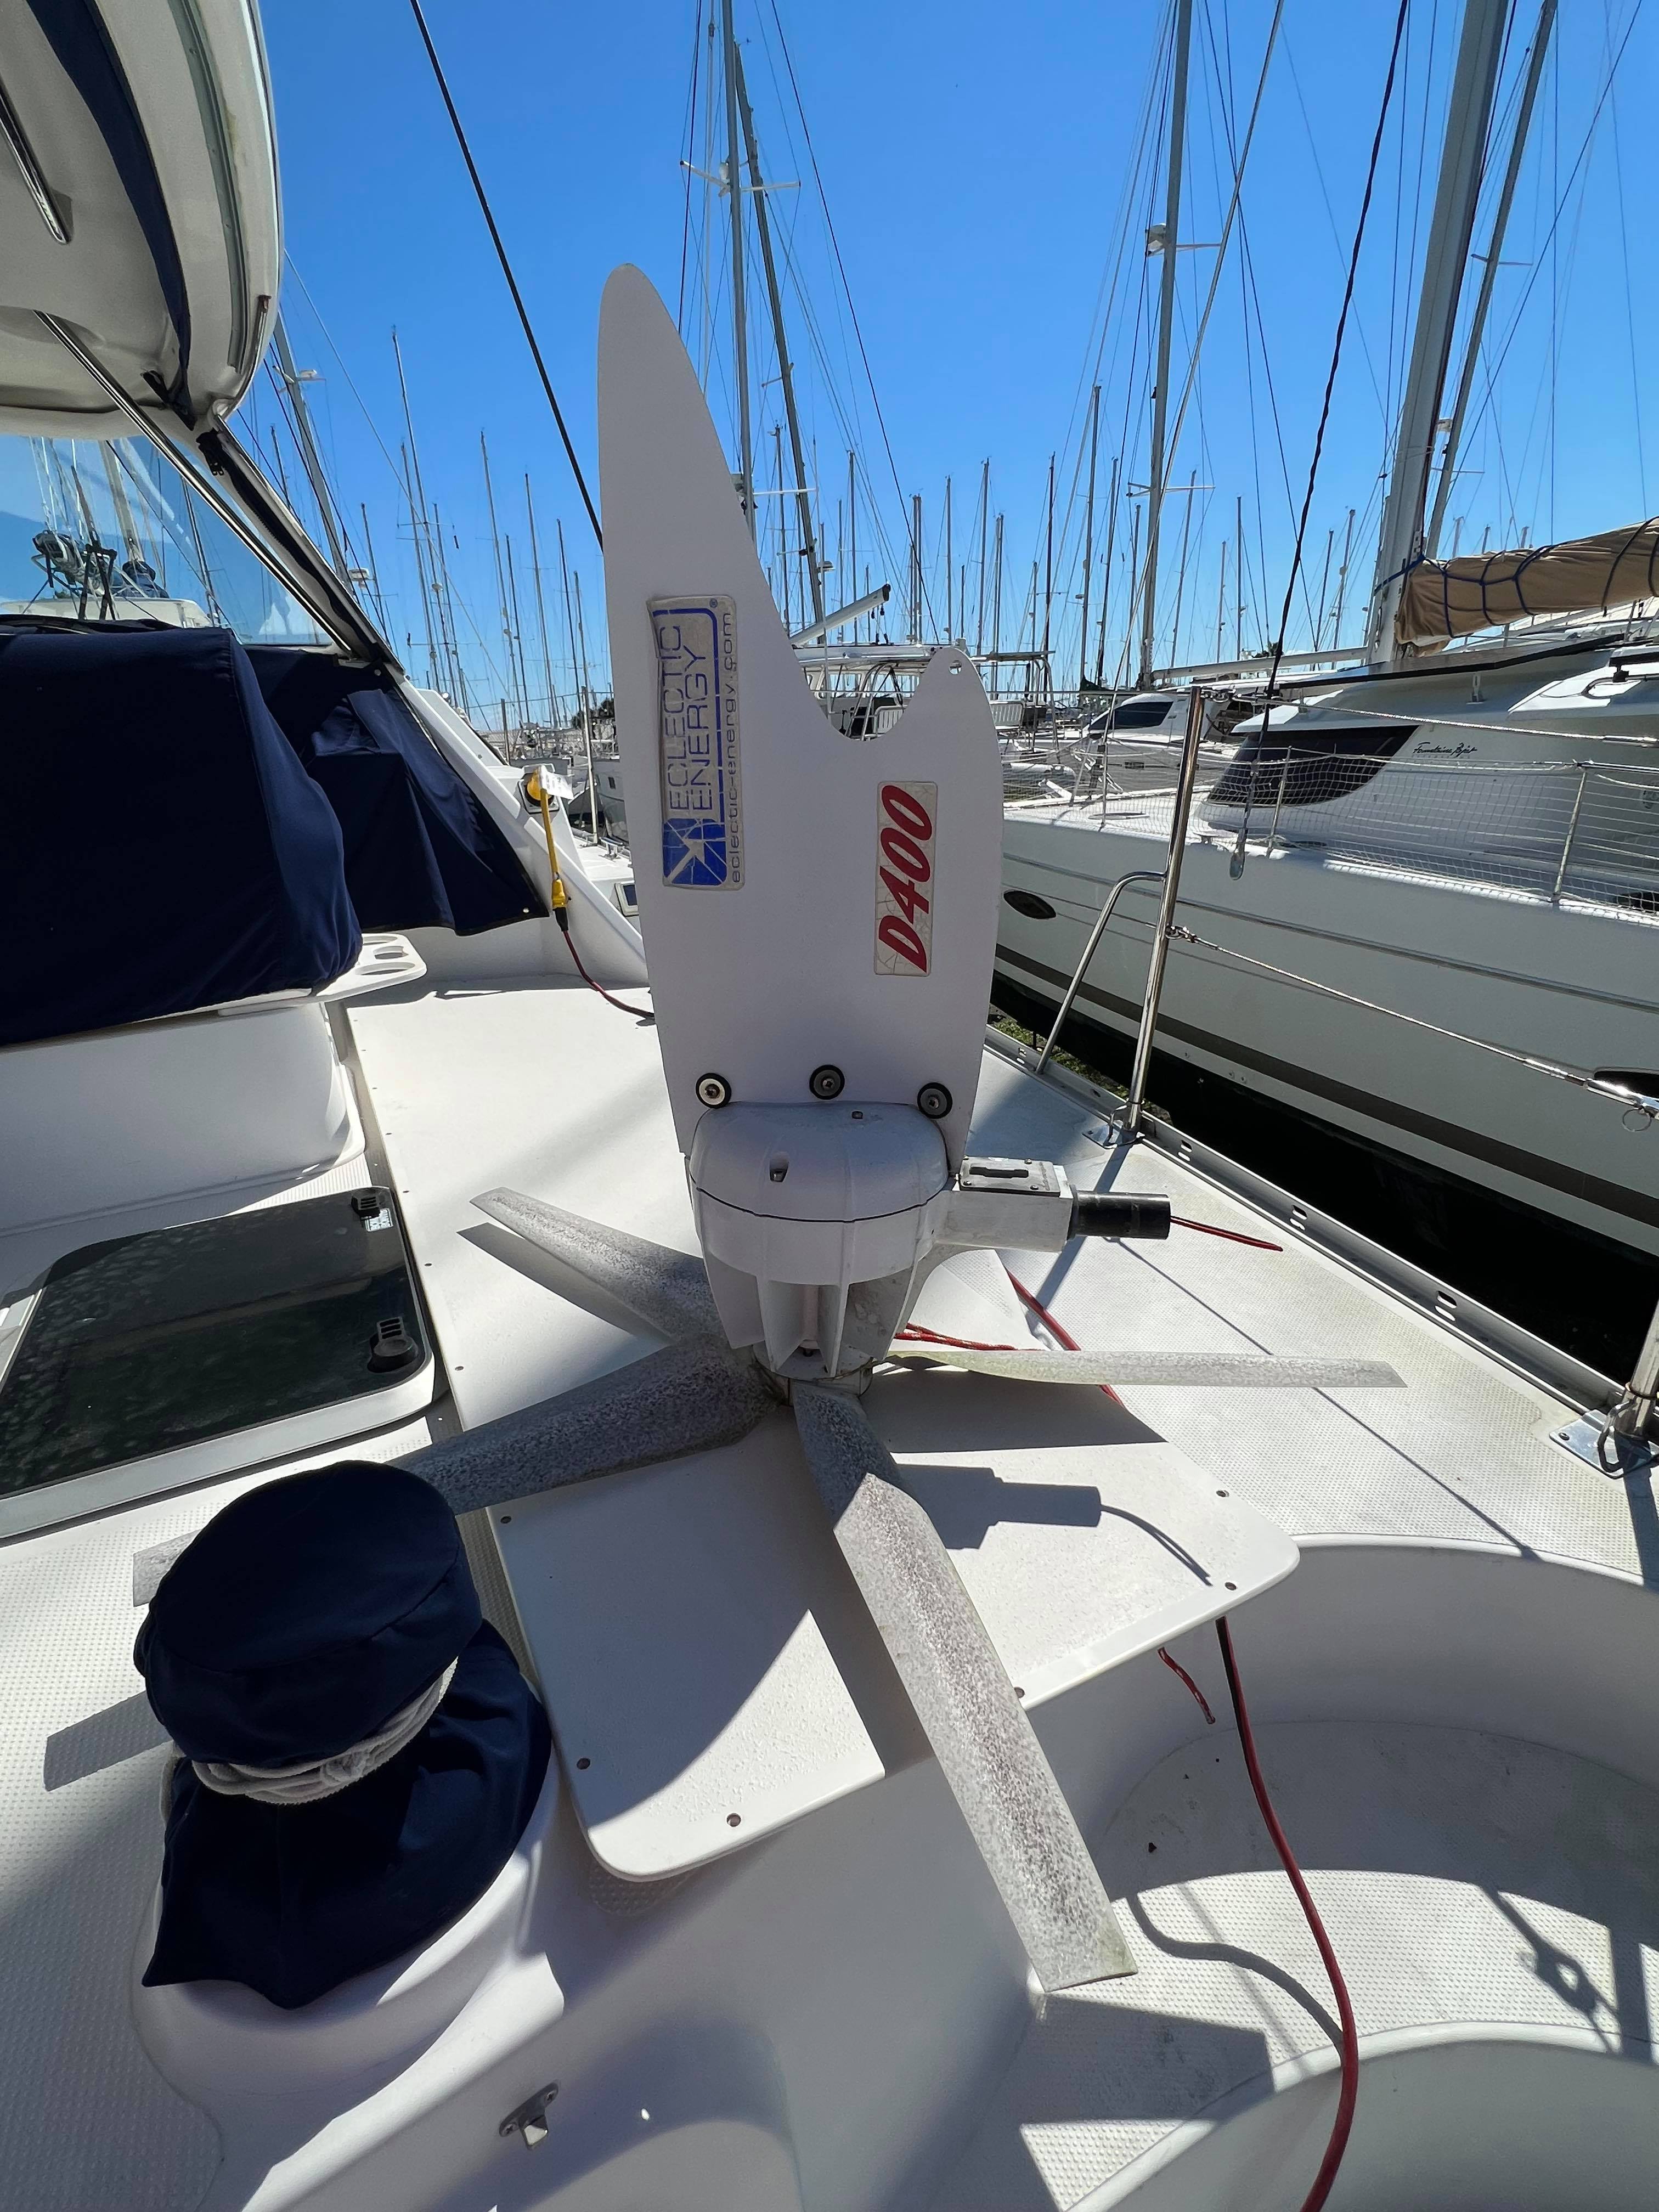
The new solar panels are going to be an order of magnitude larger and there will be 3 of them, so the antennas in the middle need to be relocated. I ended up having to cut the ends off of two of them because one was crimped on after it was shoved into the mount so I couldn’t remove it and the other was dry rotted so much it practically cut itself in half.
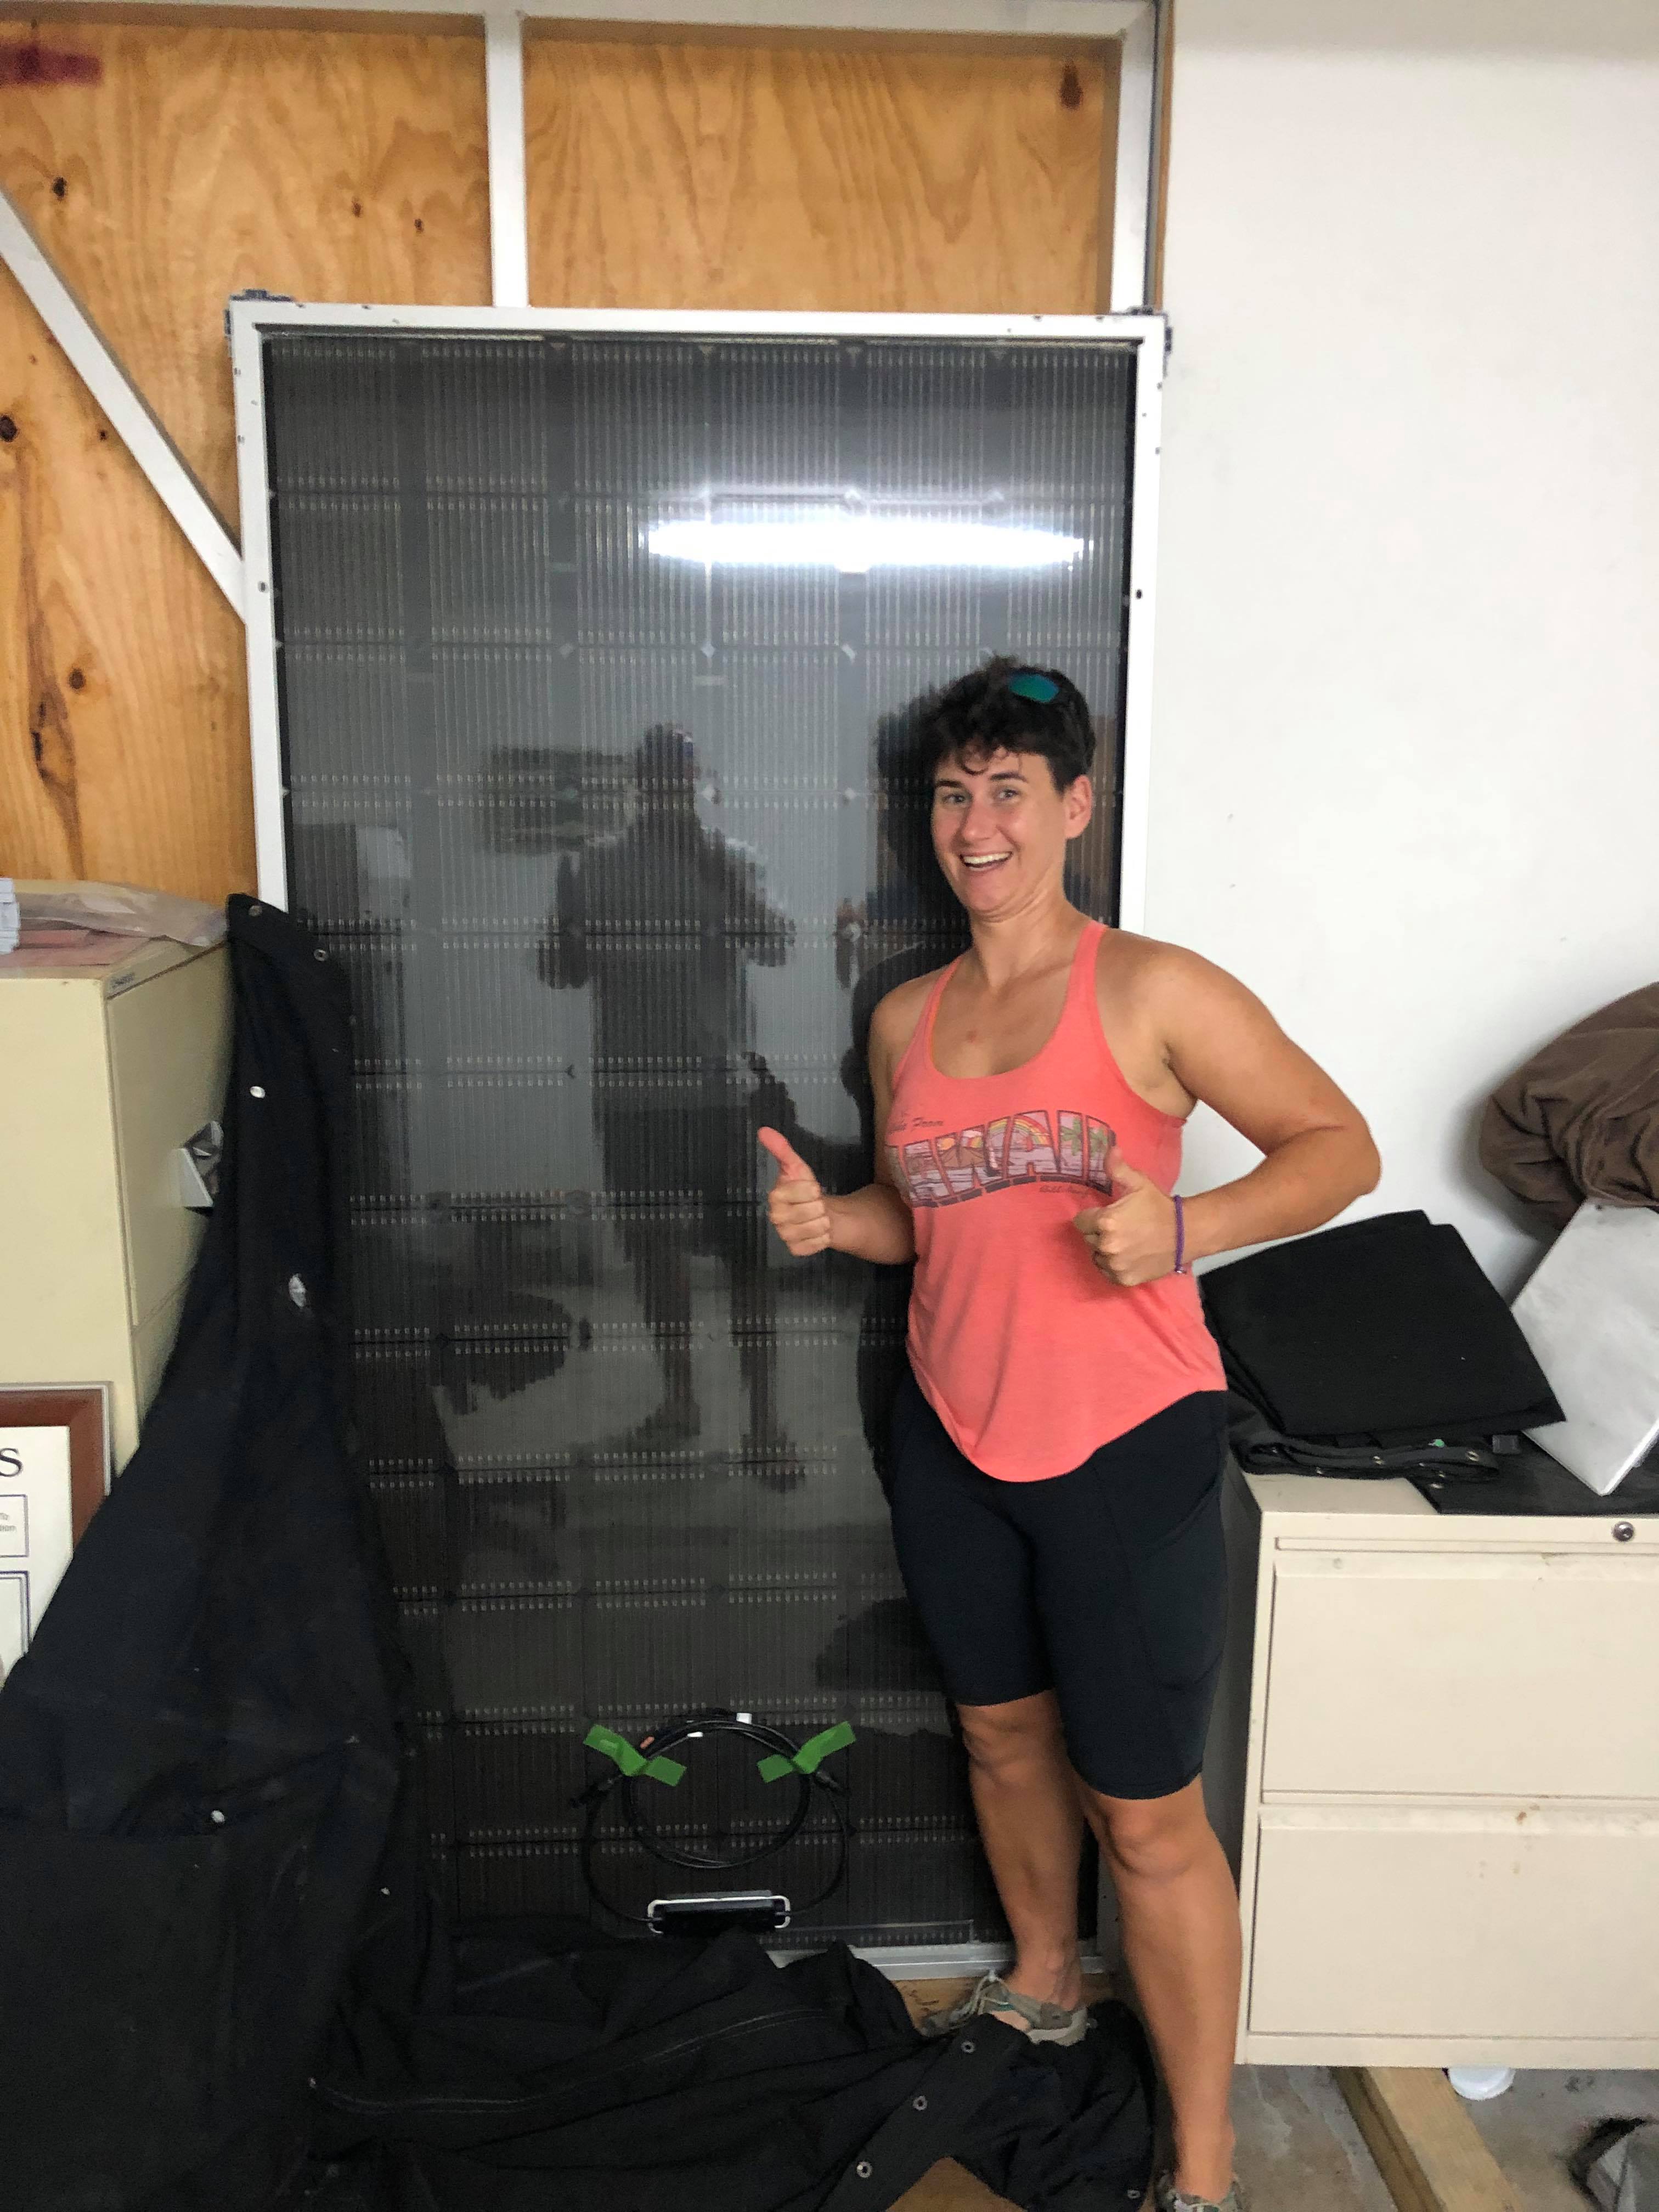
We went with three 405 watt bifacial panels this time. Not only are they a larger base wattage, but the underside also creates power from the reflection on the white deck and water. We may see up to 430 watts per panel! Enough to microwave leftovers for dinner for sure!
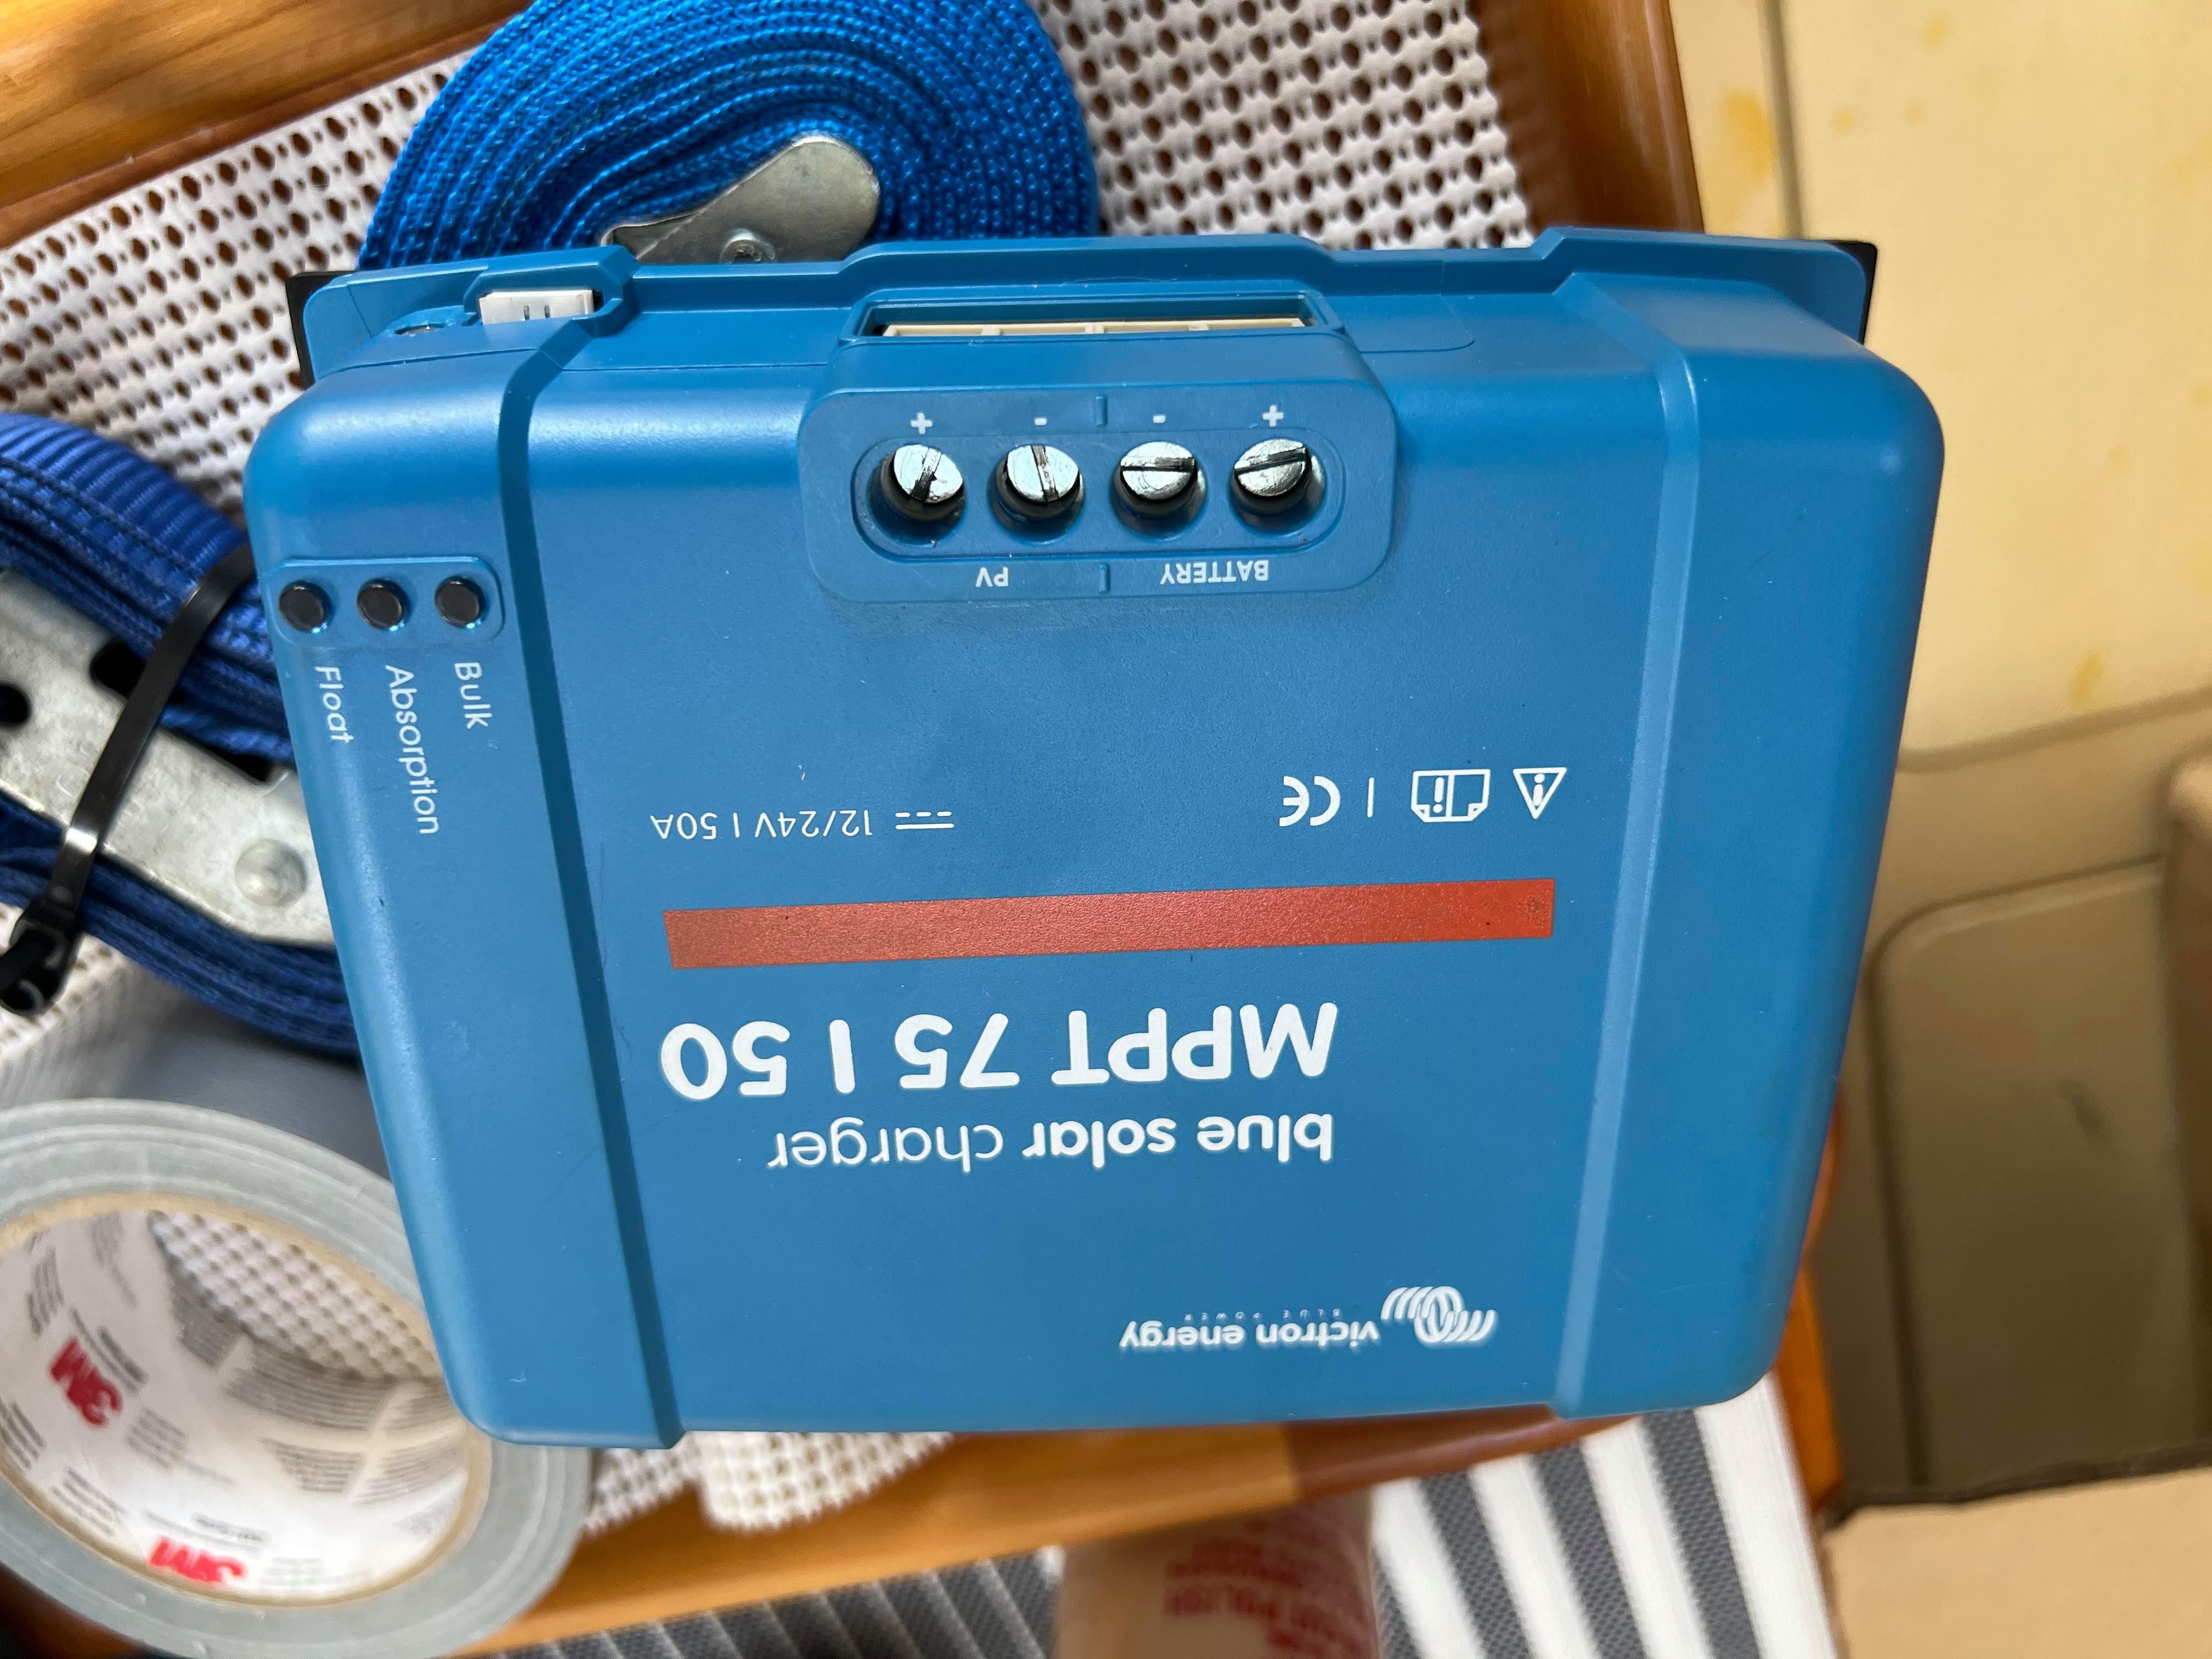
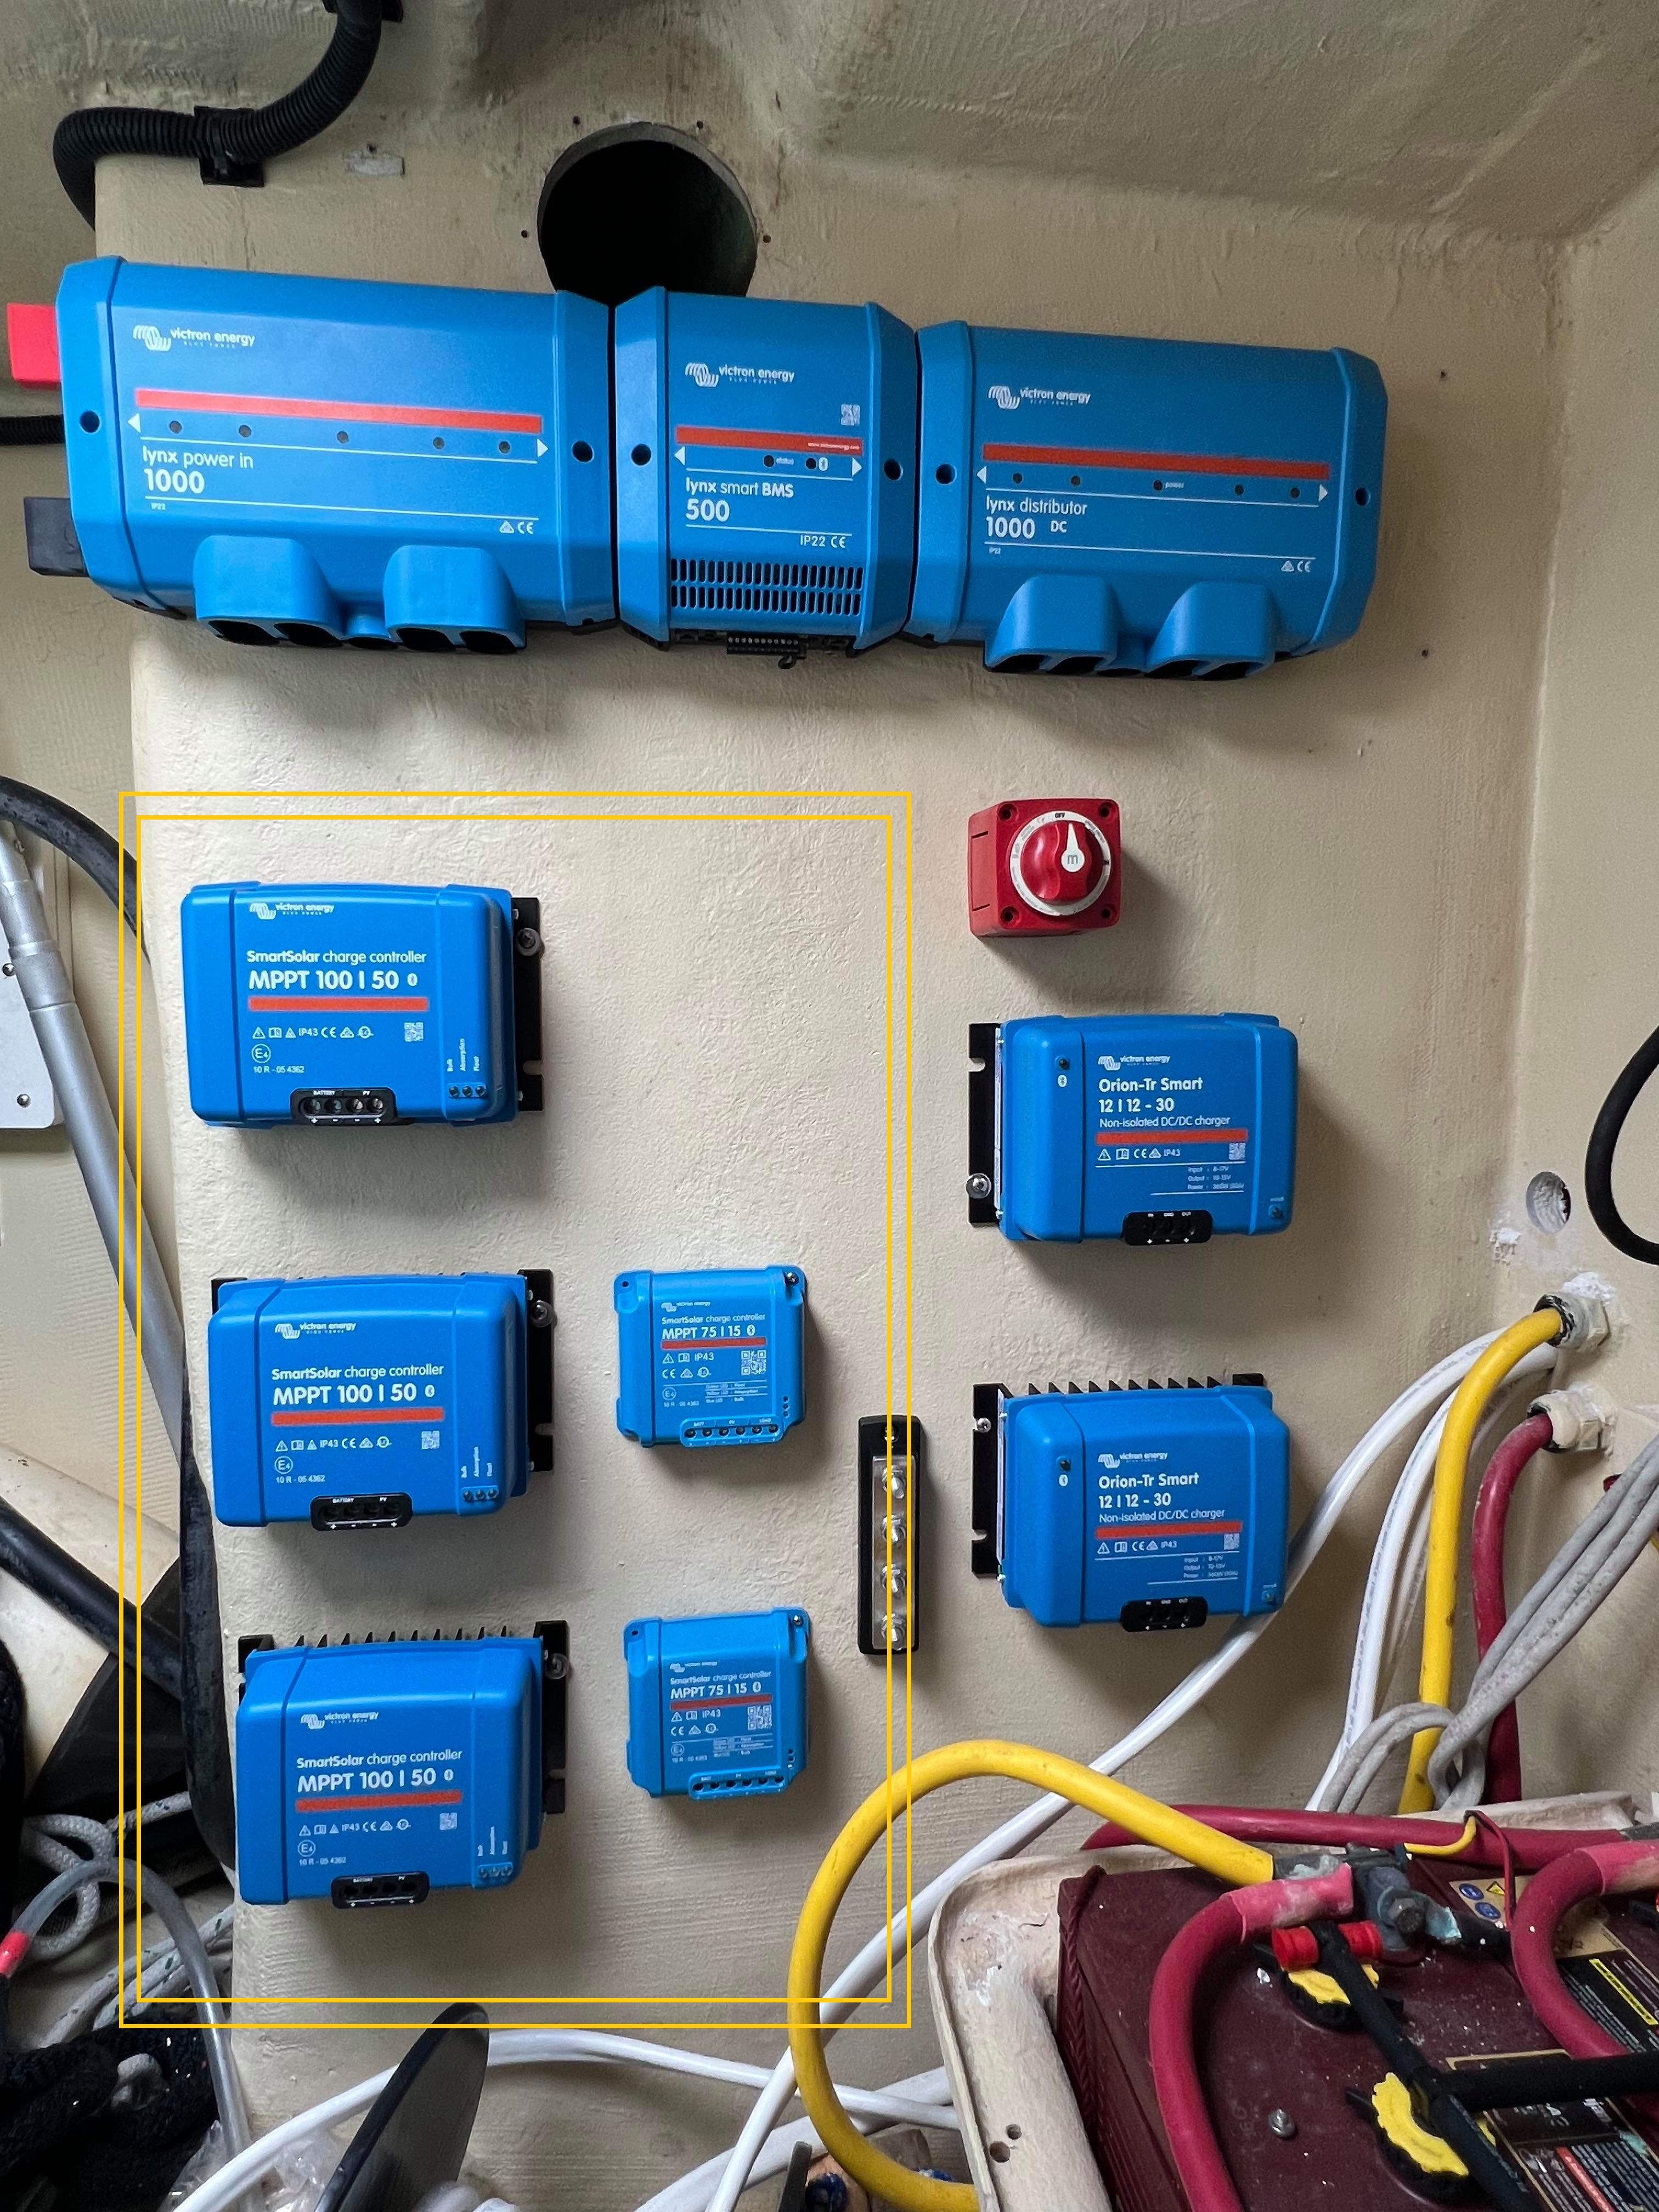
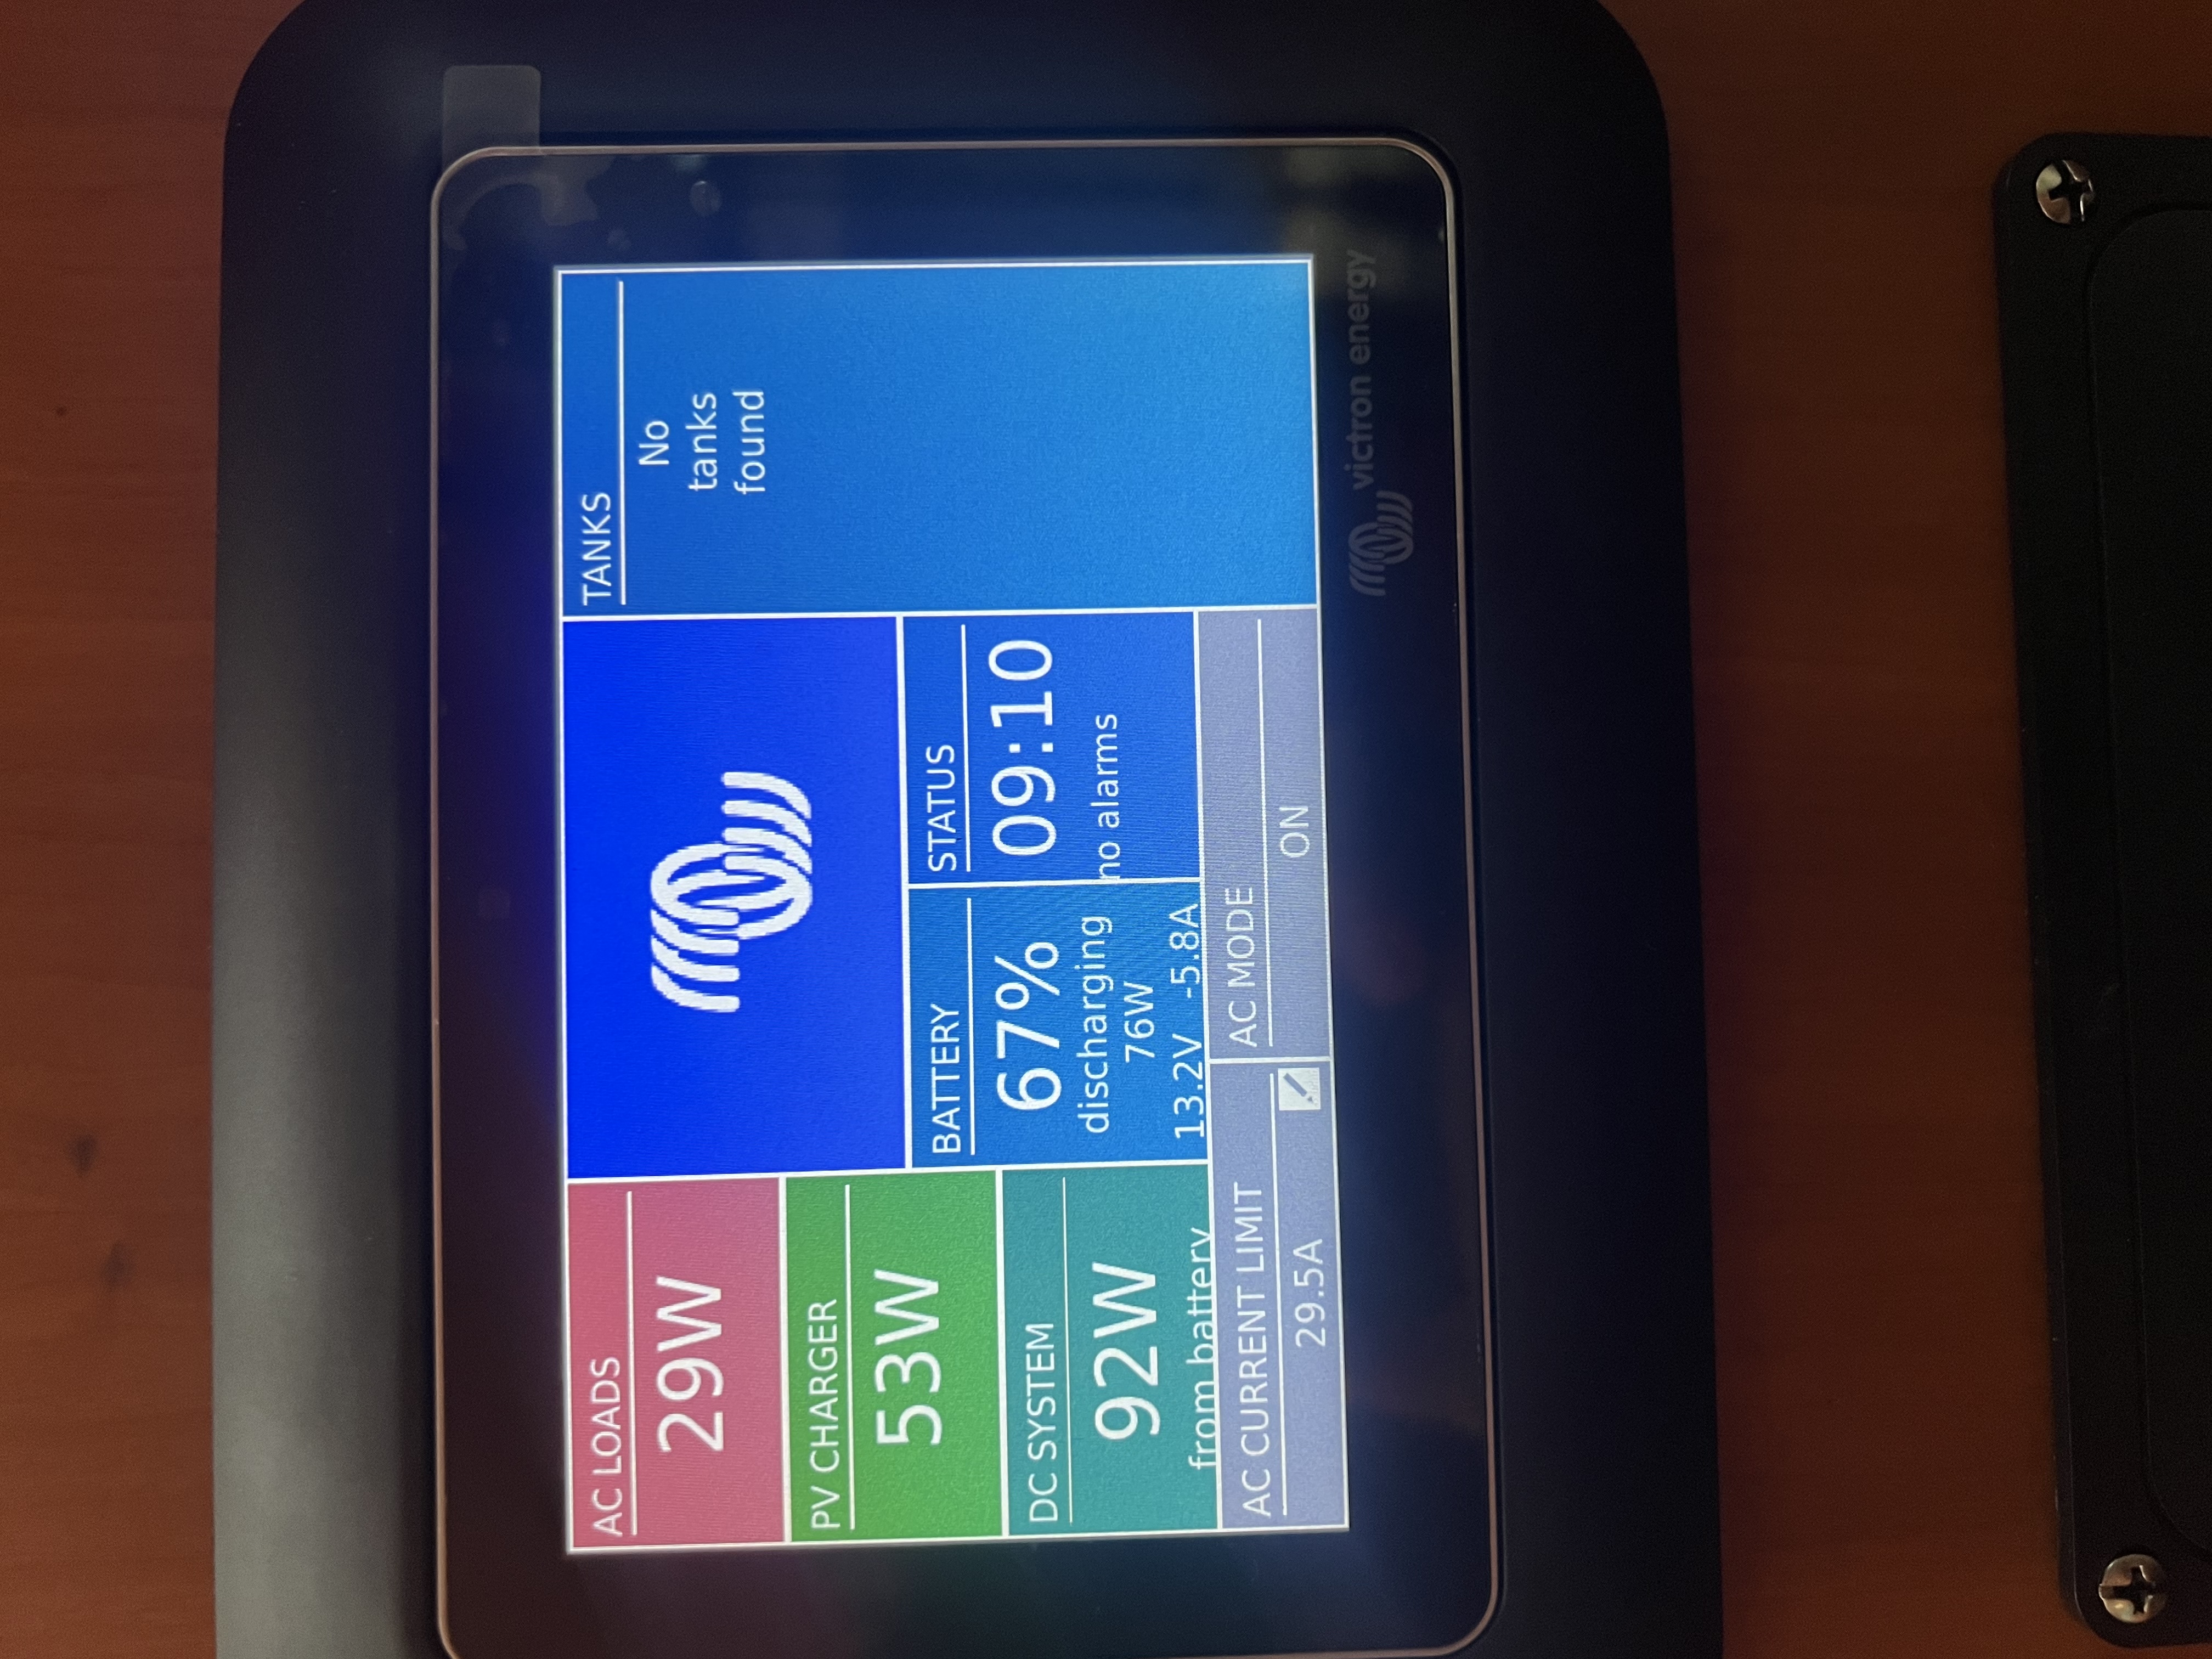
Since we’re going from 360 watts of total solar to potentially up to over 1600 watts we have a lot of wiring work to do to upgrade sizes both due to the power requirements and the length that it has to run. We started with a single controller for all 4 panels and we’re upgrading to 5 separate controllers so each panel has its own. This is a great way to do it because if one panel is shaded, it doesn’t bring the entire system’s efficiency down with it.
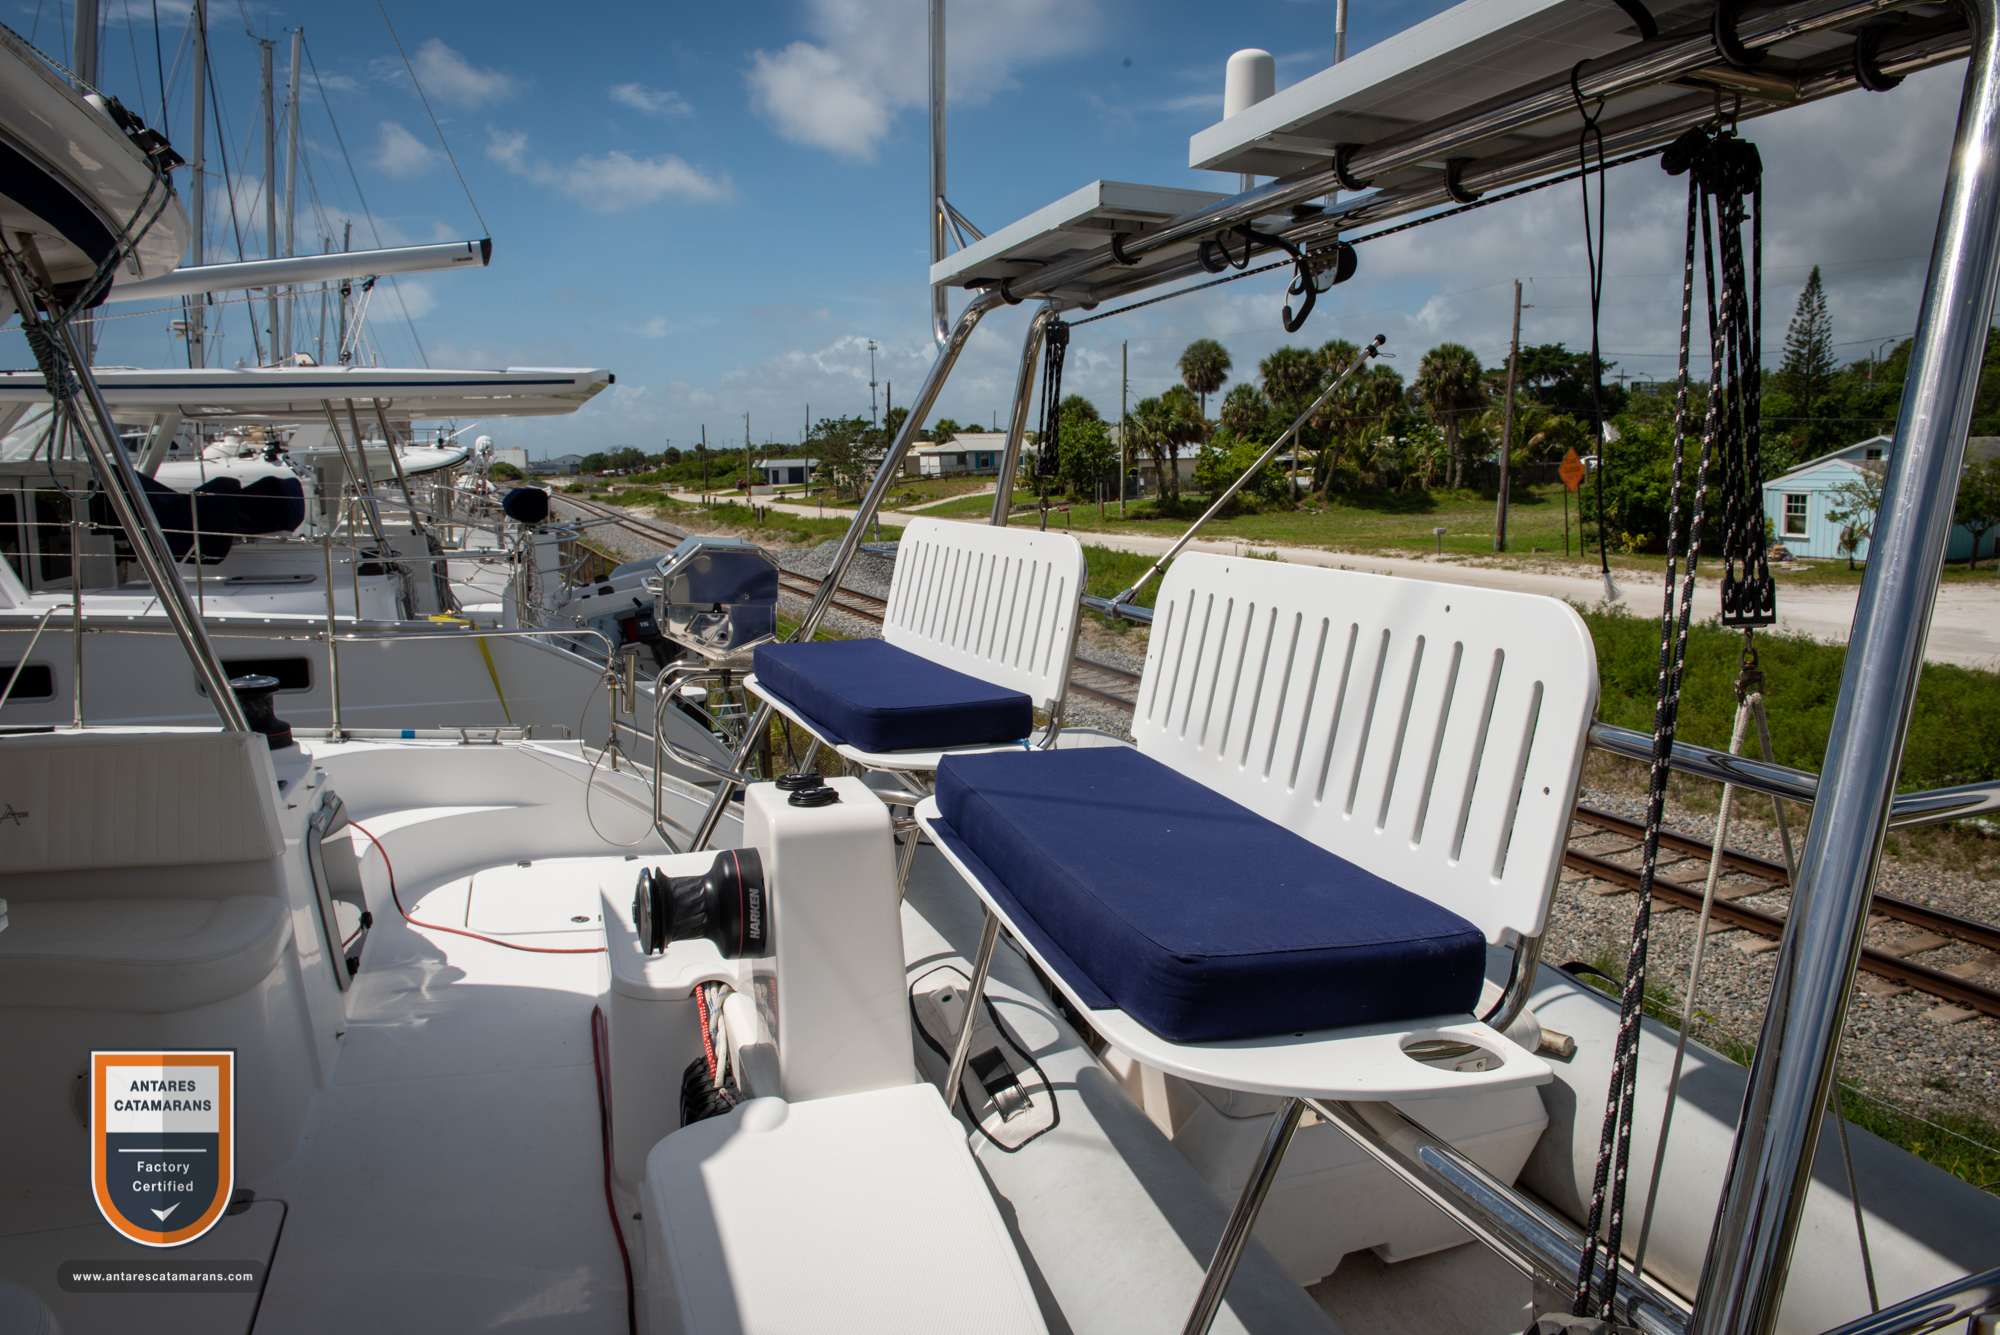
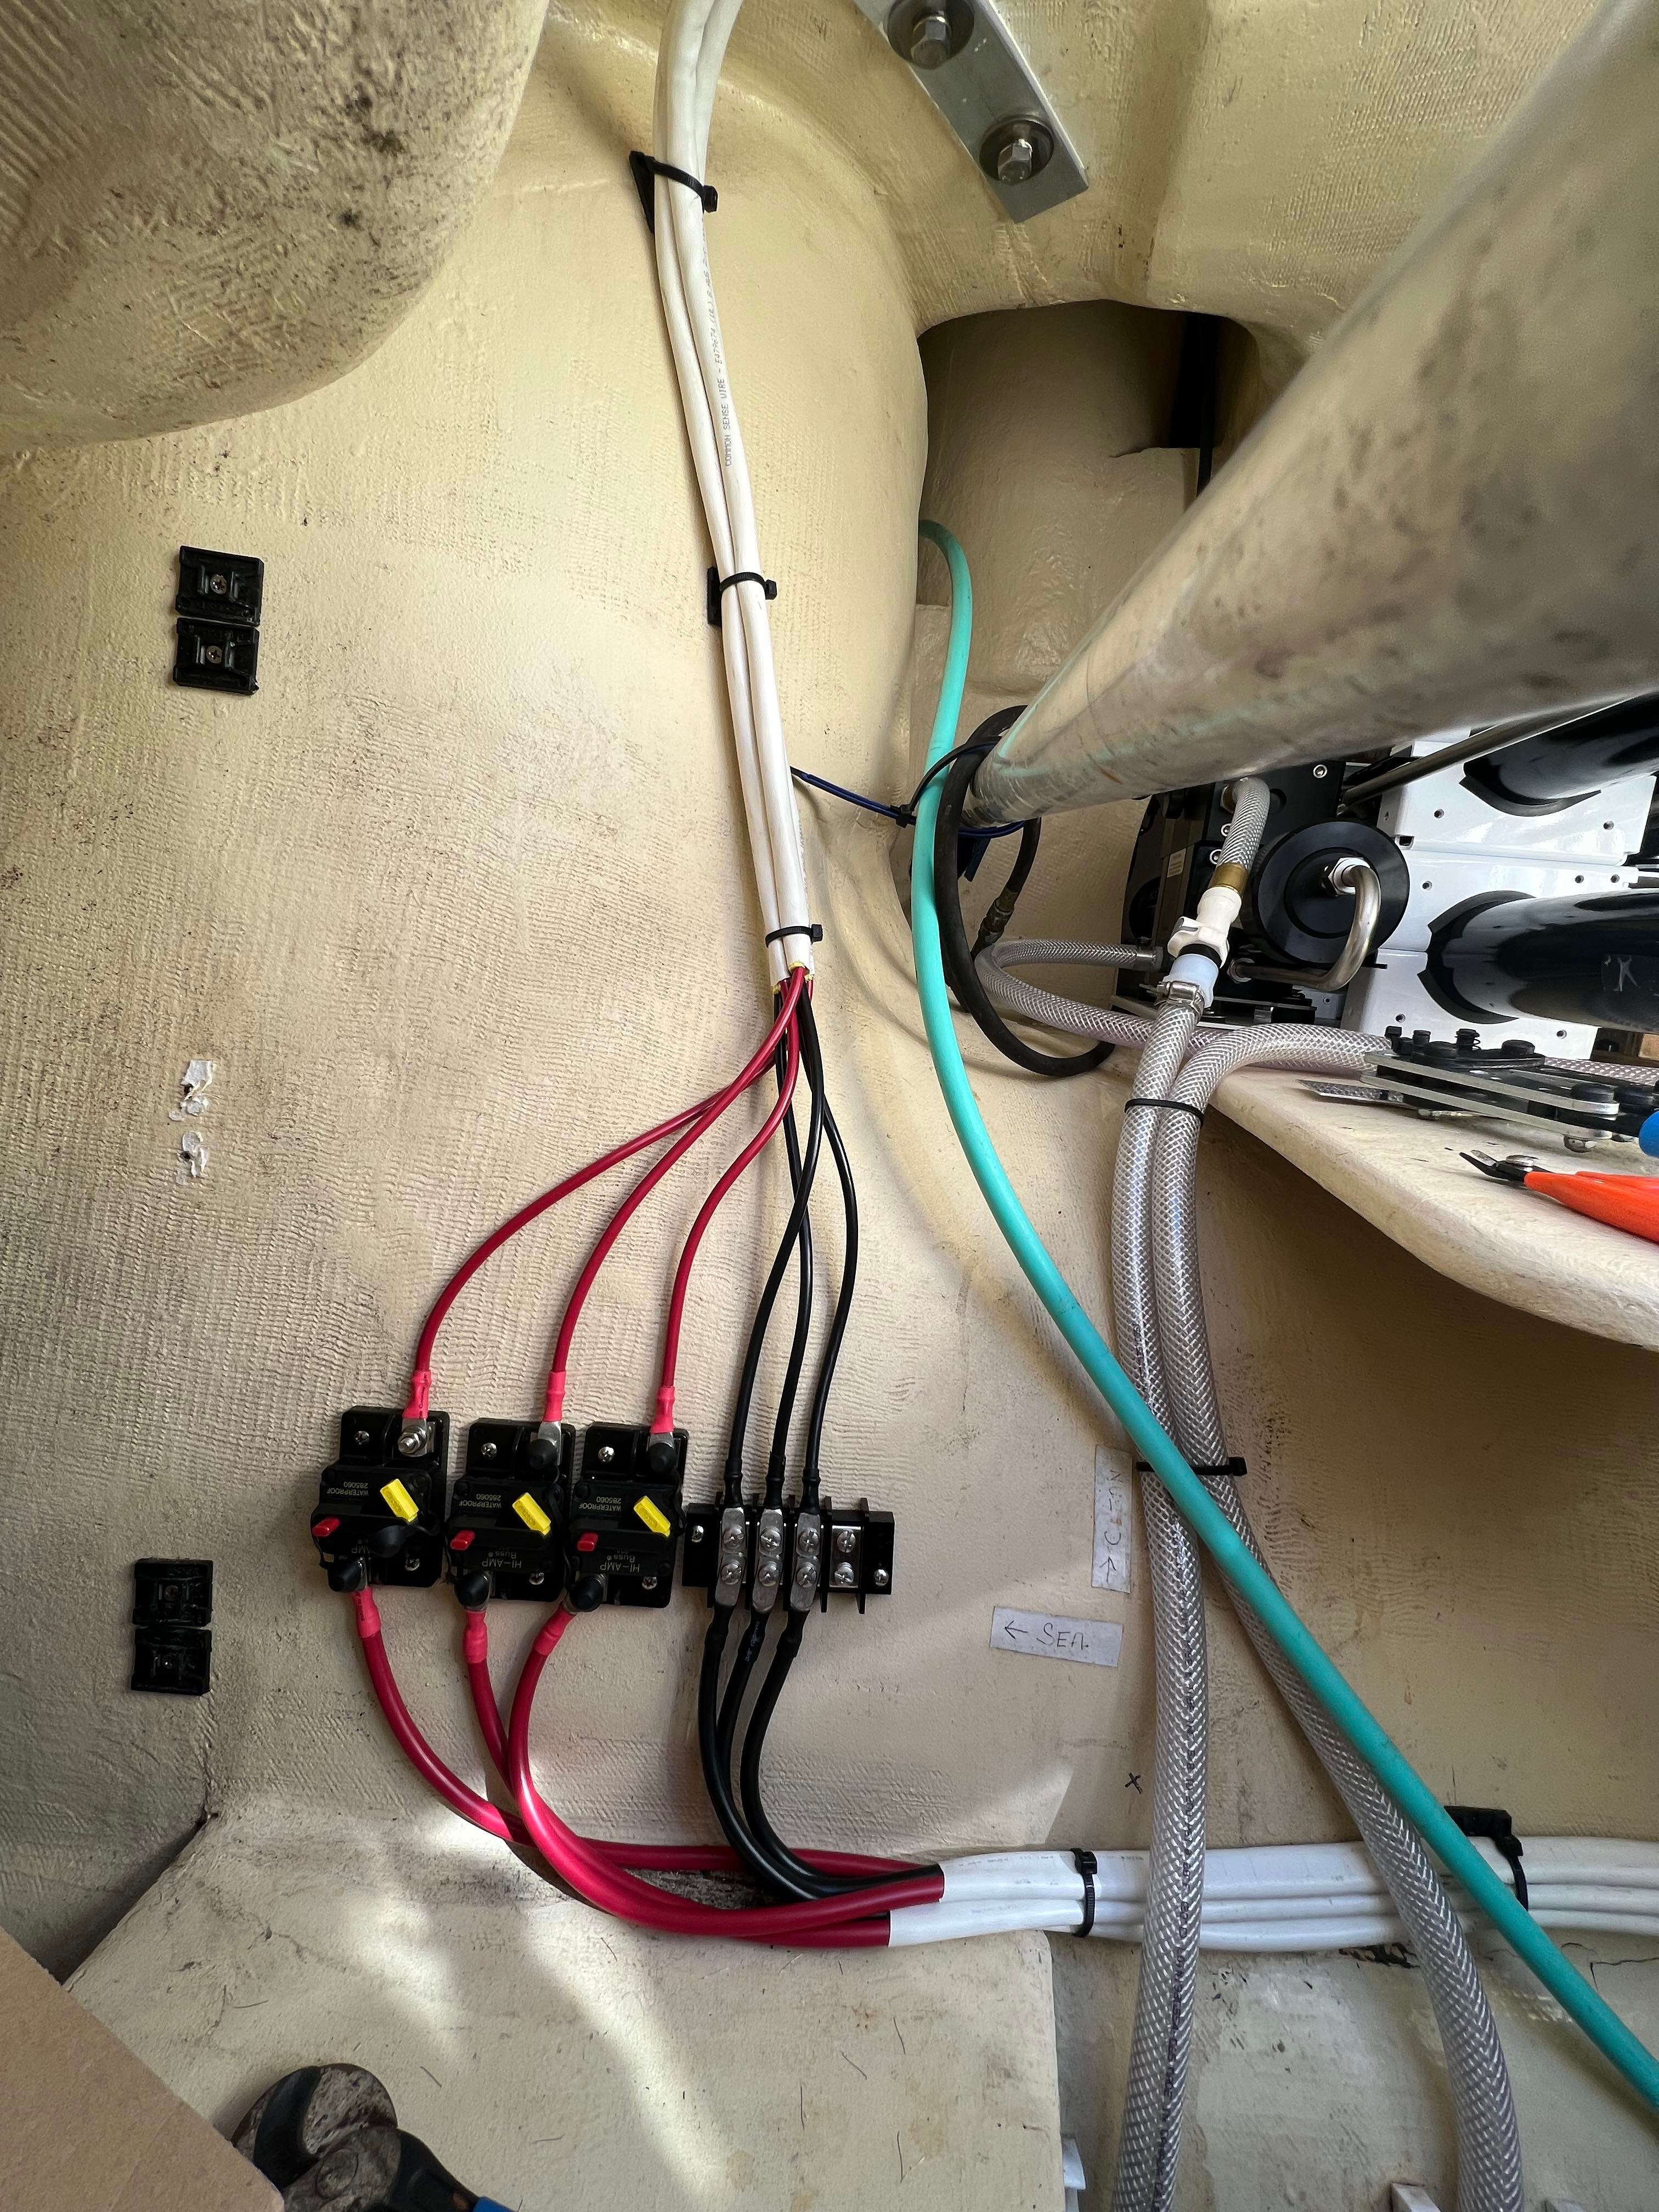
The rear arch got put on the back burner for a while with other more pressing projects, but while I was installing the water maker I realized it would be convenient if I finished up the wiring for the aft solar panels to get it out of my way. The breakers didn’t end up going where I thought they were going to go but now they’re nicely out of the way on the aft bulkhead!
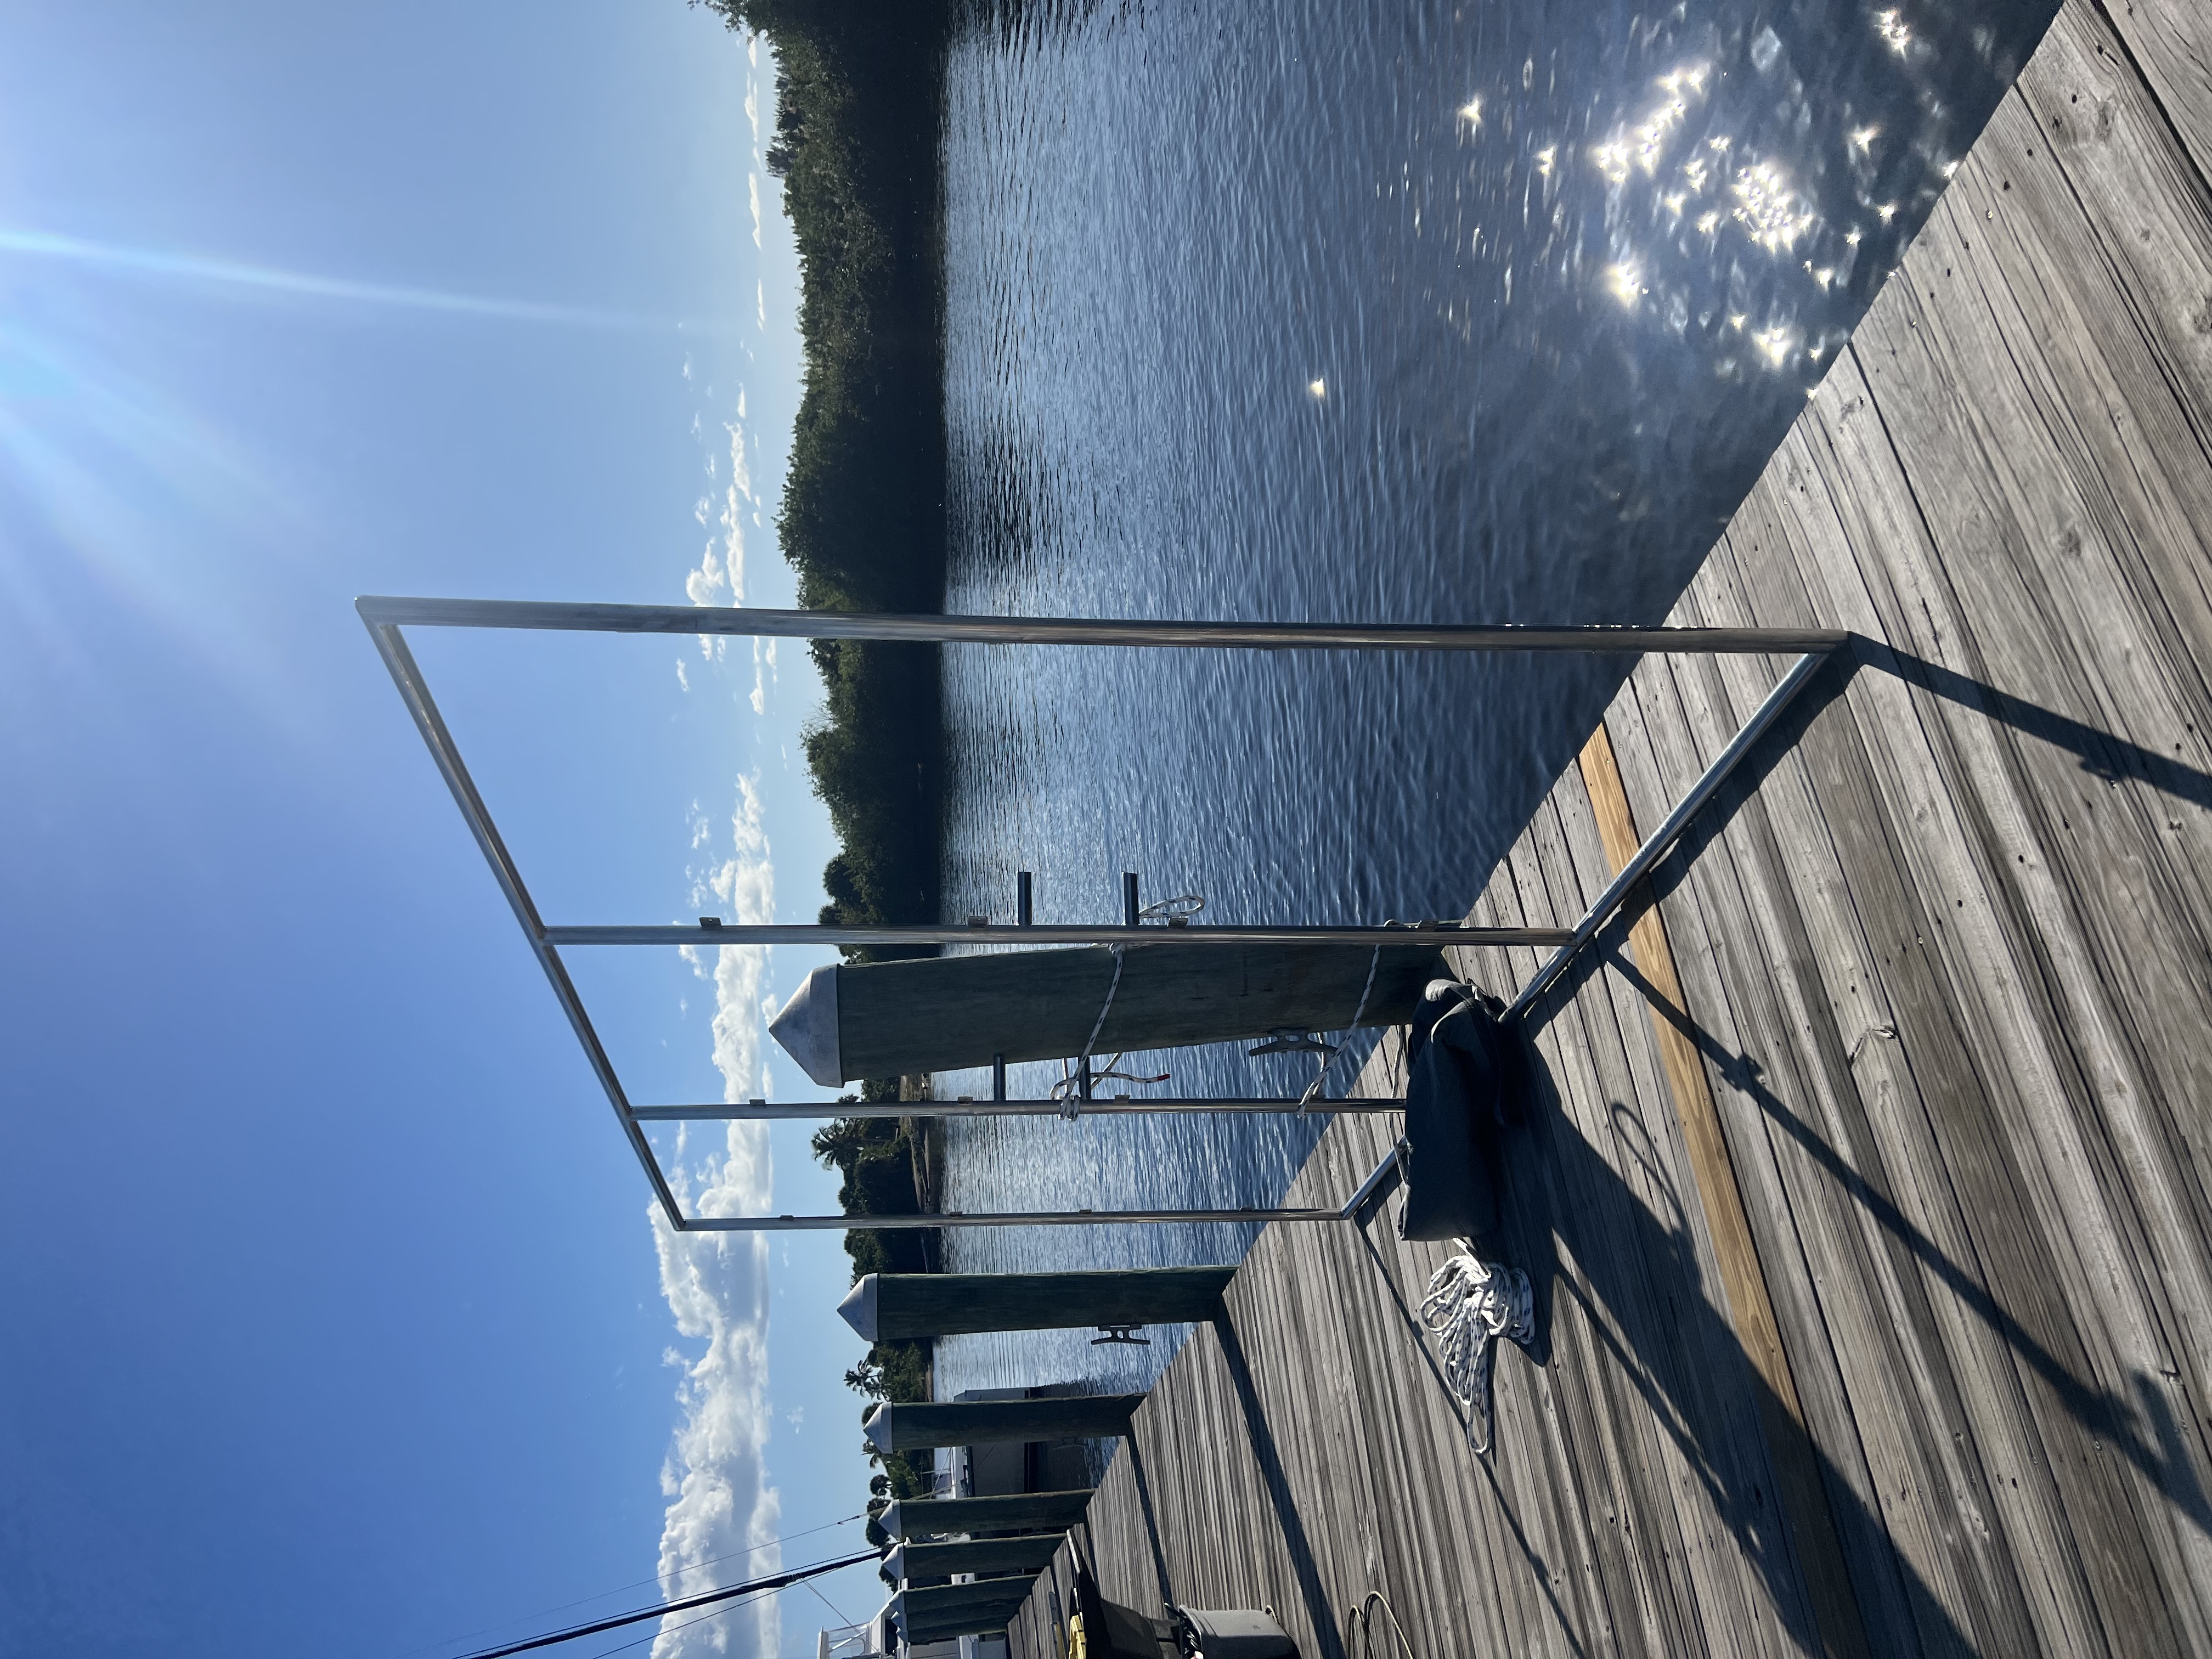
After waiting a few months for Dan to get the solar rack done, he finally finished it and was awesome enough to drive from Jacksonville to Fort Pierce to install it on the boat!

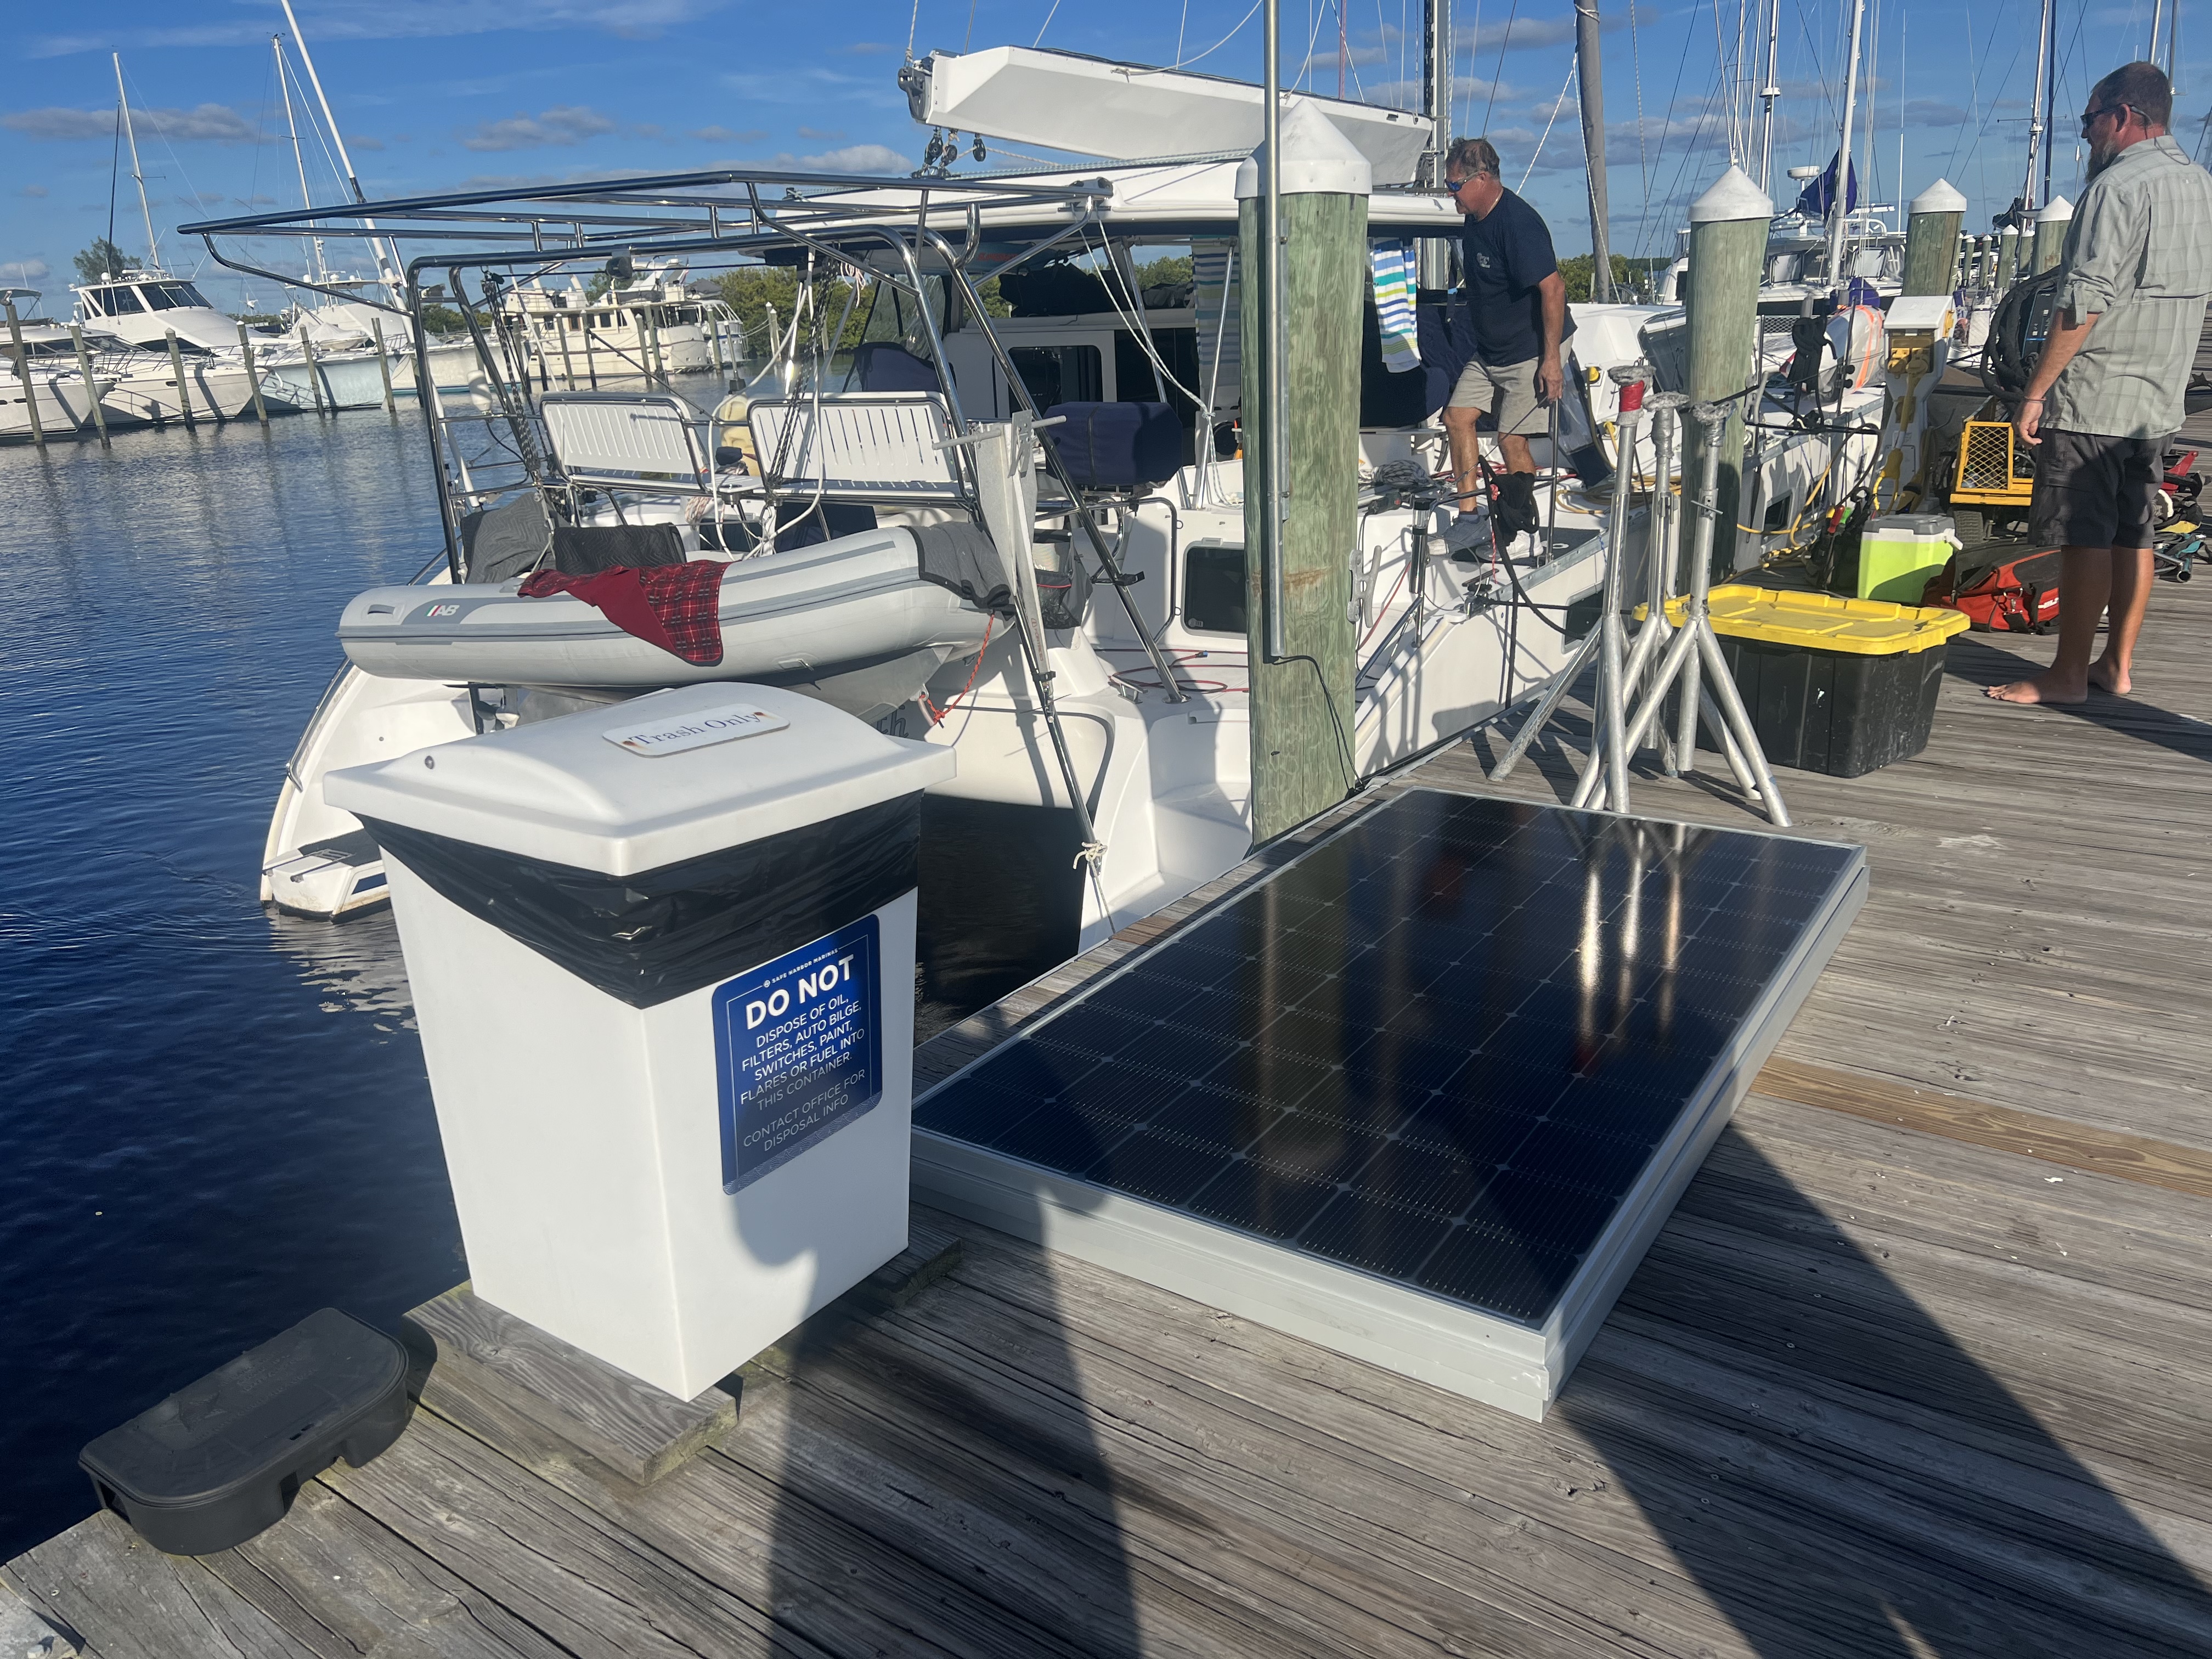
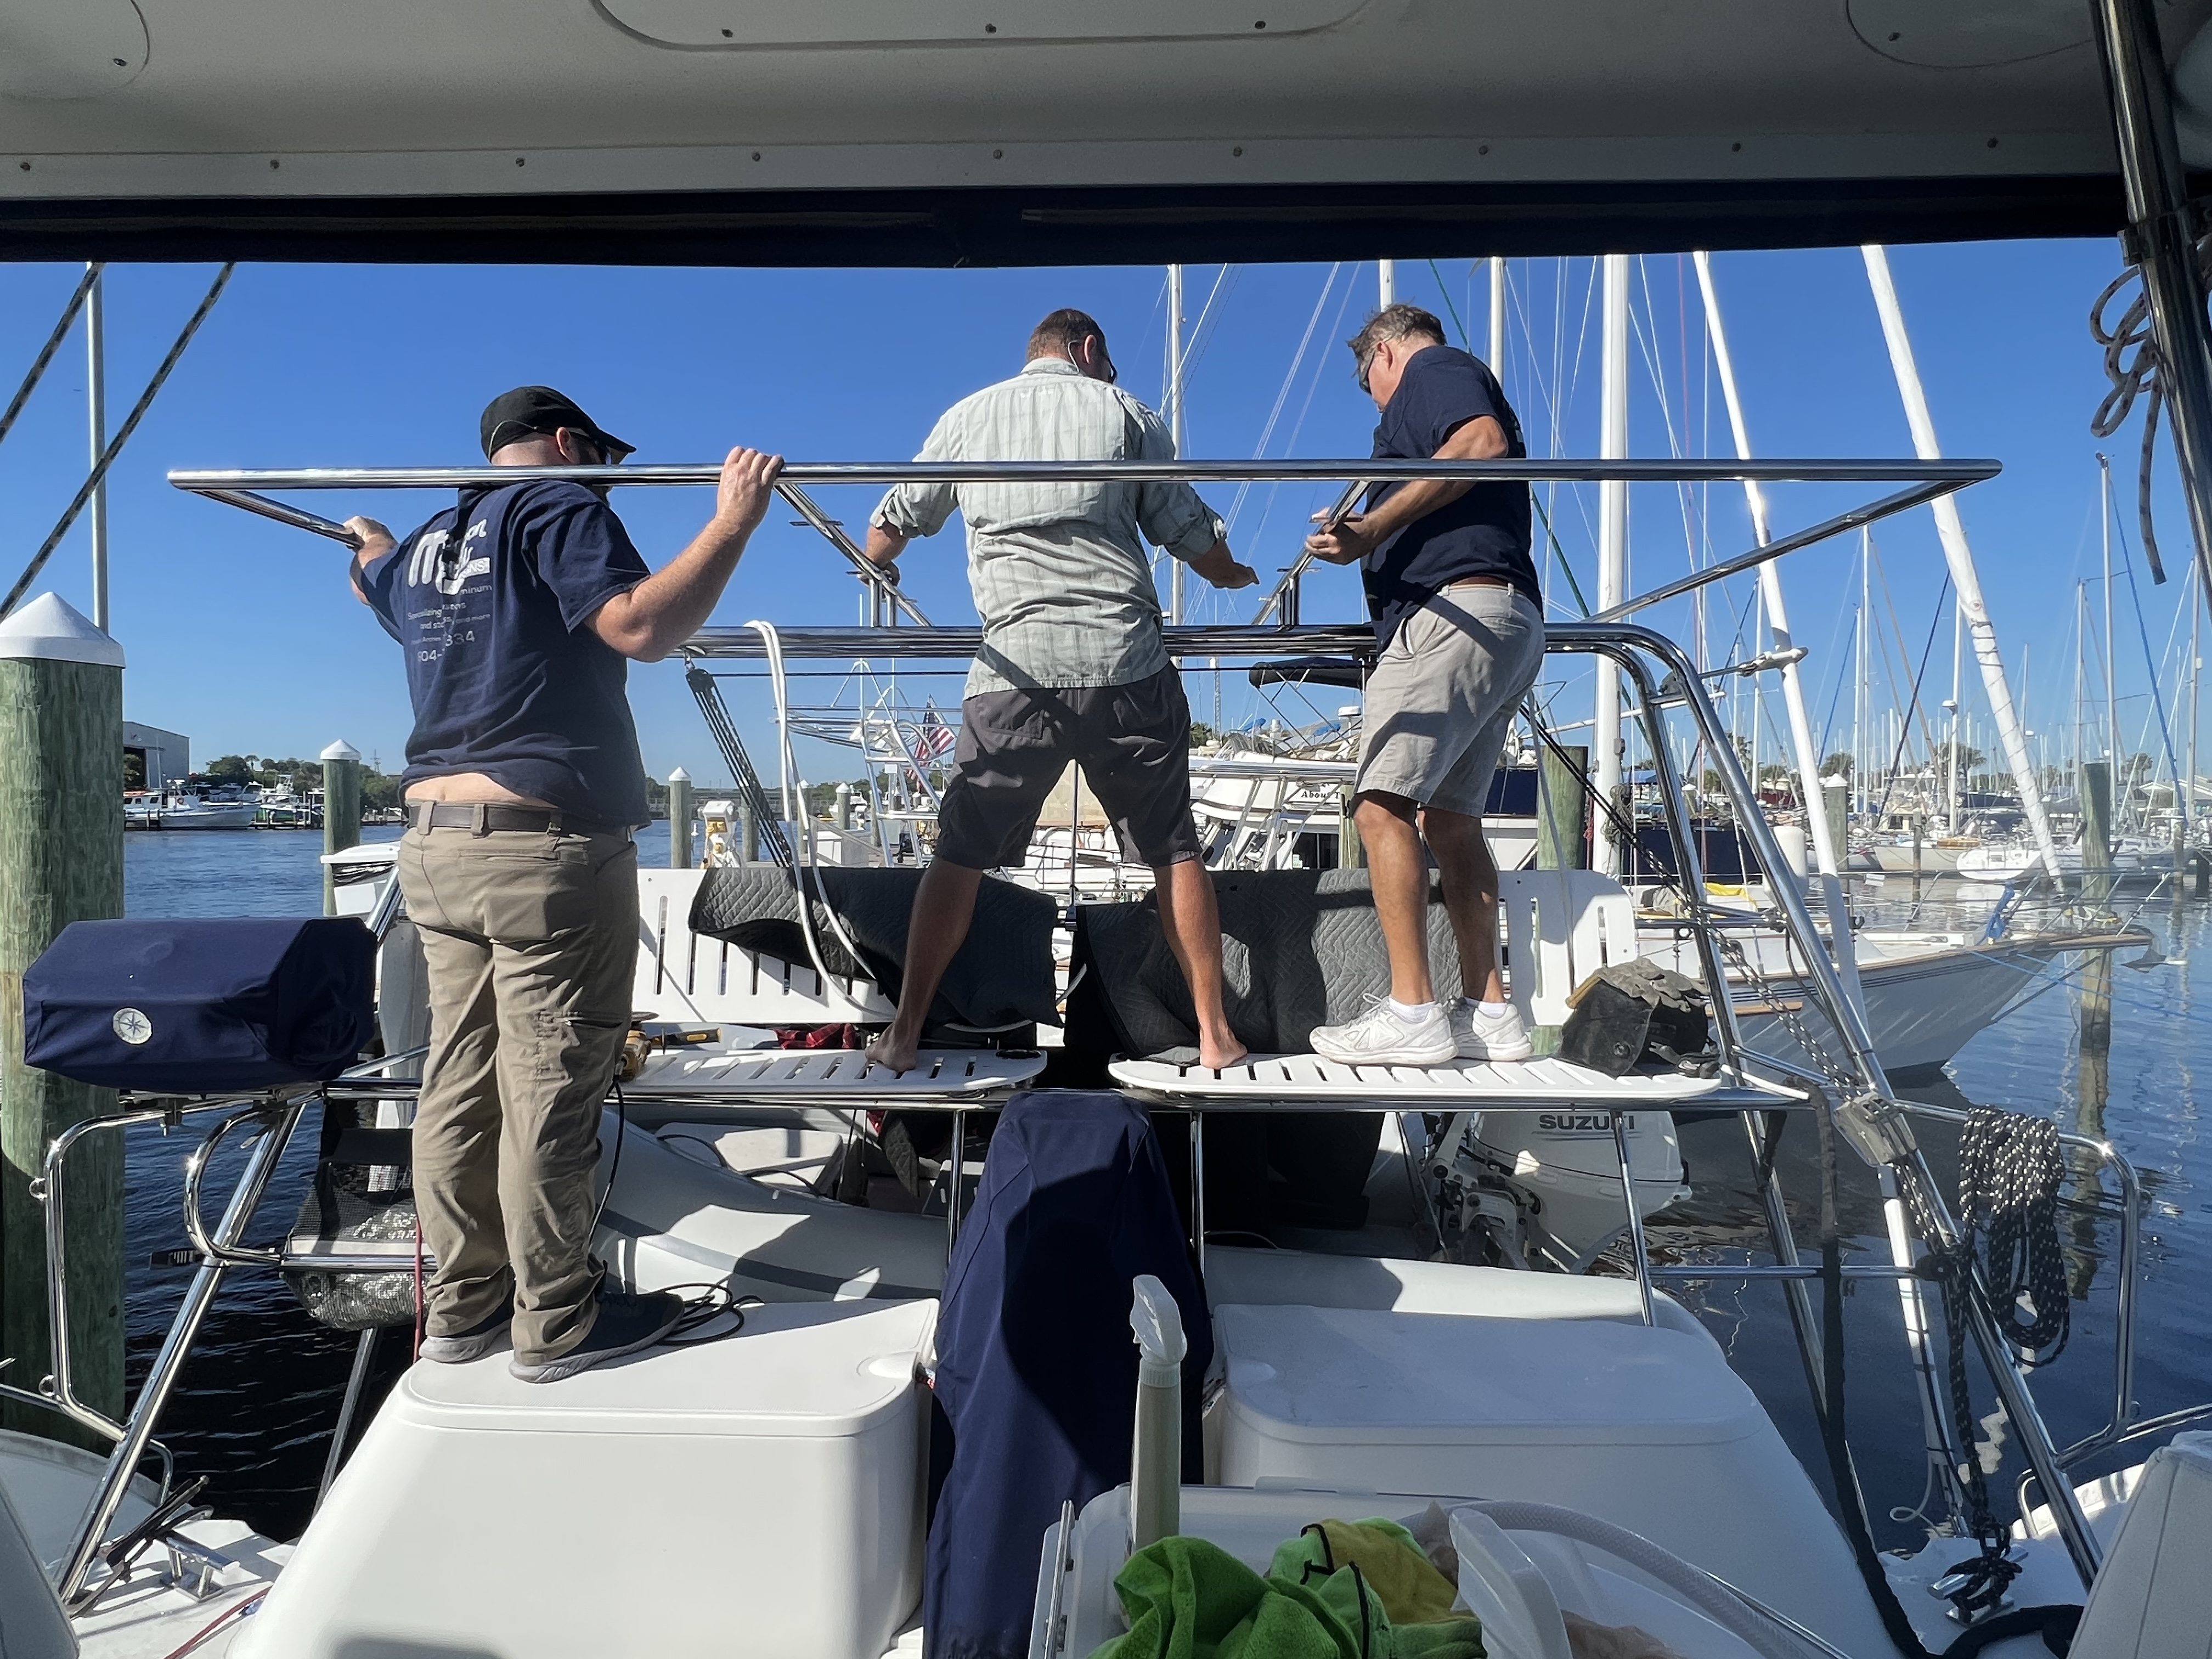
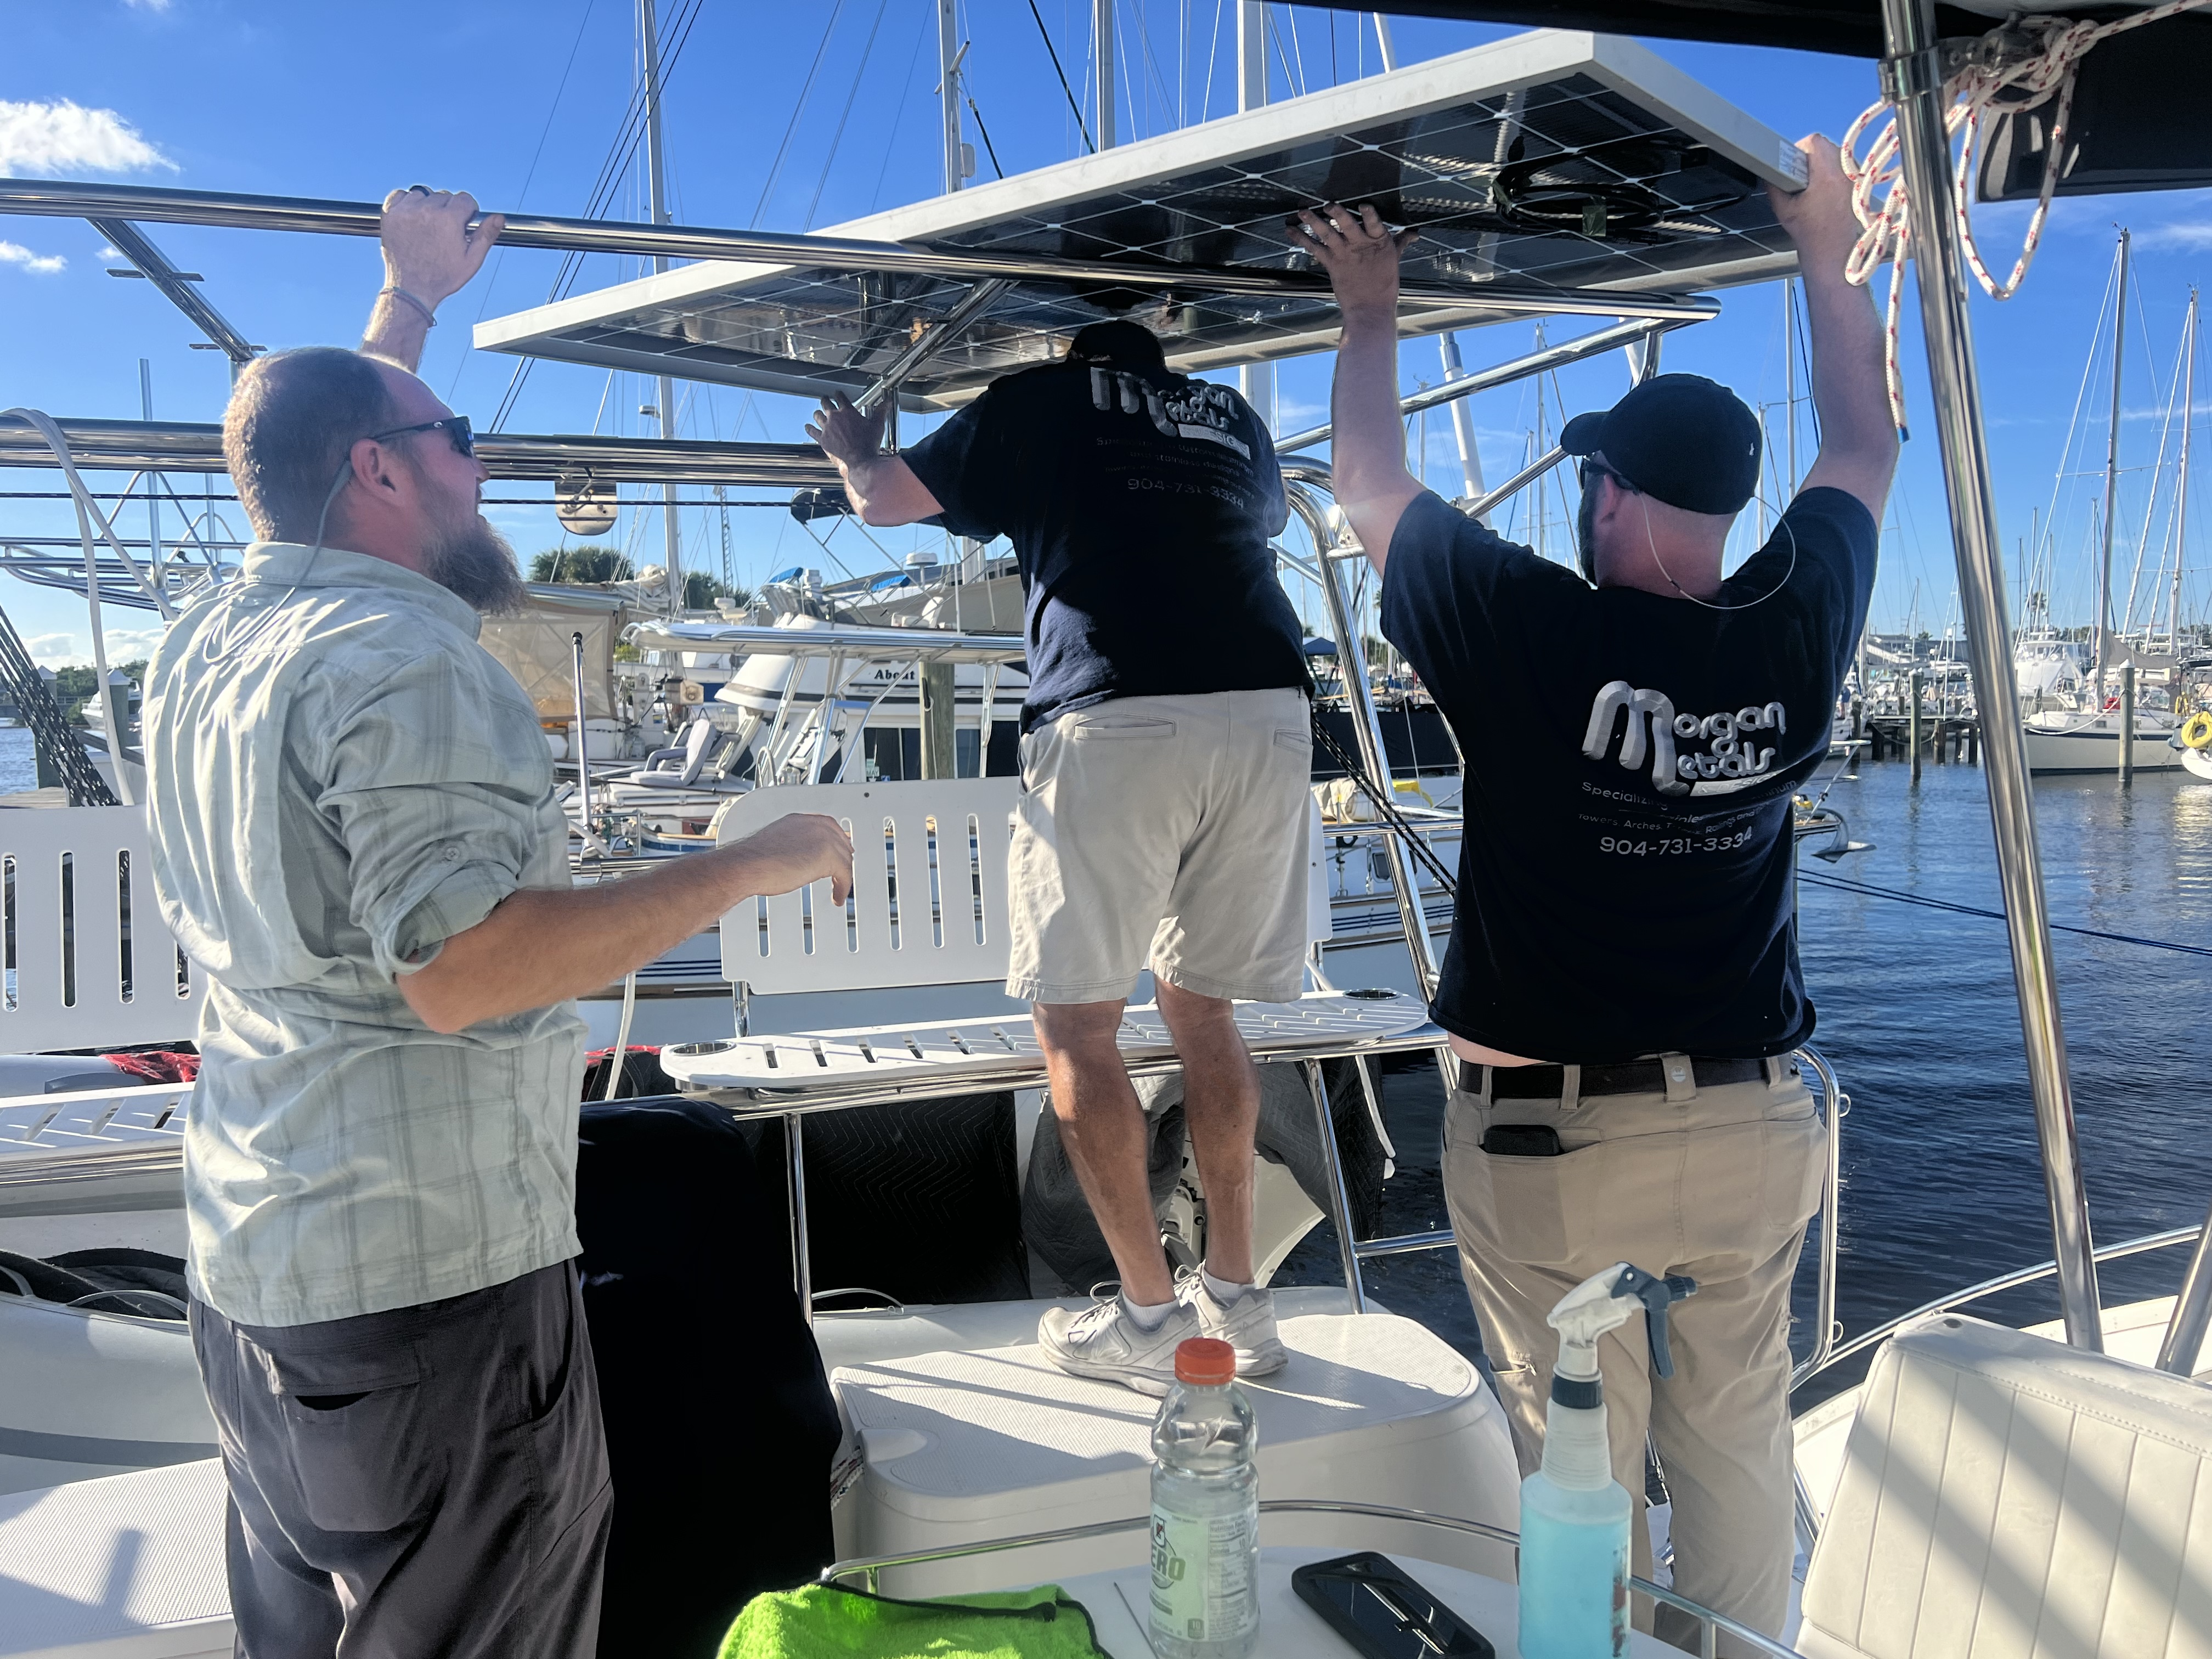

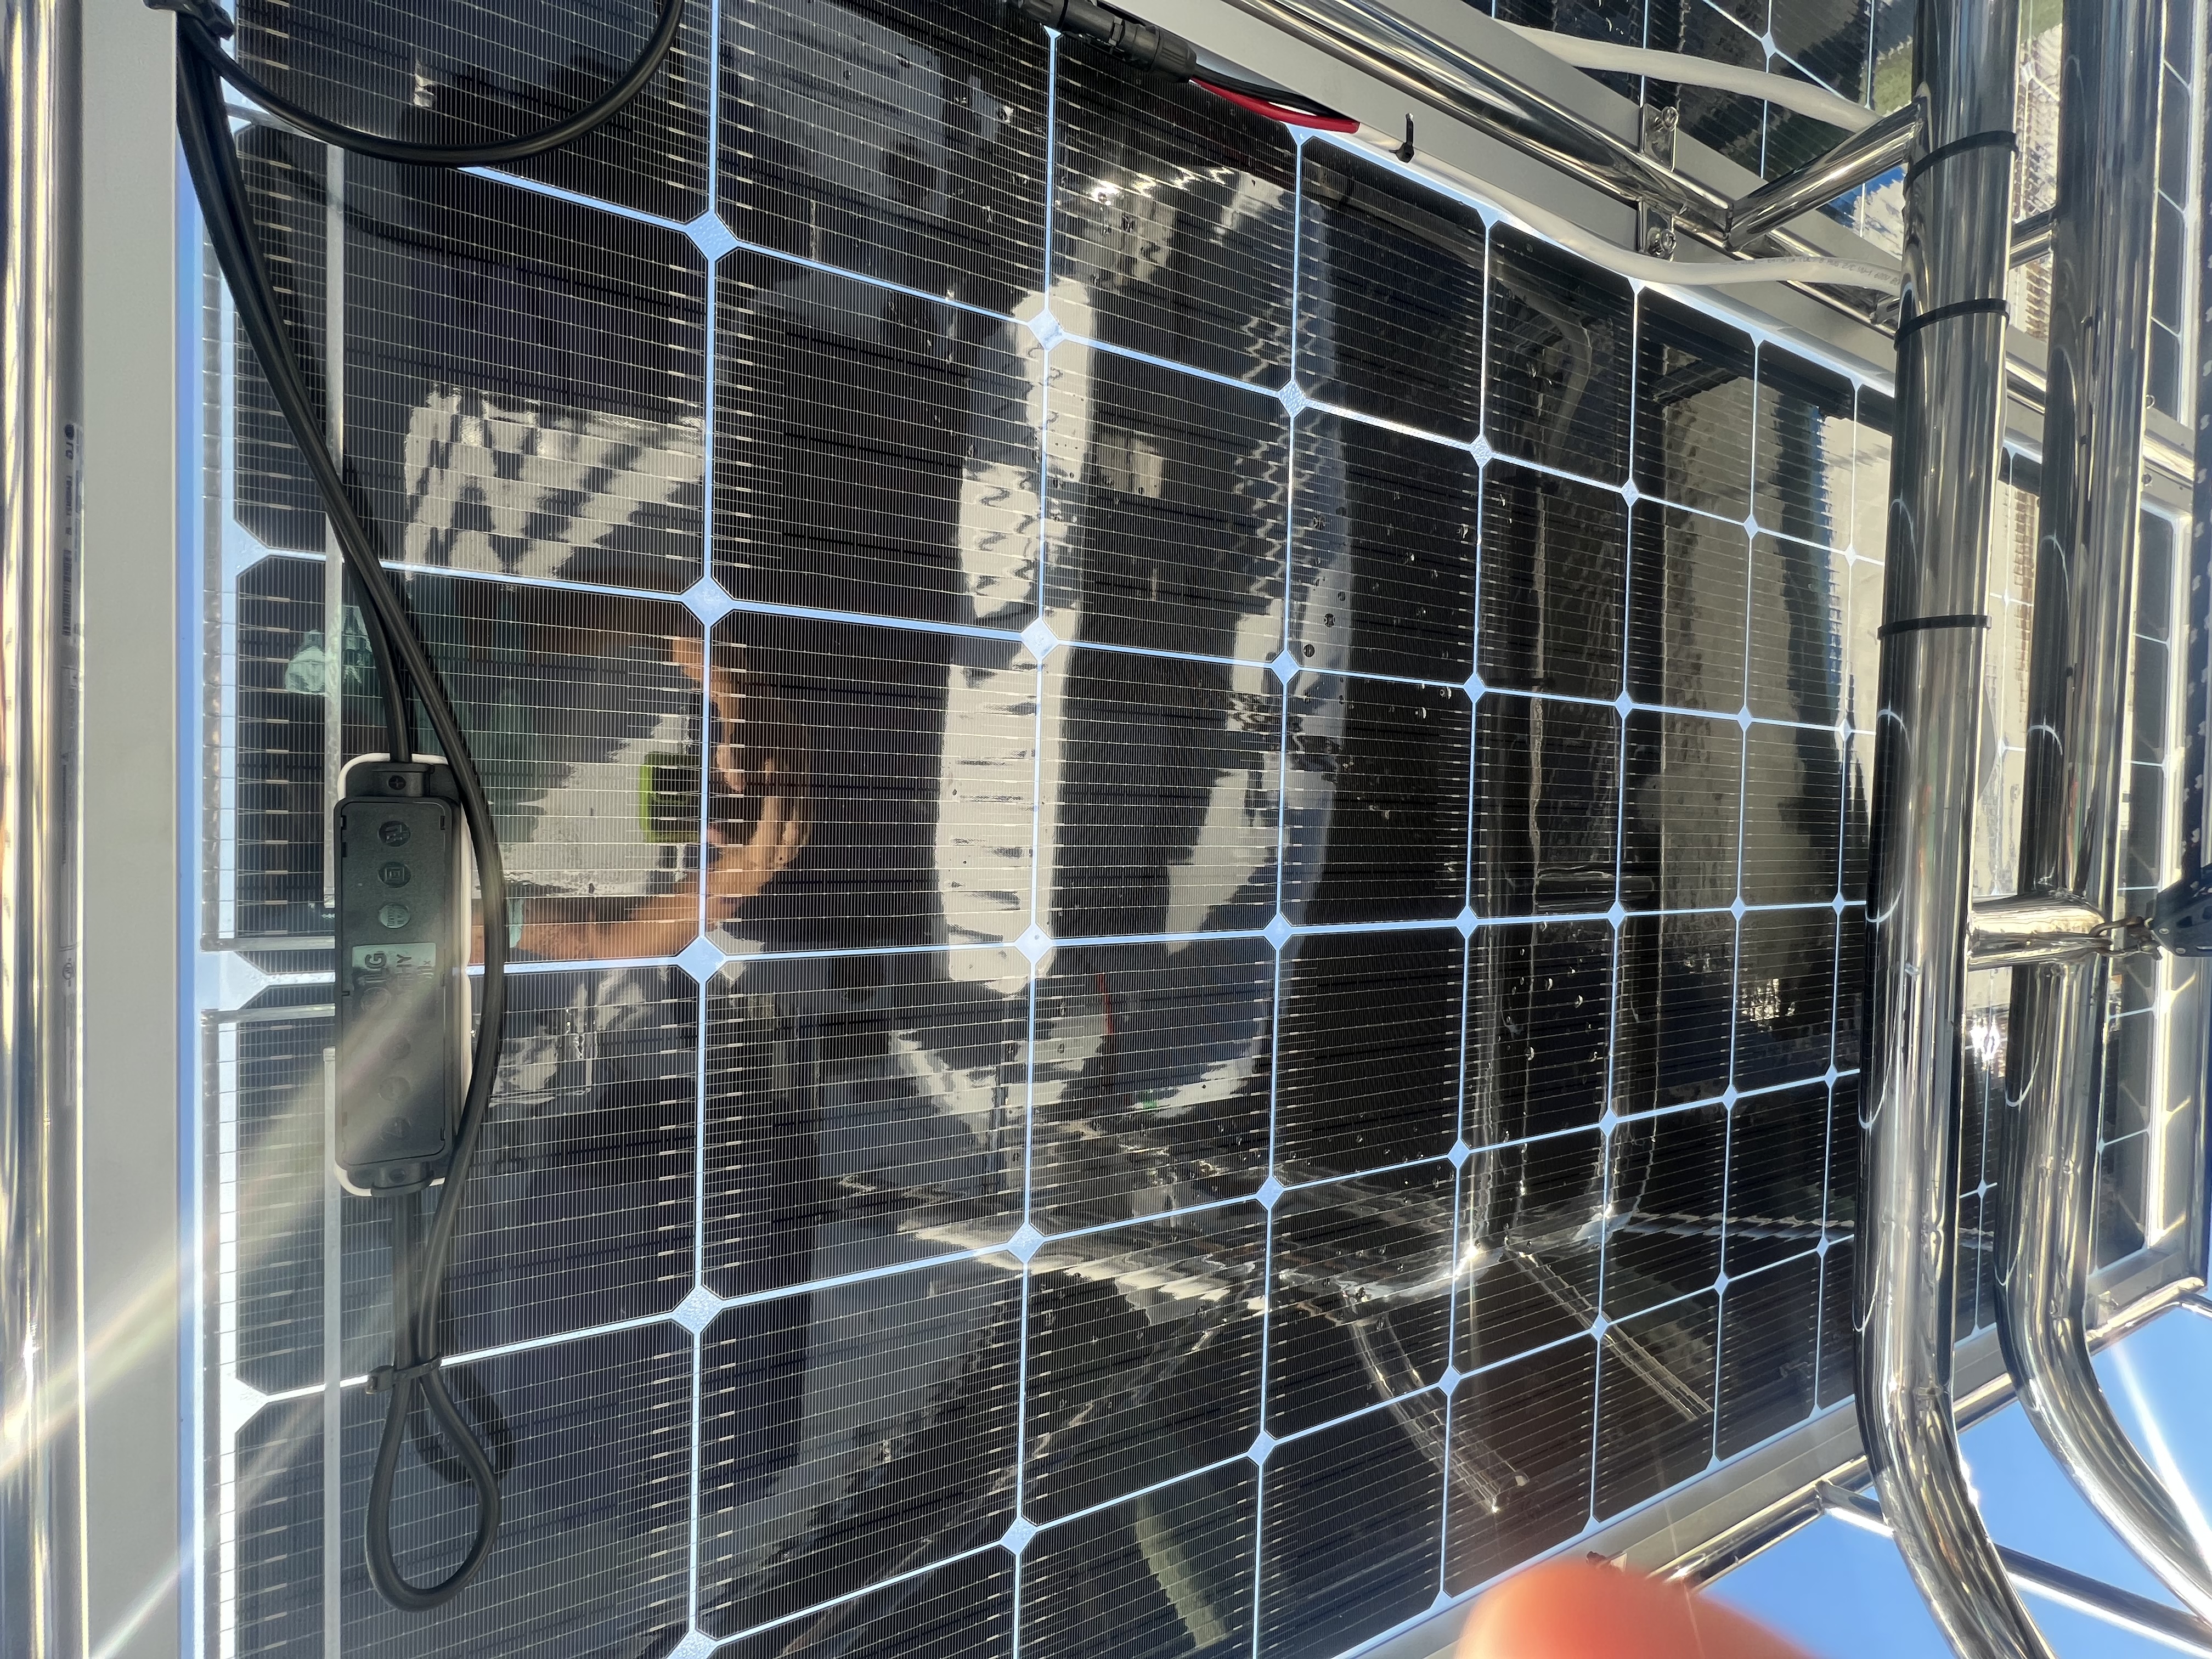
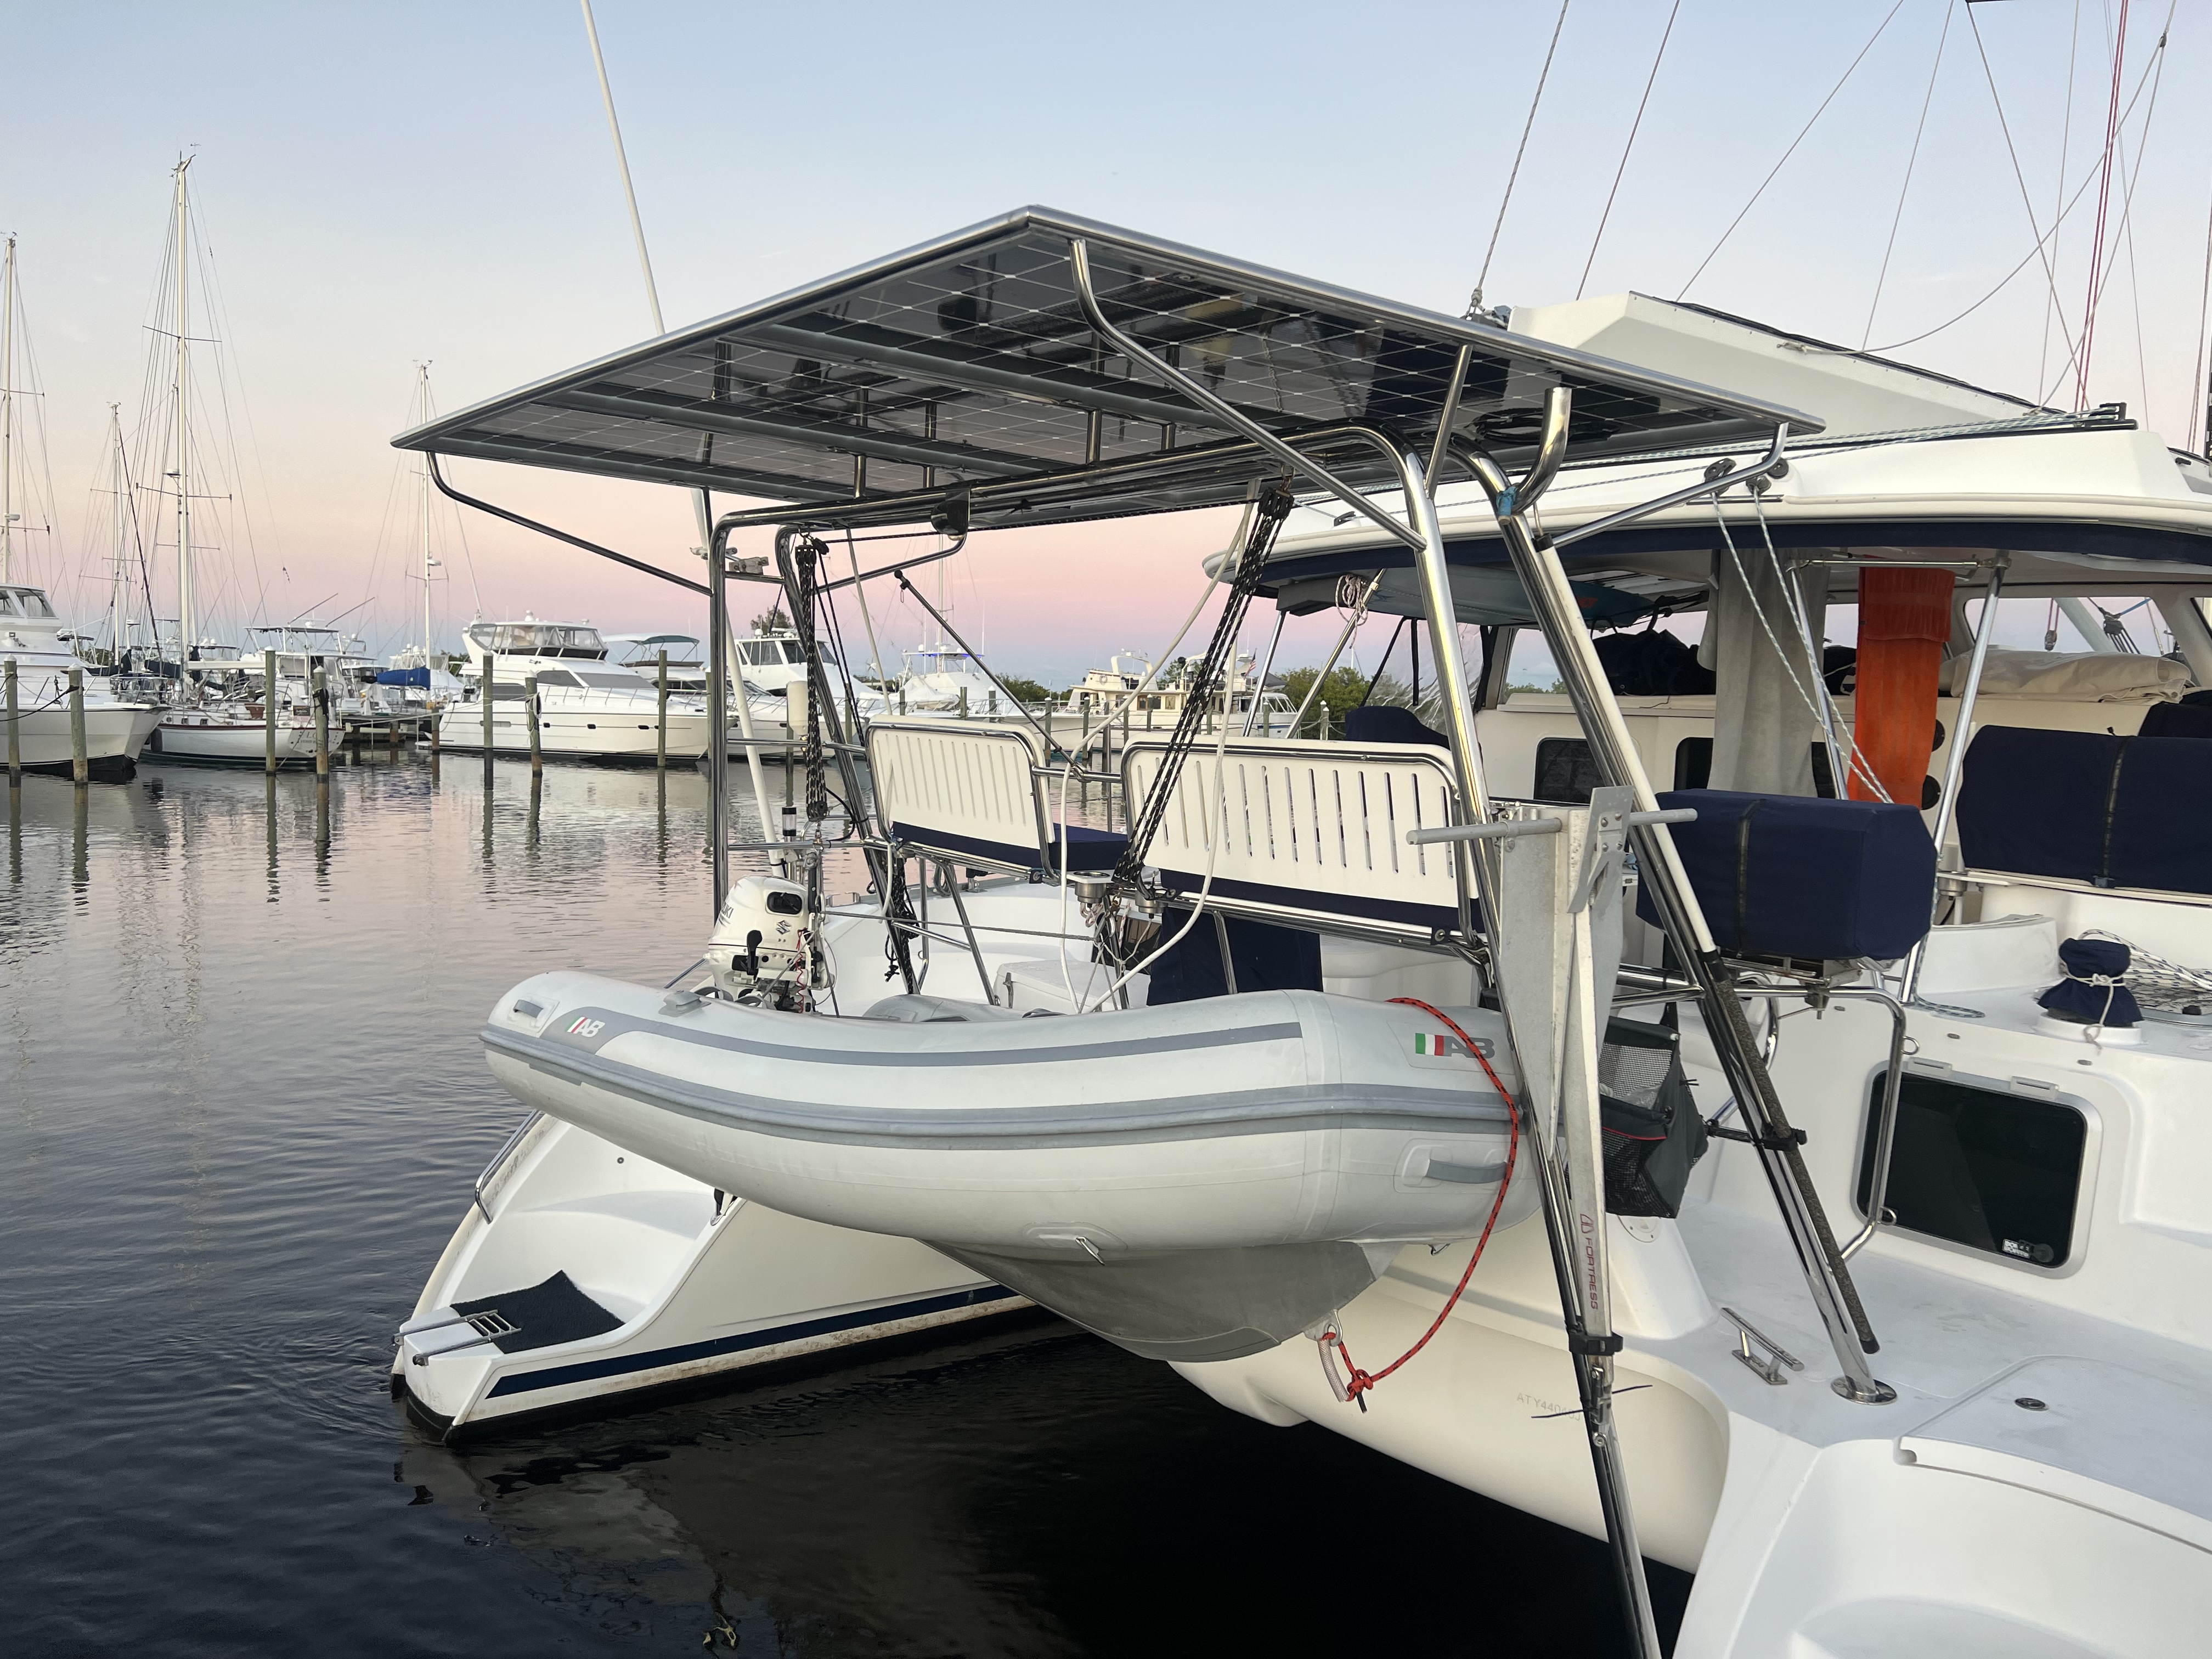
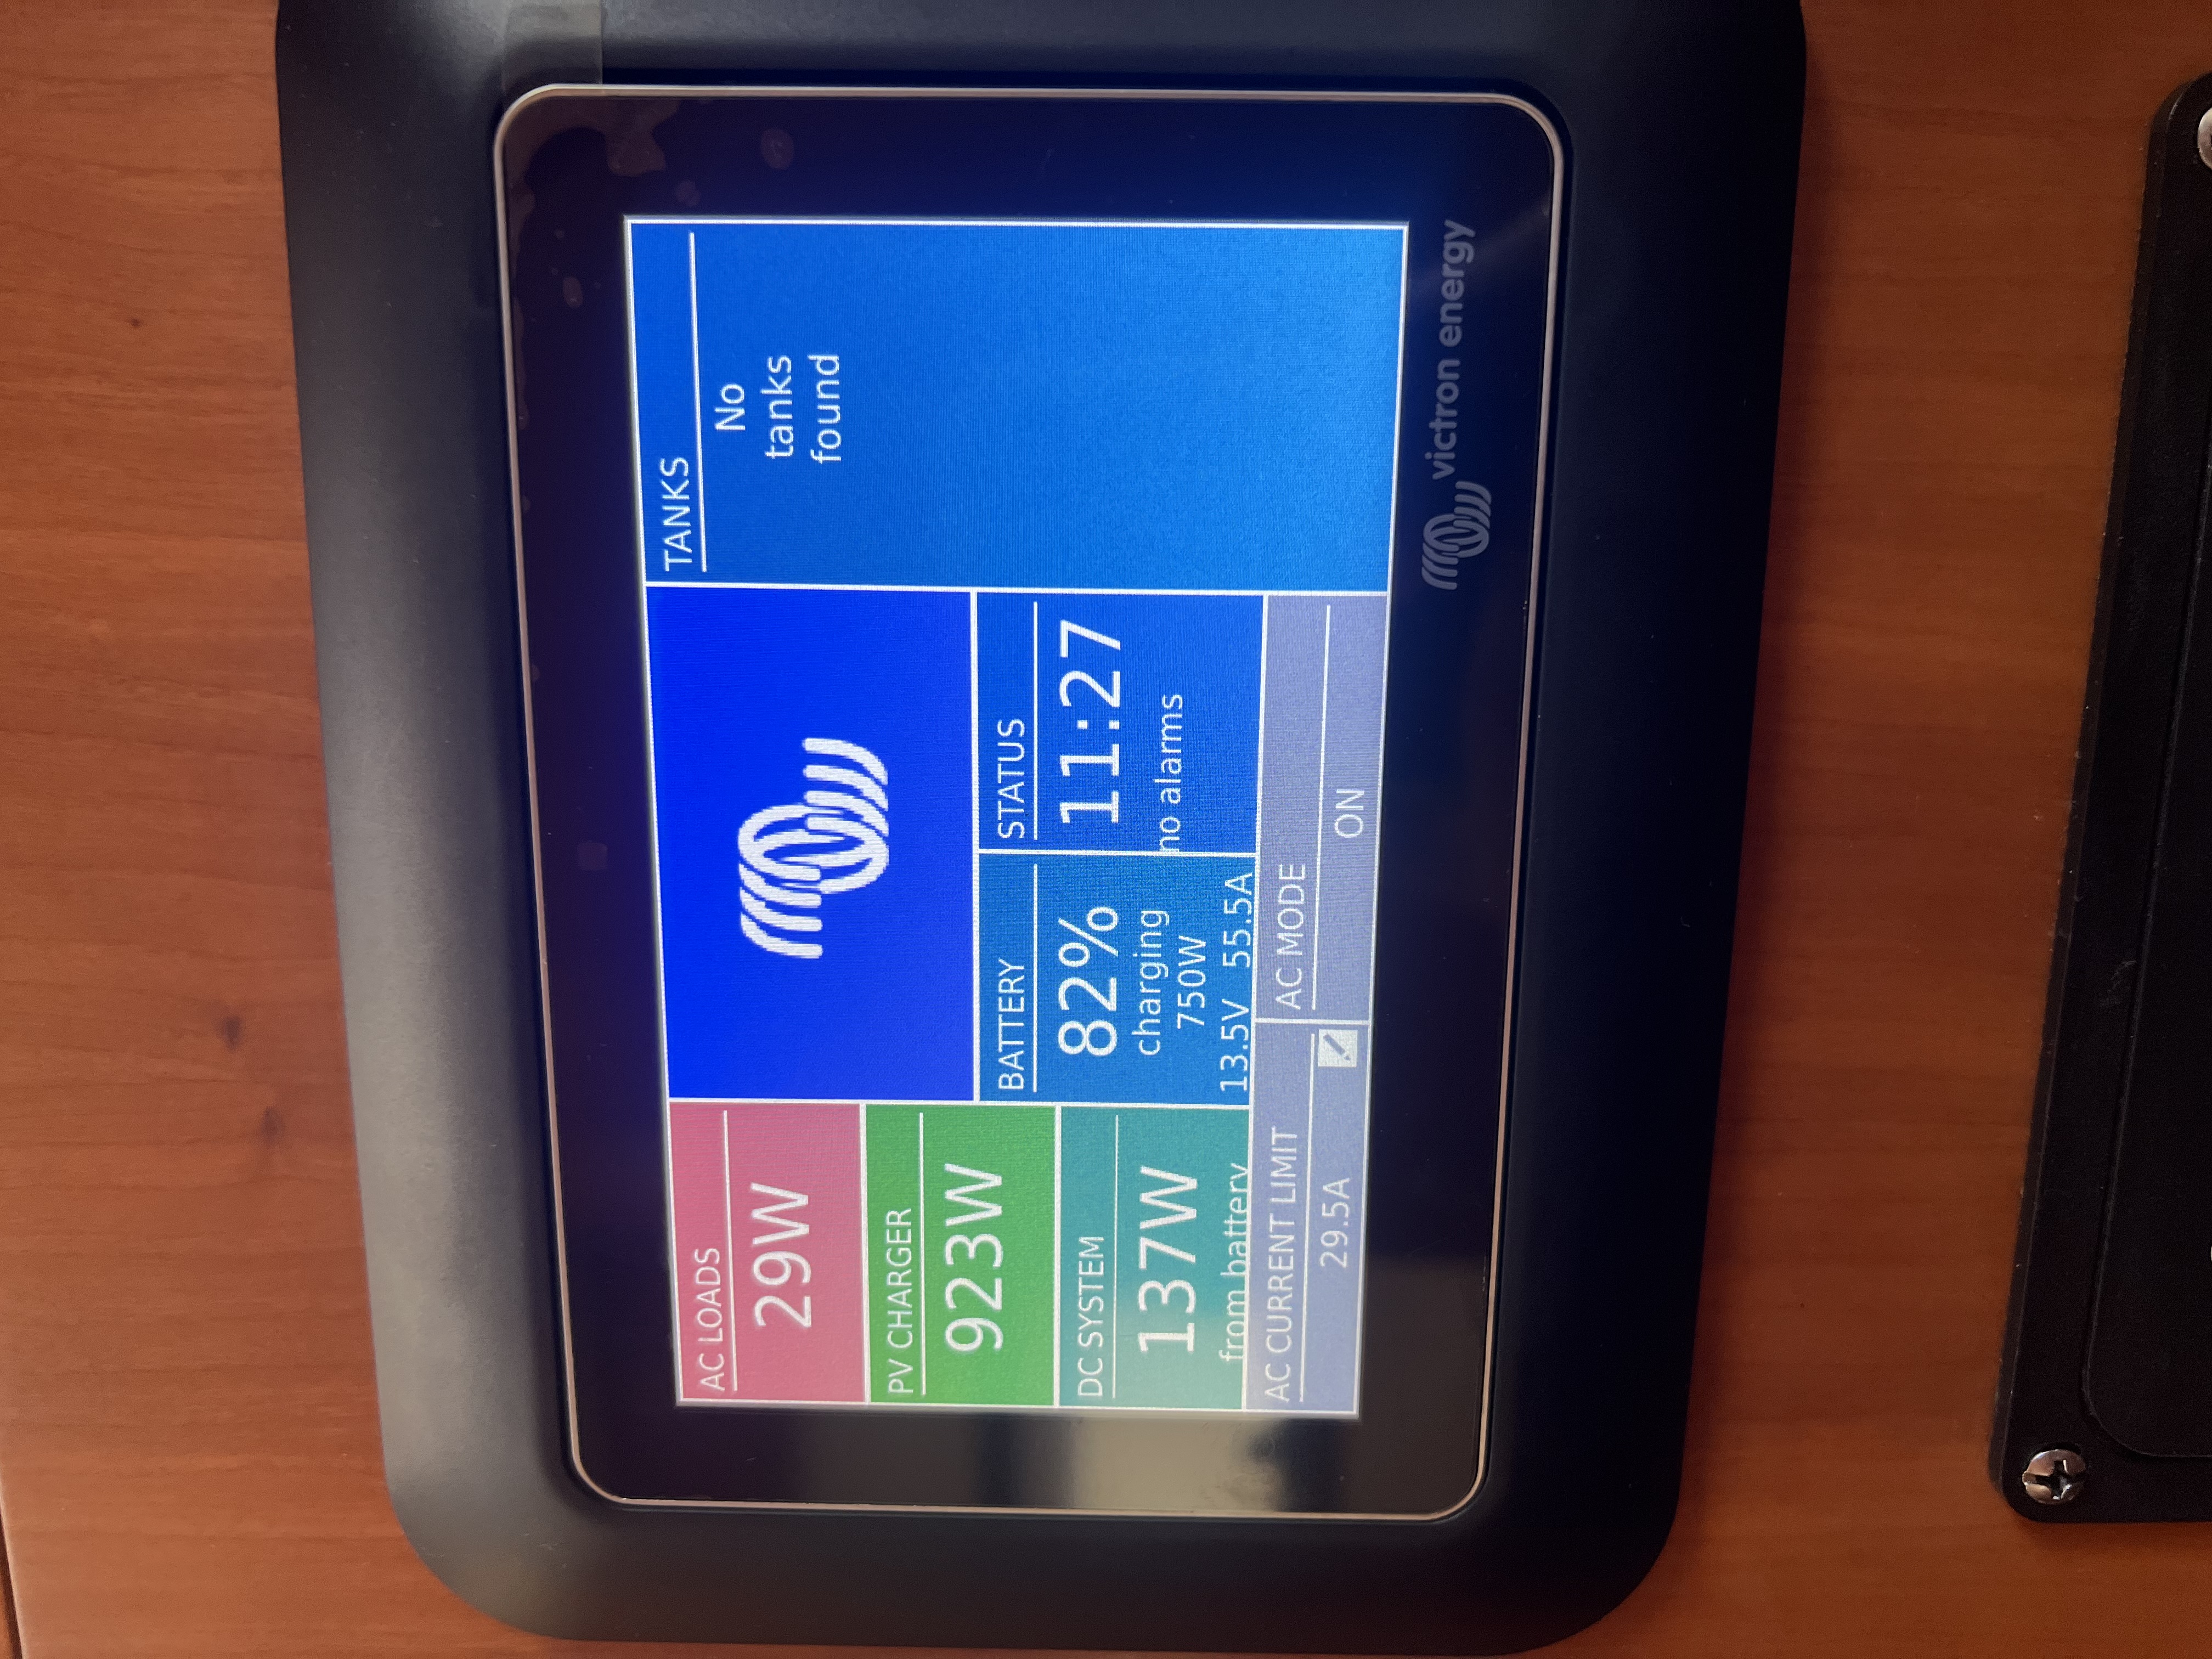
The next morning, Jason and I woke up and got to work bolting the panels onto the rack and wiring them up. It took a few hours but wasn’t awful since we’d done it before on our last boat. We started with 50 watts of power and after turning on the new panels it jumped up to 900 watts! Not bad for not even full sunlight!
This was the last part of the puzzle that we were waiting for to be able to leave the dock! Now that they’re done we’re going to head out tomorrow to anchor and finally use our boat!