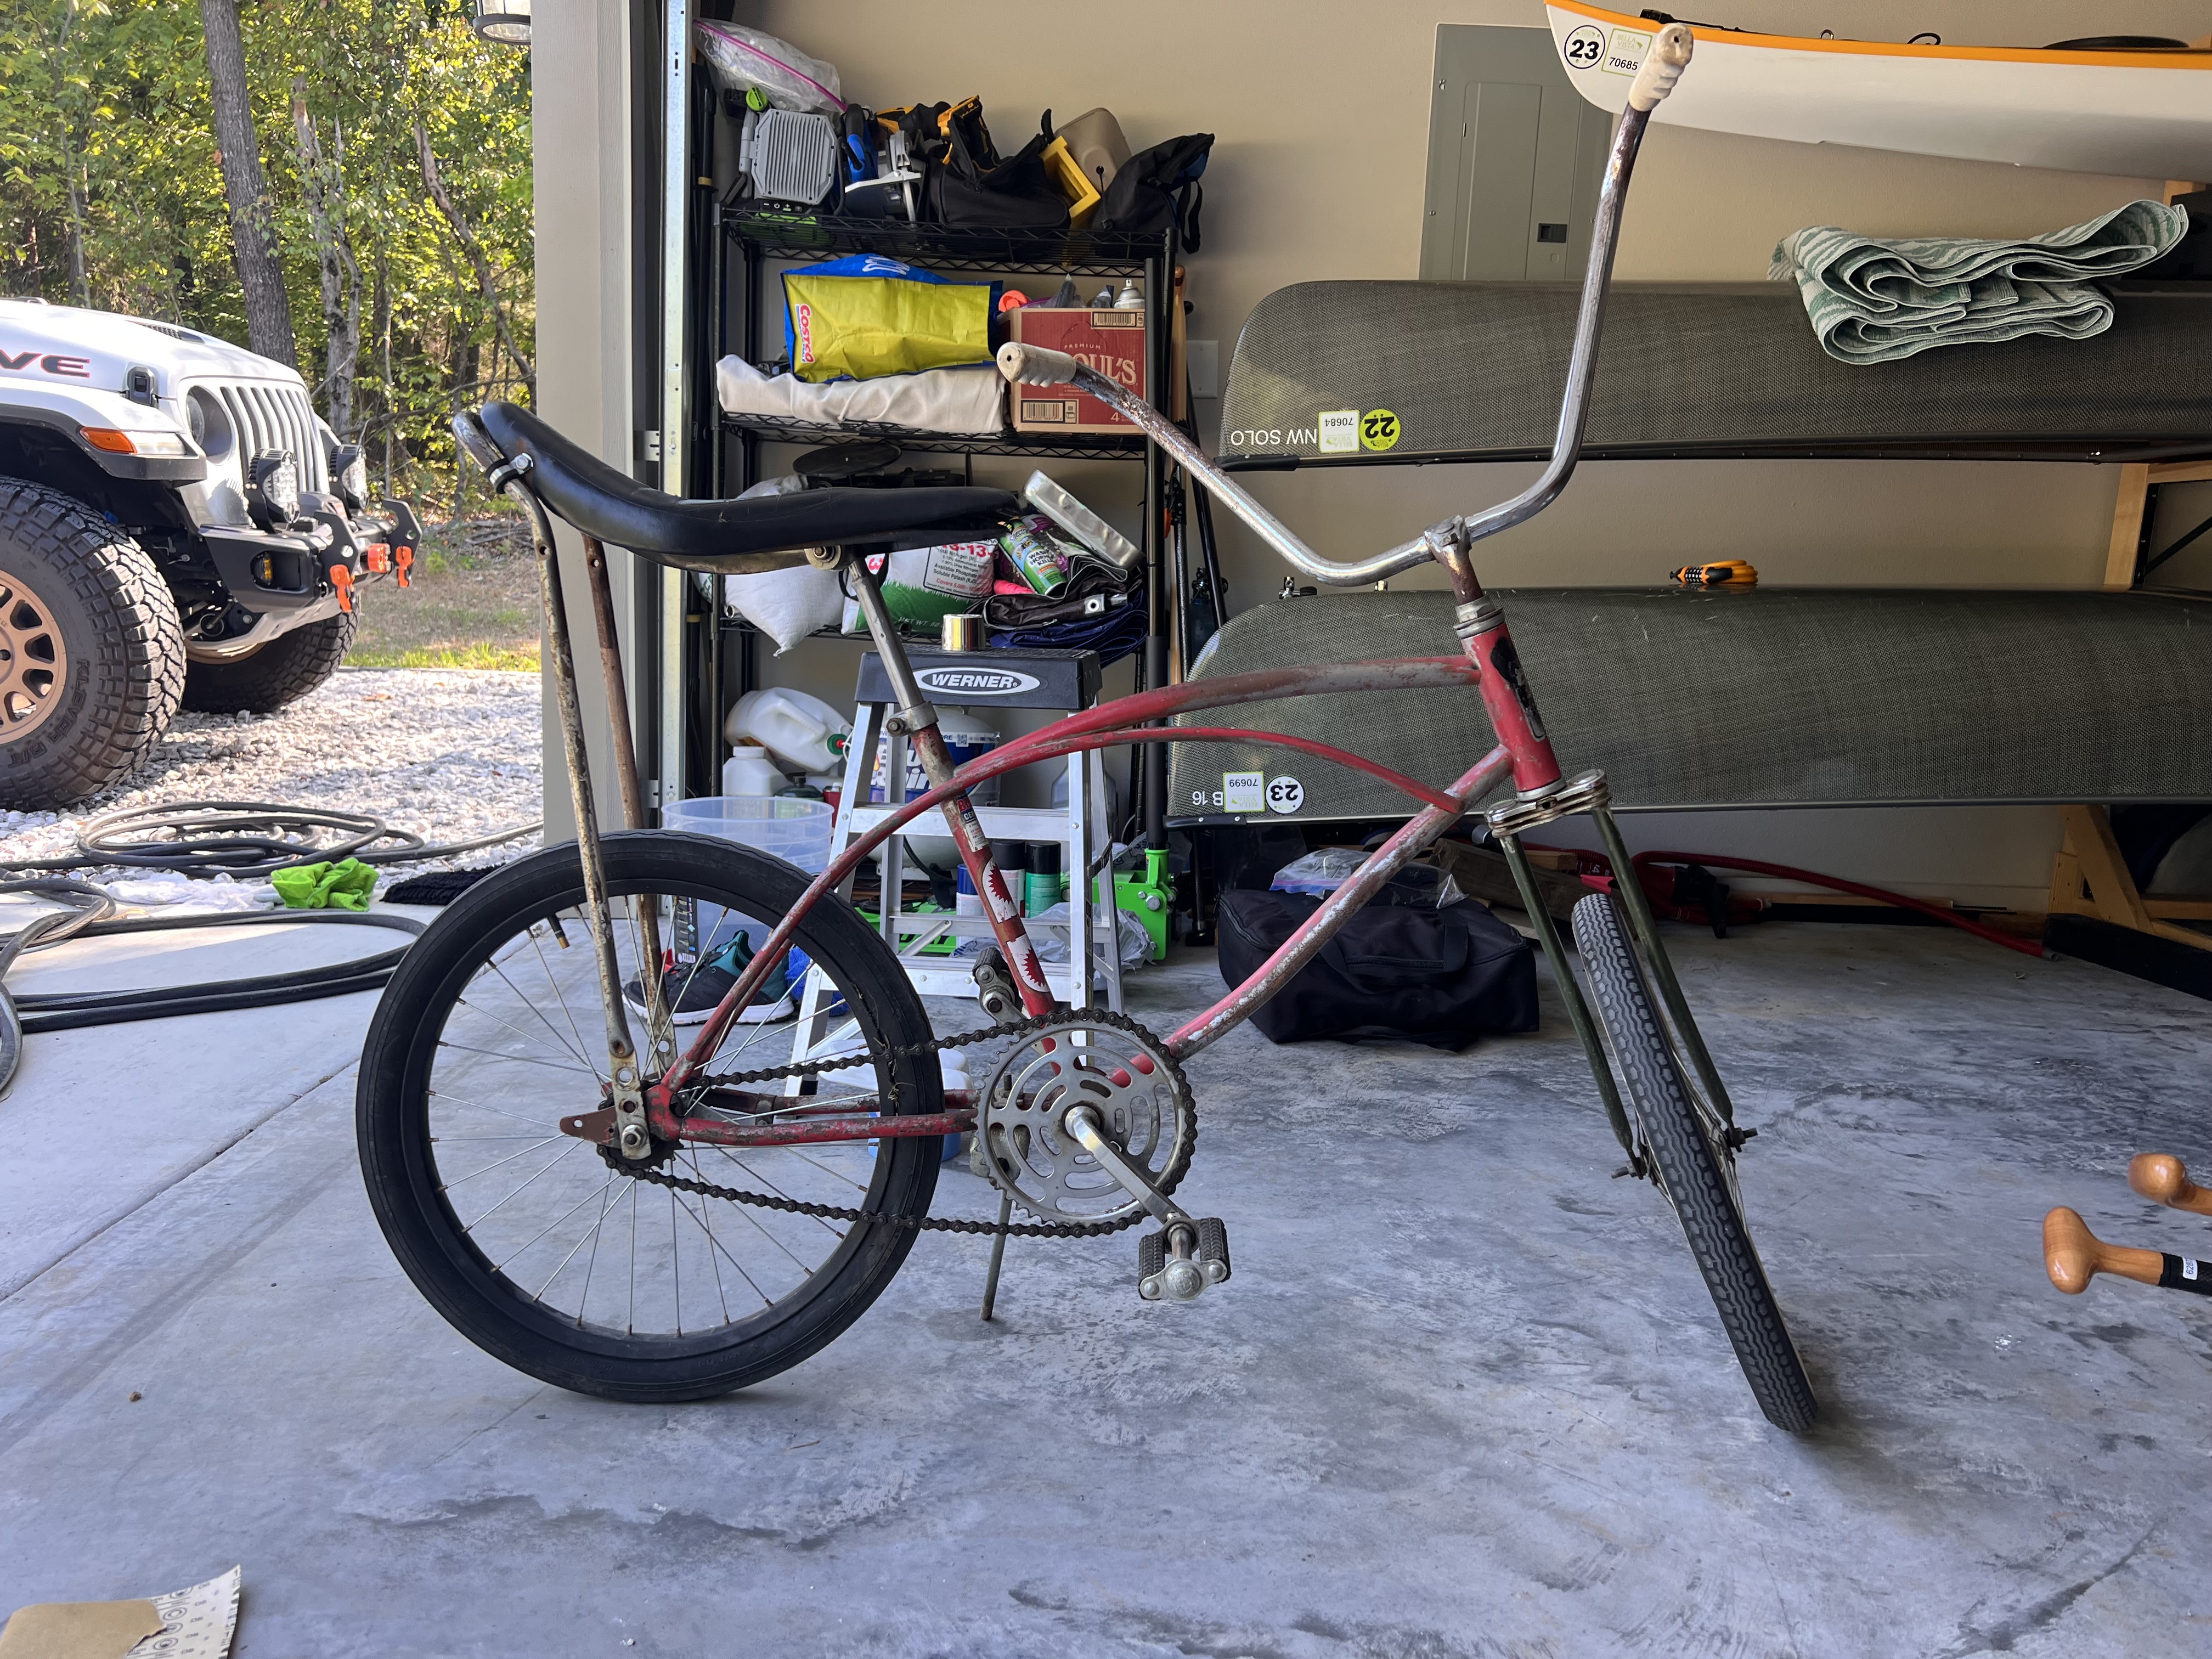
So sometimes I just get this wild idea and won’t let go of it. This time I decided that I wanted one of those old banana seat bicycles to turn into a little hot rod cruiser for myself. Why? No idea… maybe I’ll go roll around downtown Bentonville and get coffee with my friends? Maybe I will bring it to car shows? The why doesn’t matter… so while we were at the Oshkosh air show wandering around the flea market area I spied this beauty. It was red (mostly), rusty, heavier than all of my current bikes put together, and pretty much an undesirable piece of shit. I had to have it.


So… I’ve been pretty spoiled with bicycles and I’m used to easy shifting, hydraulic brakes, carbon fiber frames, and bikes that fit me like a glove. This is… not that. It’s got 20″ wheels so it’s made for an actual child-sized person with young knees. I’m…not that. So… I have to raise the seat up and regear it because I almost blew my knees out pedaling this thing from the main gate back to the camper. (with a shit-eating grin on my face the whole way of course!)
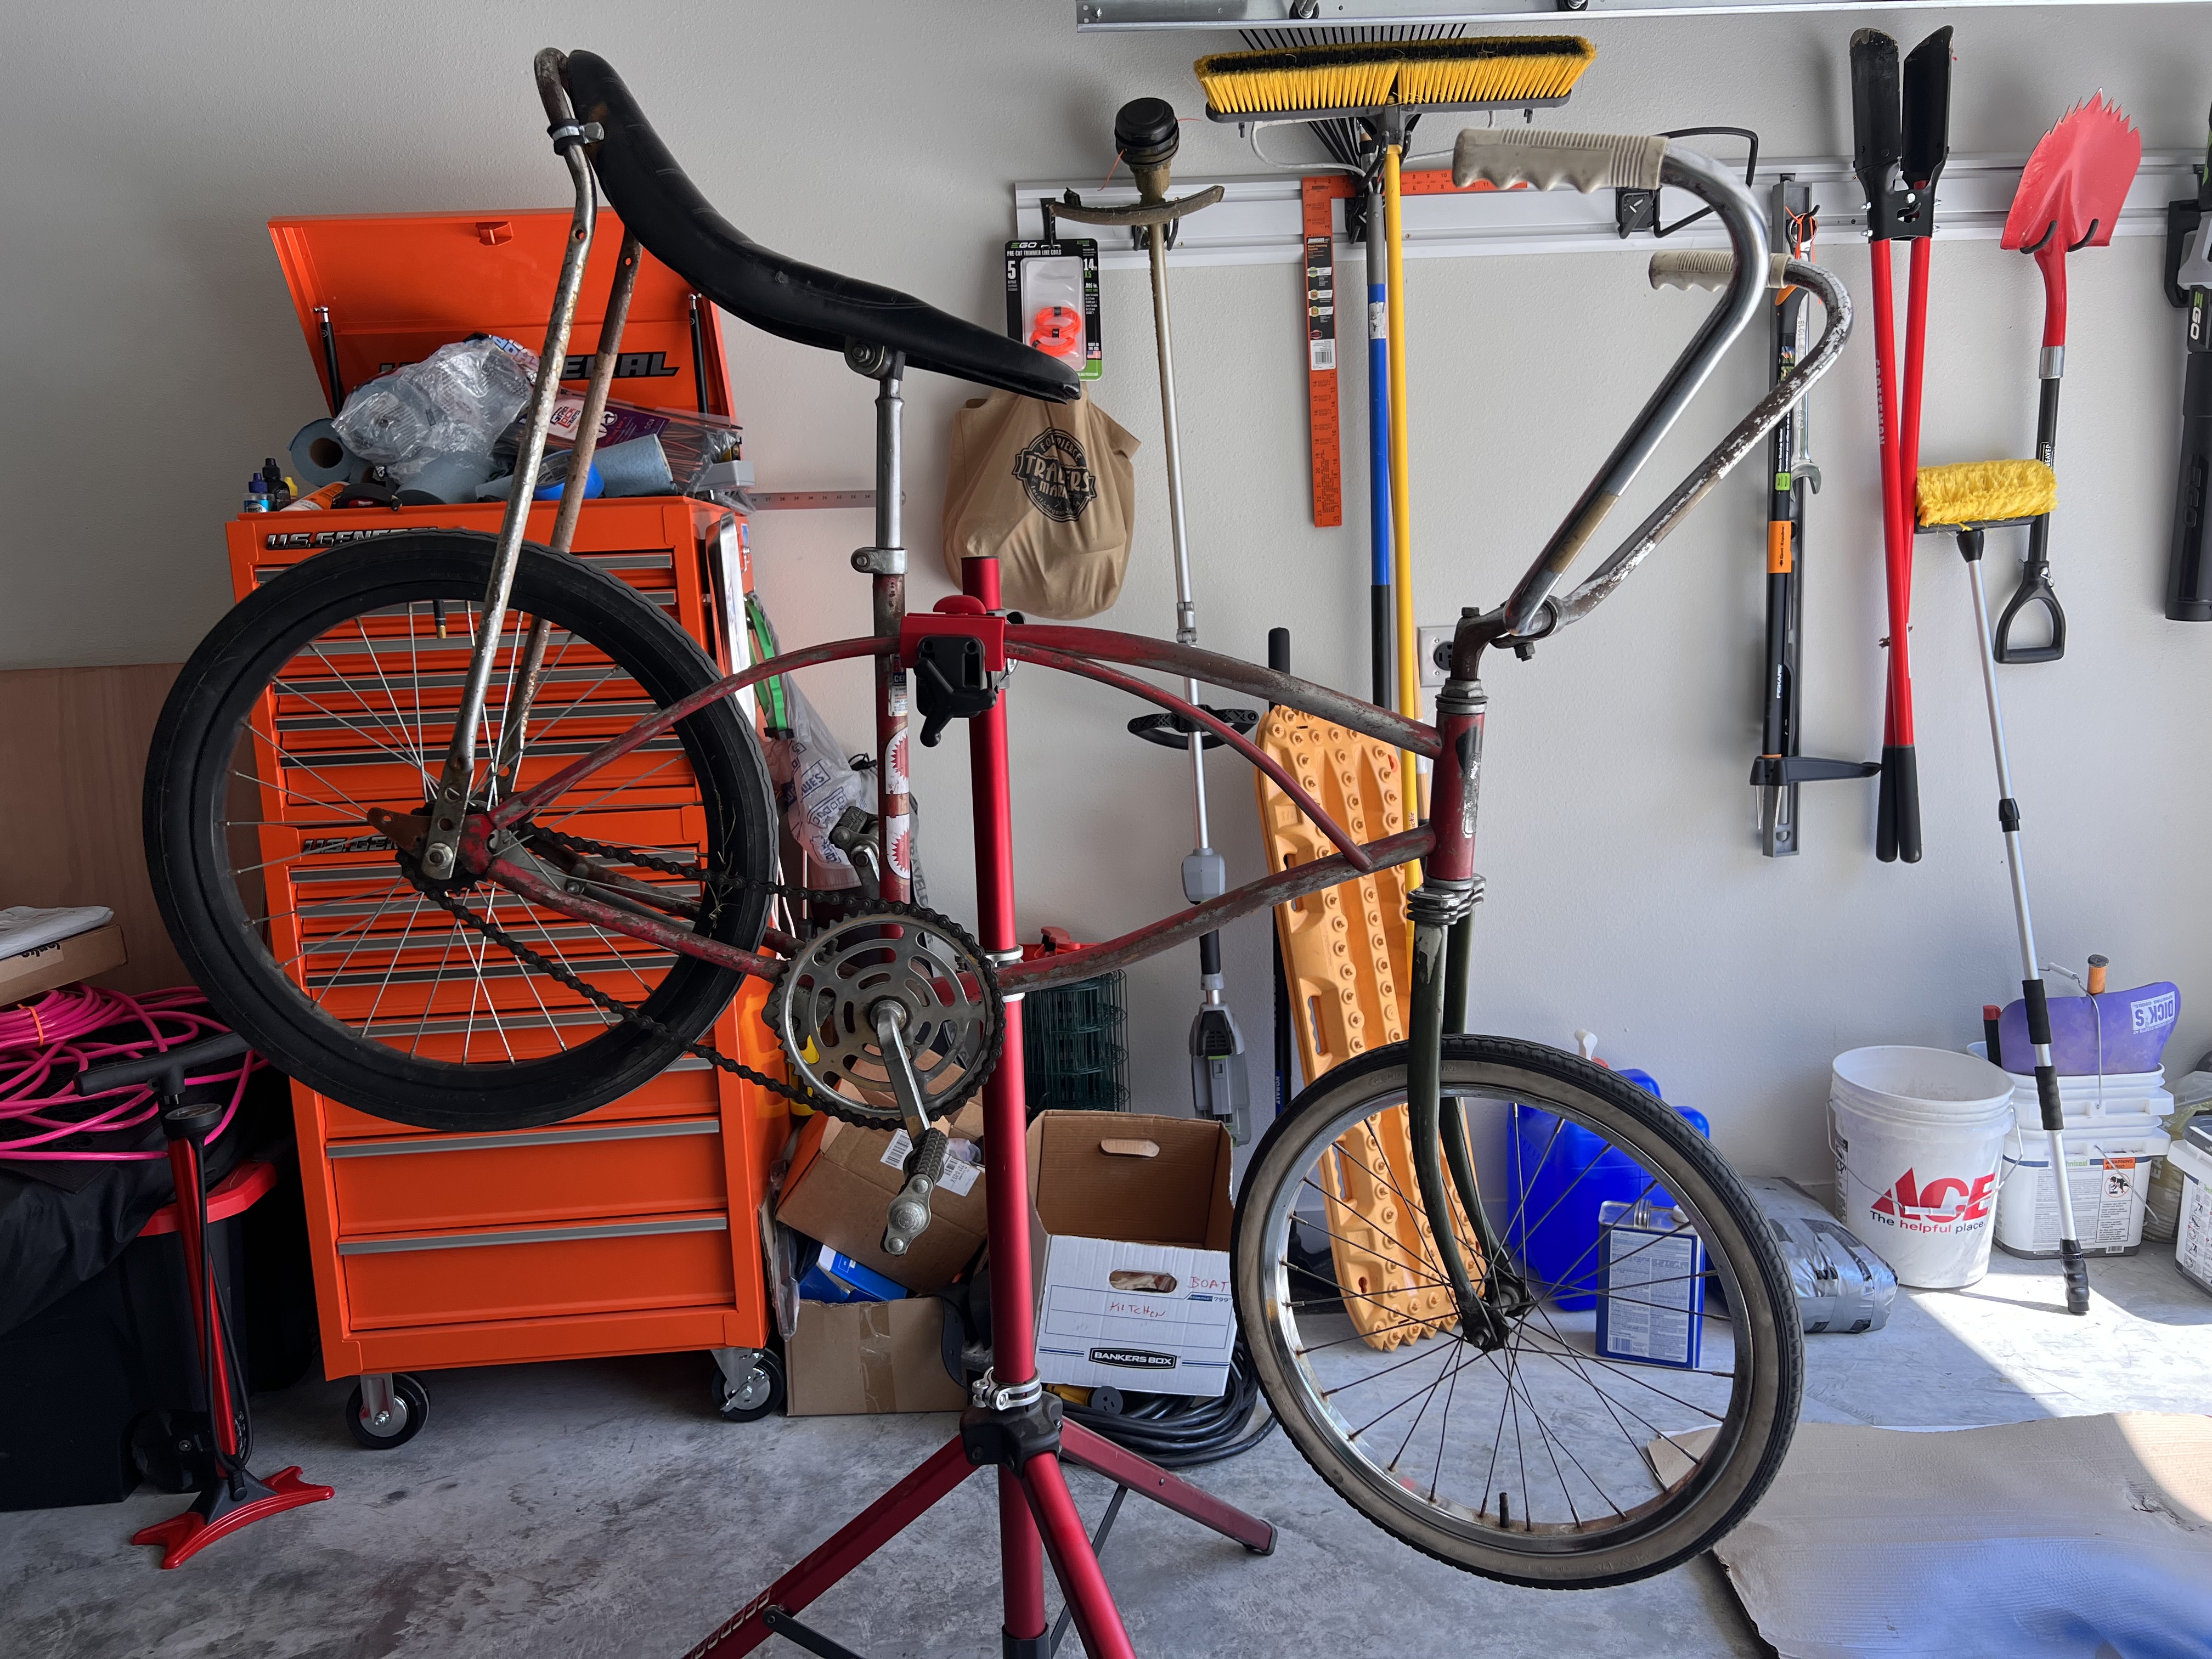
When we got home I tried to raise the seat to see if it would be a better ride. So I hammered the seat post out of the frame (remember that aforementioned rust?) and got some clamps to bolt the seat back to the sissy bar.
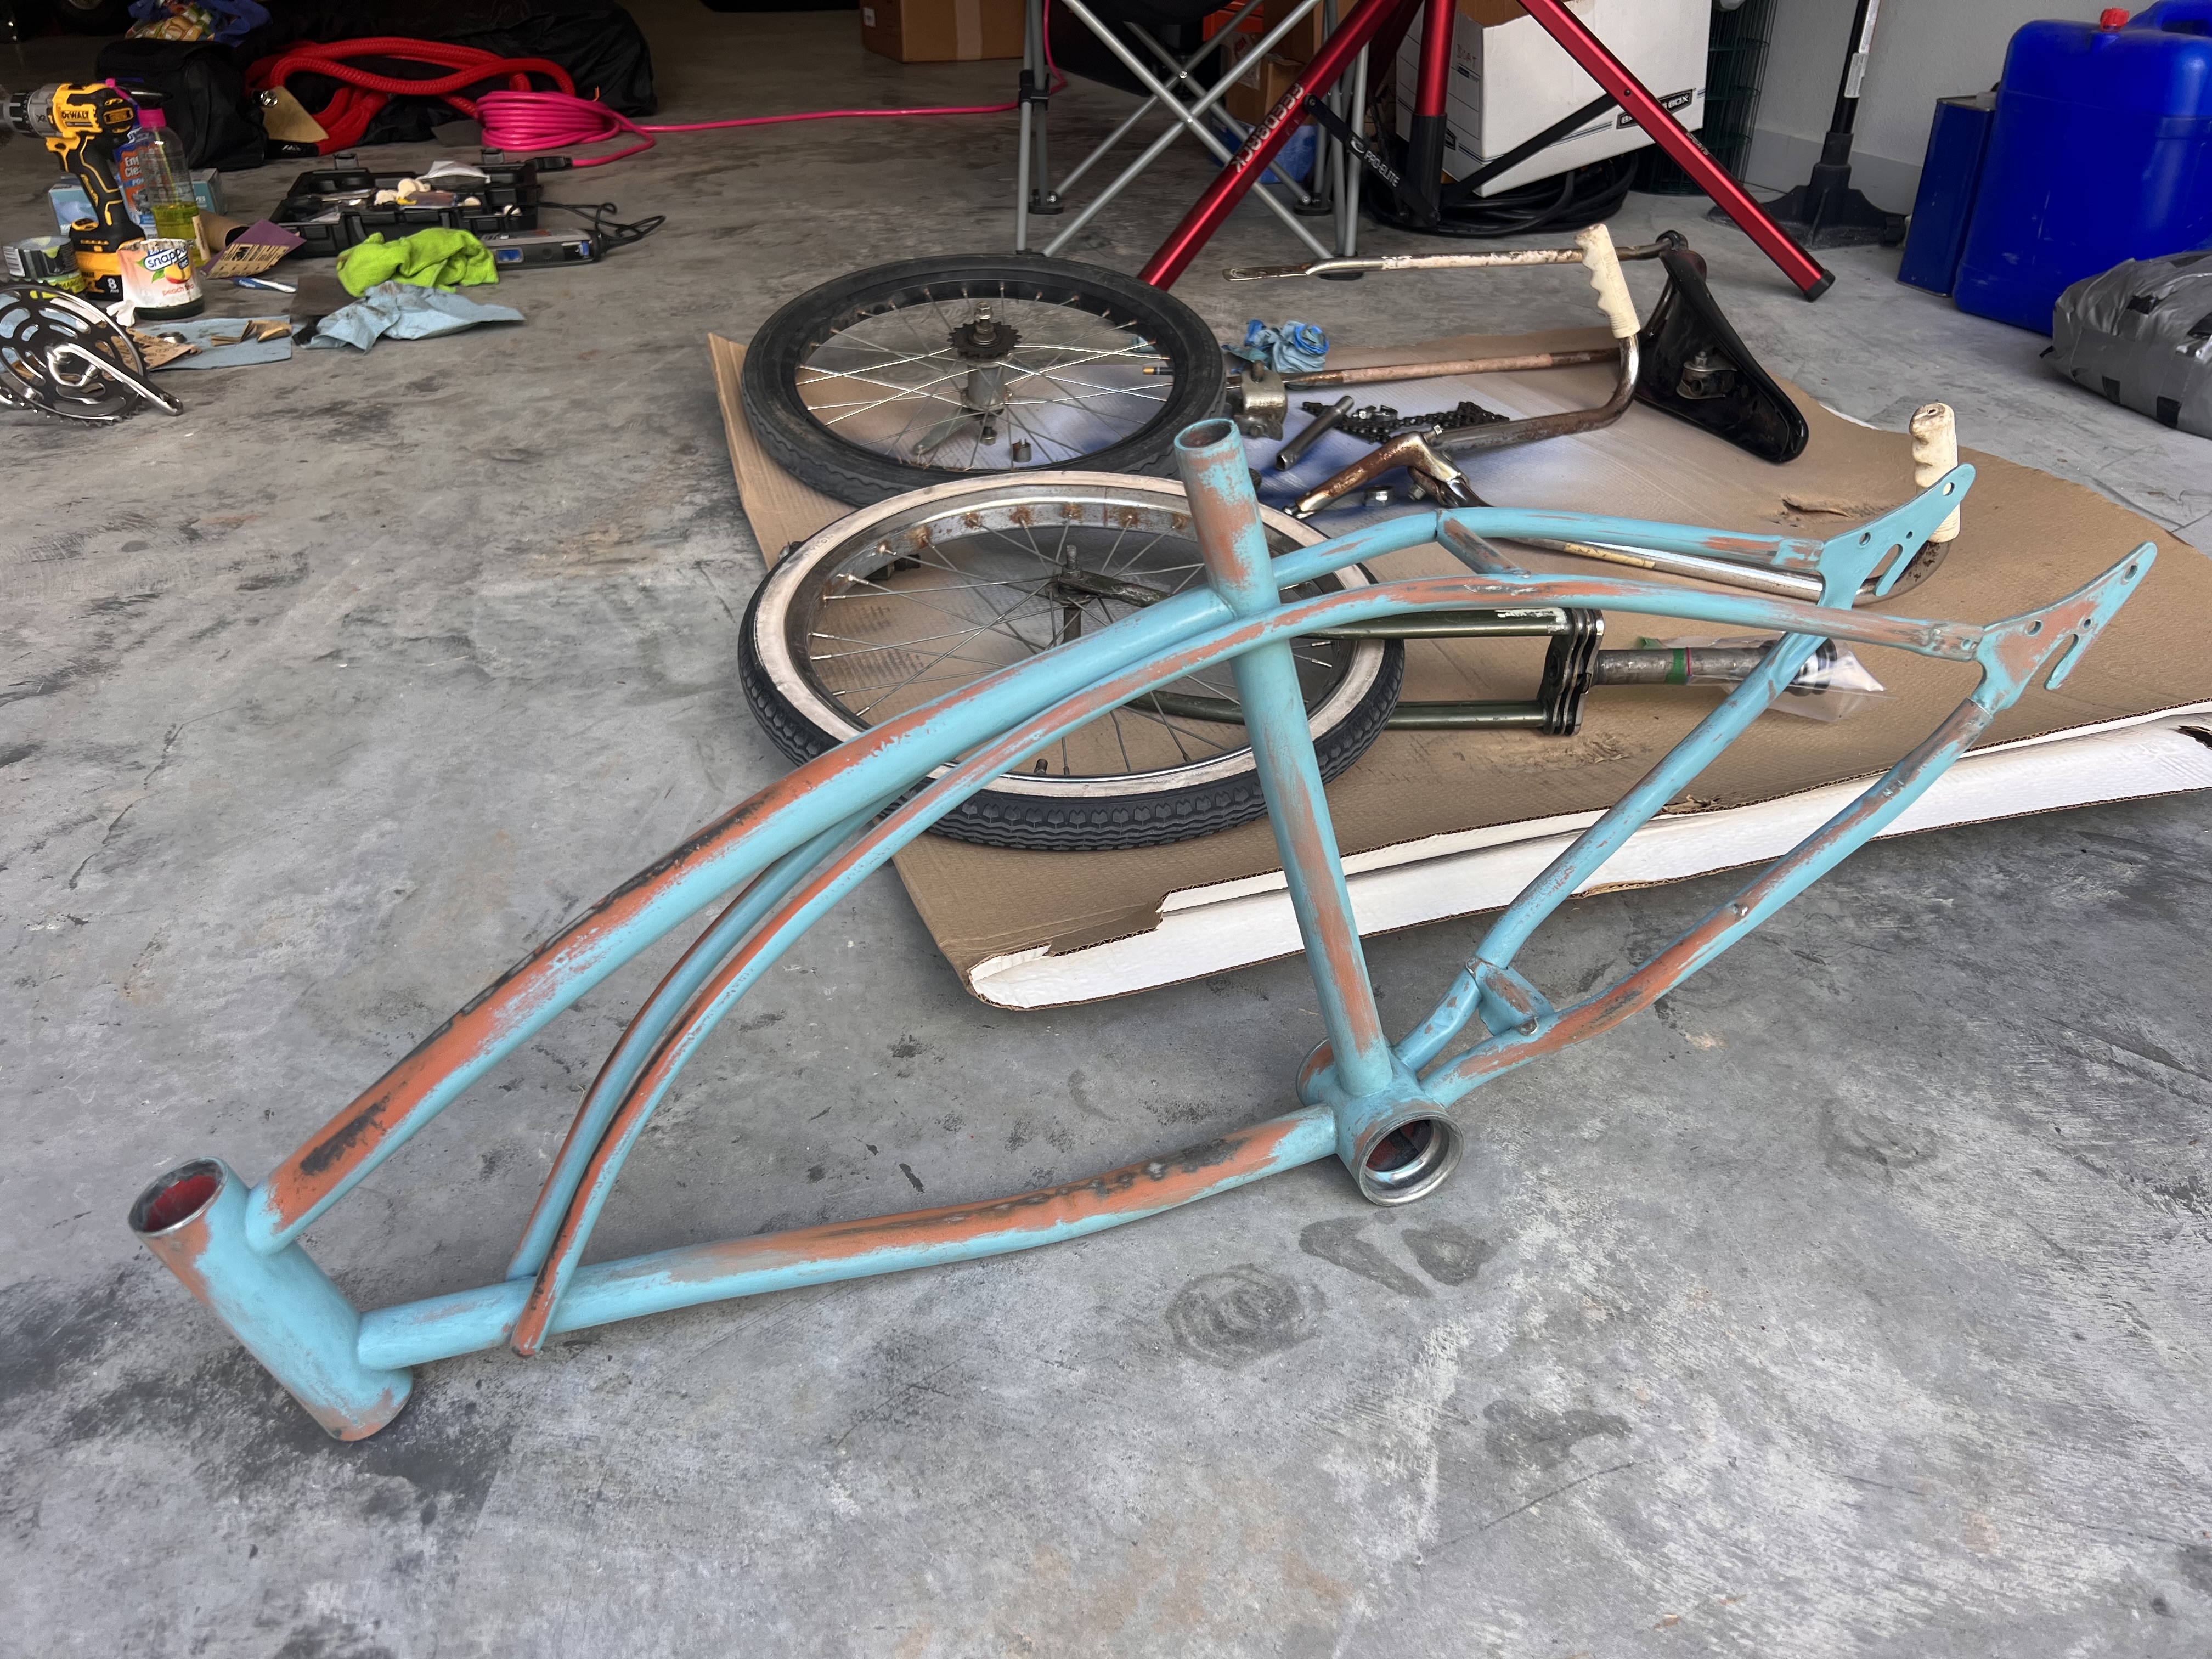
It worked alright, but I can’t leave well enough alone. So lets take a perfectly functional thing and destroy it. Time for disassembly!
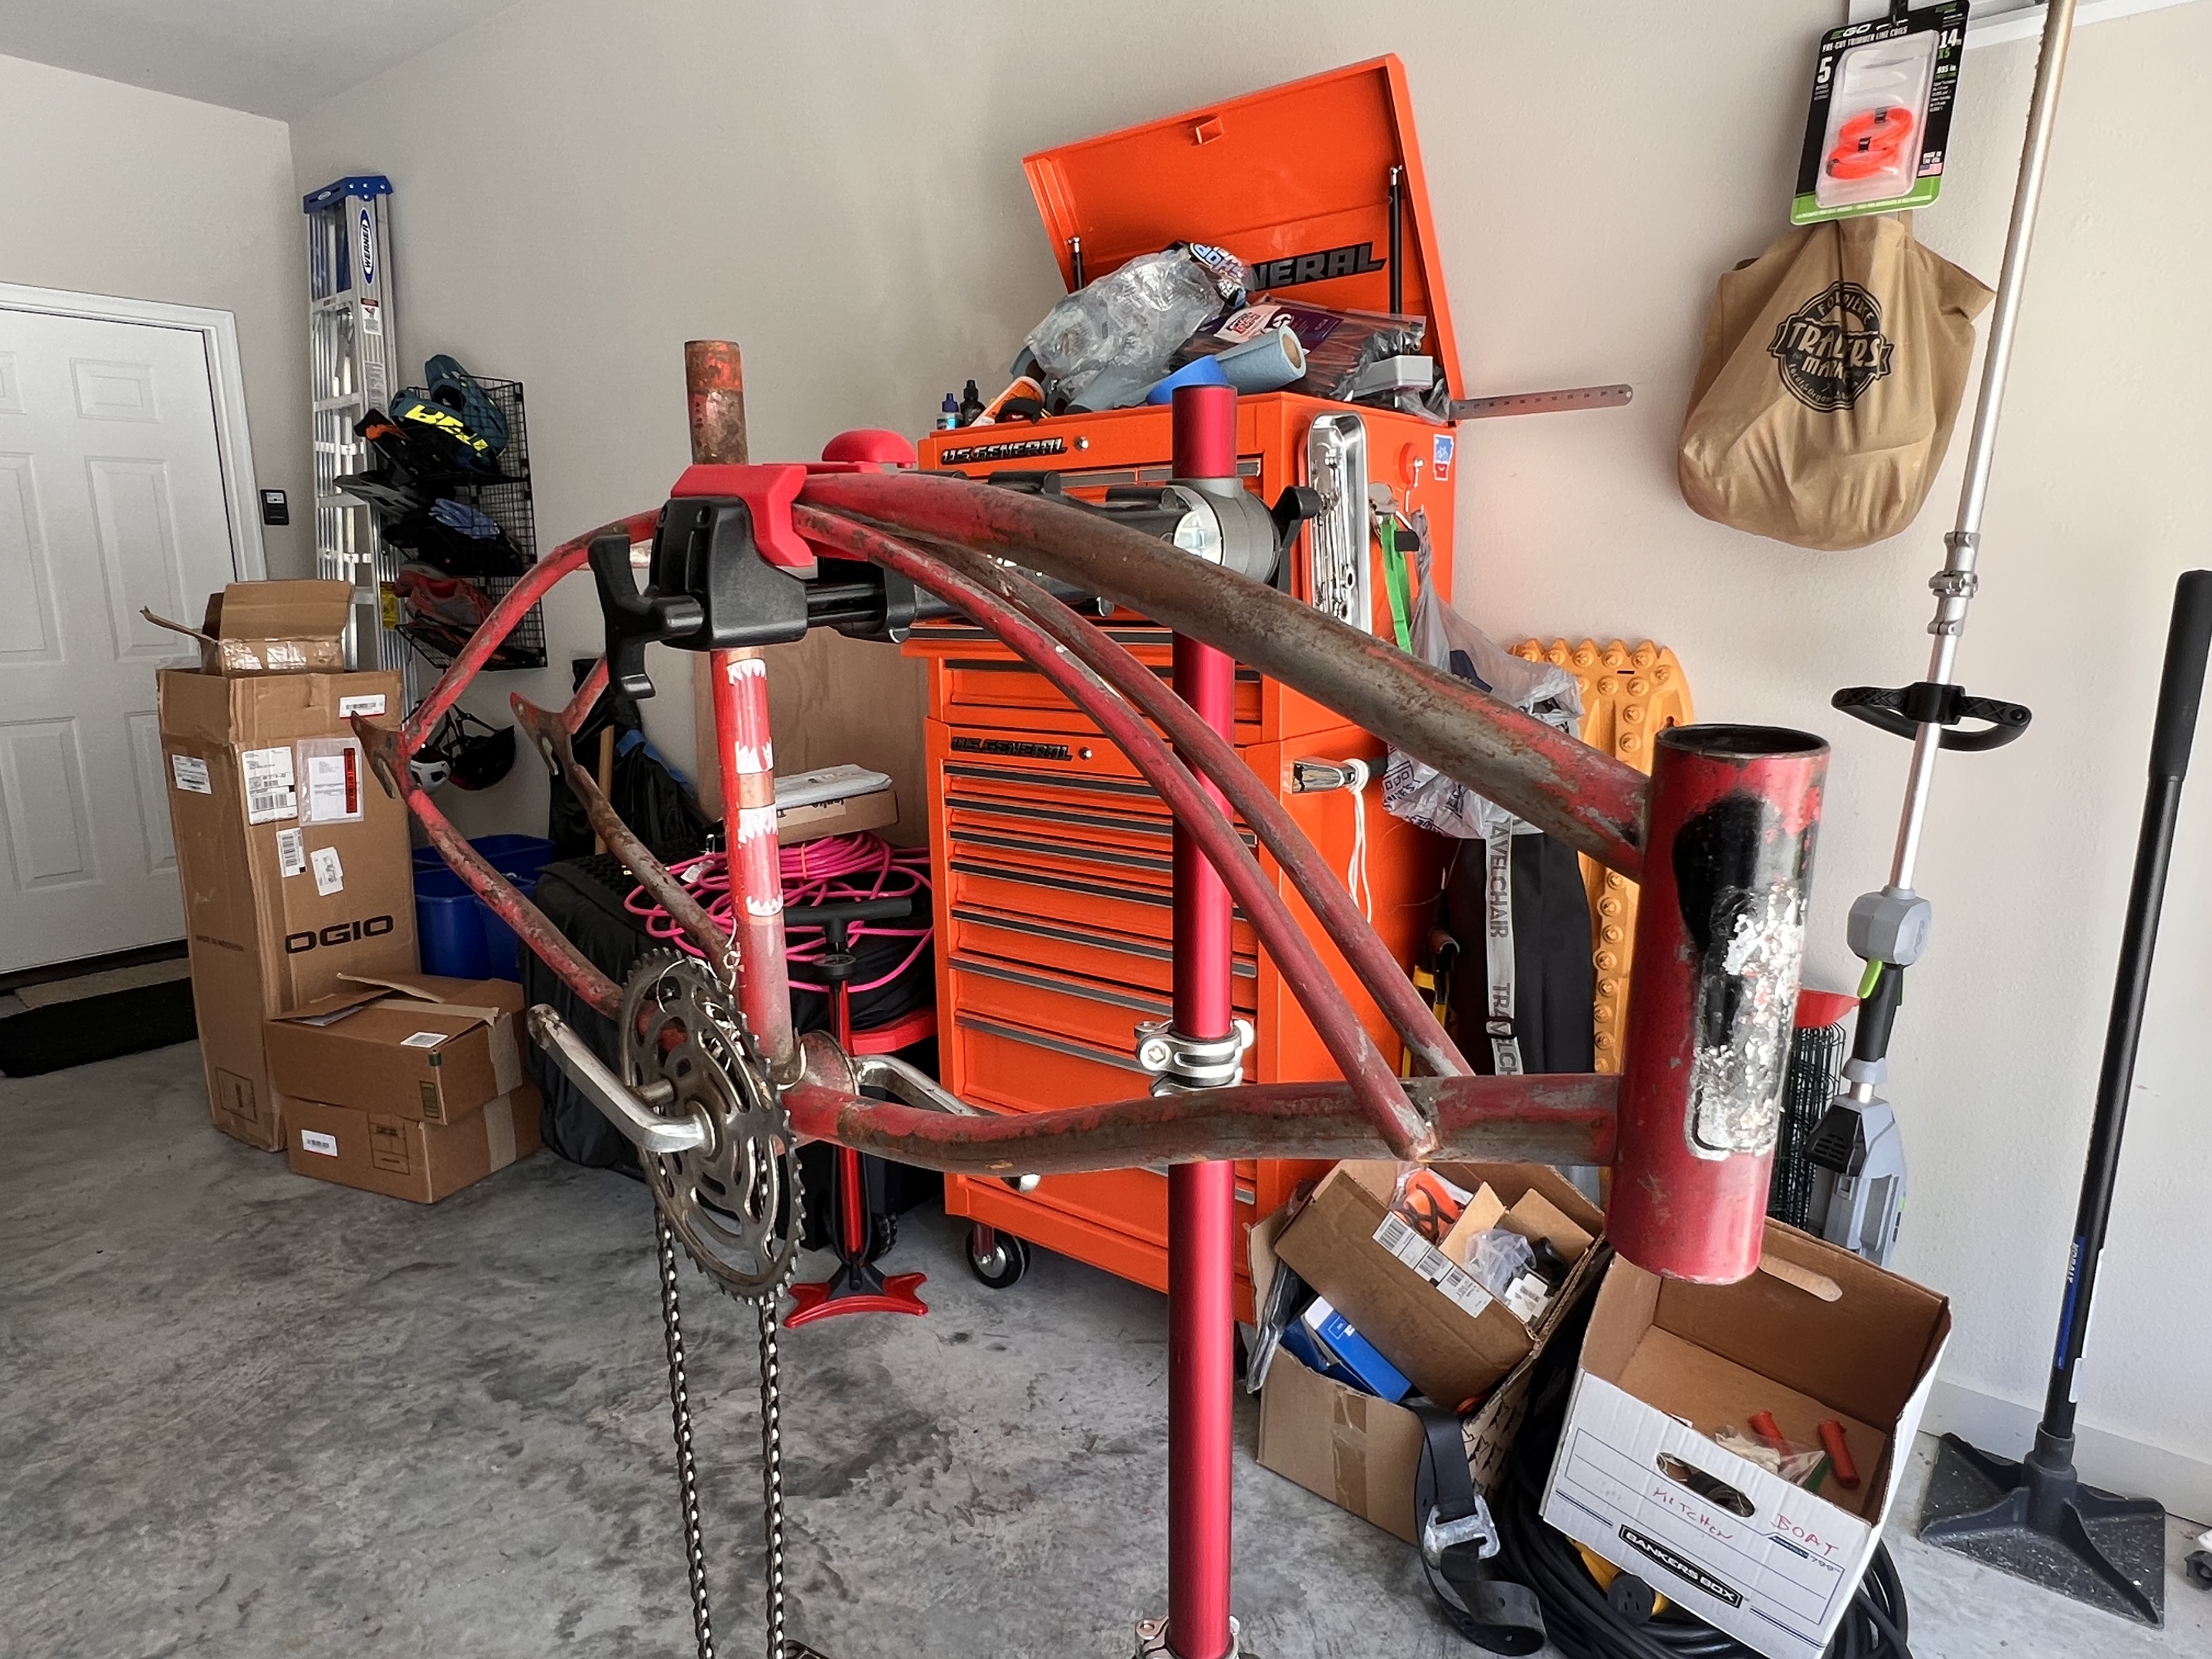
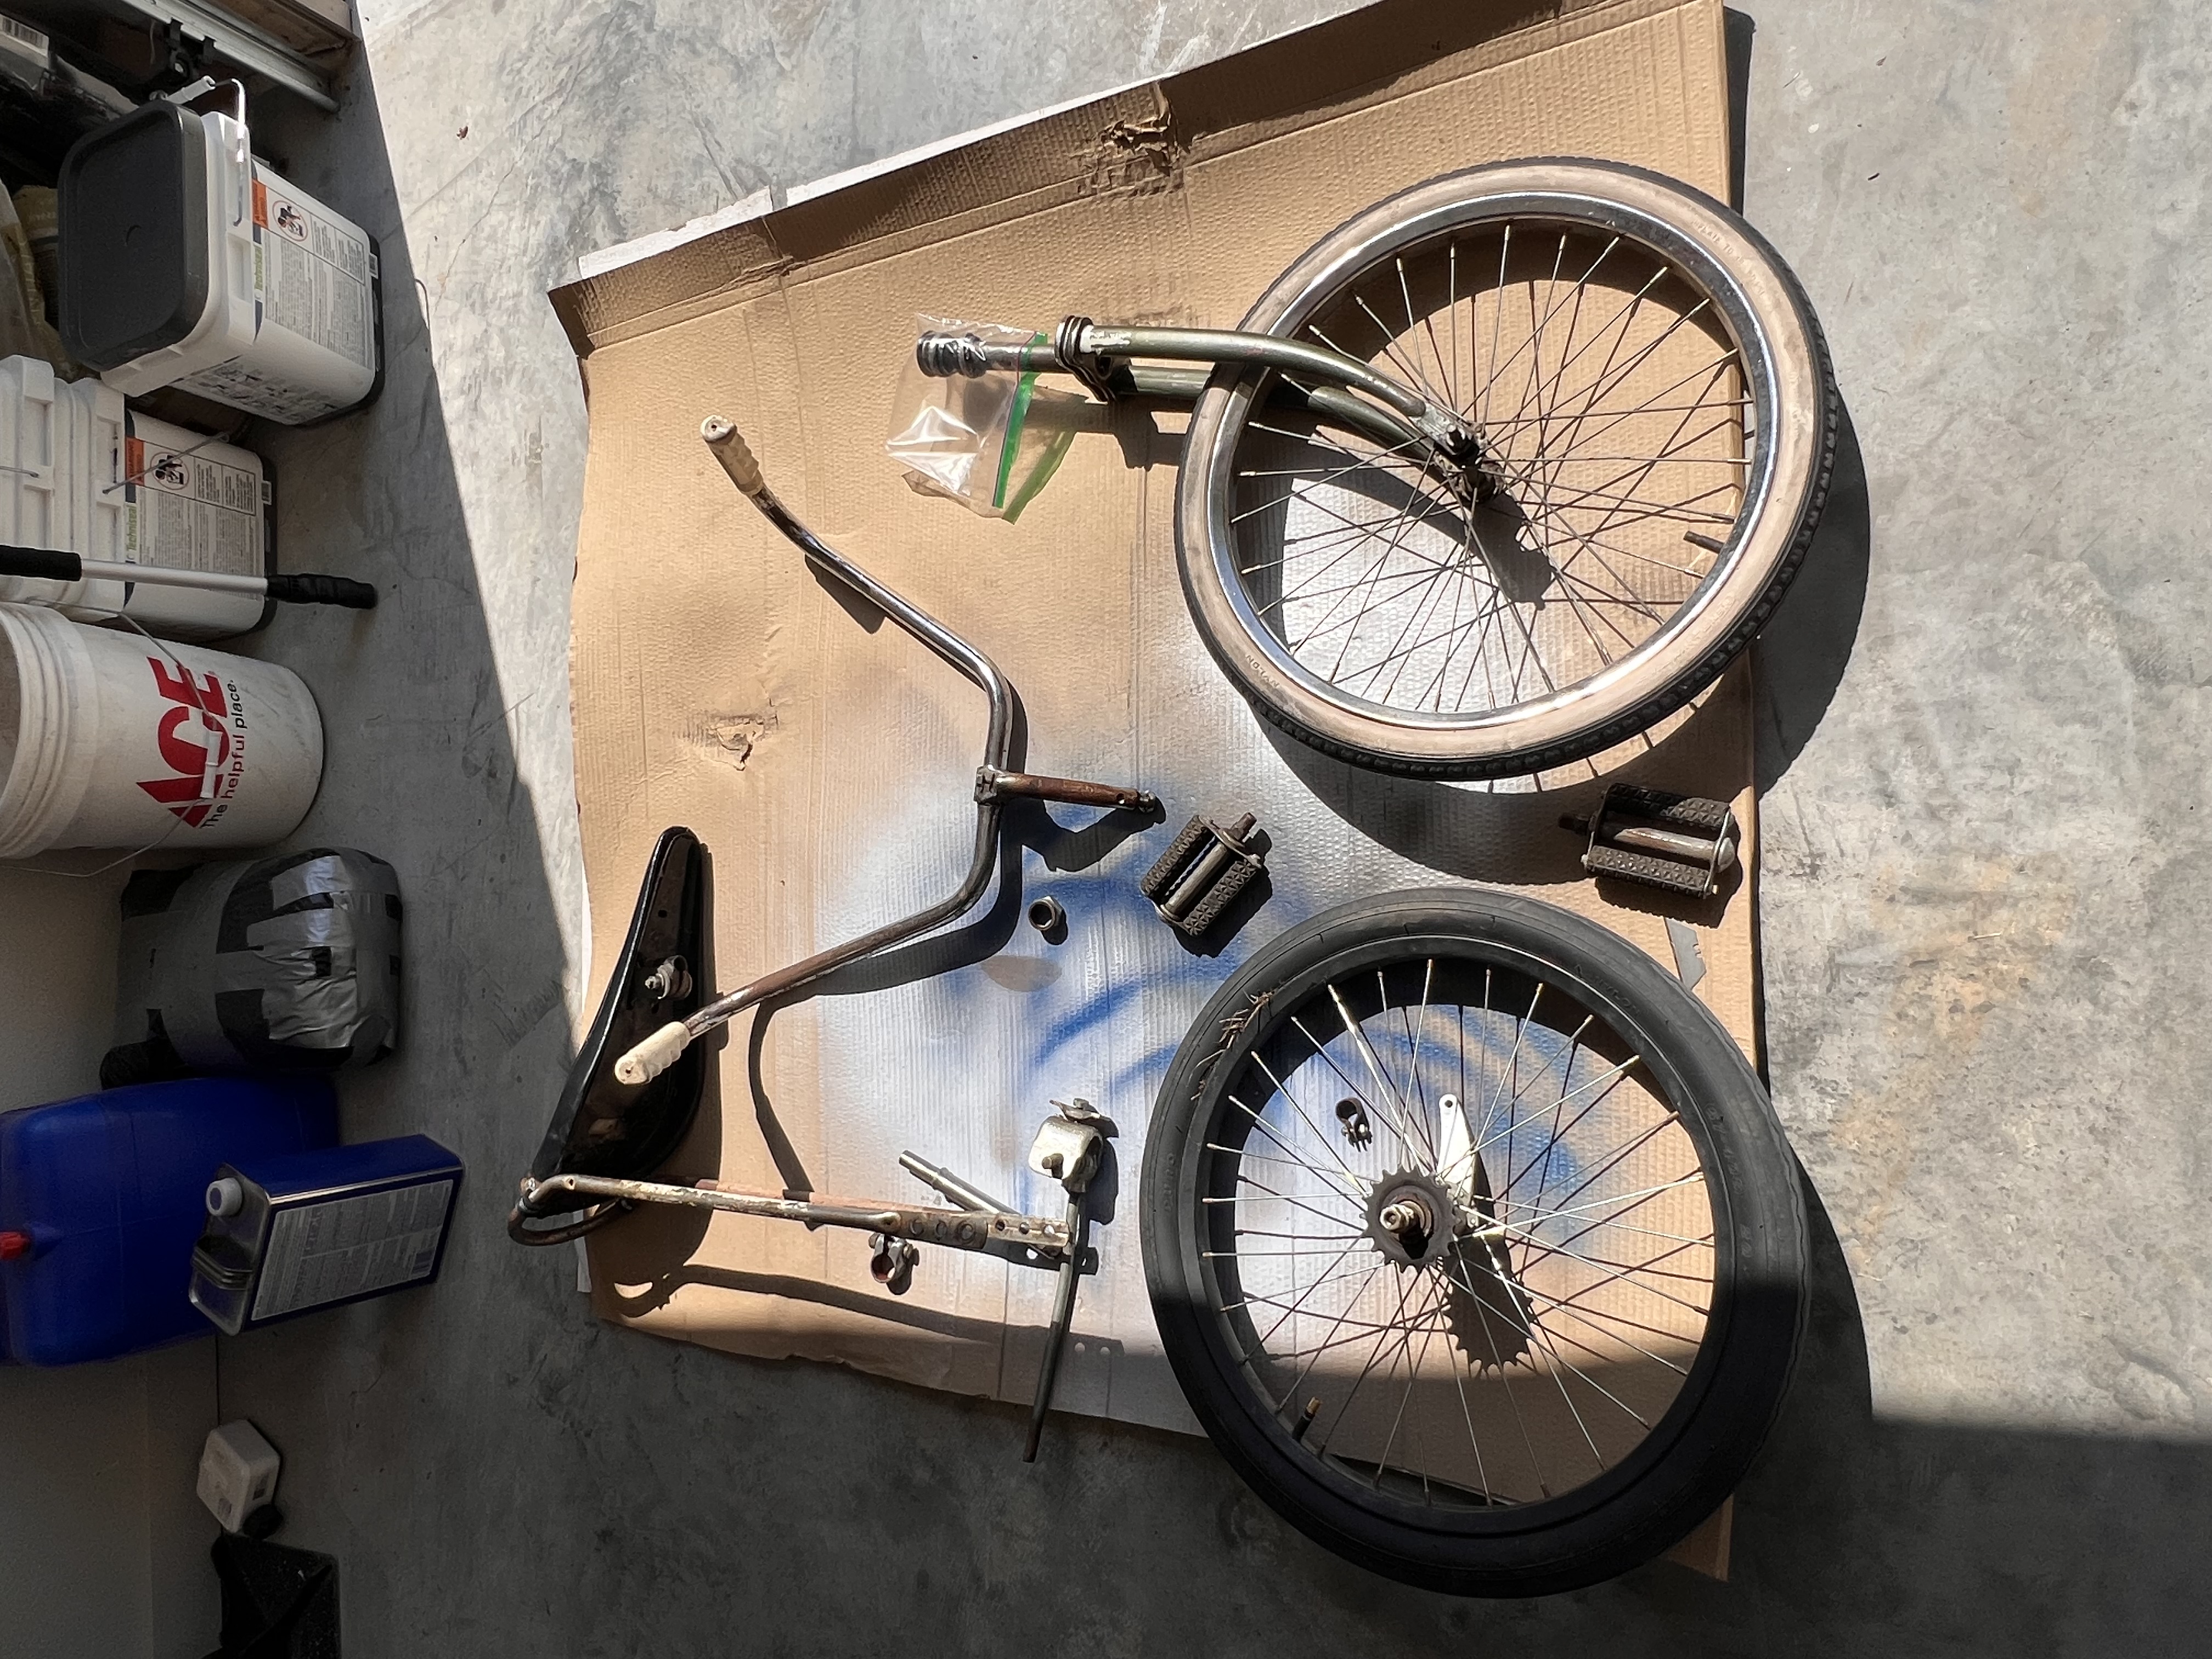
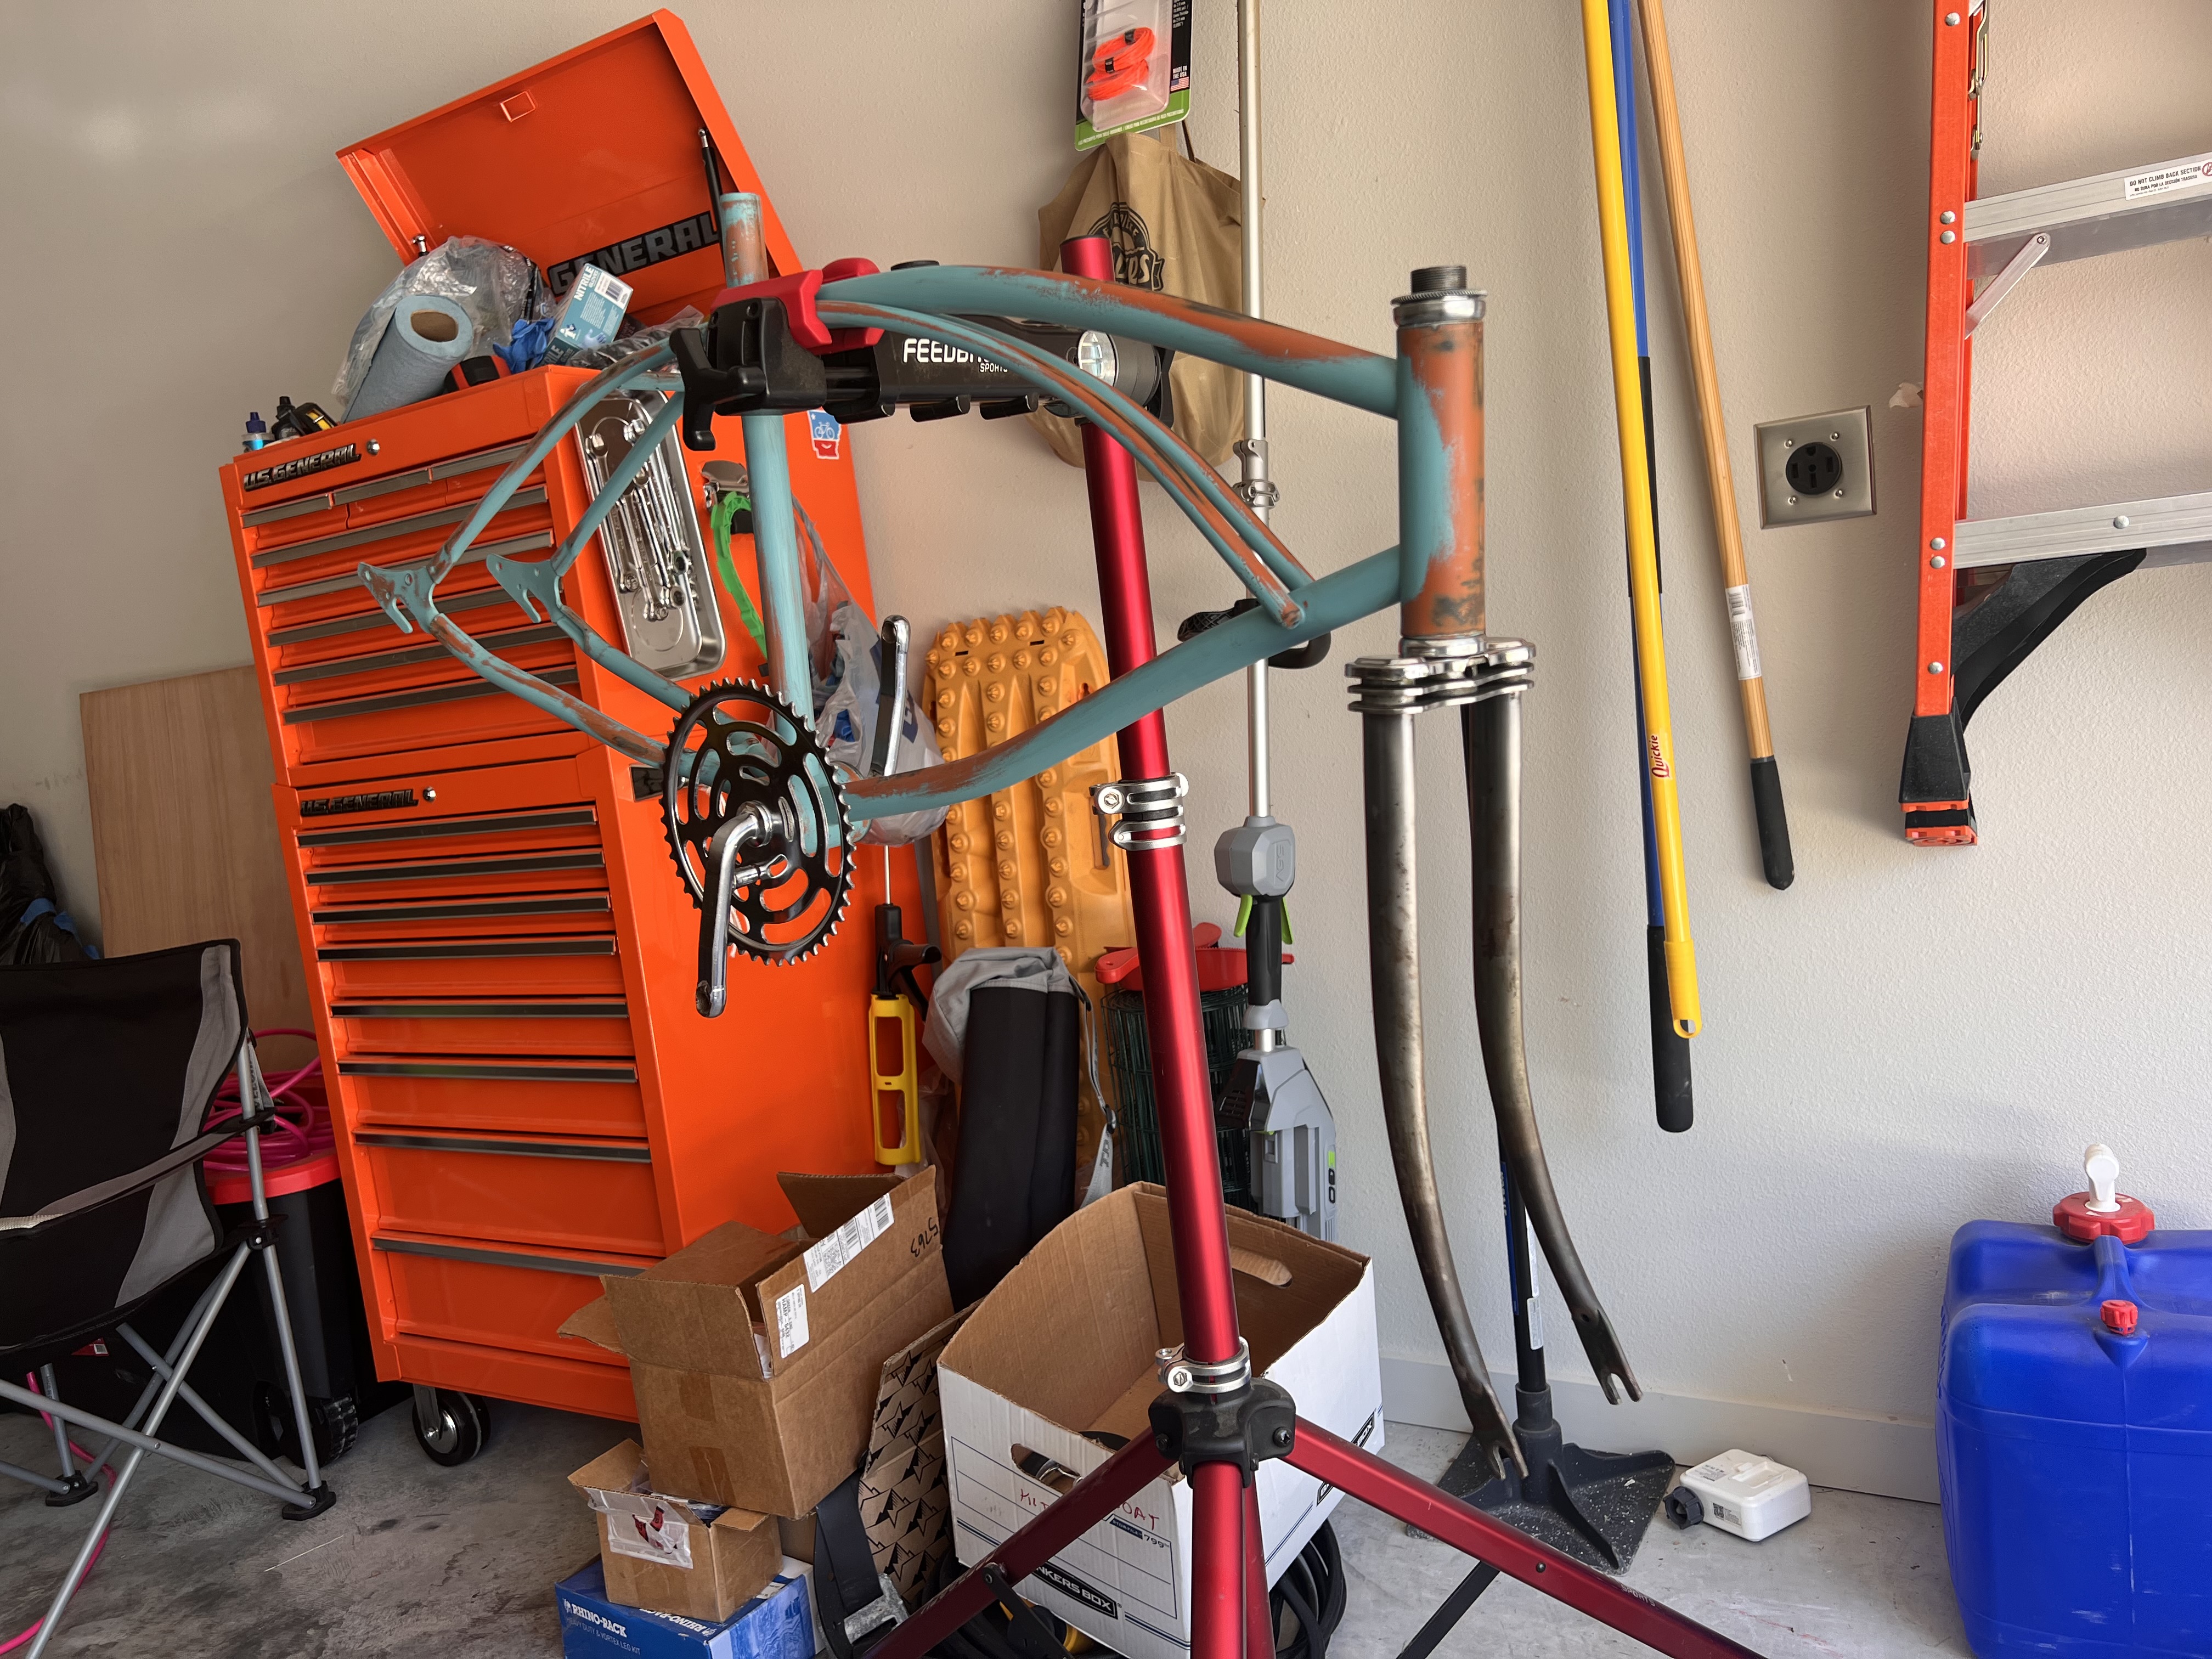
I didn’t really mean to take it down to the bare frame… but if I’m going to paint it, and you know I will, it’s got to be fully stripped. Most of the parts weren’t in terrible shape, which was nice. The crank and fork tube have unsealed ball bearings, which was interesting. Now that I have the frame, I degreased, removed most of the rust, and then got some paint stripper so I didn’t have to stand in the driveway with my grinder for days on end.
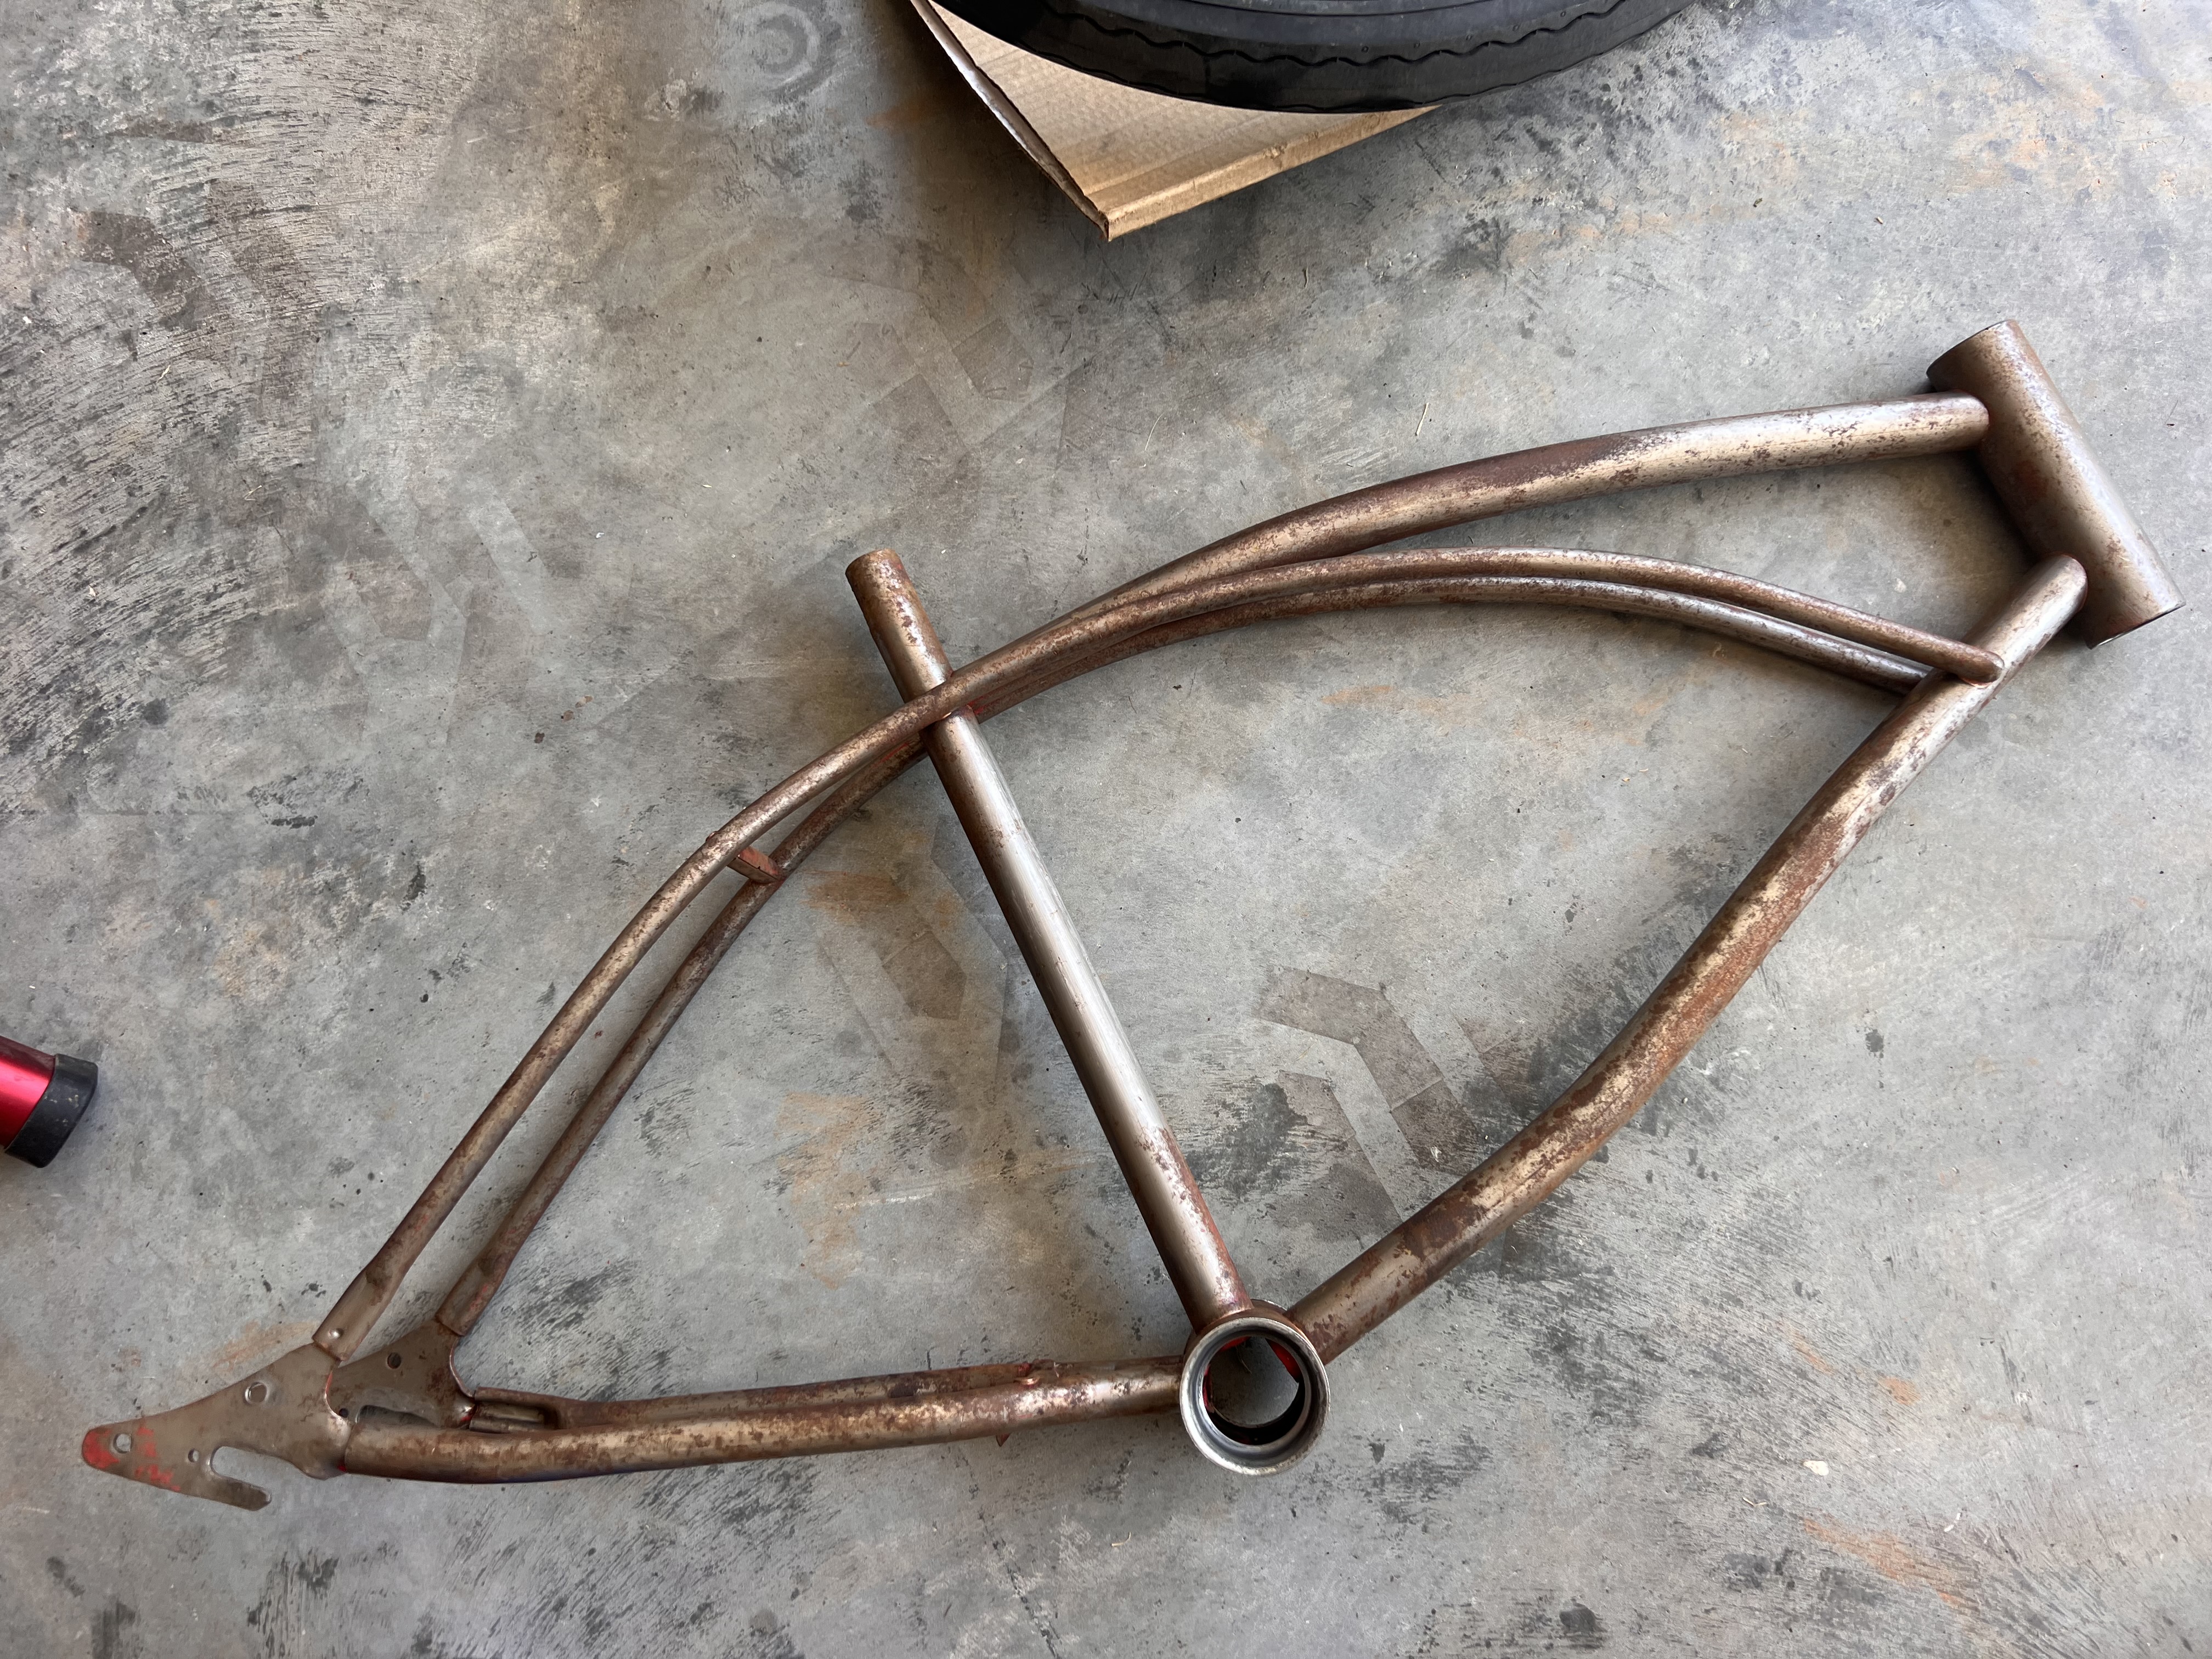
Since there’s no loose rust I decided to just leave it there instead of taking the time to remove it all. I’m going for a rat rod look anyway so it’s perfect.
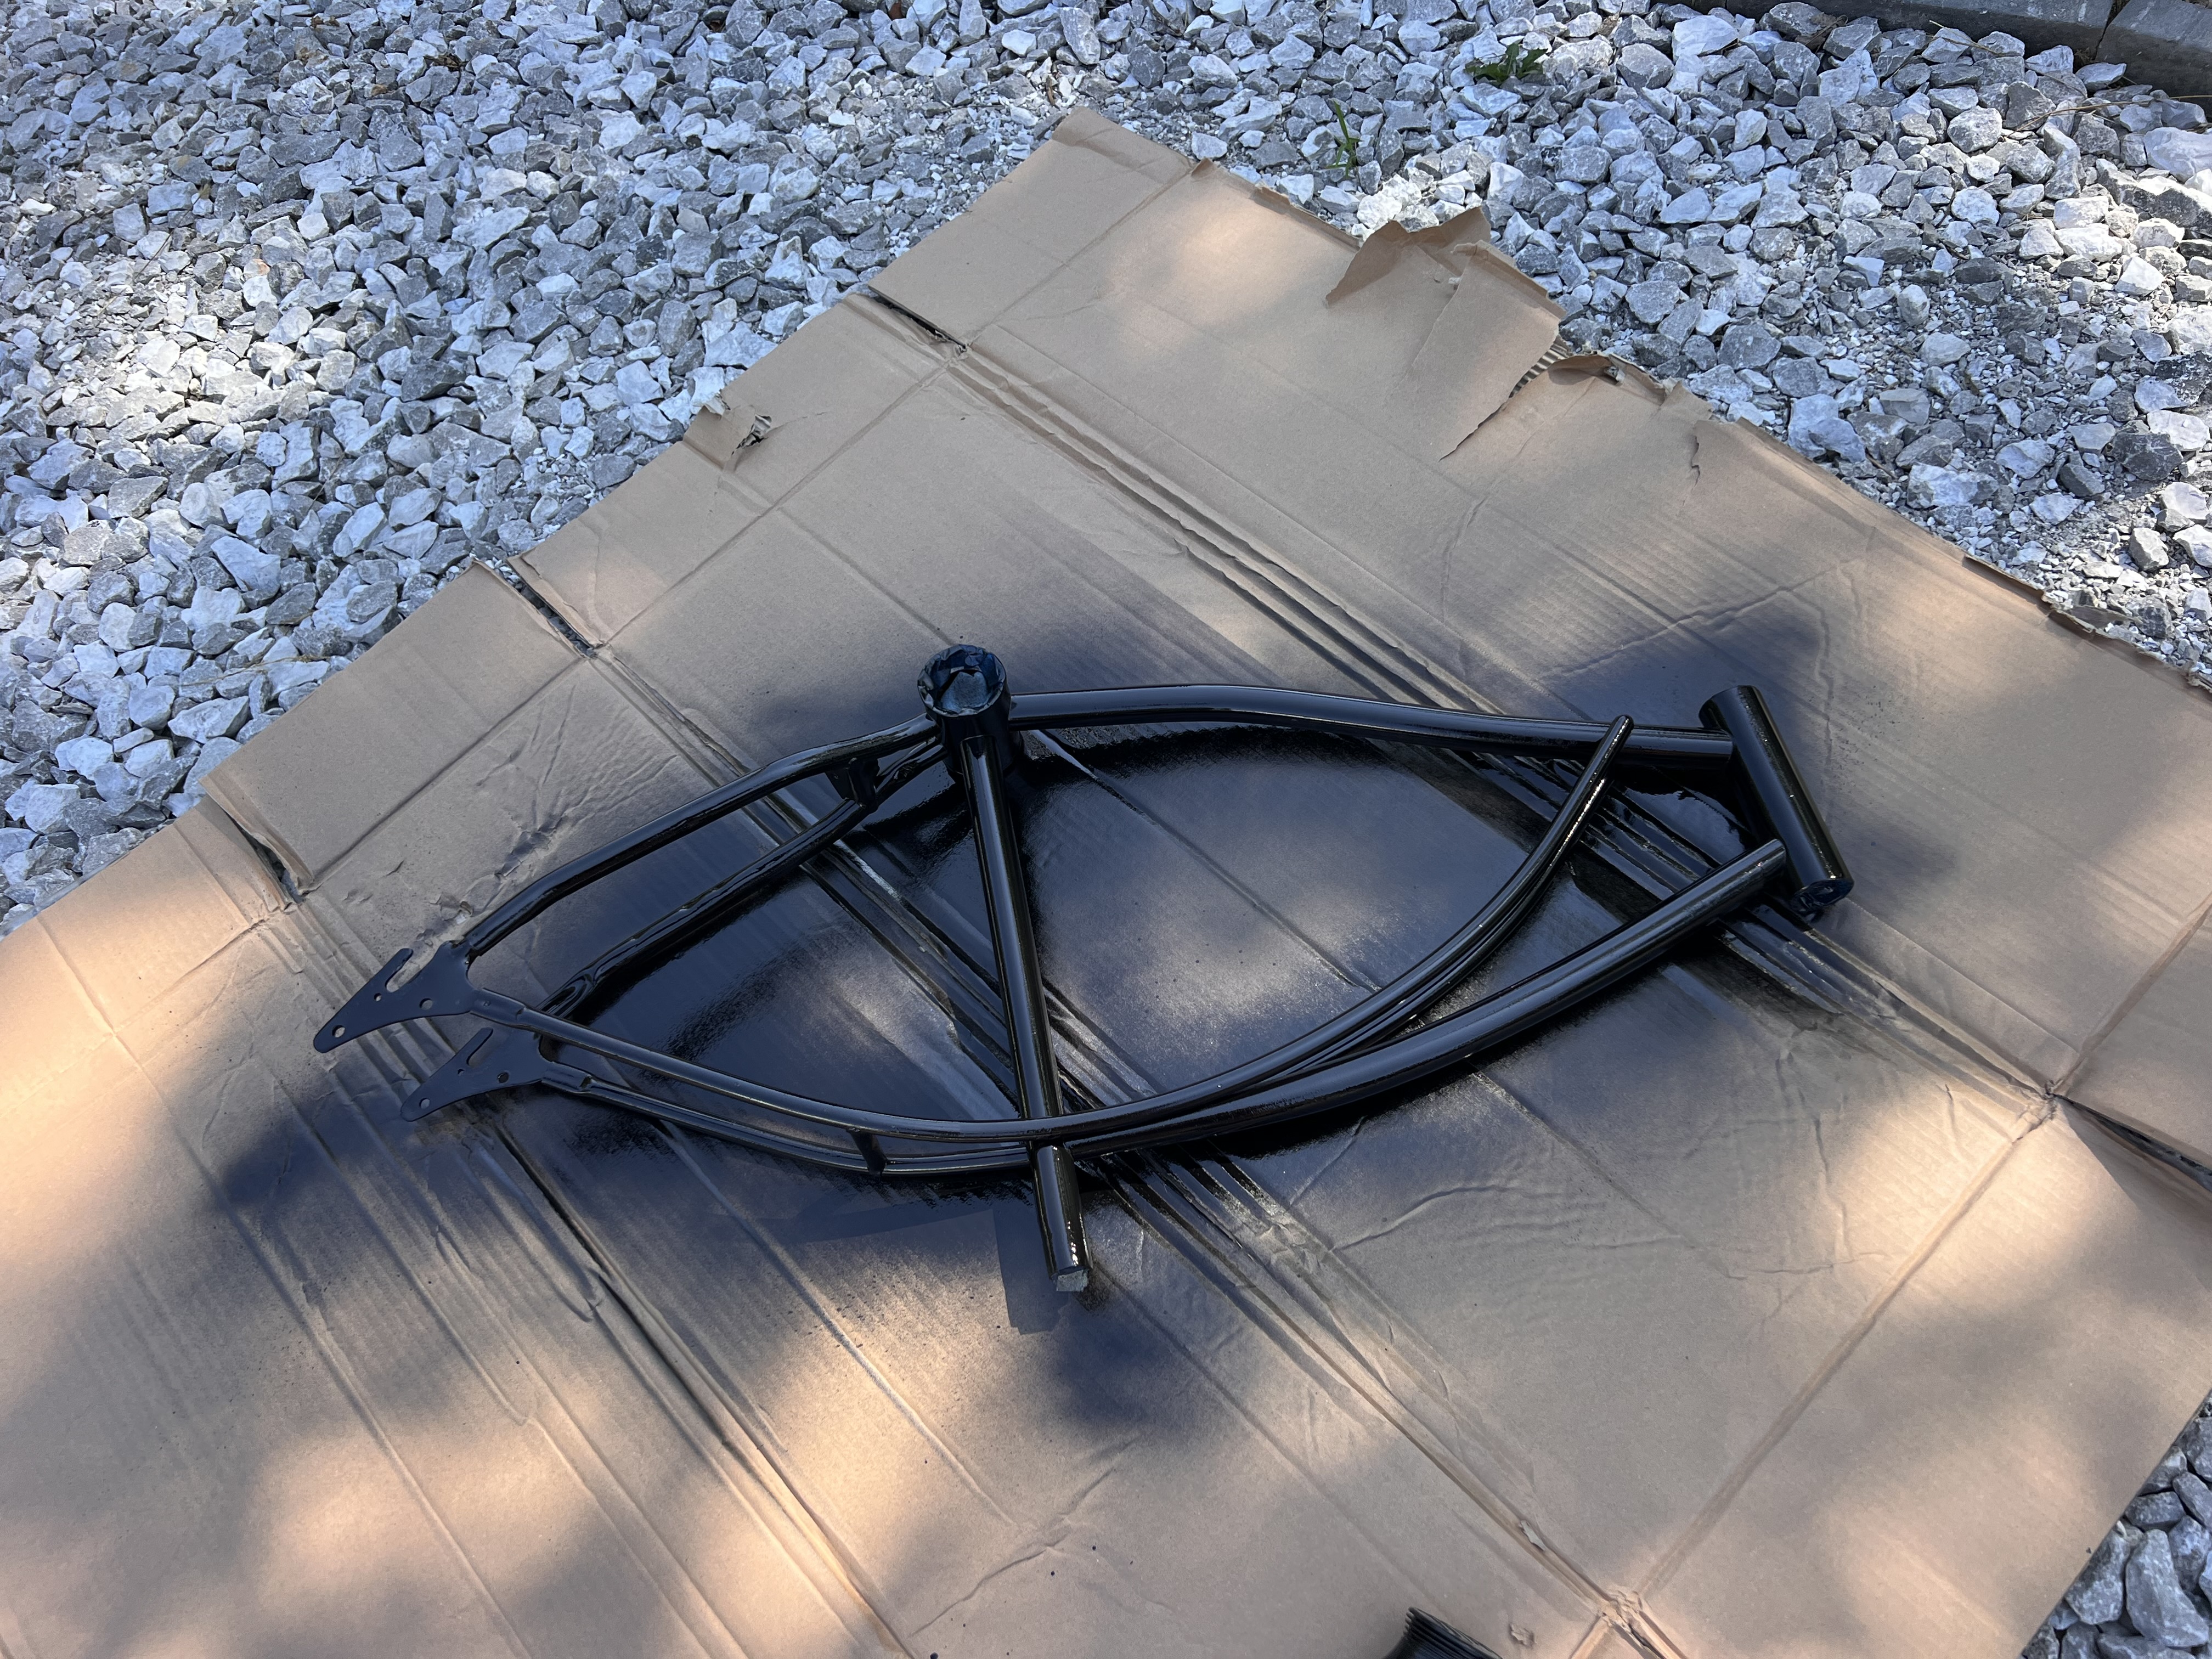
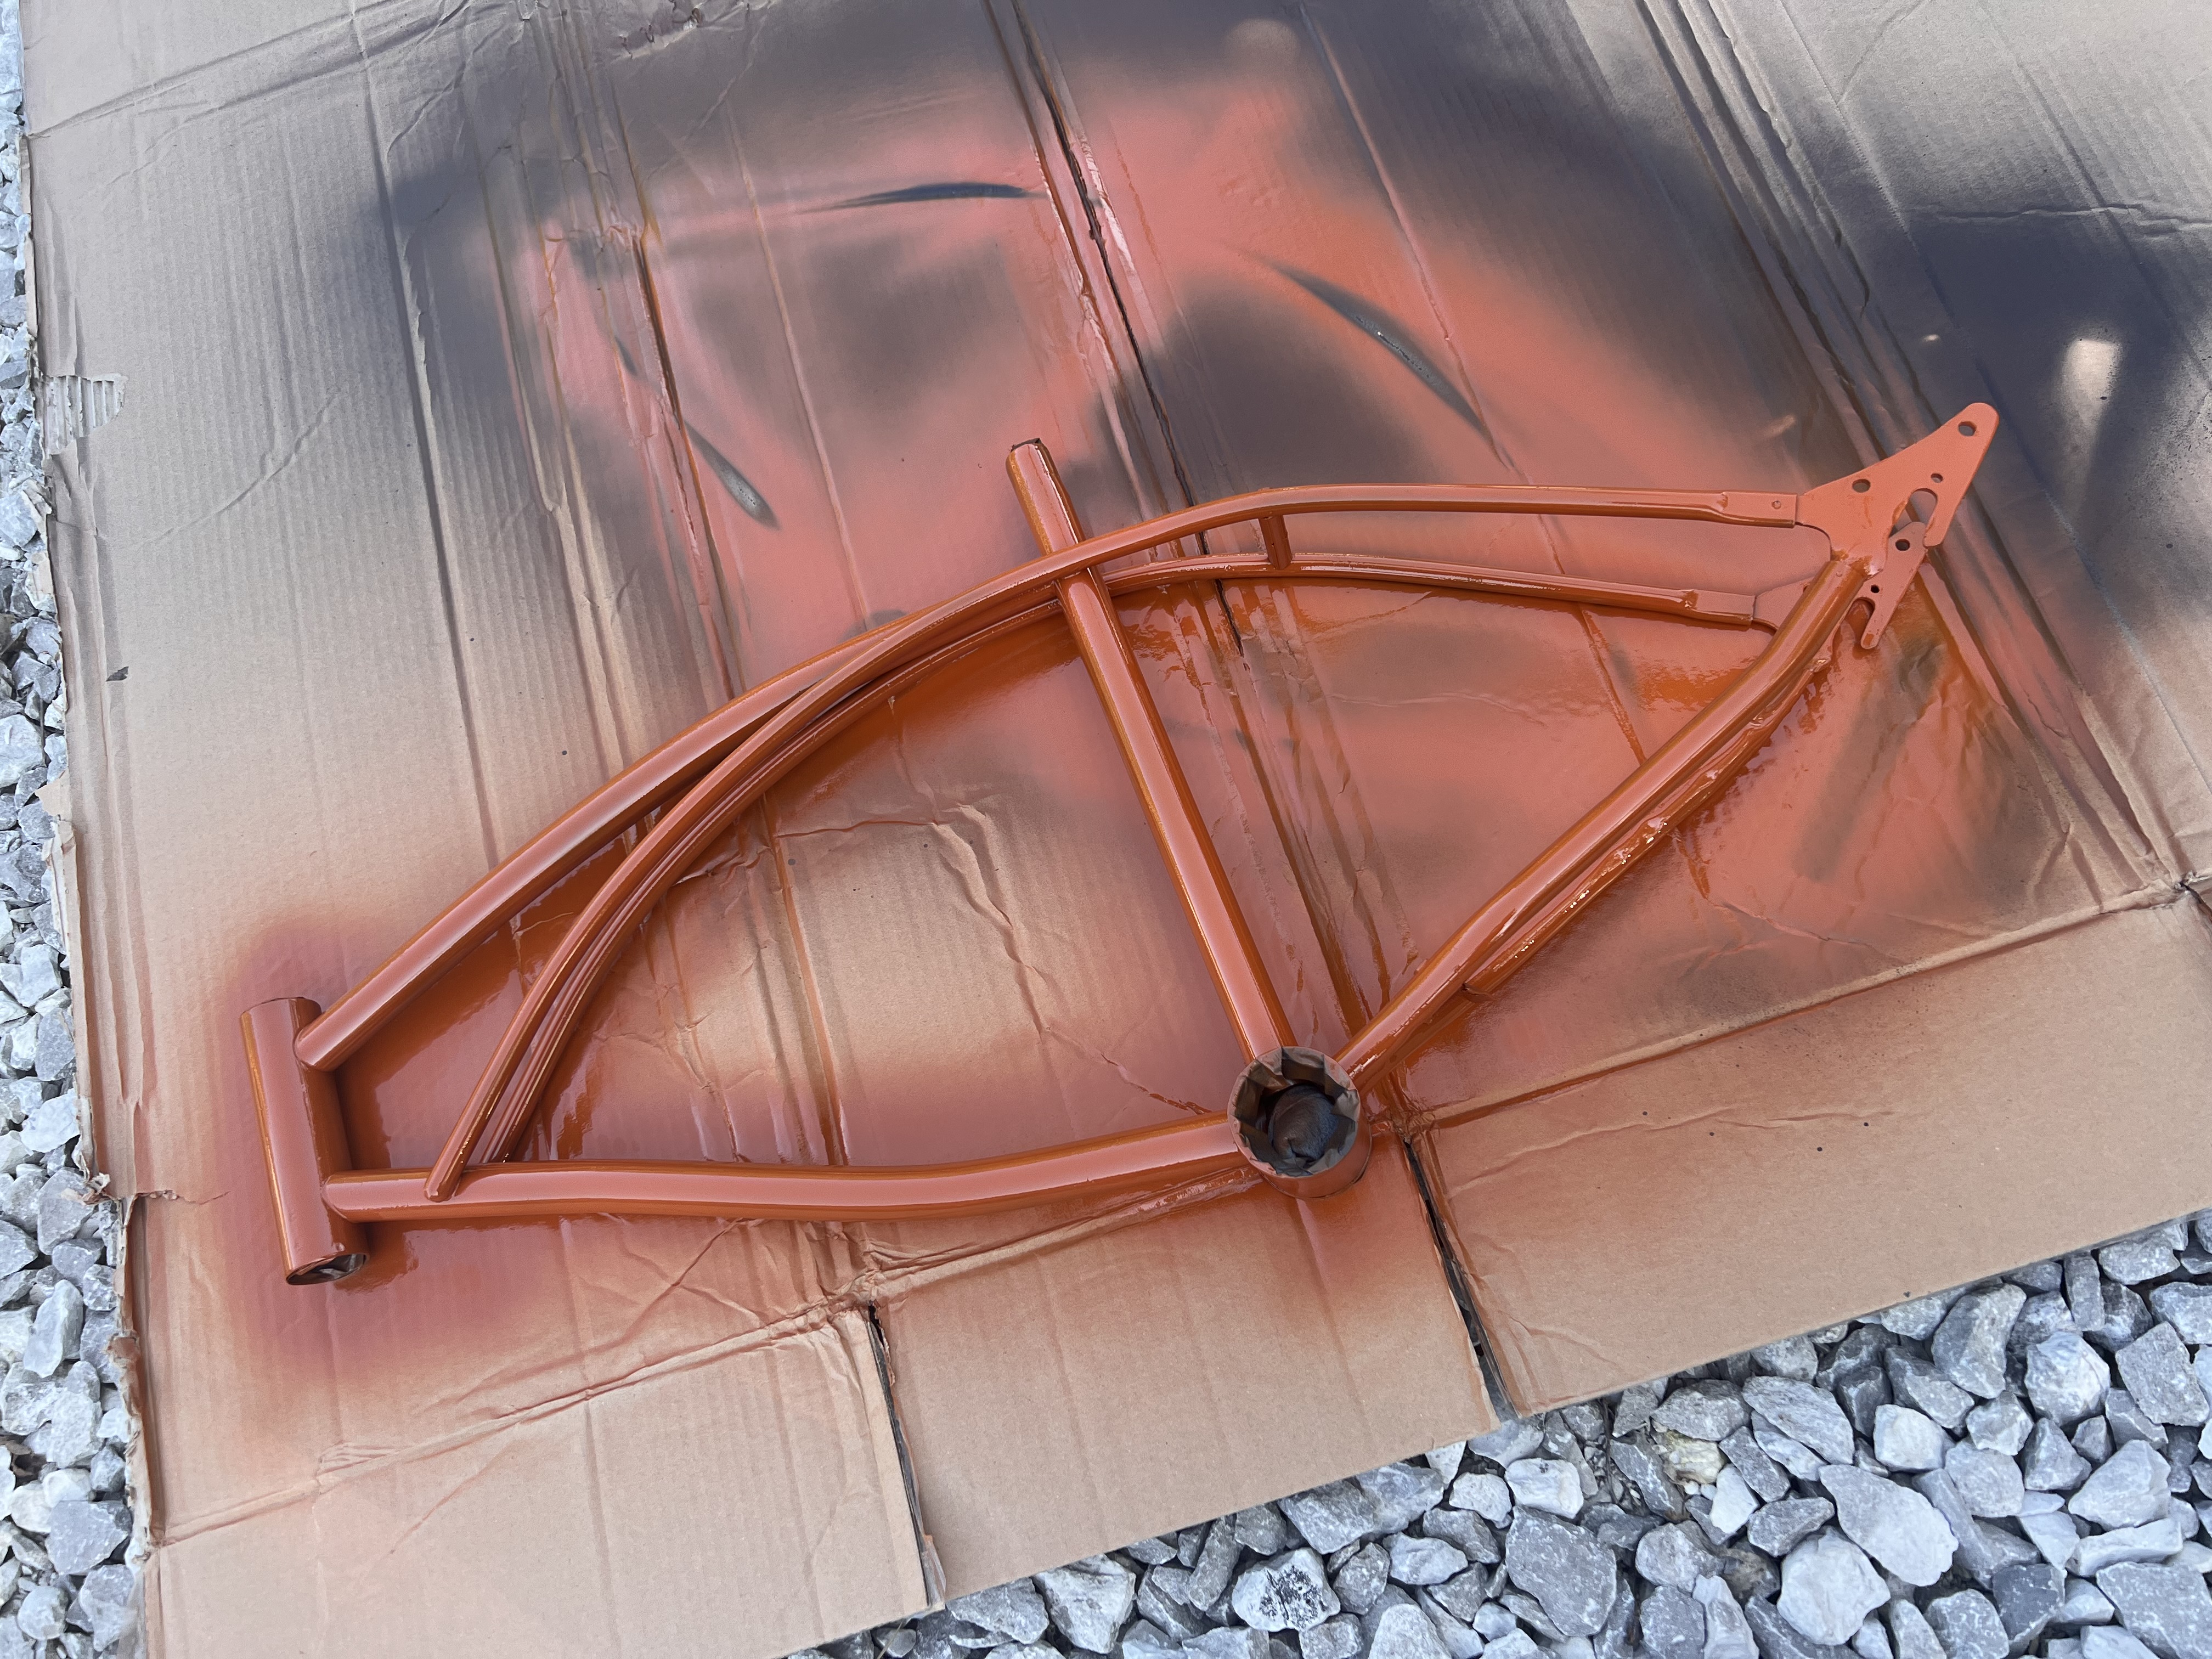

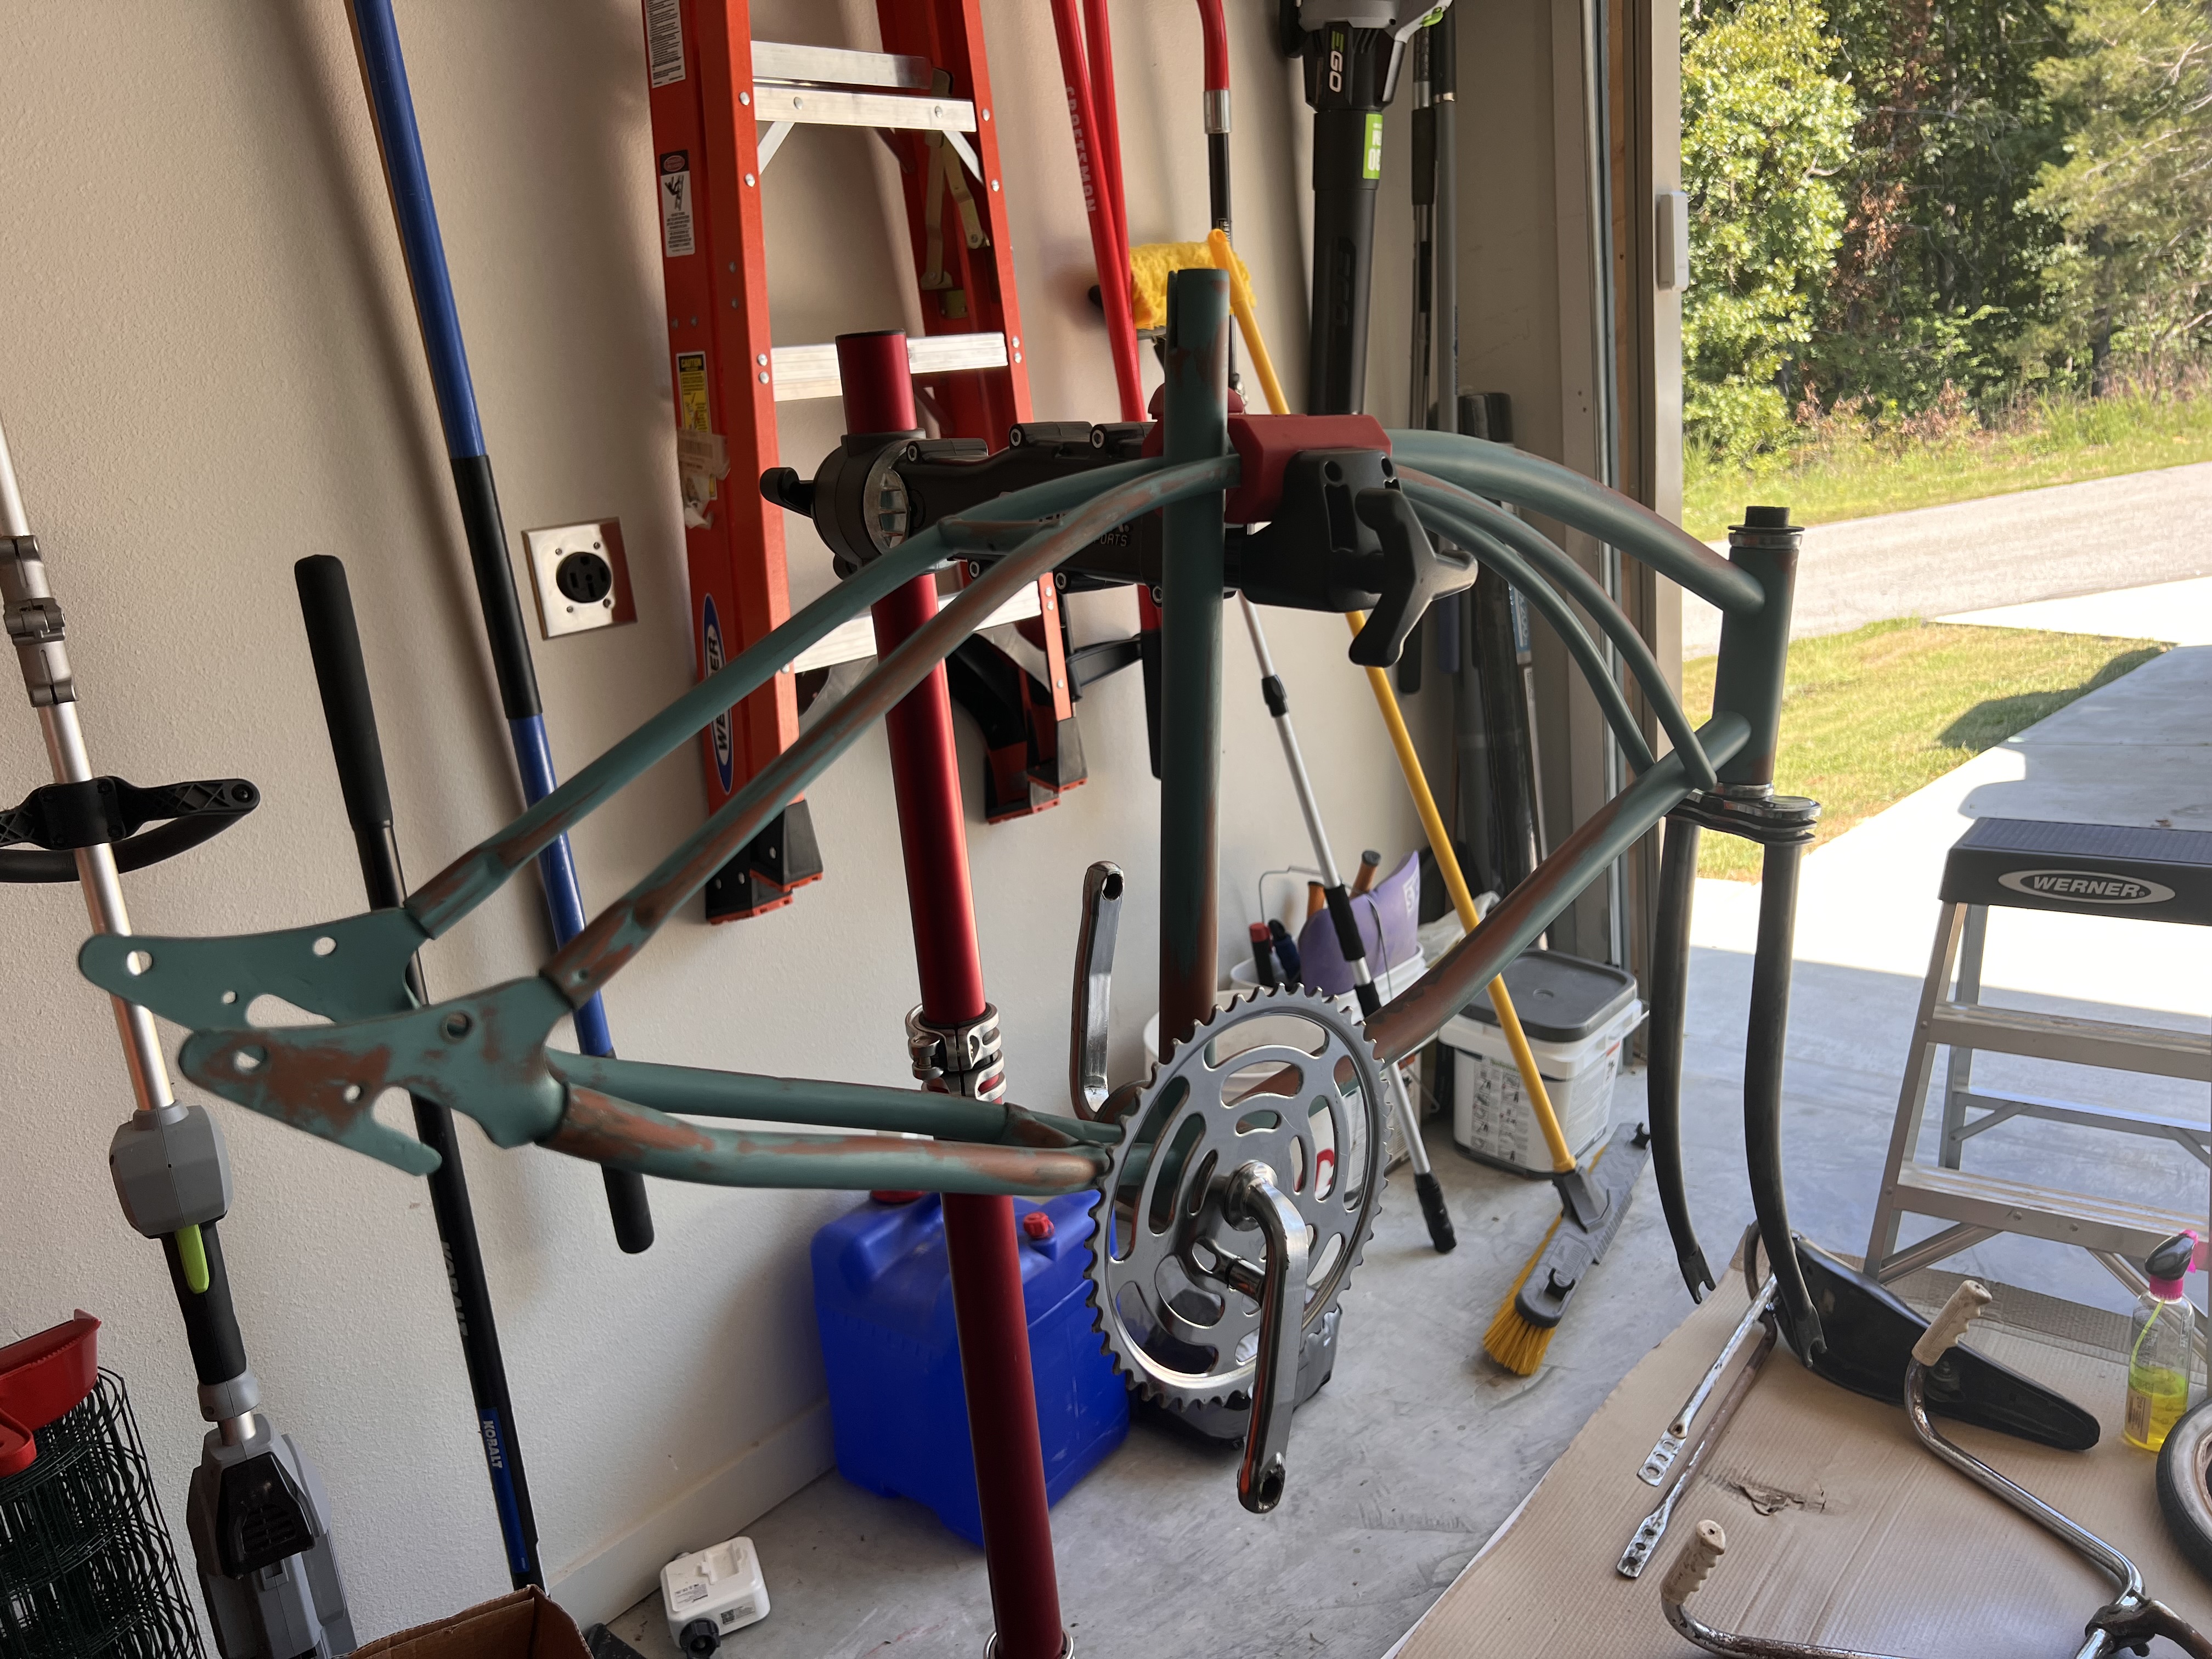
Why so many coats of paint? Because I’m going to just sand it all off… you can’t have a rat rod bike without weathered patina paint, so once the teal layer dried I started sanding! I tried to sand where sun and use would have naturally faded the paint. It was kind of difficult because the frame is so small so everything looks like it would have gotten used, but I did my best! I also got down to bare metal in spots. I didn’t want to leave shiny metal because that’s not realistic so I found a recipe online for a mixture of vinegar, salt, and hydrogen peroxide that would flash rust the bare steel. Turns out it works awesome and now I have genuine “vintage” rusty metal spots. Excellent!
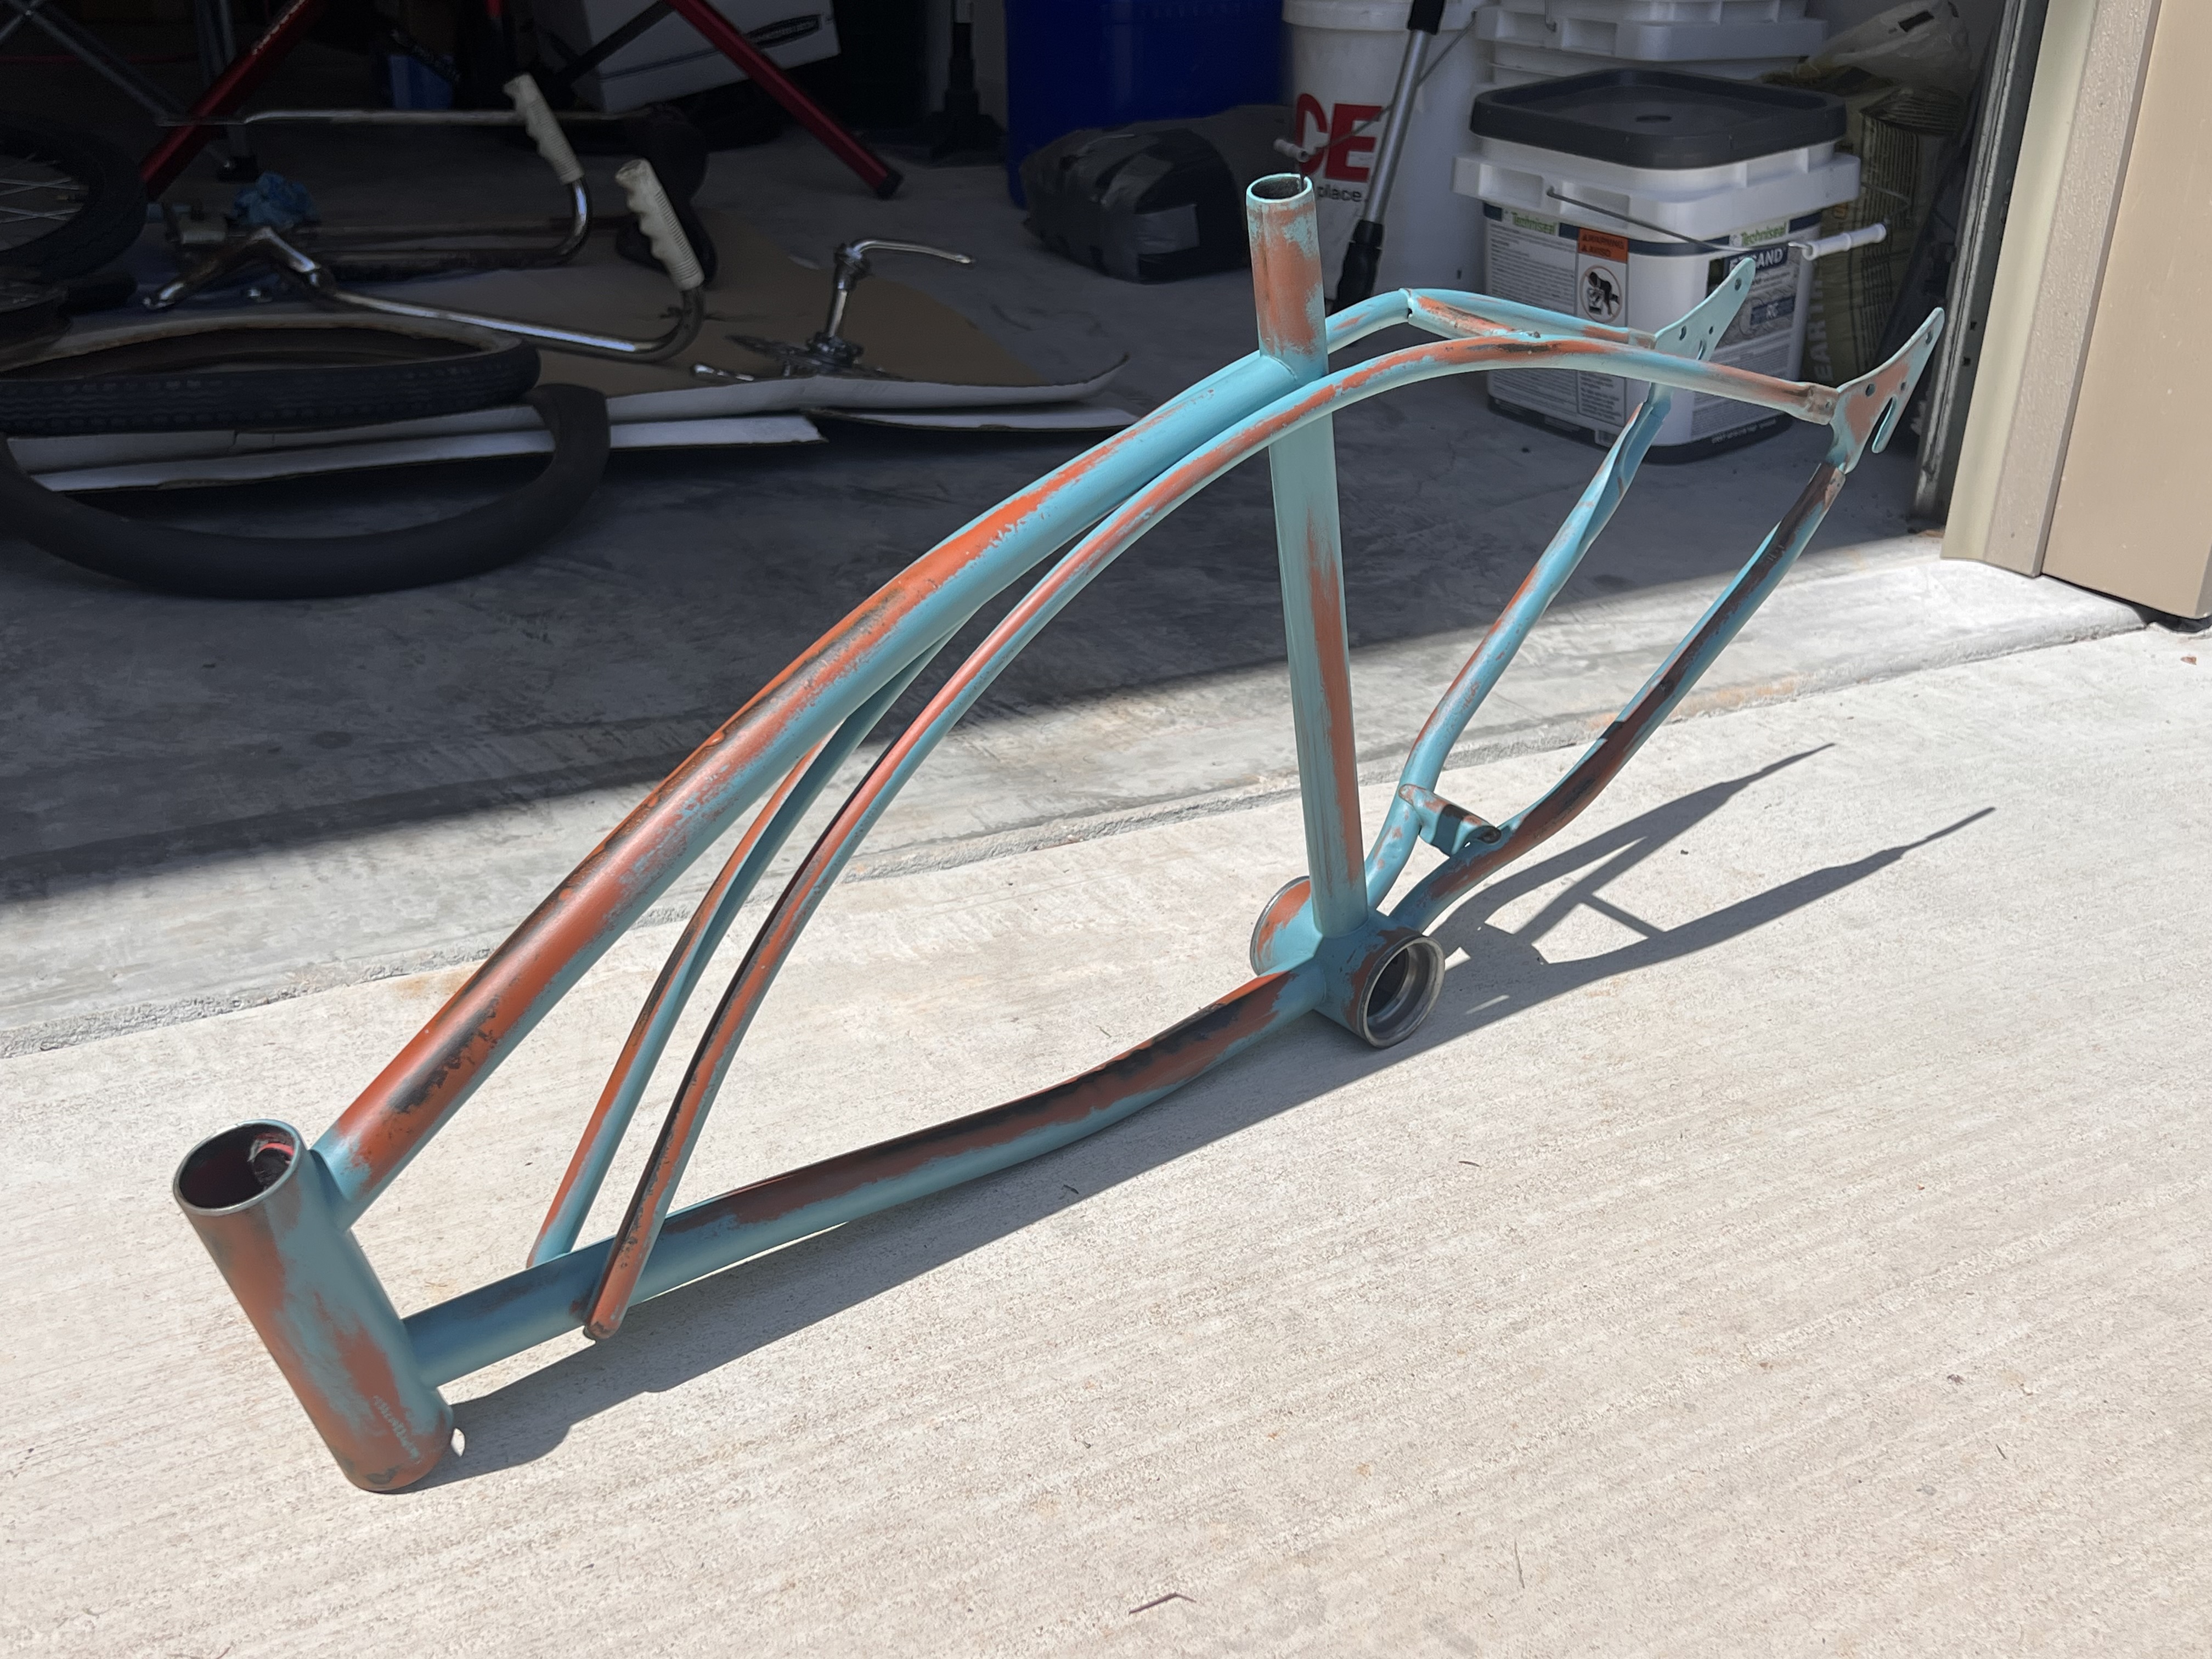
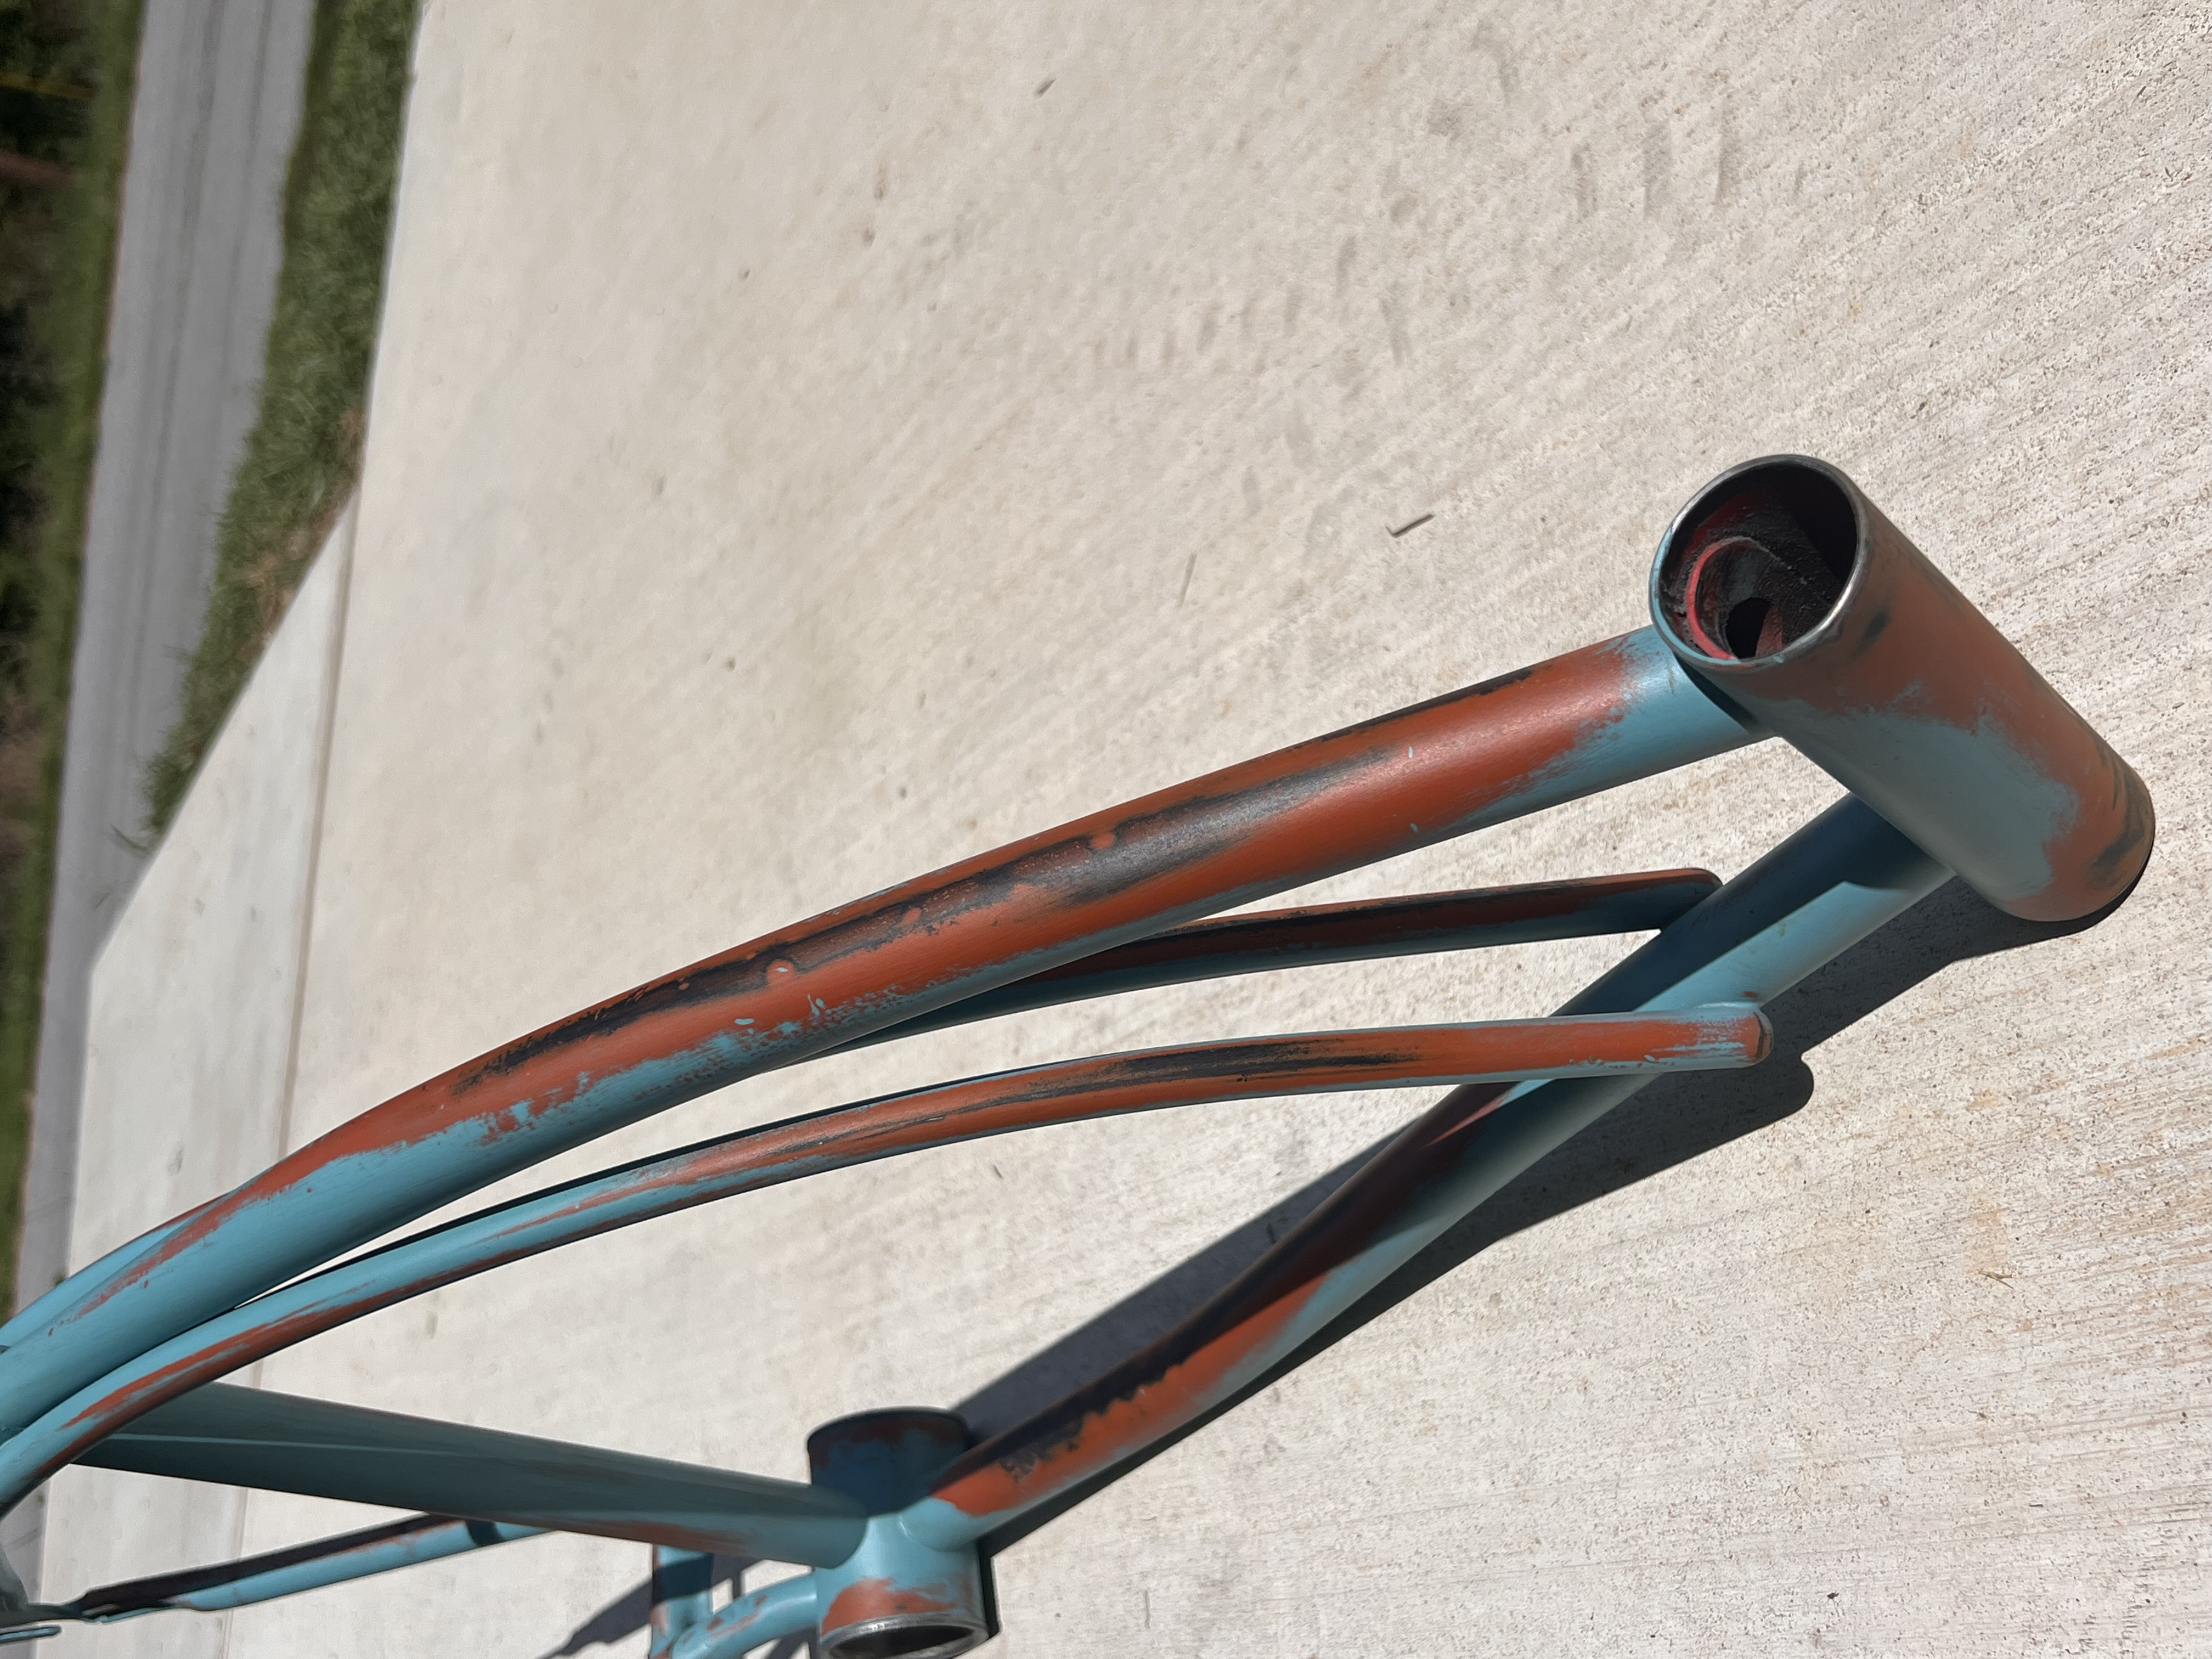
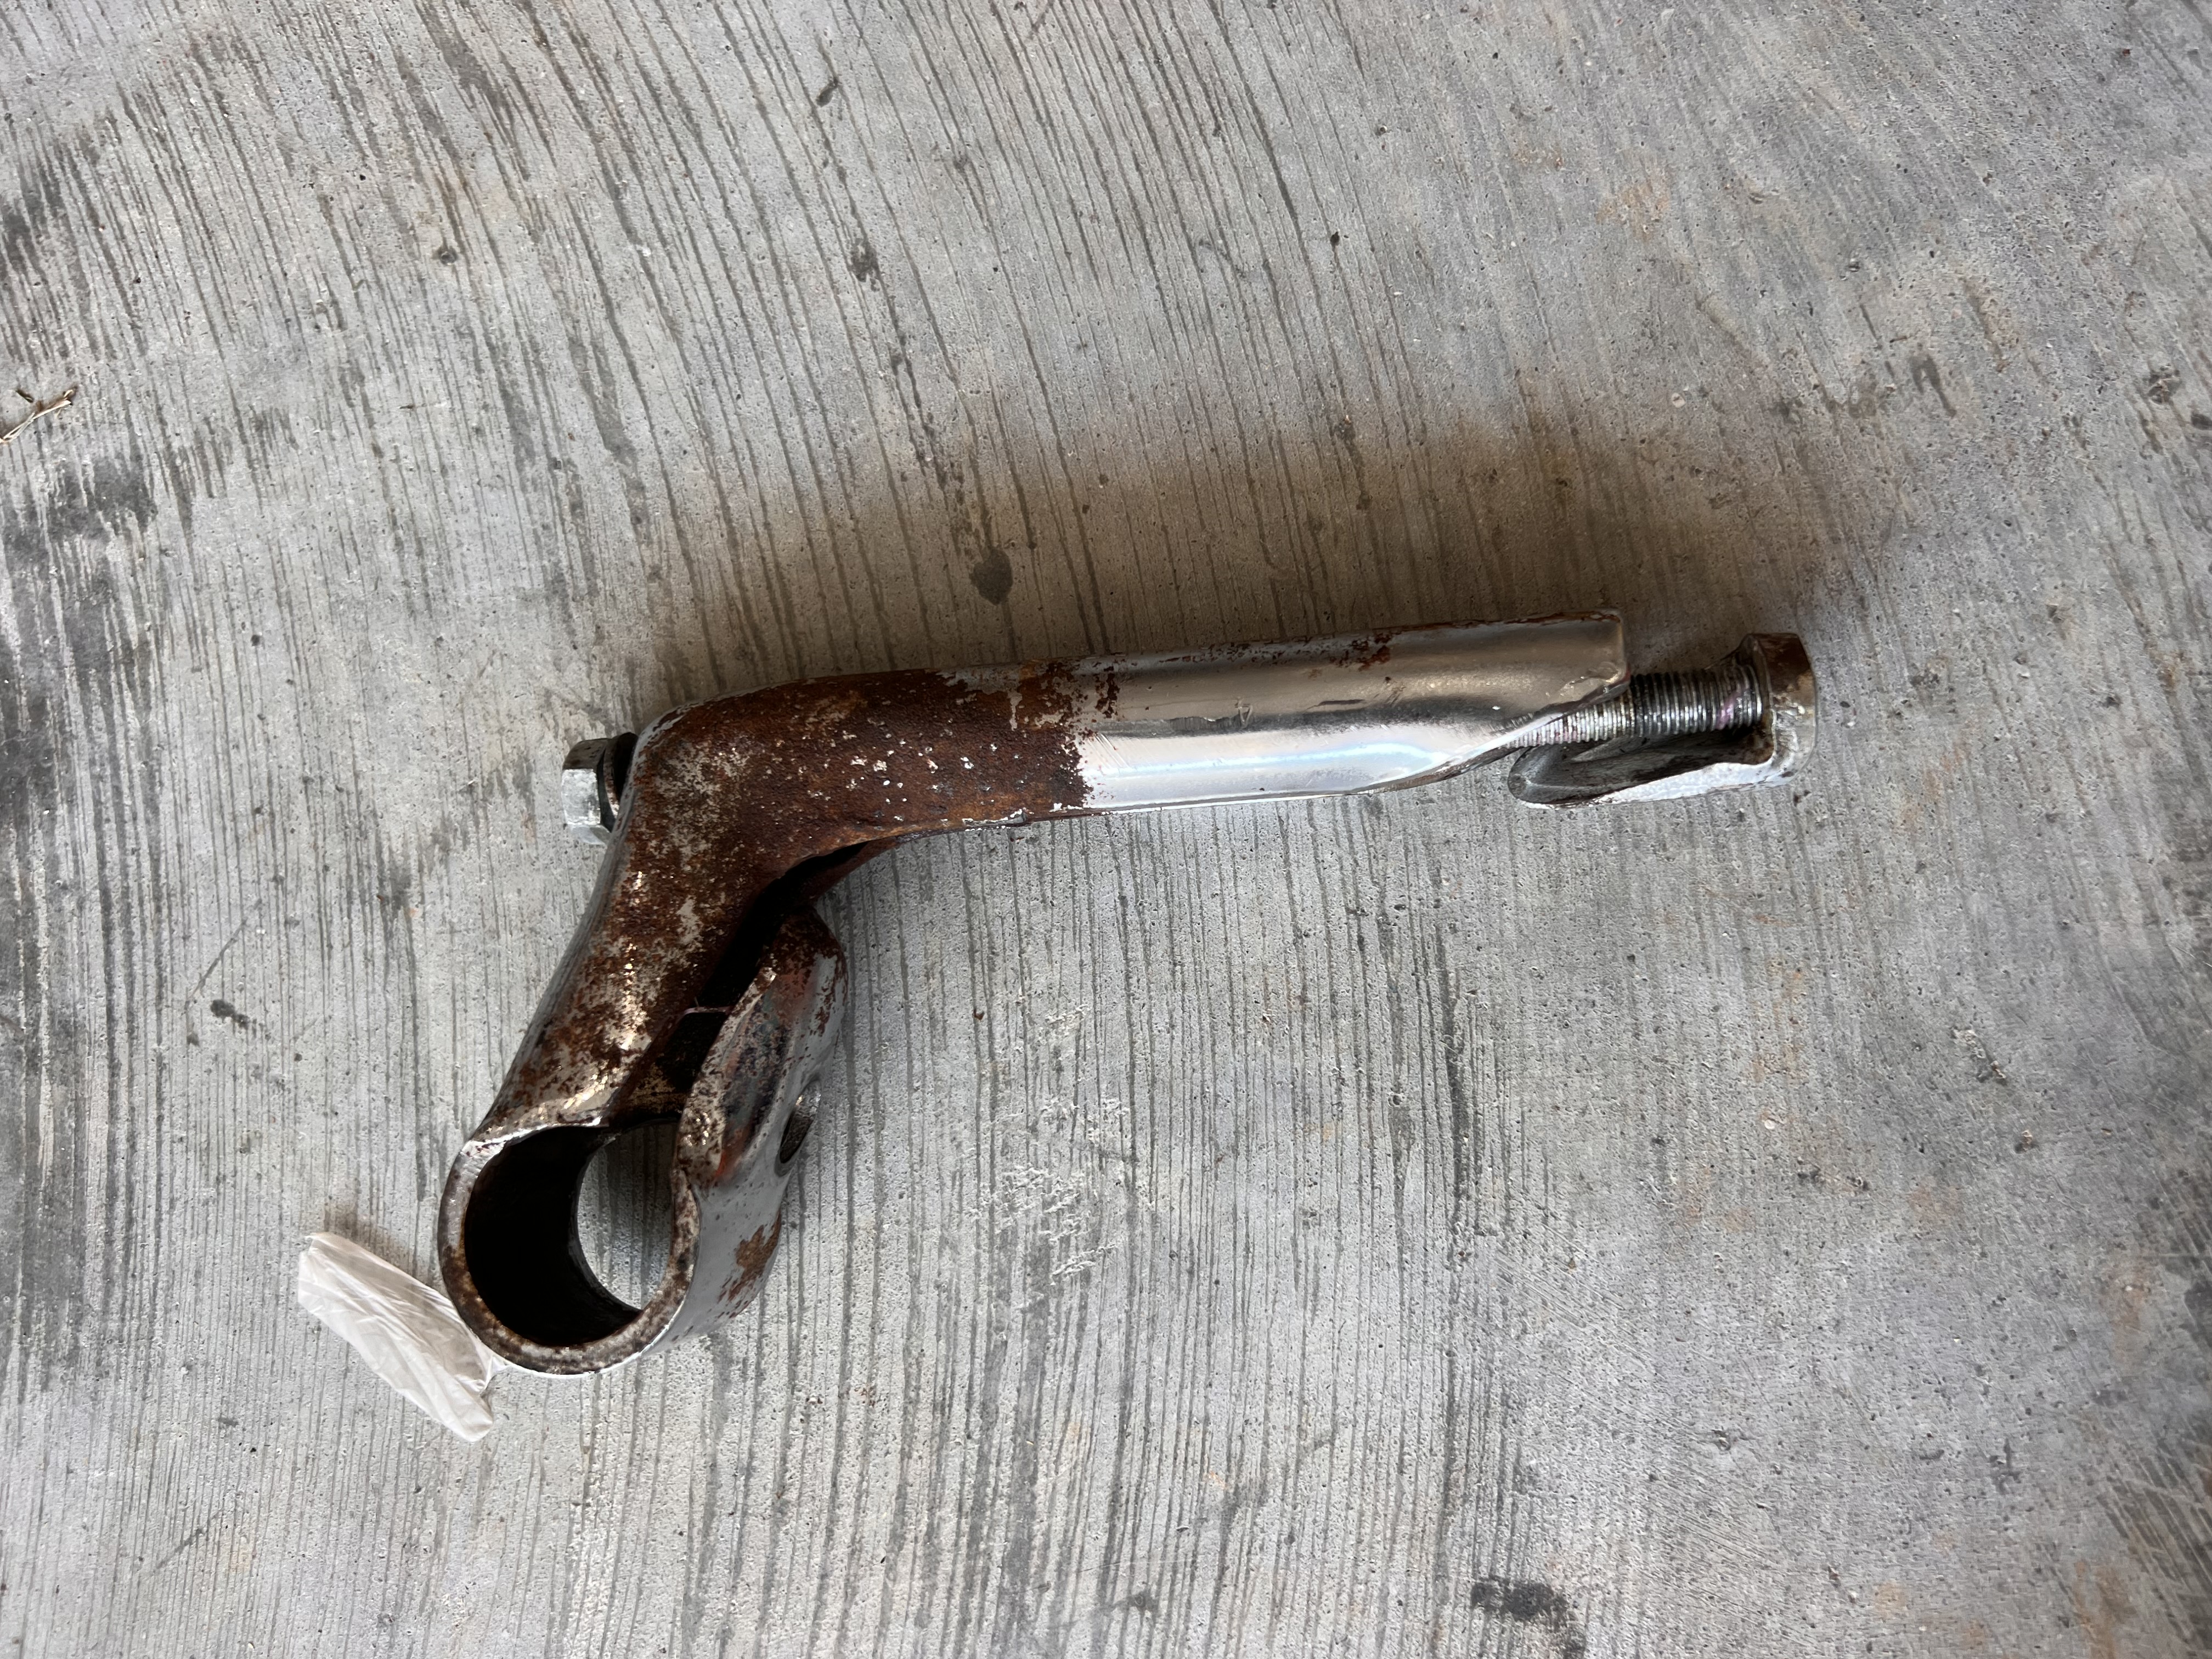
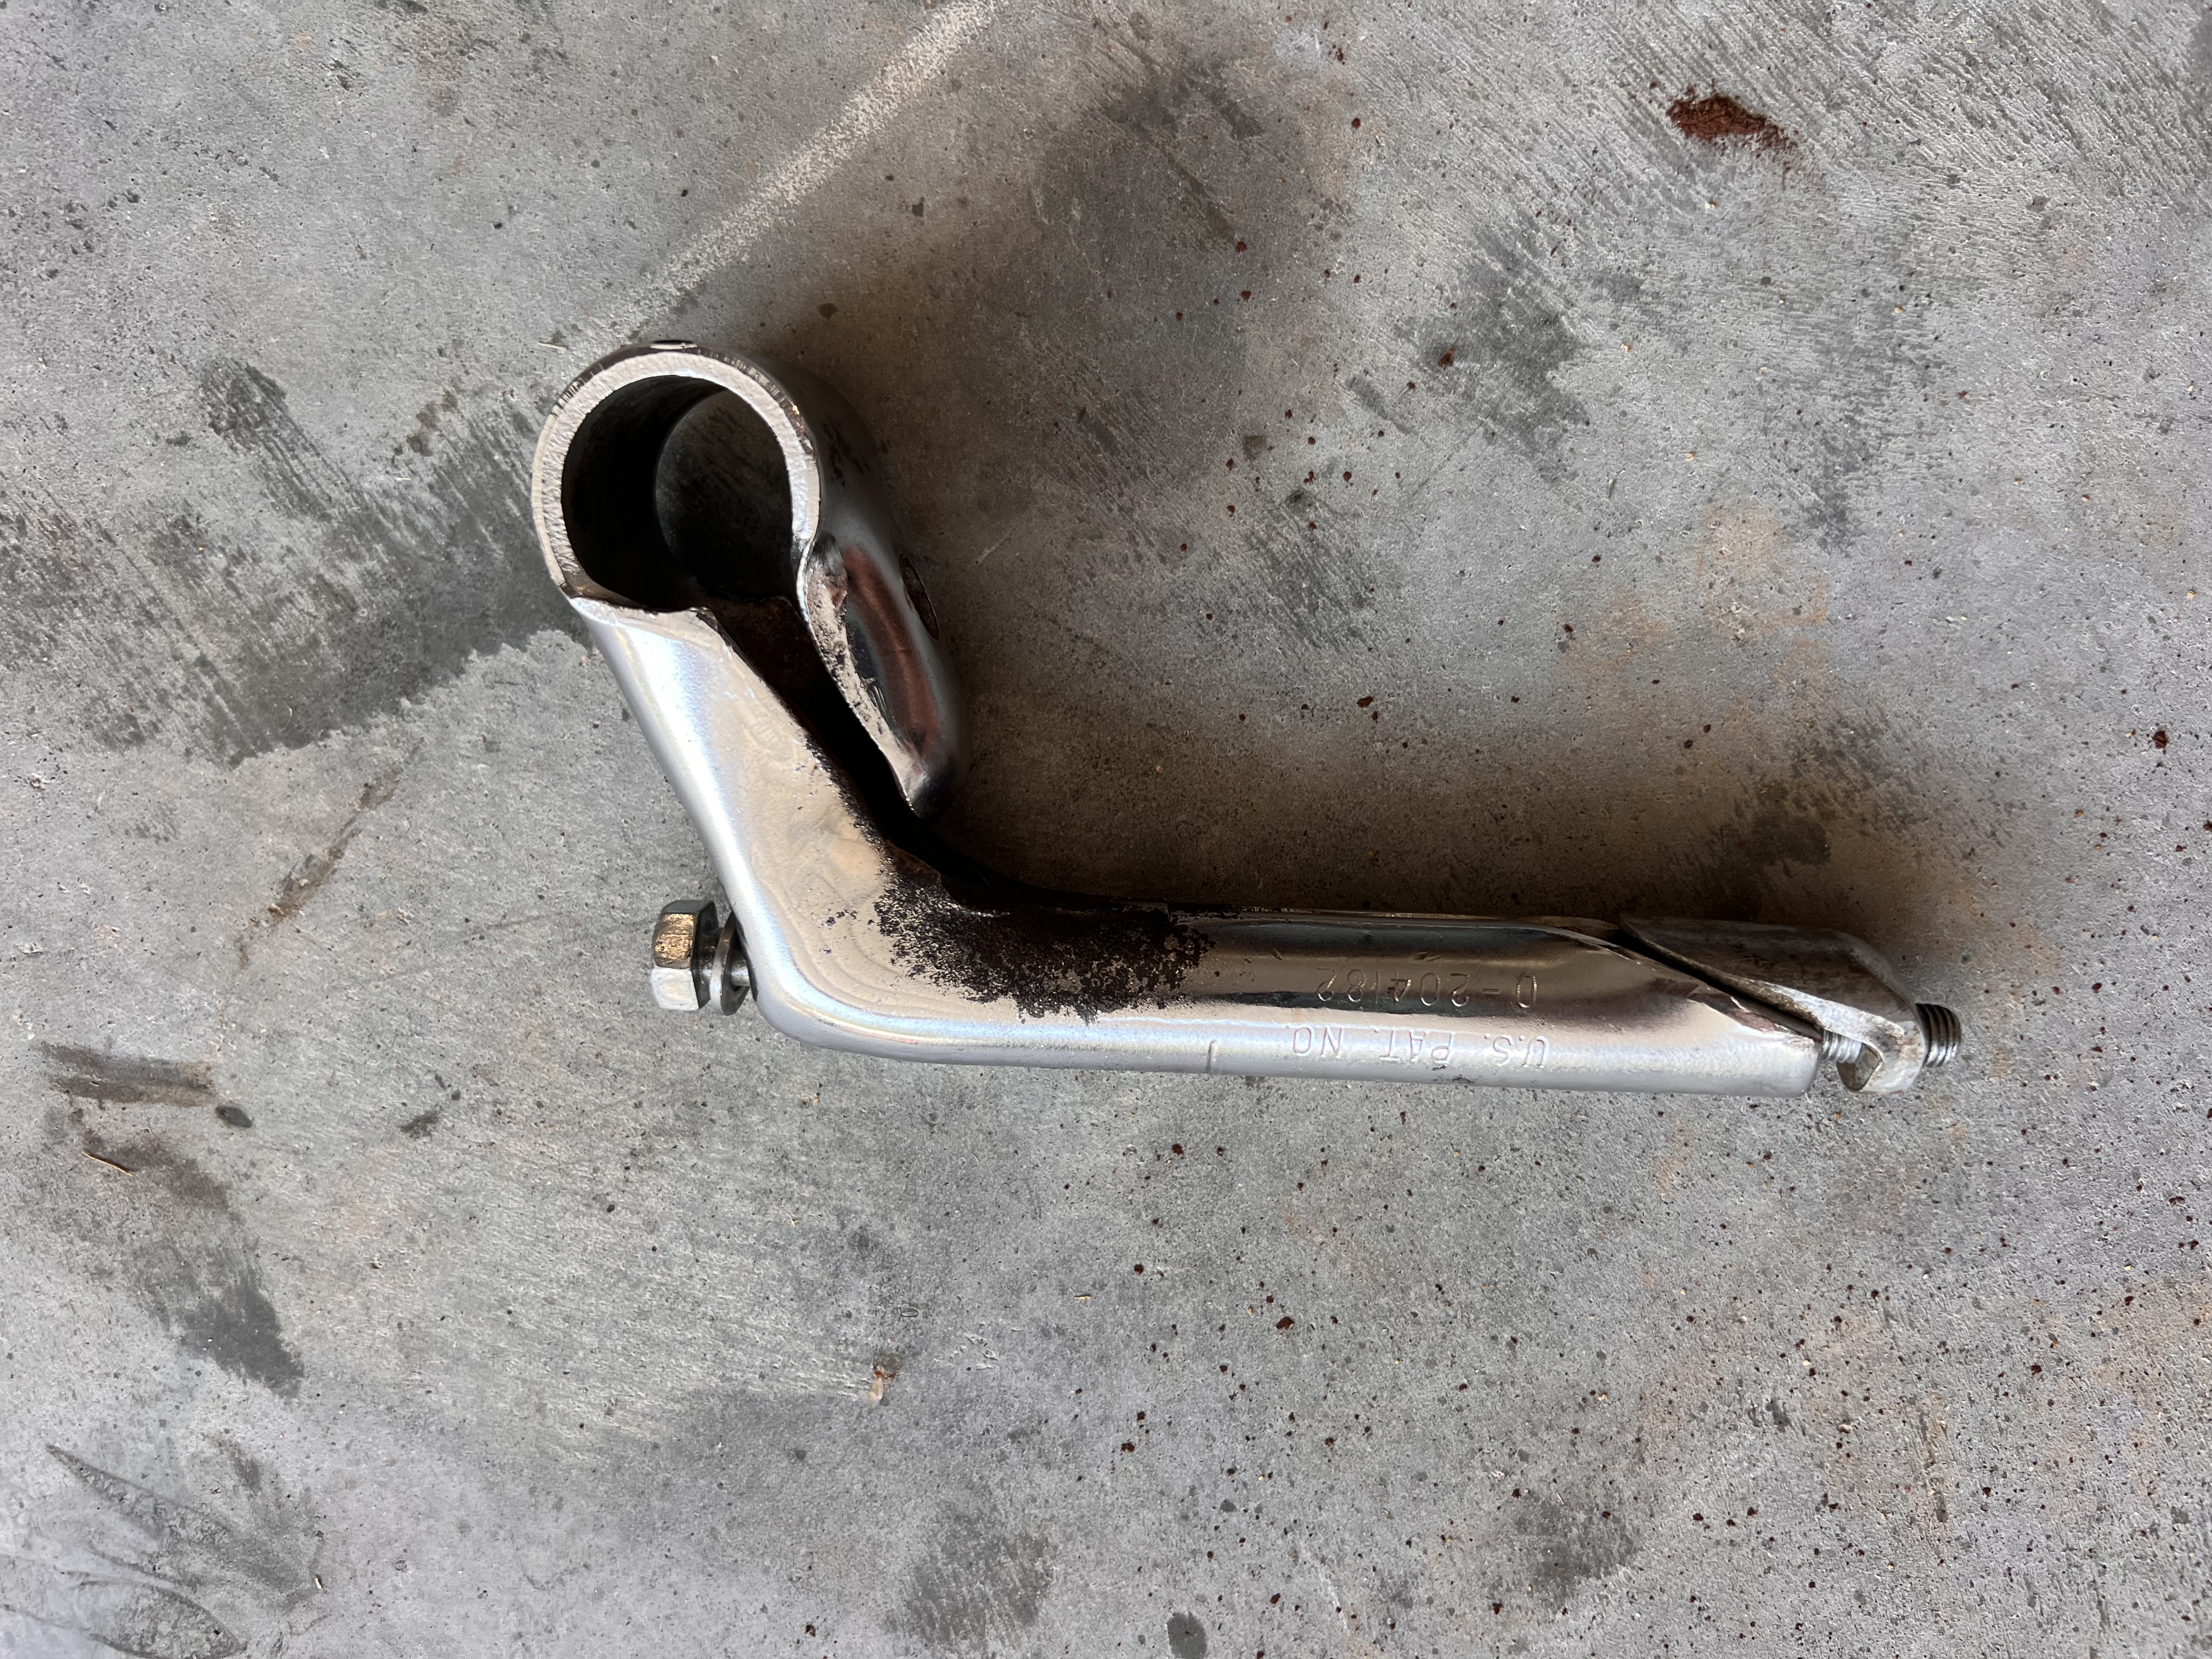
After a quick coat of matte clear because I want to protect this bad boy, I got started on the fork. It was a pretty unoffensive shade of dark green and I would have left it but green looks terrible with my teal and orange frame so it had to go.

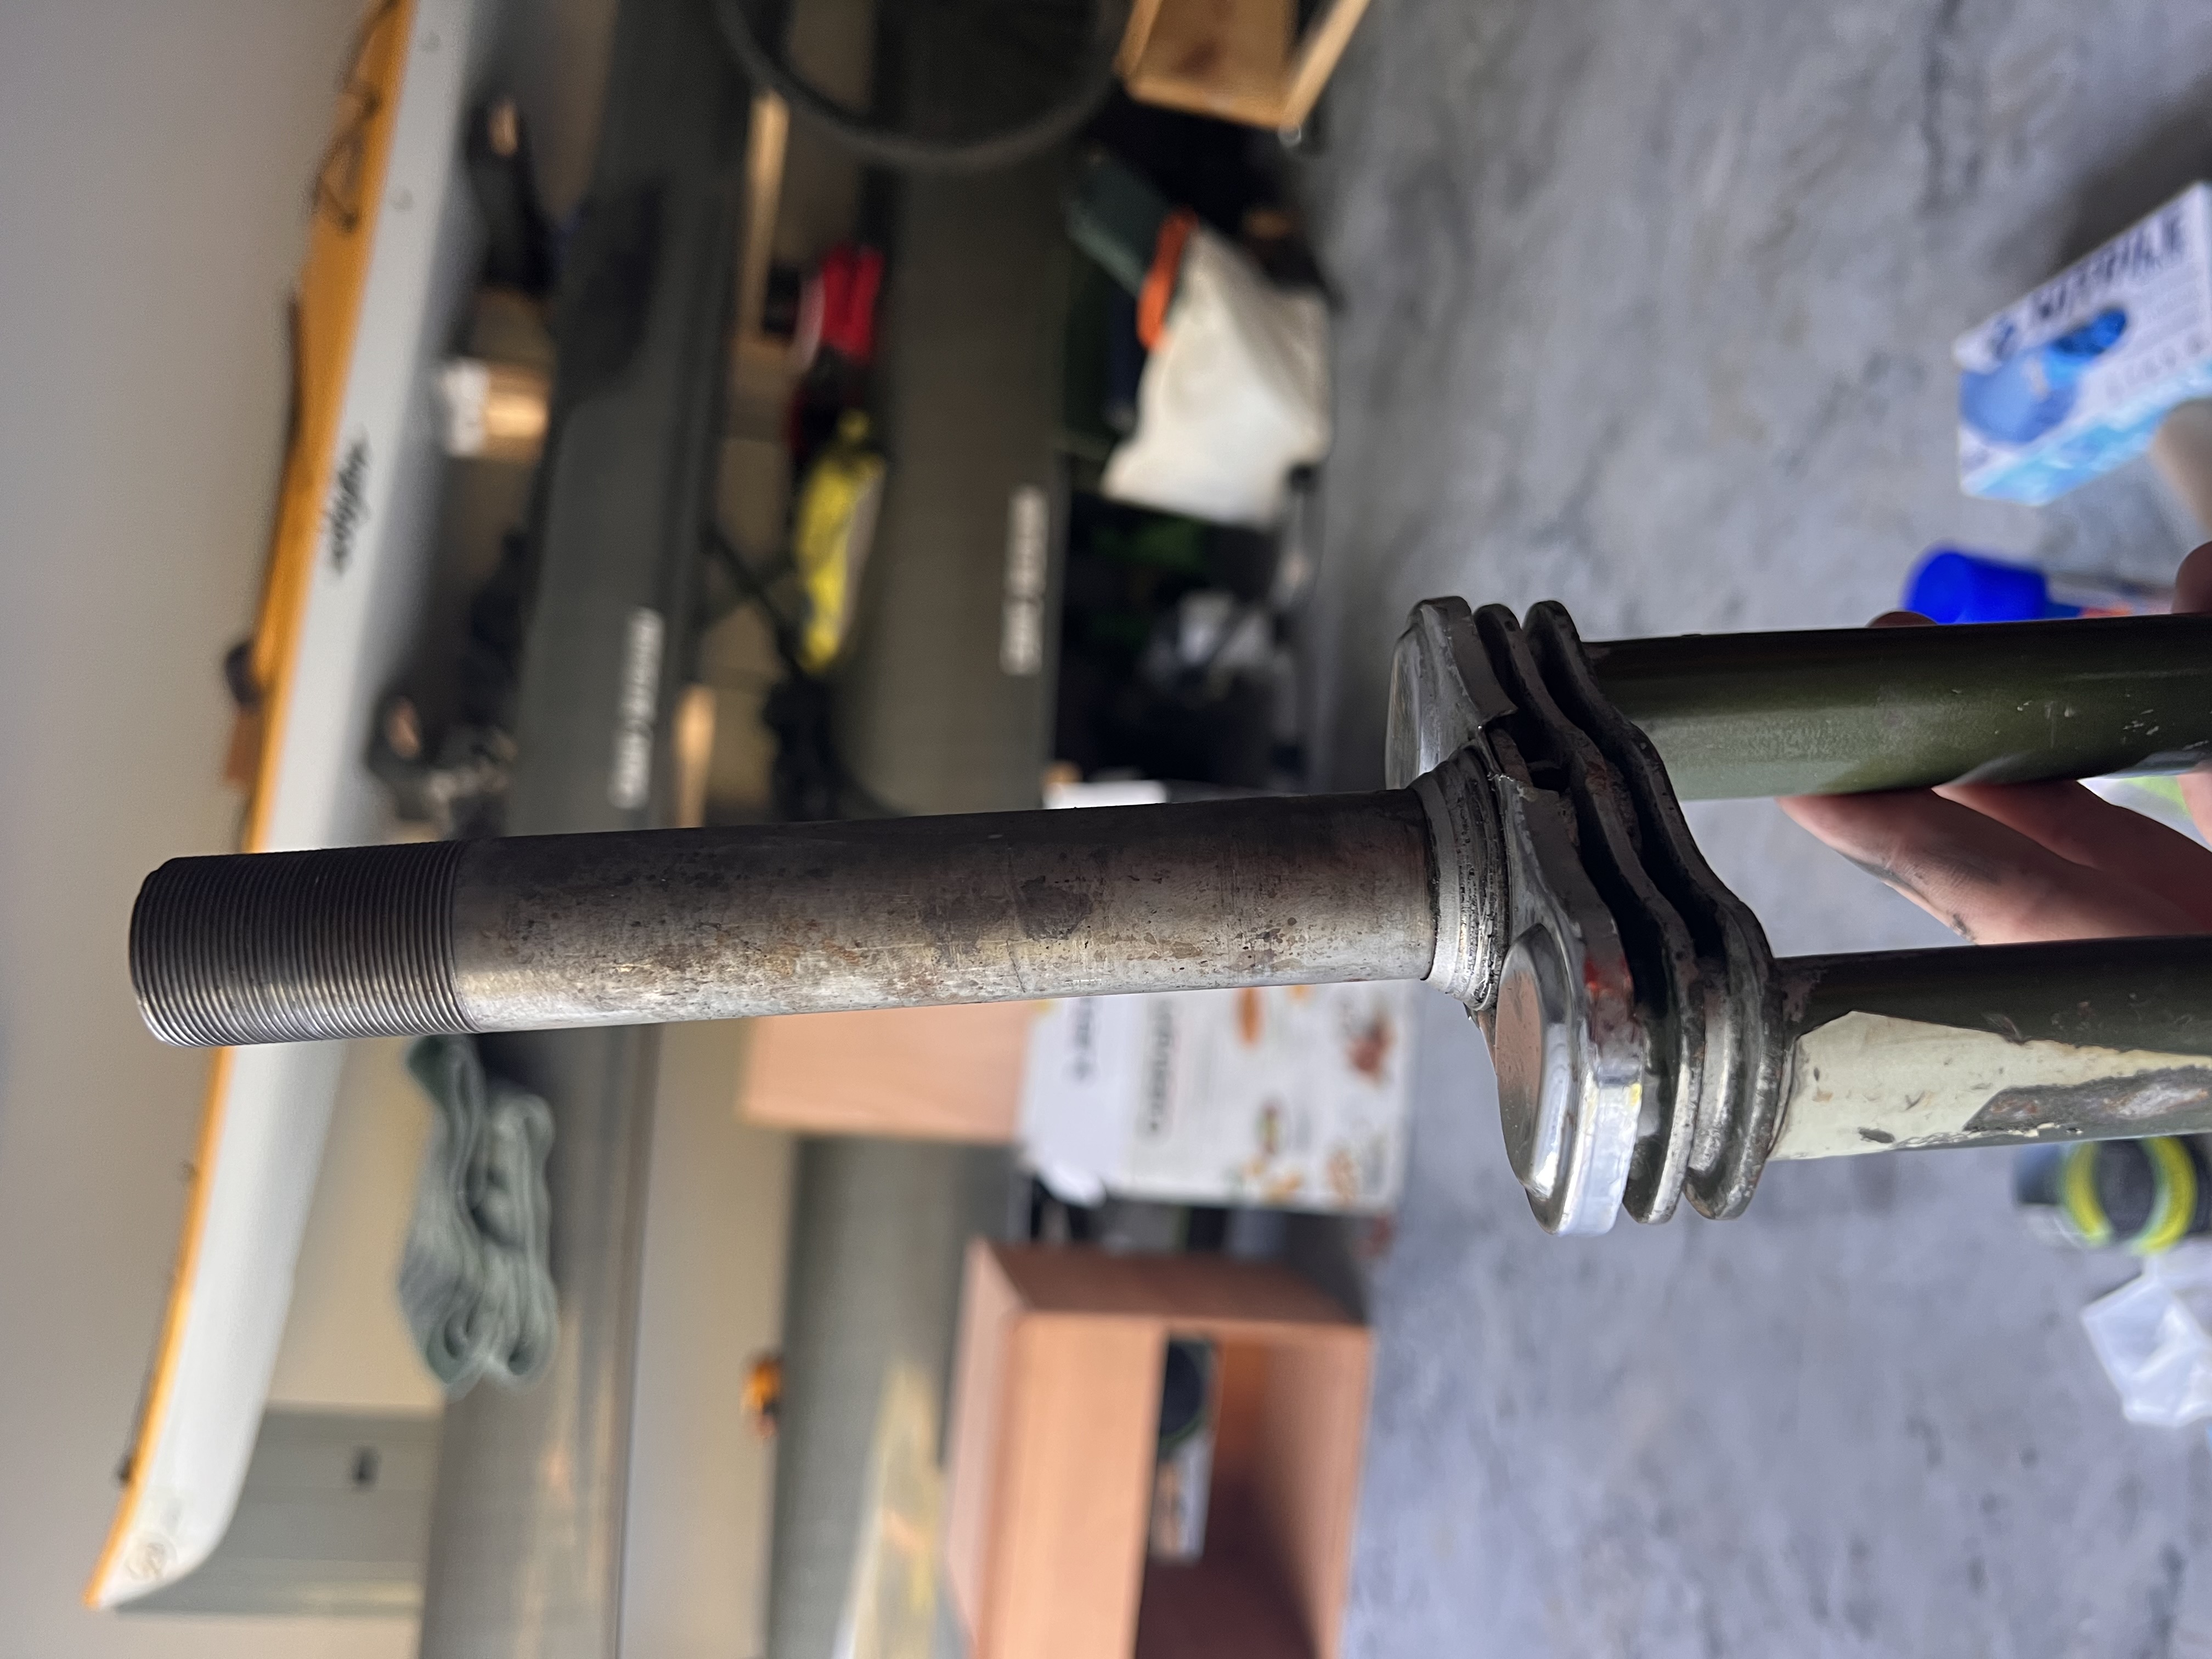
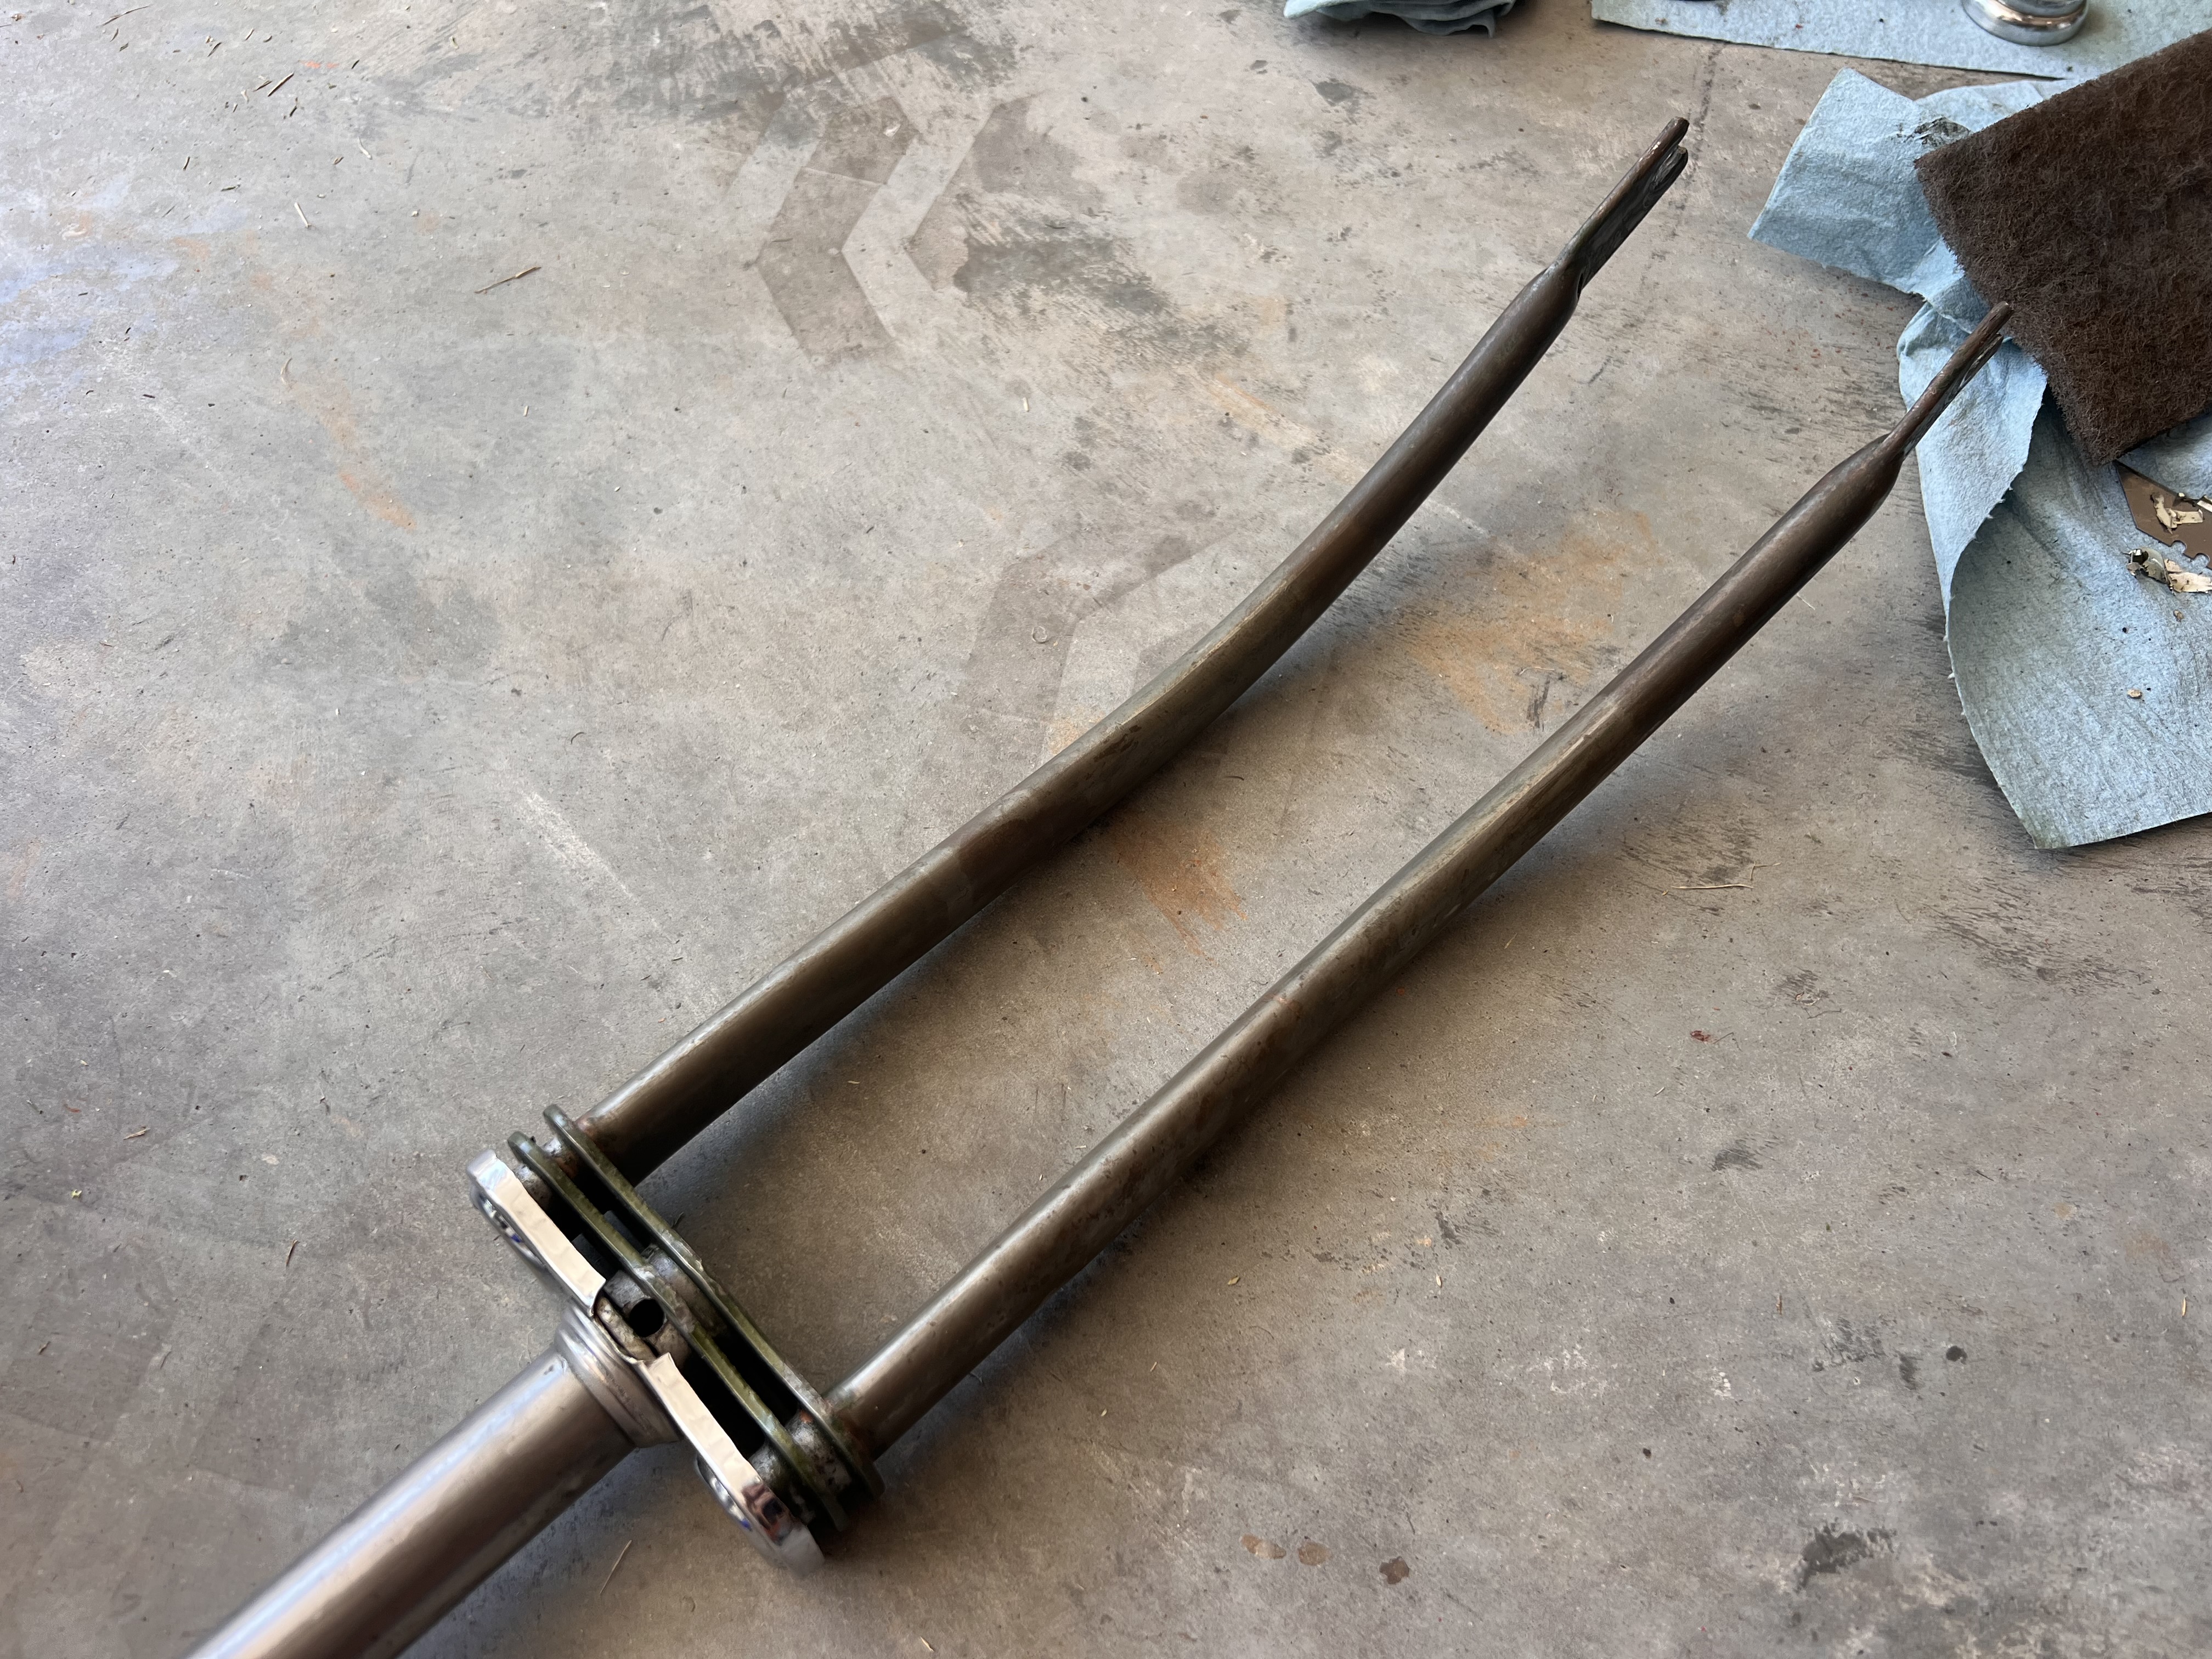
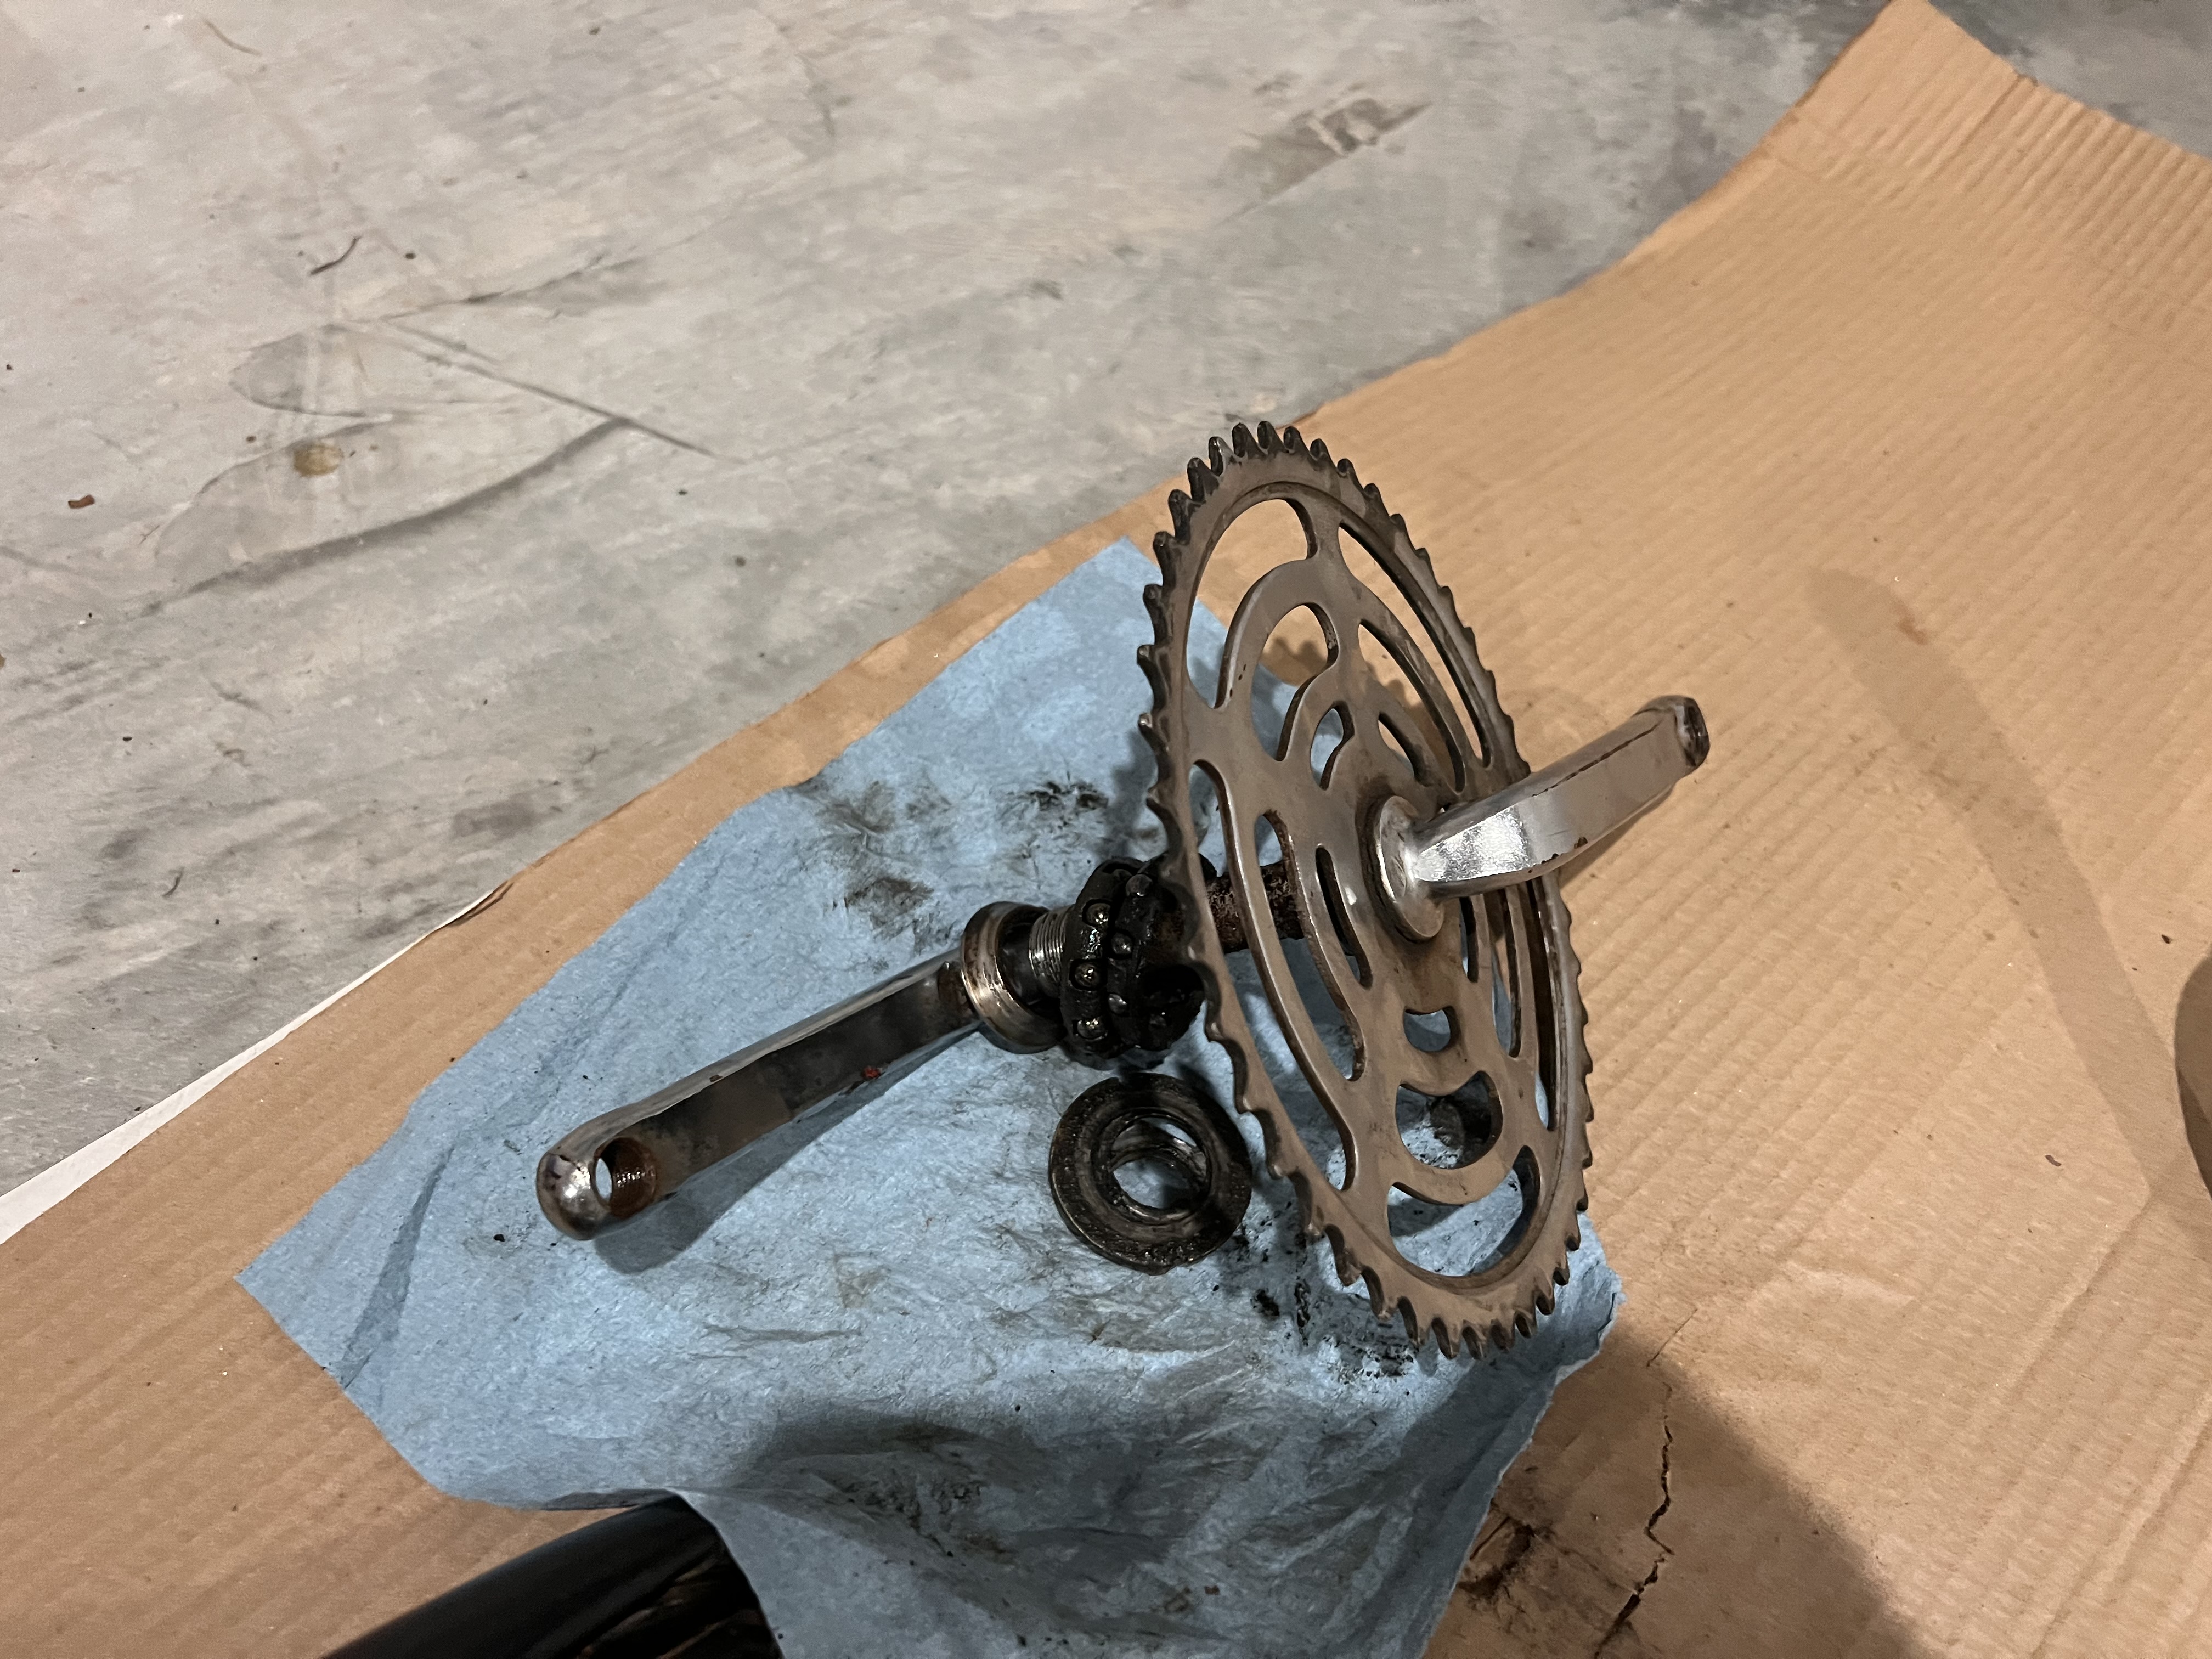
I tried to rust the forks also, but I think they’re chromoly or something else not mild steel so it didn’t work. Instead I kind of polished the top part and have a gradient to raw metal towards the bottom. I also ended up polishing the ridges at the very top so they’re shiny! I also polished up the crank and spent some time polishing all of the bolts, washers, nuts, etc that hold the steering and crank onto the frame.
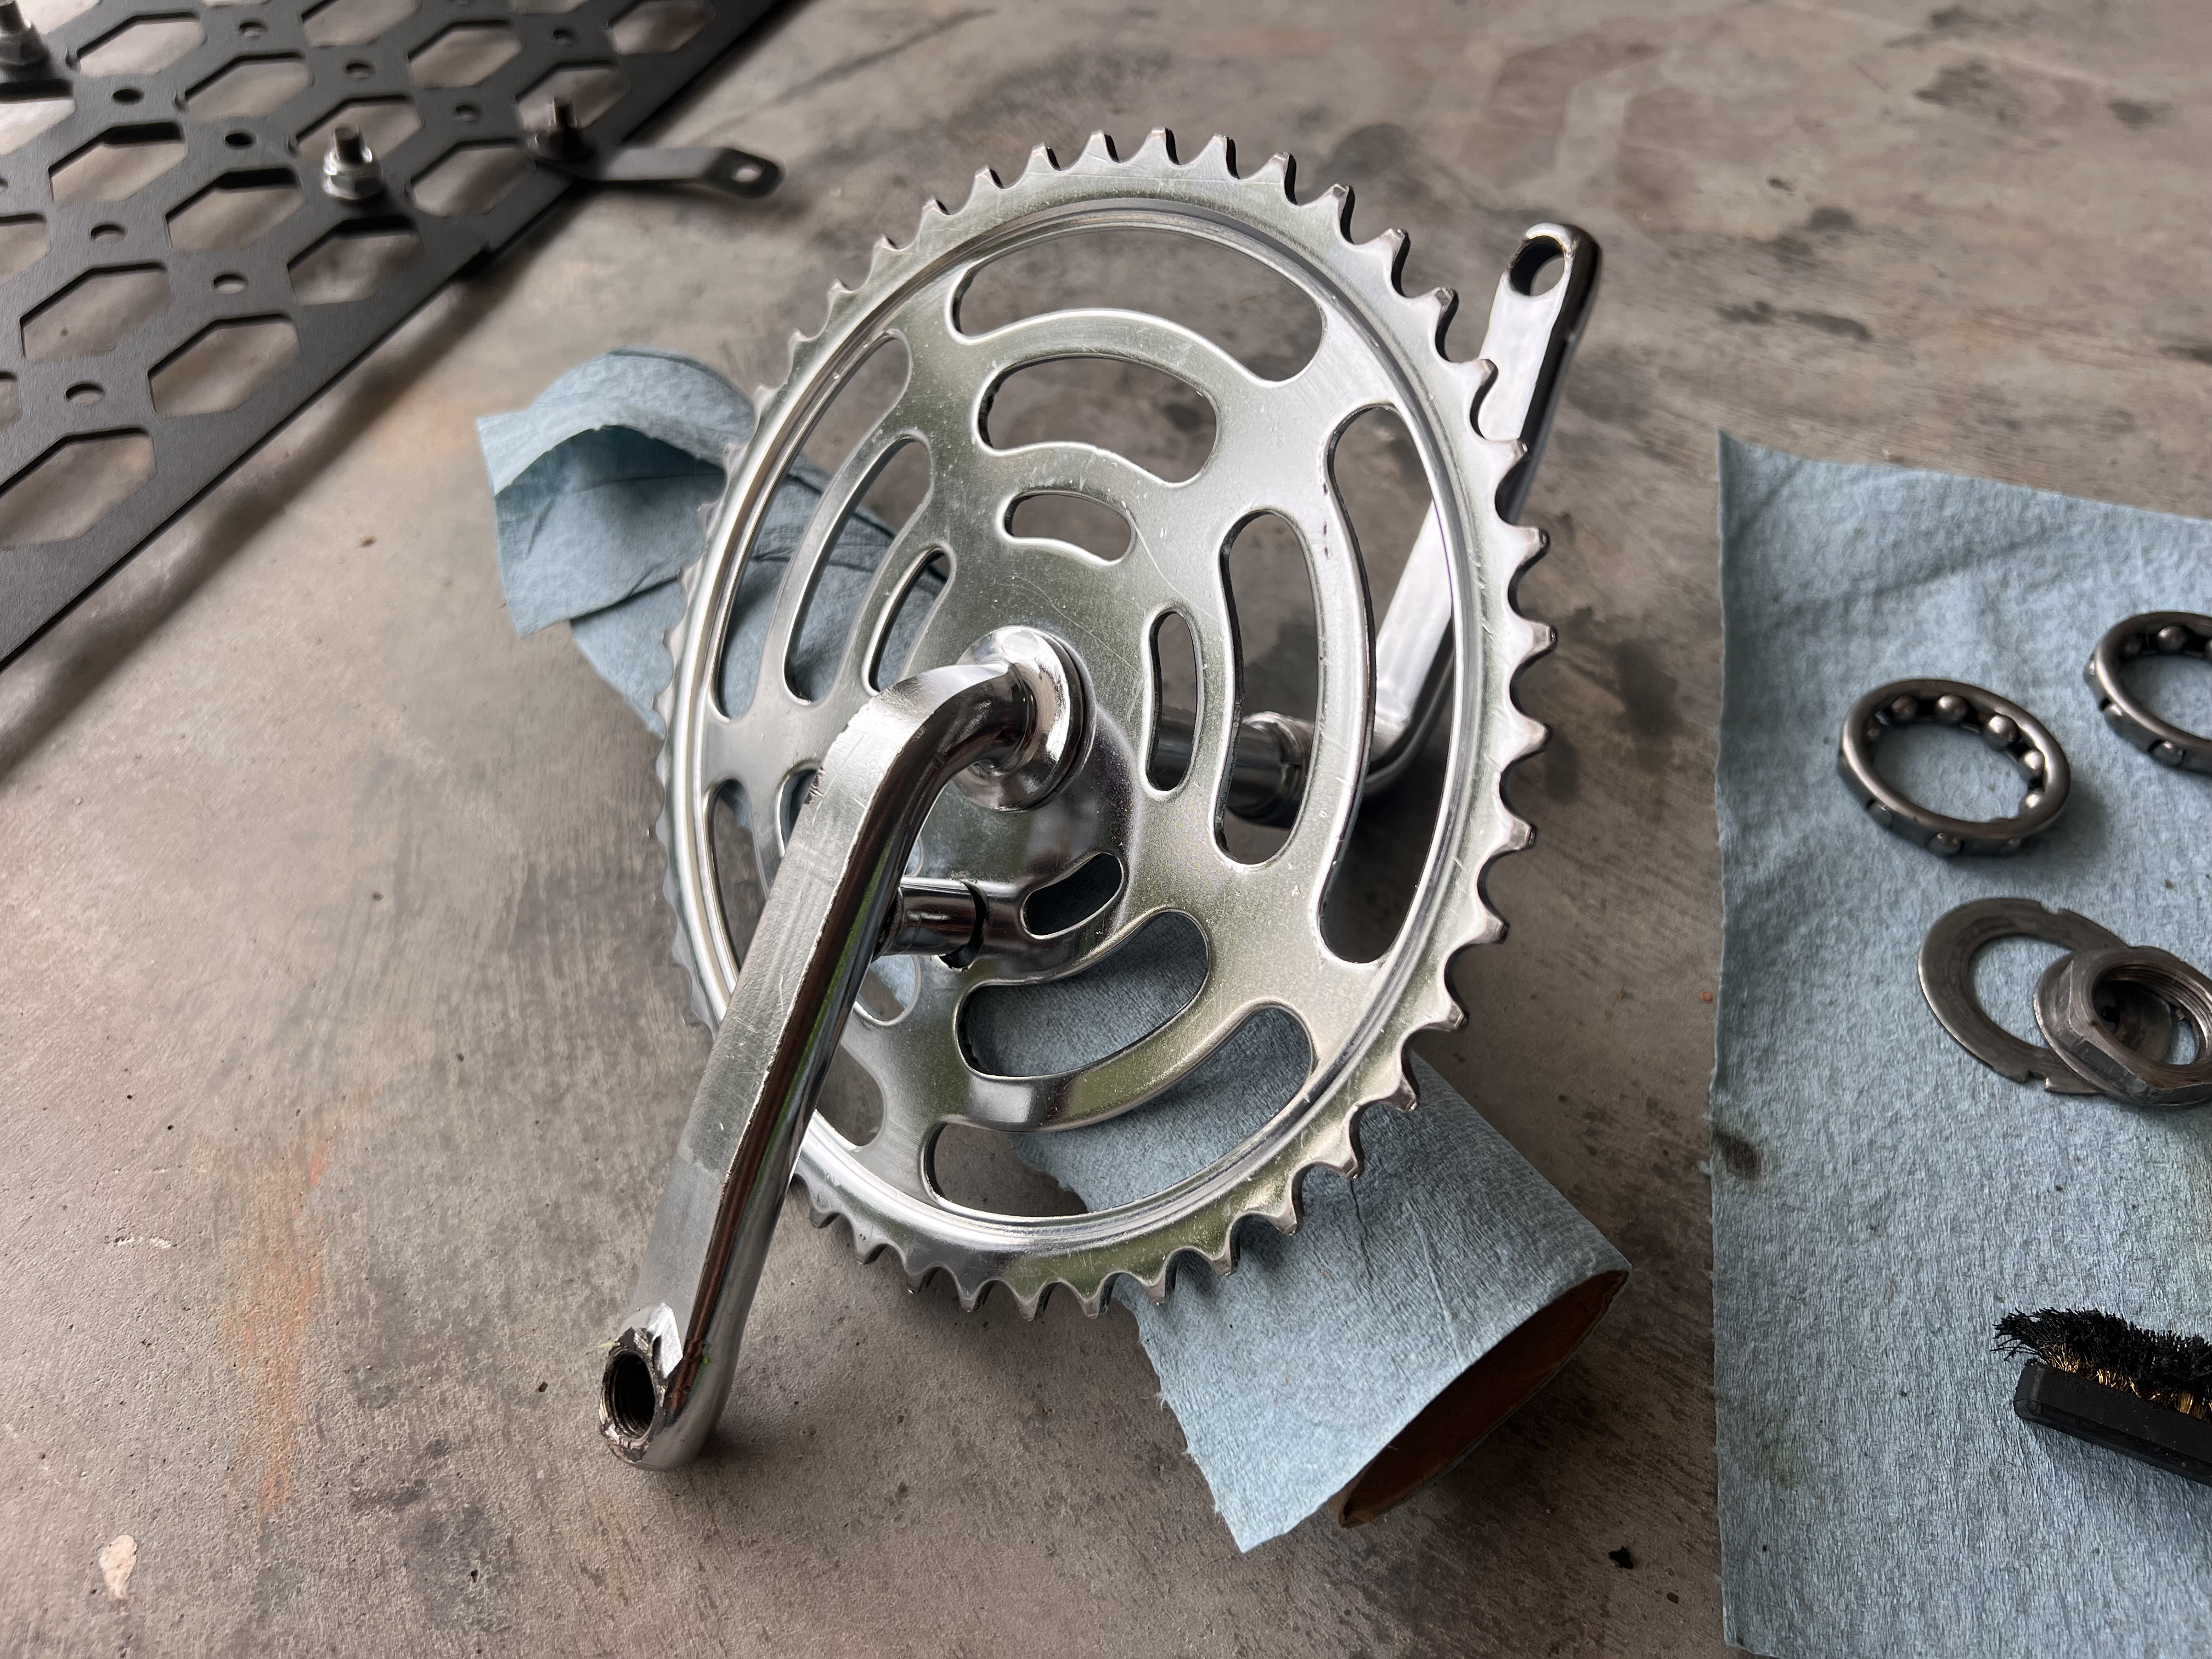
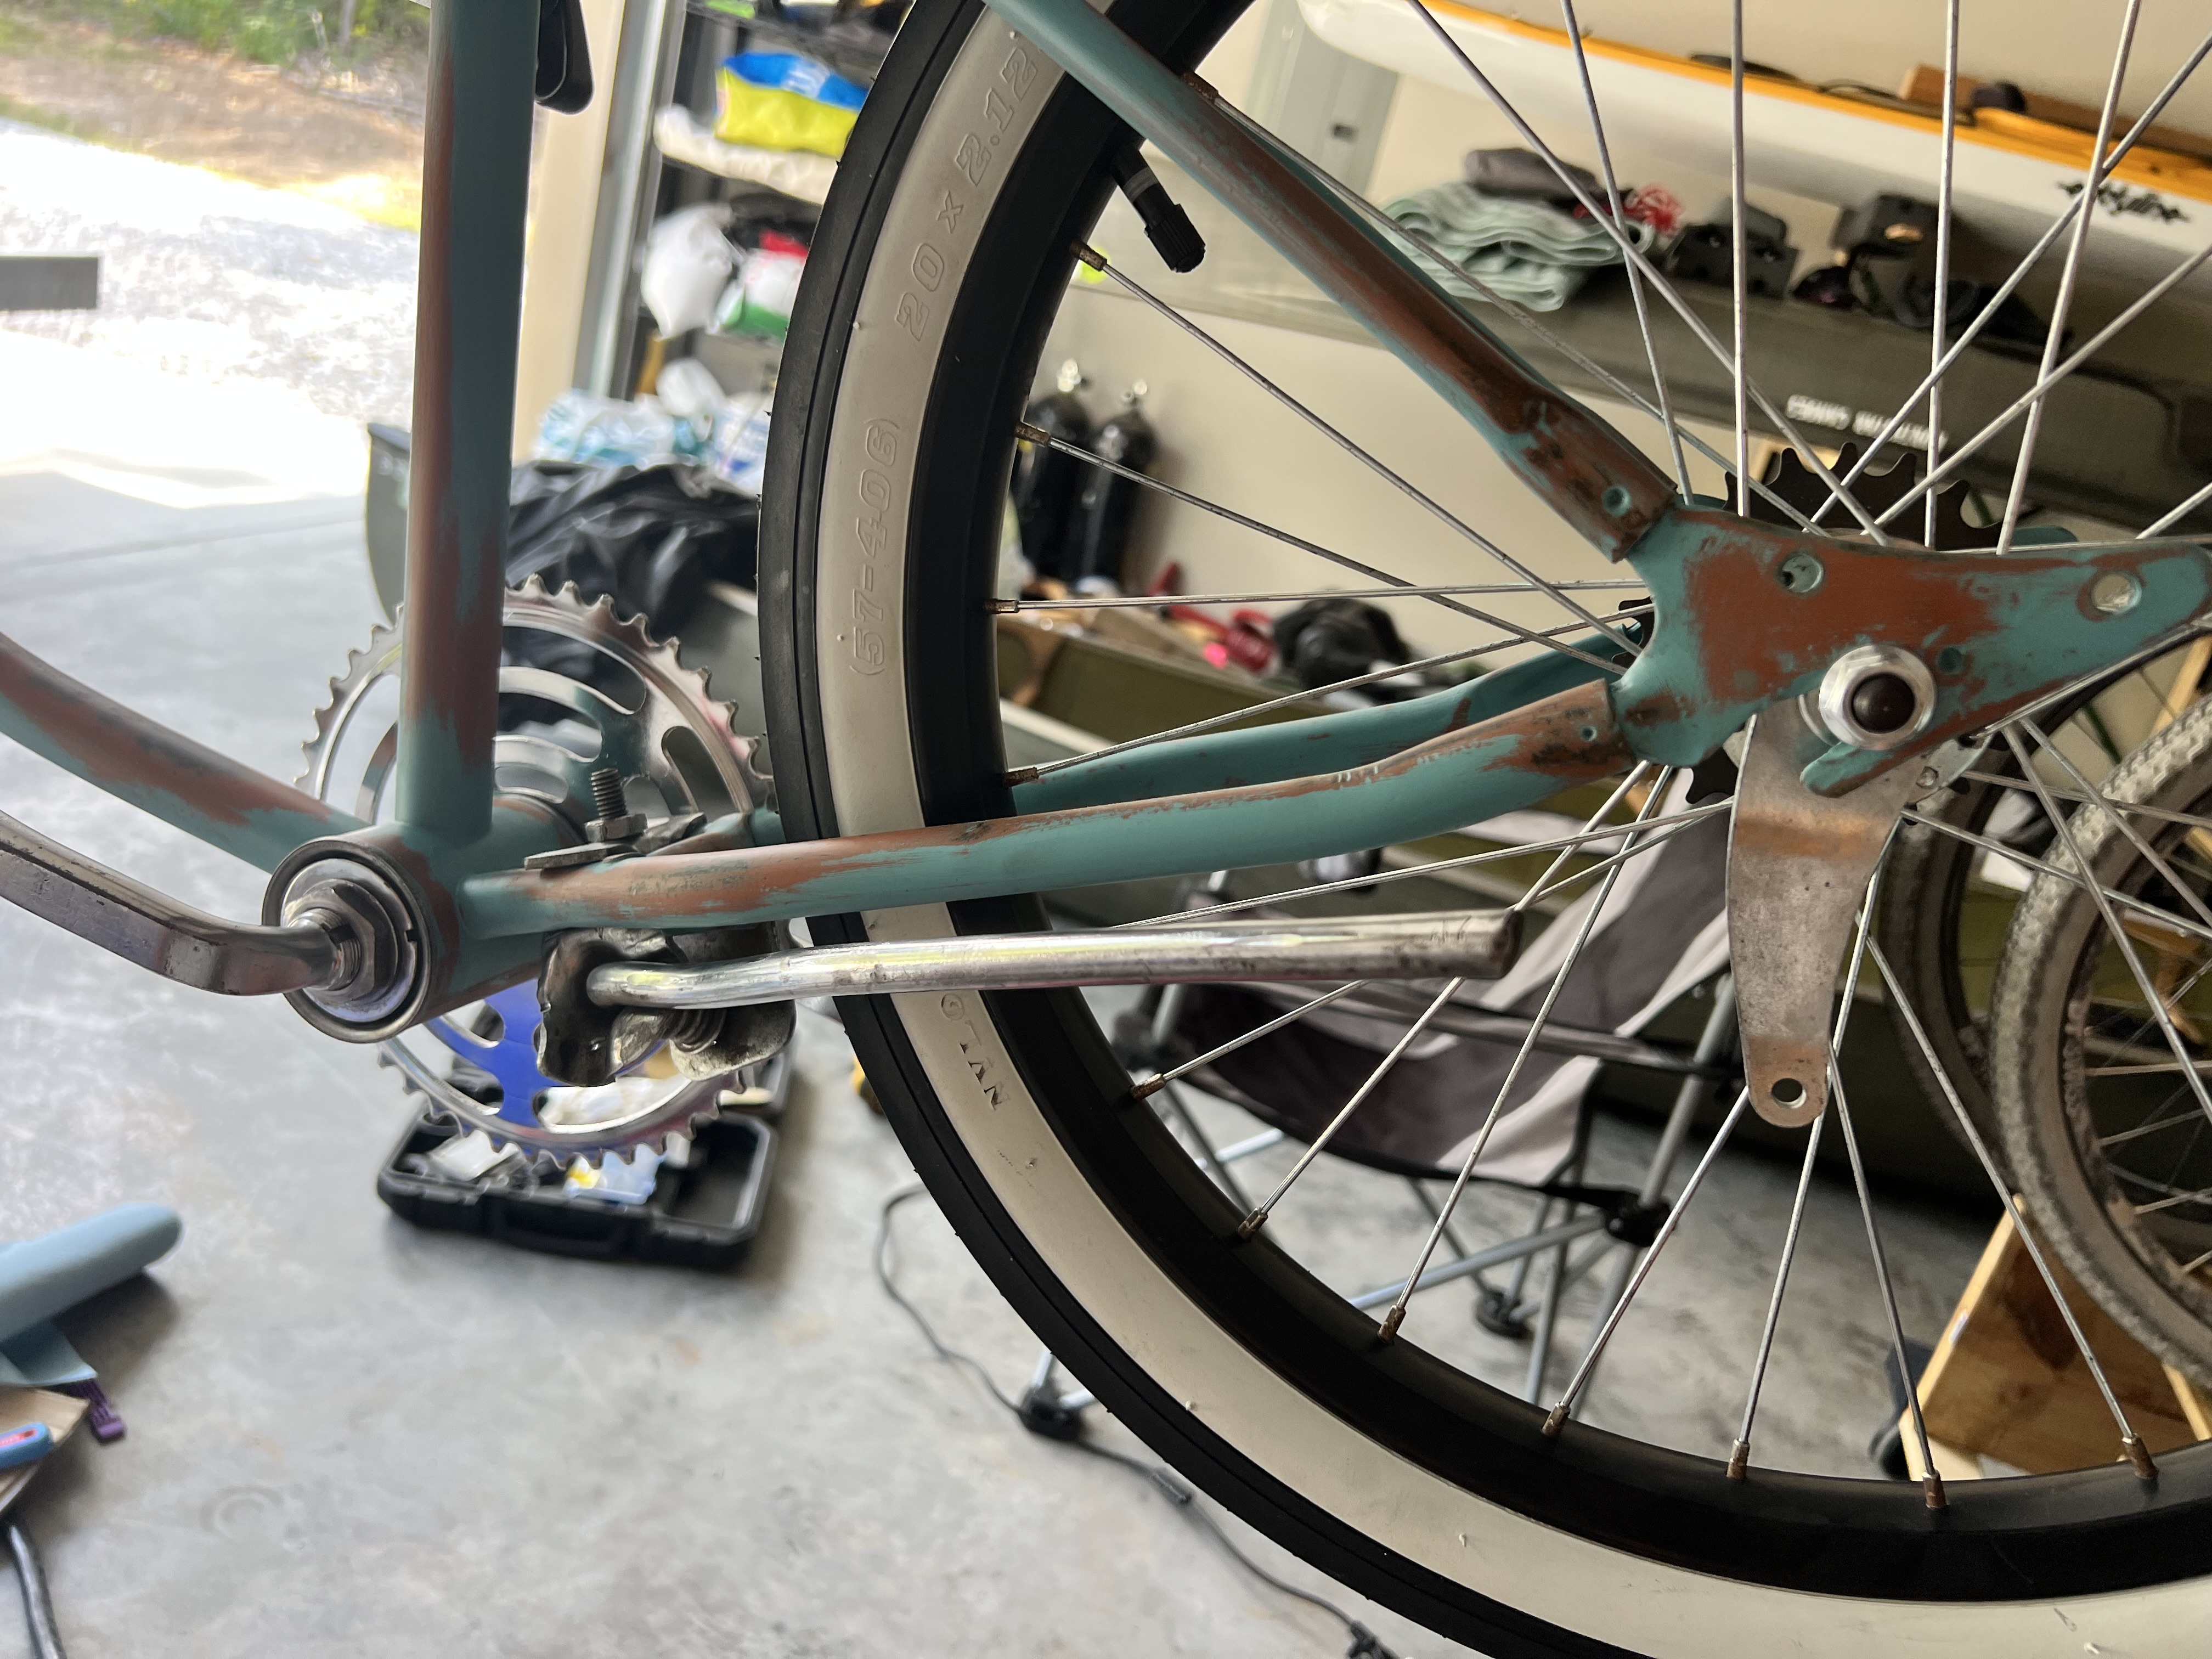
Now that everything is pretty and painted I greased all of the bearings (that were caked in shit and had to soak in the tub of chemicals for a few hours) and put the crank and forks back on the frame!
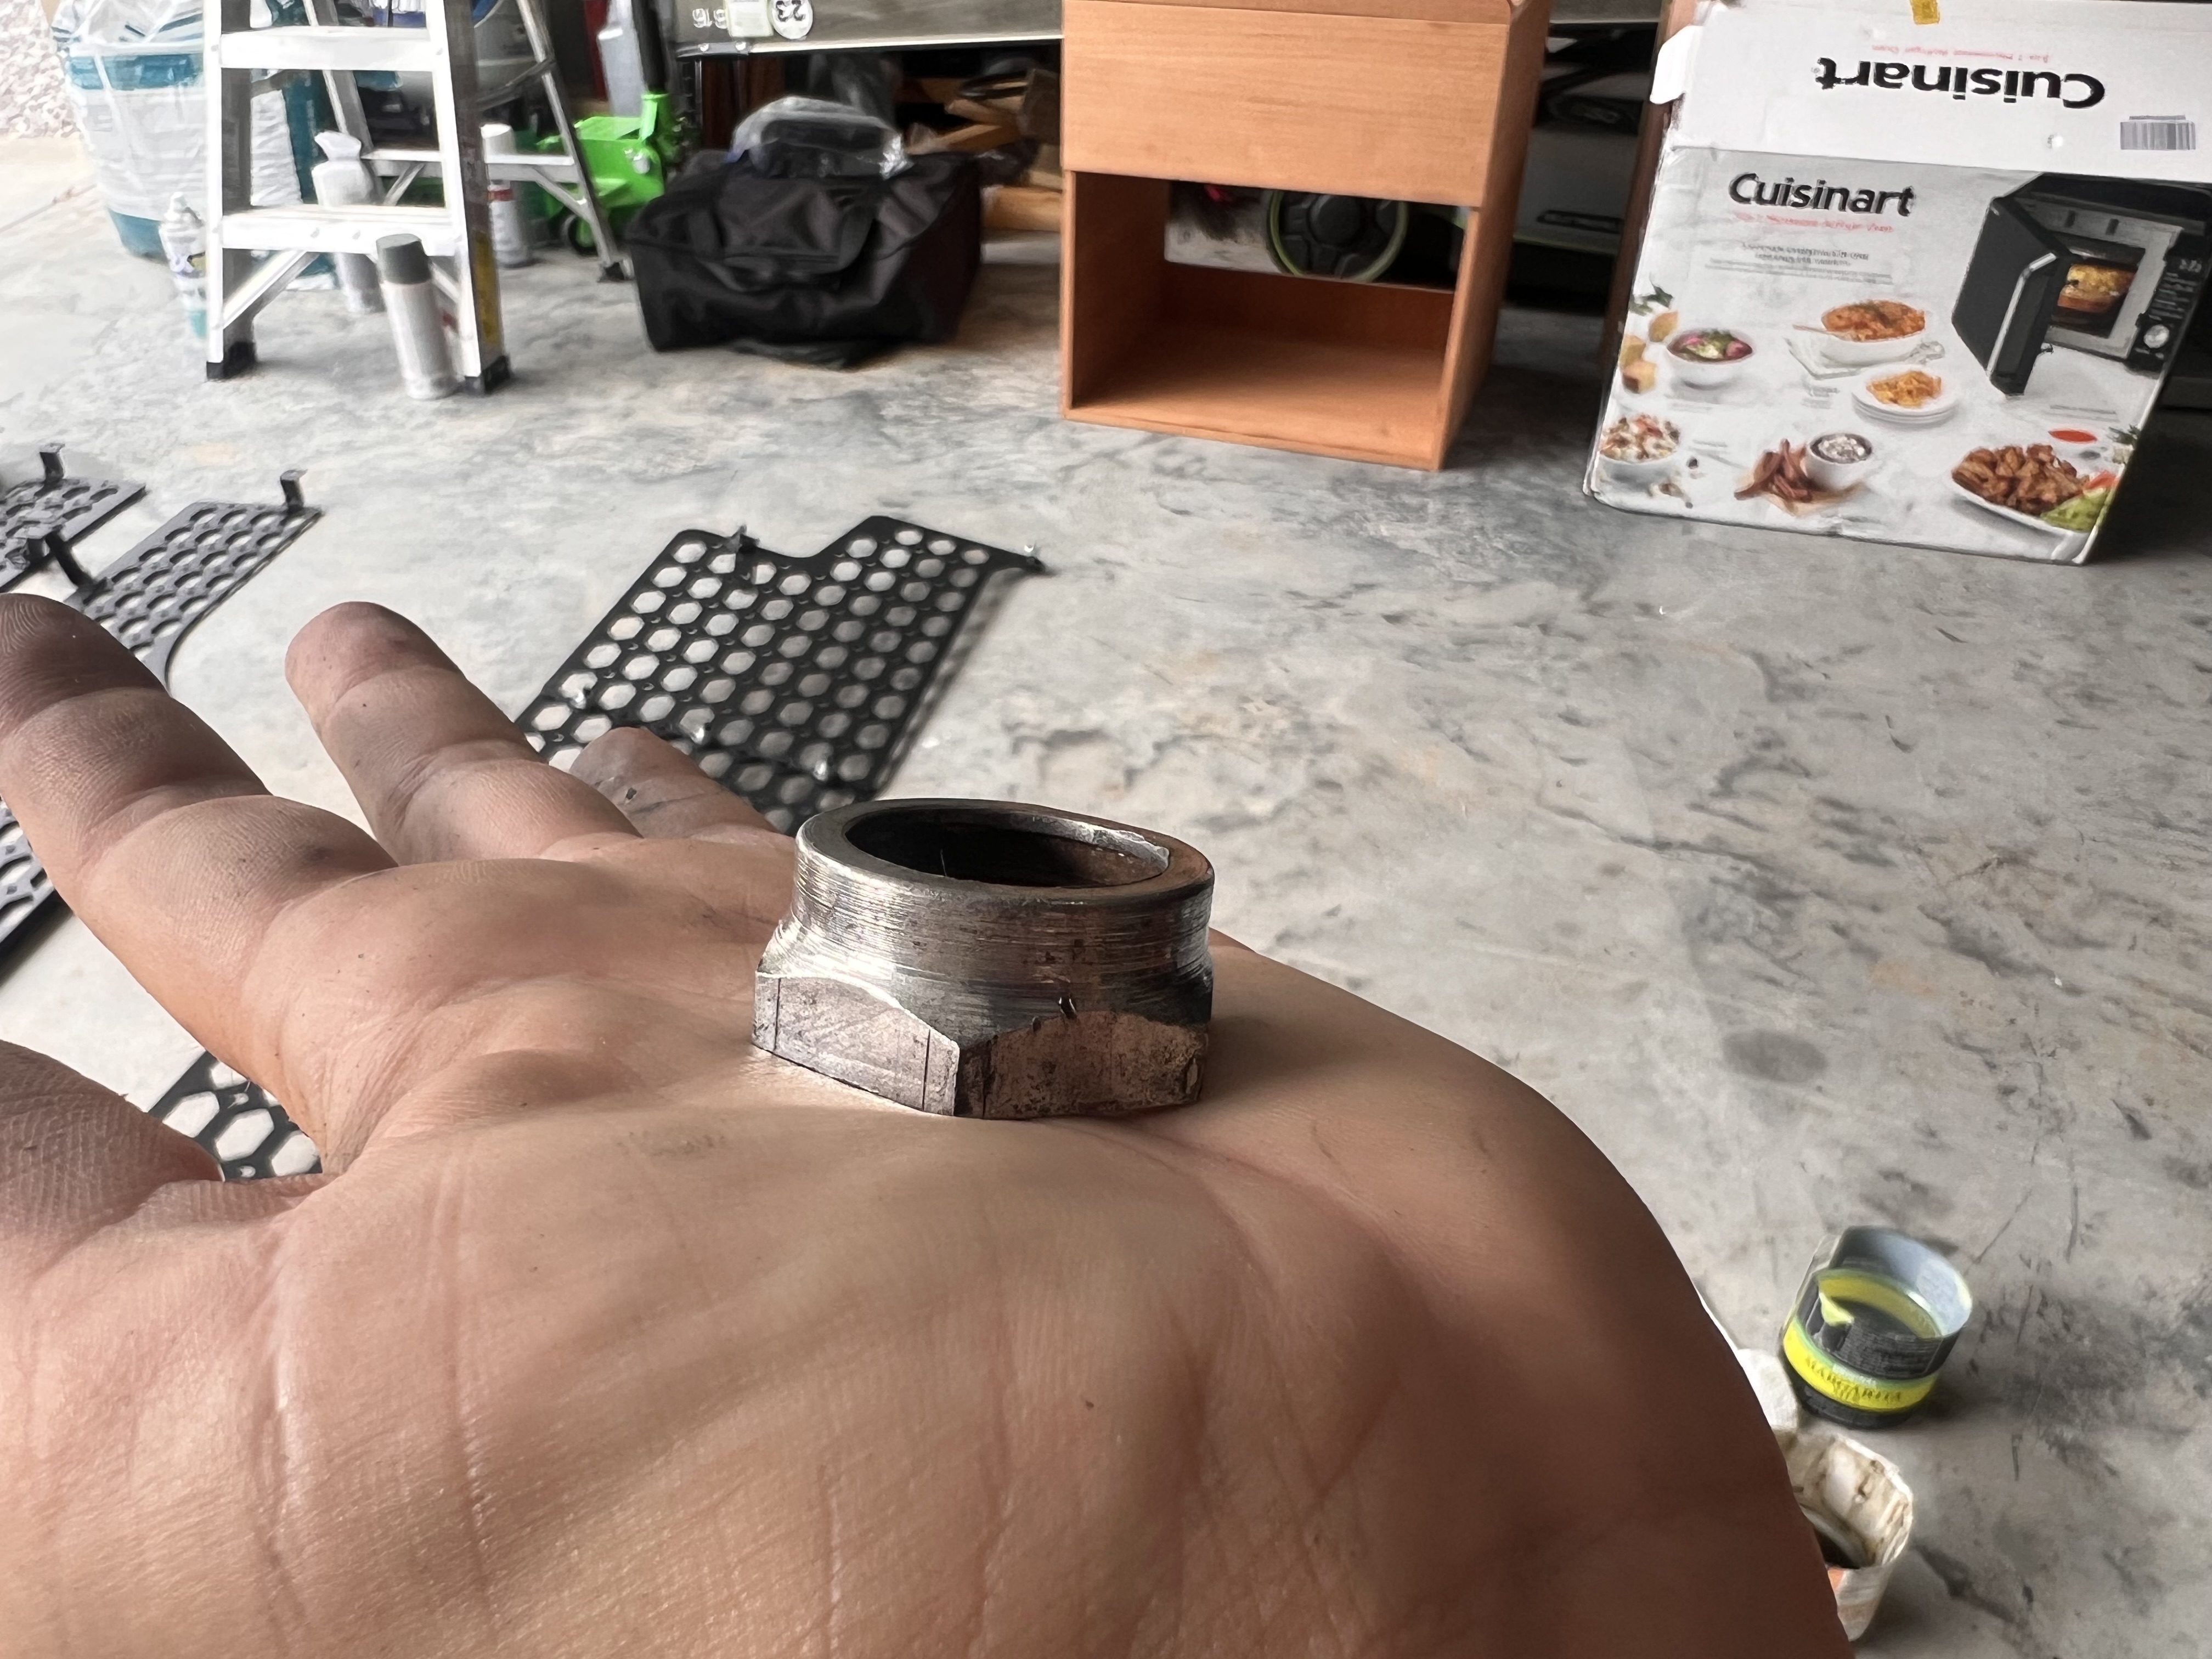
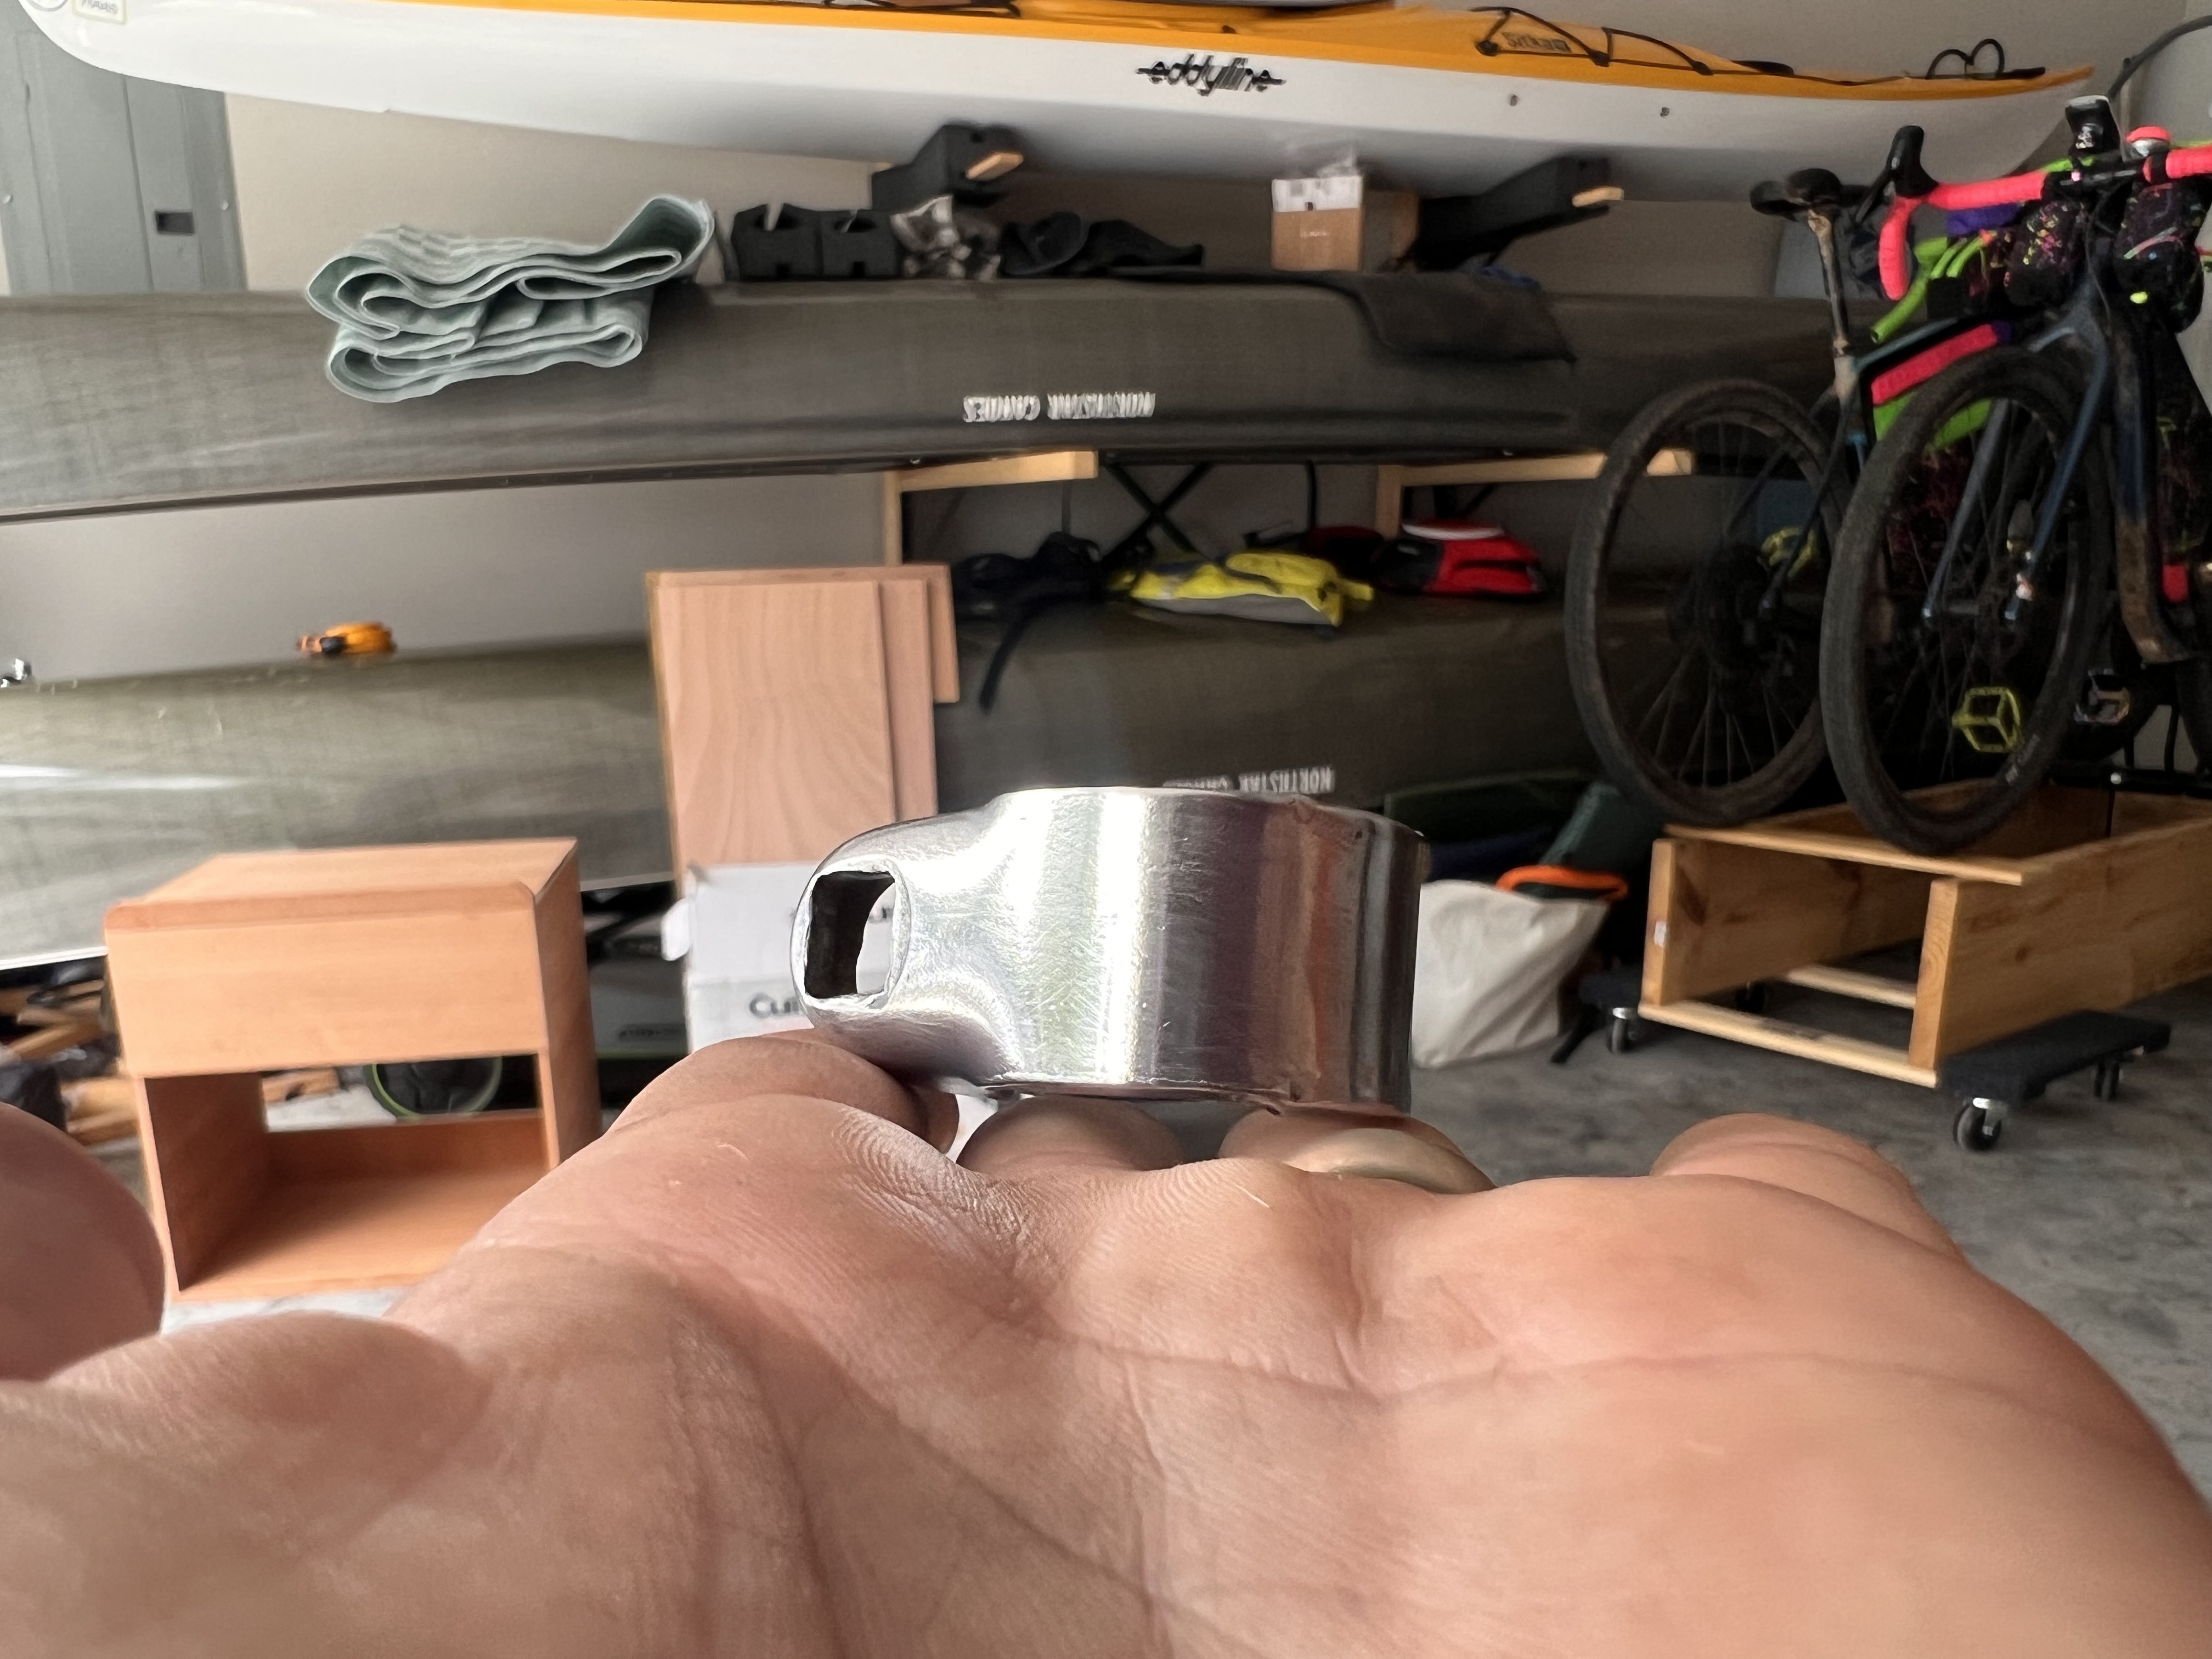
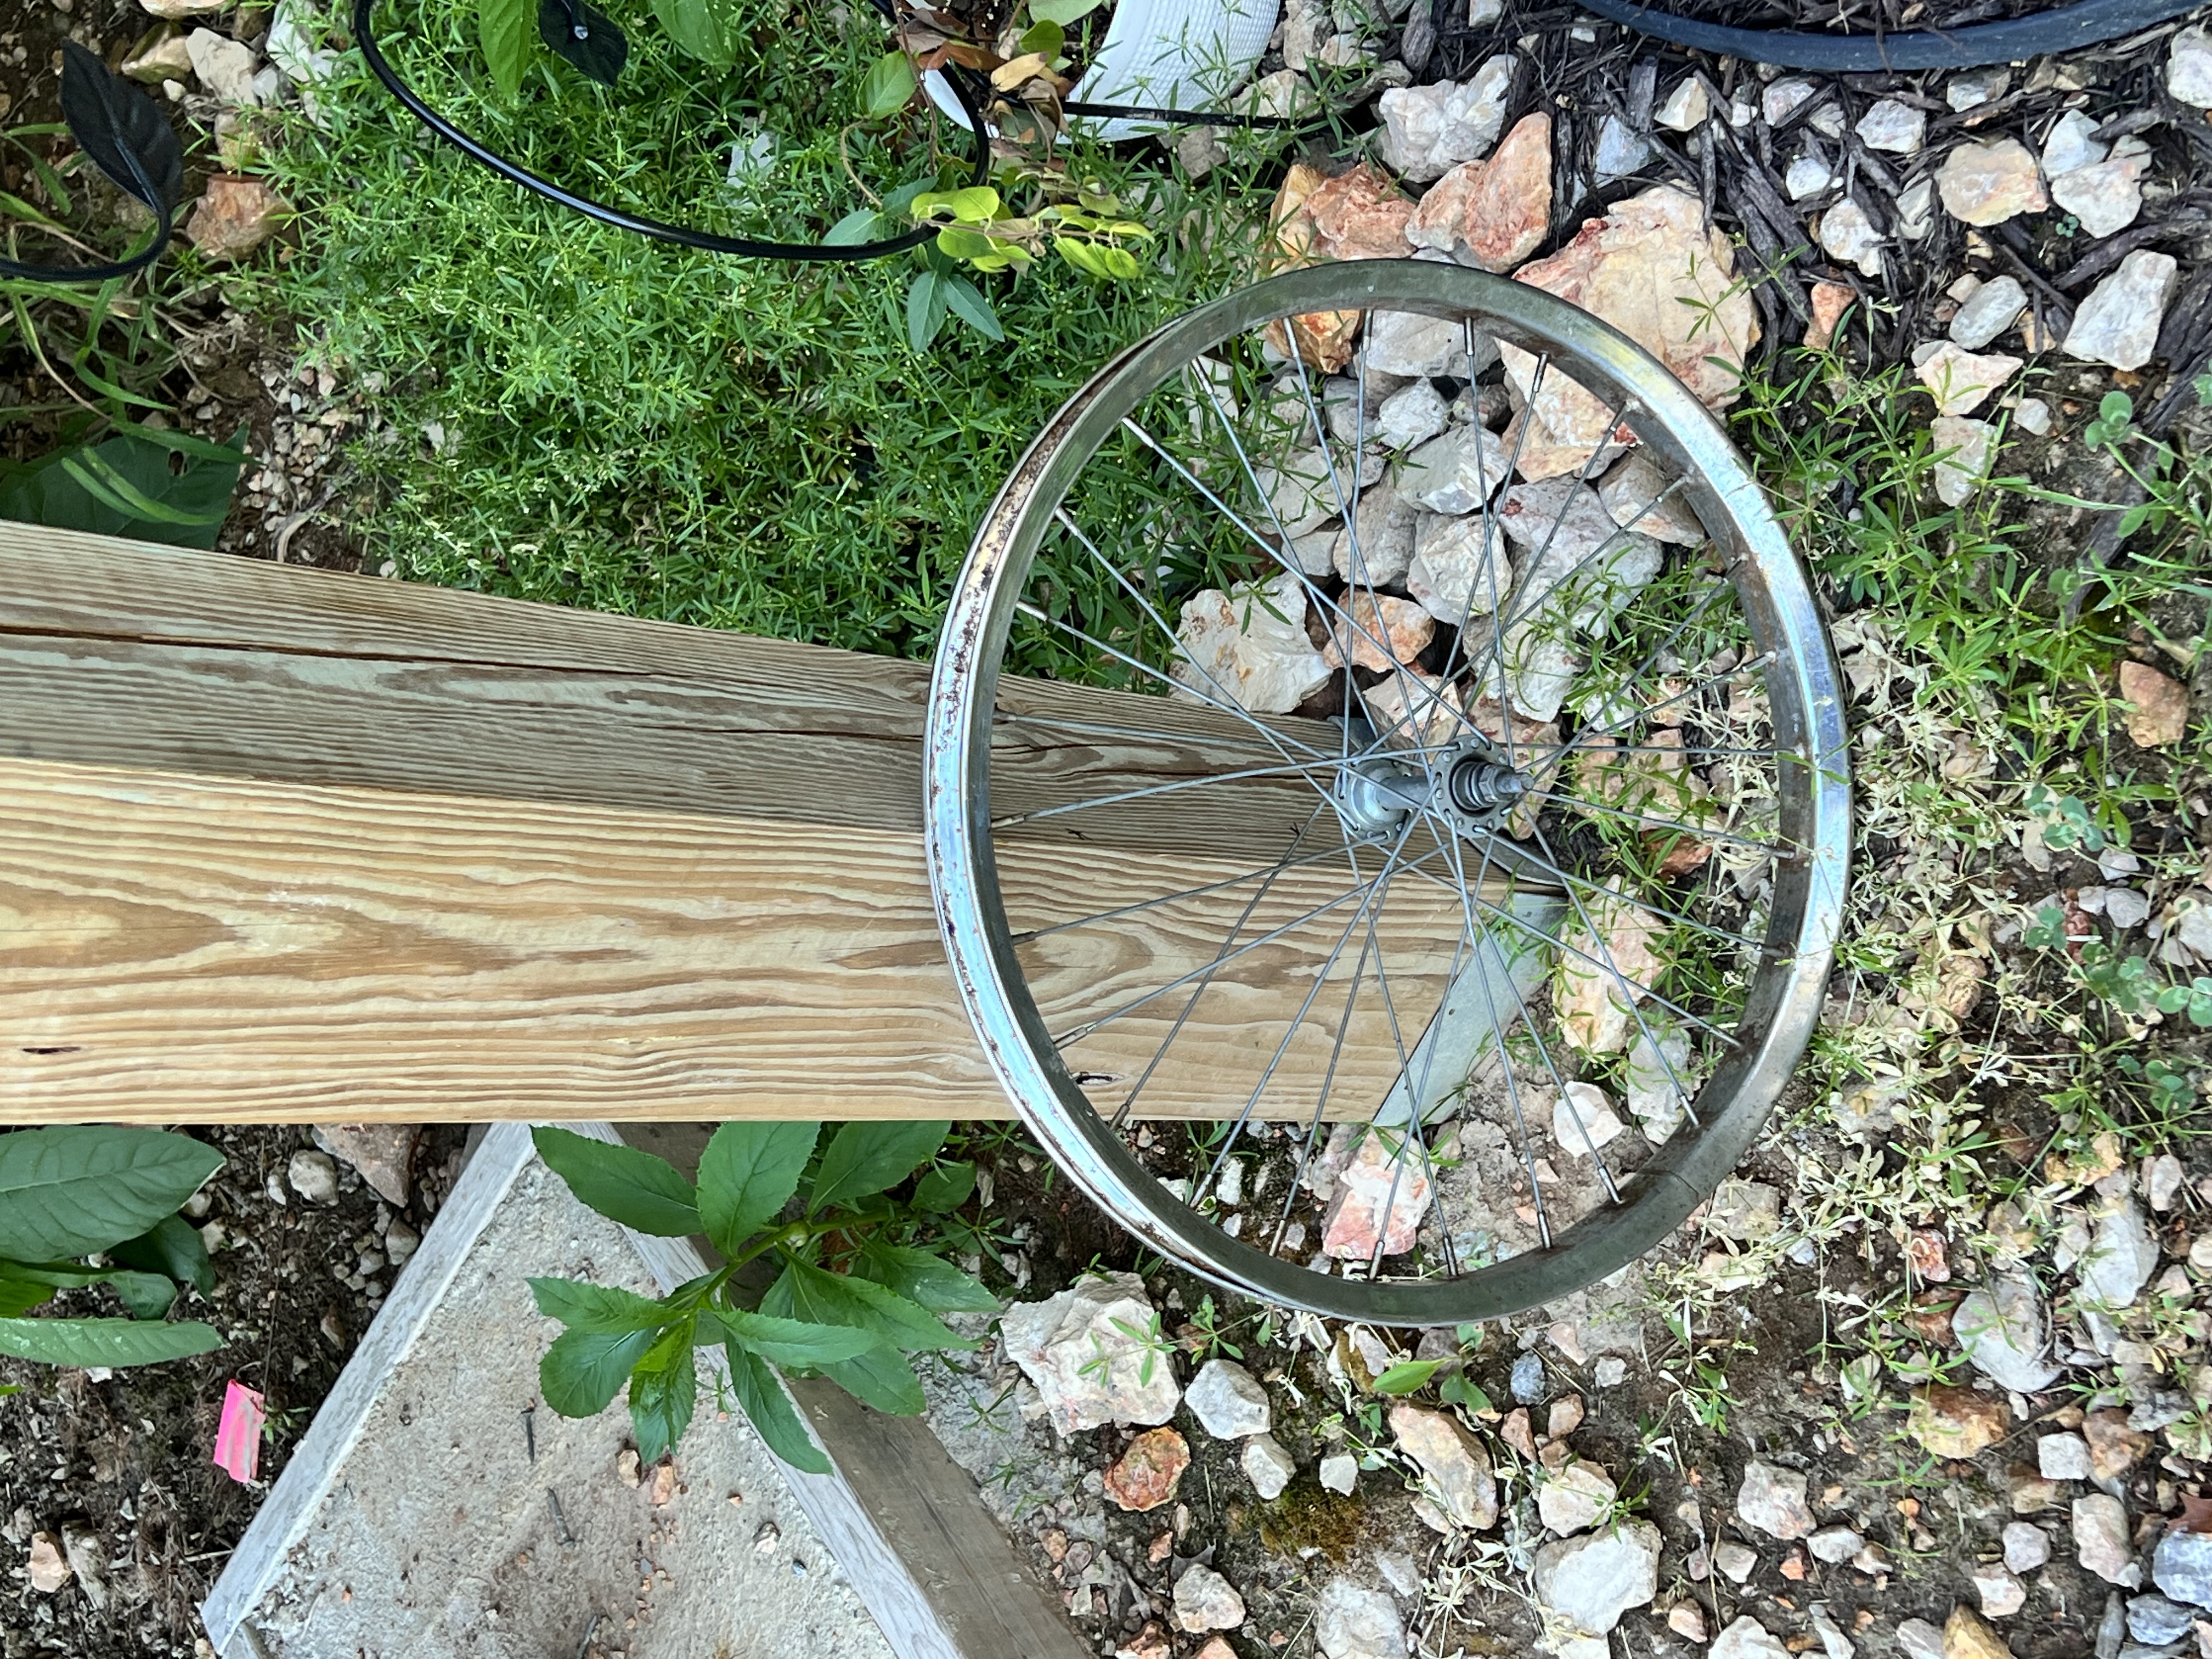
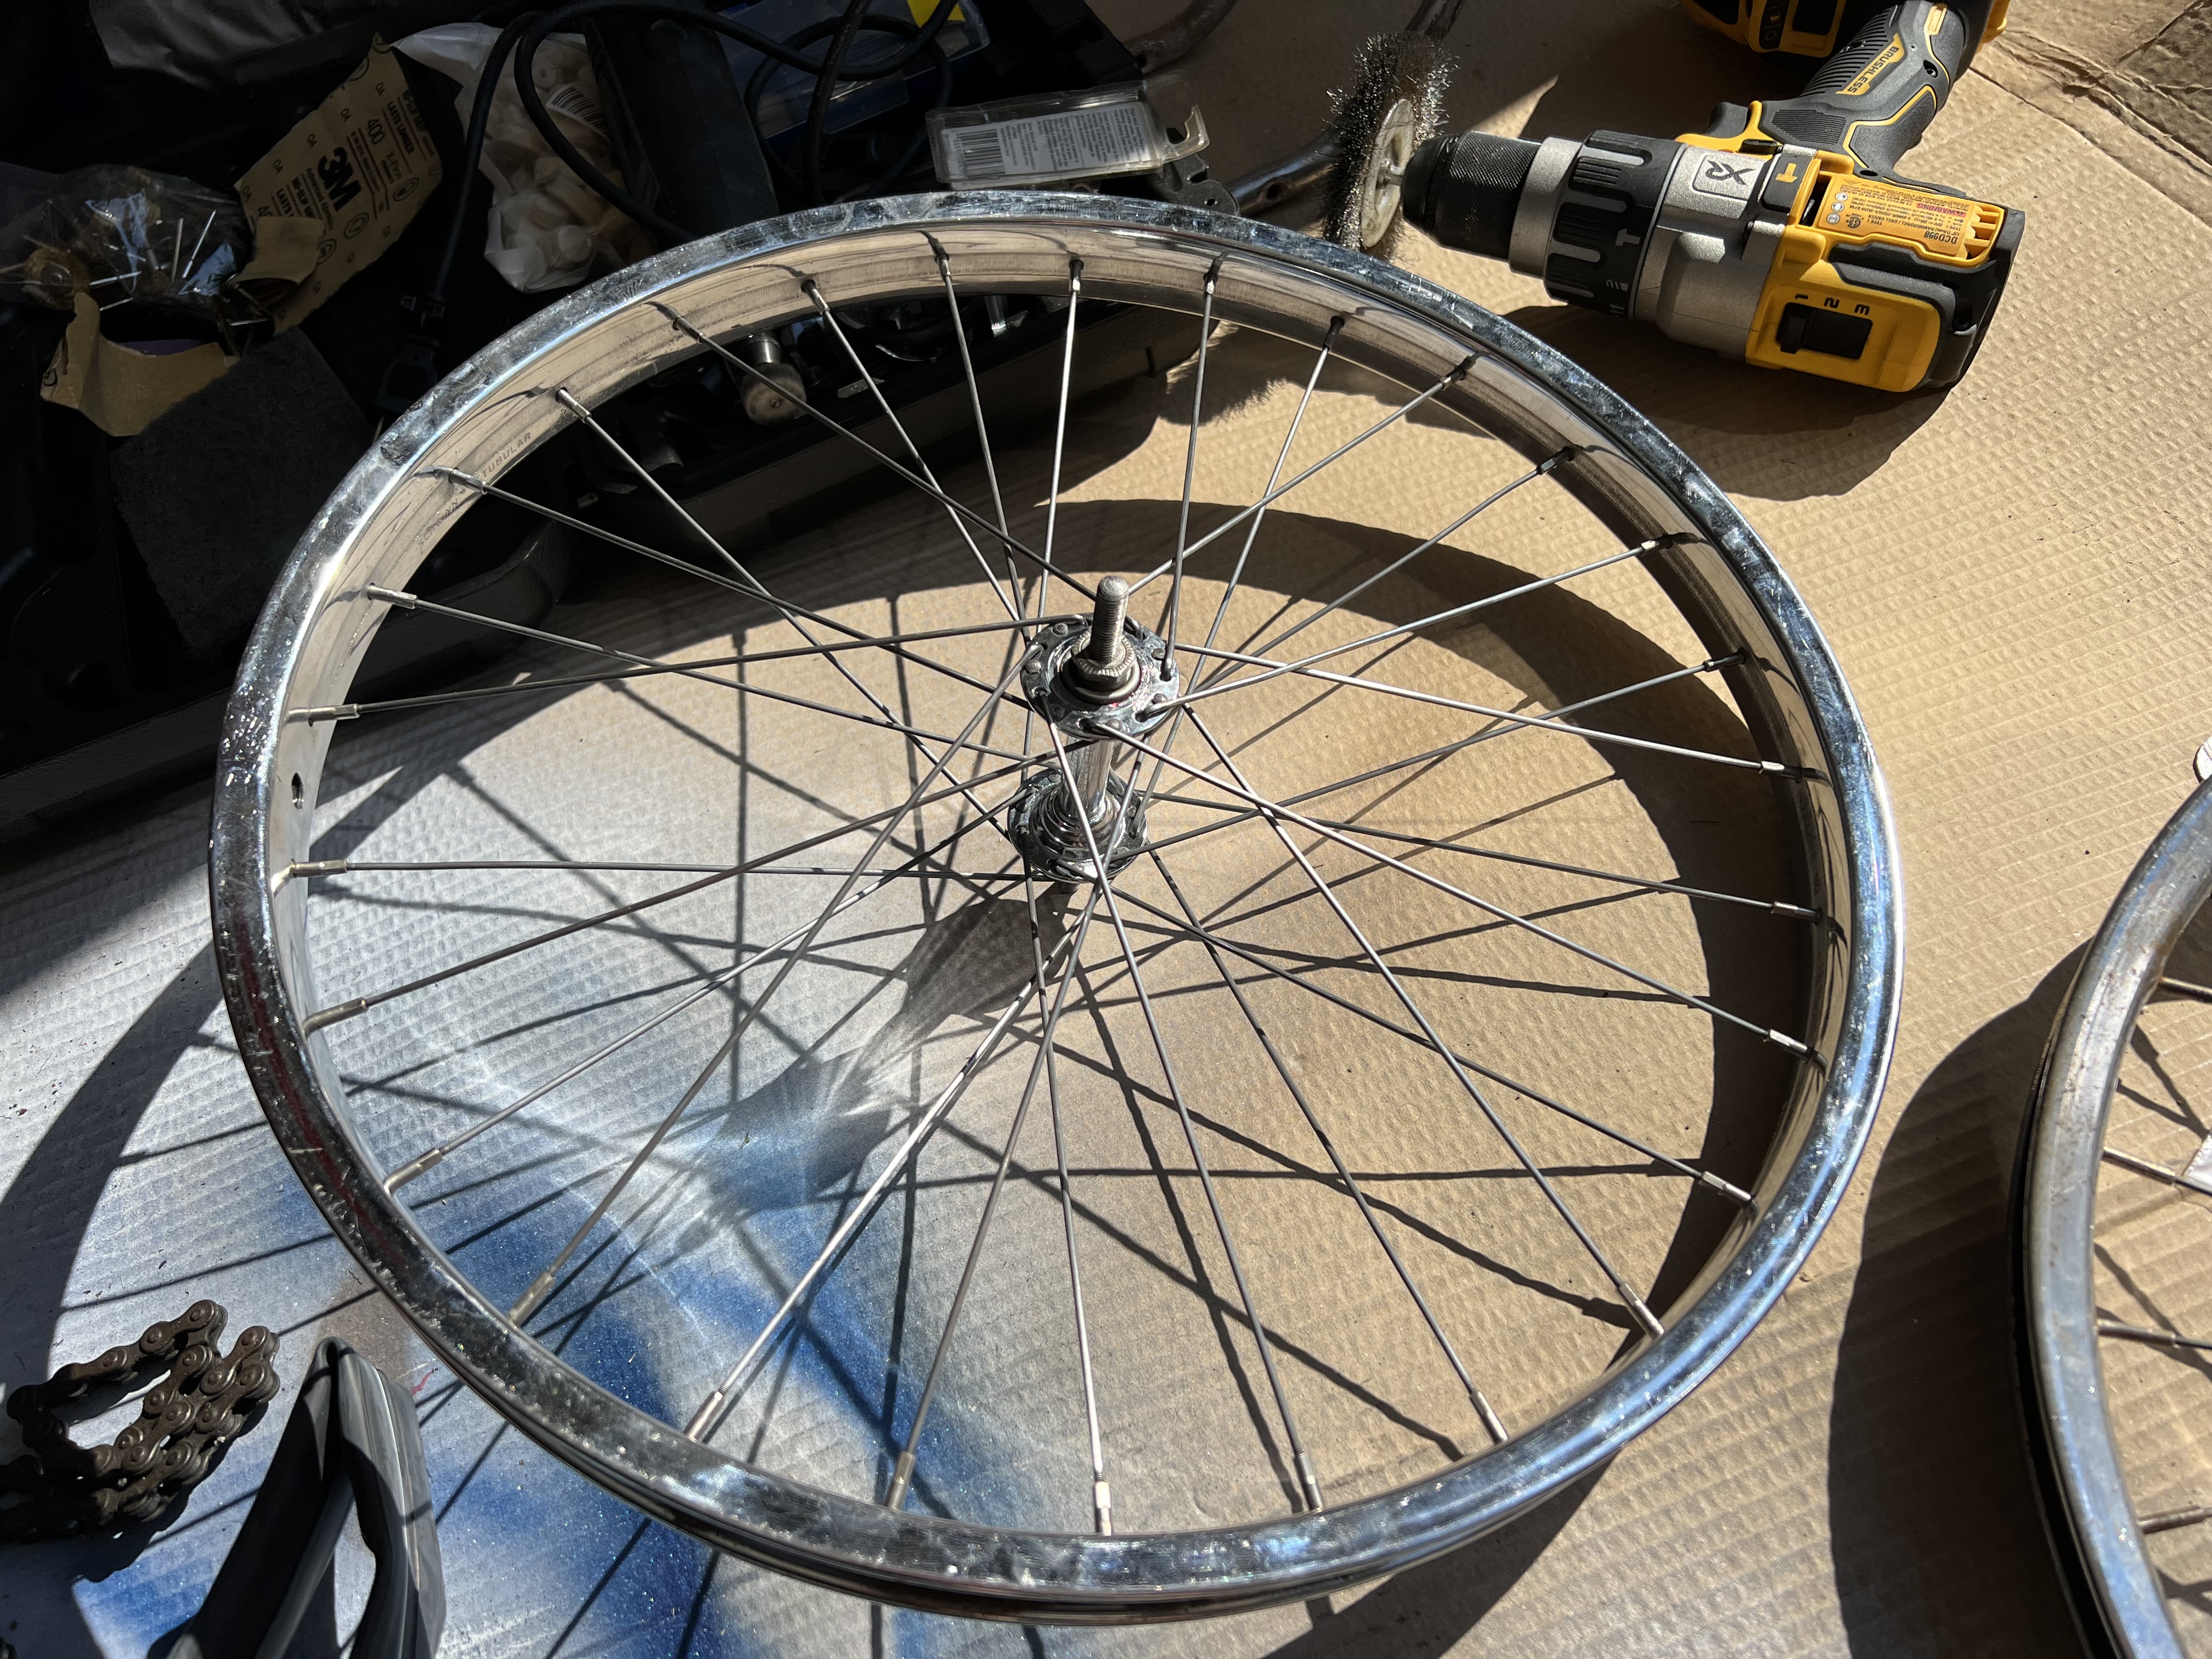
Now that the frame is pretty well settled, I need to start working on putting the wheels back on it. The front wheel is easier so I’ll start there!
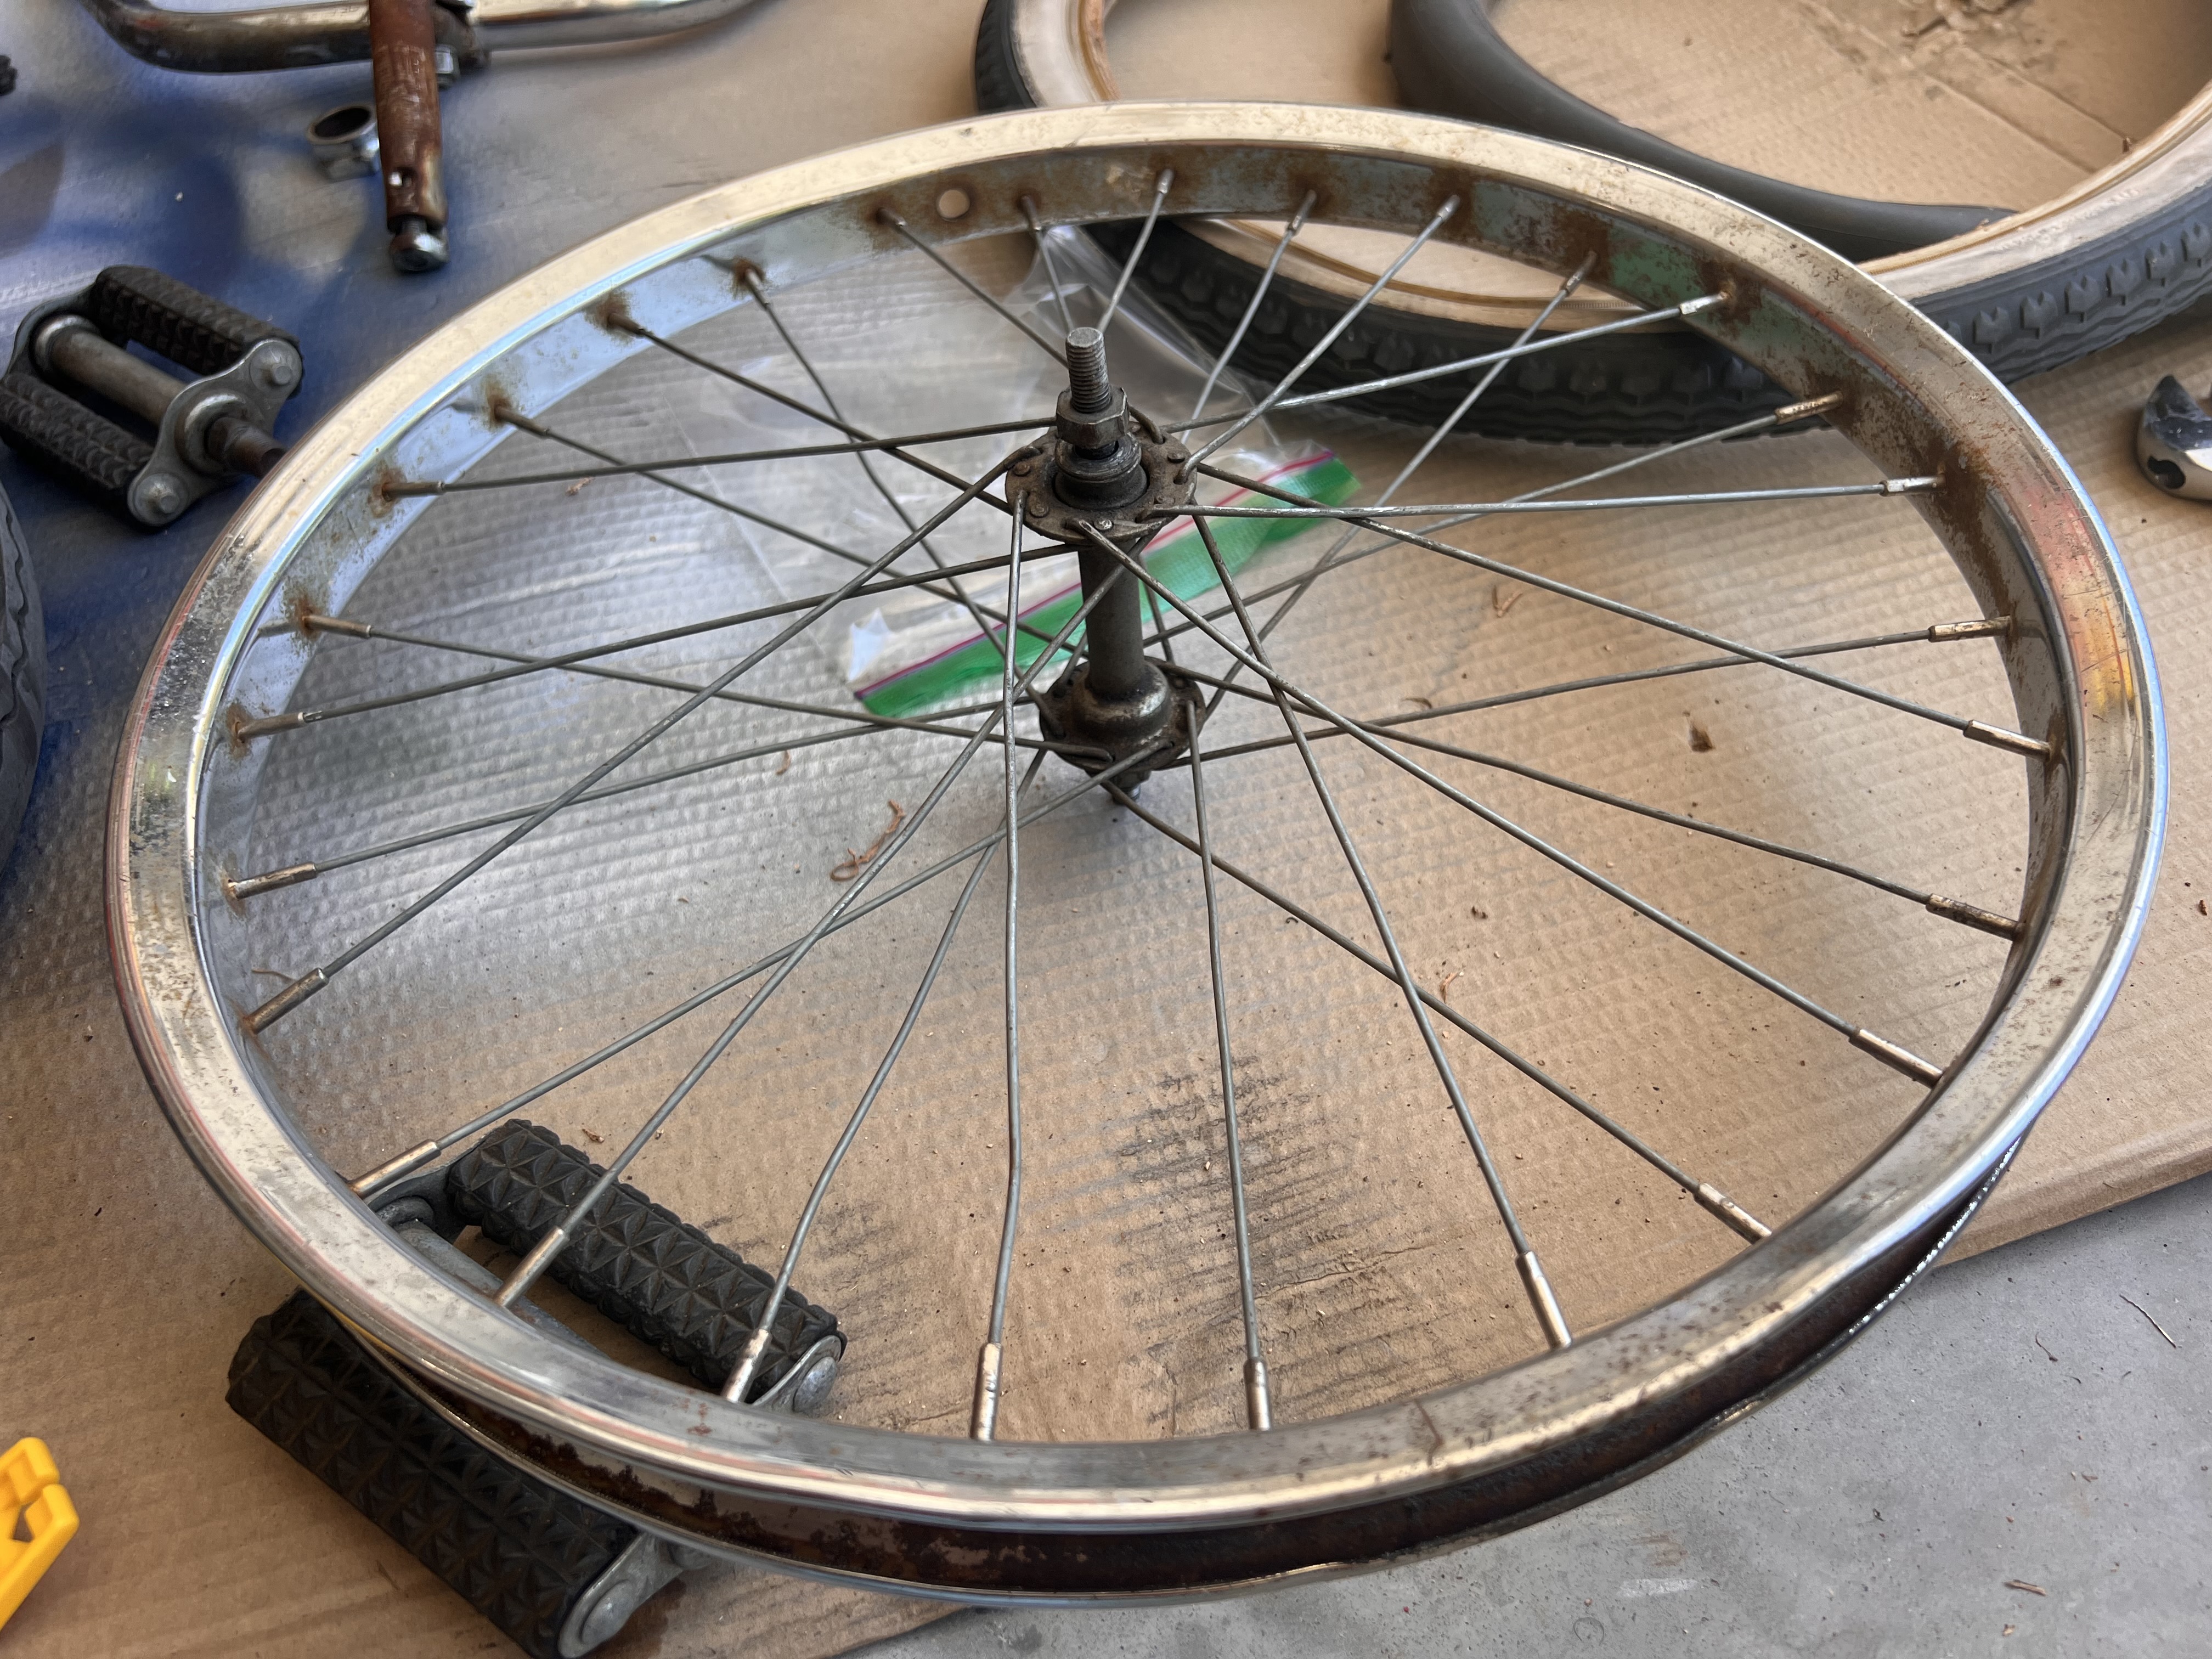
It should polish up nicely but first it needs to think about what it’s done in the degreaser pit.
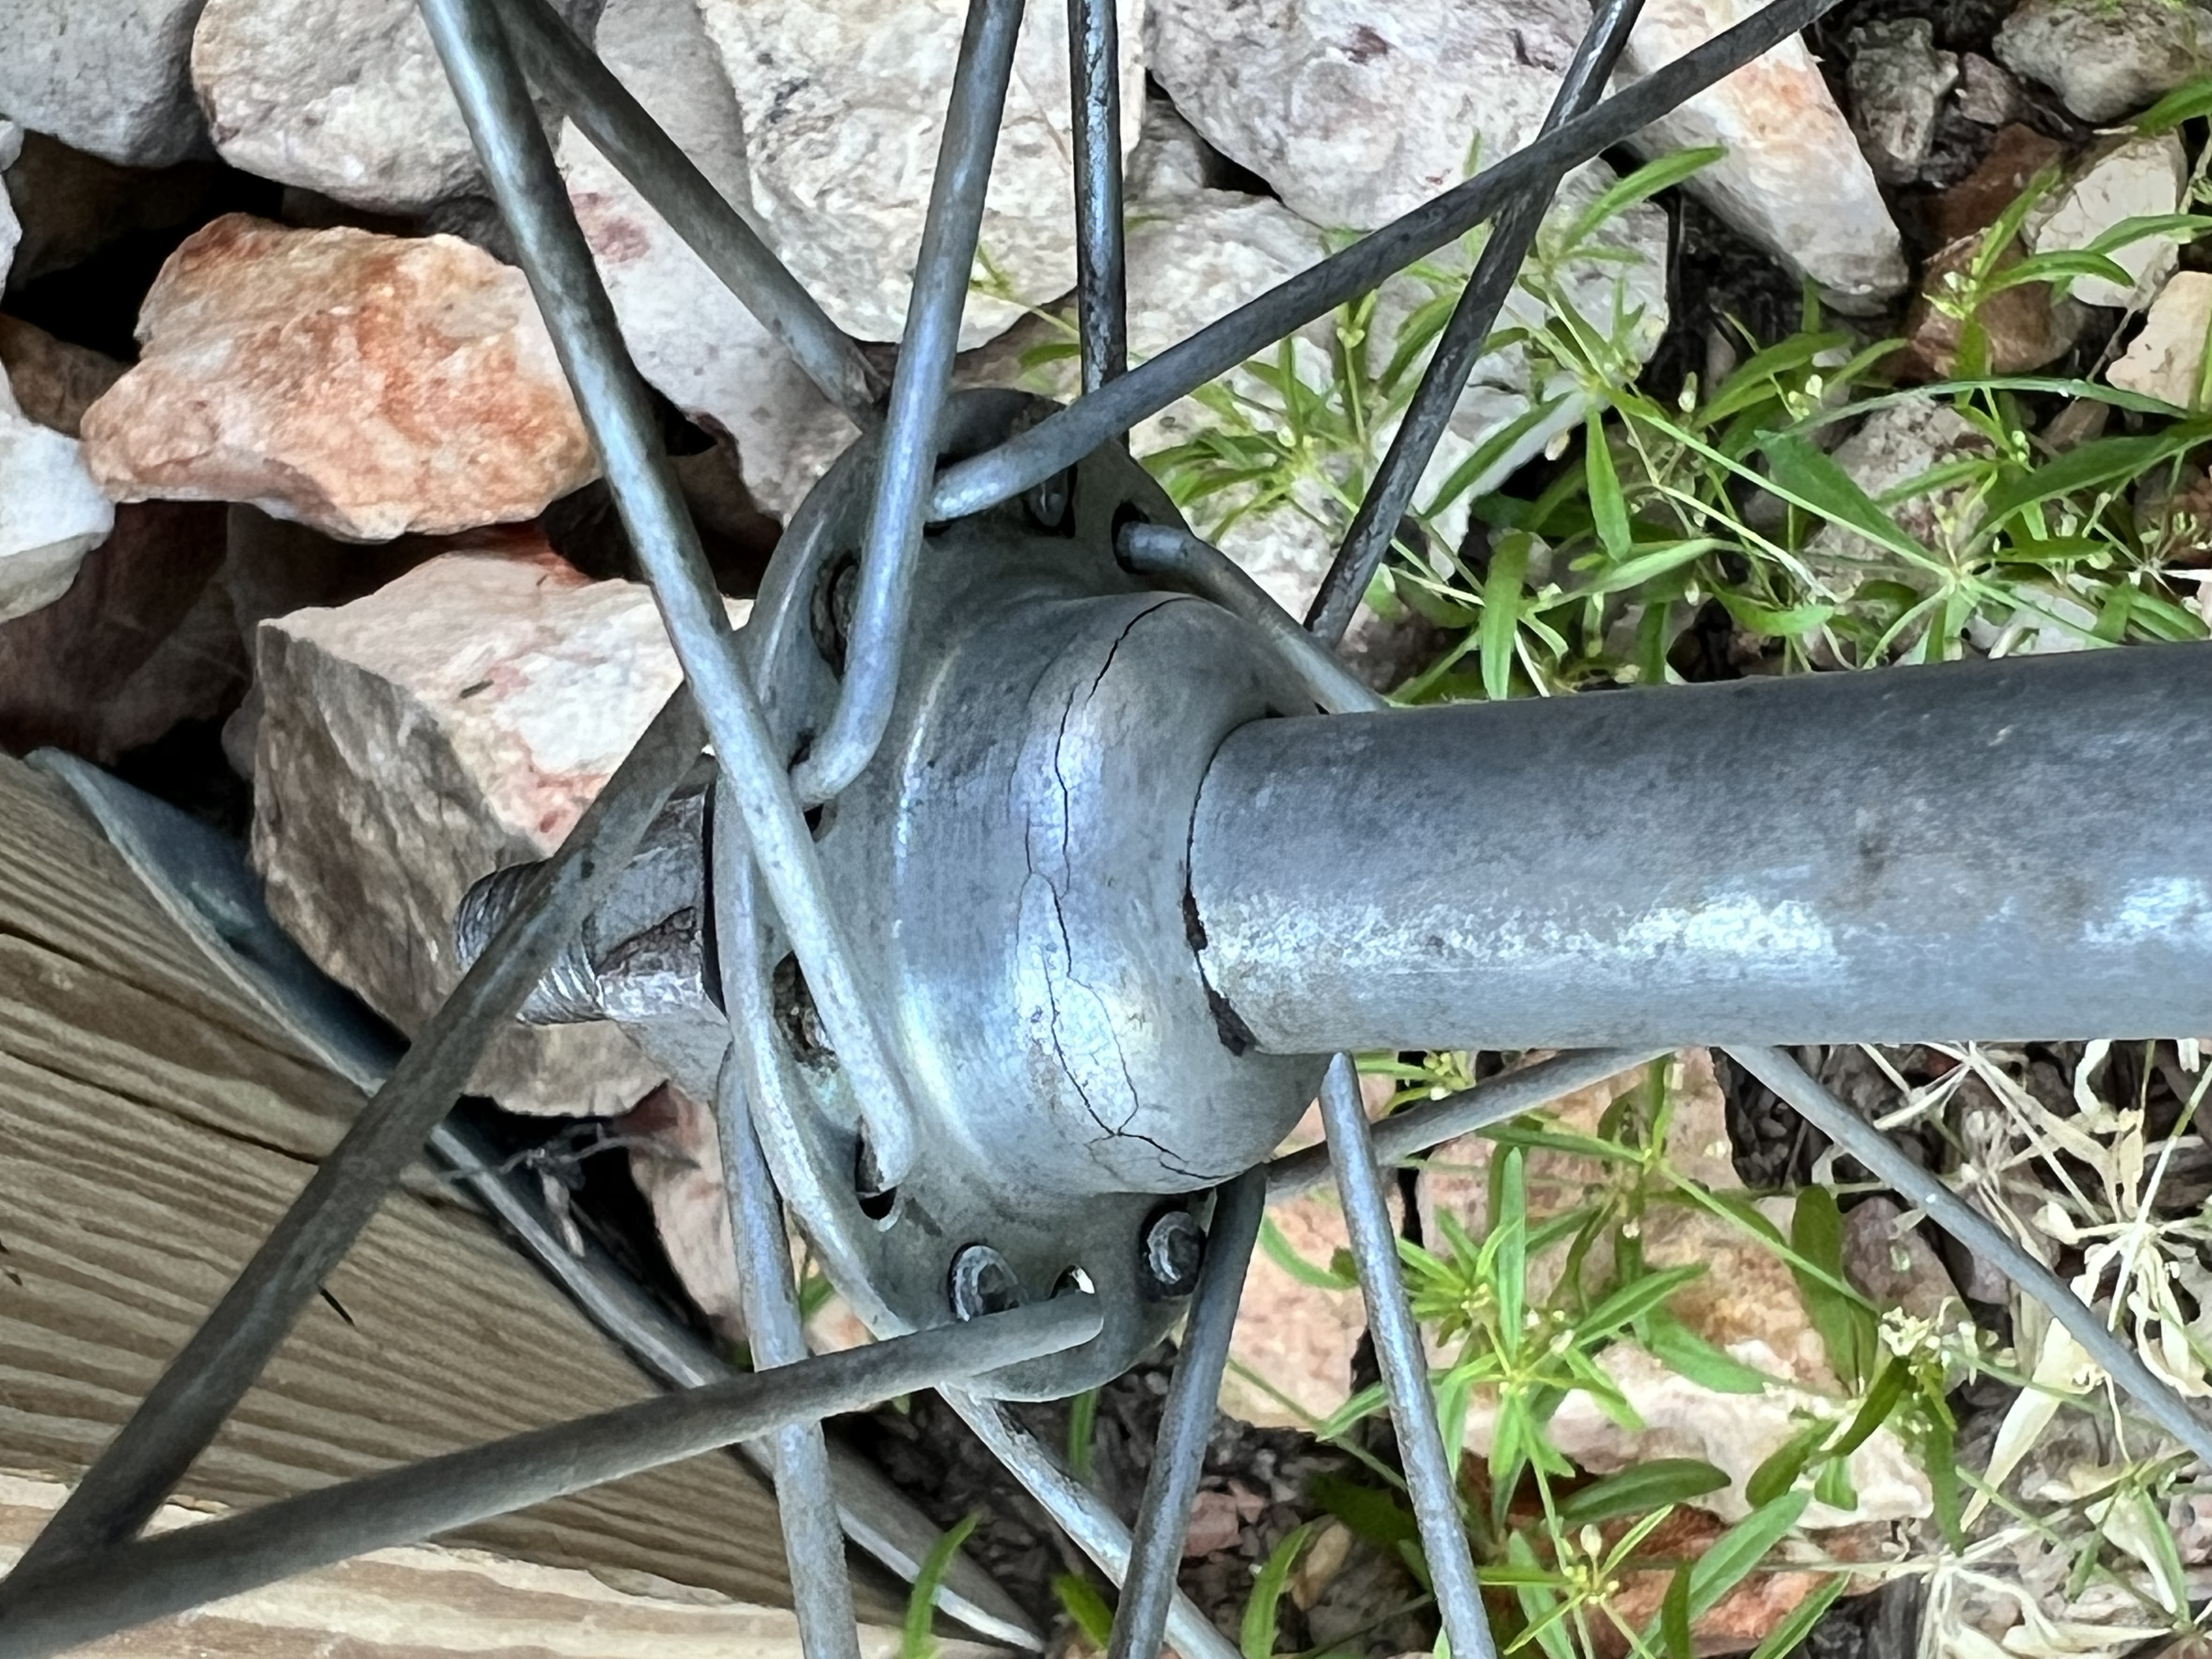
Unfortunately after cleaning up the hub I realized that it was cracked and not safe to ride. So… I have a new garden ornament while I wait for its replacement on ebay to arrive.
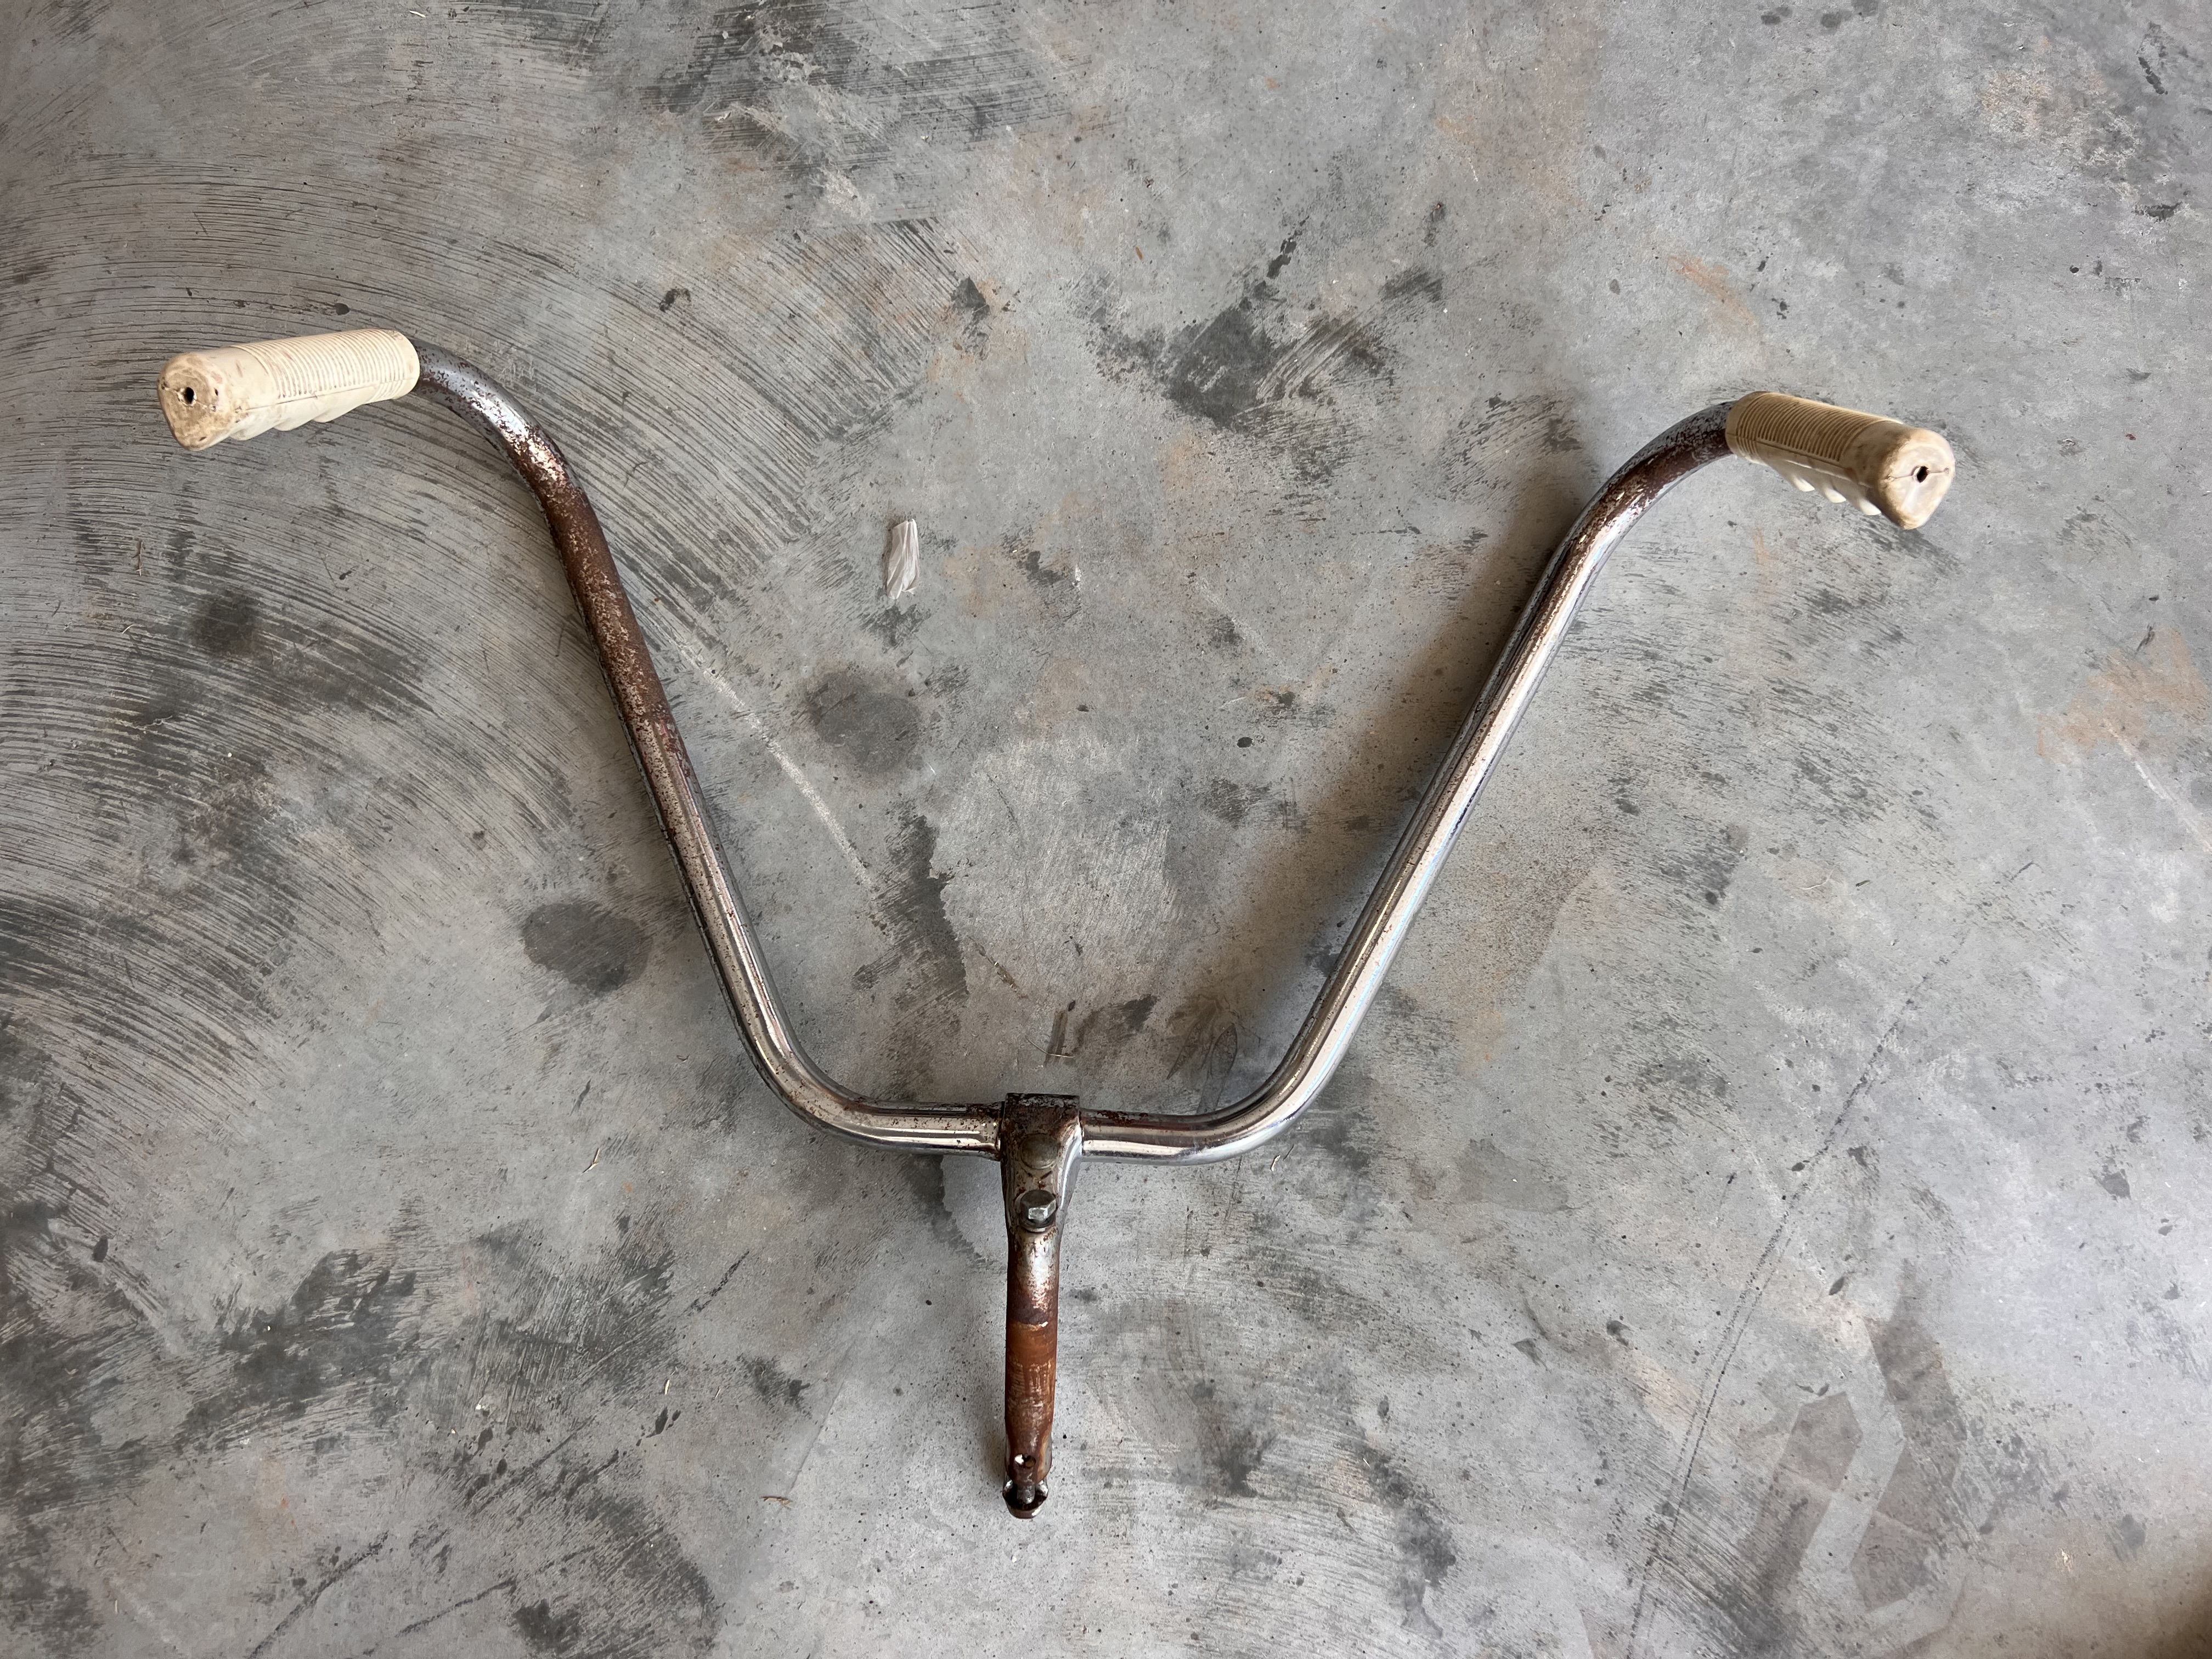
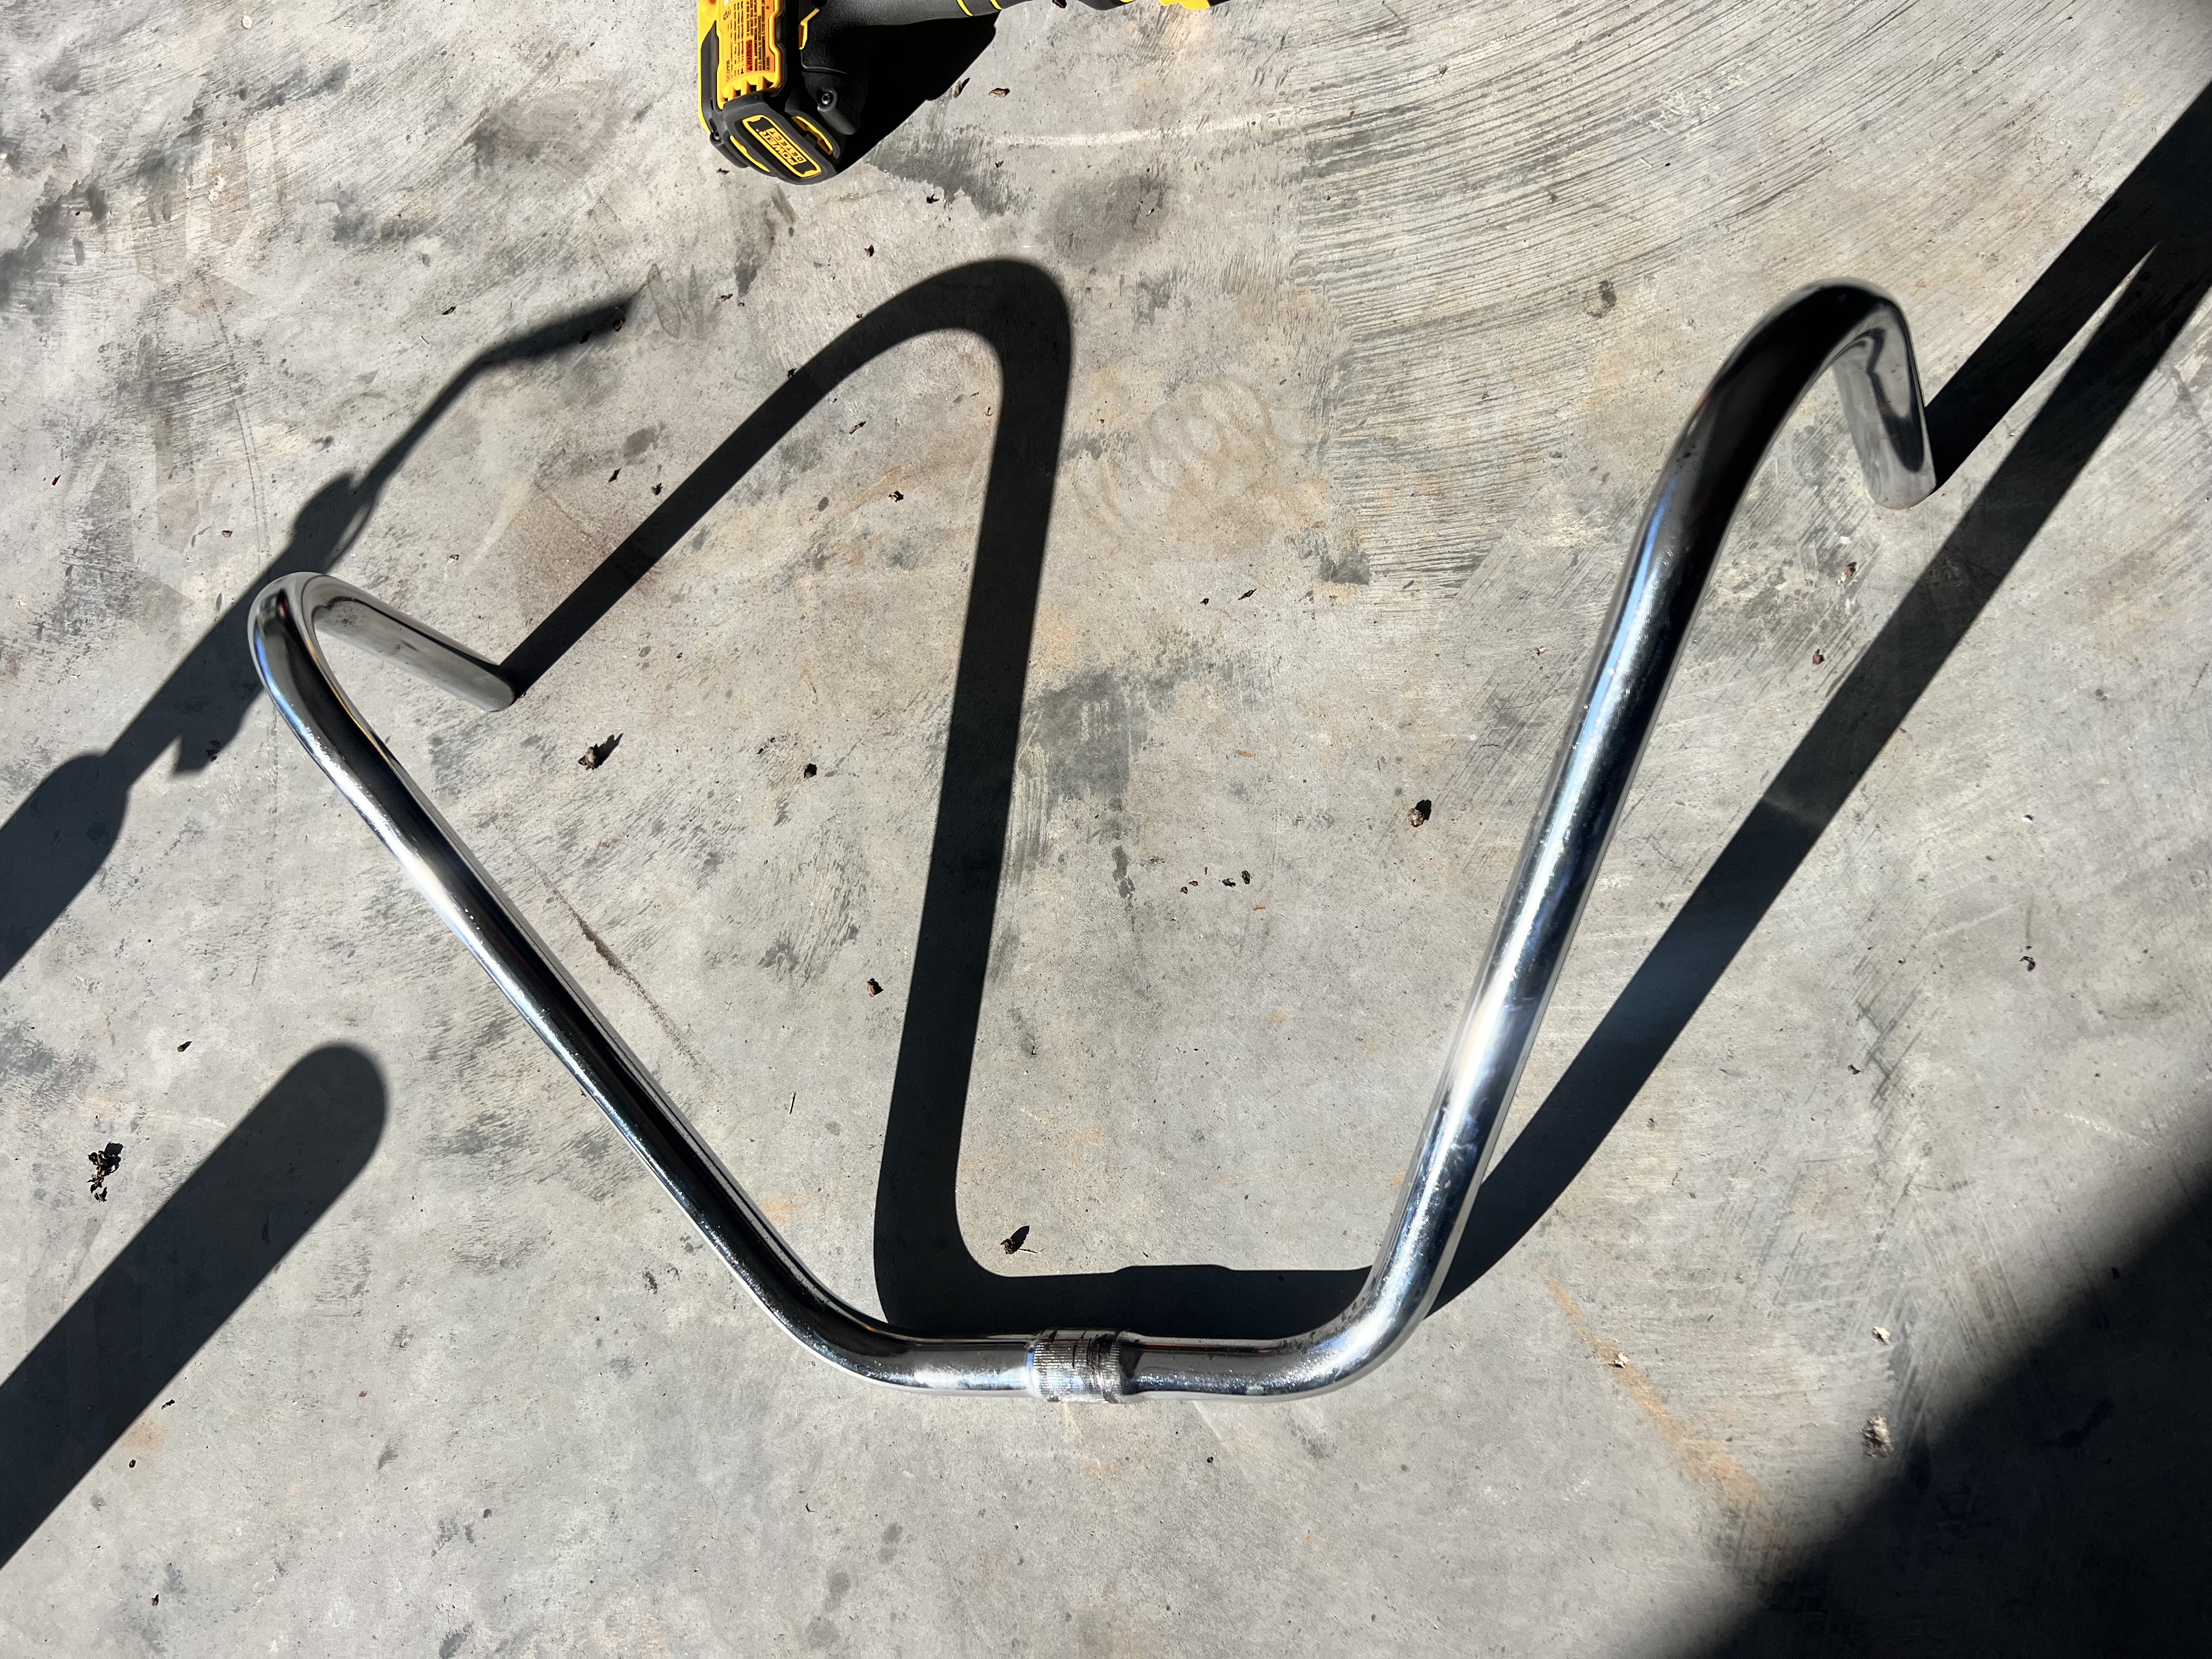
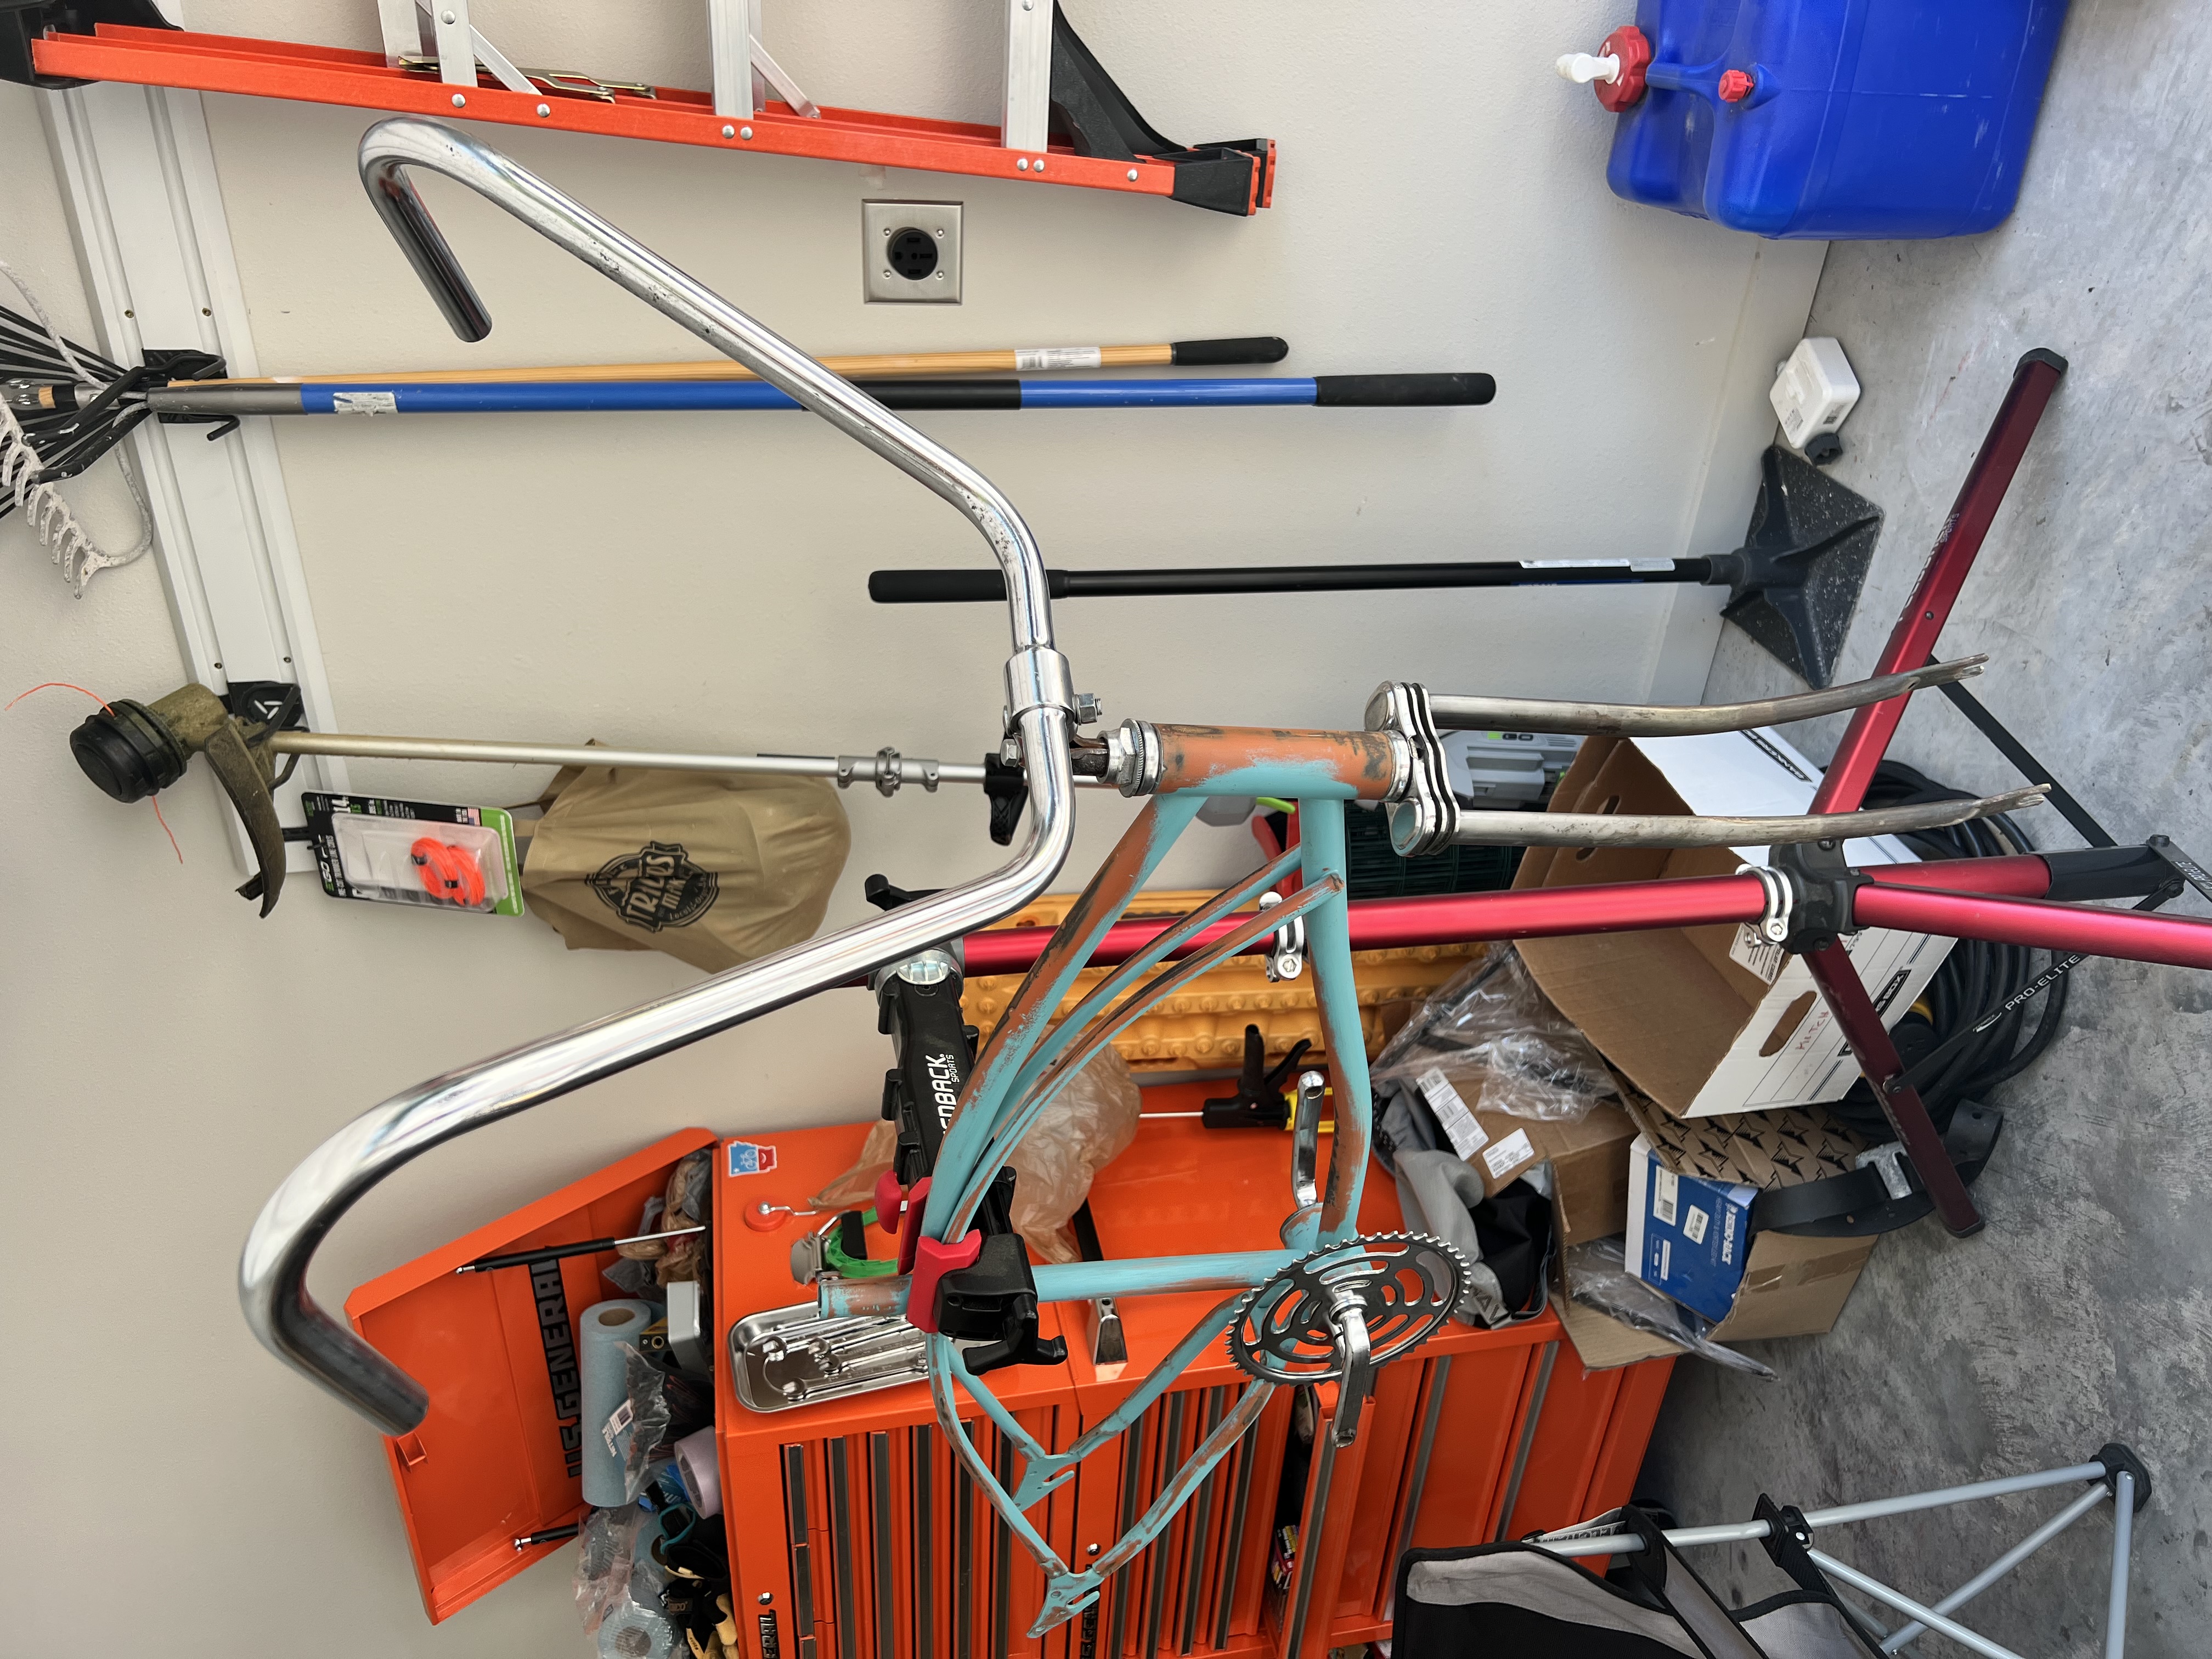
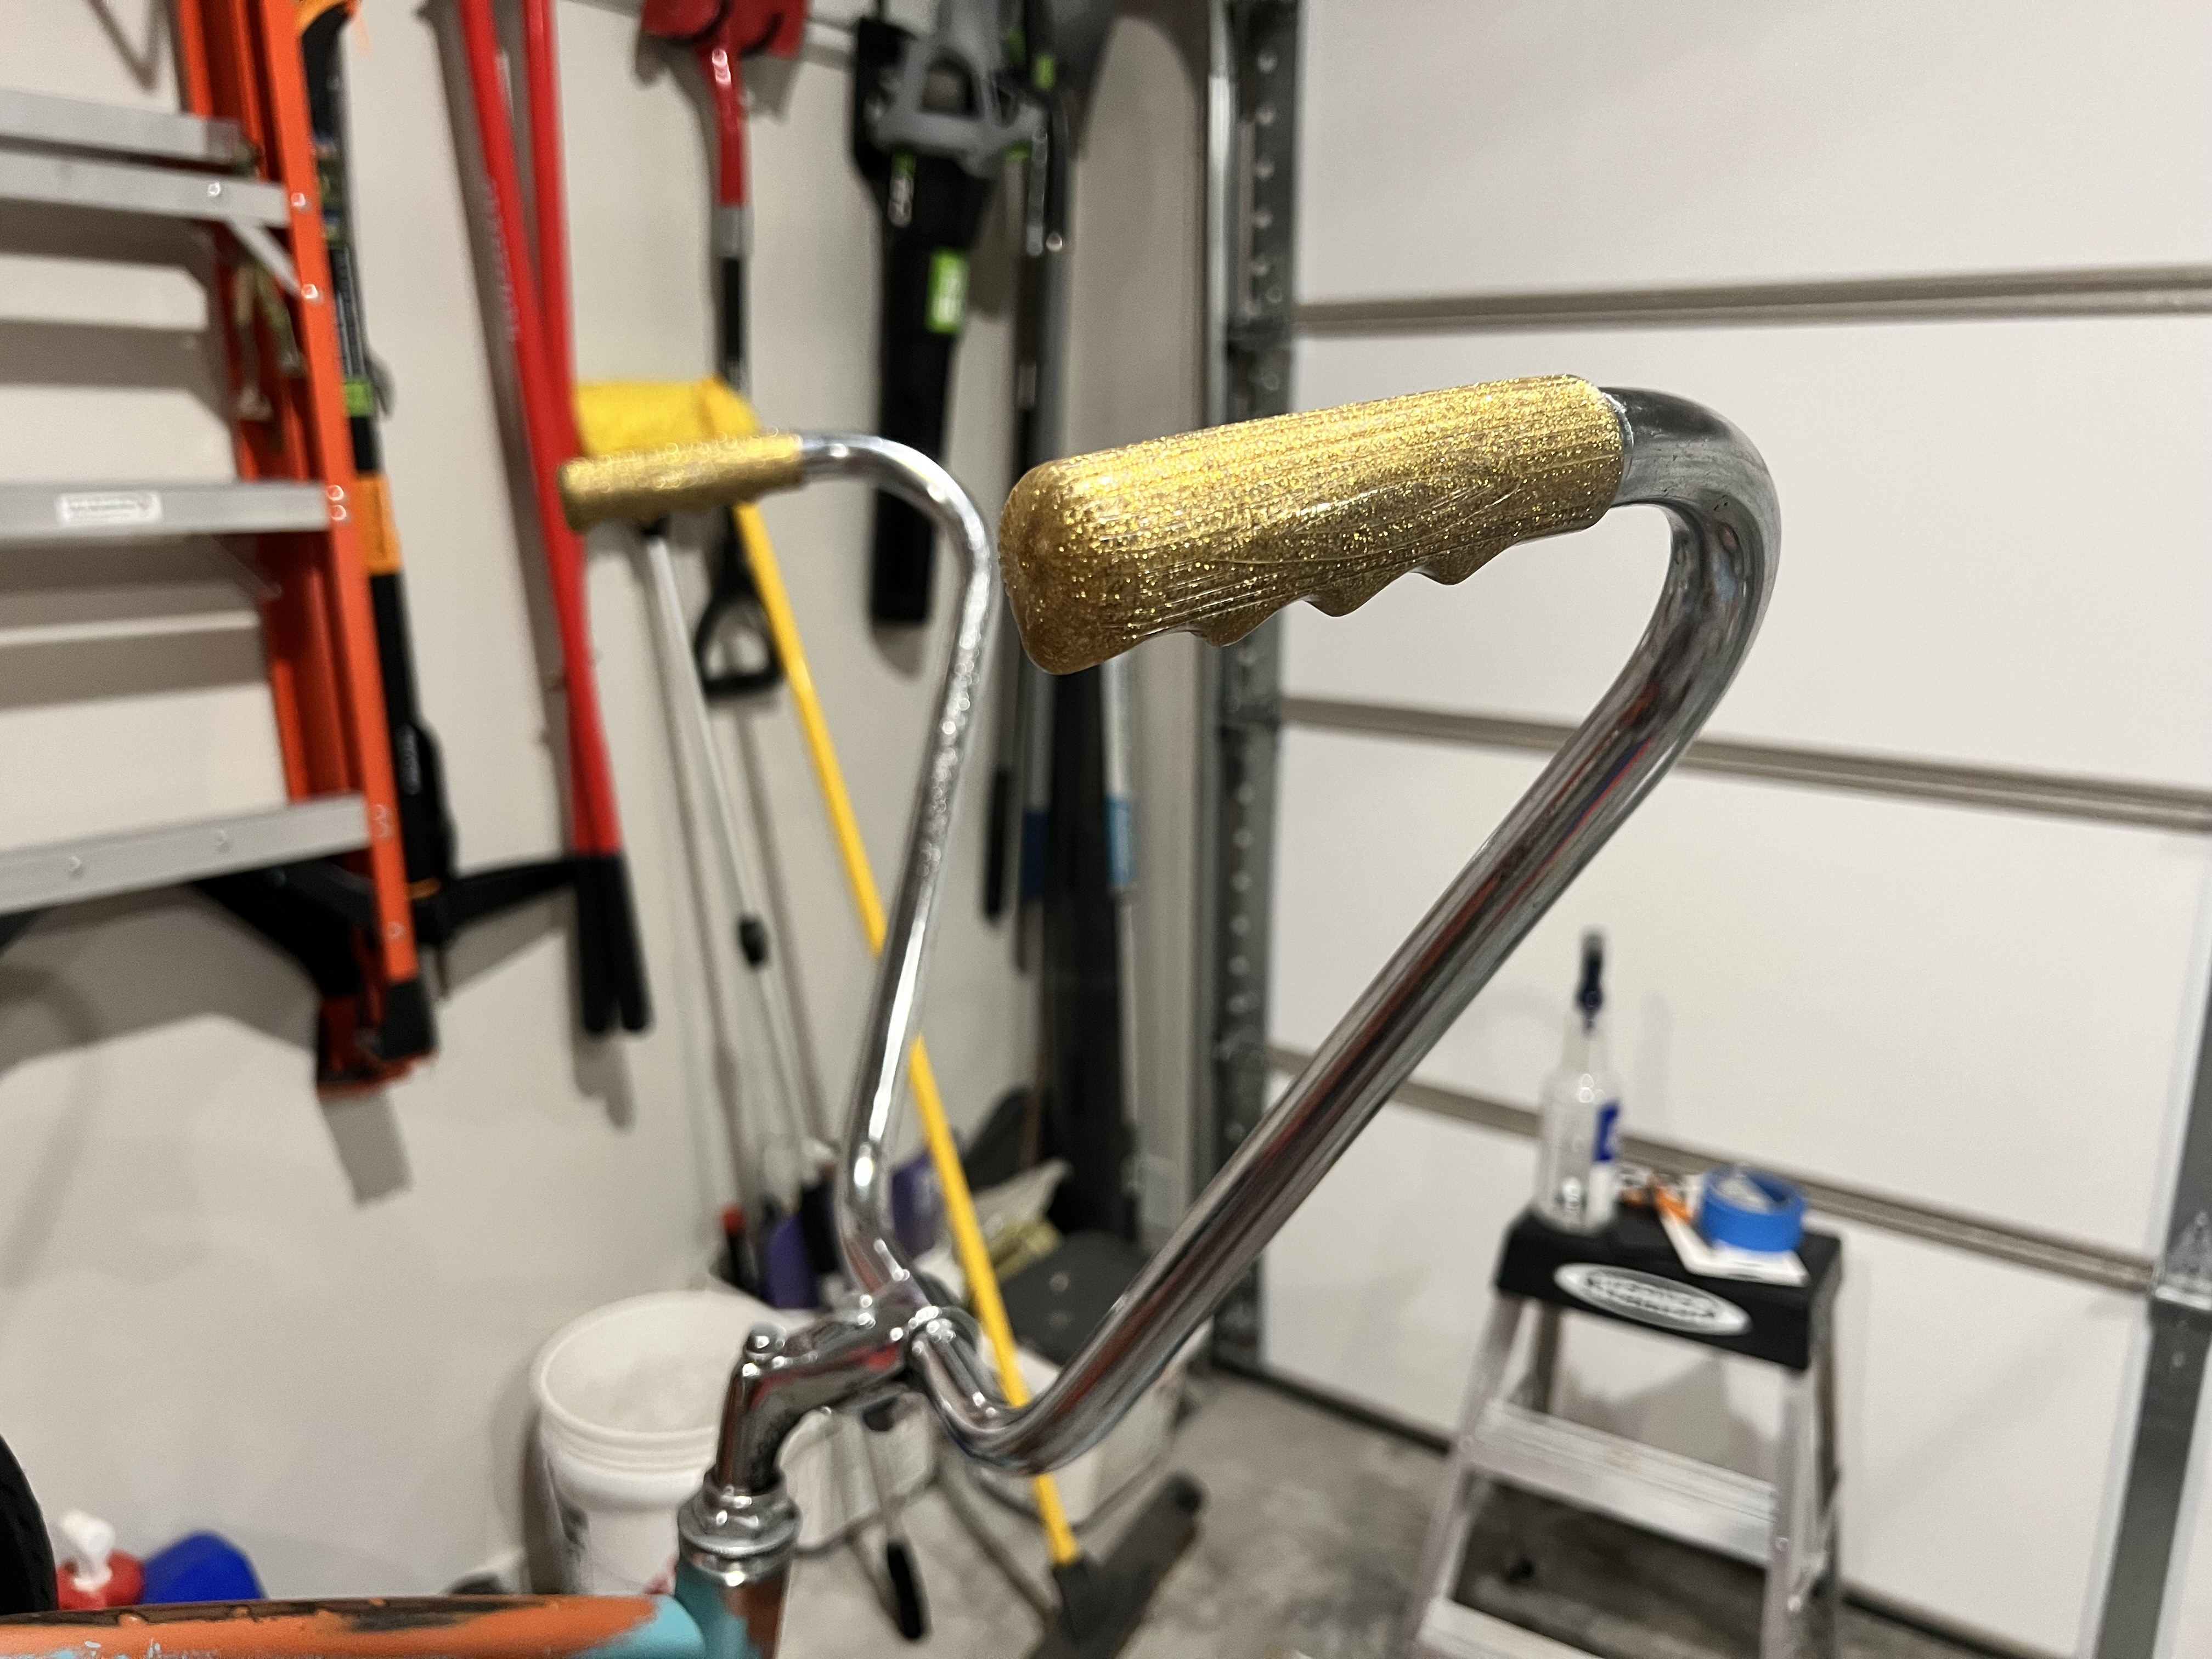
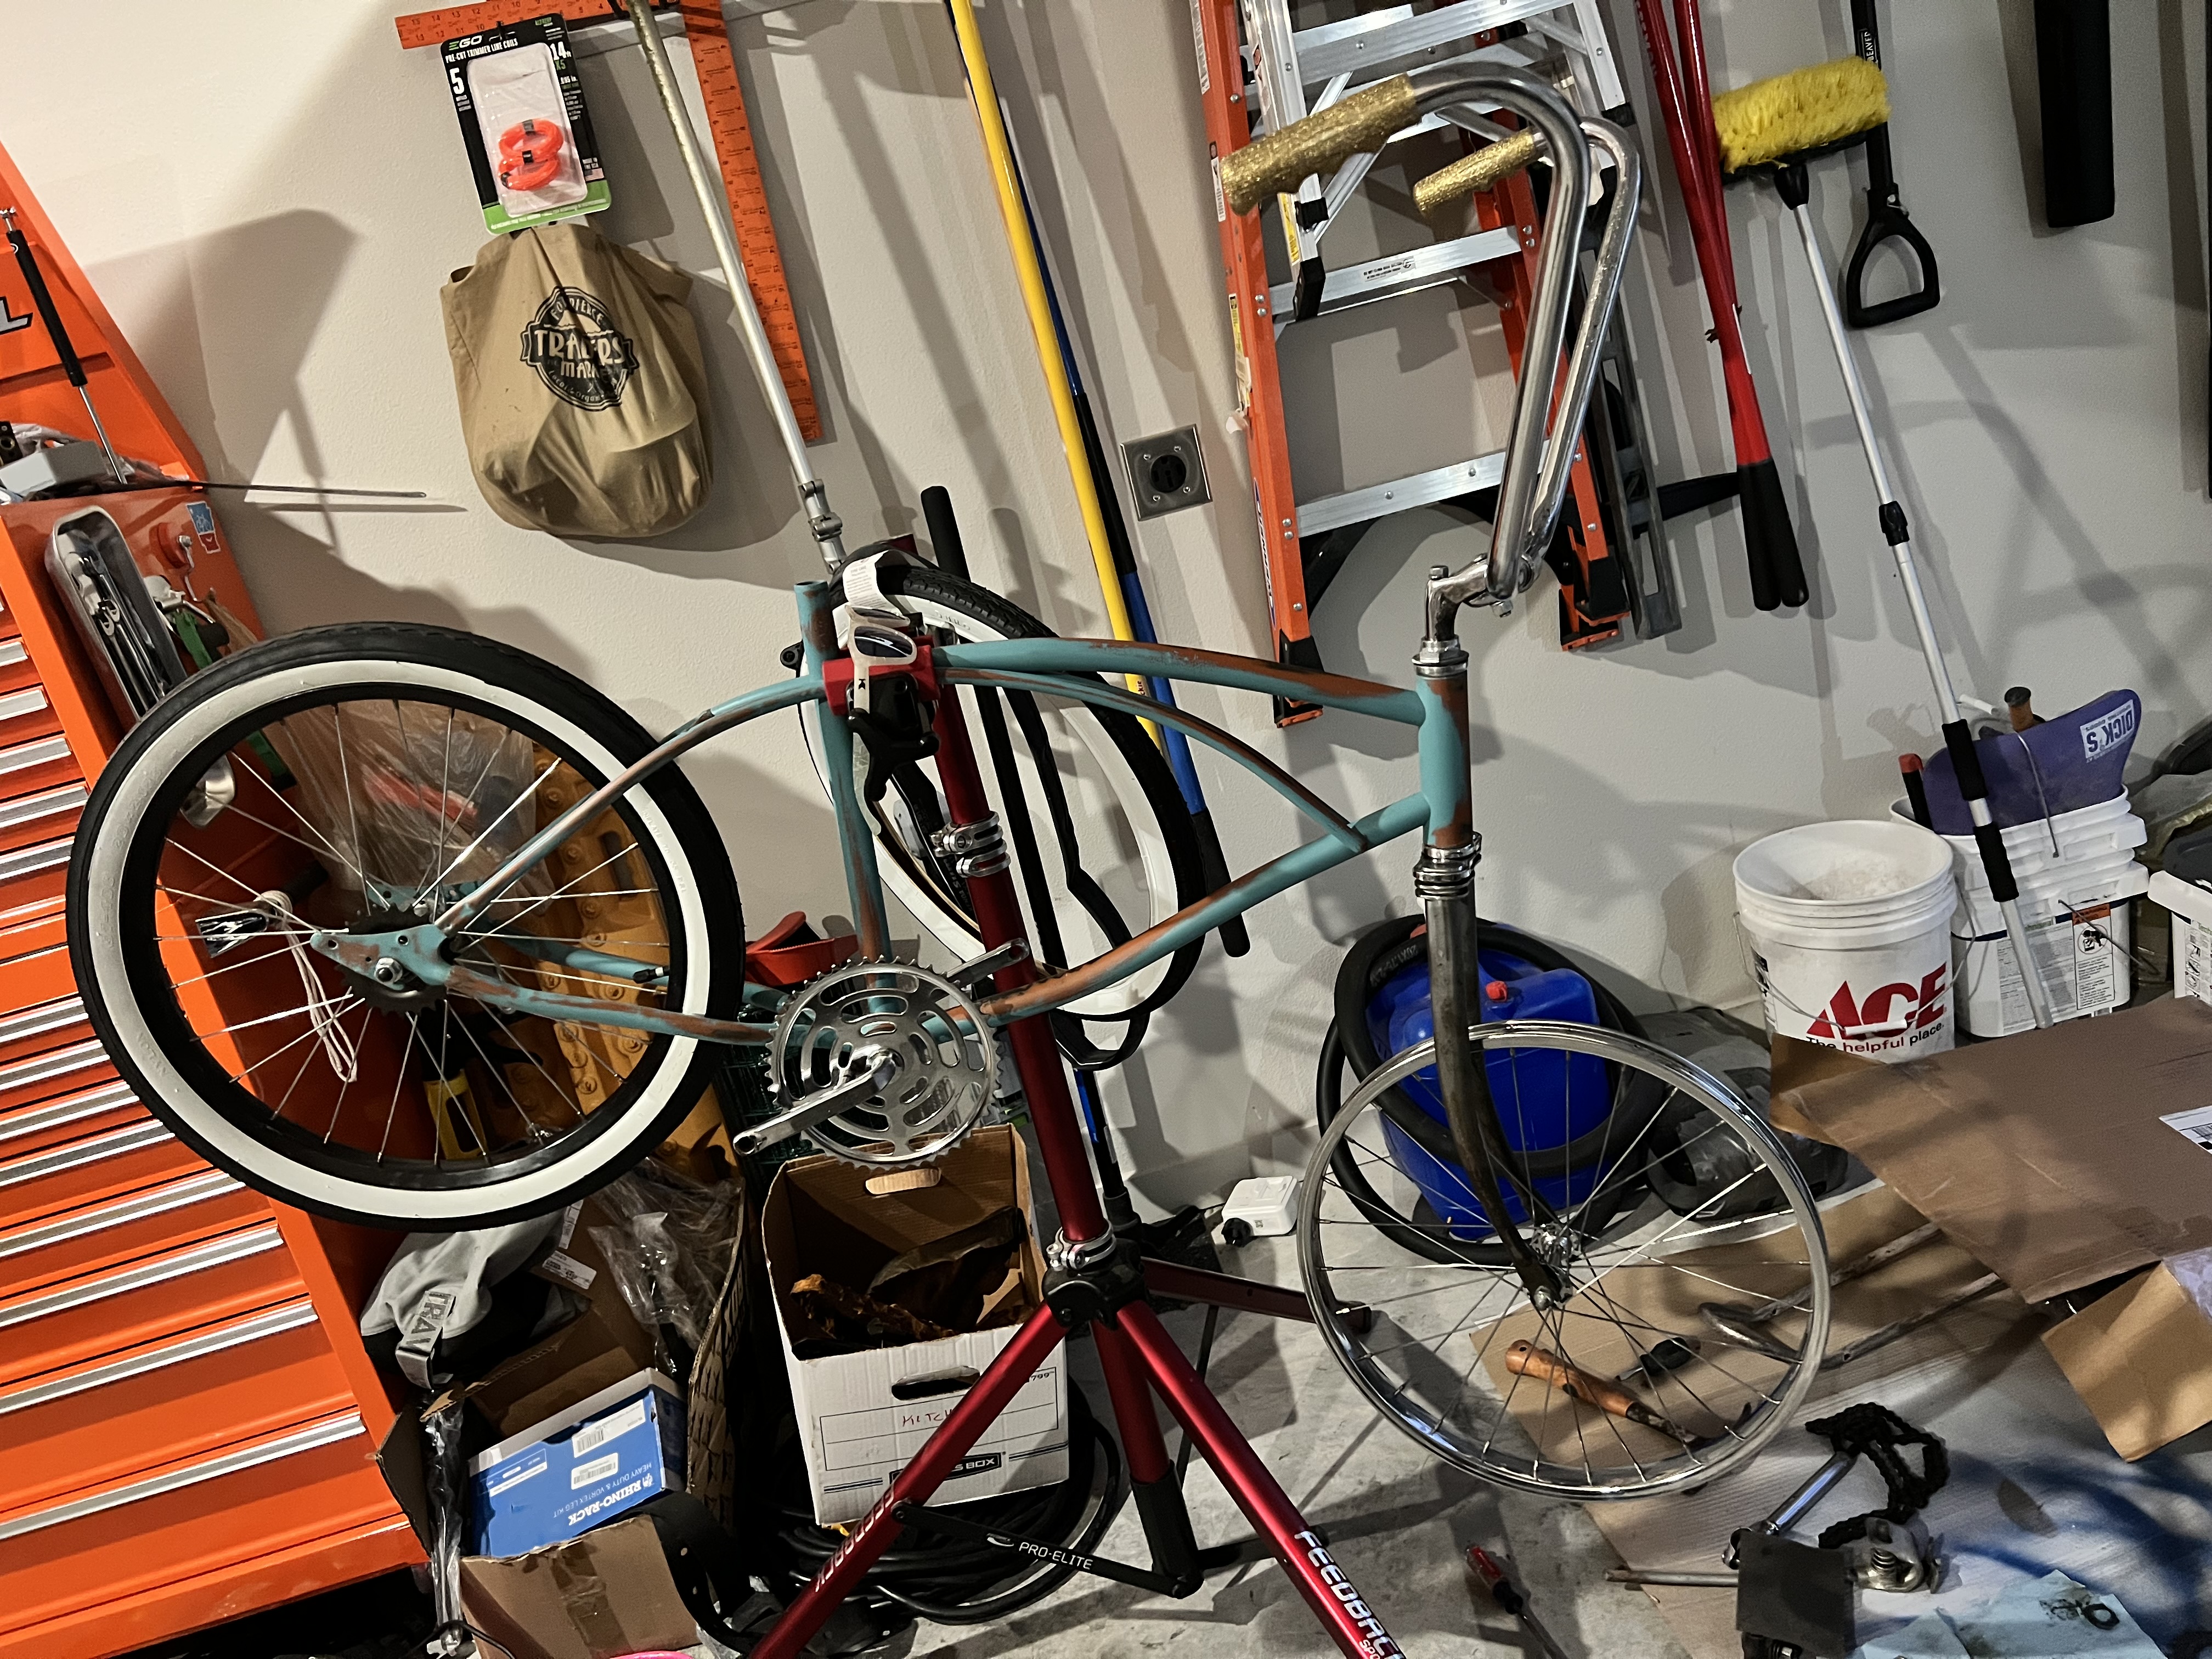
Since I’m still waiting on wheel stuff I decided why not put the handlebars on?
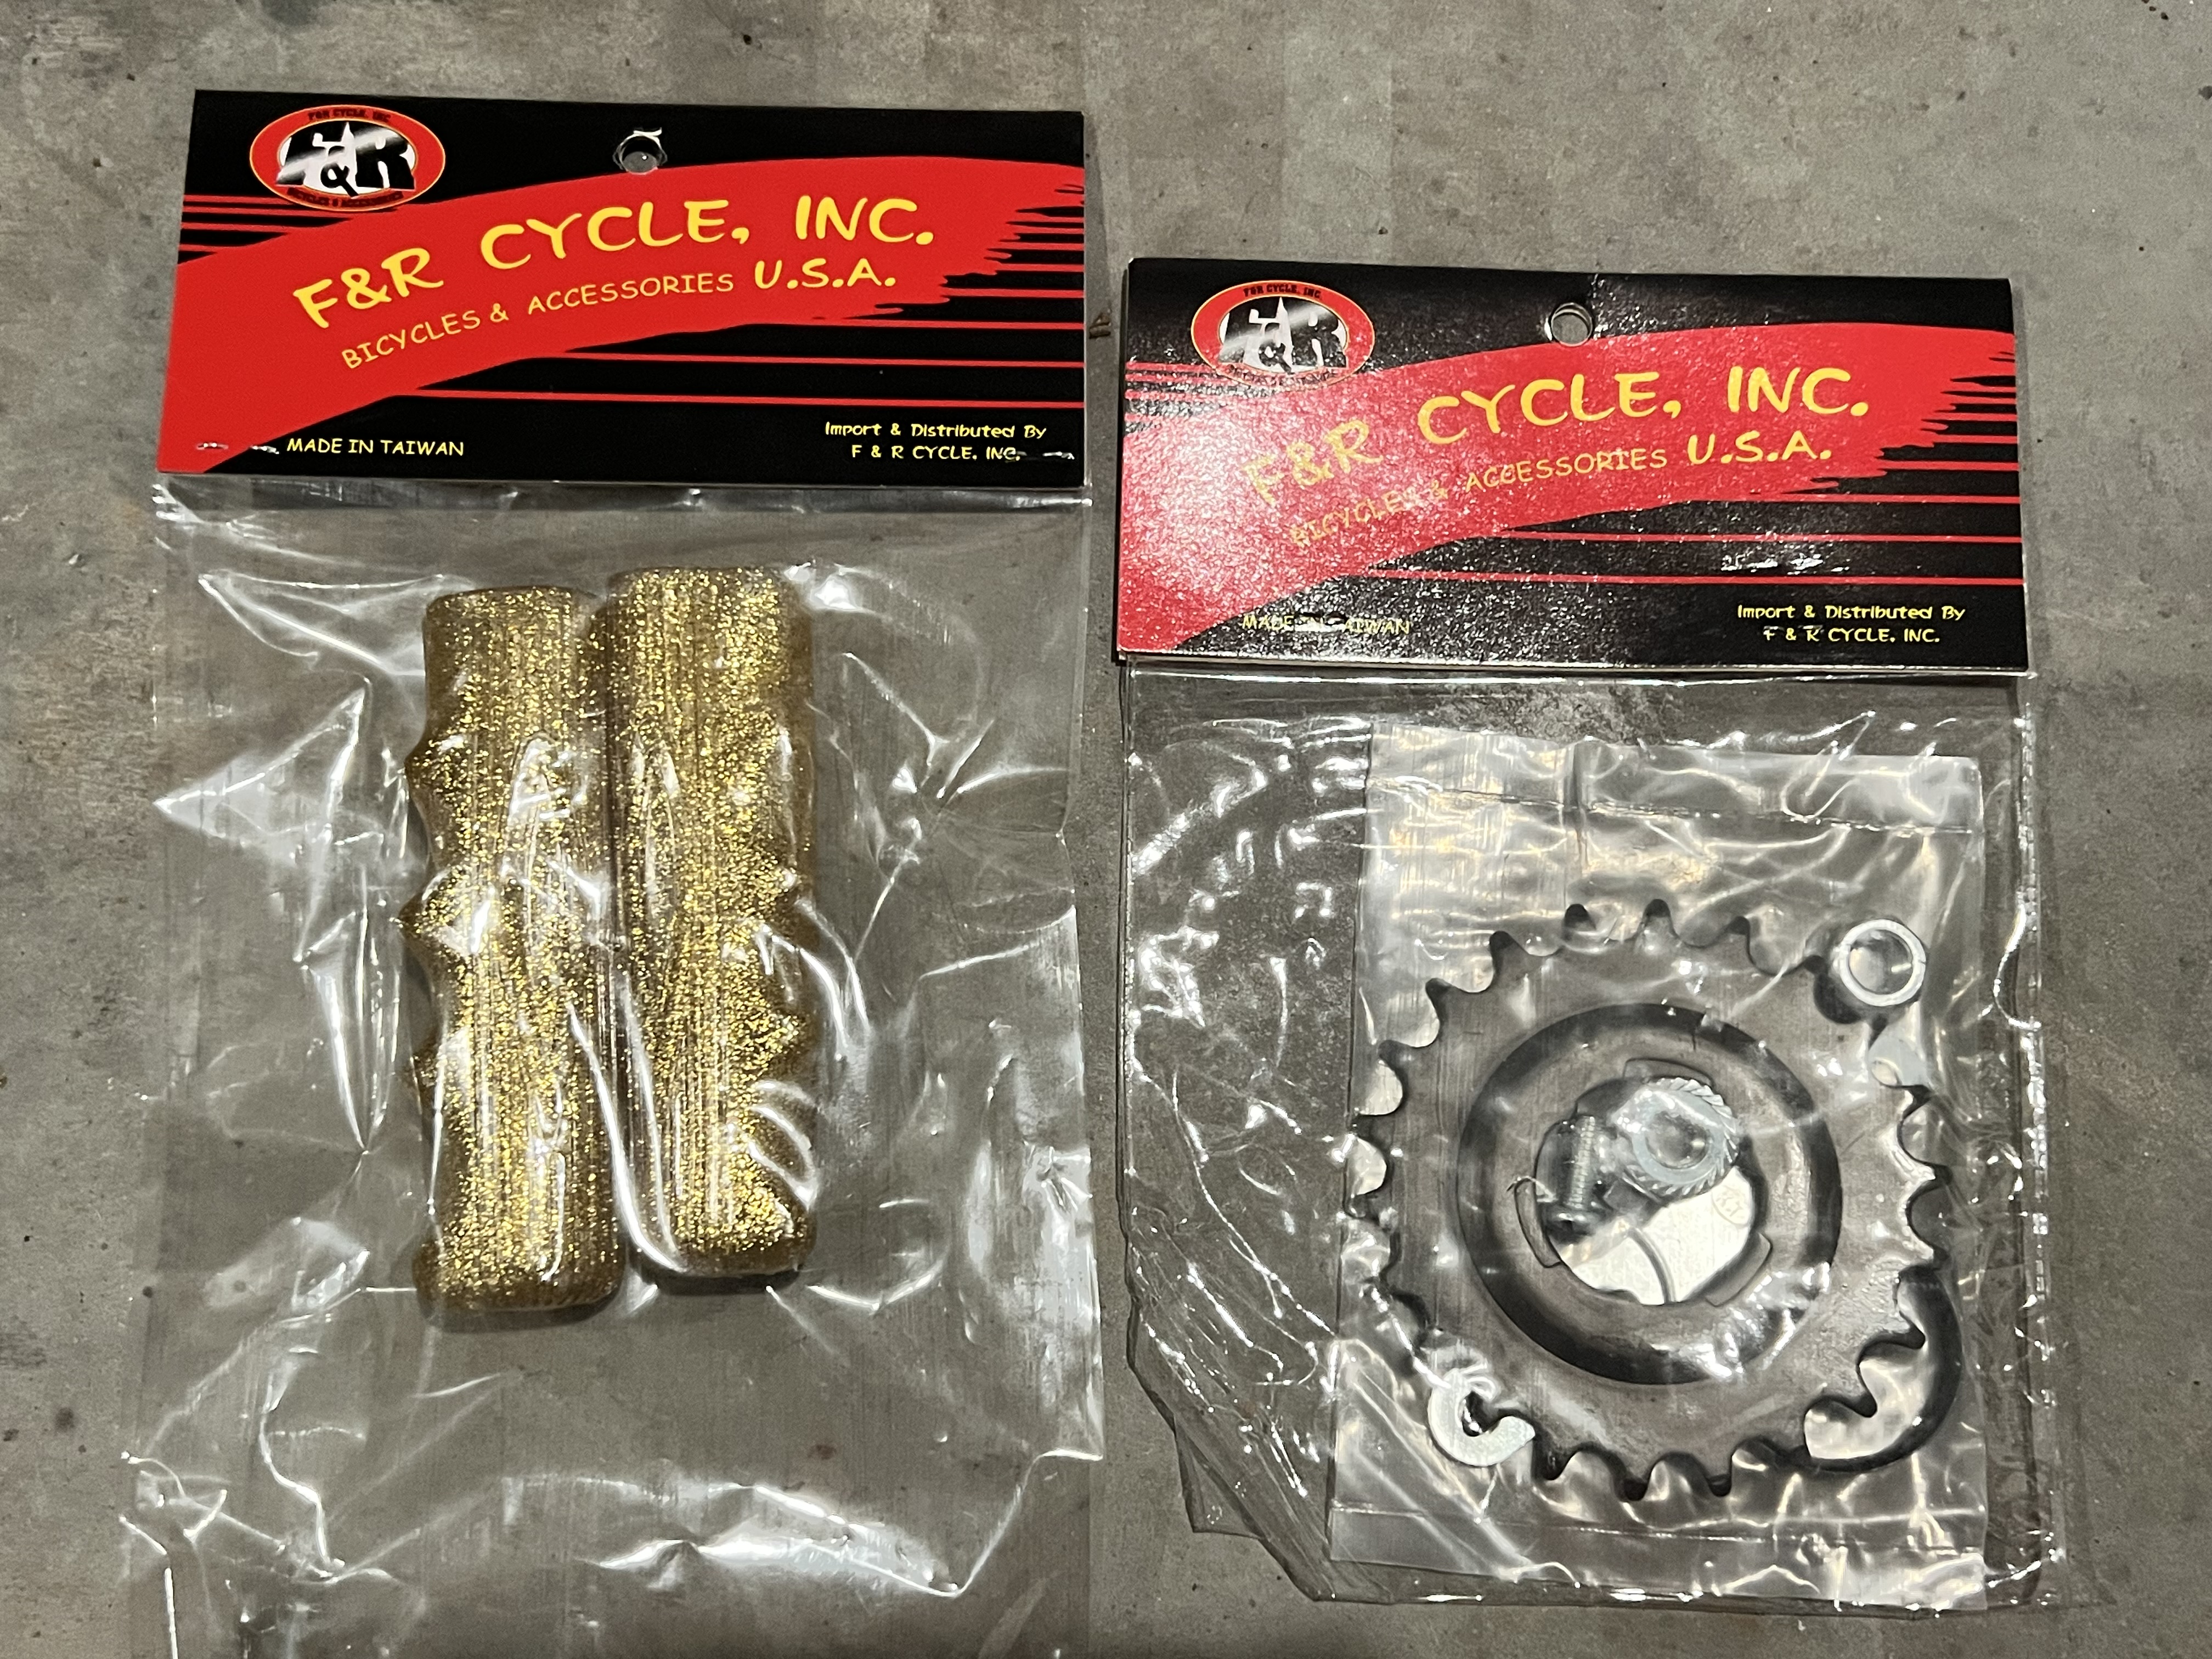
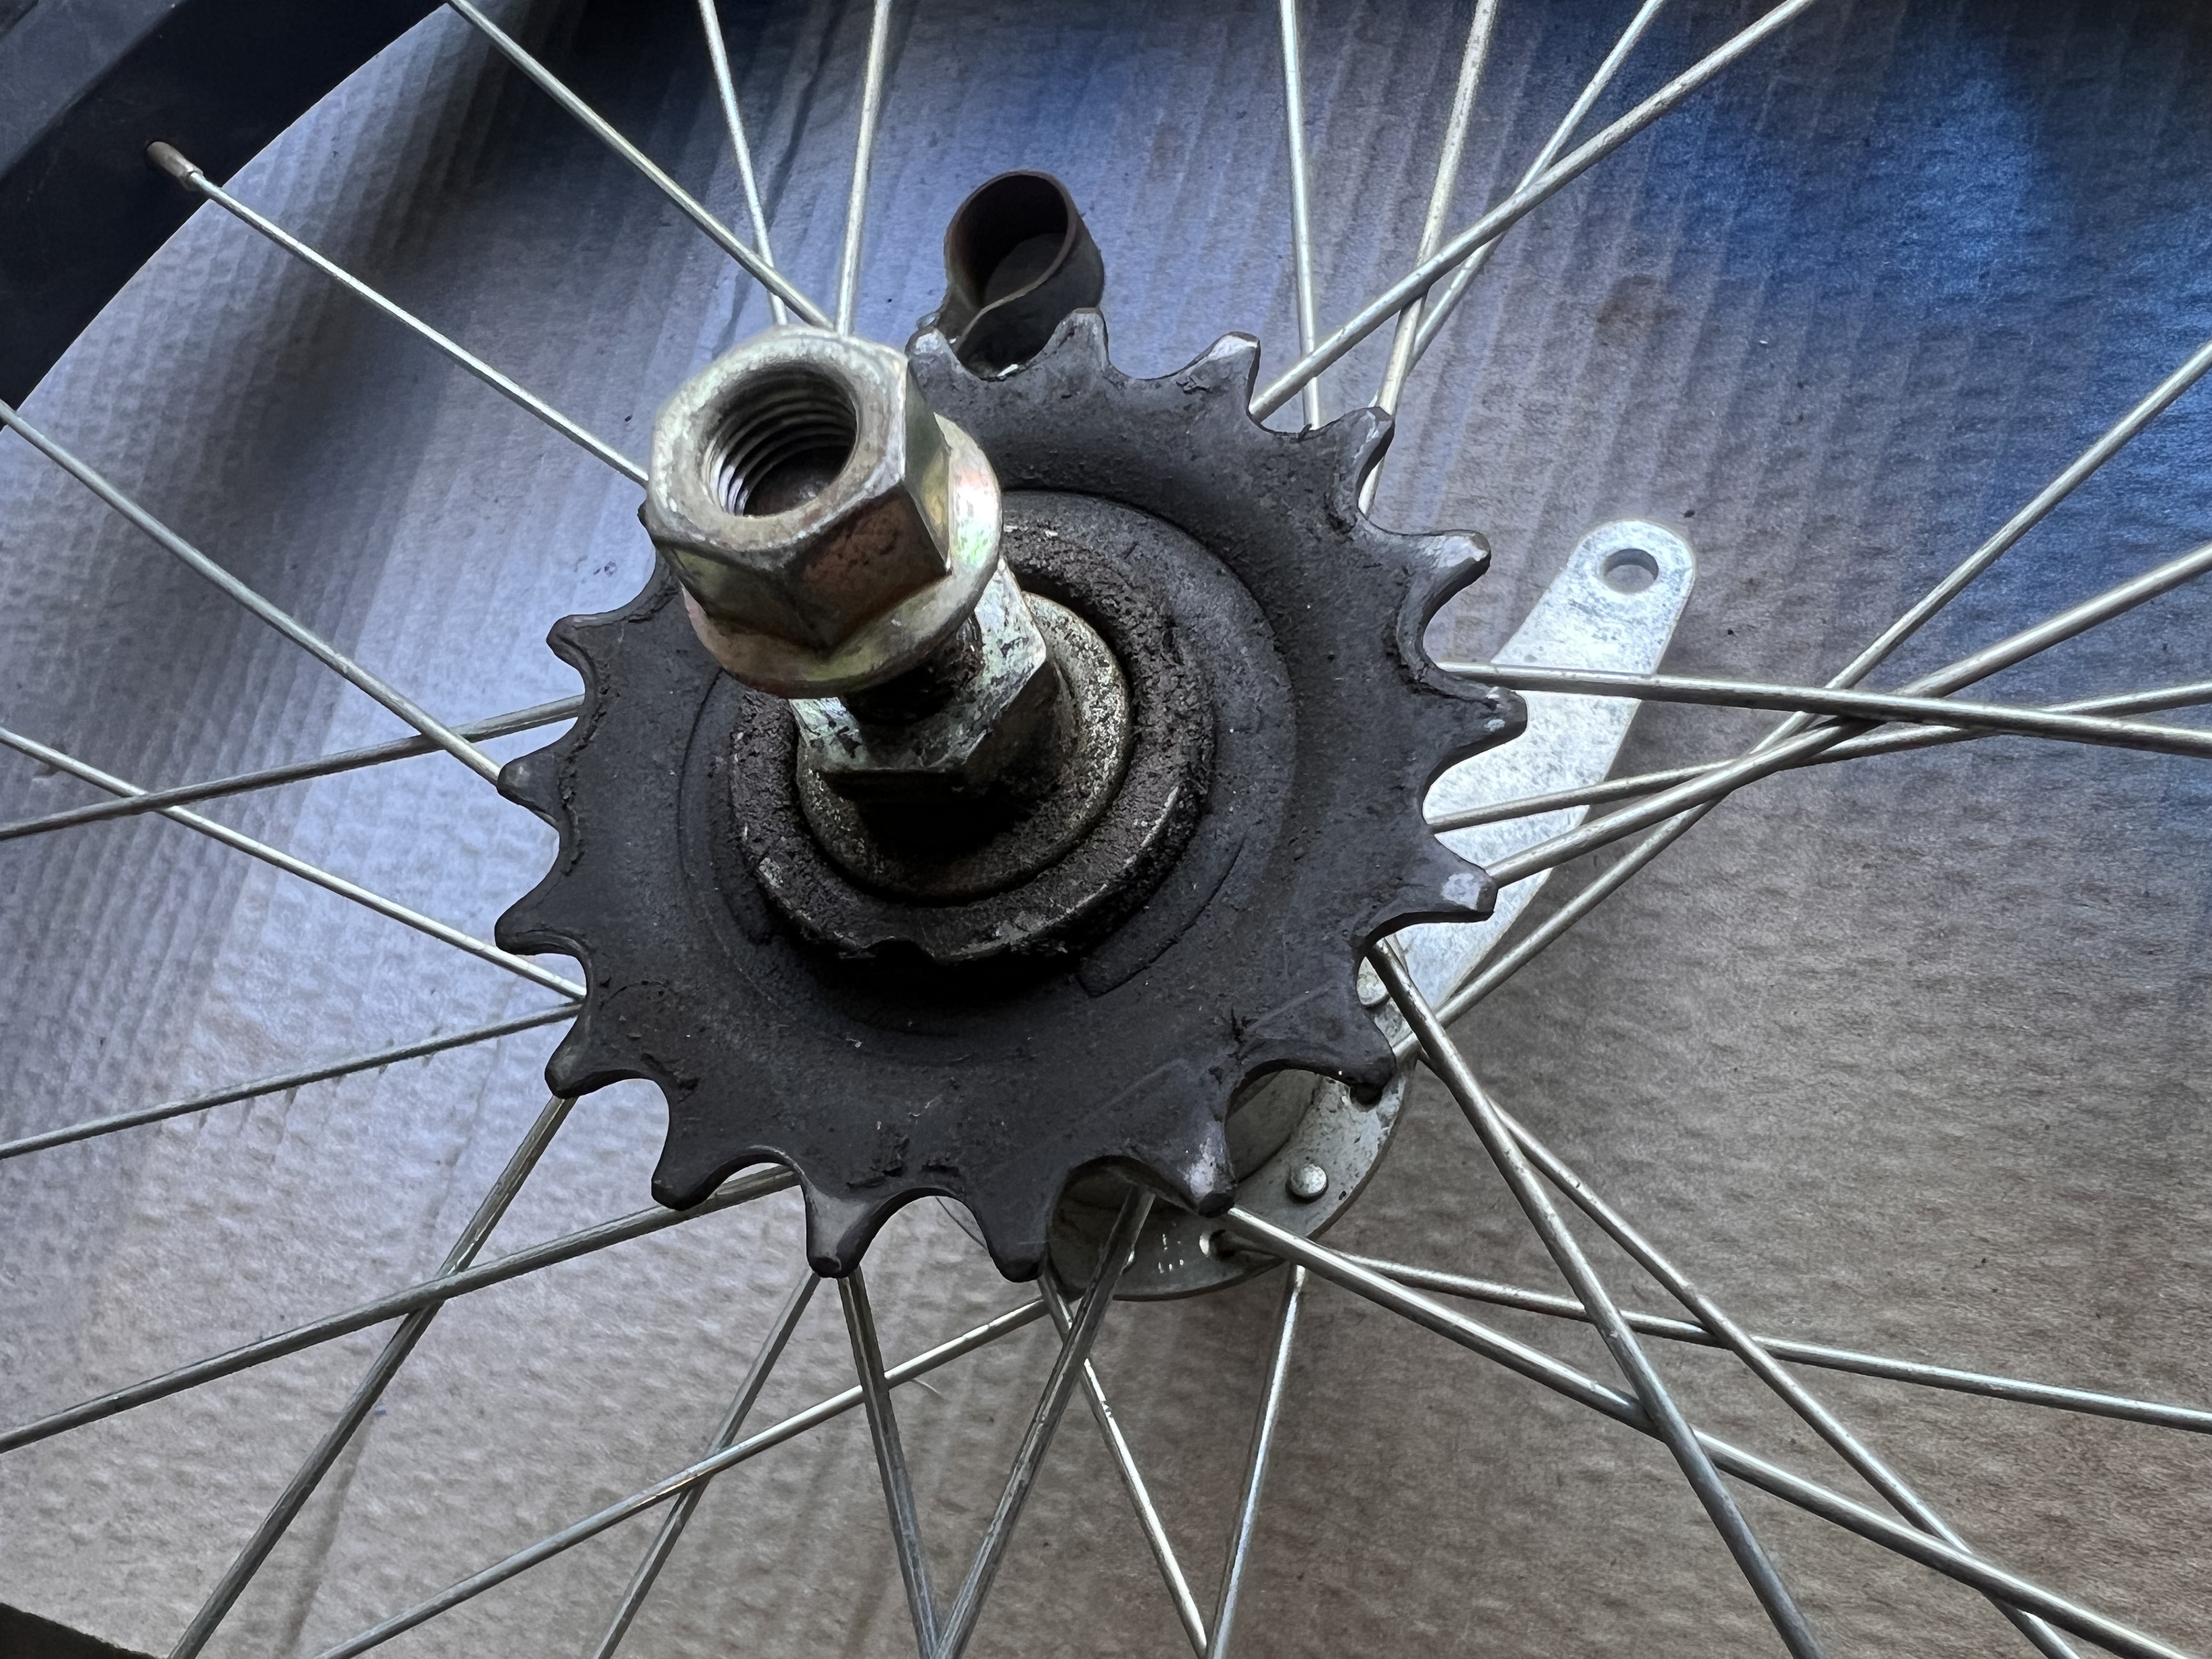
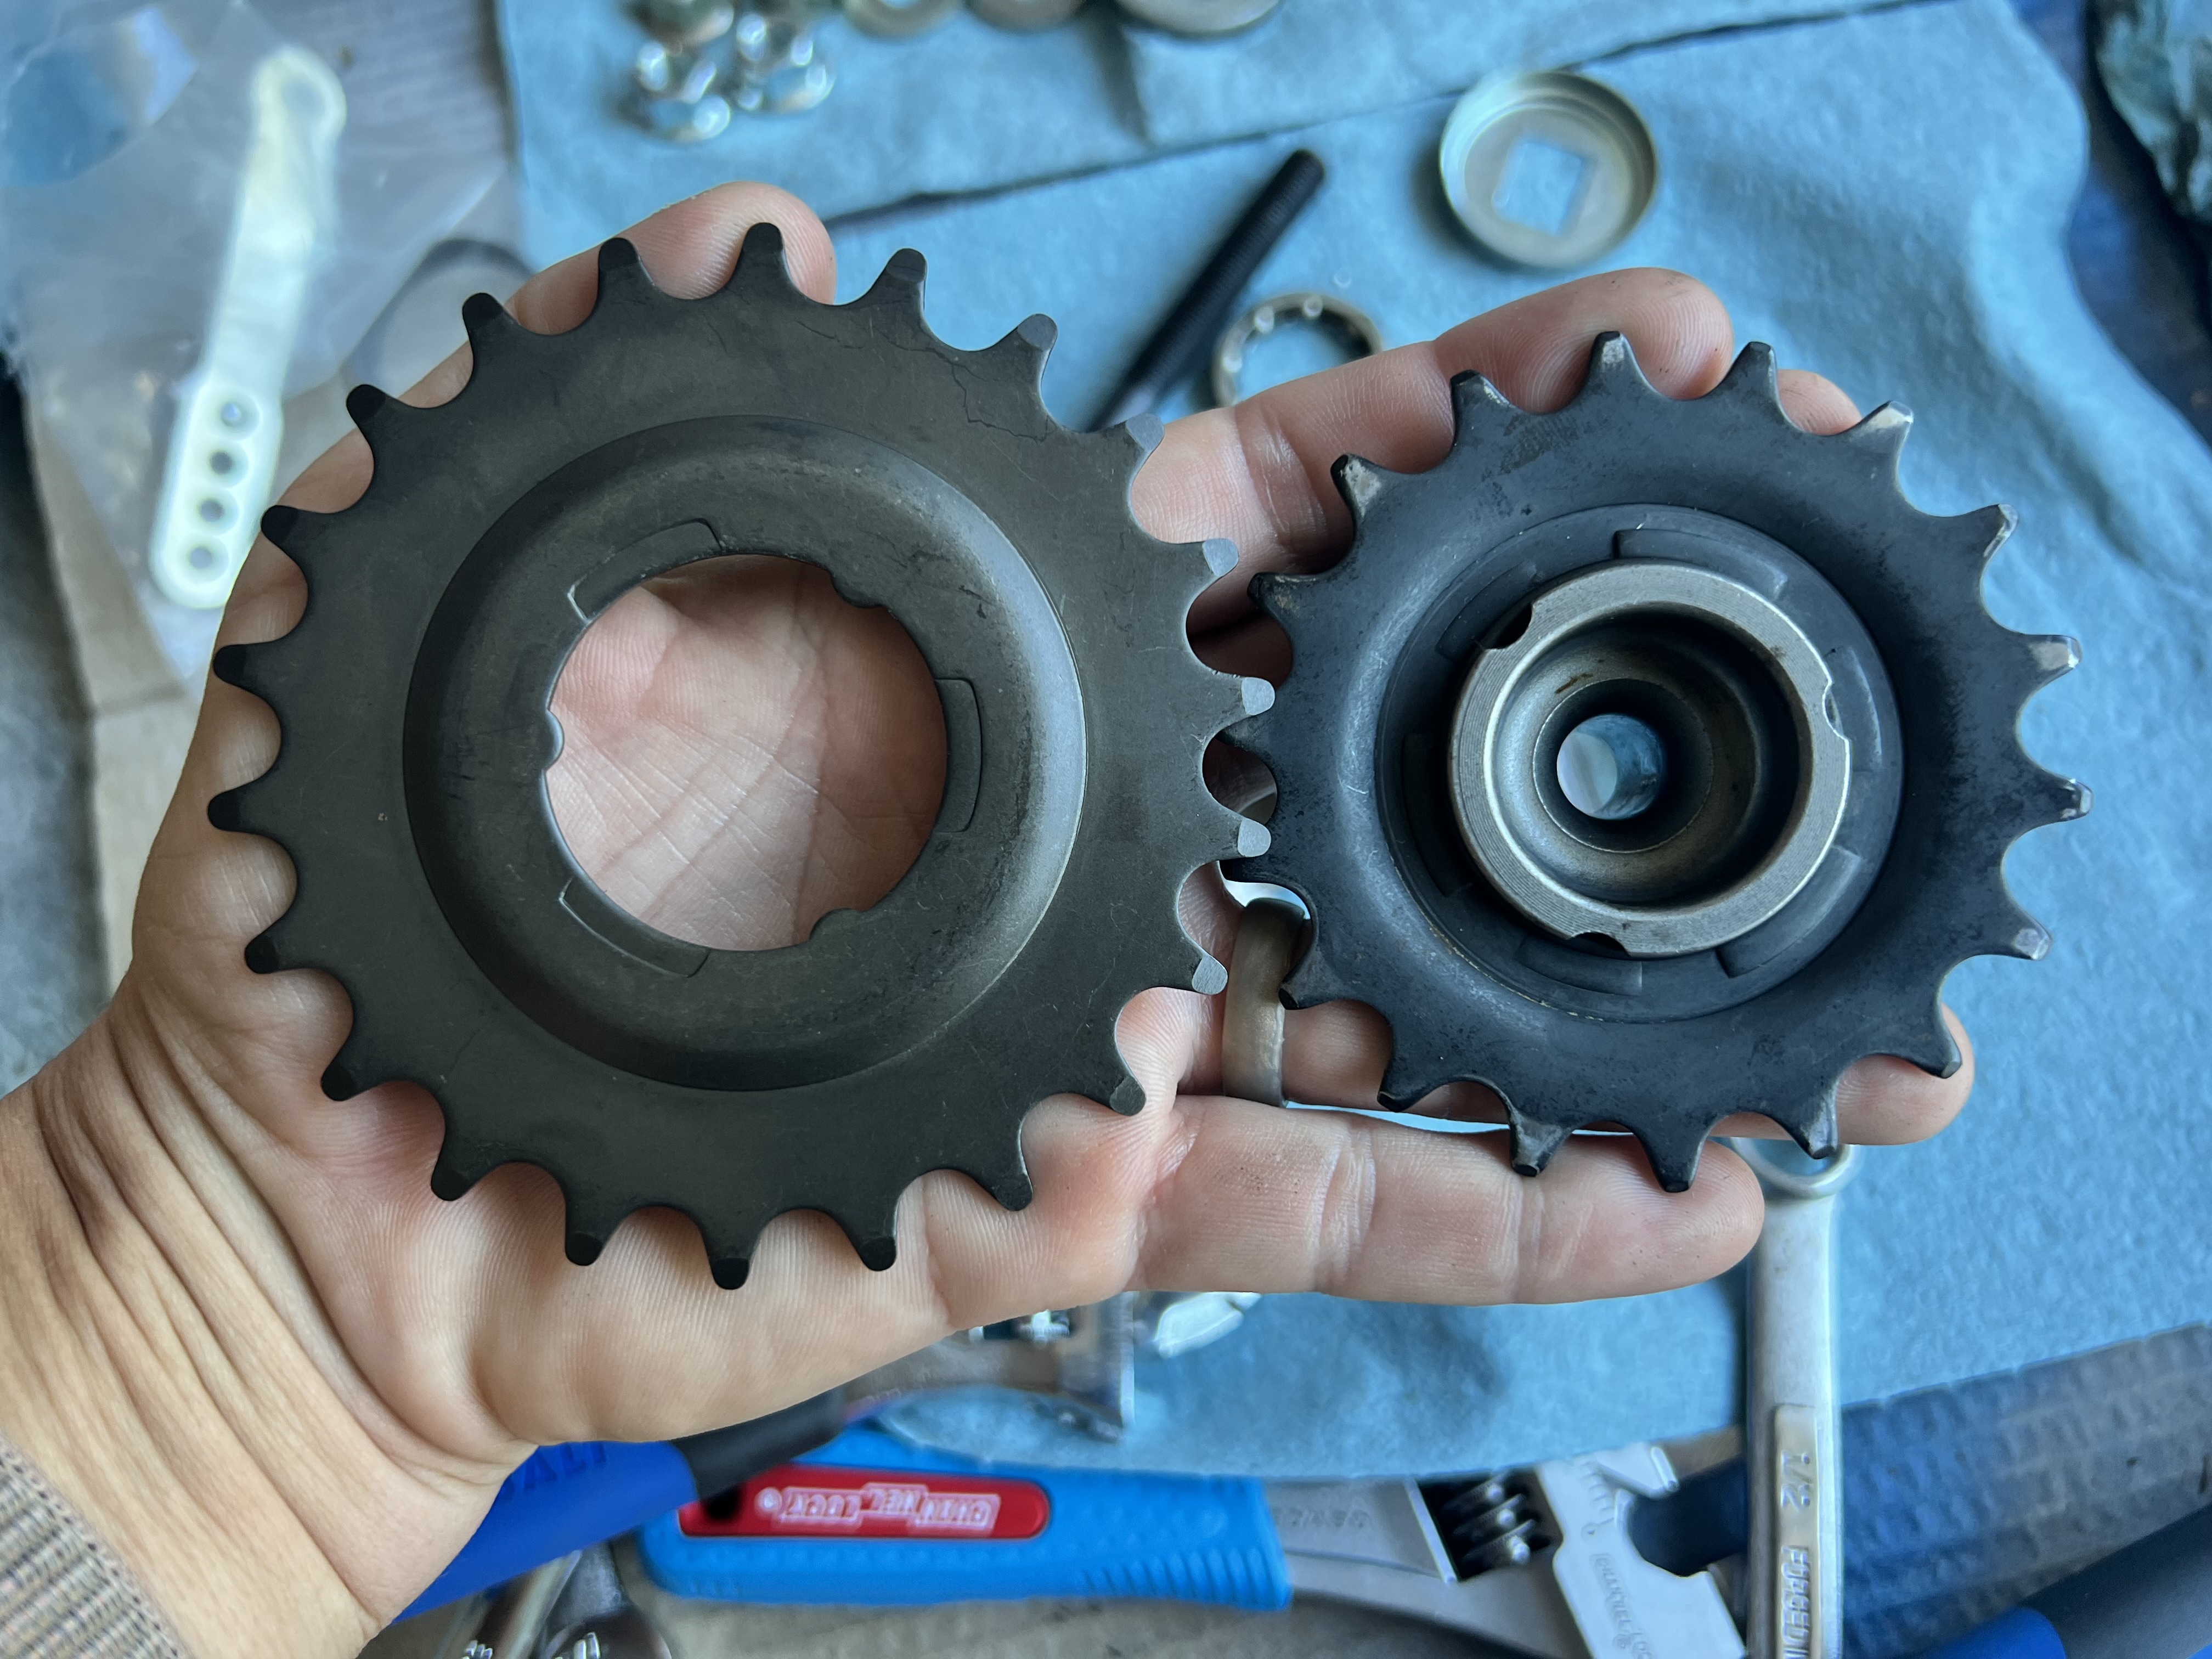
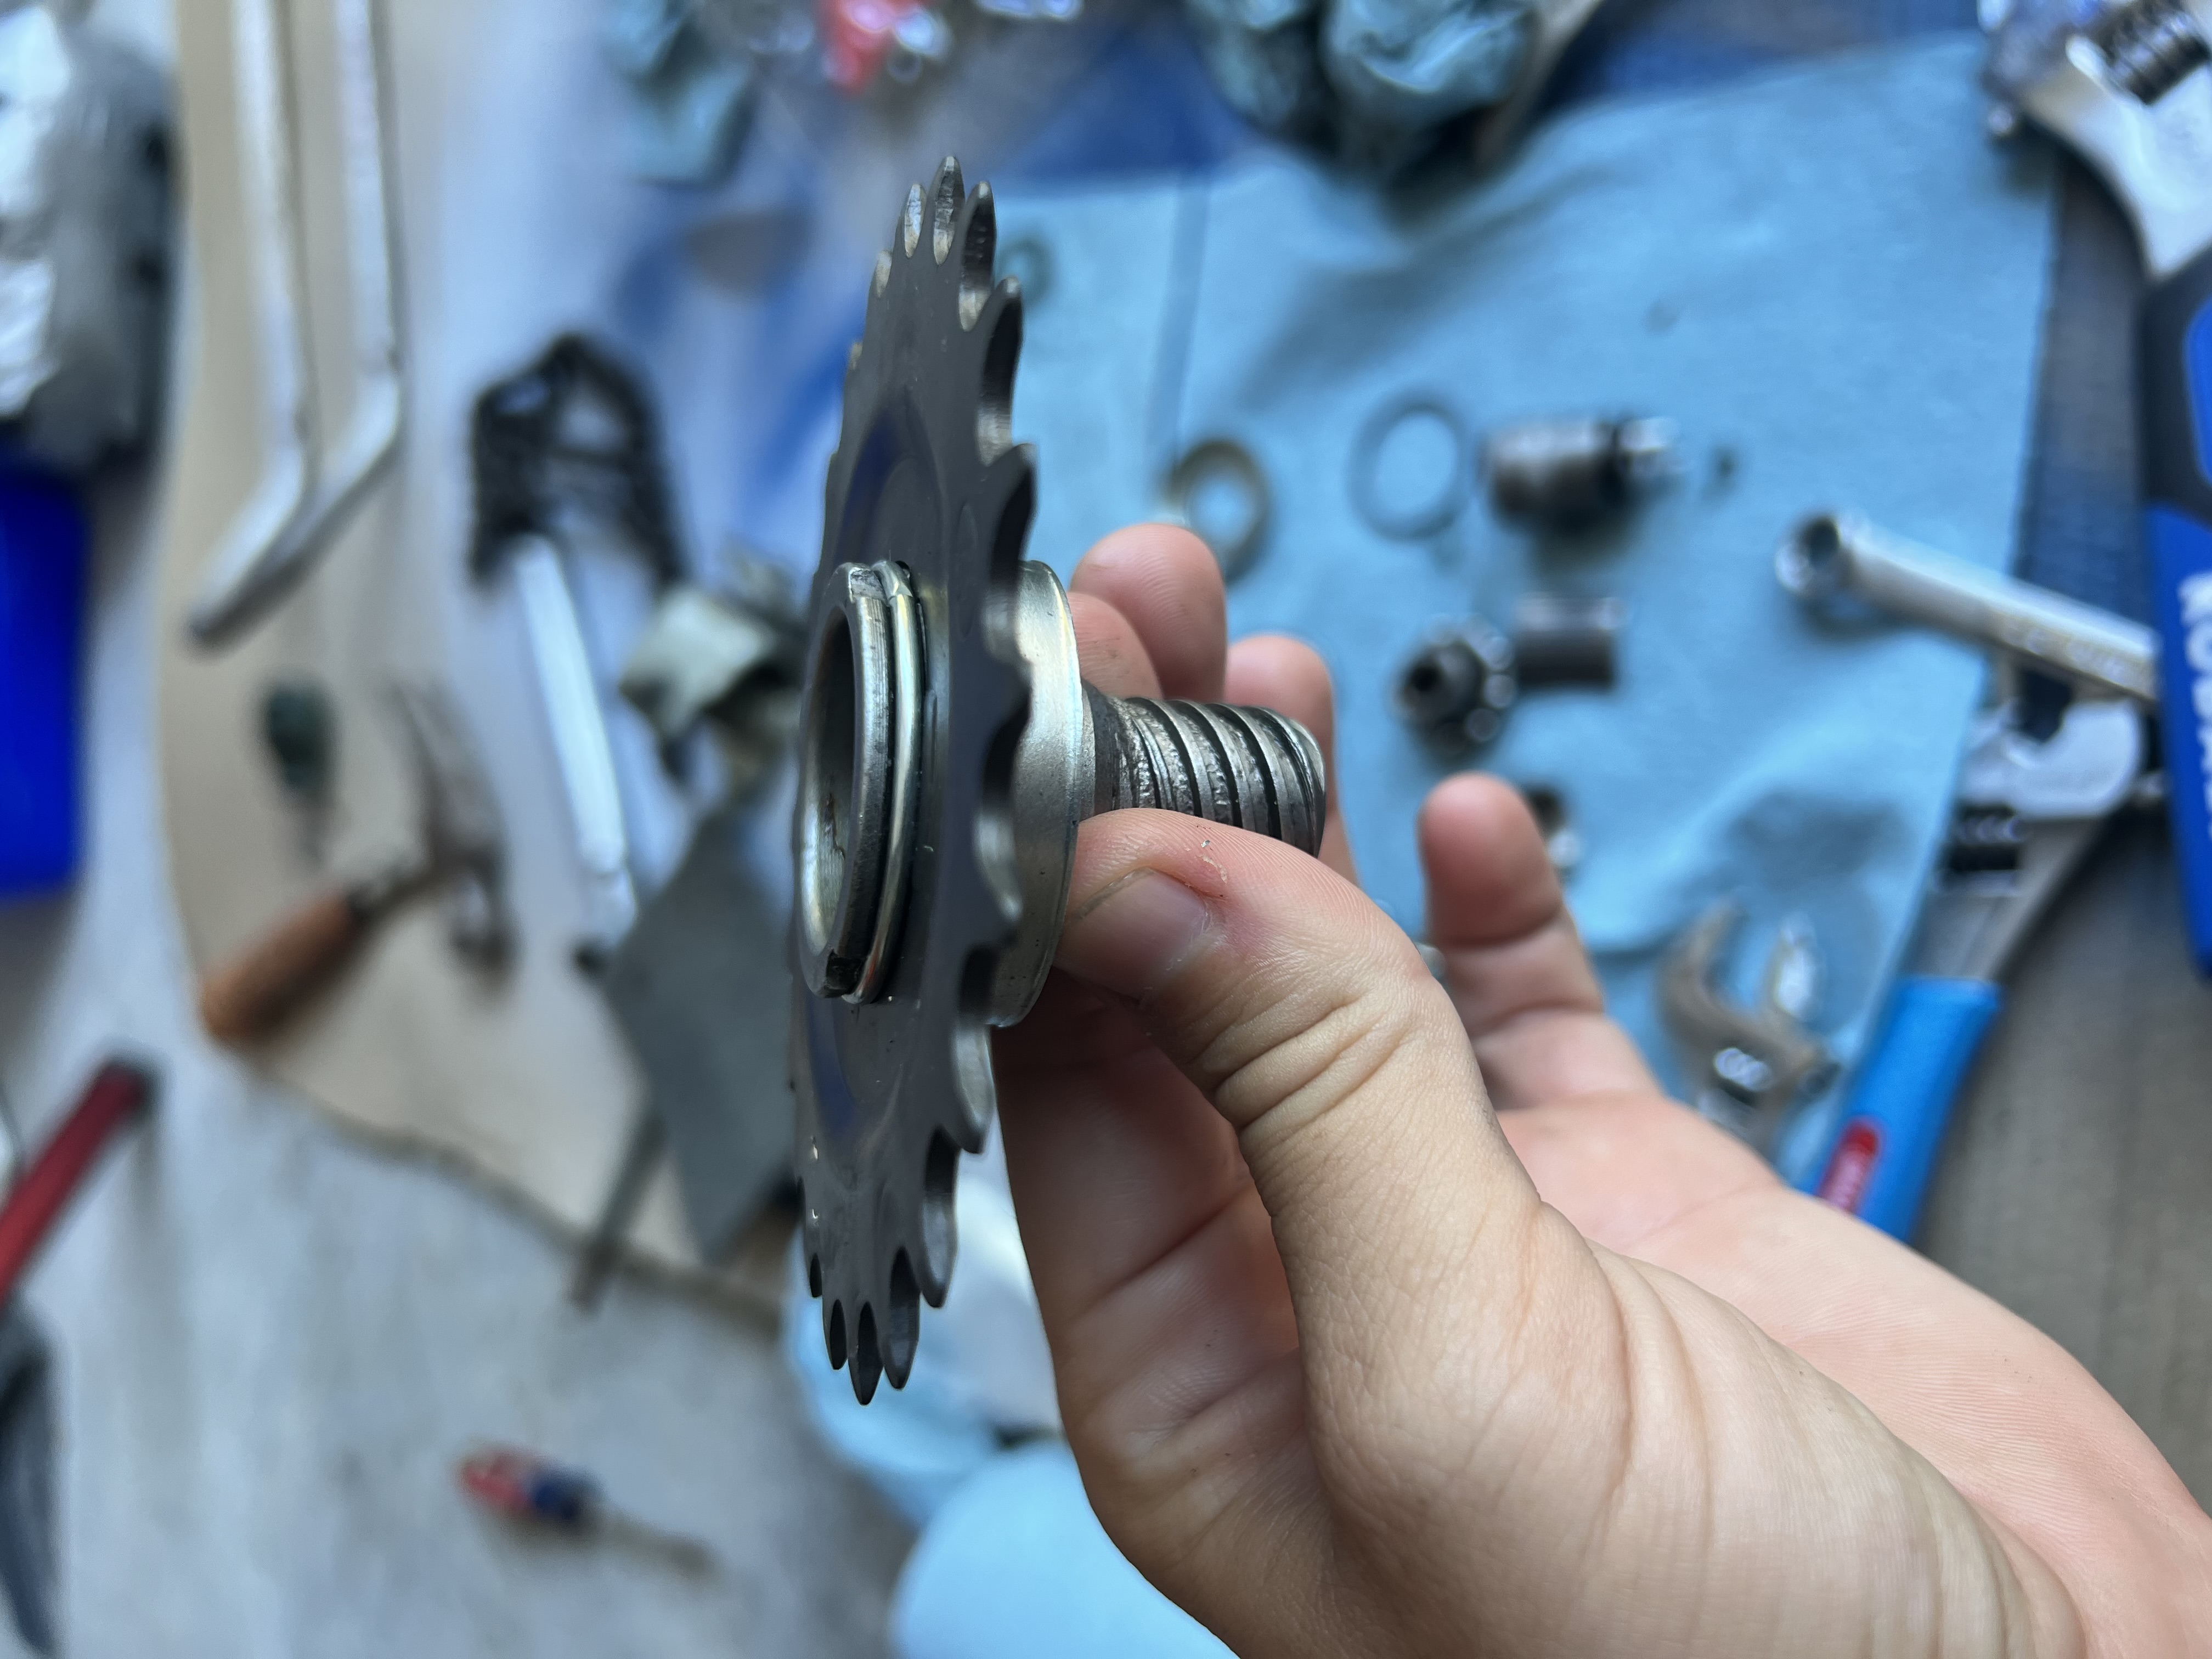
Now that I have my new rear sprocket (my knees say thank you!) I can tear apart the rear wheel. Because I’m an idiot with an unwarranted strong aversion to watching informational youtube videos I just went ahead and dug into the wheel and ended up completely disassembling the coaster brake hub internals to get to the sprocket. Well… the sprocket is held on with a little clip and I didn’t need to take anything apart. Awesome… But now that its’ guts are spilled apart in the garage I may as well clean and re-grease it all.
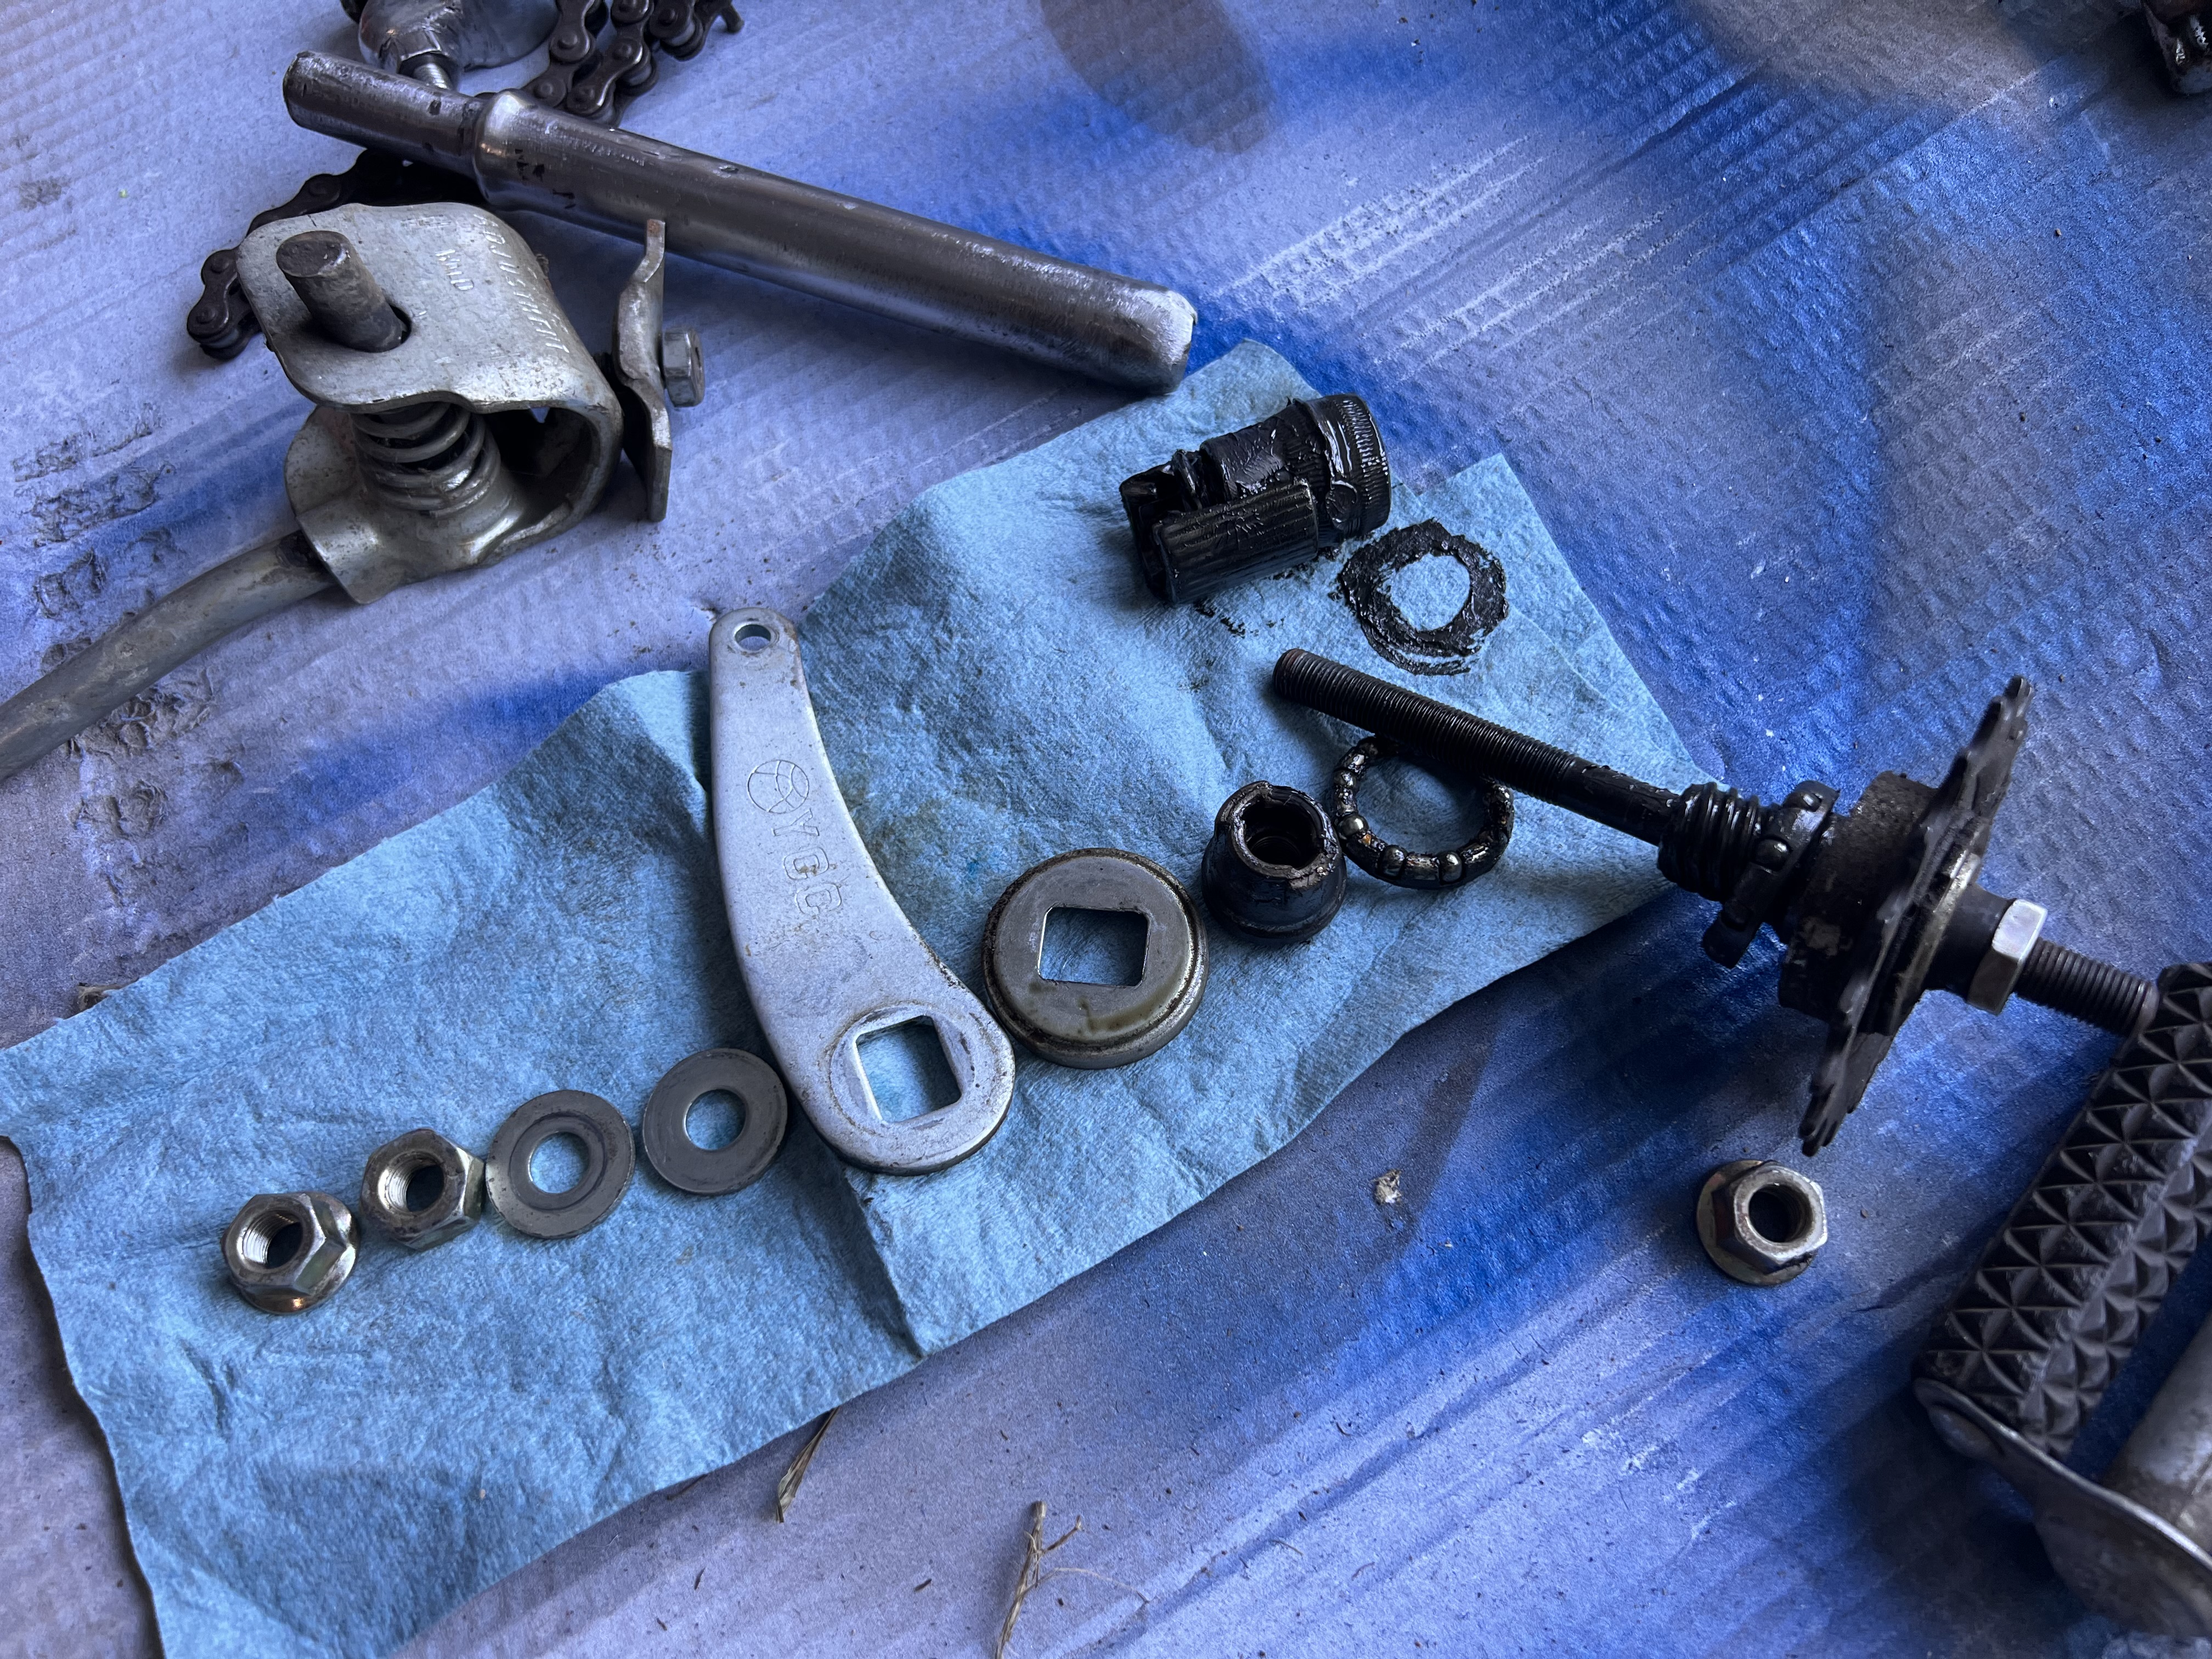
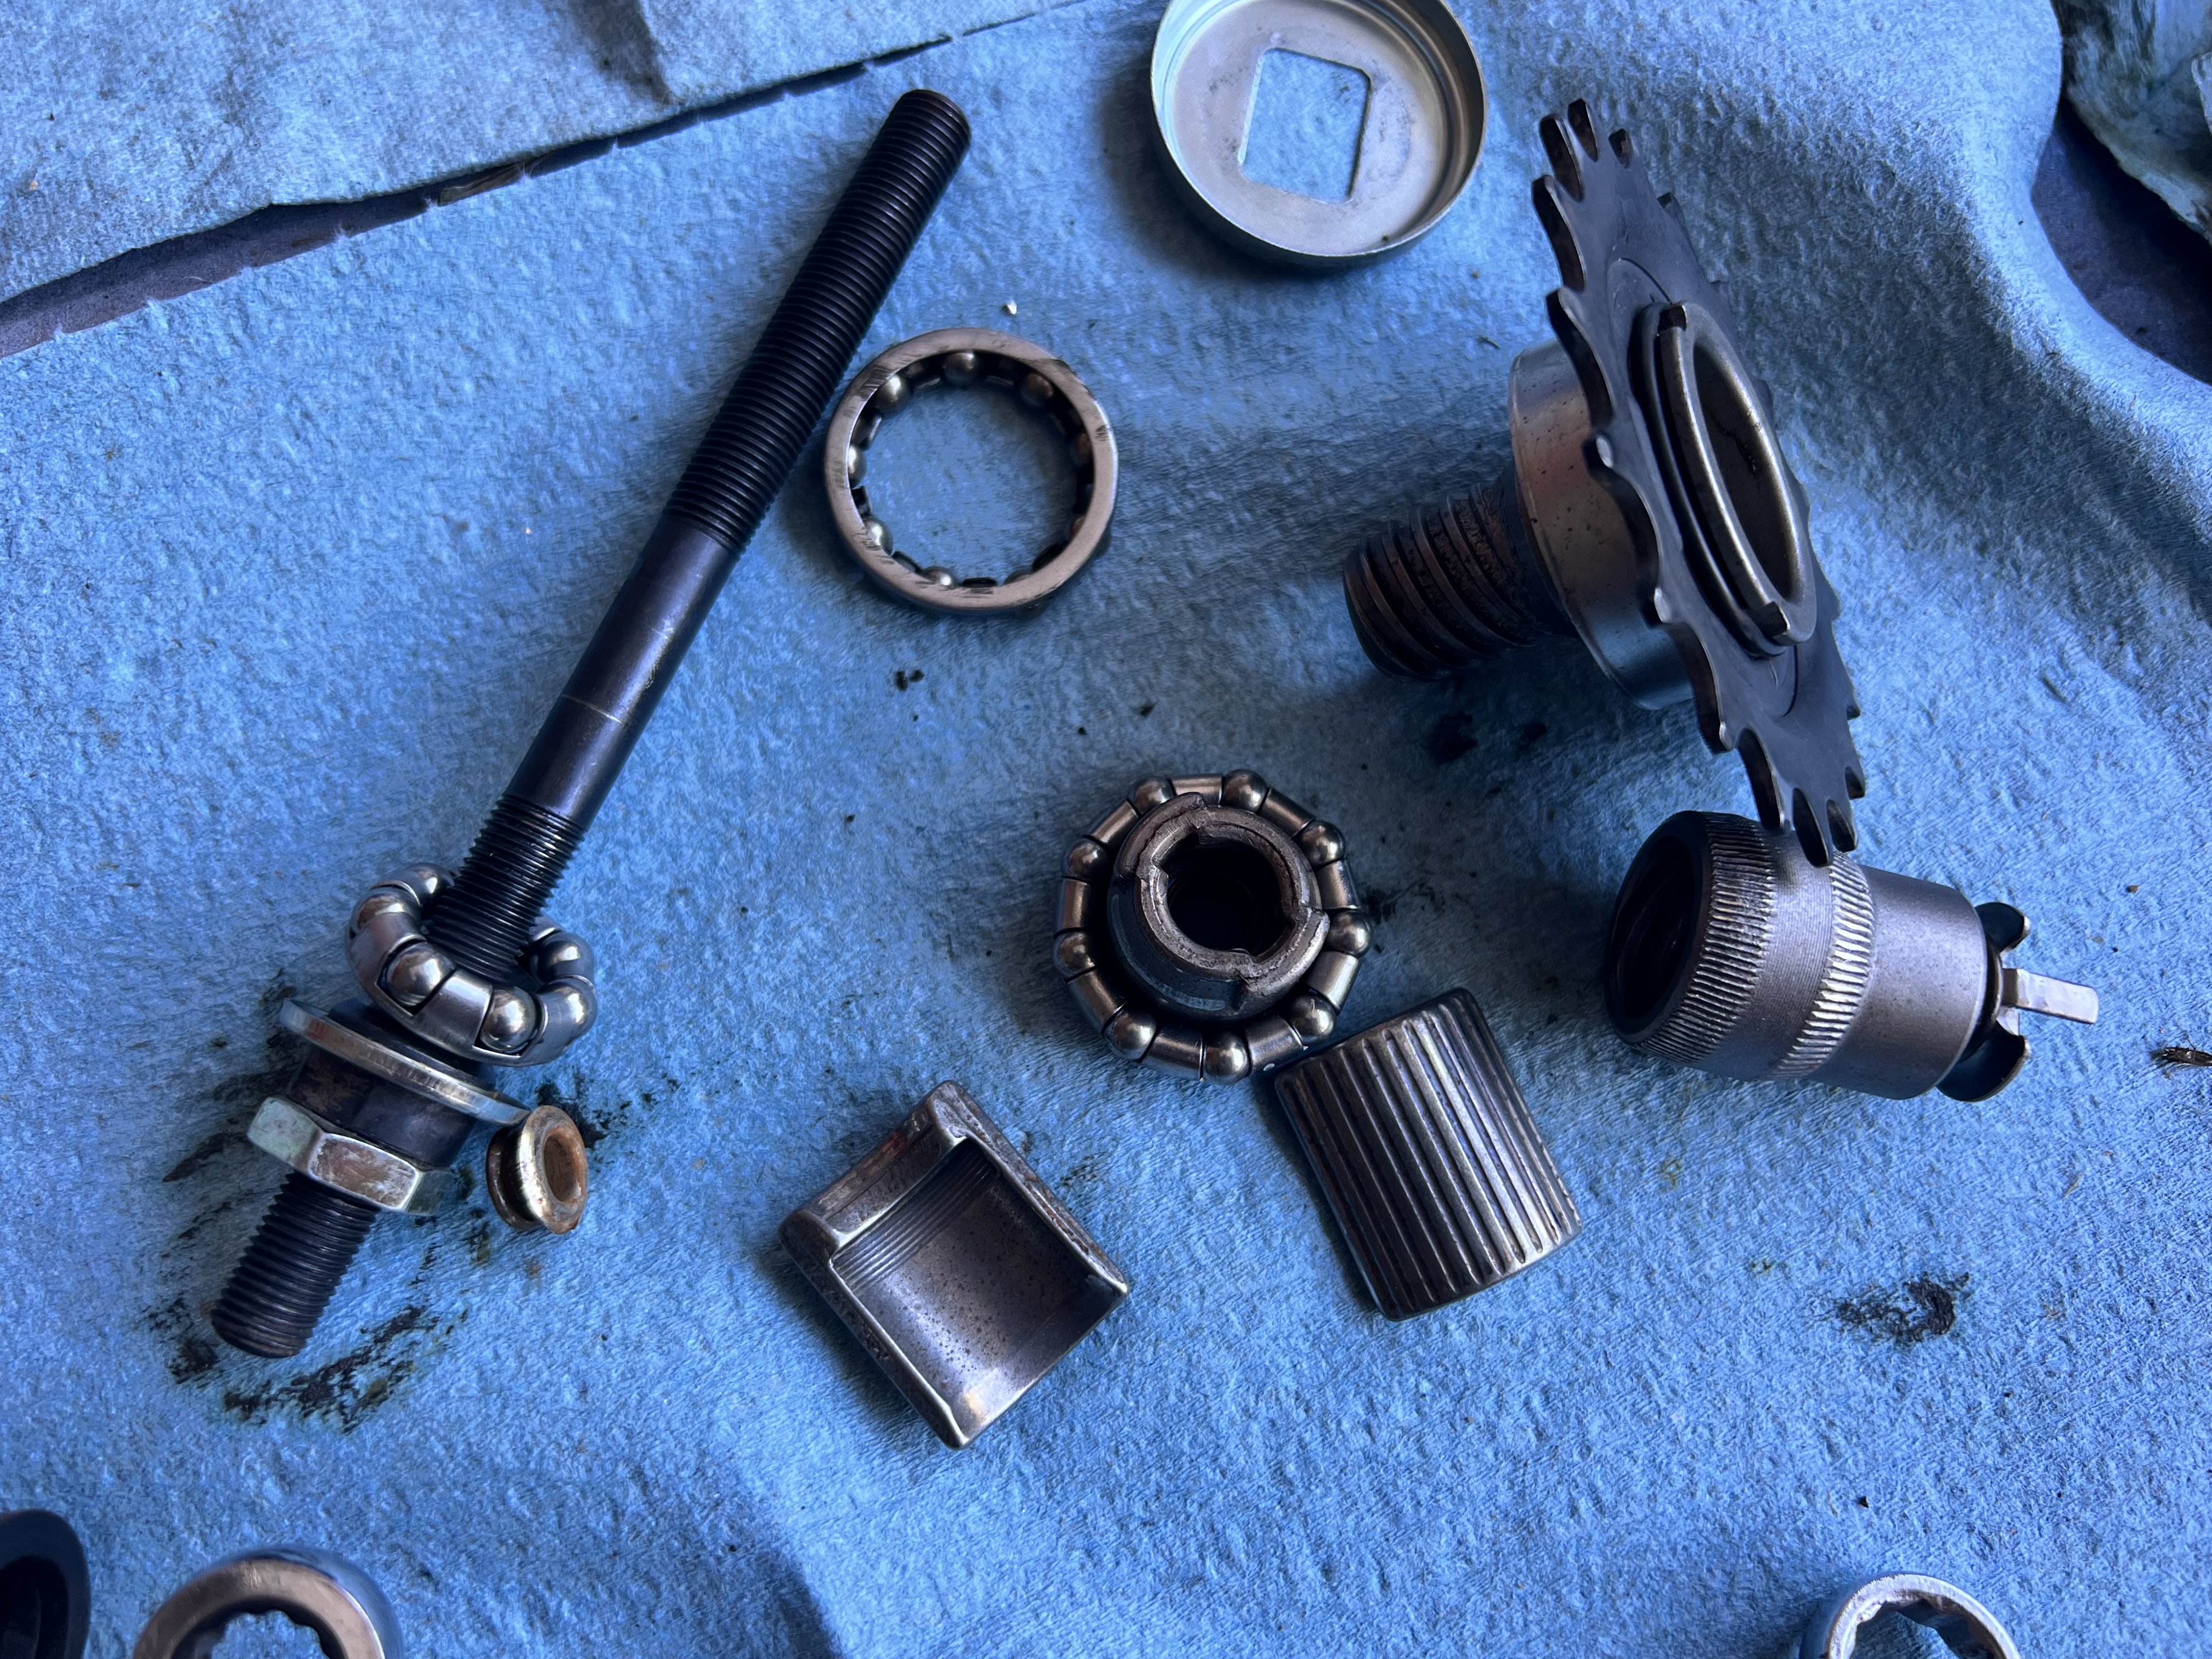
Reassembly of all of this stuff required a youtube video and Jason’s help holding it all together, but it was actually pretty easy. The coaster brake hub needs a ton of grease to function properly and the grease holds all the loose pieces together so it’s a win/win. Now that the hub was functional, I put cleaned the wheel up and installed the new white wall tire!
Now back to the saga that the front wheel has turned into… My new wheel arrived and I spent a little time cleaning, polishing, and greasing the axle and bearings so it would actually spin nicely. But when I tried to put the tire on it just wasn’t working… like at all. Now, this is an easy task. One that I’ve done multiple times and the back tire went on easily so what’s the problem? I waited for Jason to get home to help and he couldn’t get it either! Well… it turns out that Schwinn used proprietary sizes back in the day and I needed to order a *special* size tire for it to work. So after a ton of frustration and a few small thrown tools (those plastic tire irons had it coming!) I spent another $40 on a fancy tire for my tiny little bullshit bike. ::eyeroll::
The whole point of buying a banana seat bike was to get the actual iconic banana seat. The seat cover was in acceptable shape with a few tears but the foam underneath was pretty well shot and not comfortable to sit on. I also just really want to go all in with the gold metalflake so I ordered some gold metalflake vinyl to replace the seat cover and got to work tearing it all apart.

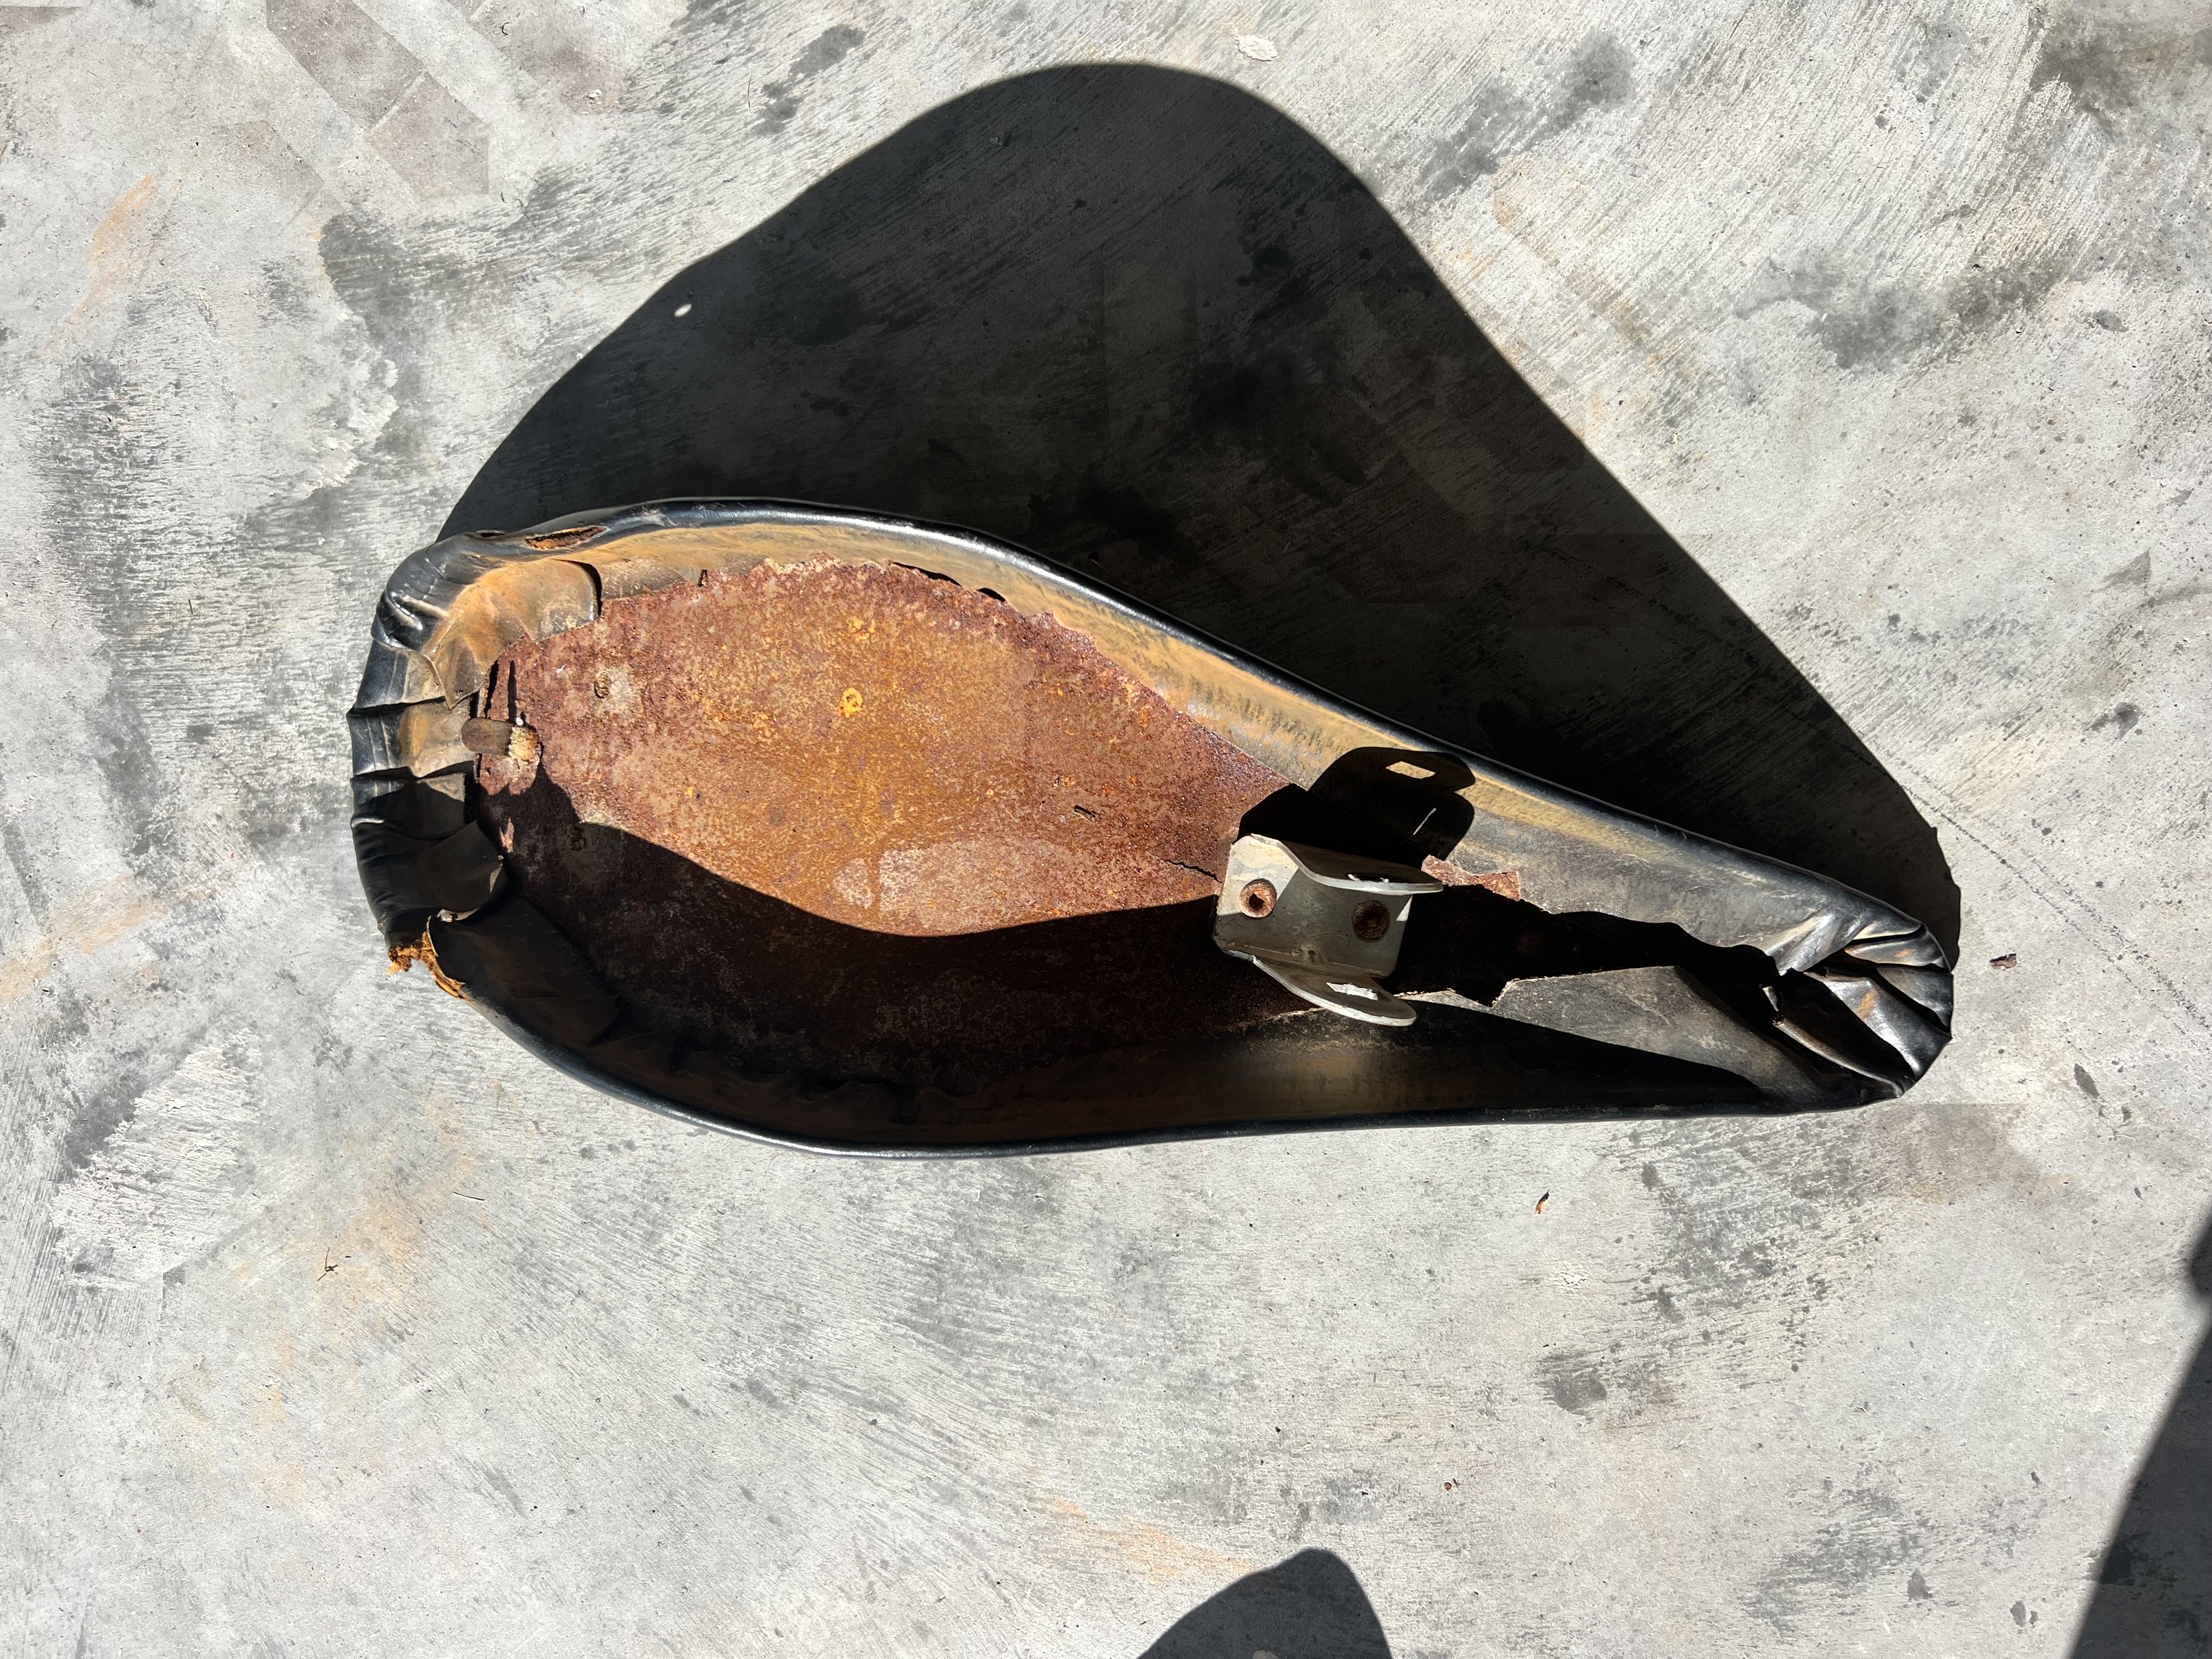
You know how all old cars have that weird “old car smell” regardless of make or model? I feel that that’s just got to be decaying foam and glue because this little bike seat had that same exact (gross) smell. I had to pry the glued foam off of the rusty seat pan, which made a mess all over the garage.

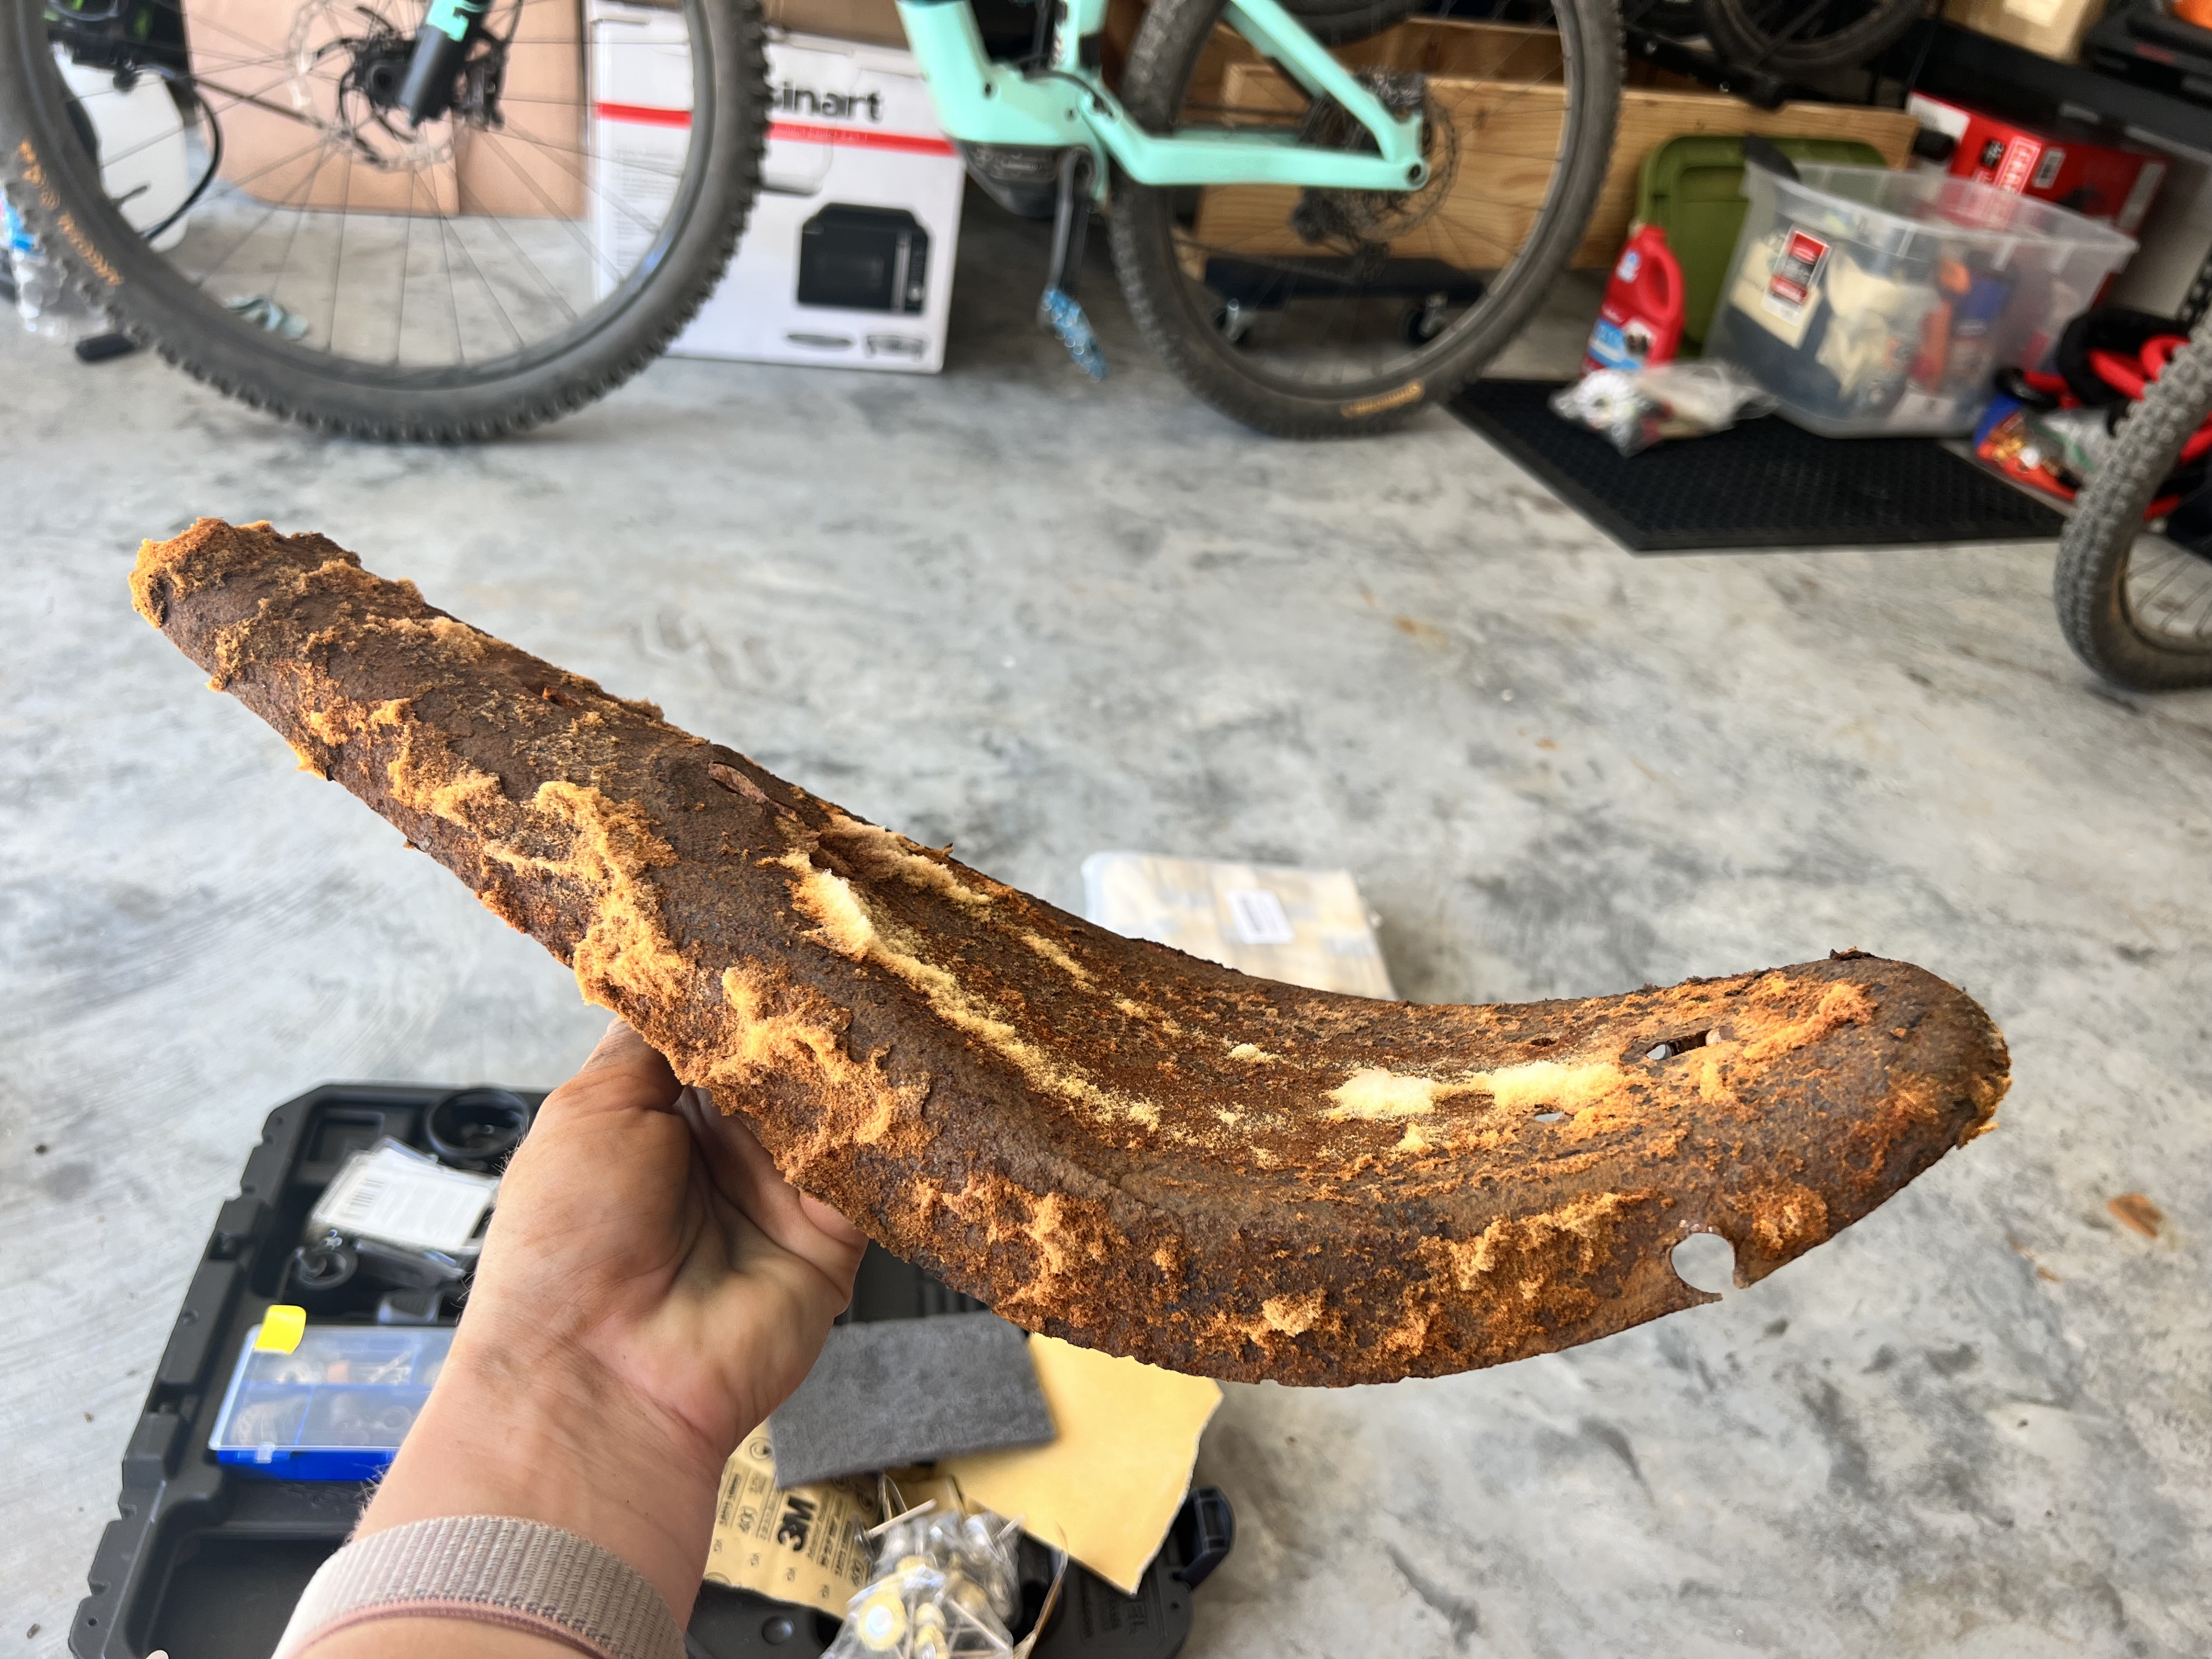
It turns out that the seat pan may have been the part of this bike that’s in the worst shape. The entire thing was just made of flaking metal rust. The mounting holes were nearly disintegrated and the seat pan had open cracks where your butt goes. But the worst thing was that the mounting point for the seat post had rotted nearly all the way through which means that, eventually, someone (me, probably) was going to get a rusty seat post to their nether regions. That sounds like the worth possible way to get tetanus.
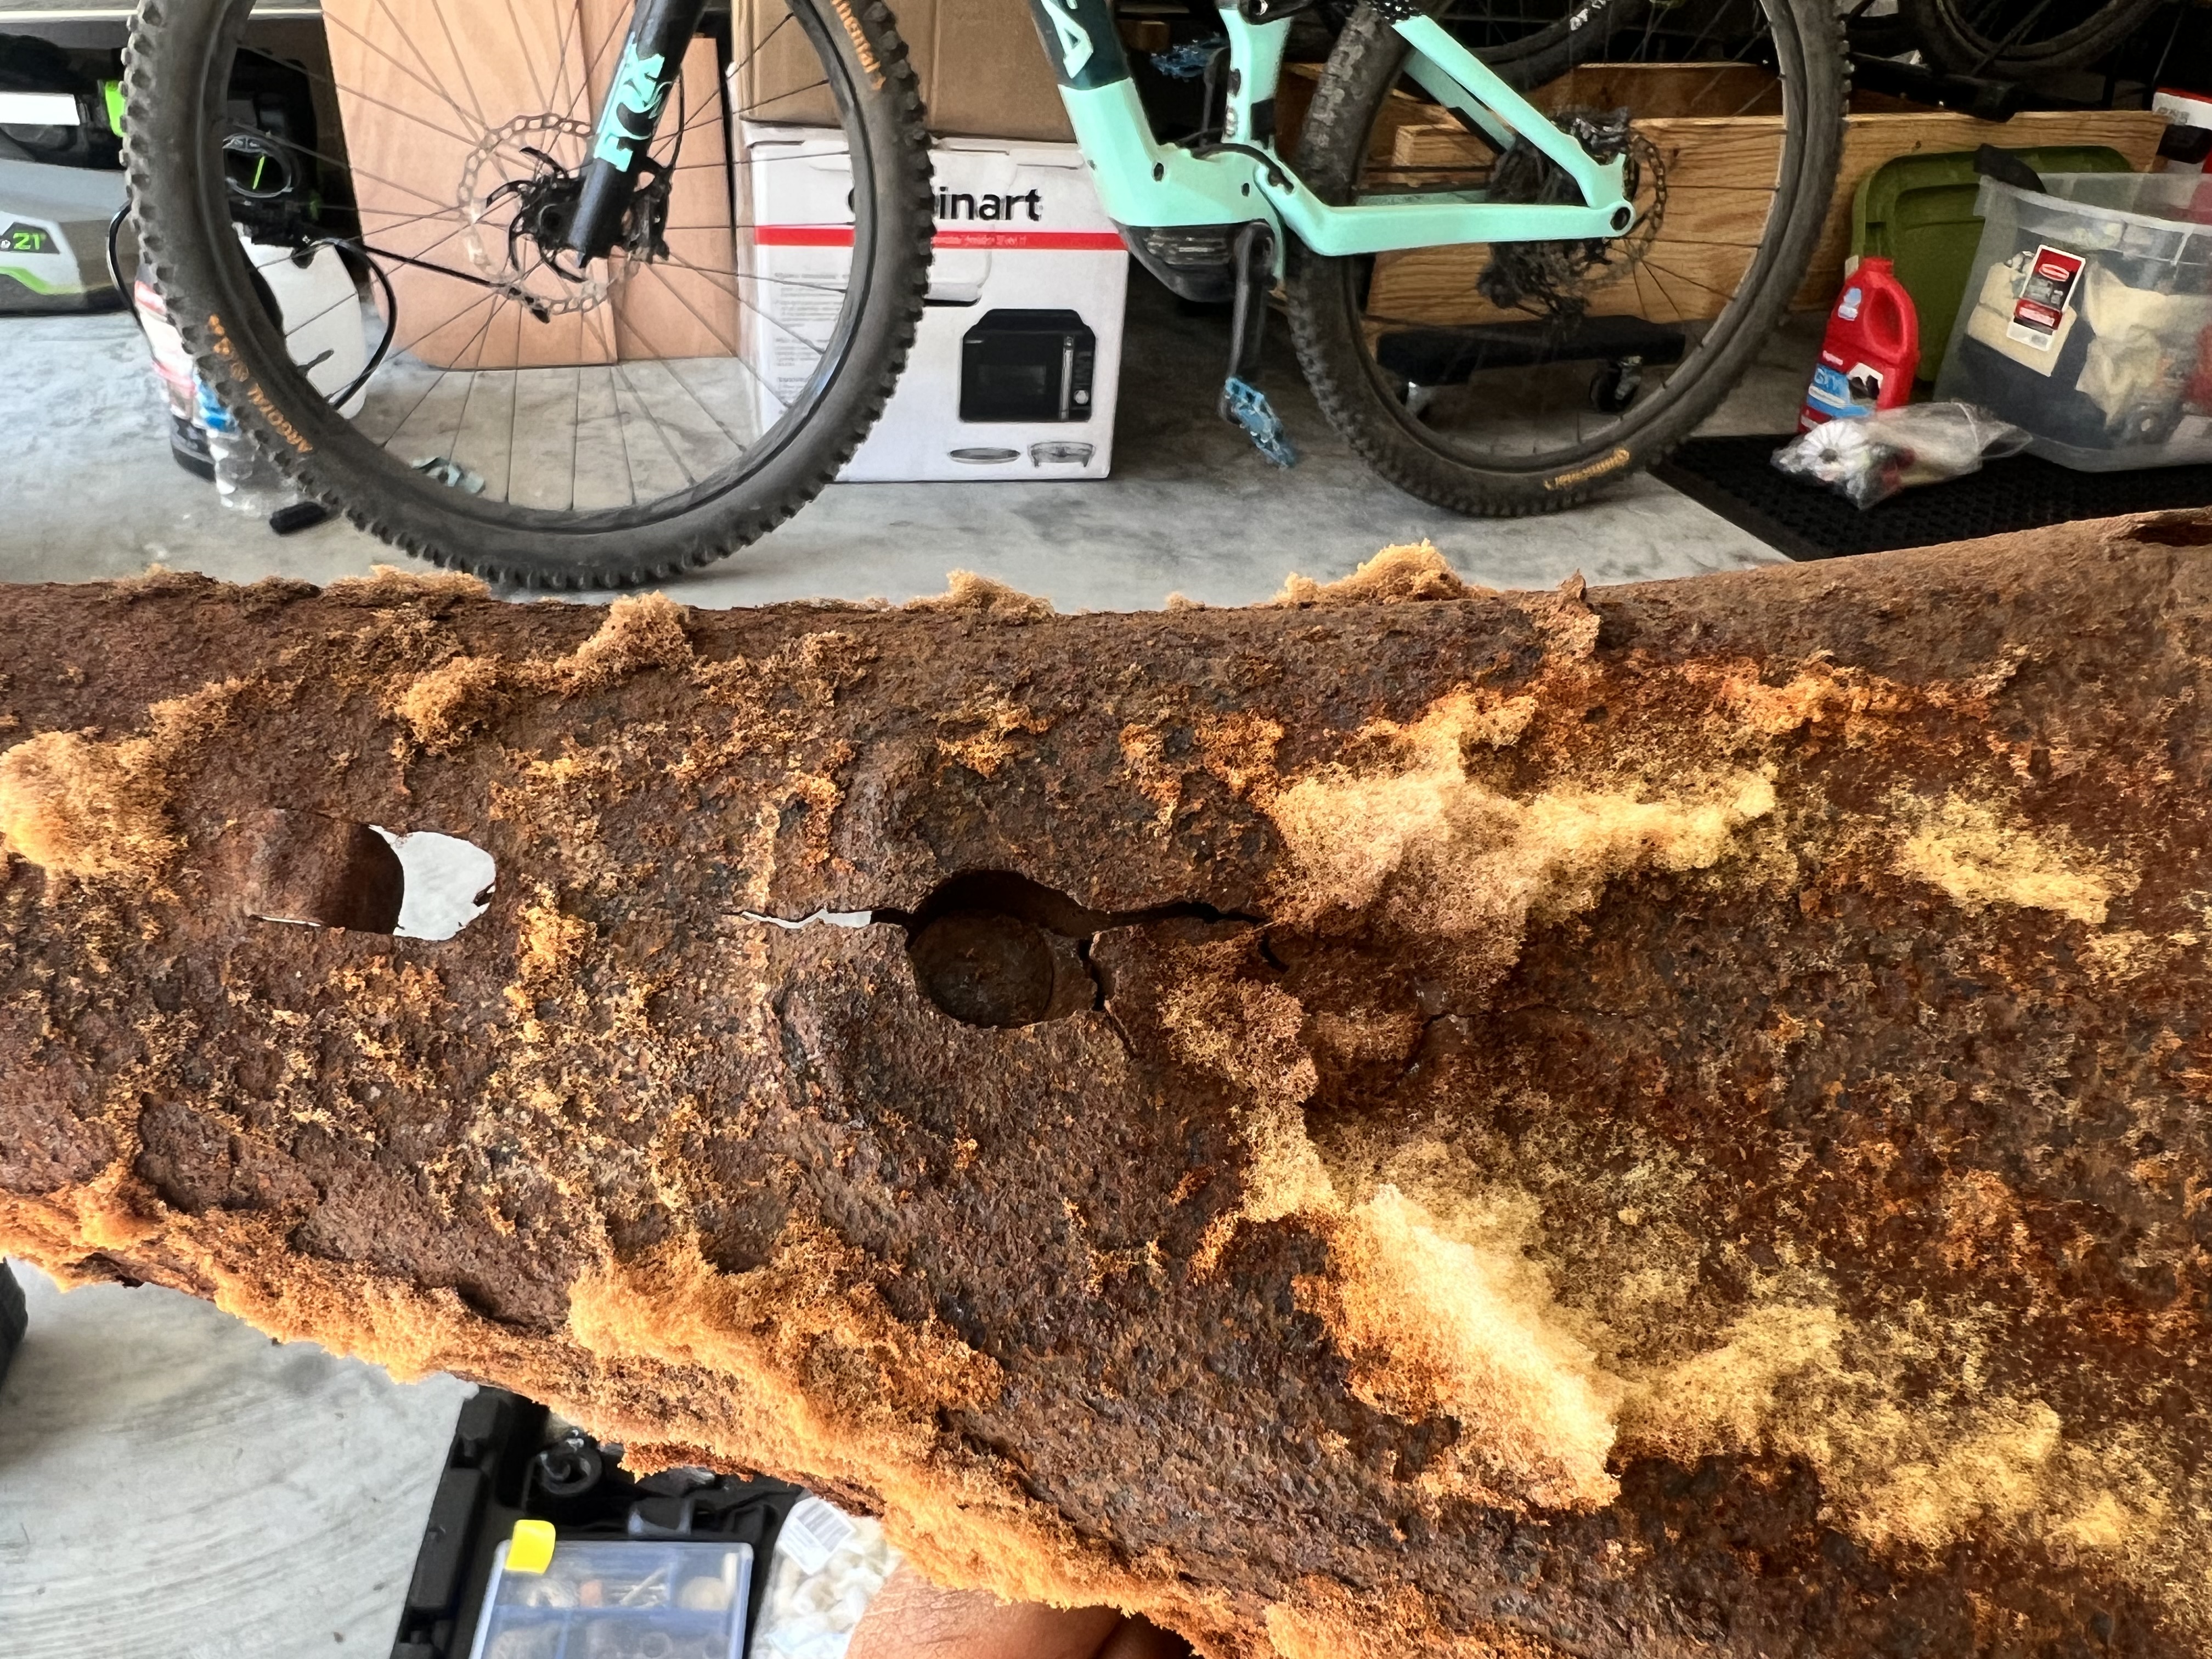
I brainstormed increasingly shady ways to fix this and then realized that I’m not going to be fabricating a custom fiberglass pan using the old one as a mold and that was a dumb idea anyway. Ebay to the rescue yet again and $35 later I have a nearly new one on its way to me in a box.
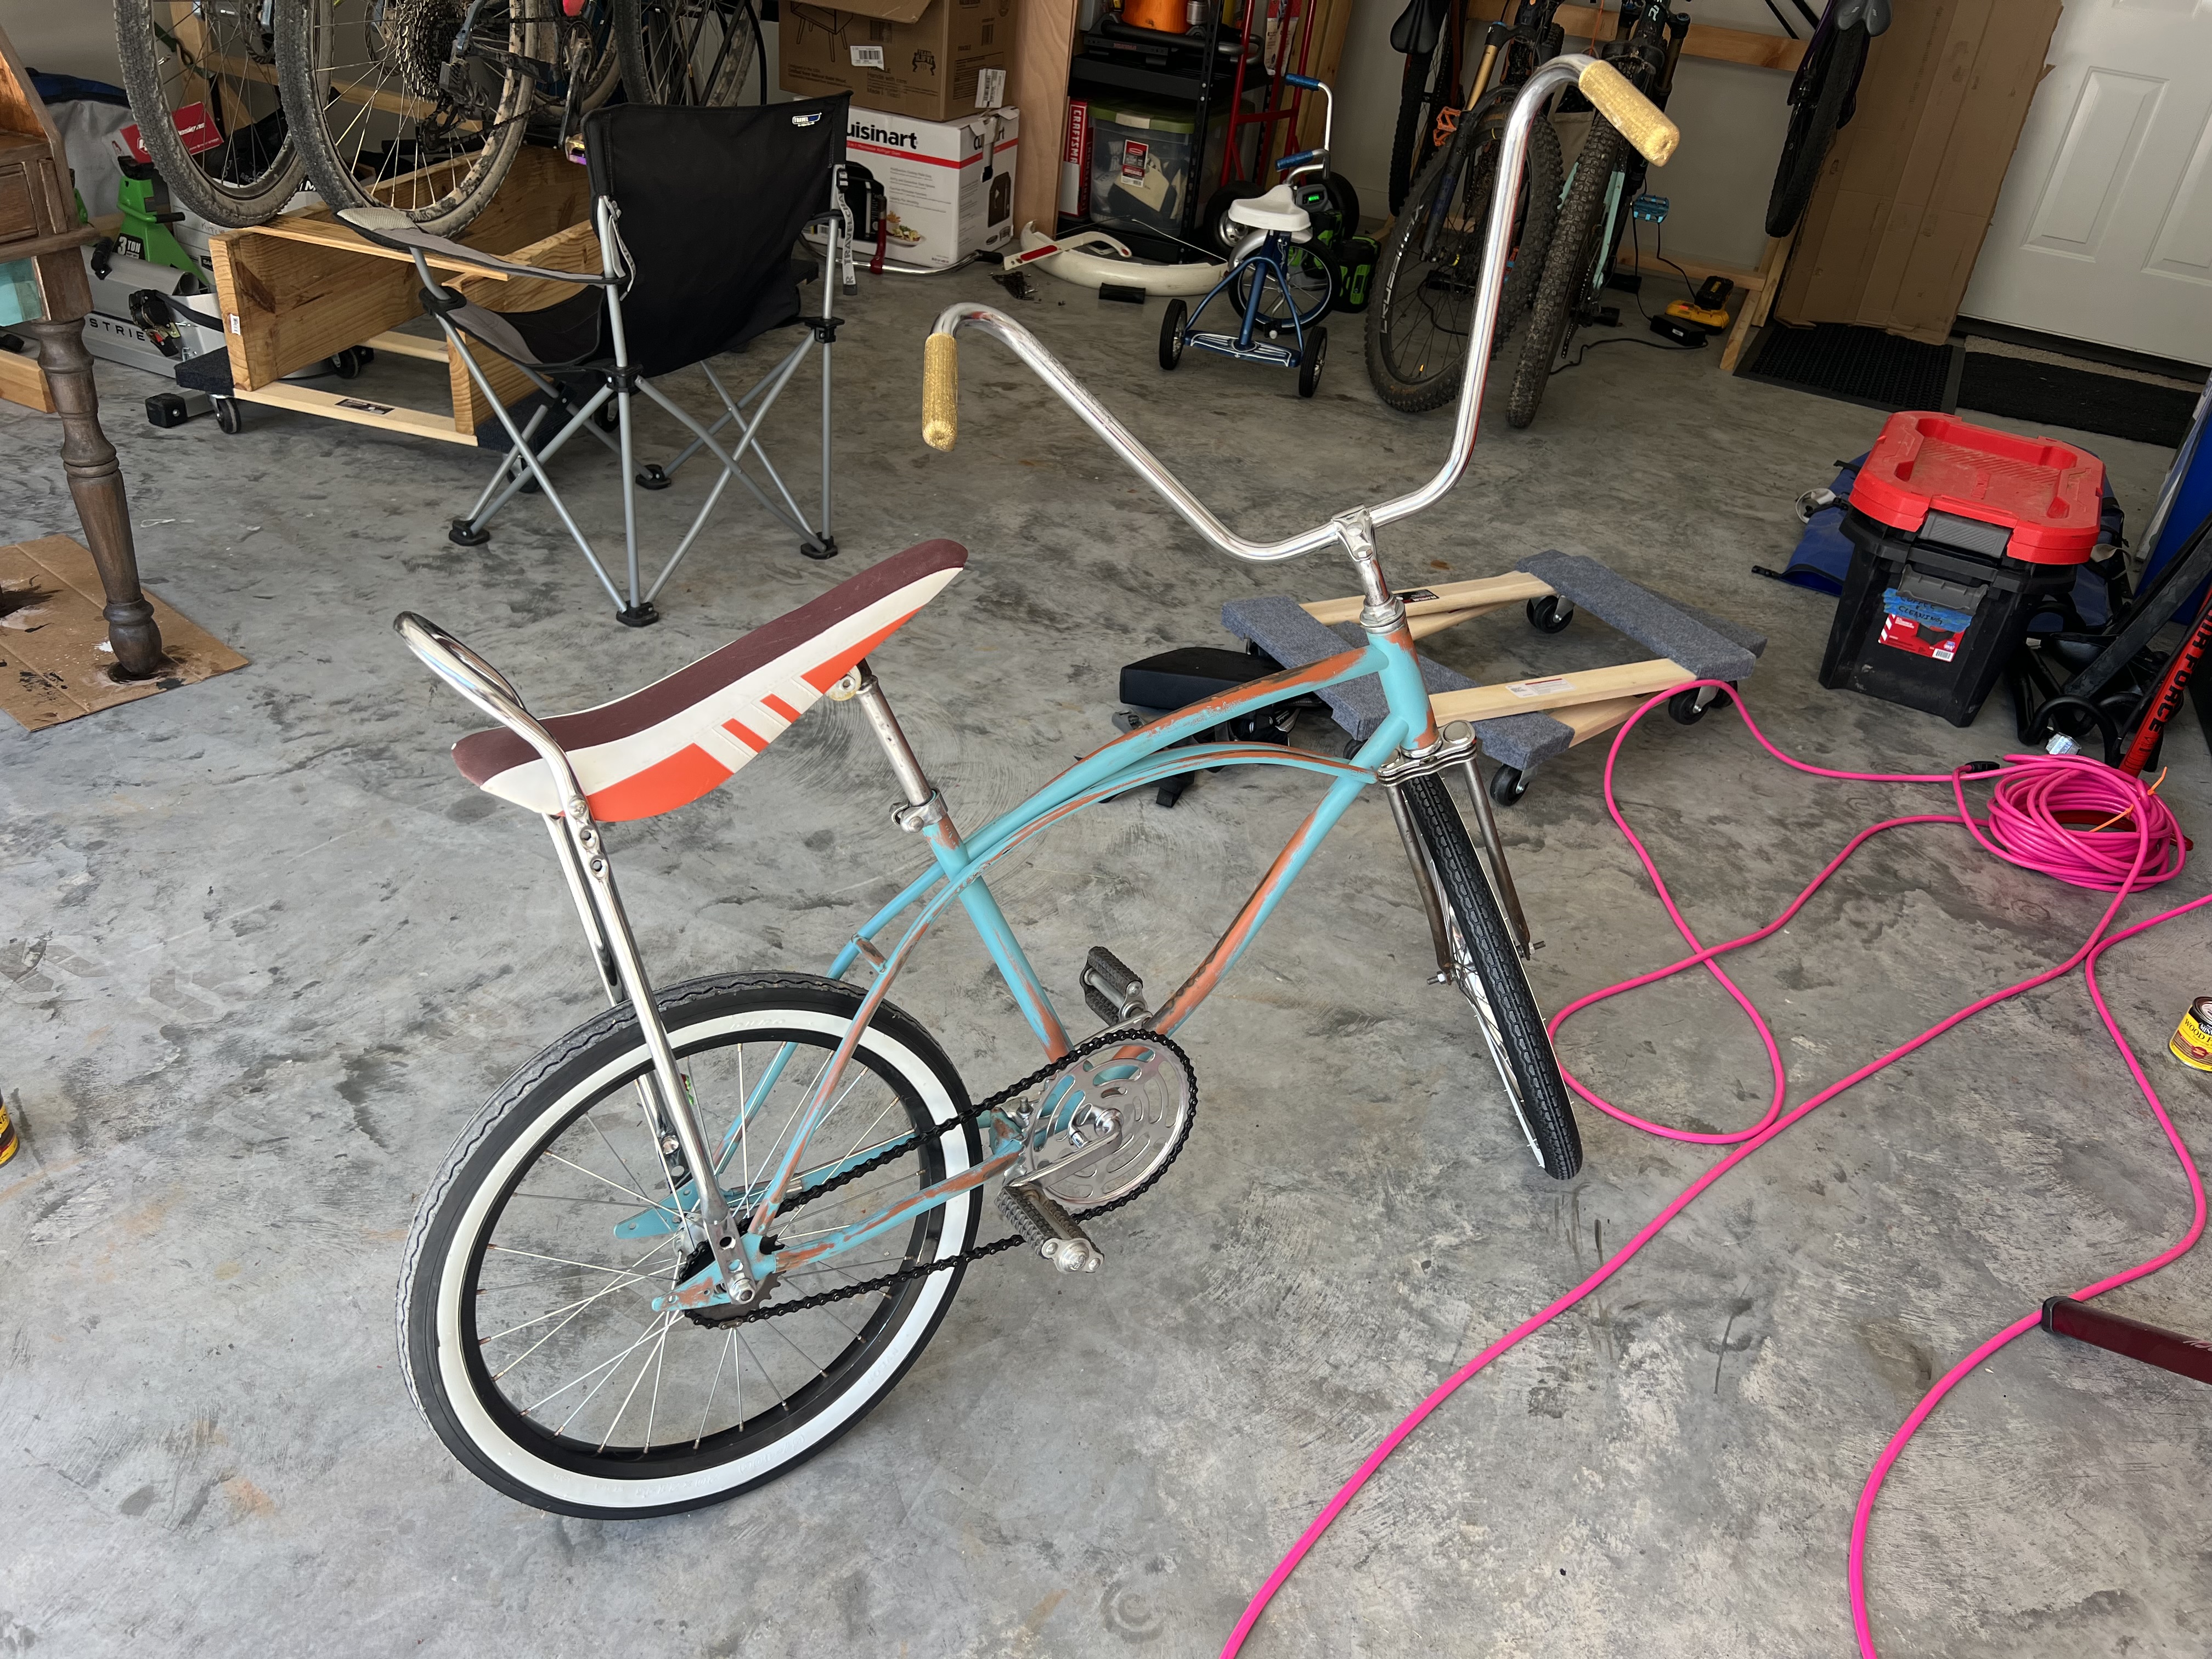
My little banana seat cruiser is now a functional bike! Now the only problem is that because it’s meant for children the seat only goes so high and it hurts my old lady knees to pedal it. The situation was pretty quickly fixed with a 6” chunk of metal to raise the rear sissy bar up so the seat can be level.
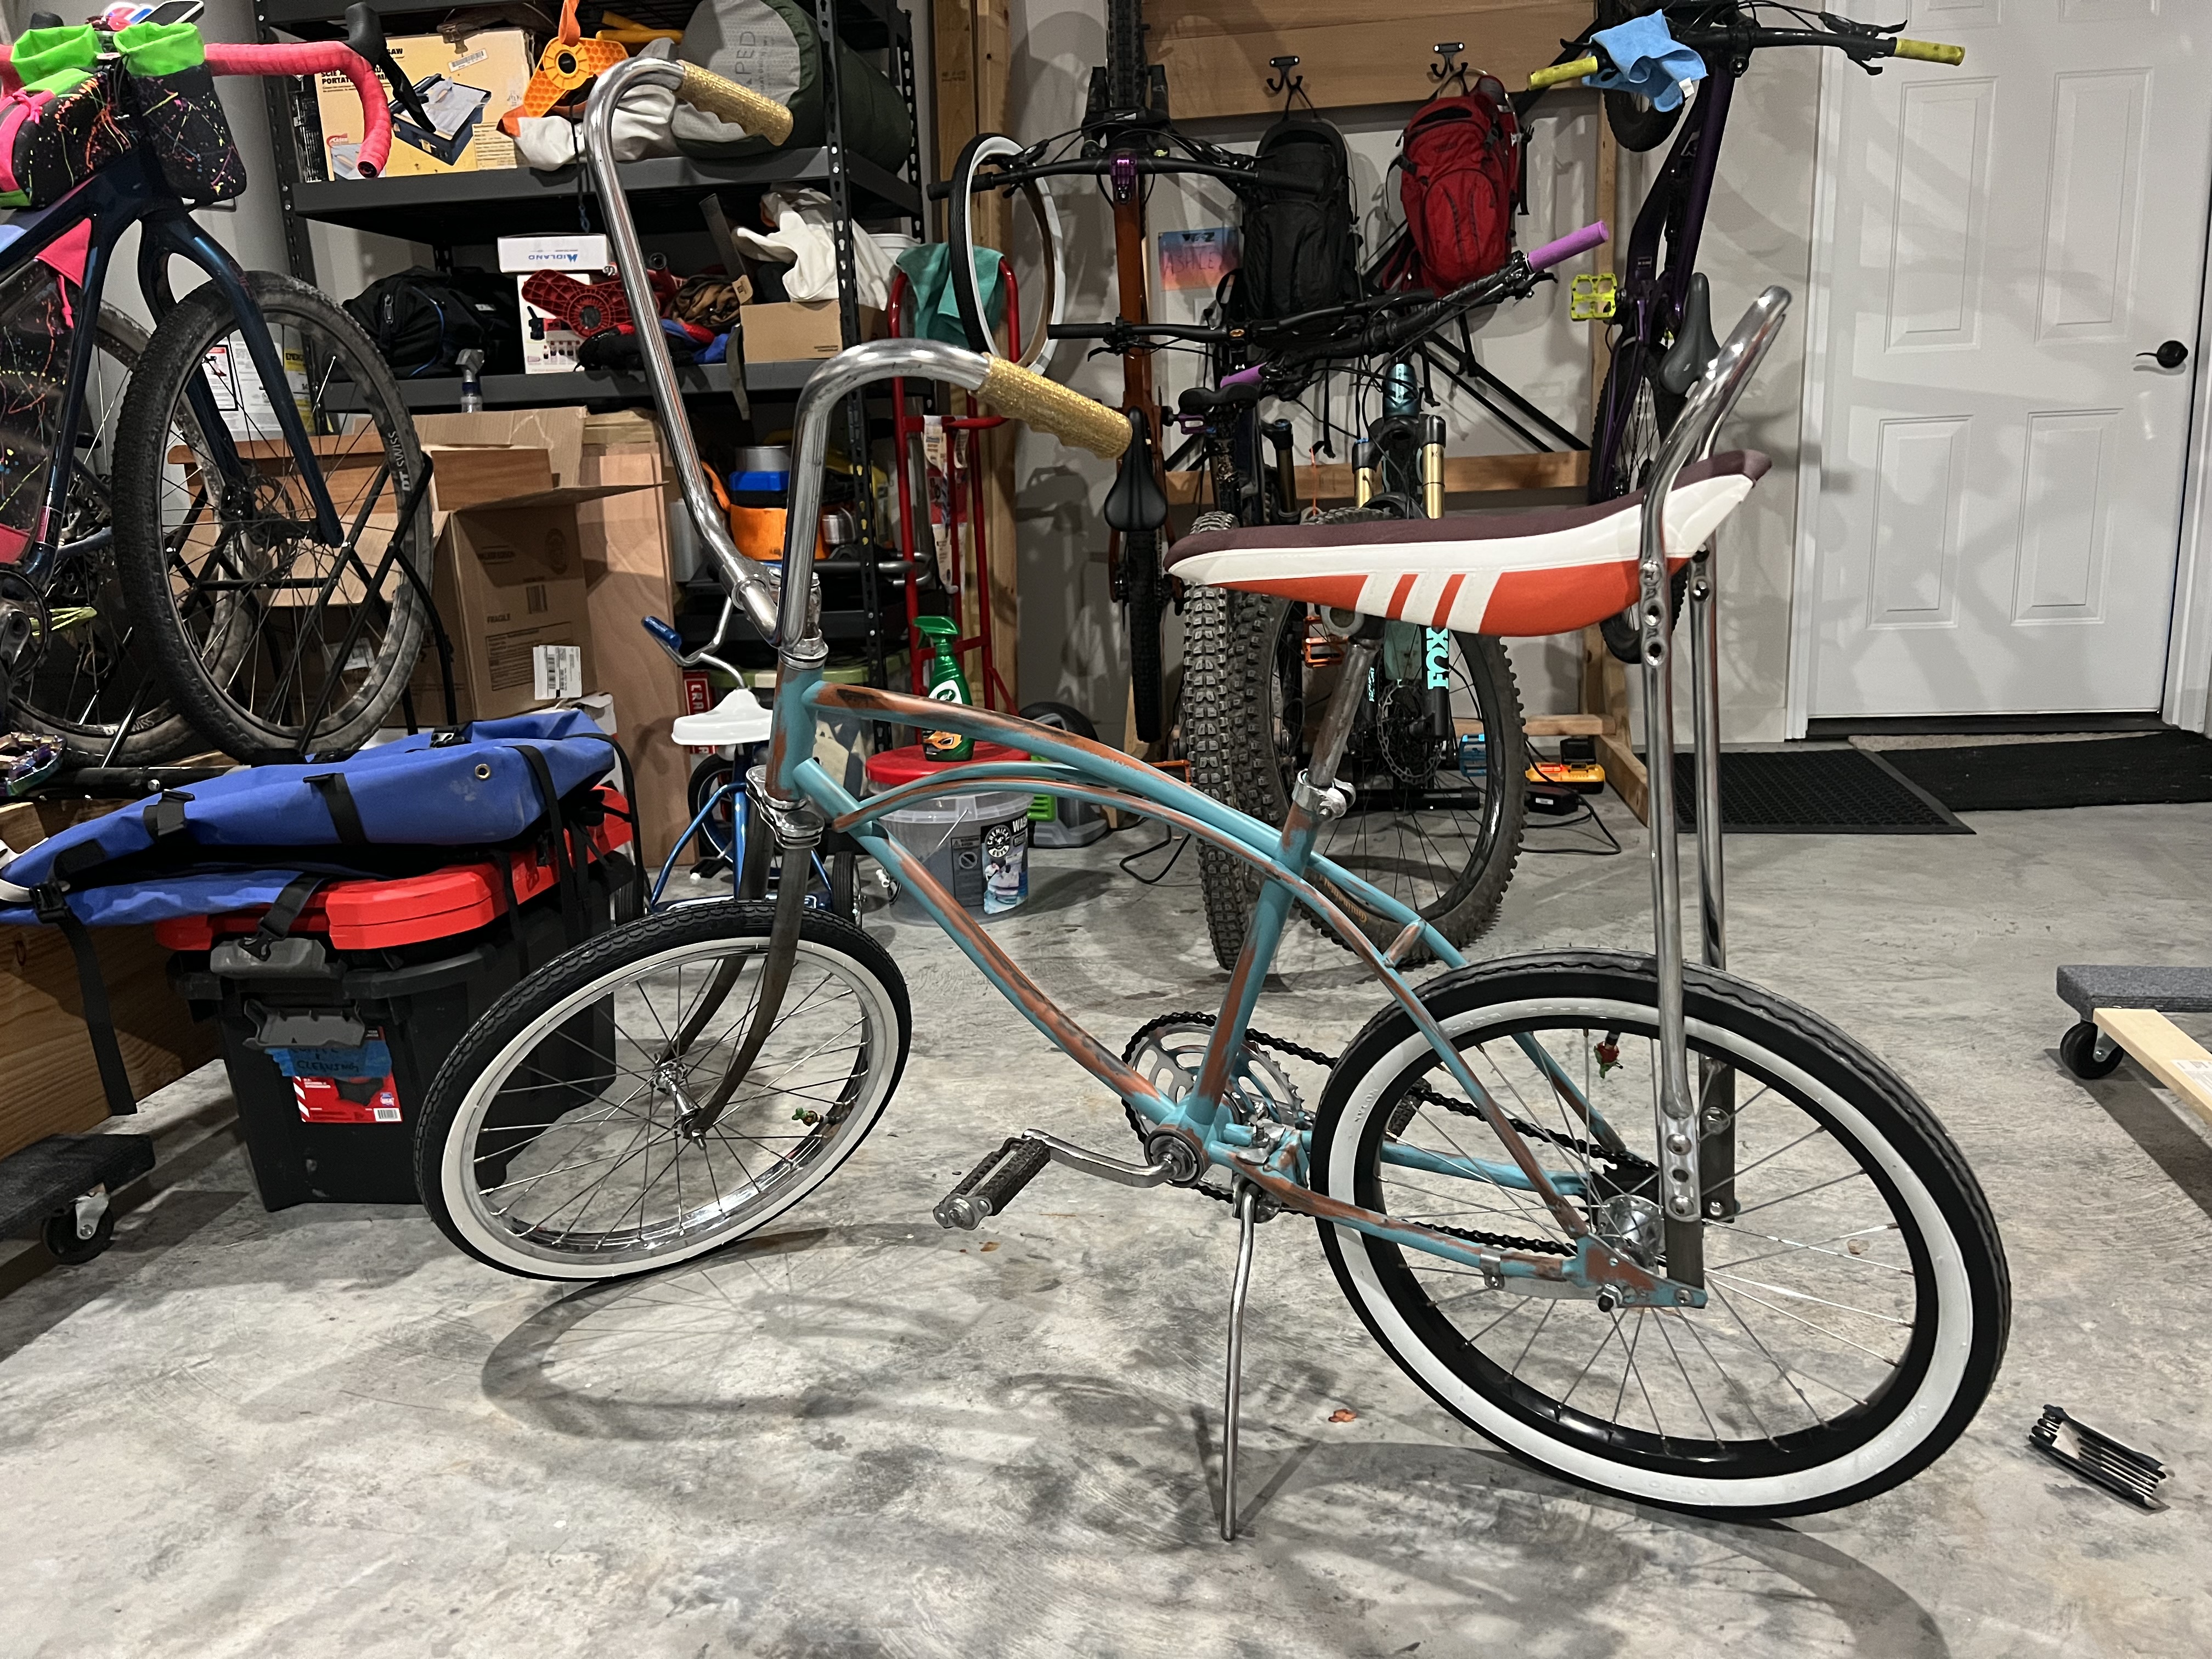
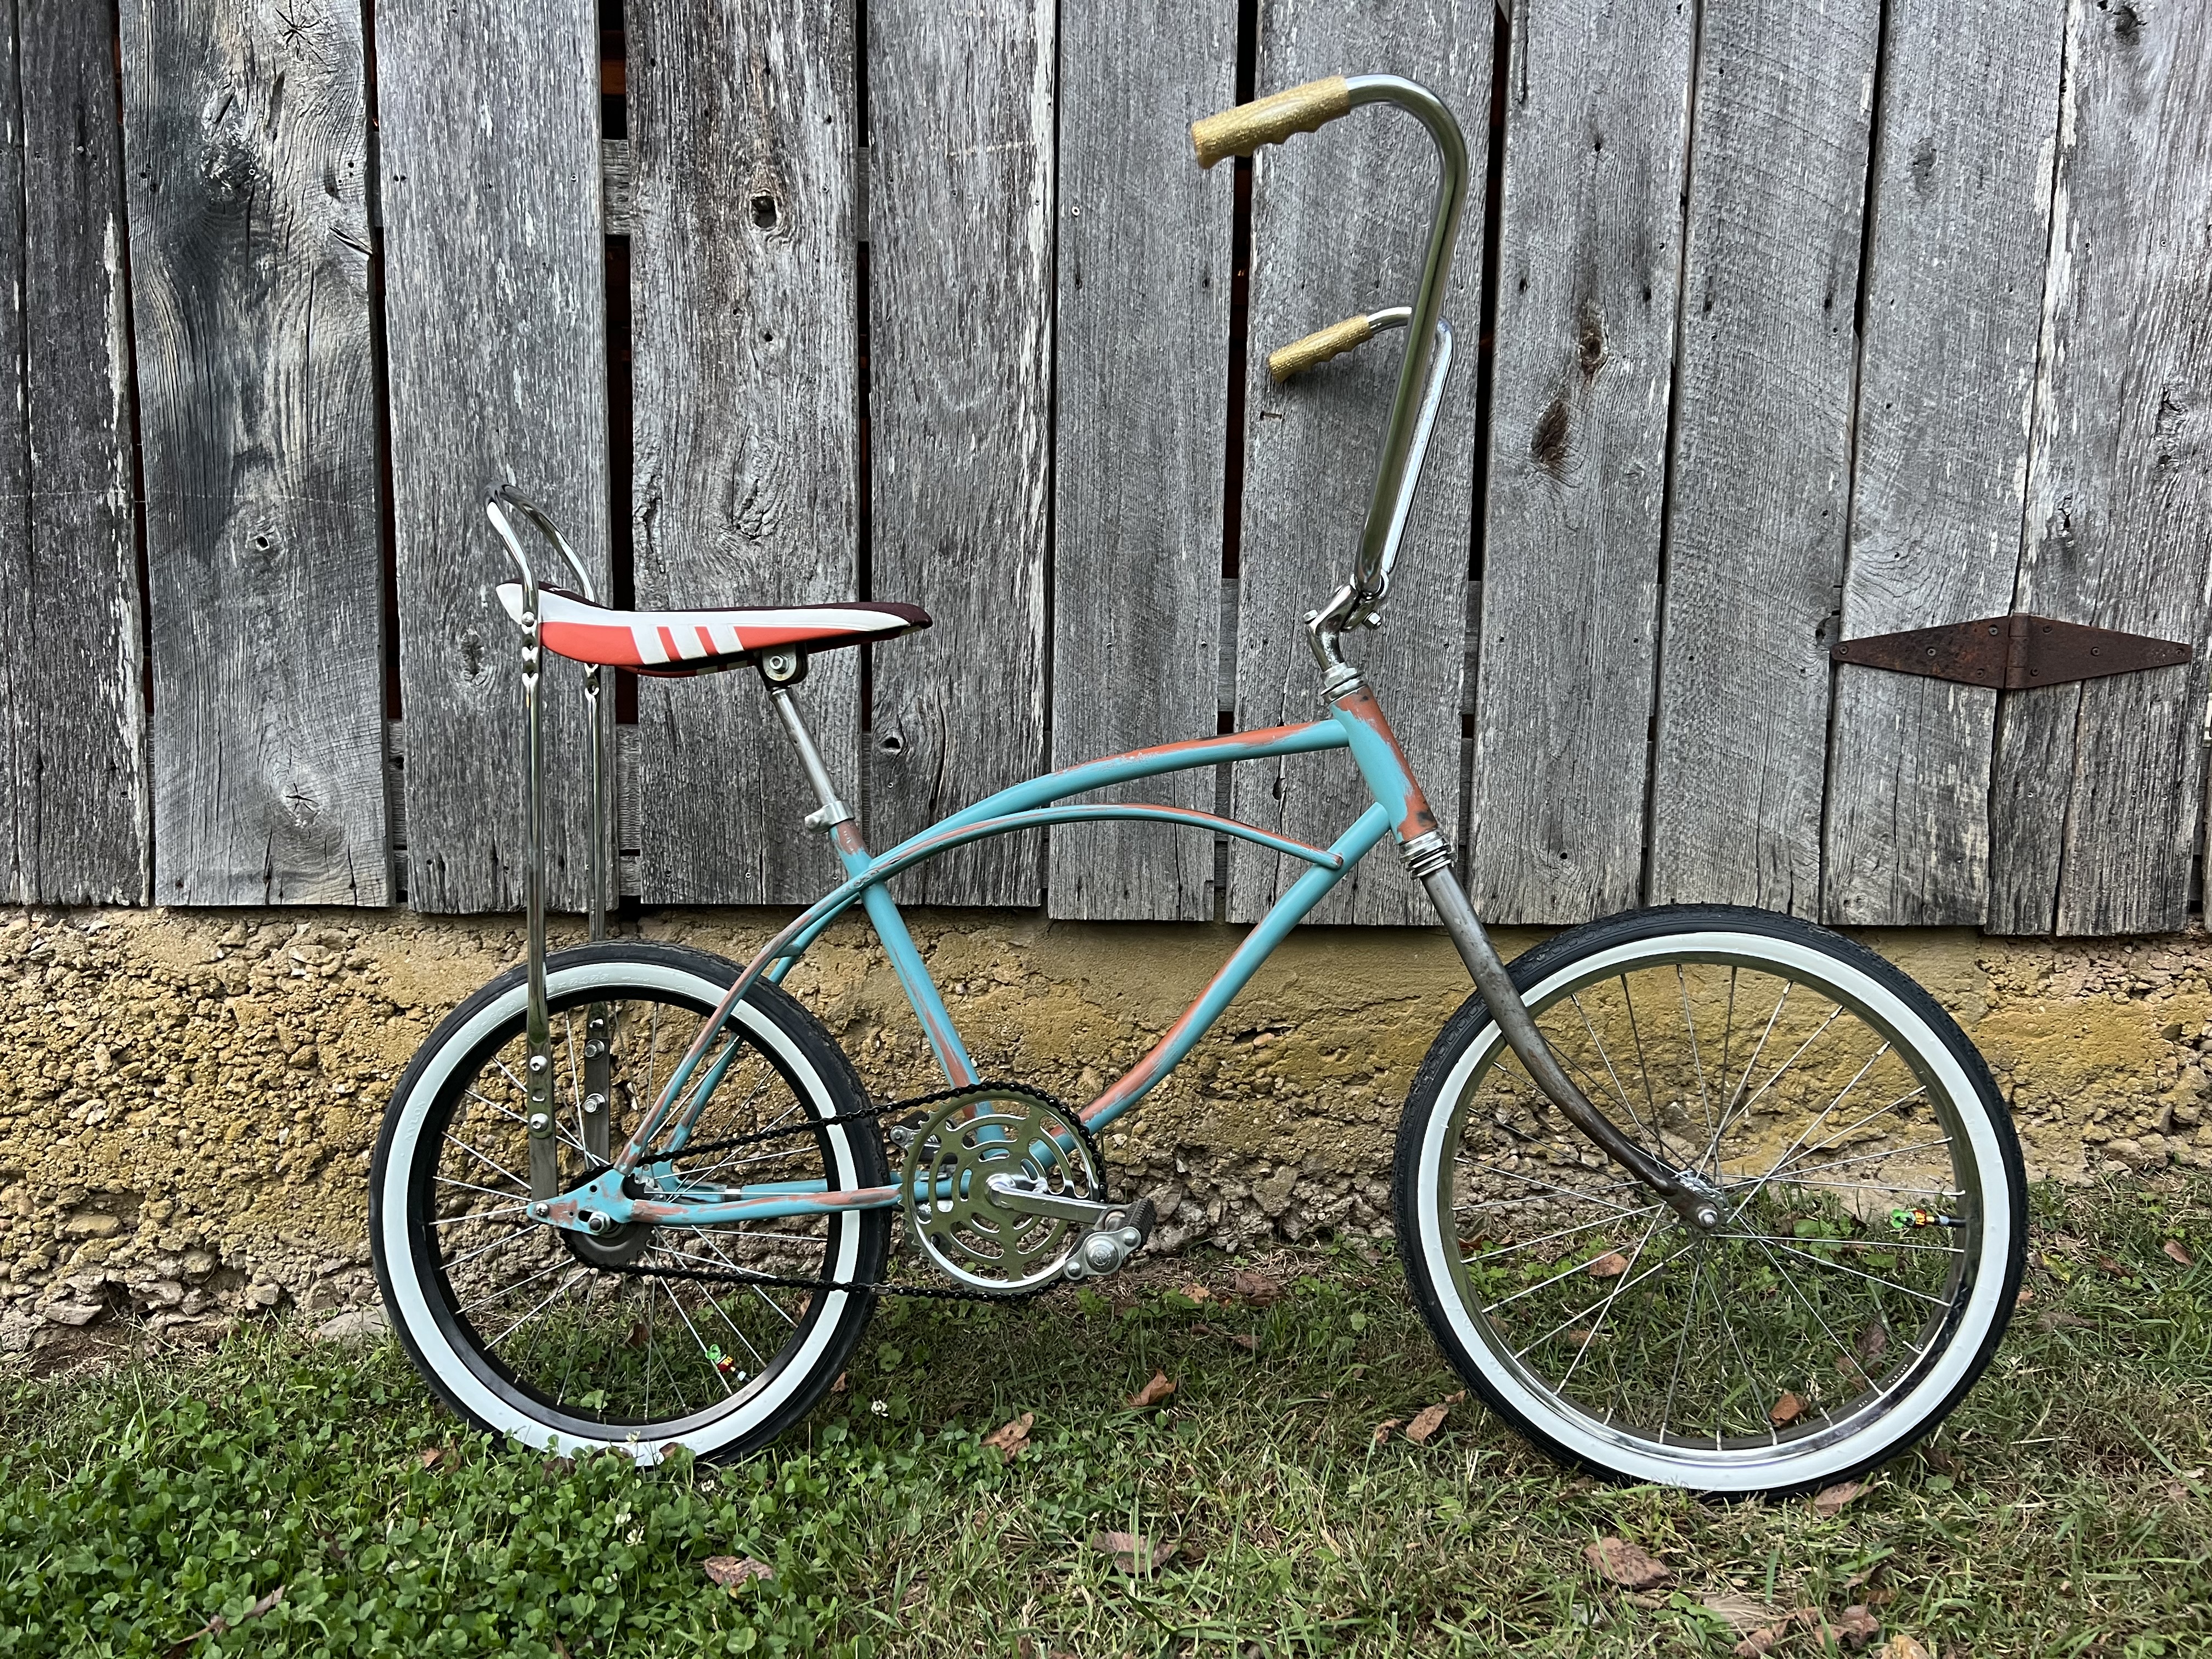
I got some gold metal flake vinyl to recover the seat but I actually like the weird orange stripes enough that I may leave it alone! Time for a victory lap!
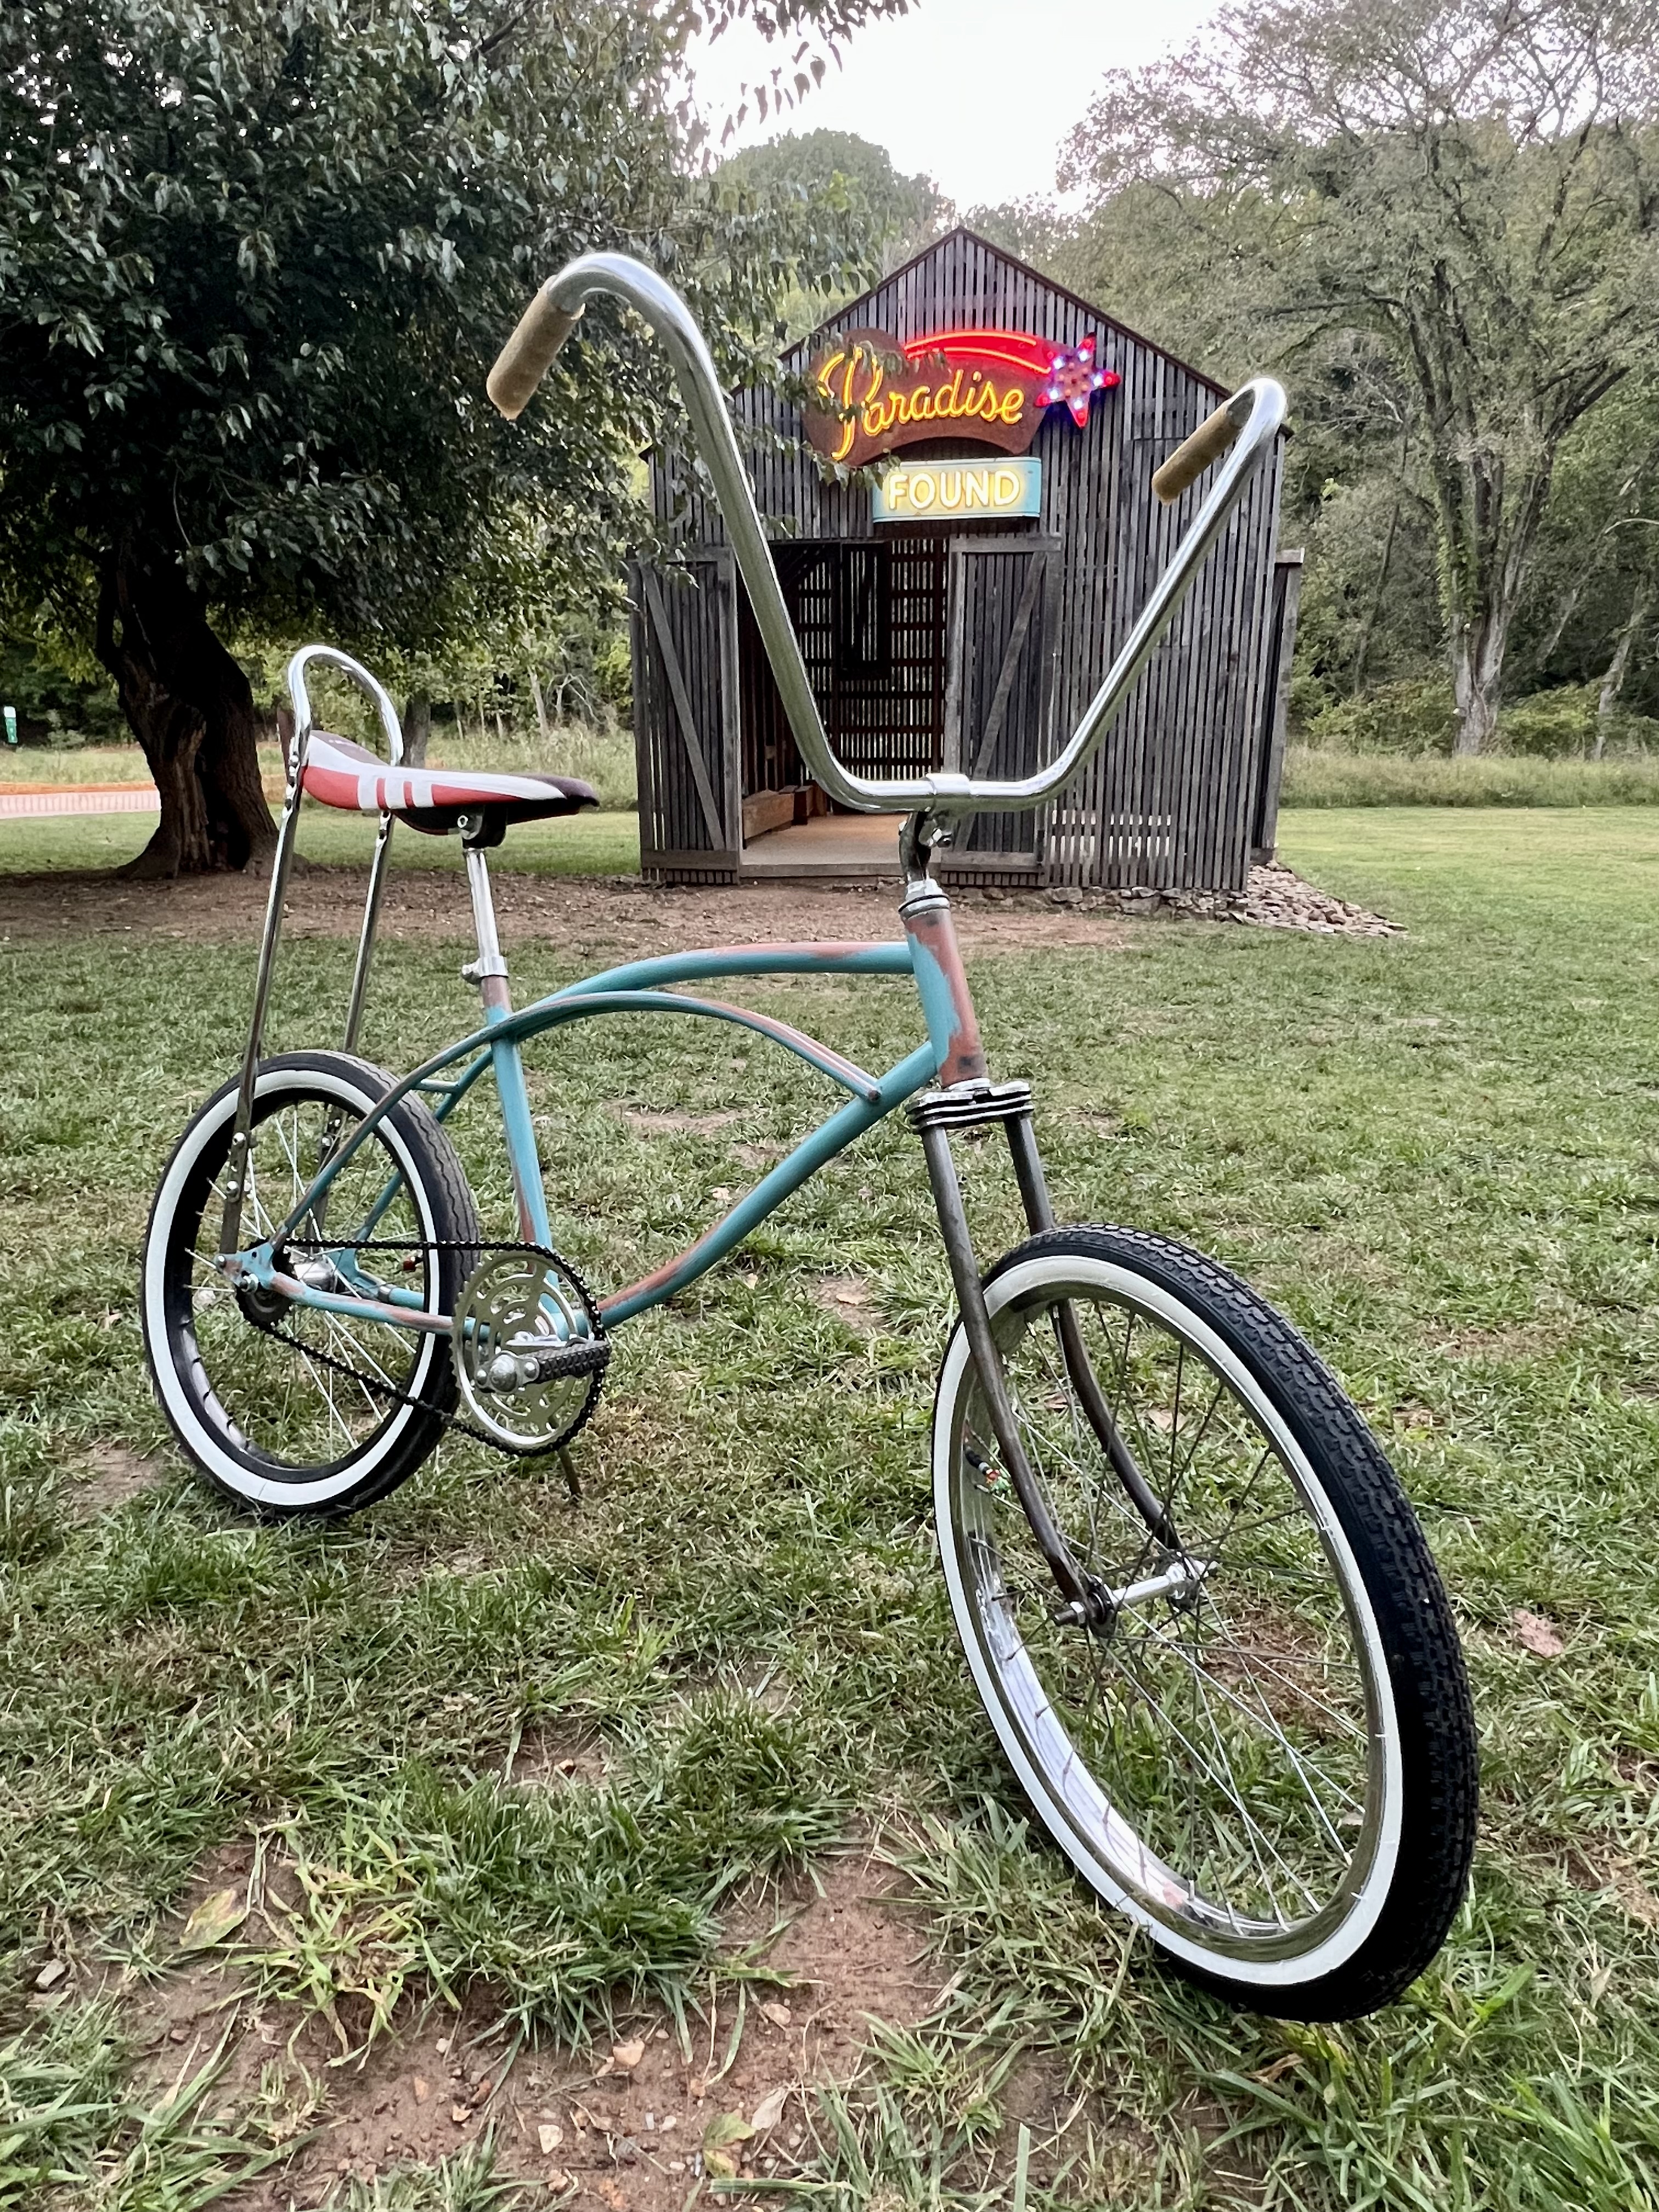
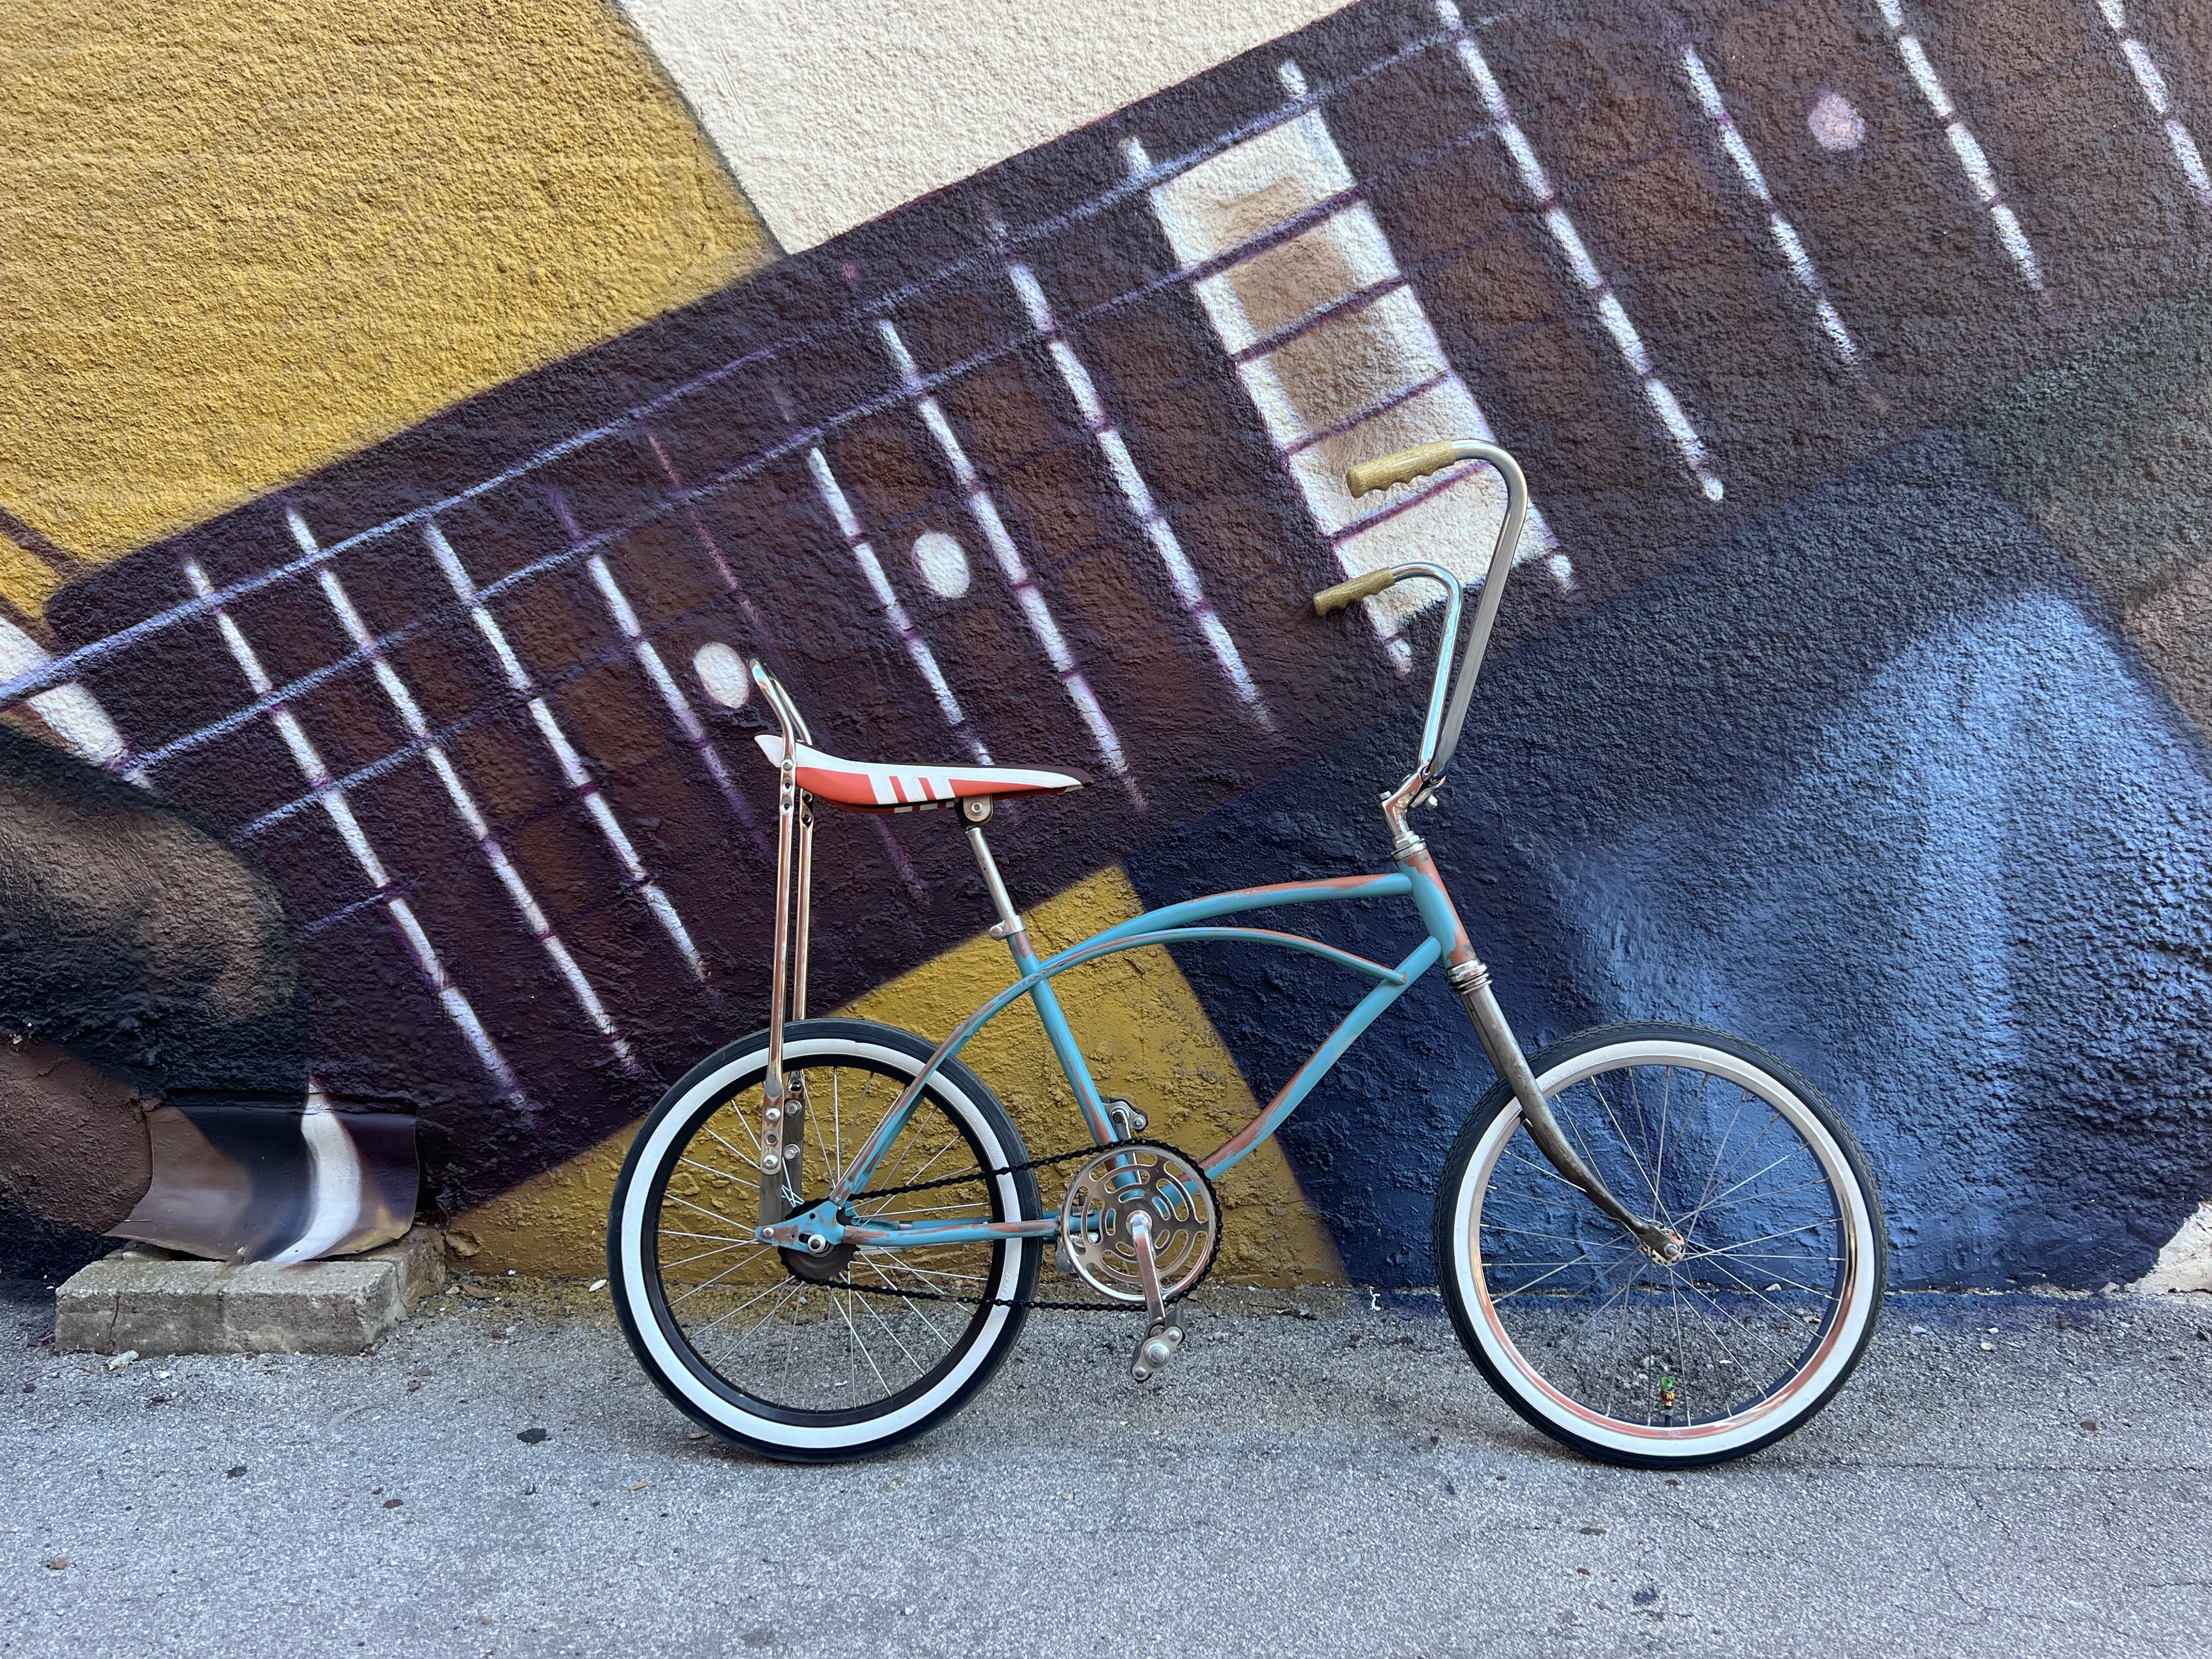
Jason and I took our bikes down to Coler park and also the Bentonville square to cruise around and look awesome!
Now that this is done I’m already planning my next built! Bicycles are a ton of fun to tear apart and take up way less space and money than car projects do!