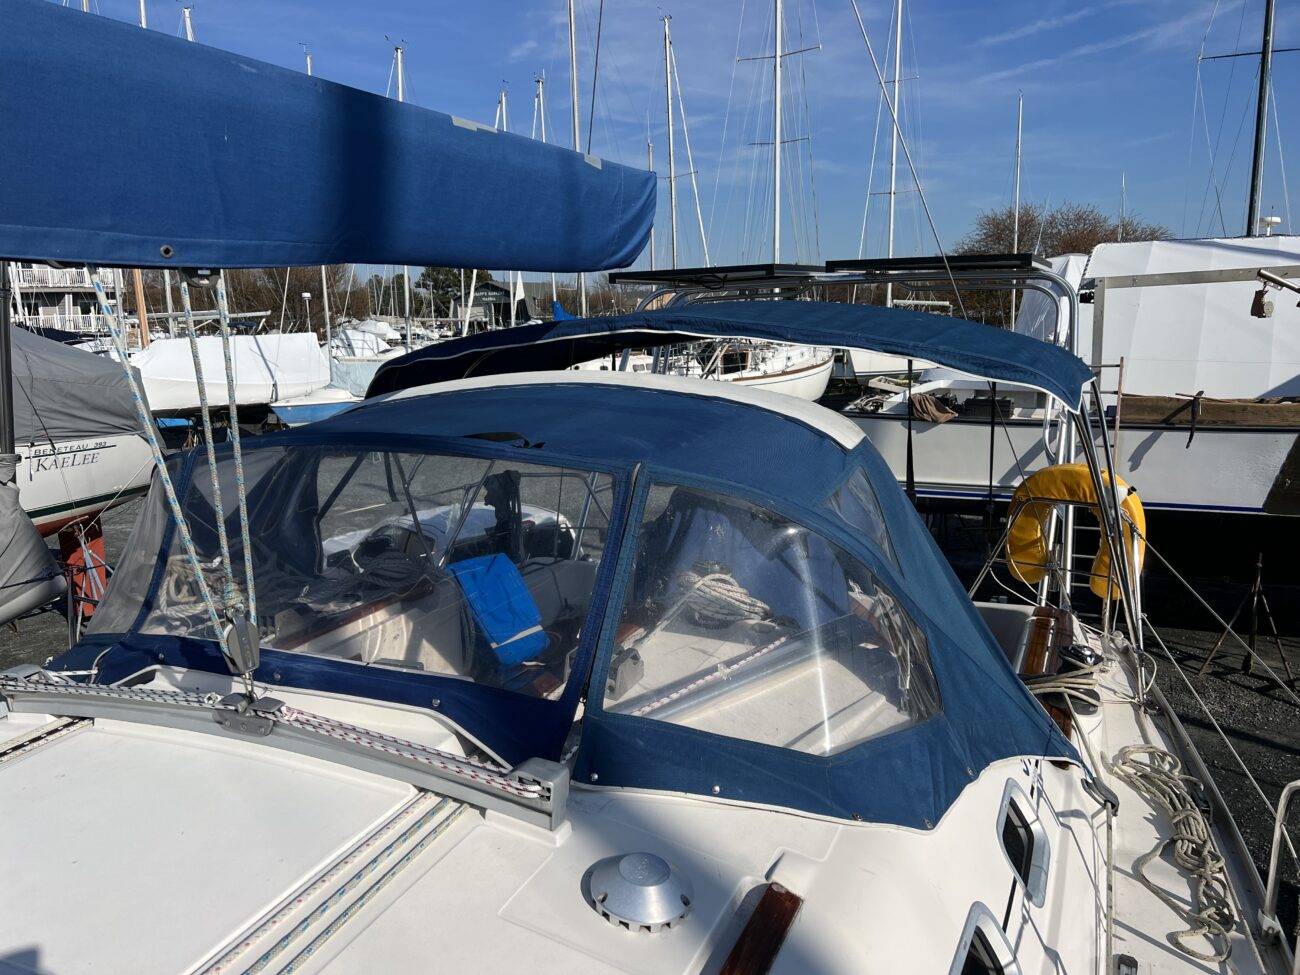
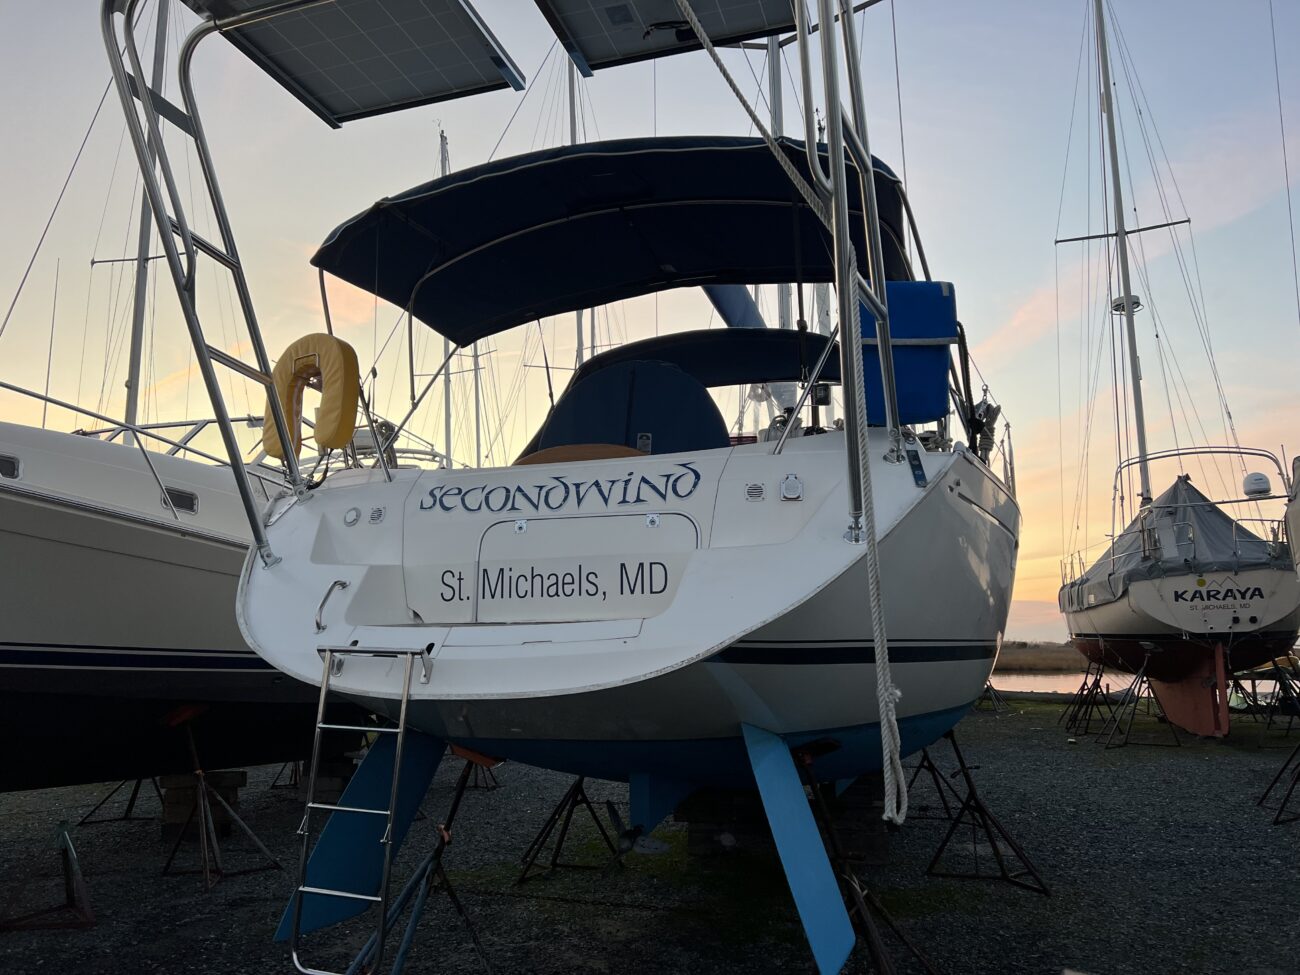
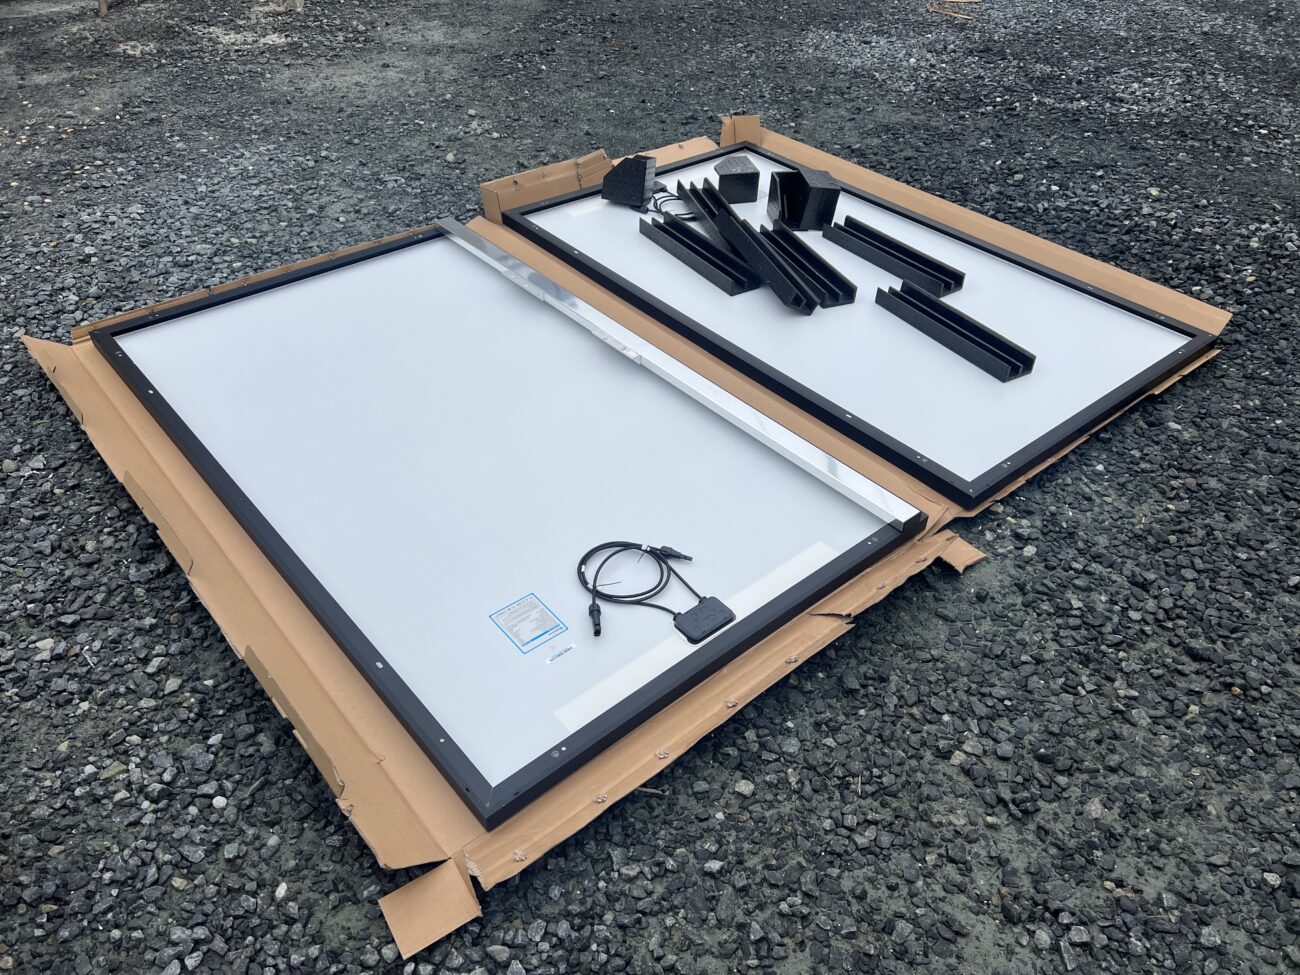
Every boat we buy gets huge ass solar panels and this one is no different! She’s got a little less space than the others so we settled on 320 watt panels by Renogy. Free shipping to Lowe’s and they come in a pack of four! We originally planned to install 3 of them but at that width they would need to be braced on the outside and we don’t have time to deal with that right now. So, to compromise, we decided to only install 2 panels and just see how it goes. Maybe we will only need two!
Atlantic towers who made the arch for our boat also sell handy little mounting brackets for solar panels to bolt onto their arch. We used 4 of them and bolted them on with U-bolts so they will be easier to remove at the end of each cruising season. The hardest part by far was wrestling these panels from the ground into the boat and then onto the top of the arch without dropping them. Bolting them in place was also a pain and involved a few fairly unsafe maneuvers with ladders of questionable quality but we got it done in the end!
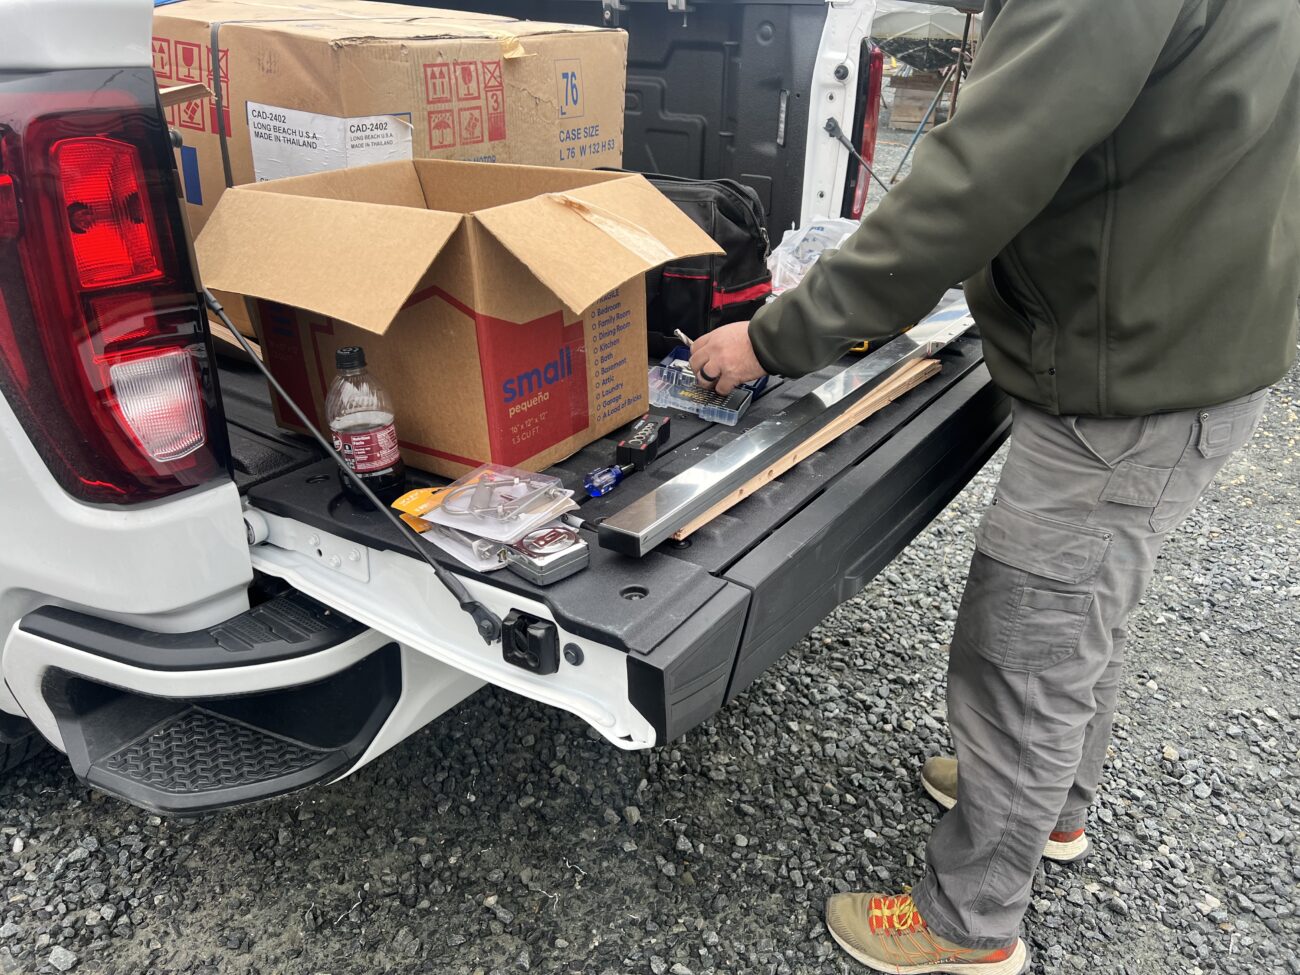
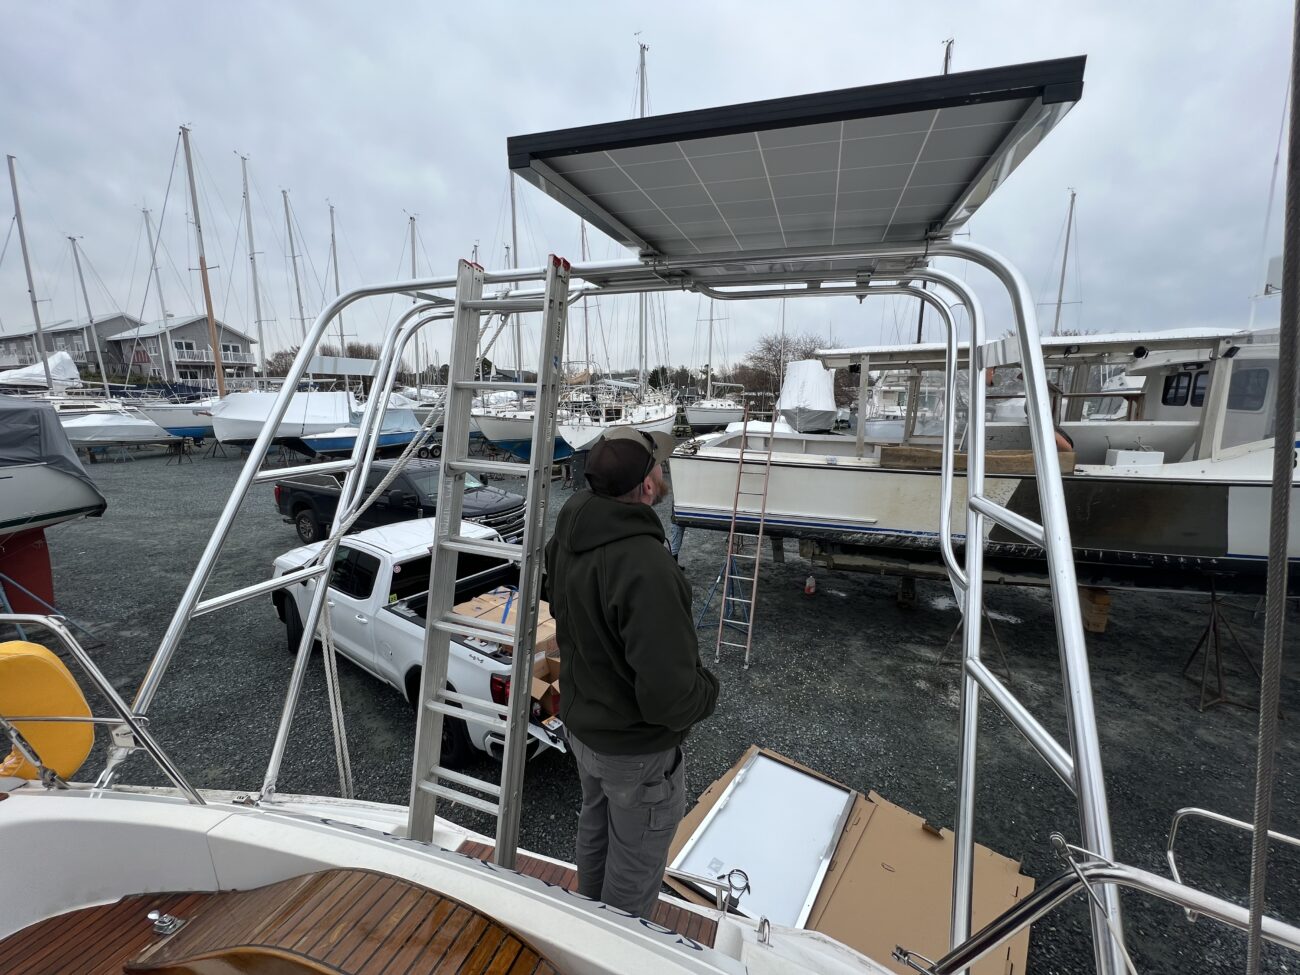
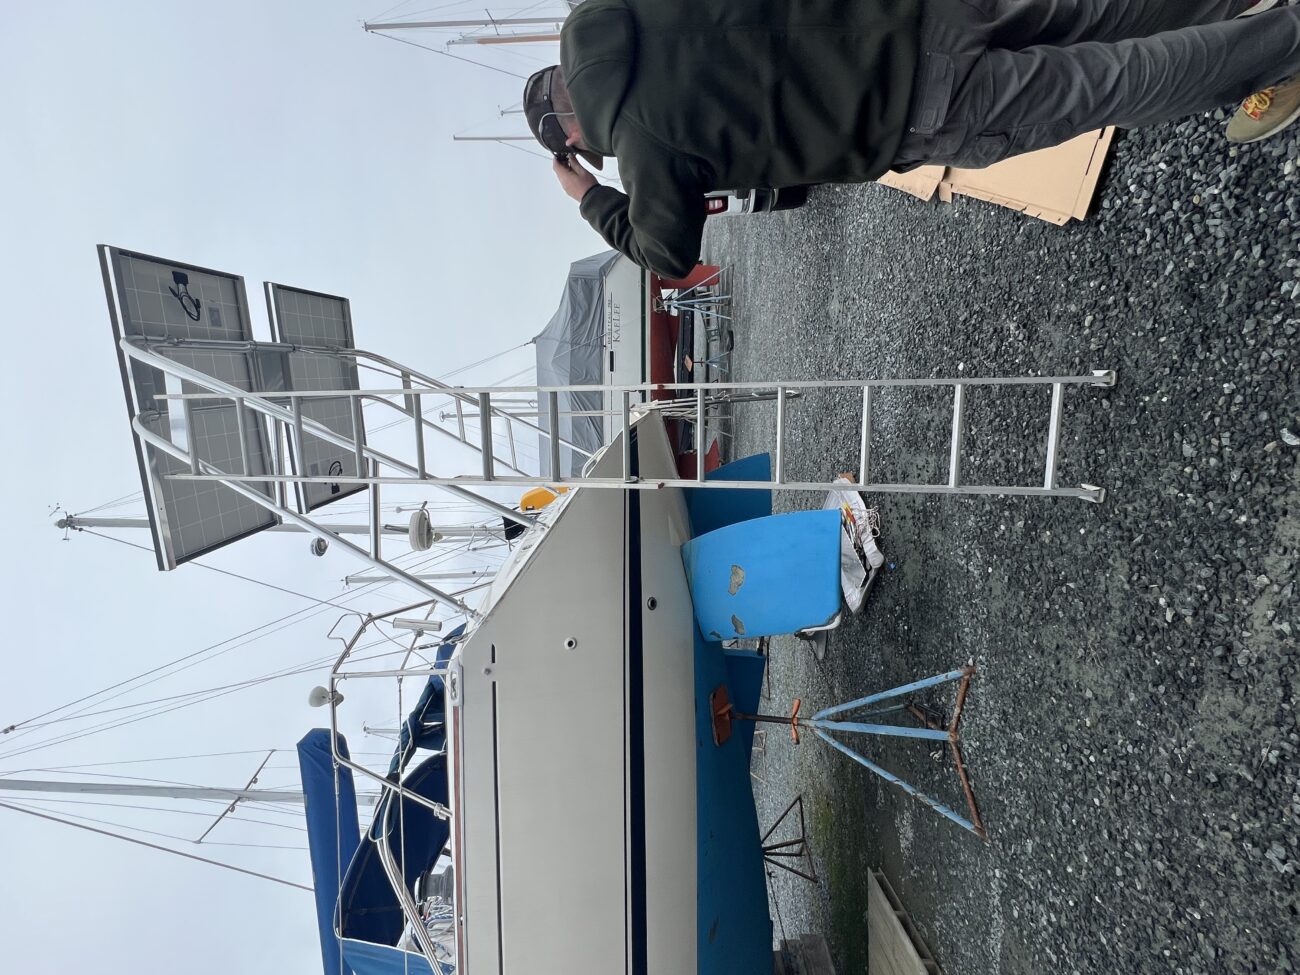
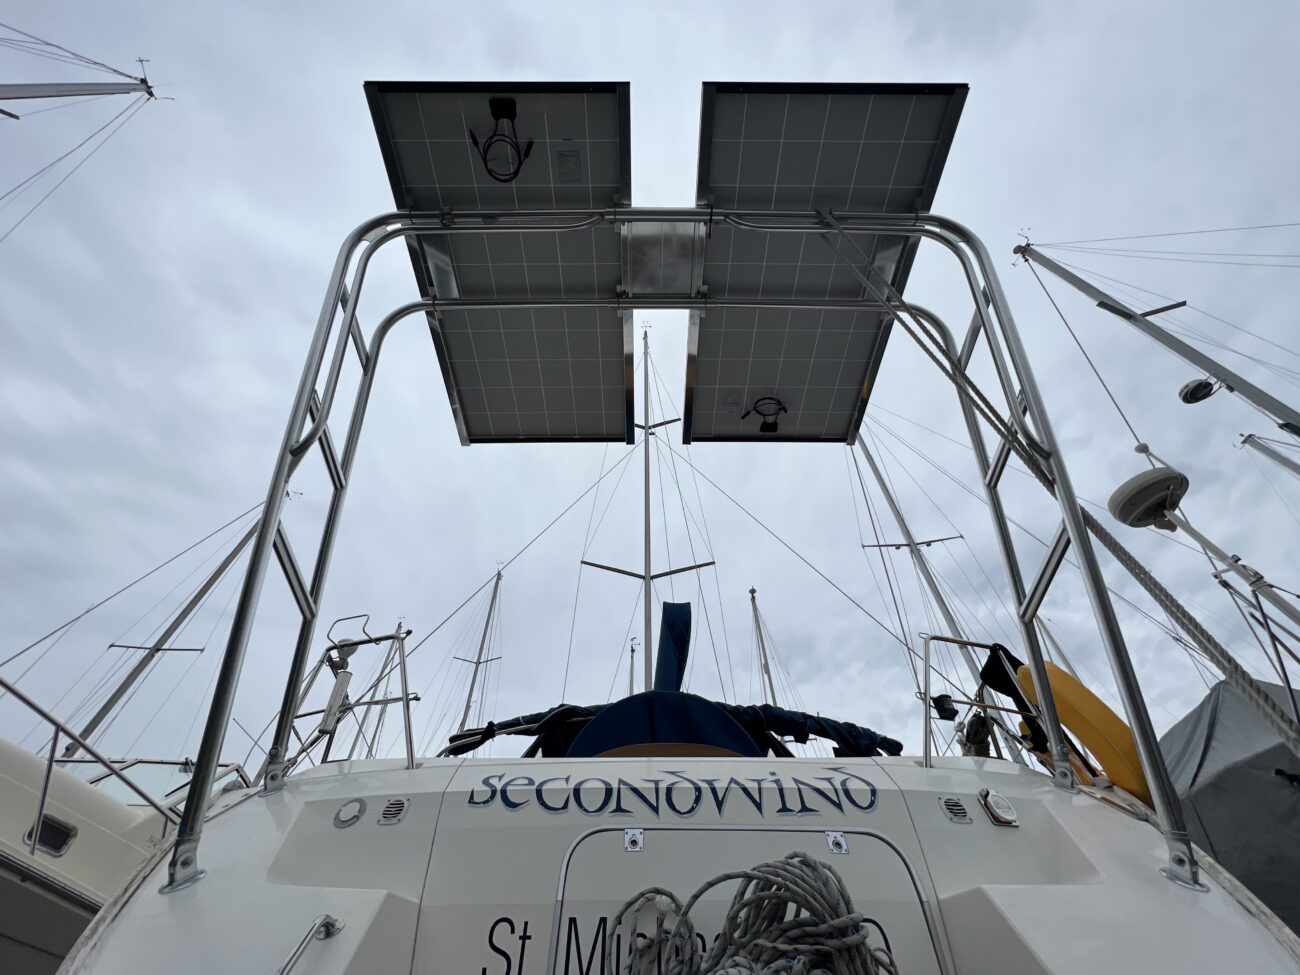
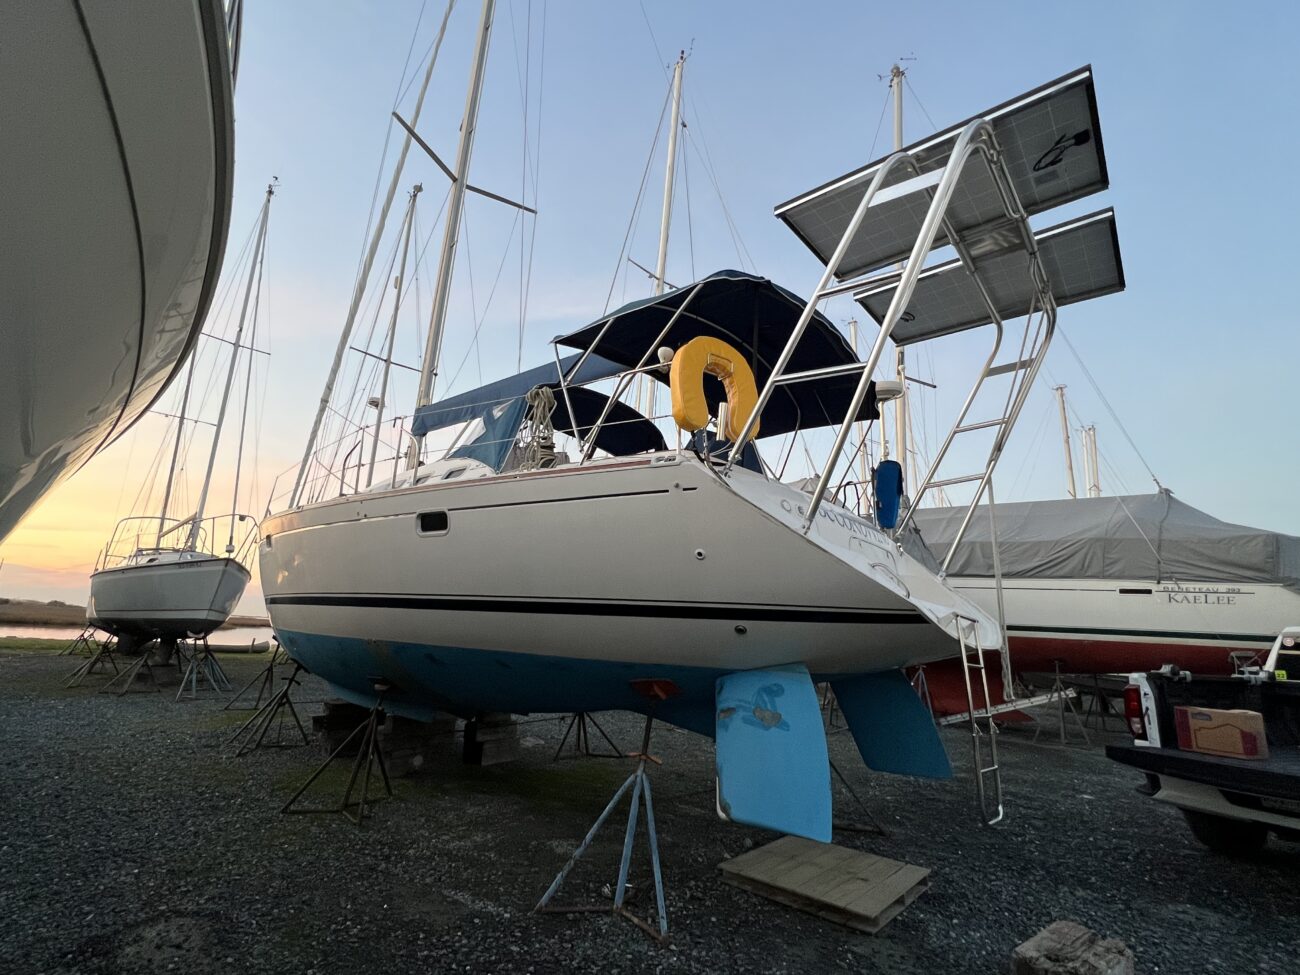
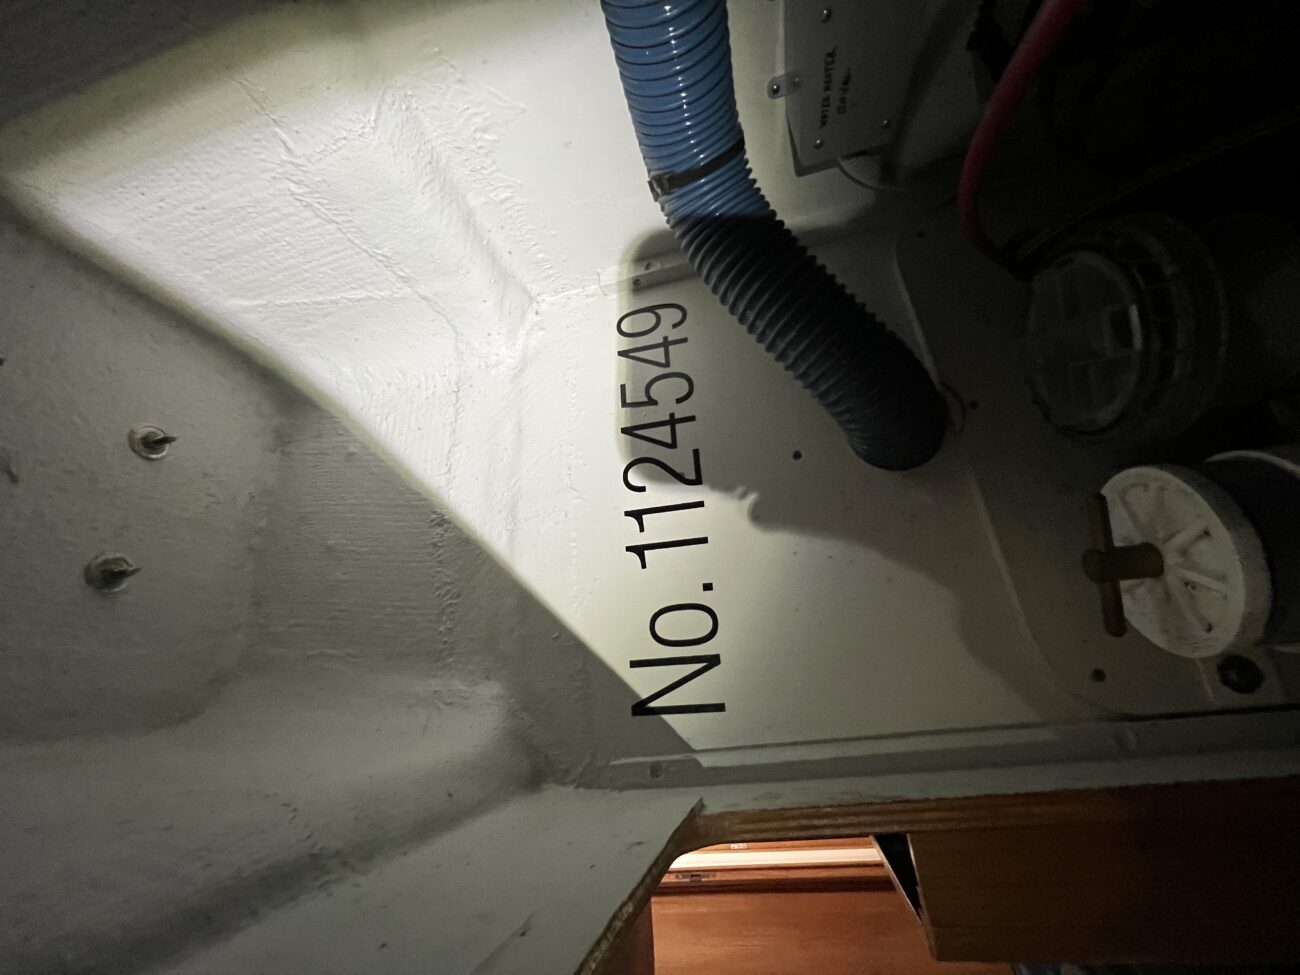
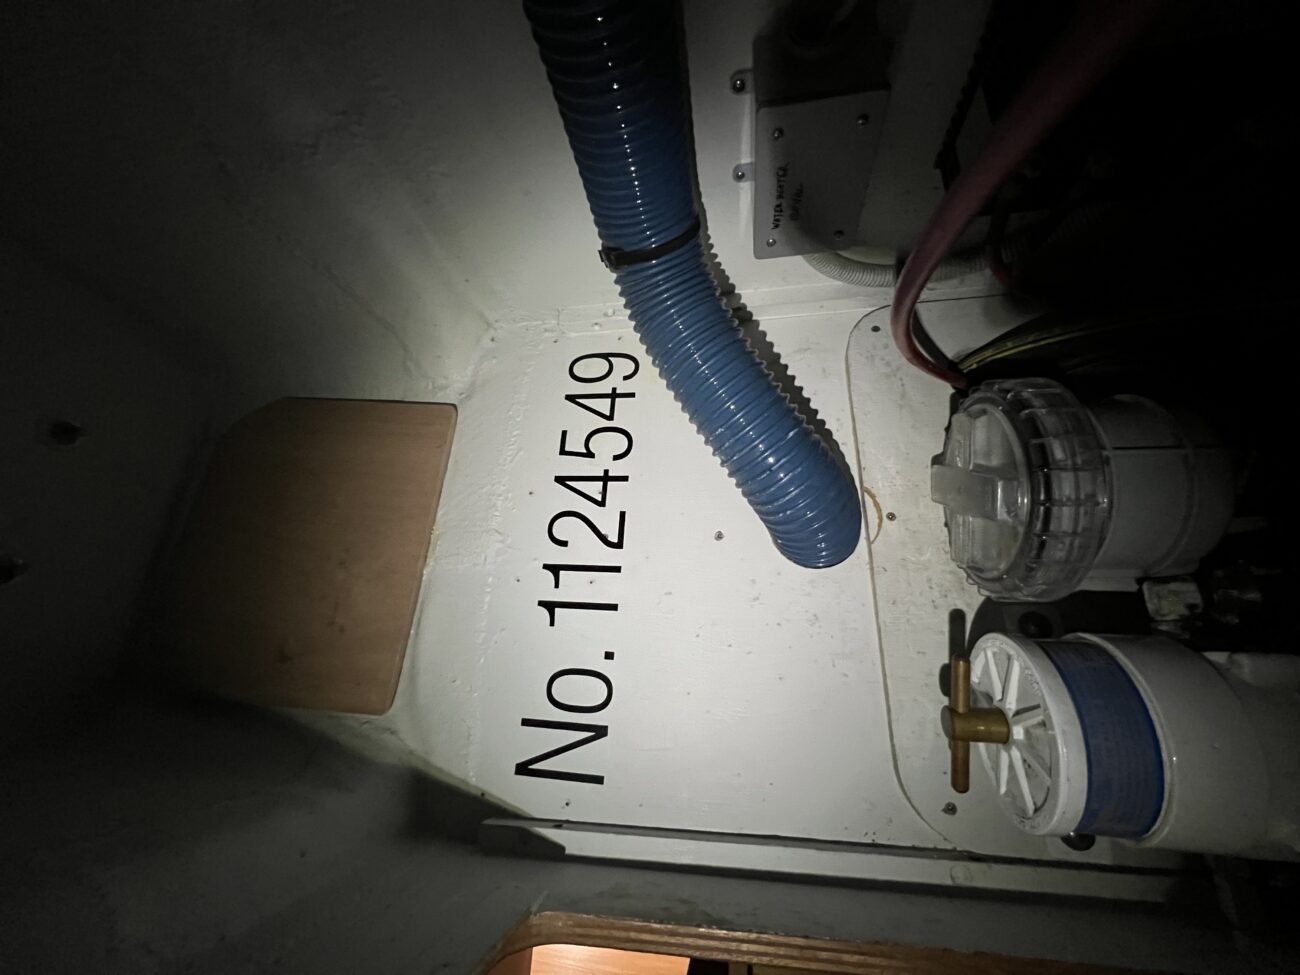
The panels are now installed! (Yay!) but they aren’t going to do anything until they’re actually hooked up. I had Jason install a waterproof fitting in the transom for the cables to pass through while I installed our solar charge controllers. The only spot for these large blue boxes to go is on the bulkhead at the front of the “mechanical space”. To give myself more room I epoxied a nice piece of marine plywood to the bulkhead.
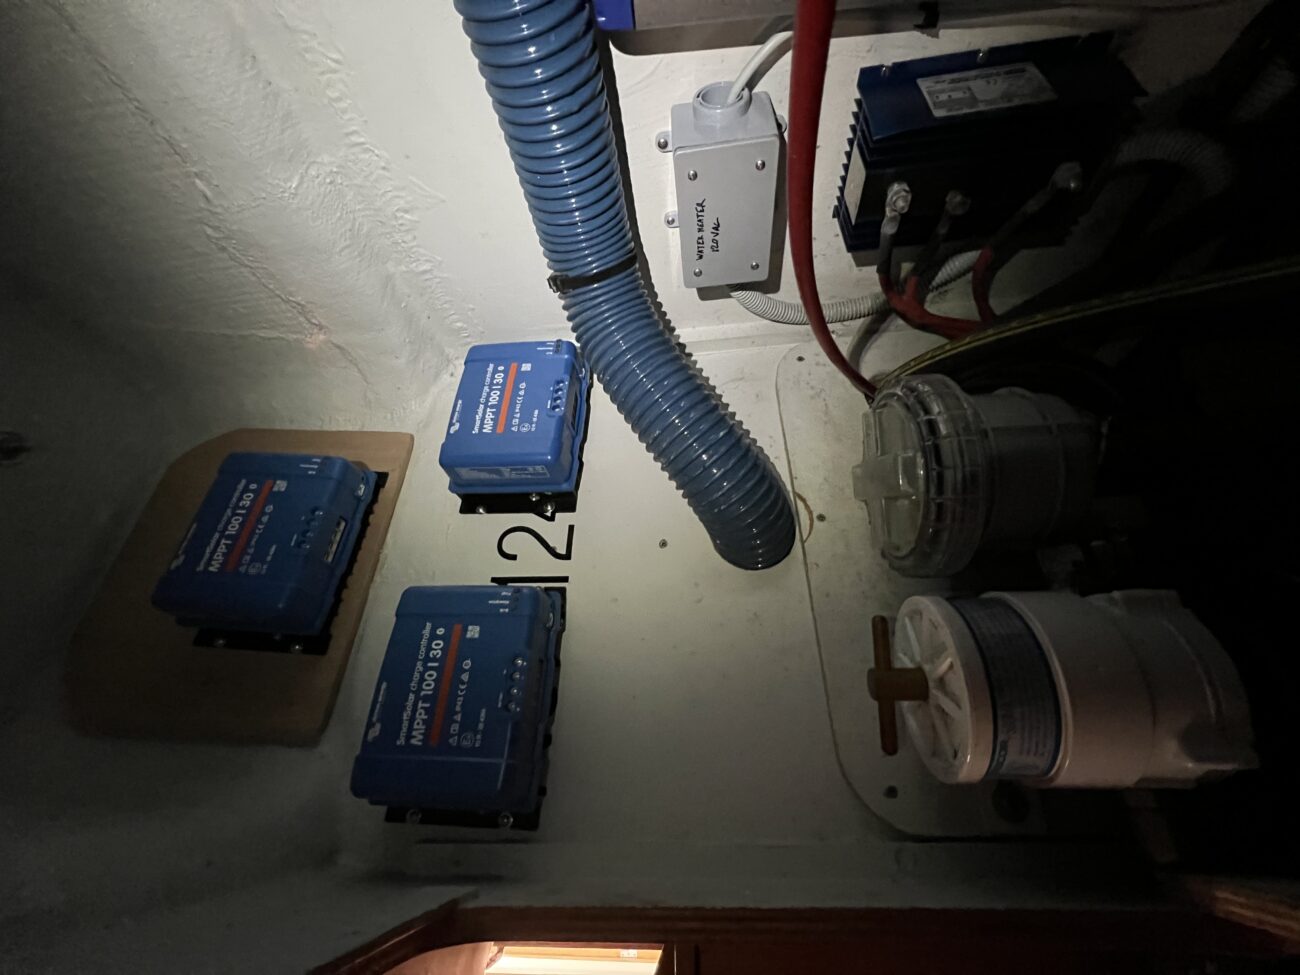
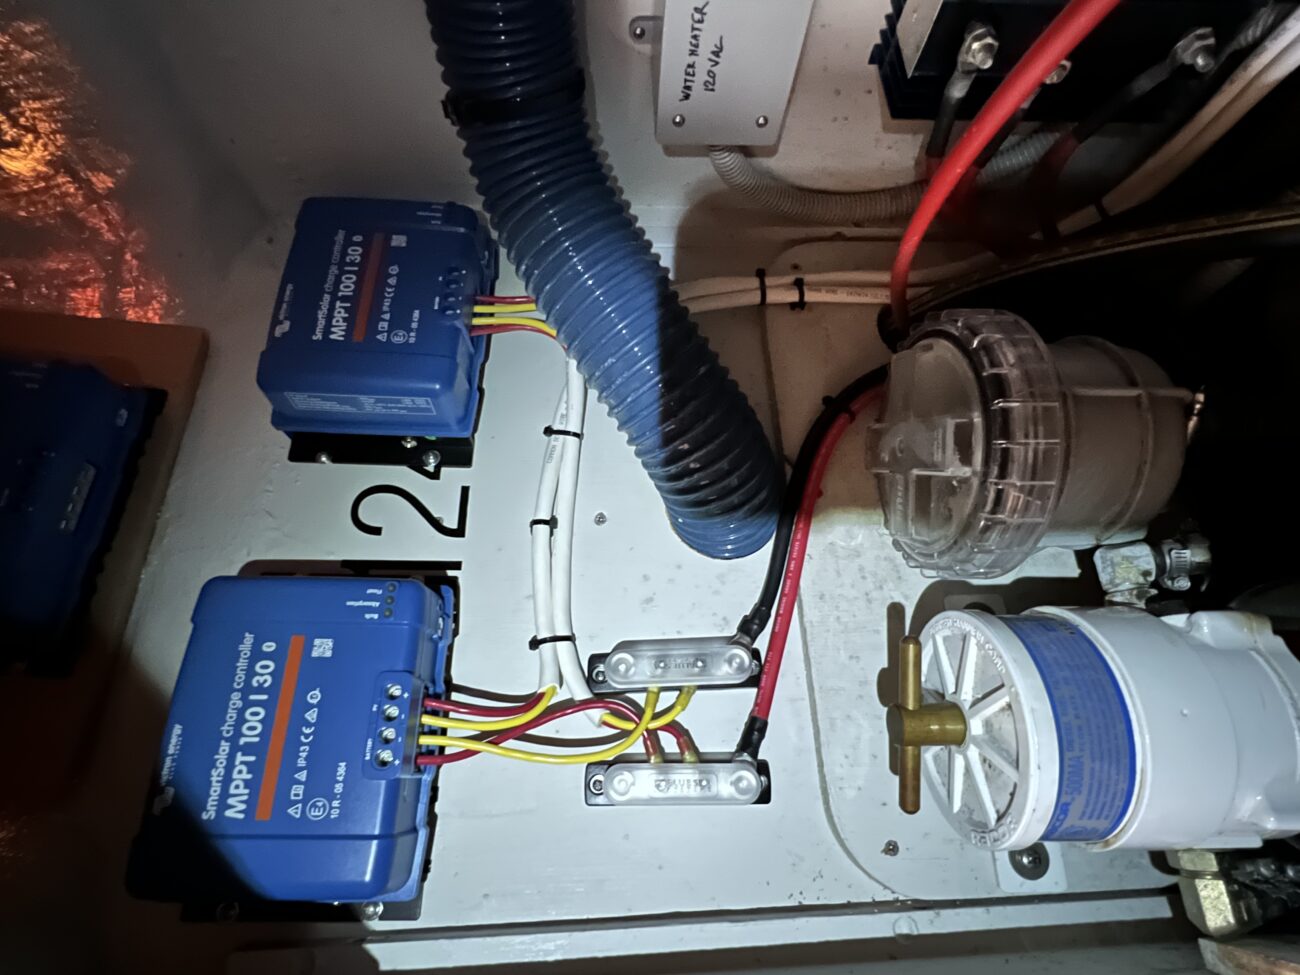
Routing the wiring was fairly straightforward. This is a small boat with not a lot of stuff going on. I used some small battery disconnect switches as cut off switches so that the panels can be disconnected from the system (per ABYC rules!) and then continued on to the controllers. From there the wiring heads to a pair of bus bars with thicker cables that go to the batteries! The hardest part here was climbing into the hole to access everything.
To be able to accurately monitor our battery status and charging we installed a battery monitor.
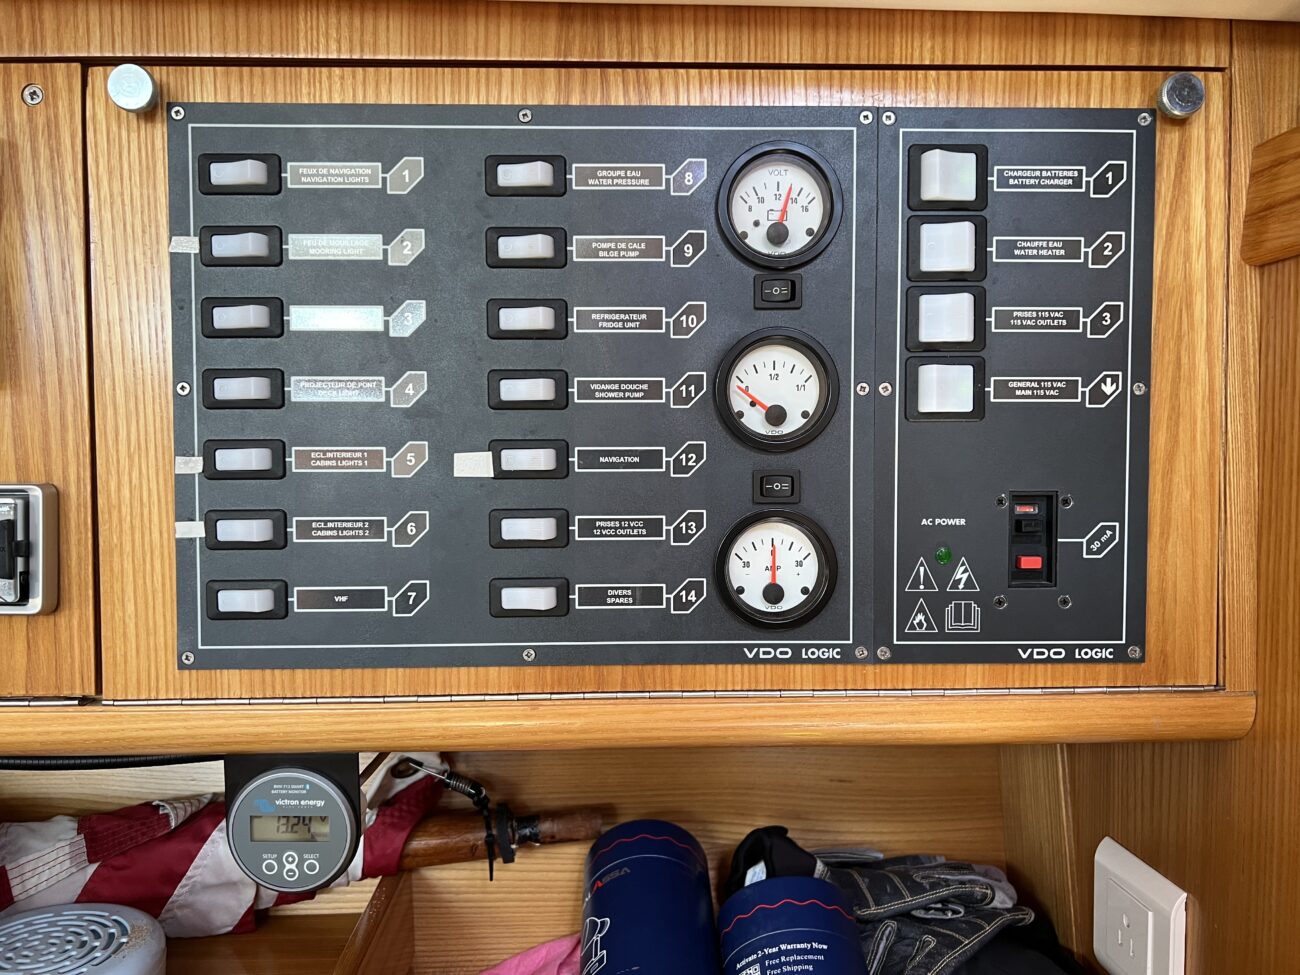
The sun came out and the panels started pumping out the amps! Looks like we’re in business!
