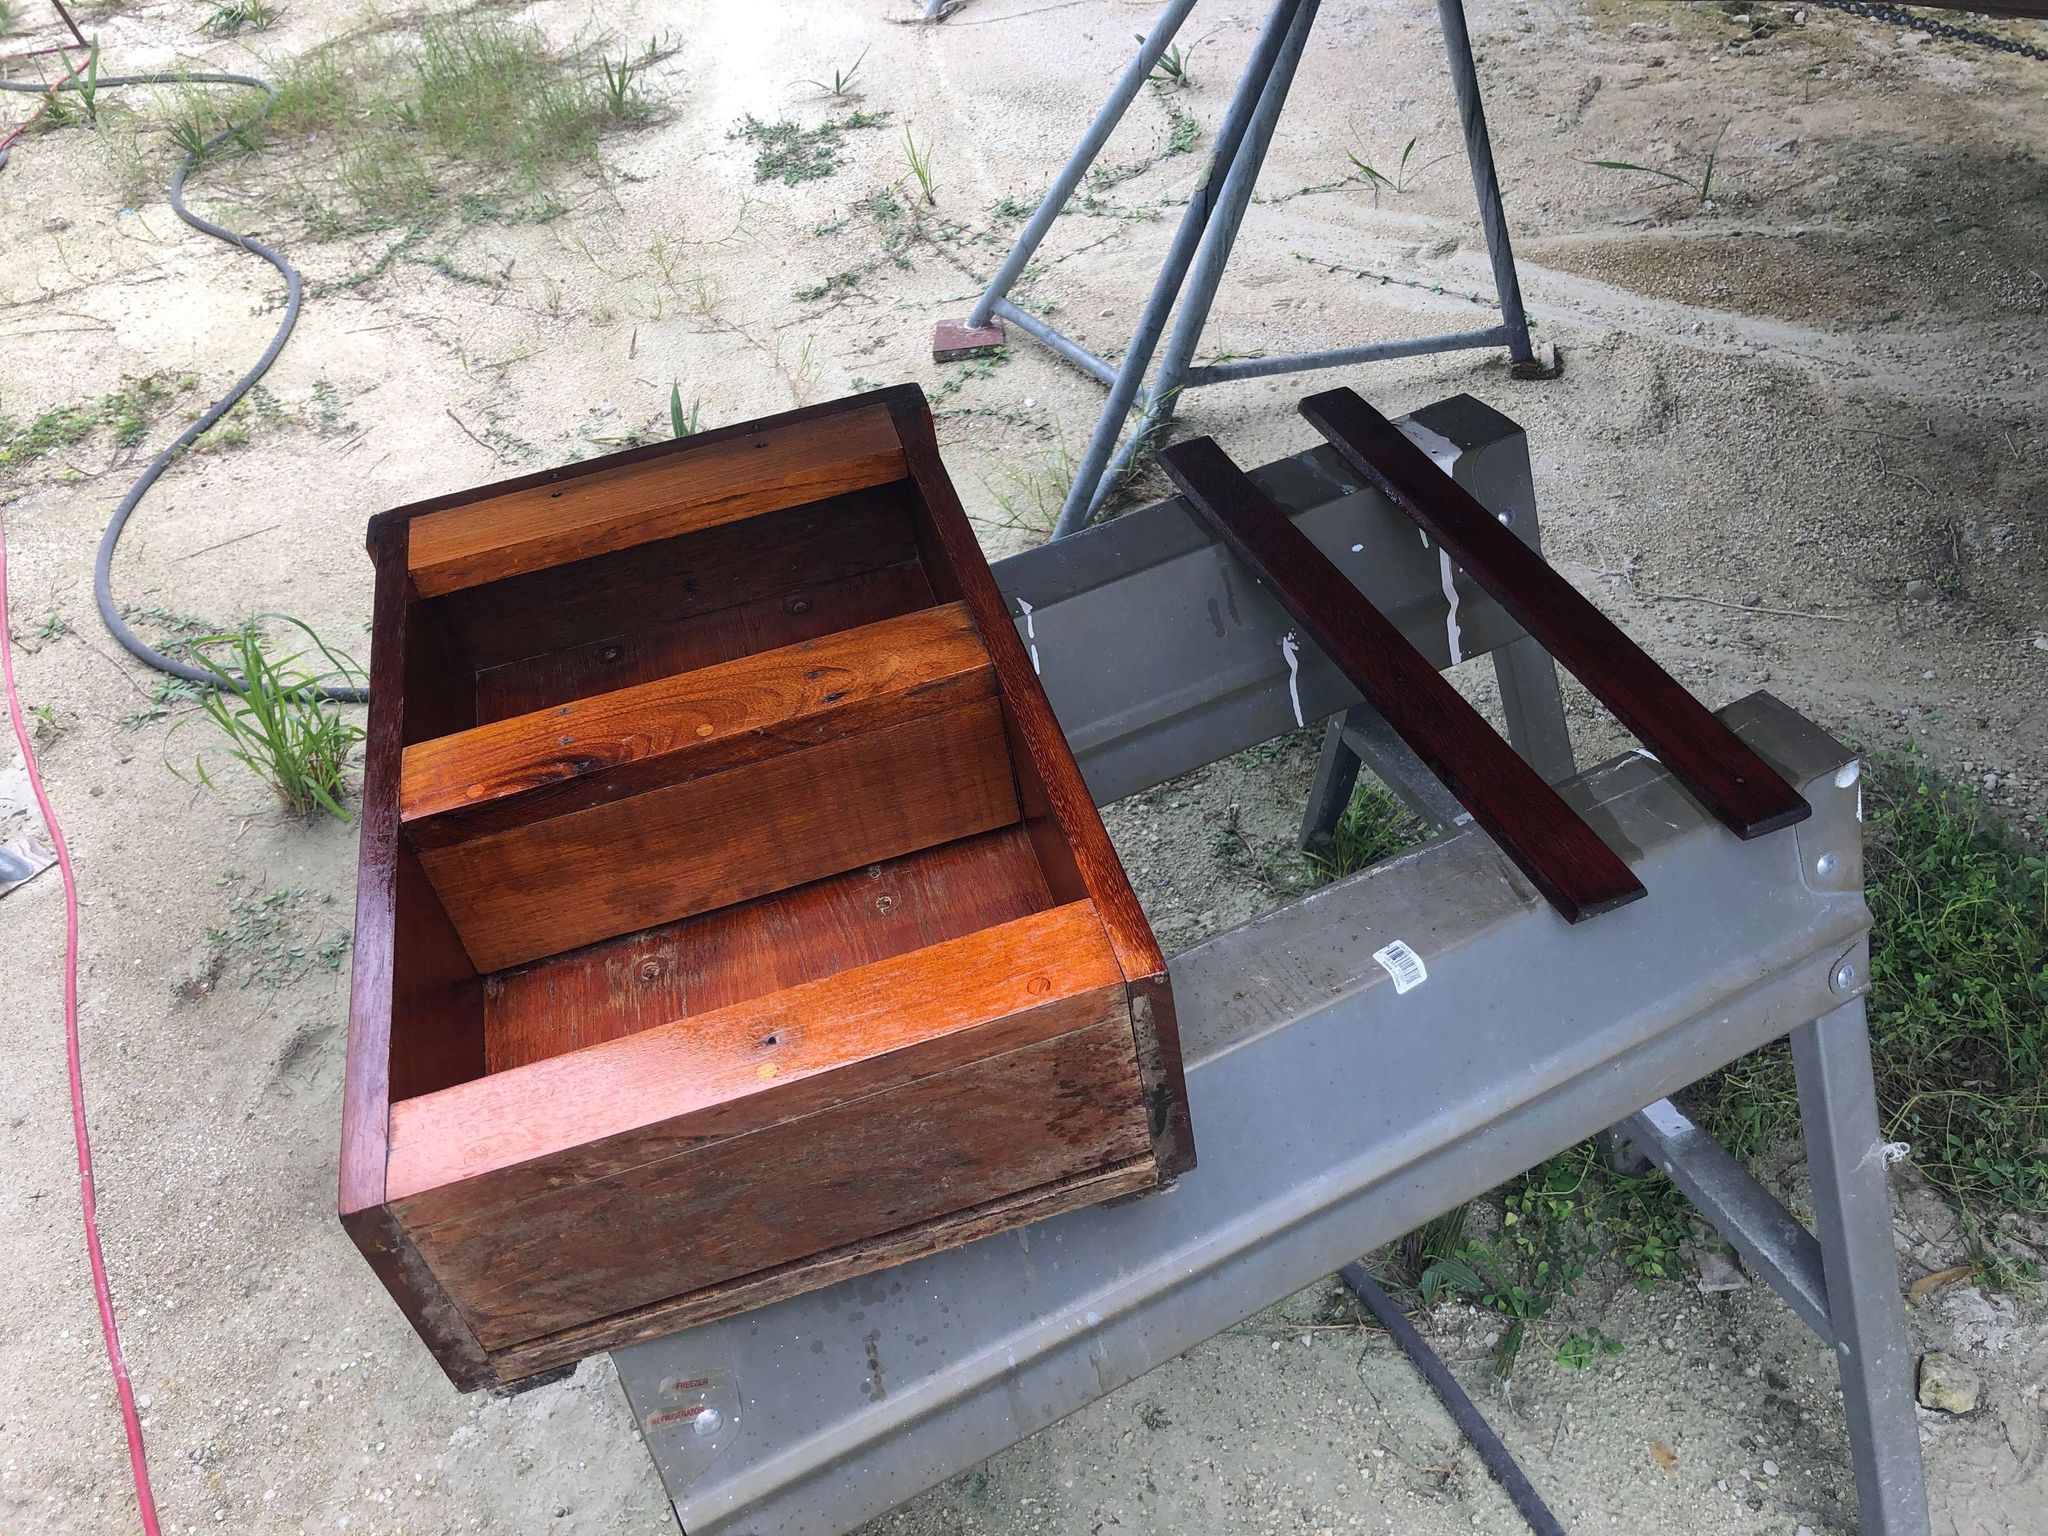
I’ve already done a lot of work to the cockpit table and posted about my refinishing of the table base in another post. It’s a little box that bolts to the steering pedestal and has 2 shelves and an open front. Unfortunately, the base was actually the easy part as it wasn’t rotten and falling apart…
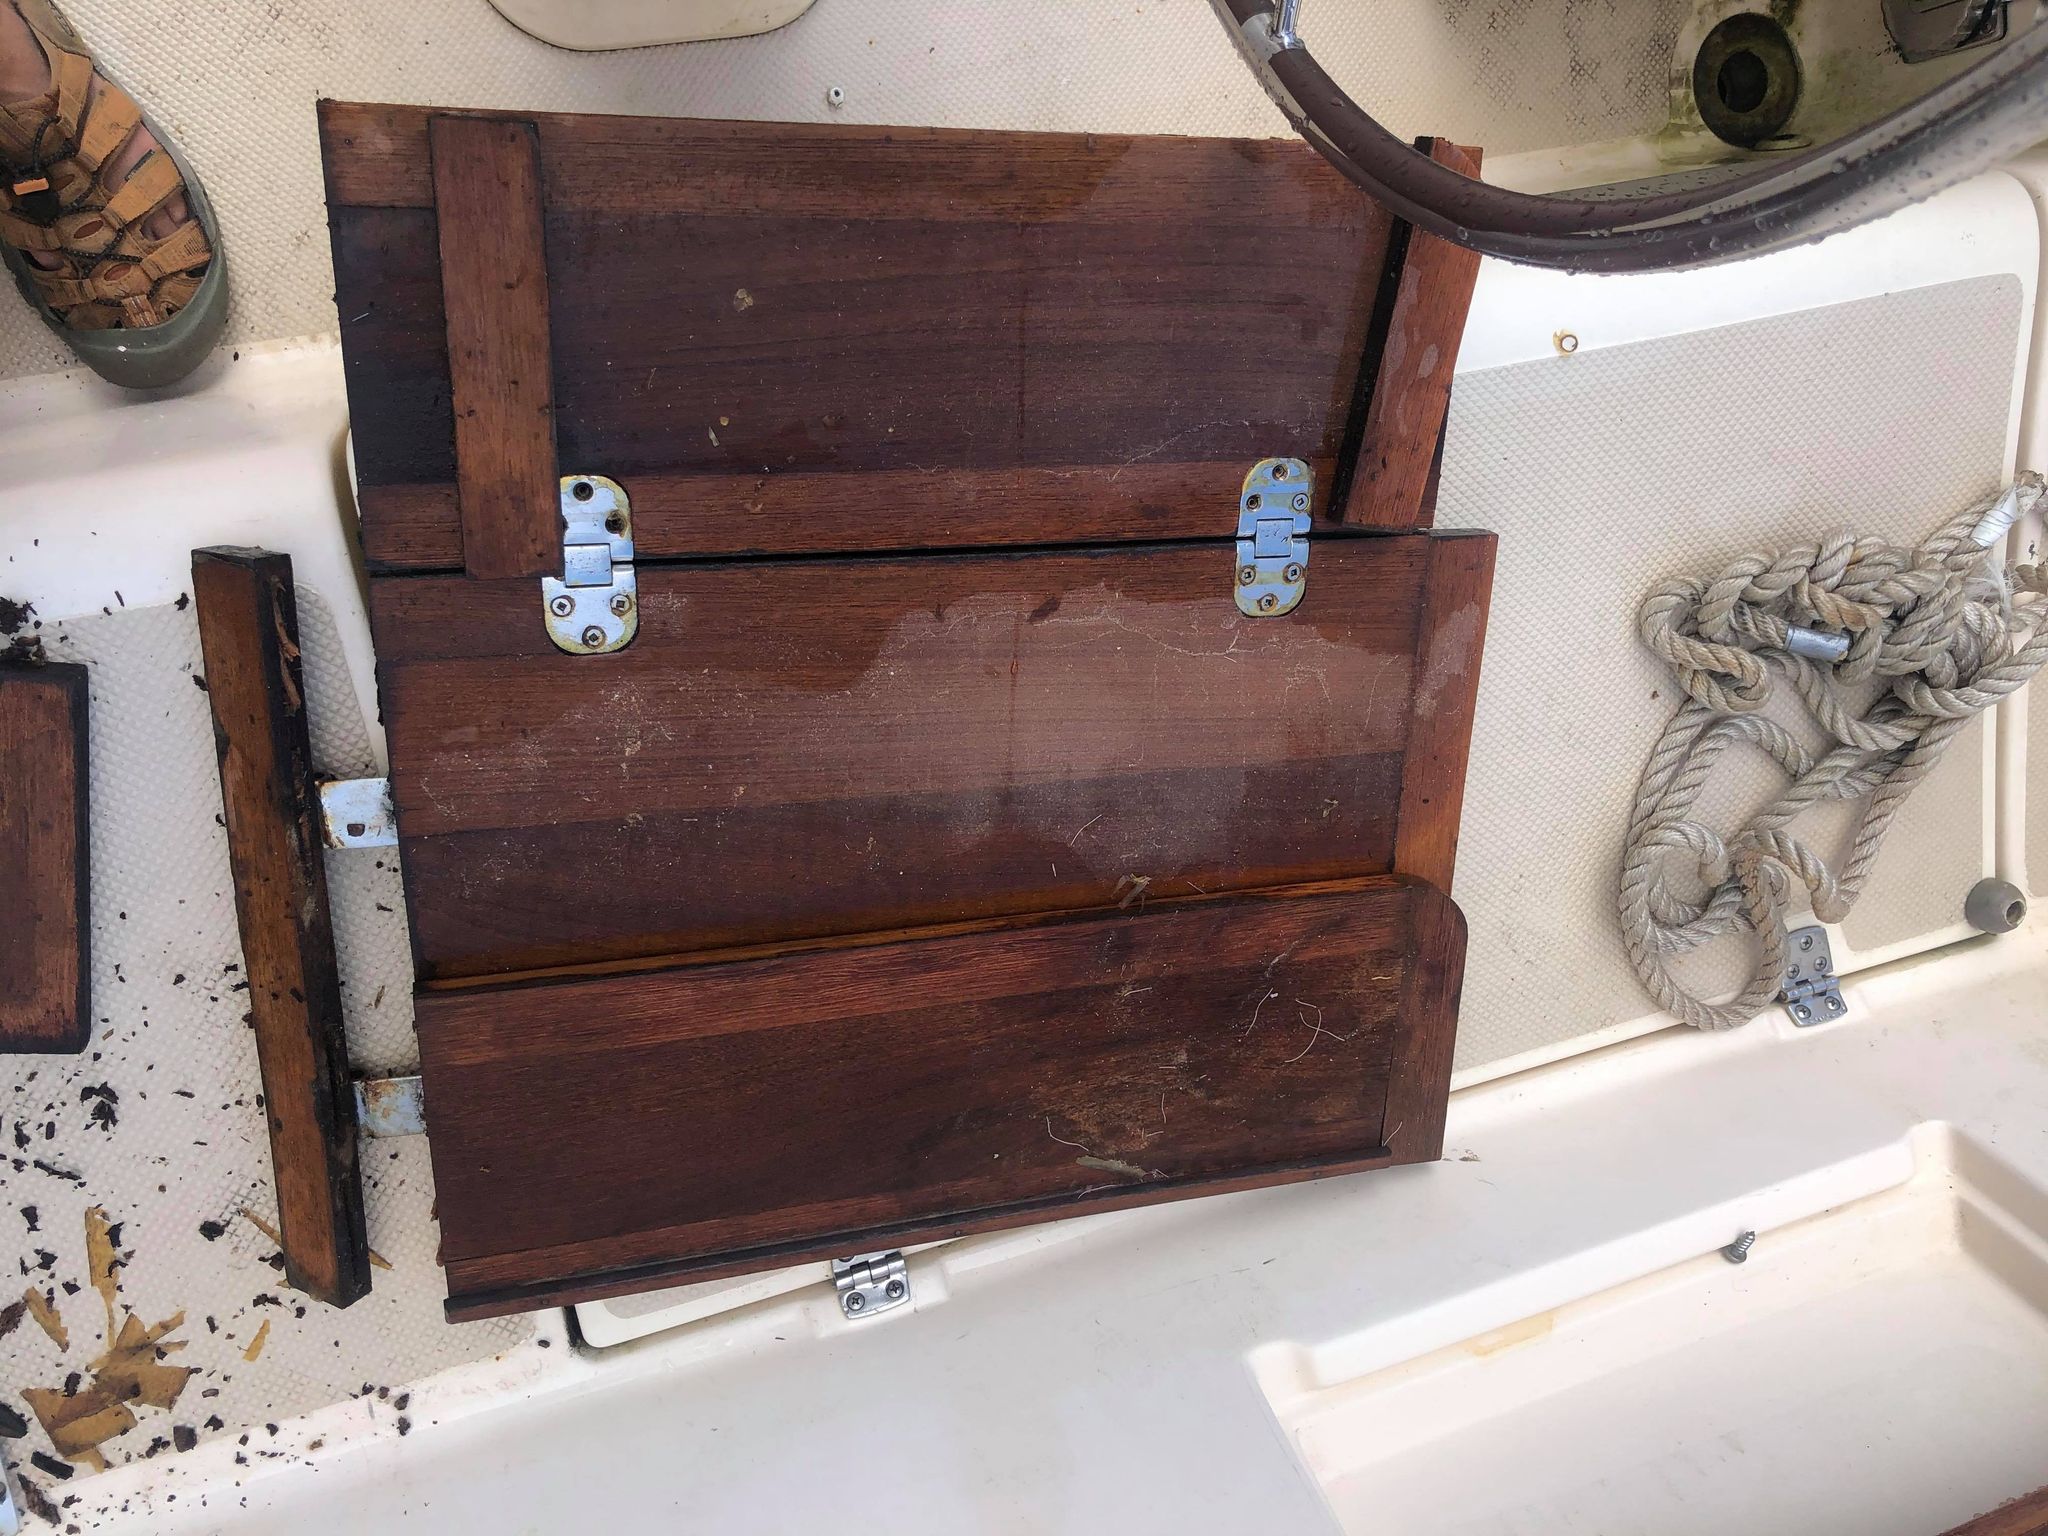
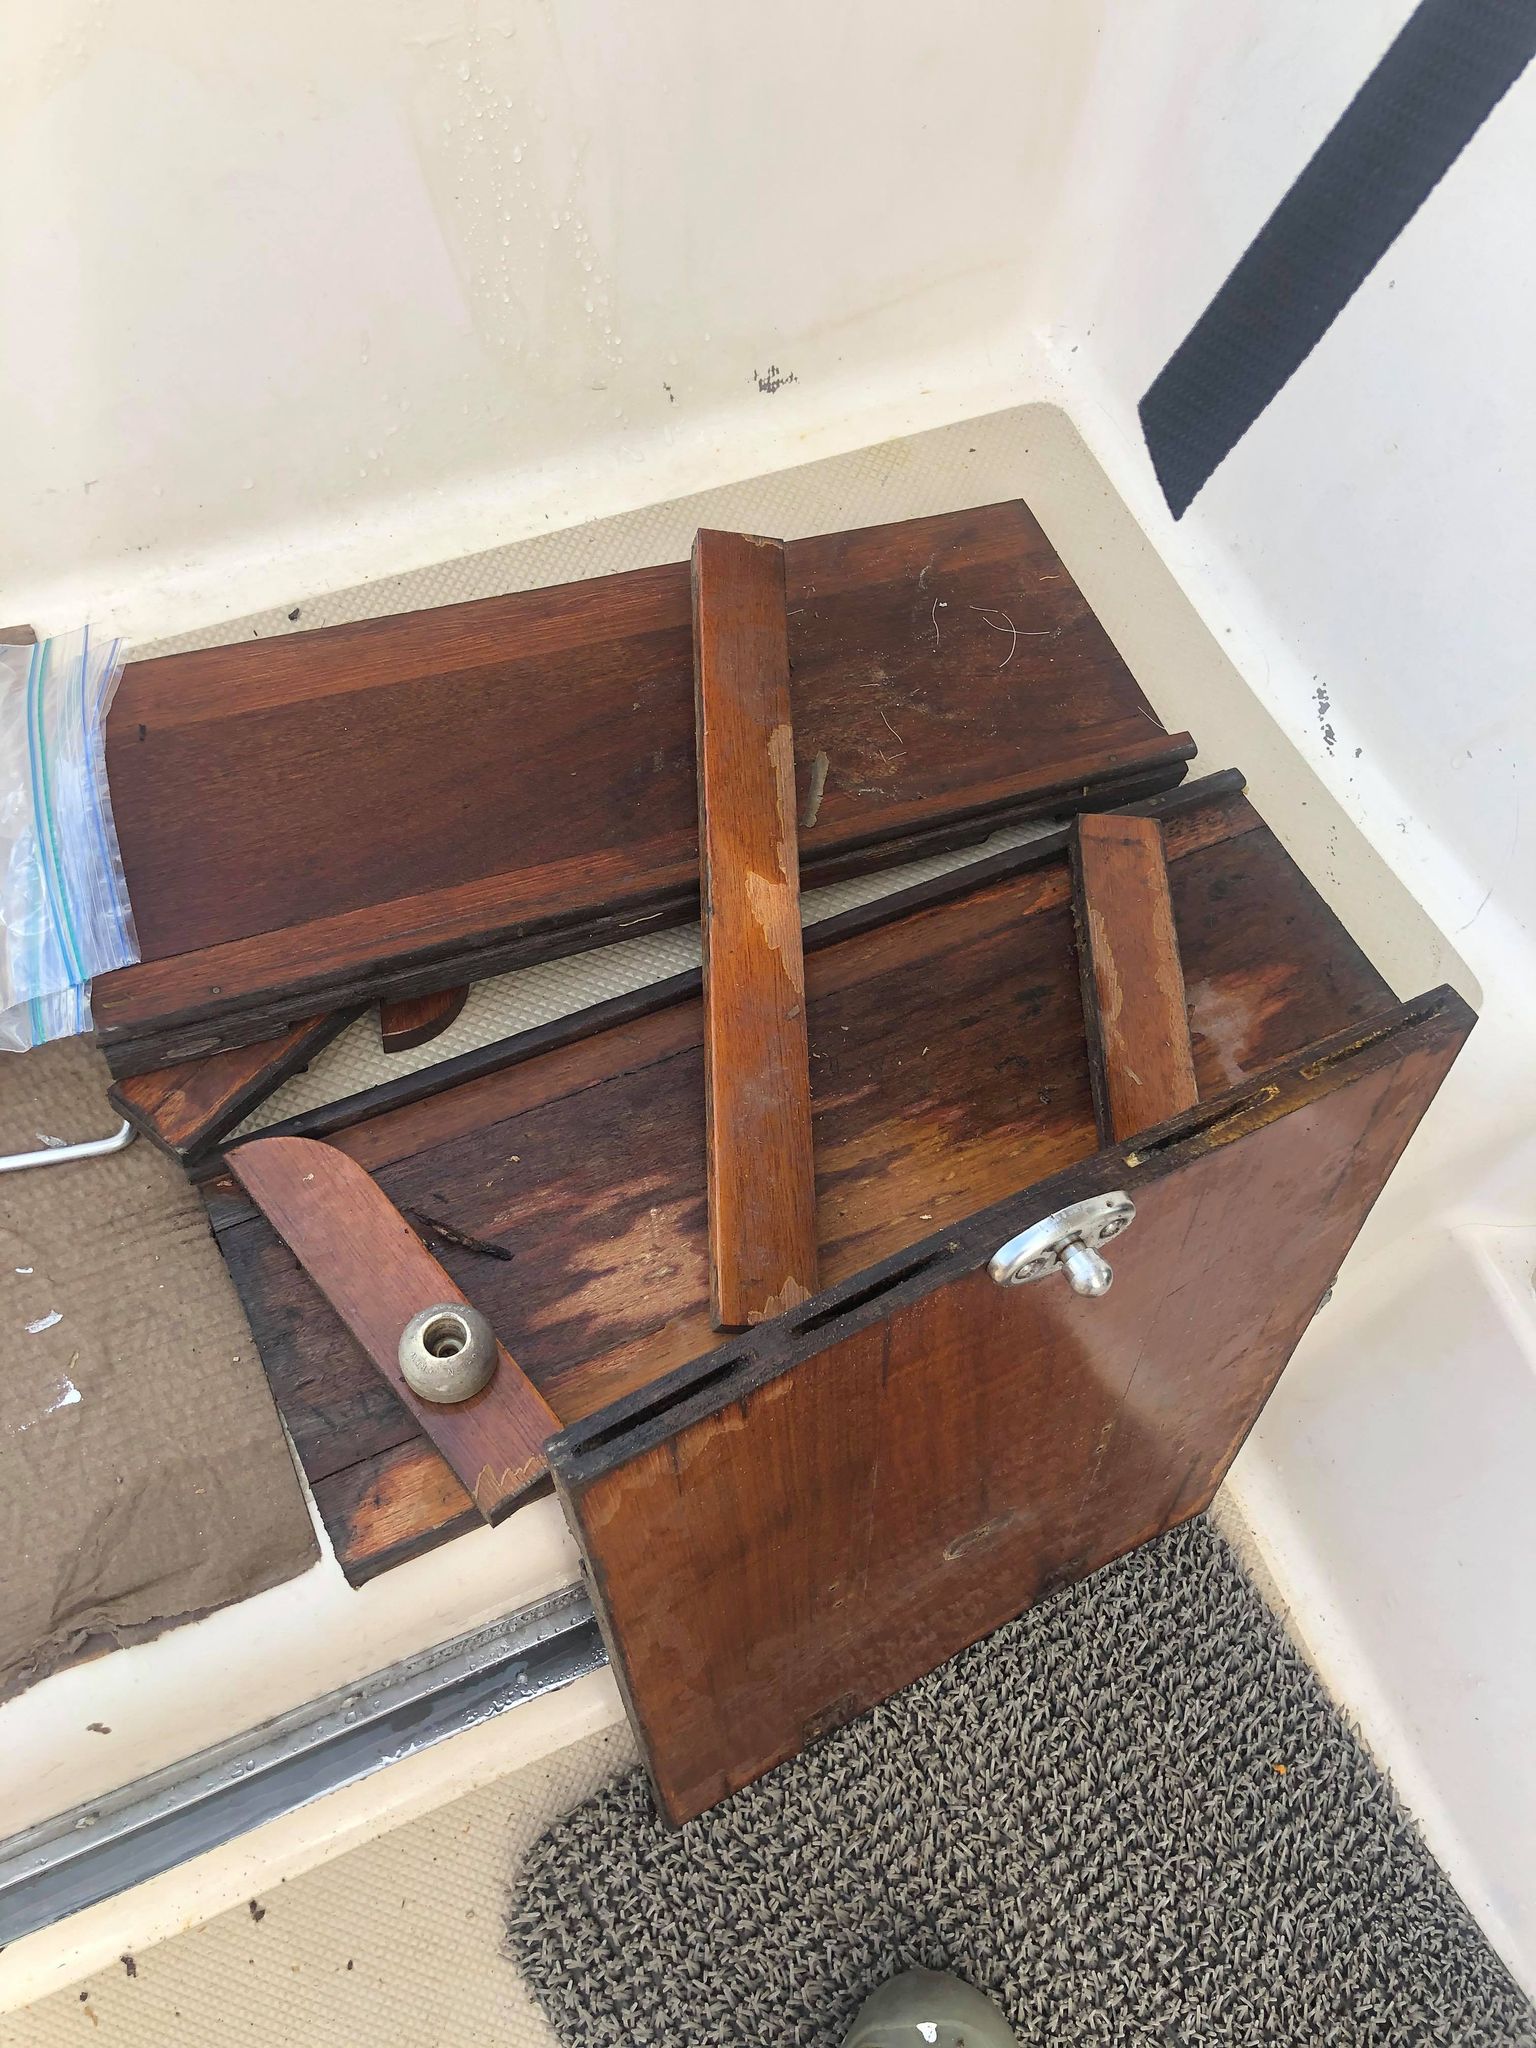
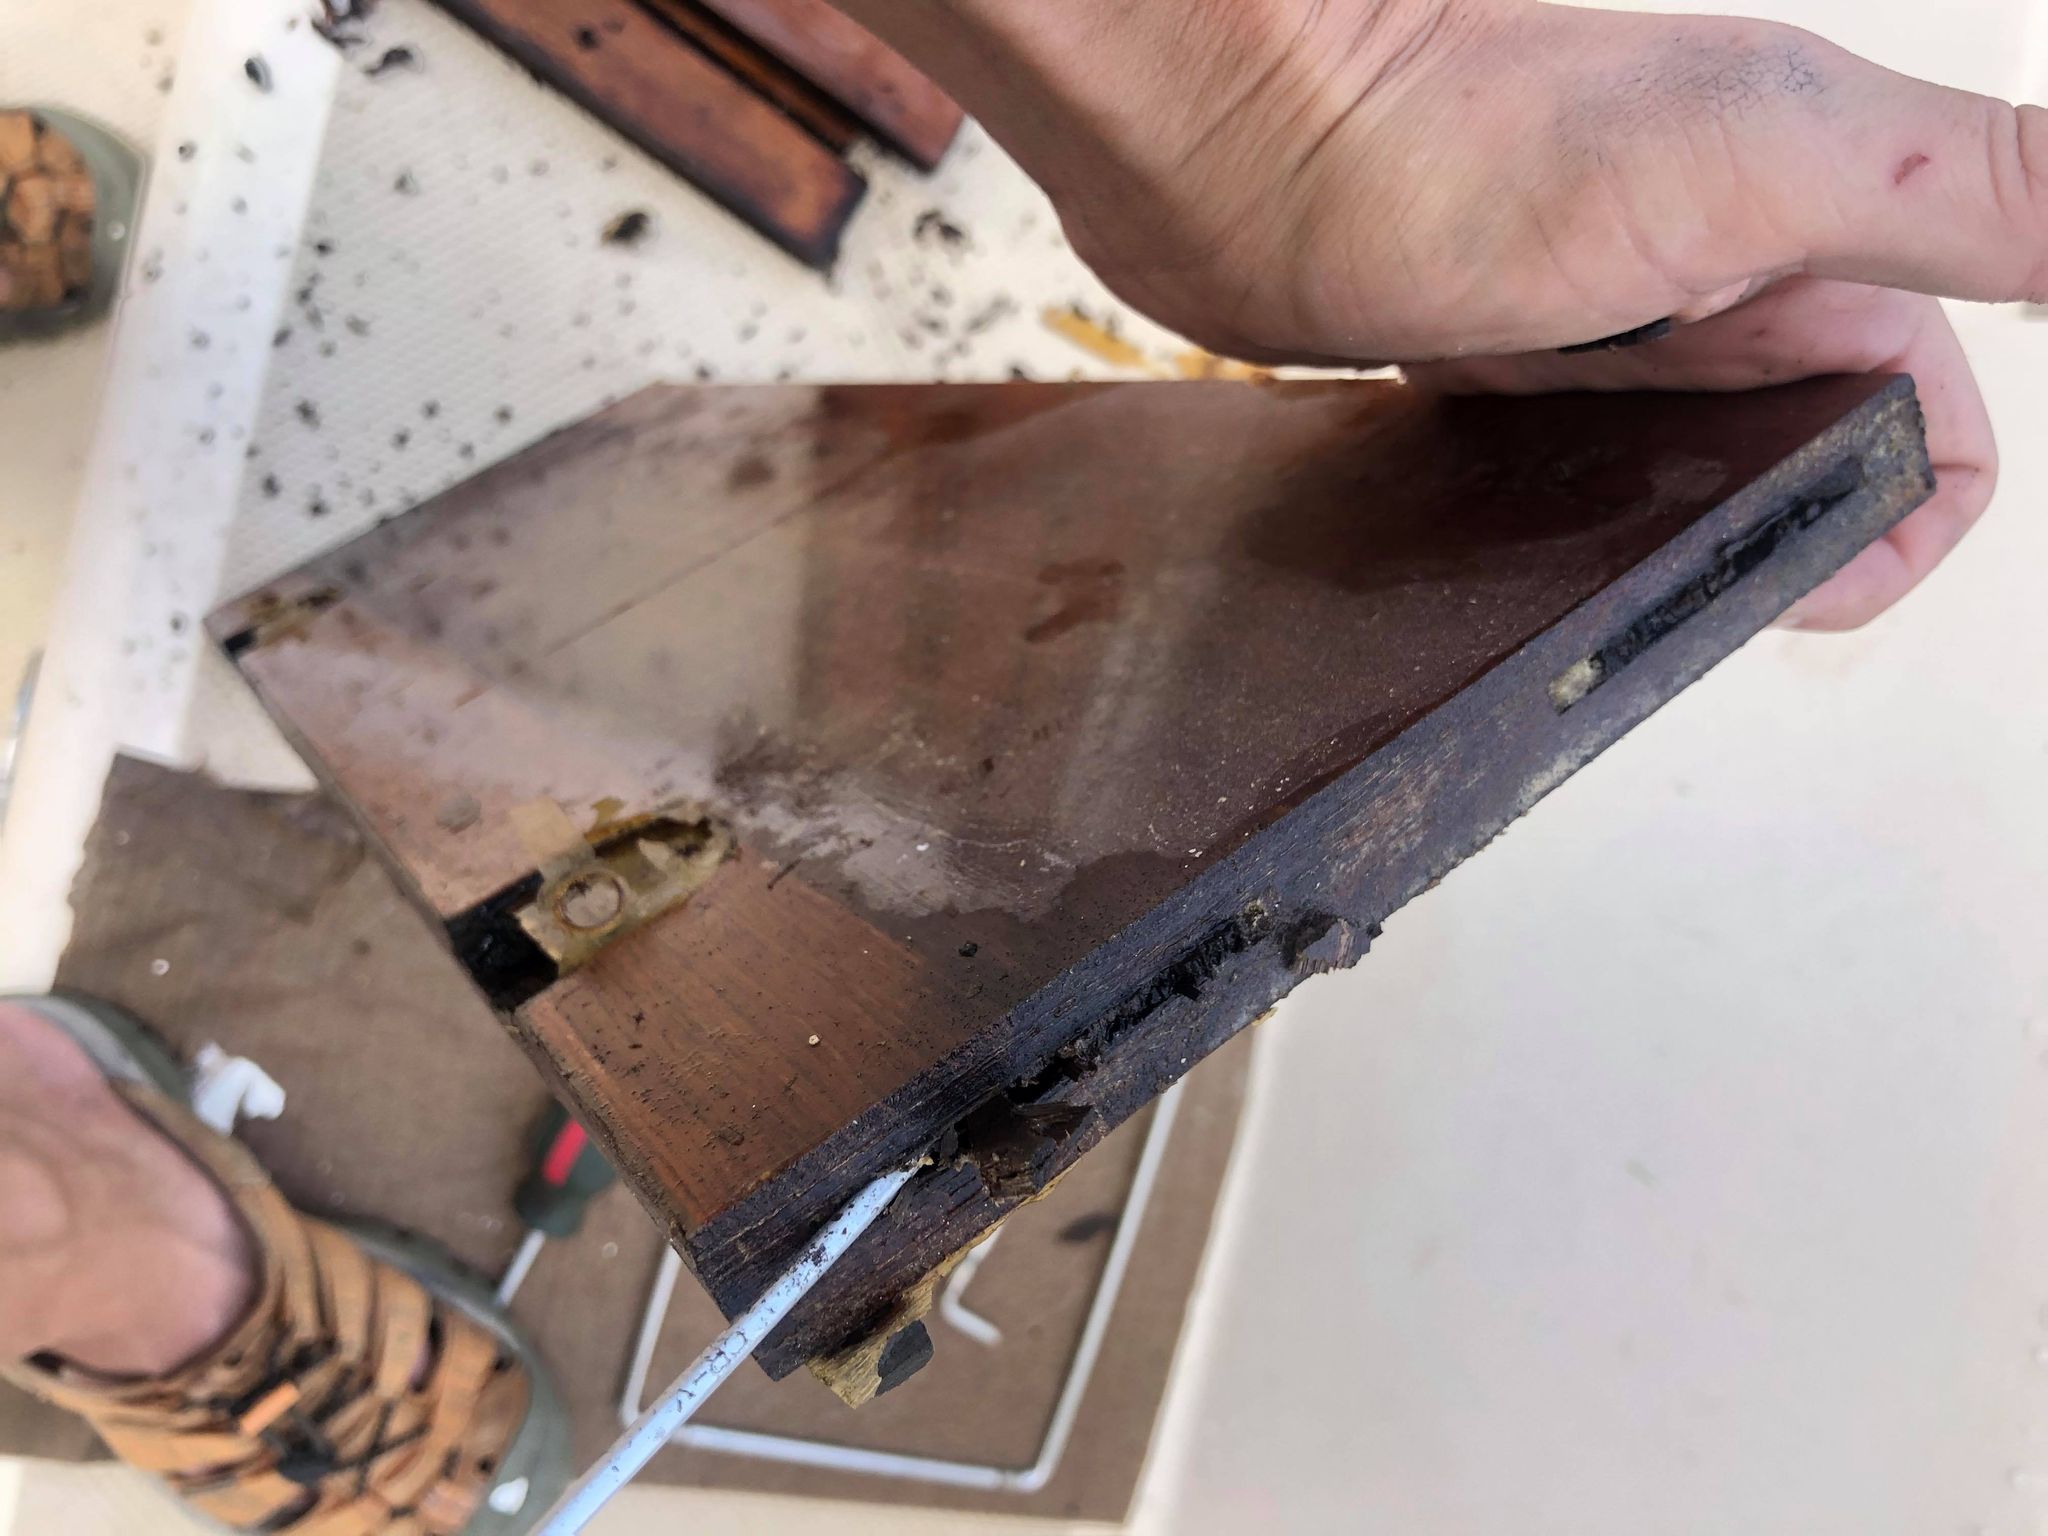
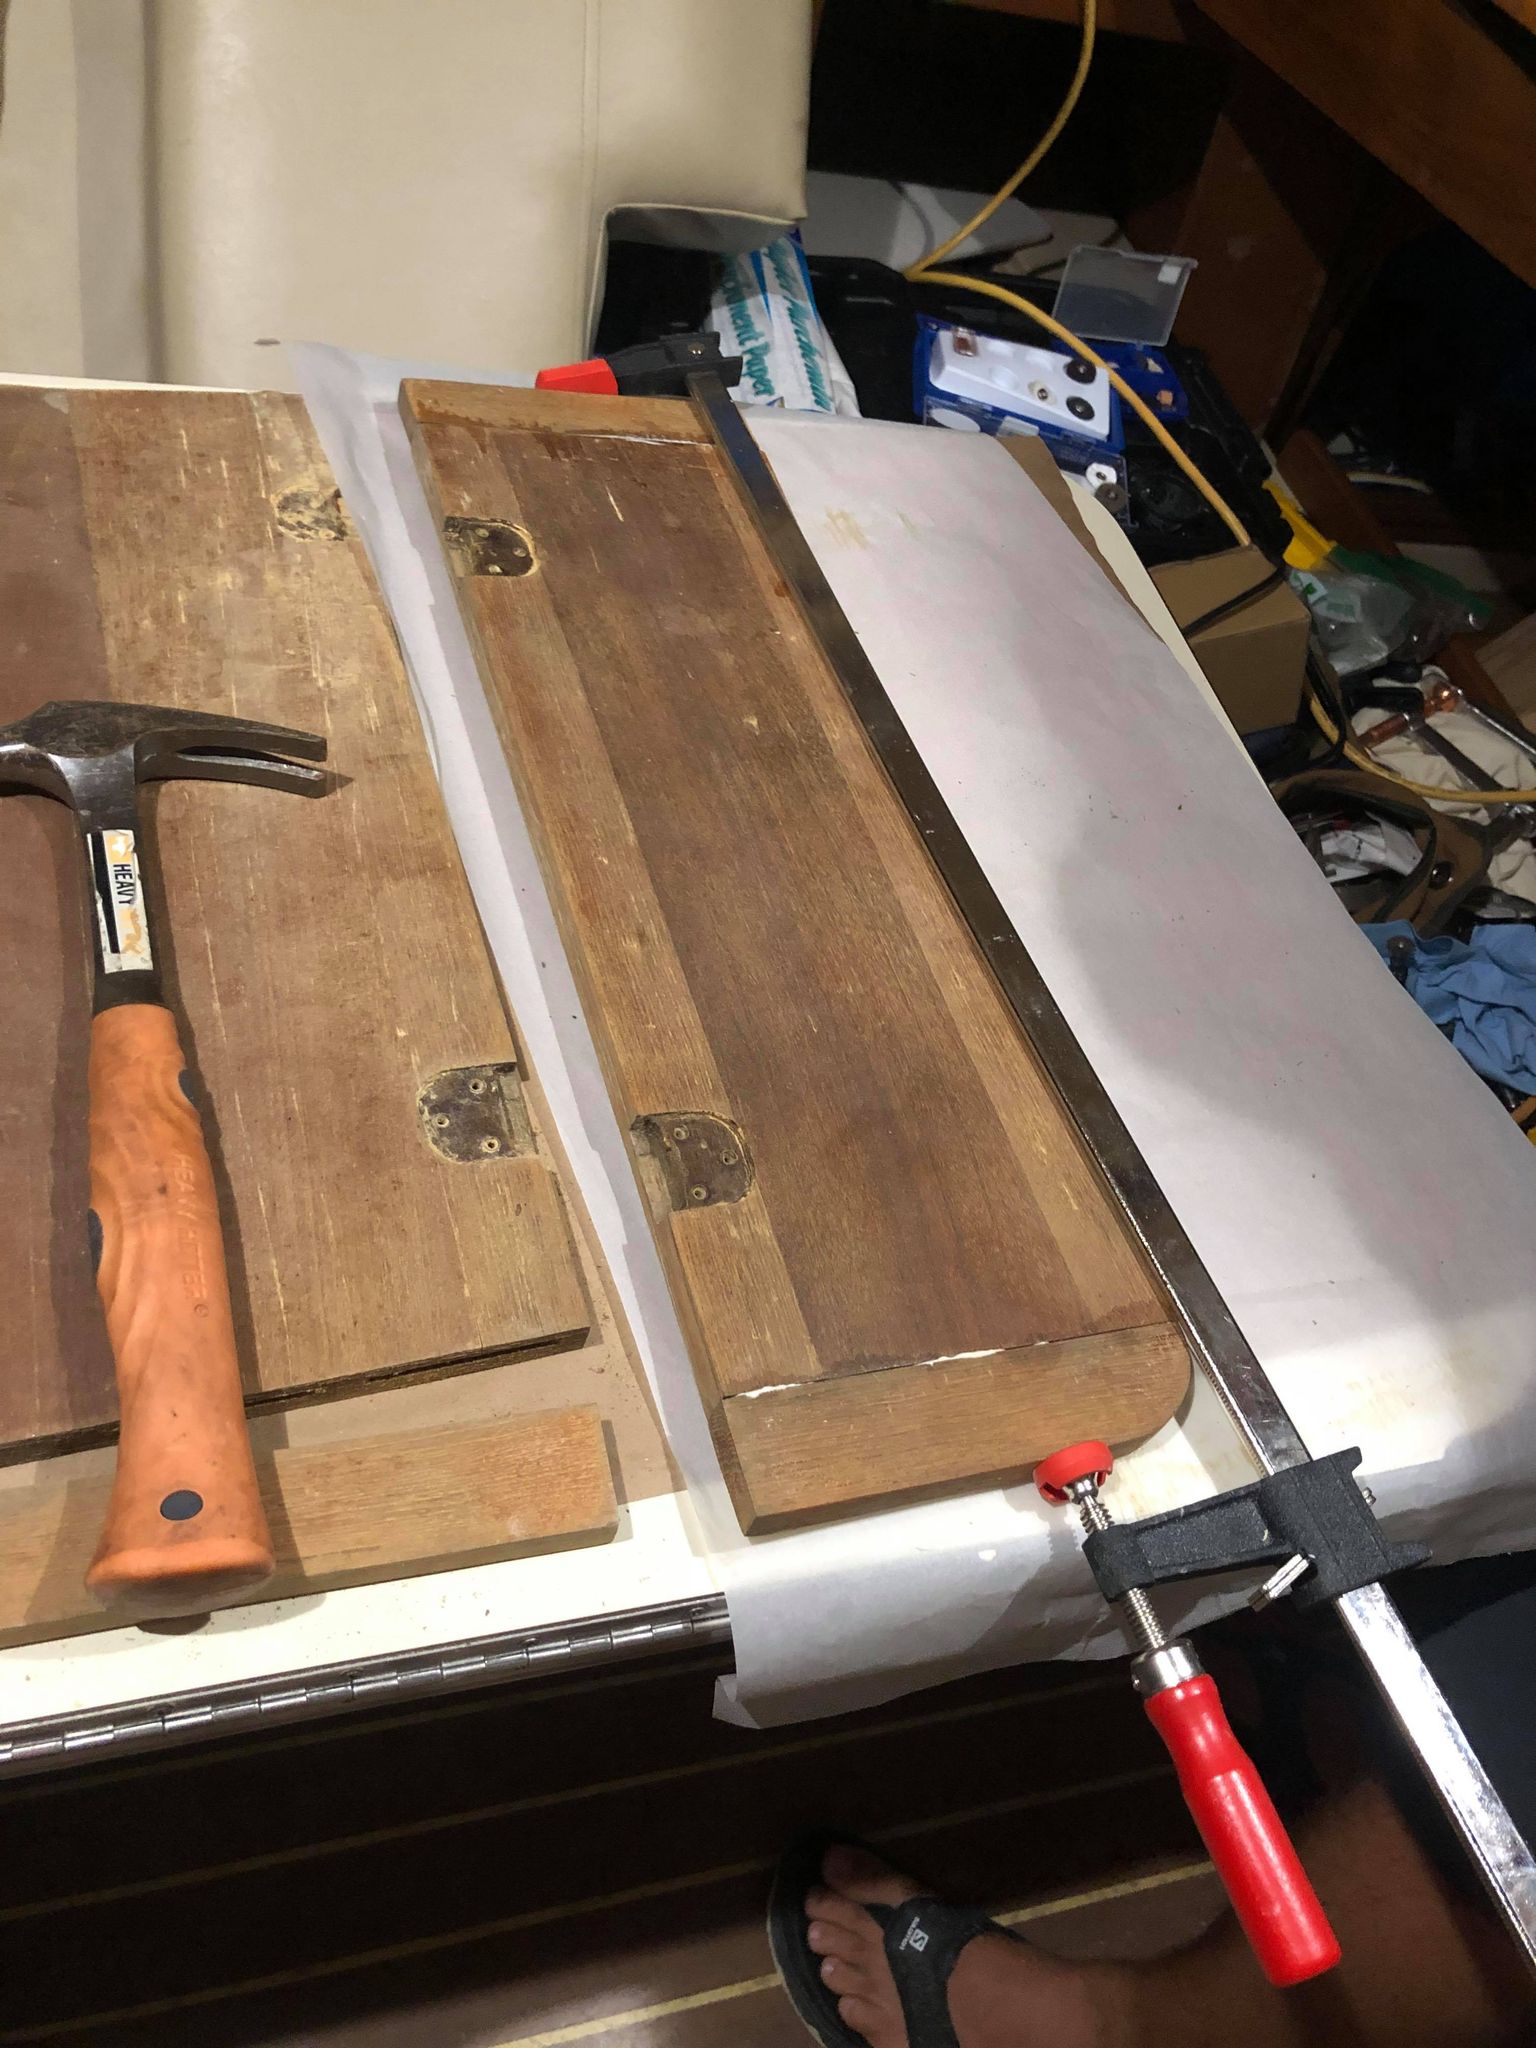
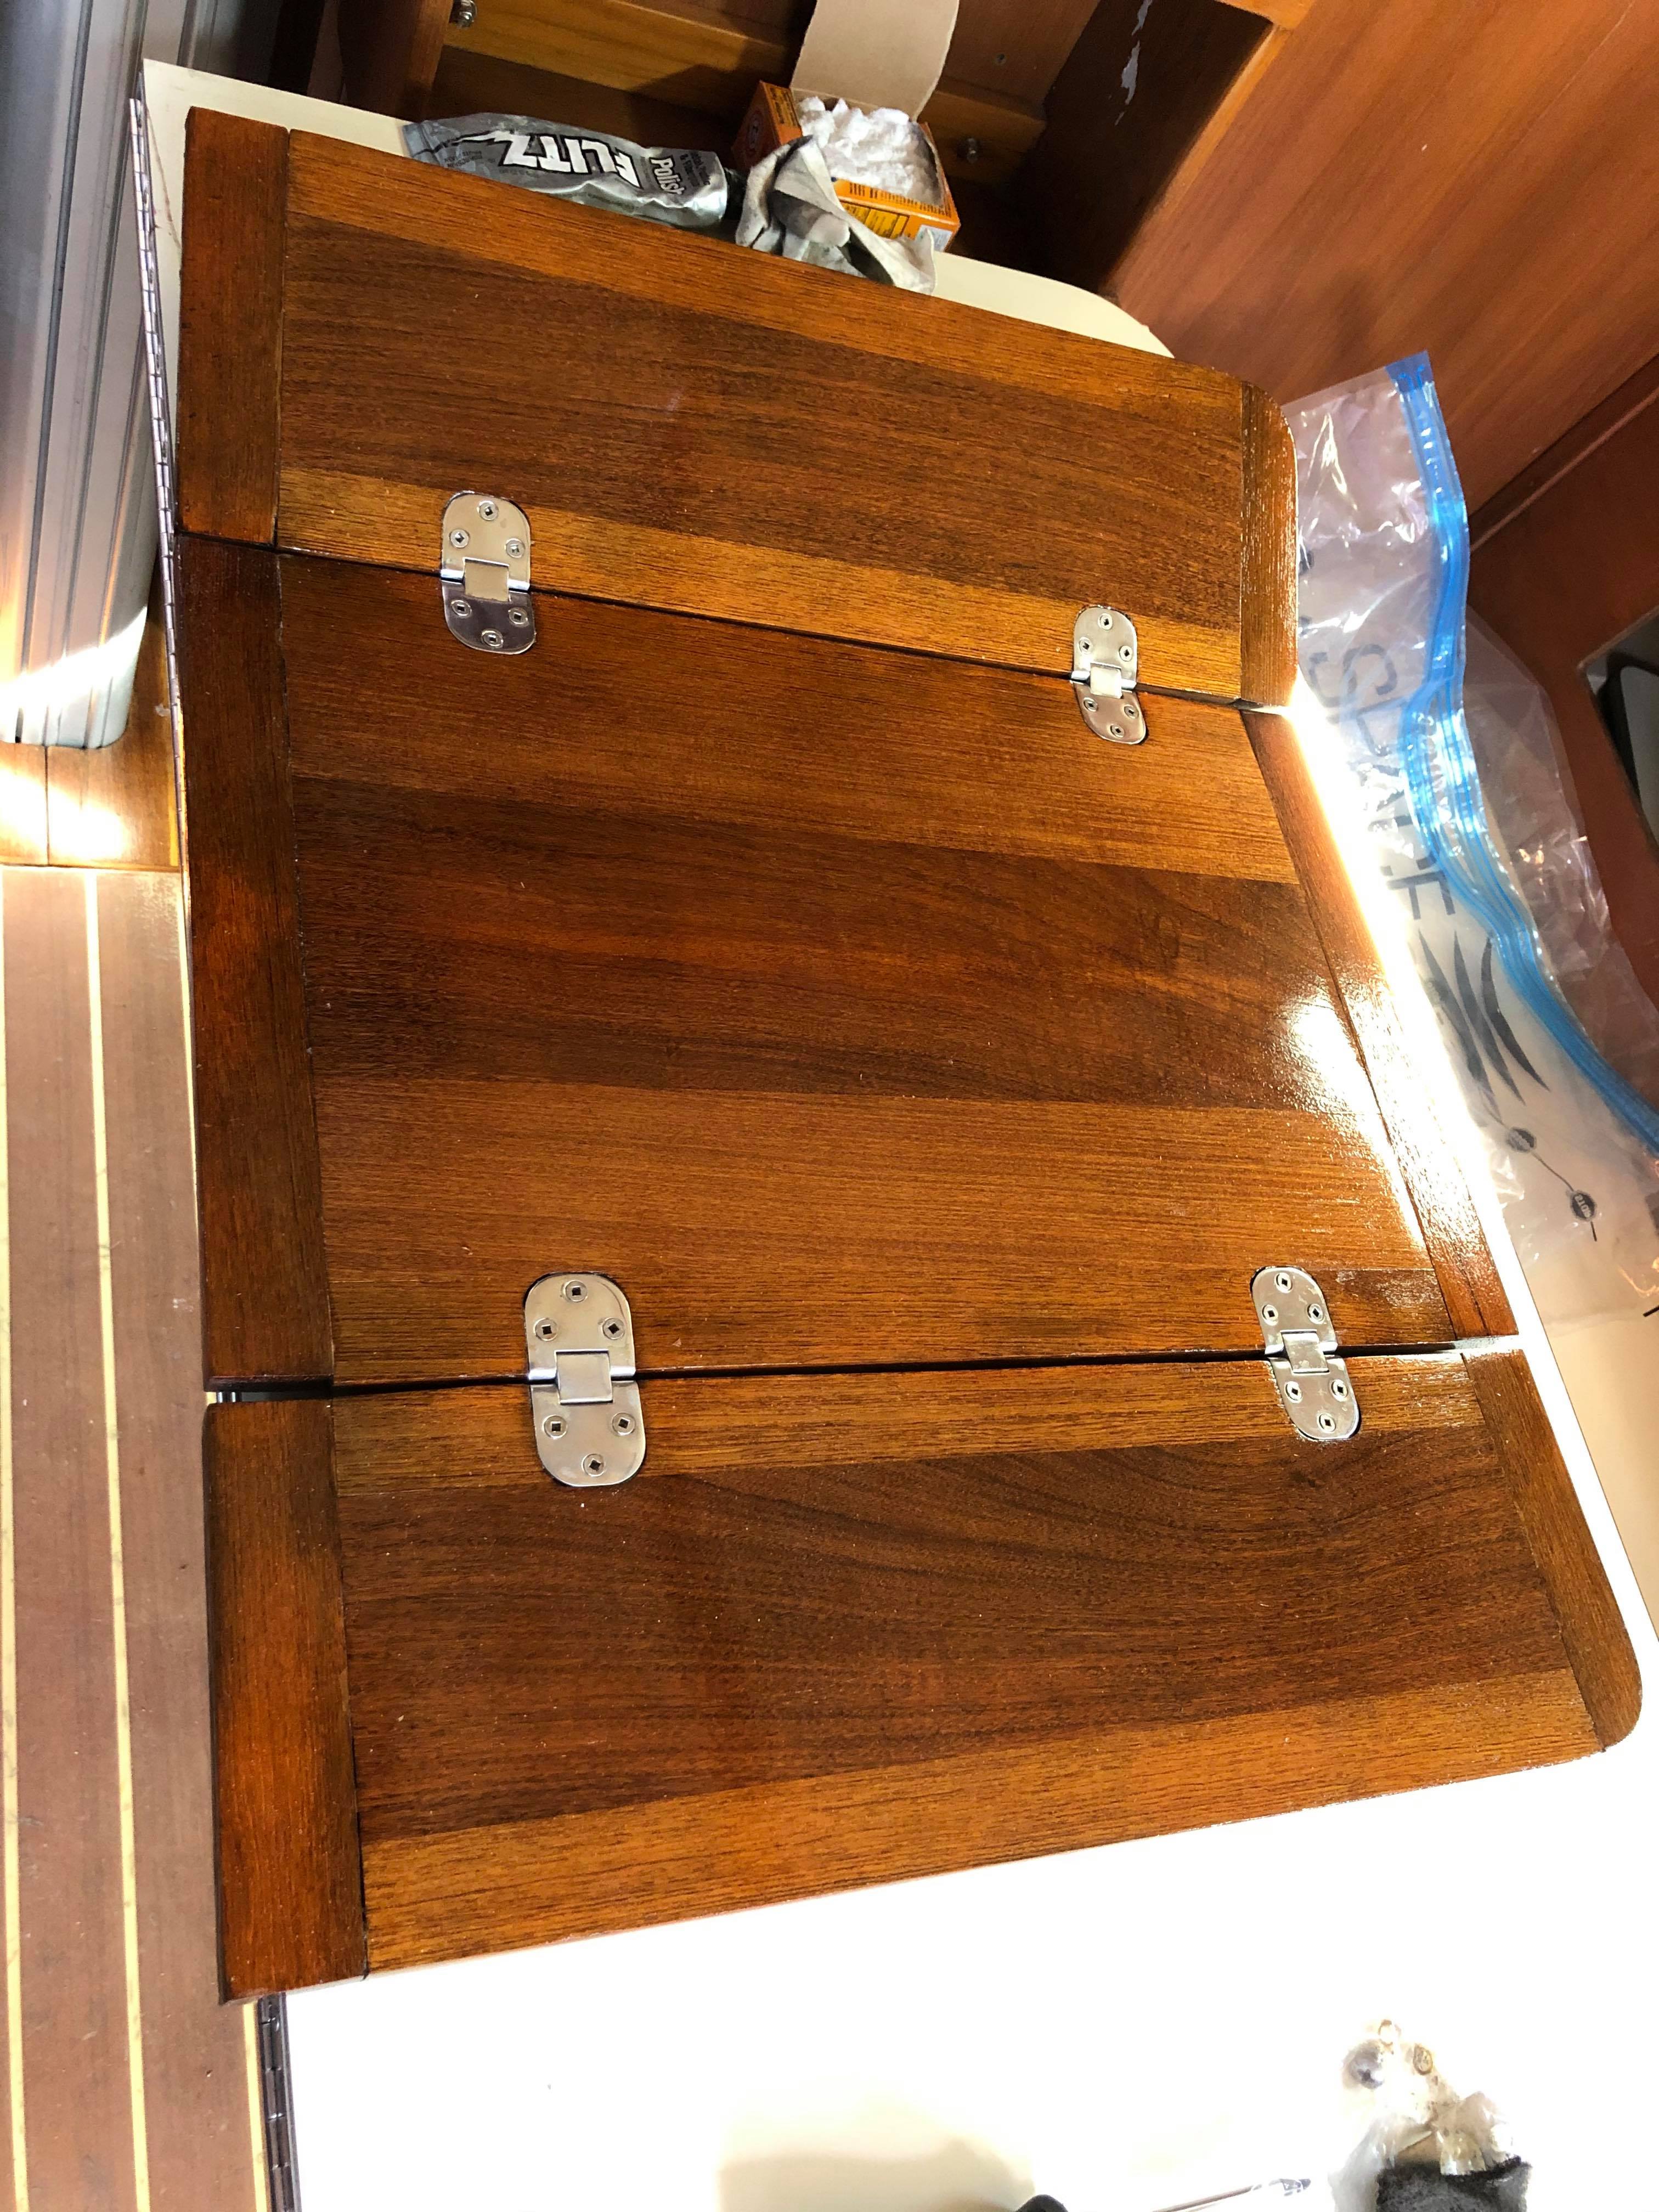
I took all of my sad table pieces down to the ground and sanded them all mostly smooth. Not all of the rot or the gray teak sanded back to gold but it’ll still look nice. I set it all up on the table inside the boat and I think I even have all the pieces lined back up!
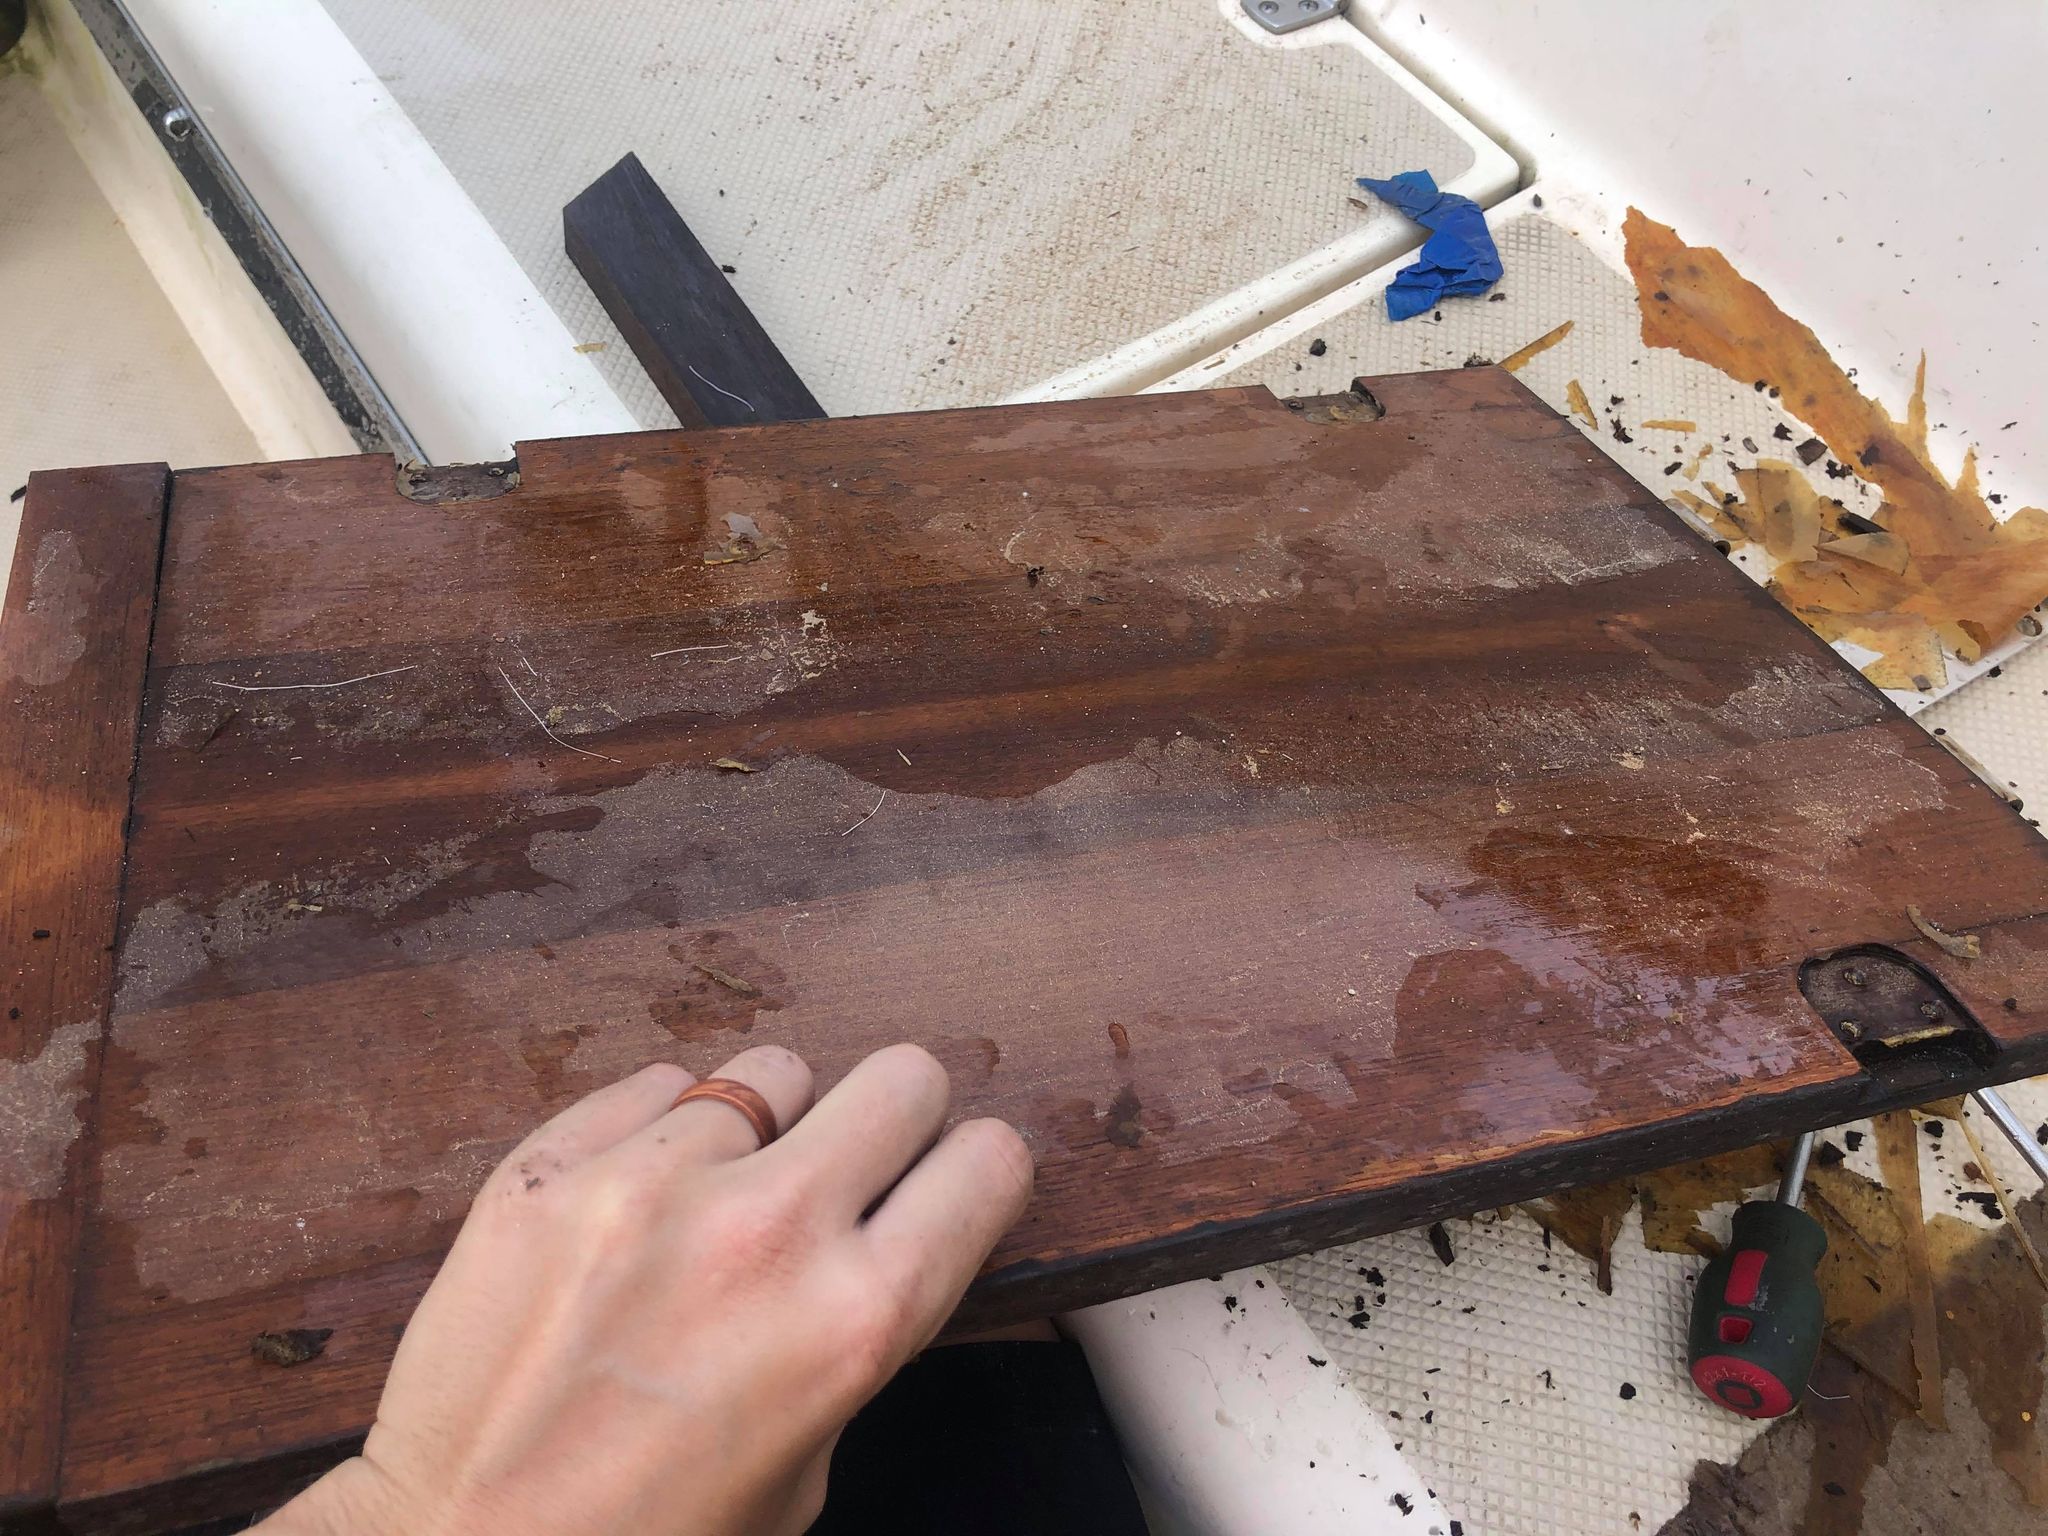
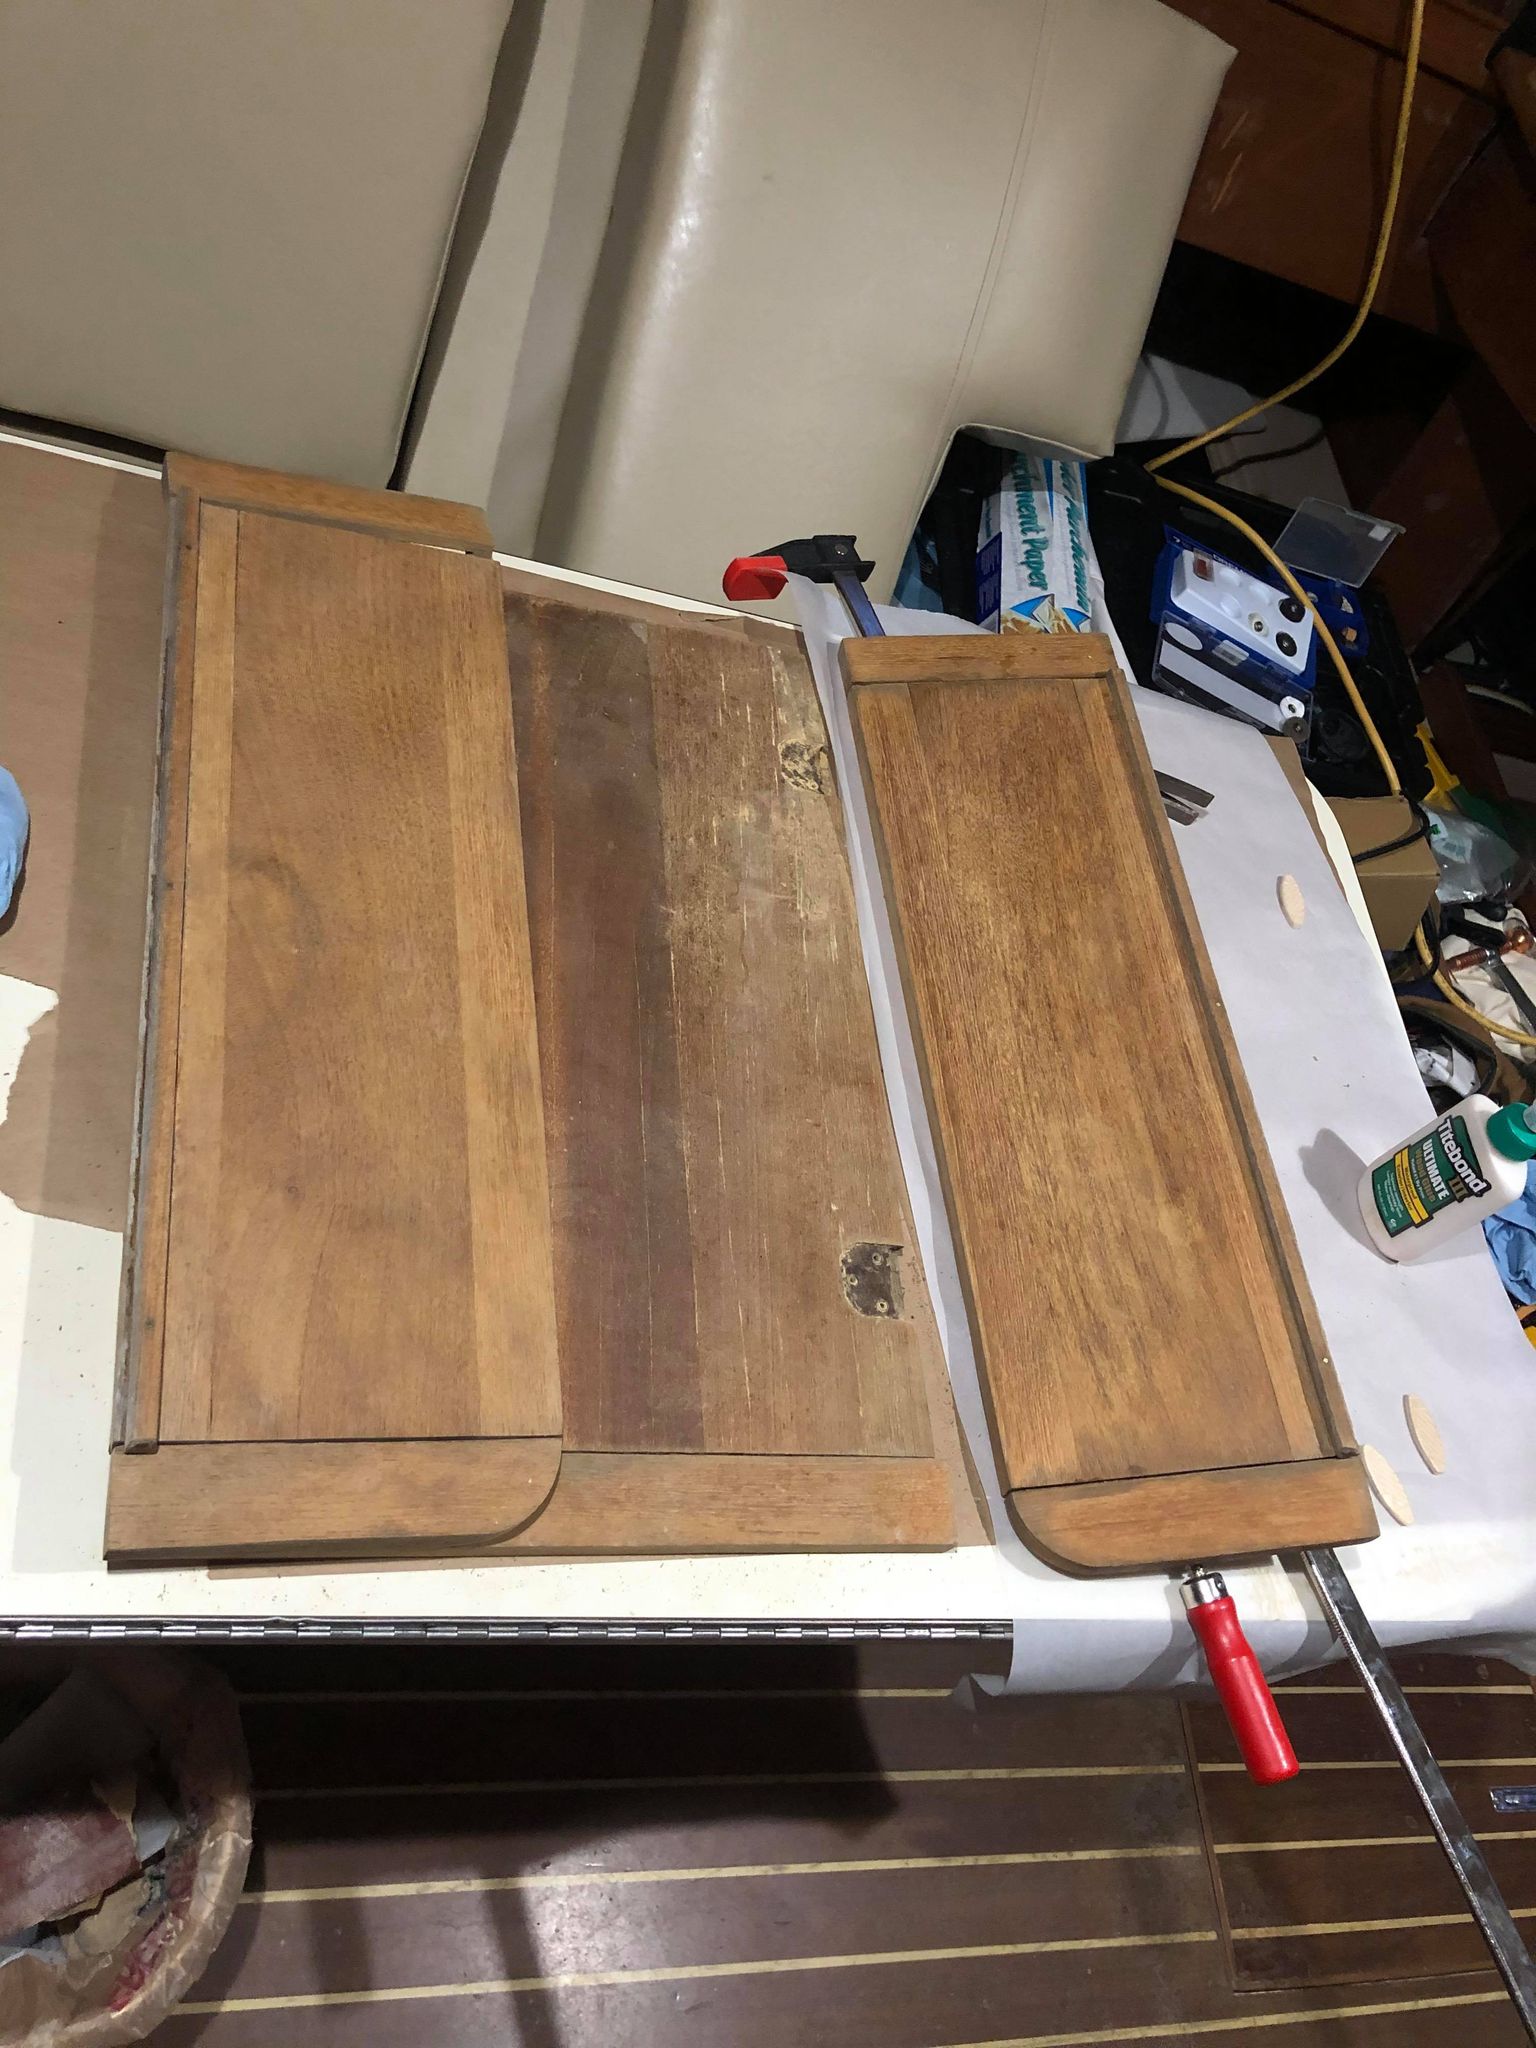
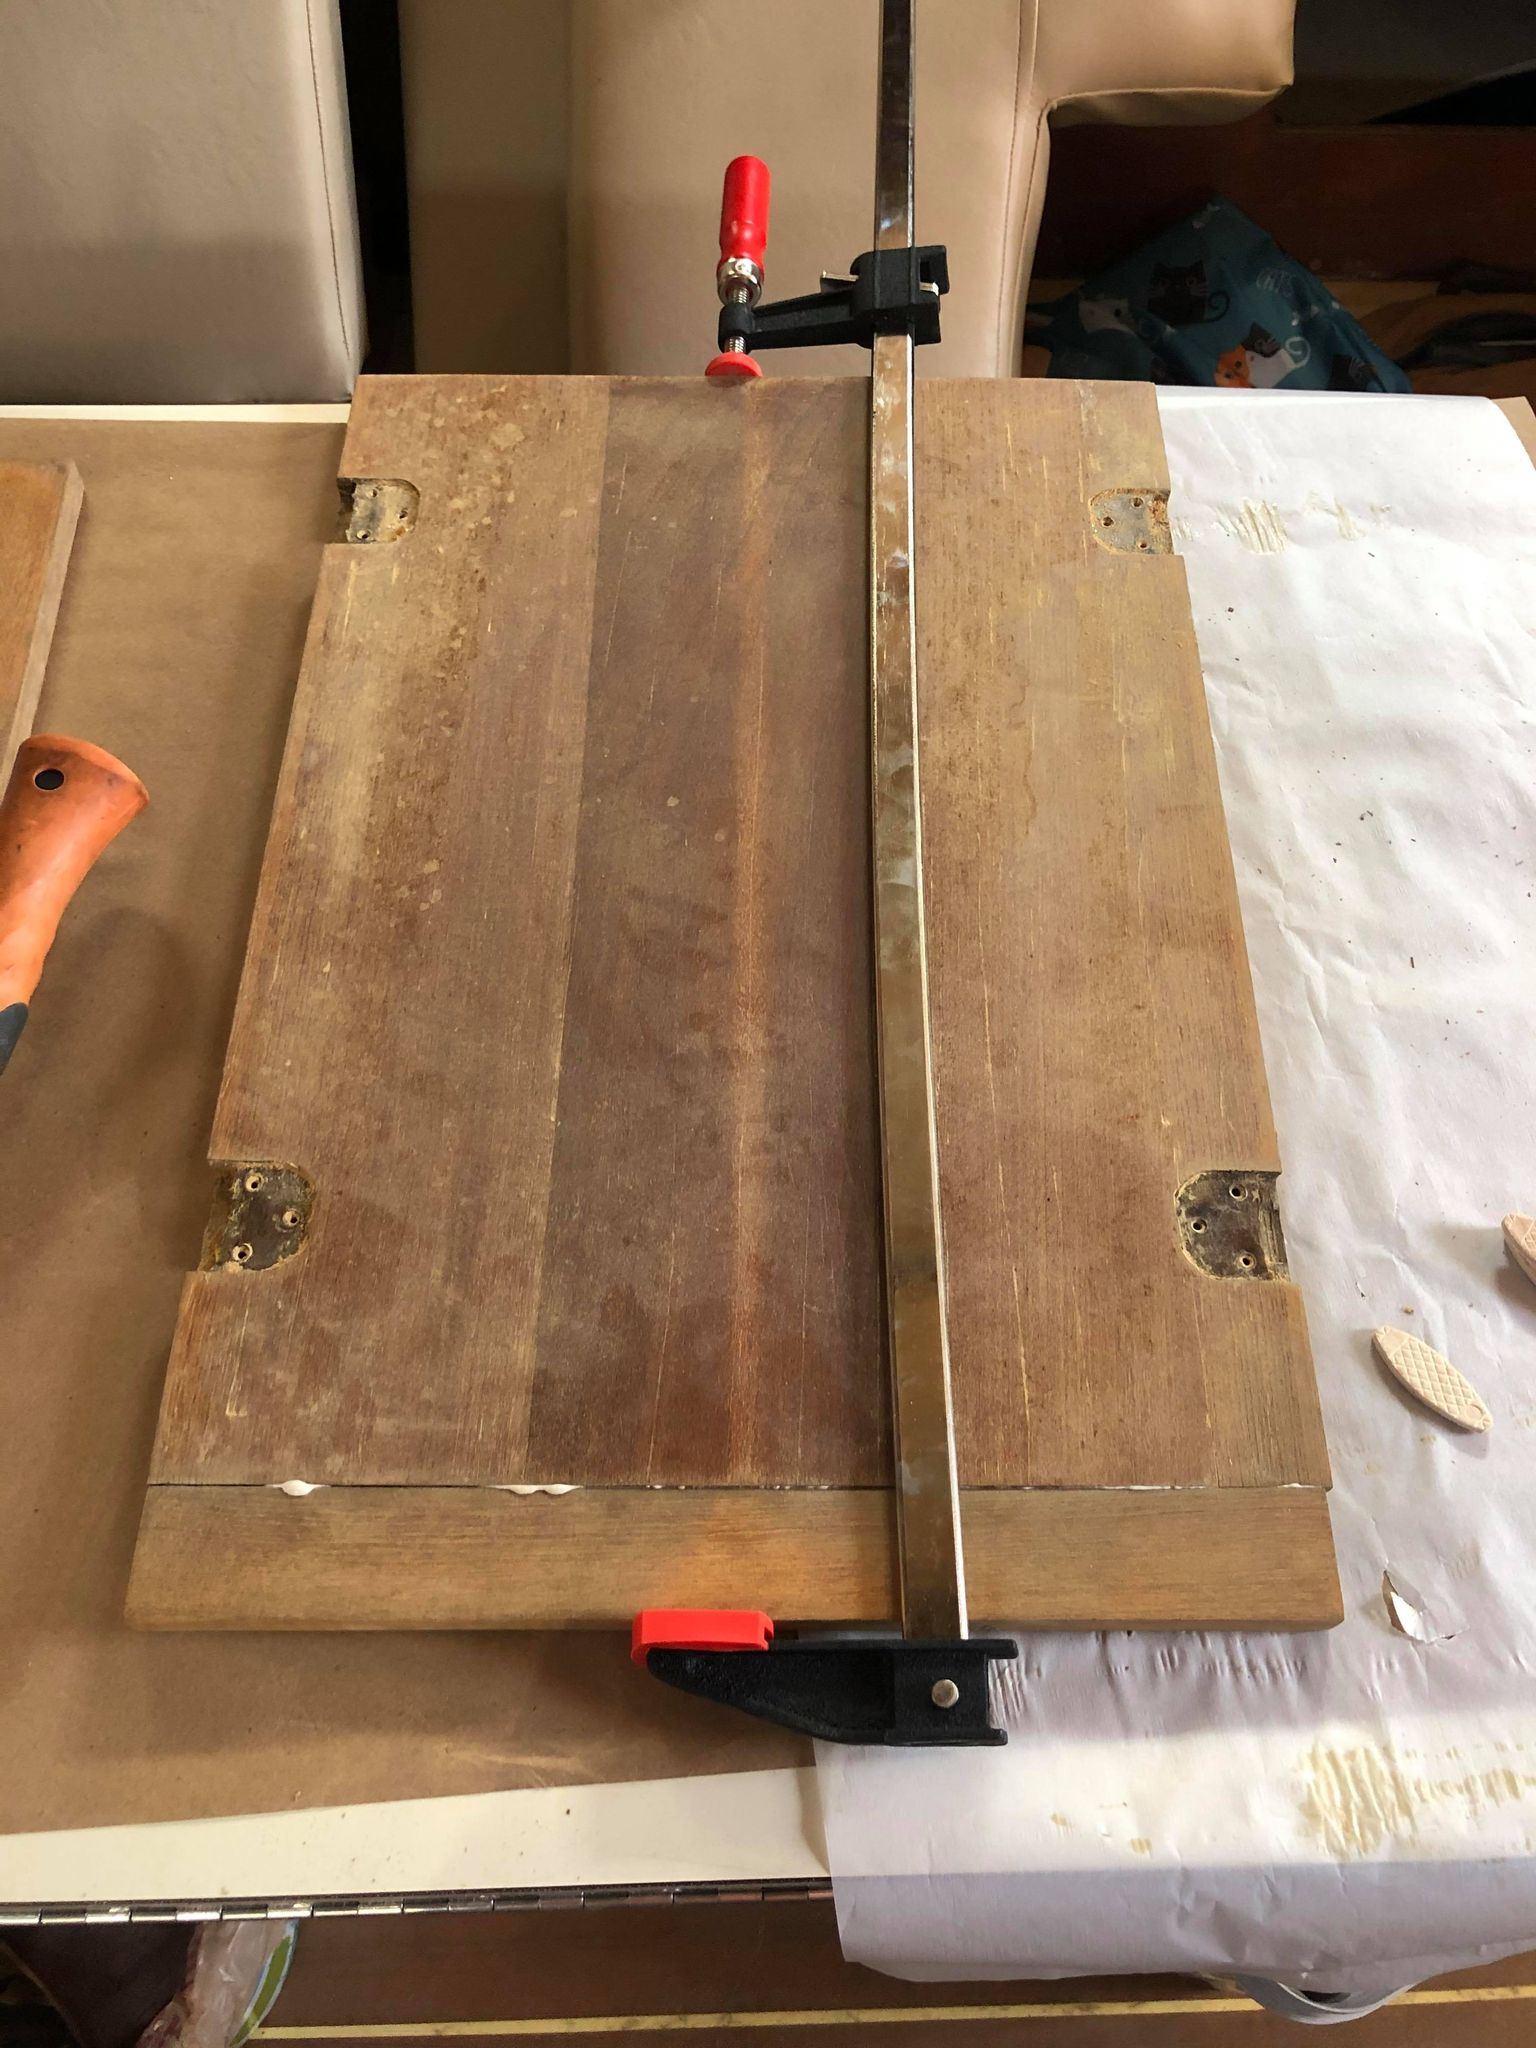
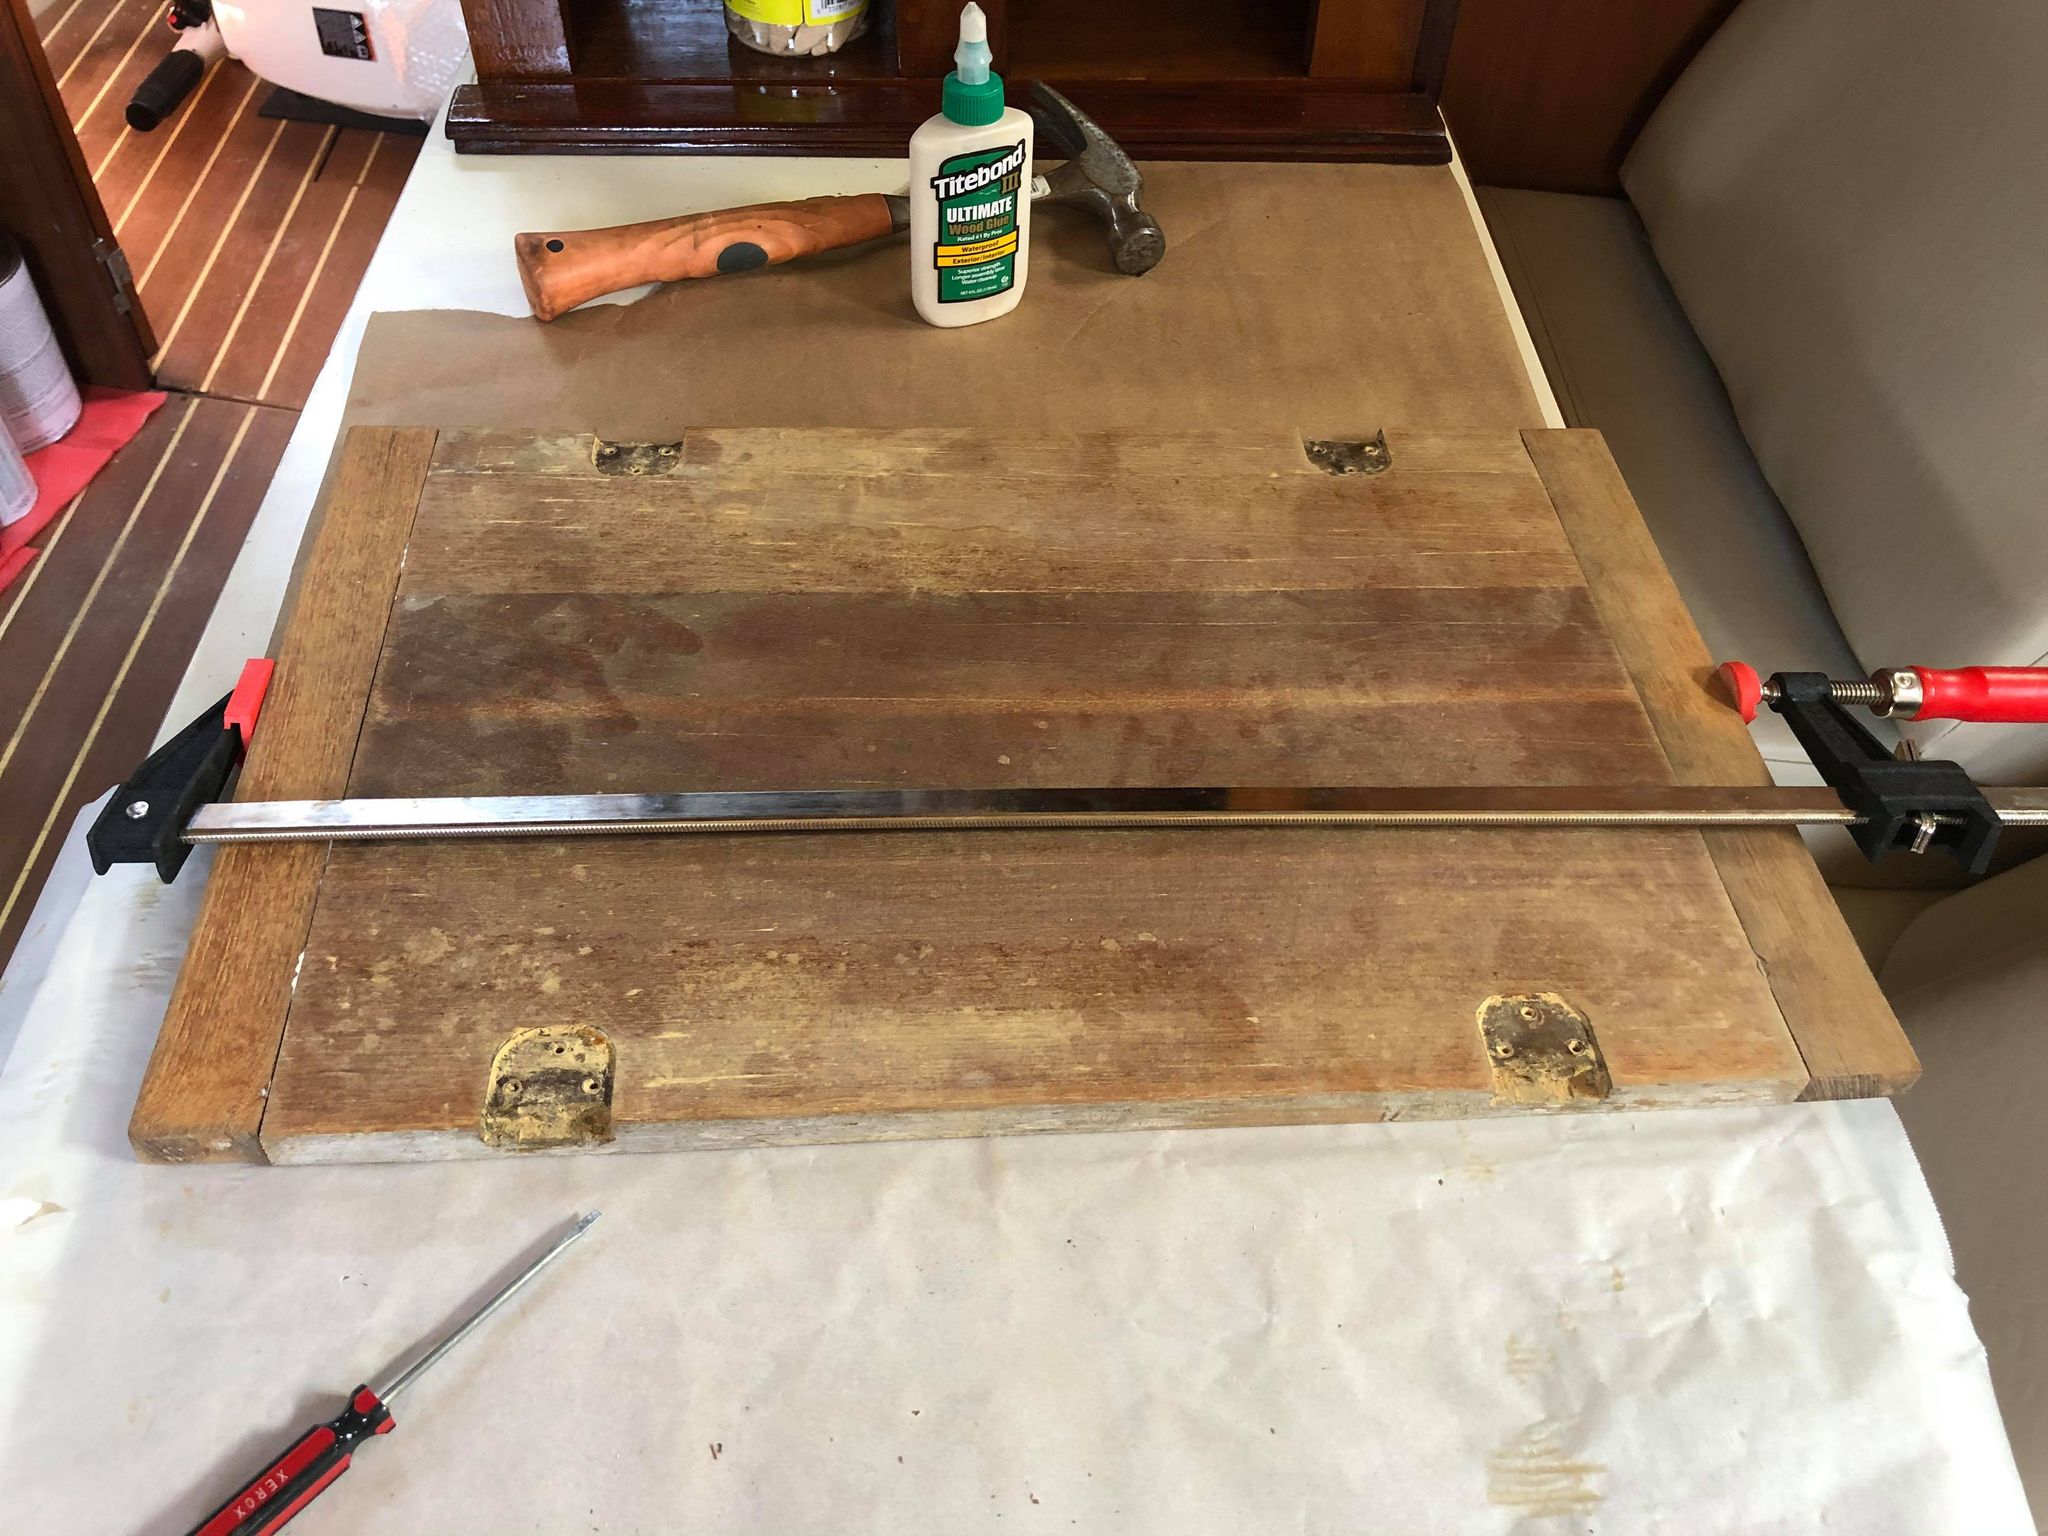
So, fun fact, biscuits come in sizes… and those sizes are important. I bought some that looked like they would fit.. they didn’t. So we got some at Home Depot and even test fit them with a chunk I brought to the store! Turns out they’re ever so slightly too big. So I had to hand sand each one to make them smaller so the pieces would fit flush with them in. Awesome. Jason and I finally pieced everything together, test fit it, and started gluing!
Now it’s time to finish the main table section:
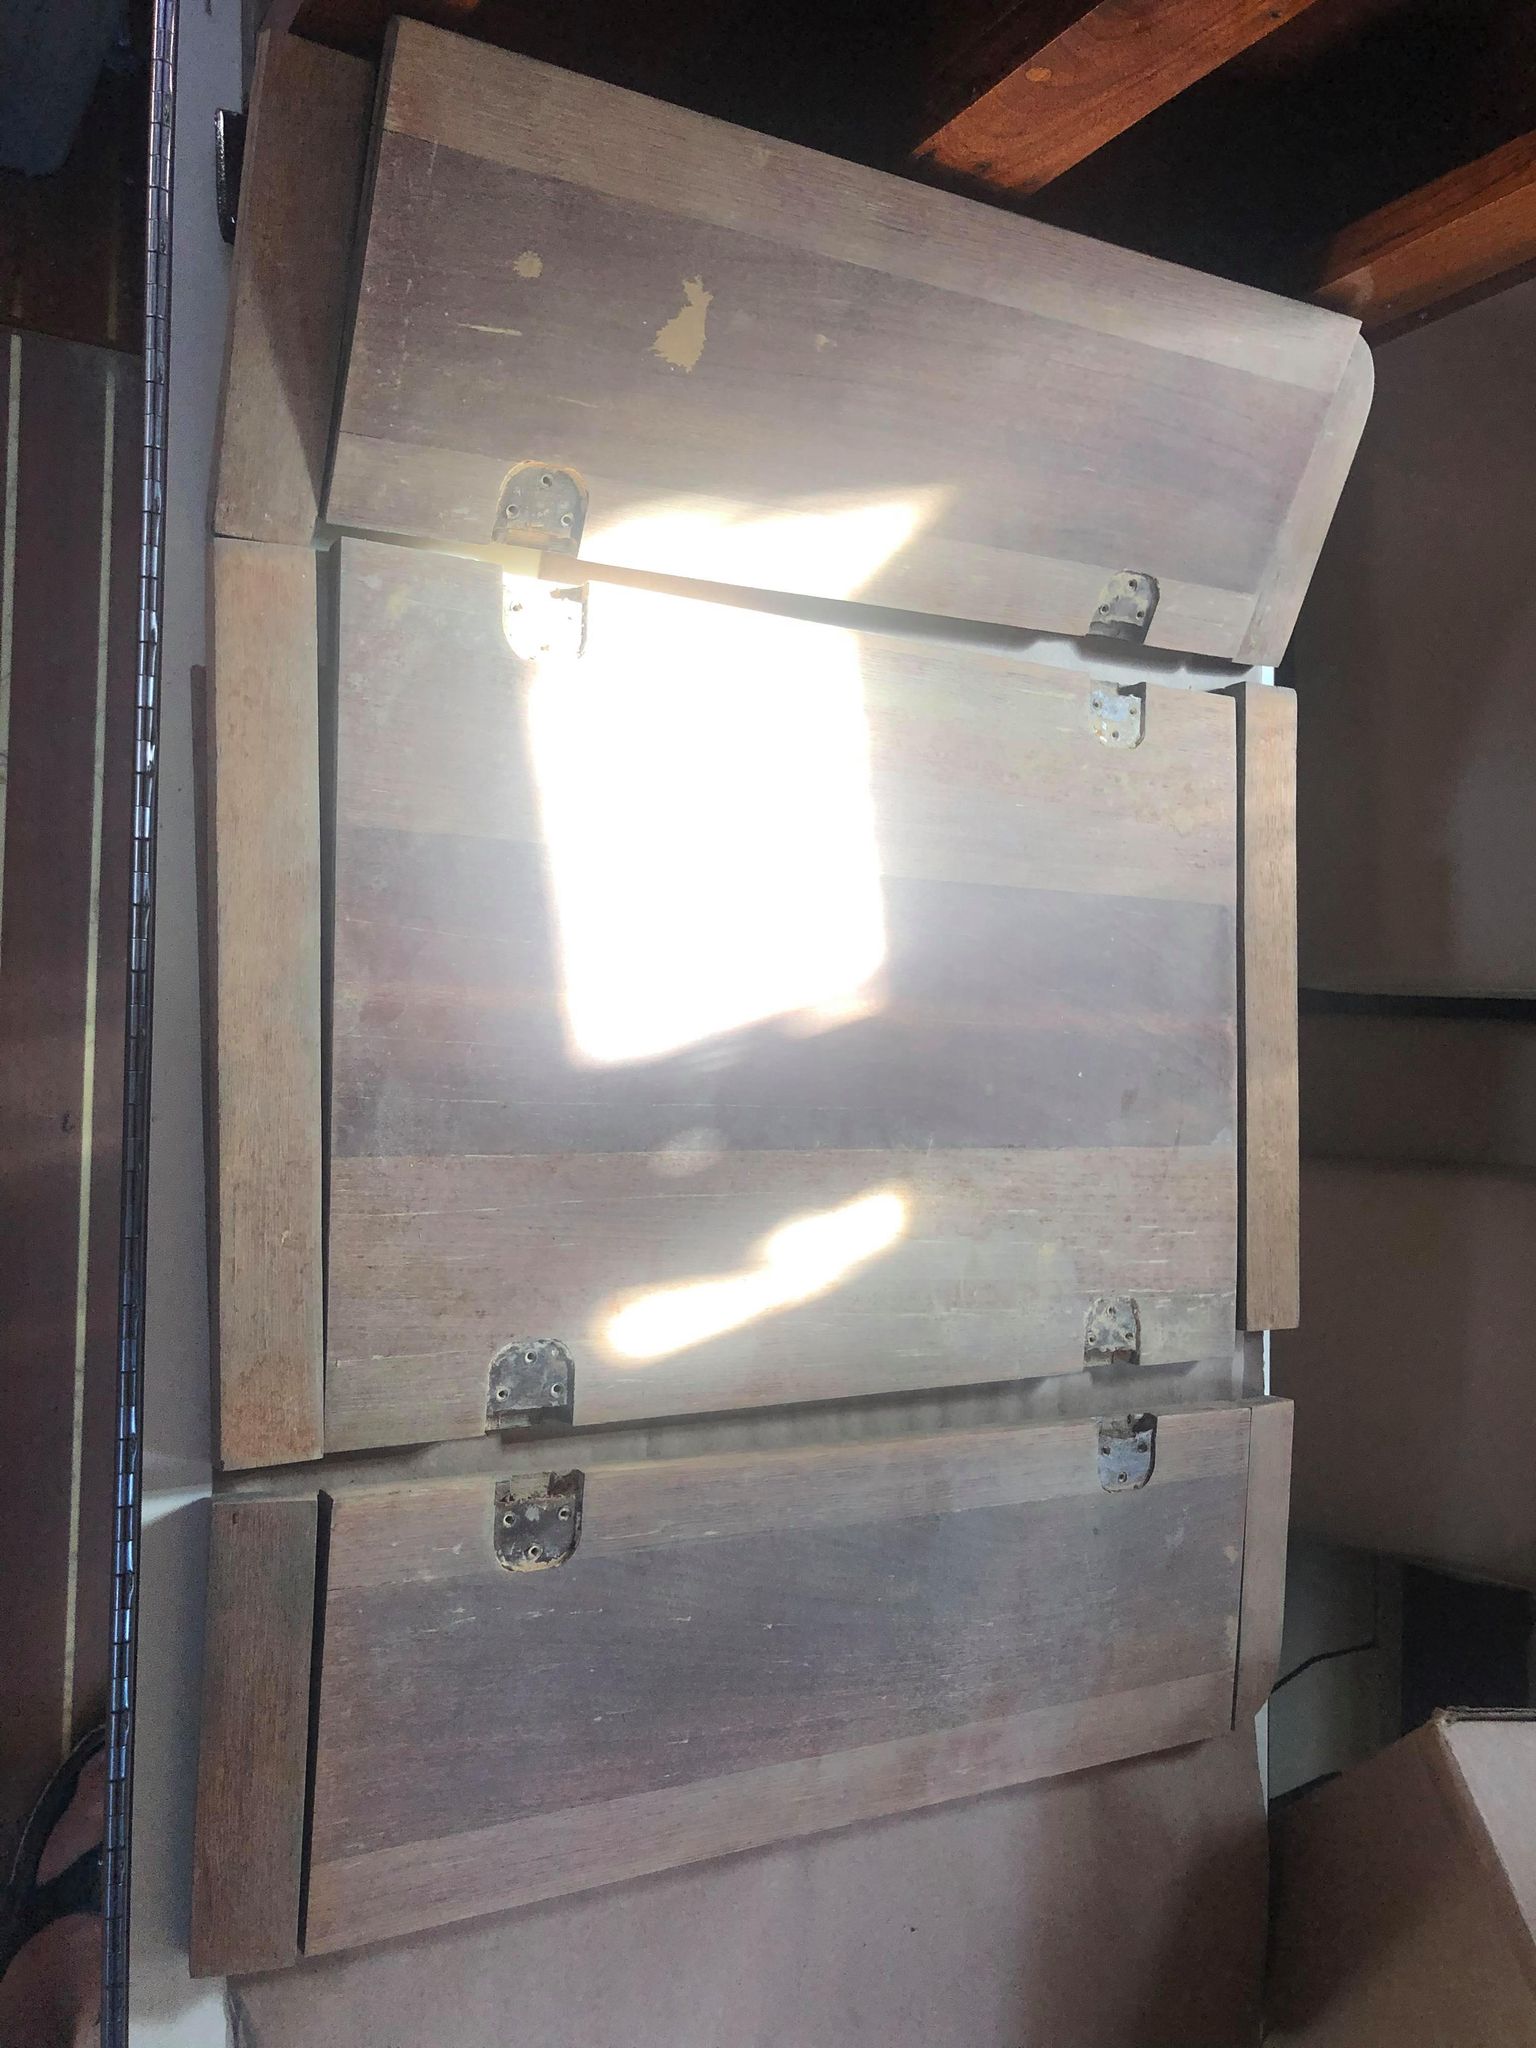
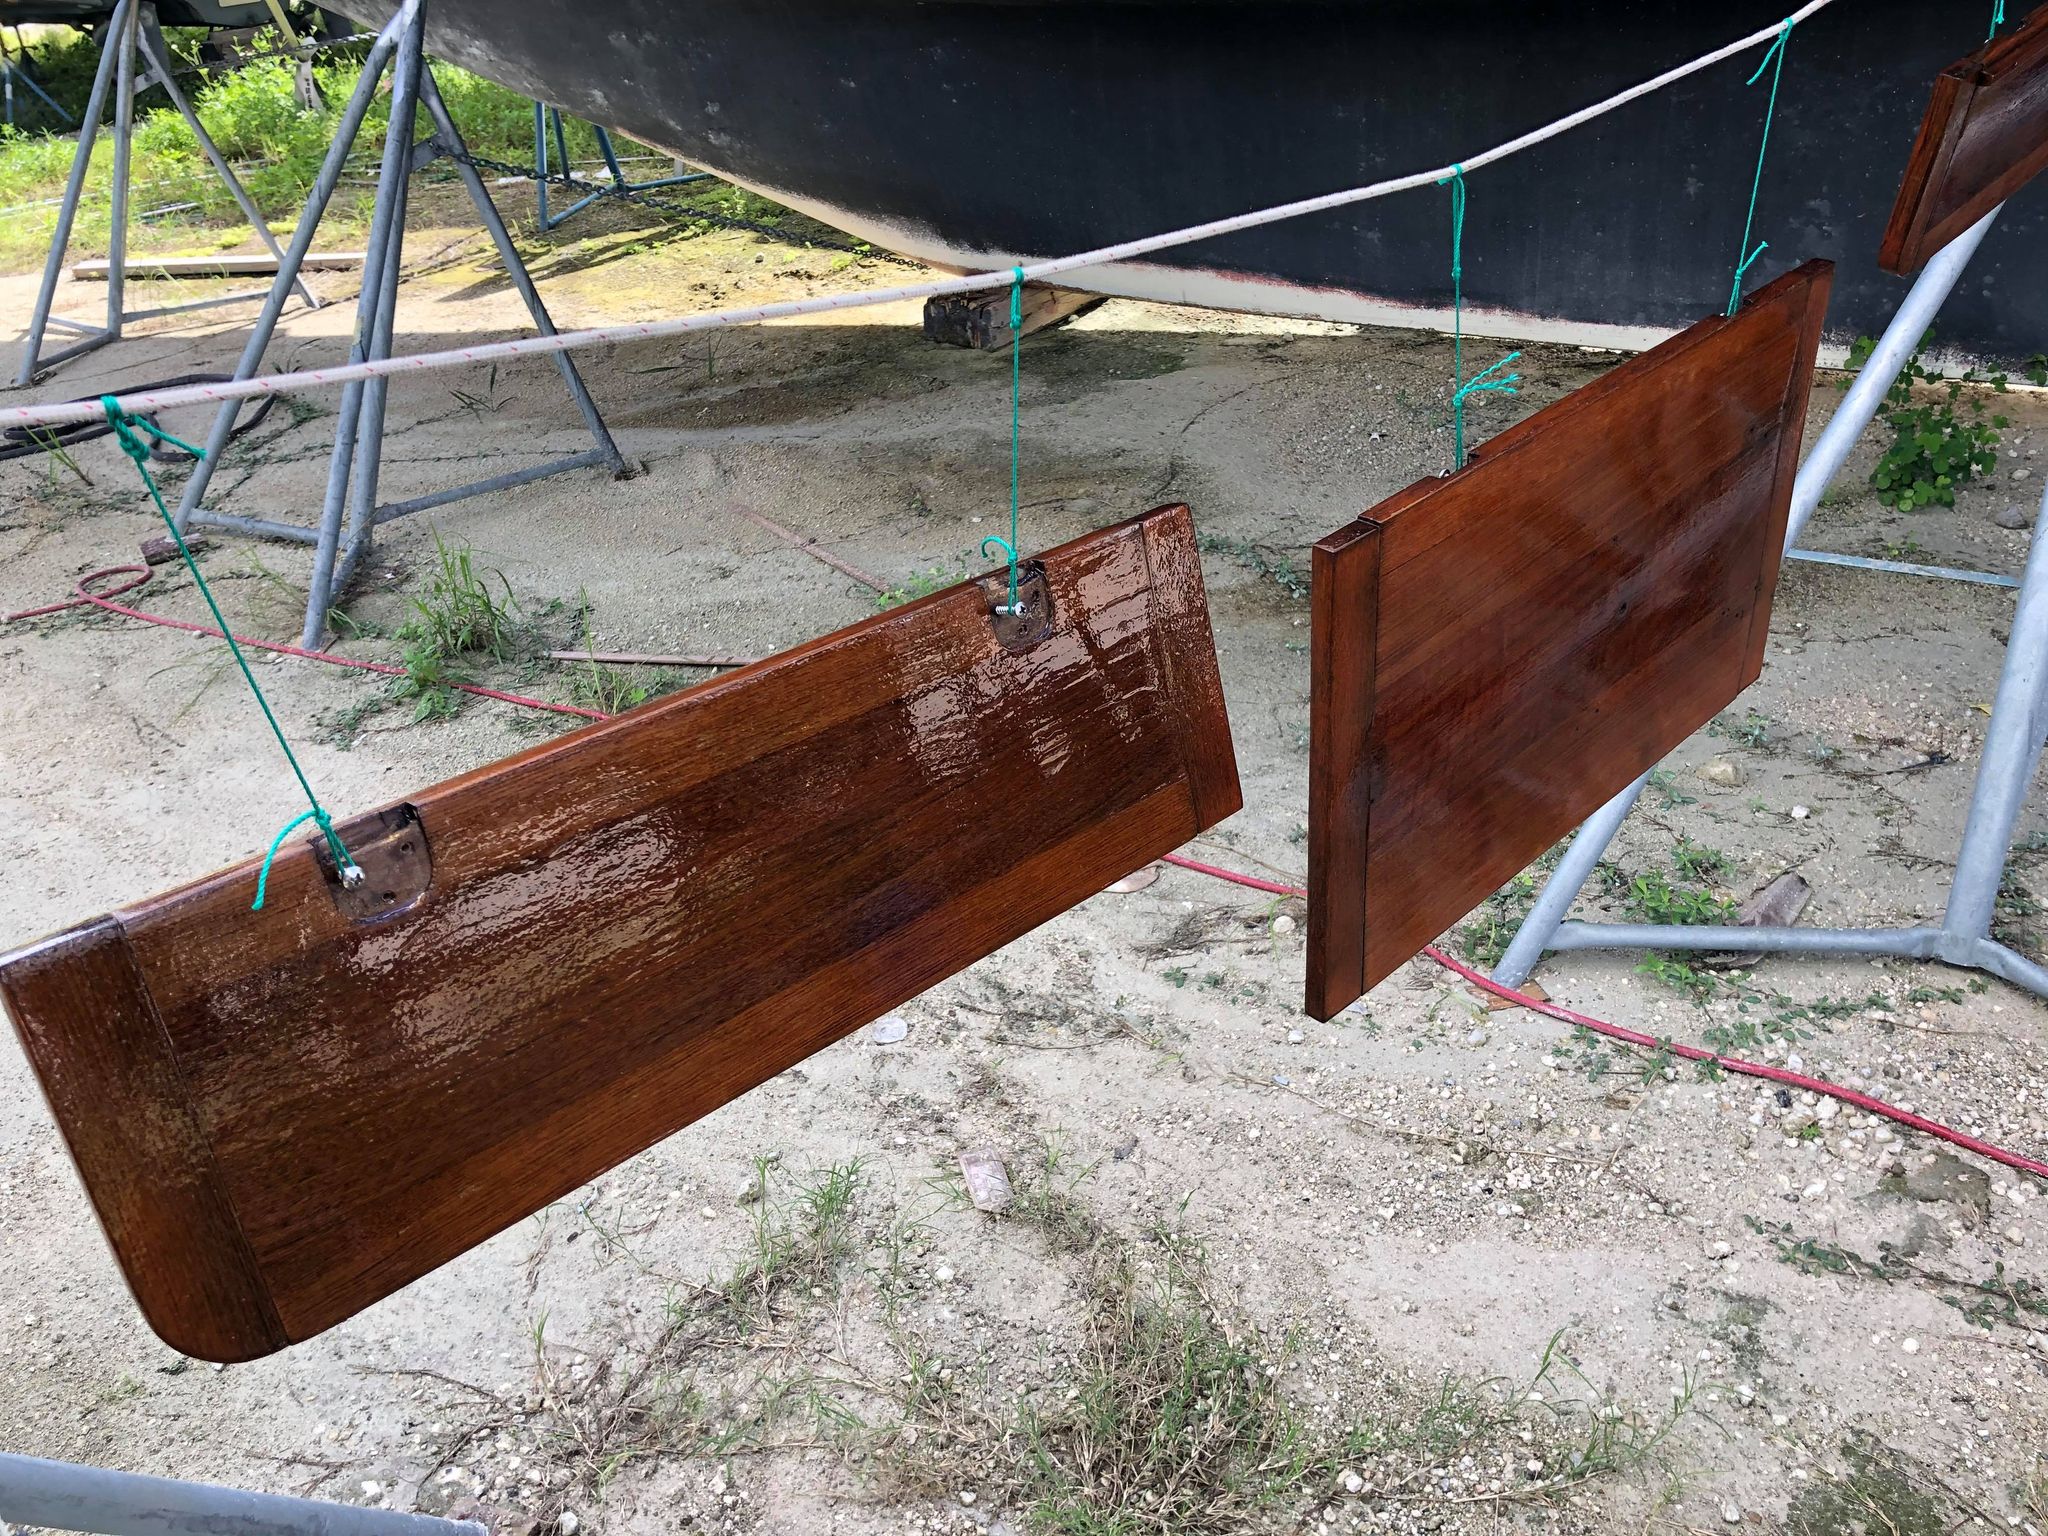
Now that all the sides are glued back together I took them downside and sanded them as smooth as I could get them. After that I realized I didn’t want to have to sand each side individually so I talked Jason into hanging them up for me so I could do both sides at the same time! With the base coat of primer they really started to look really nice.
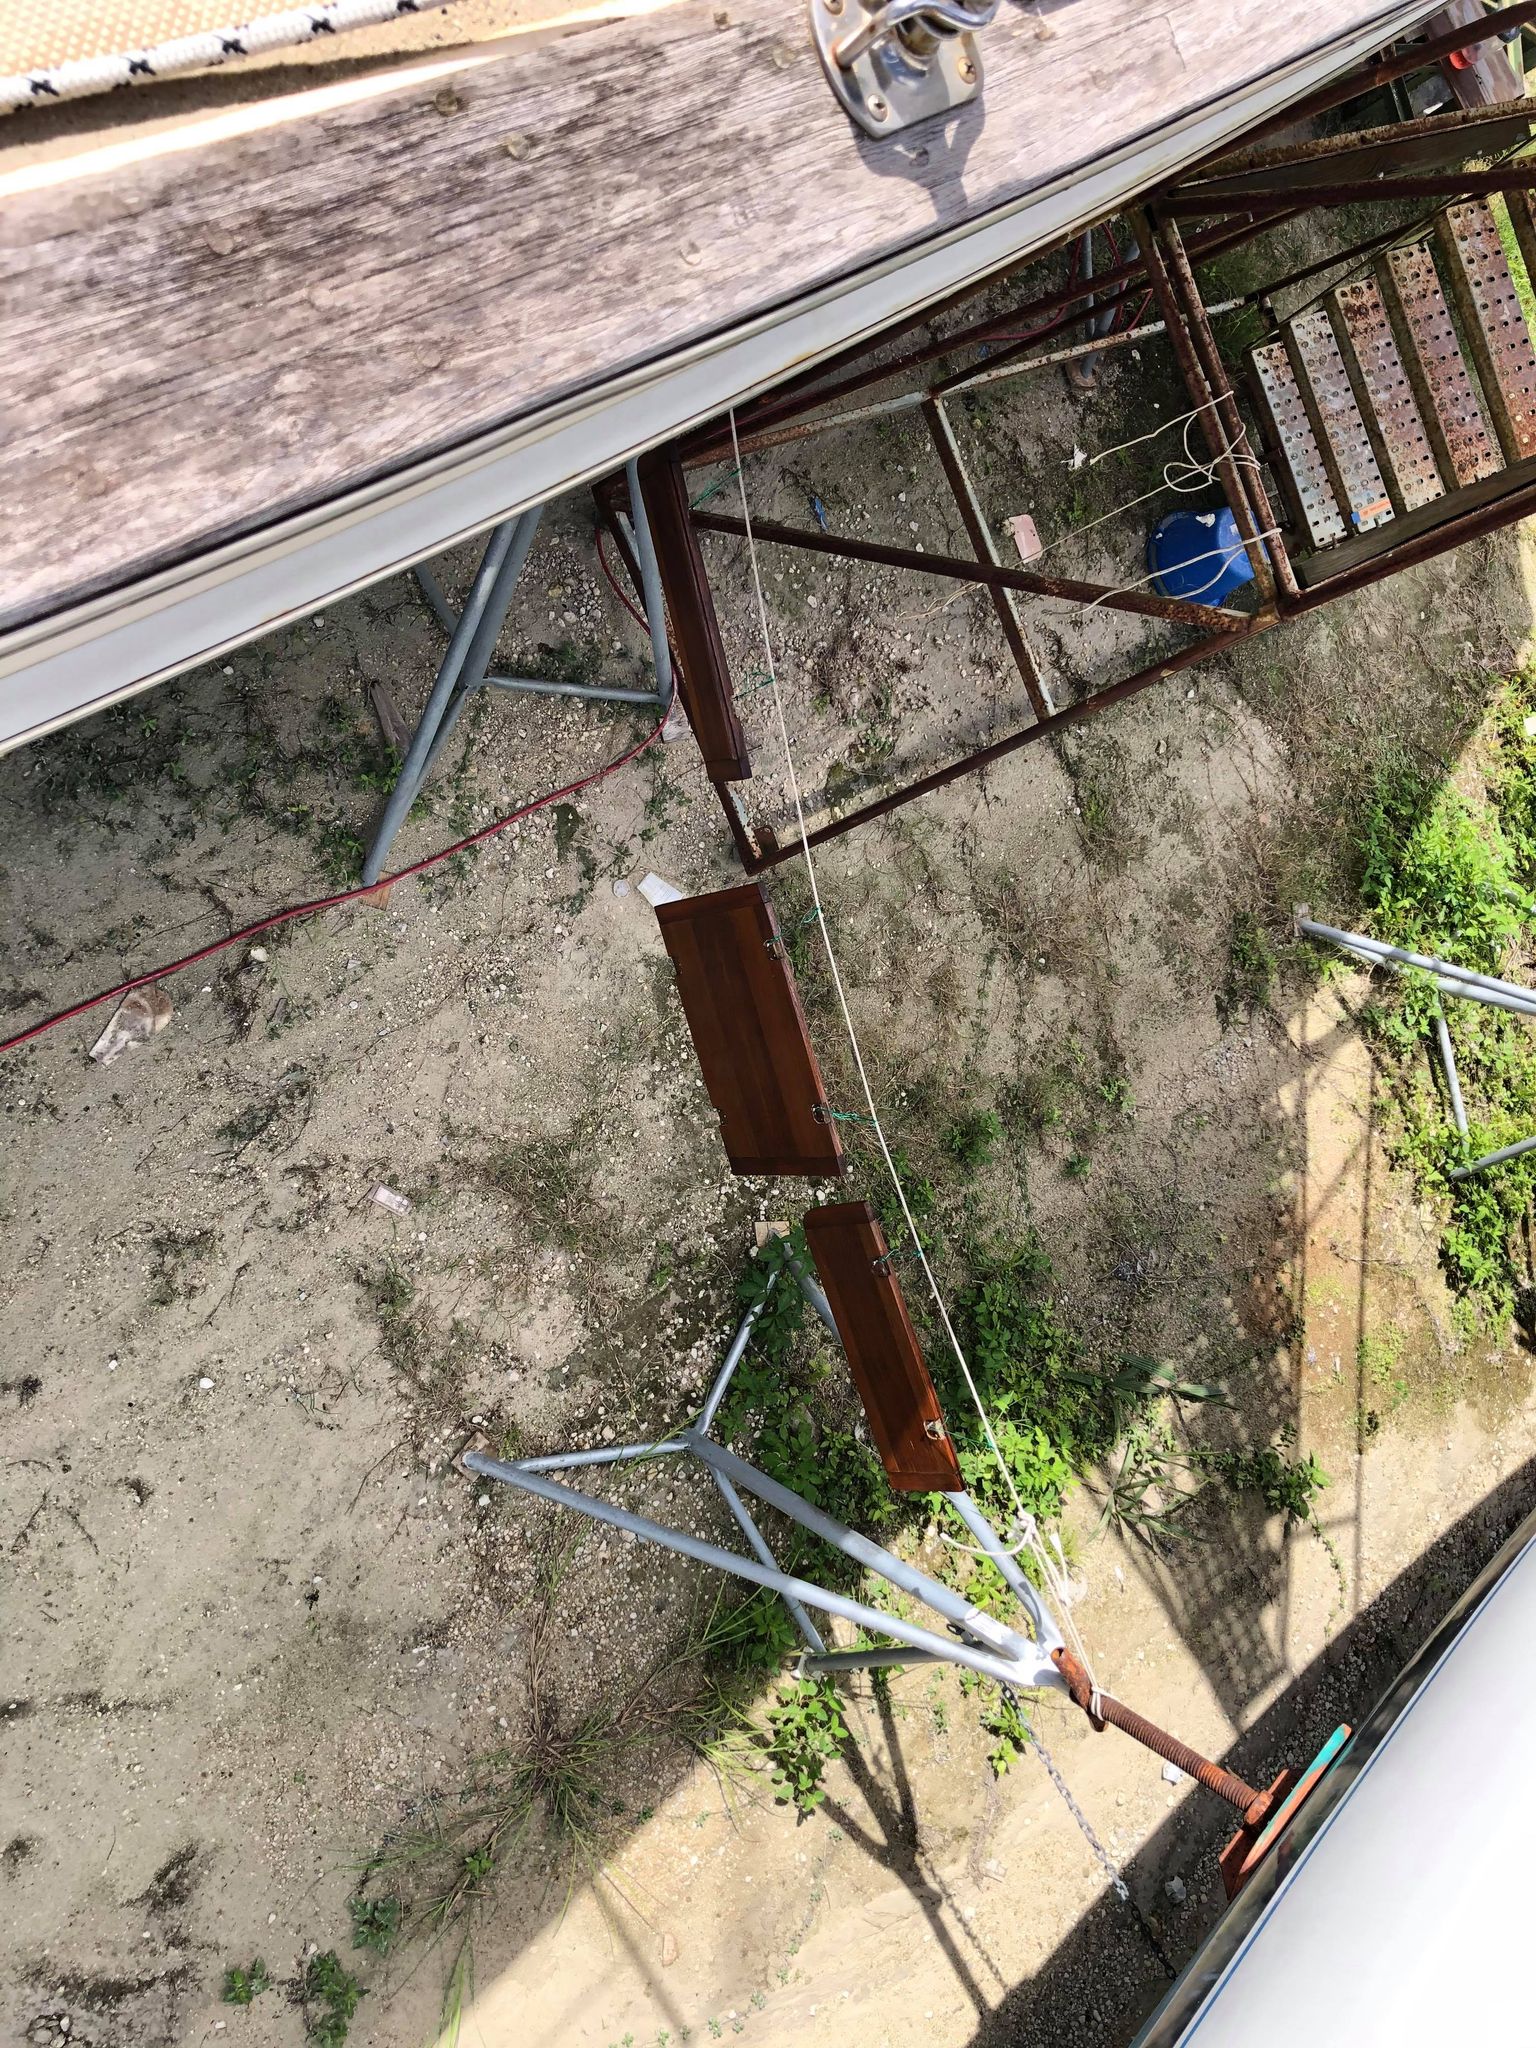
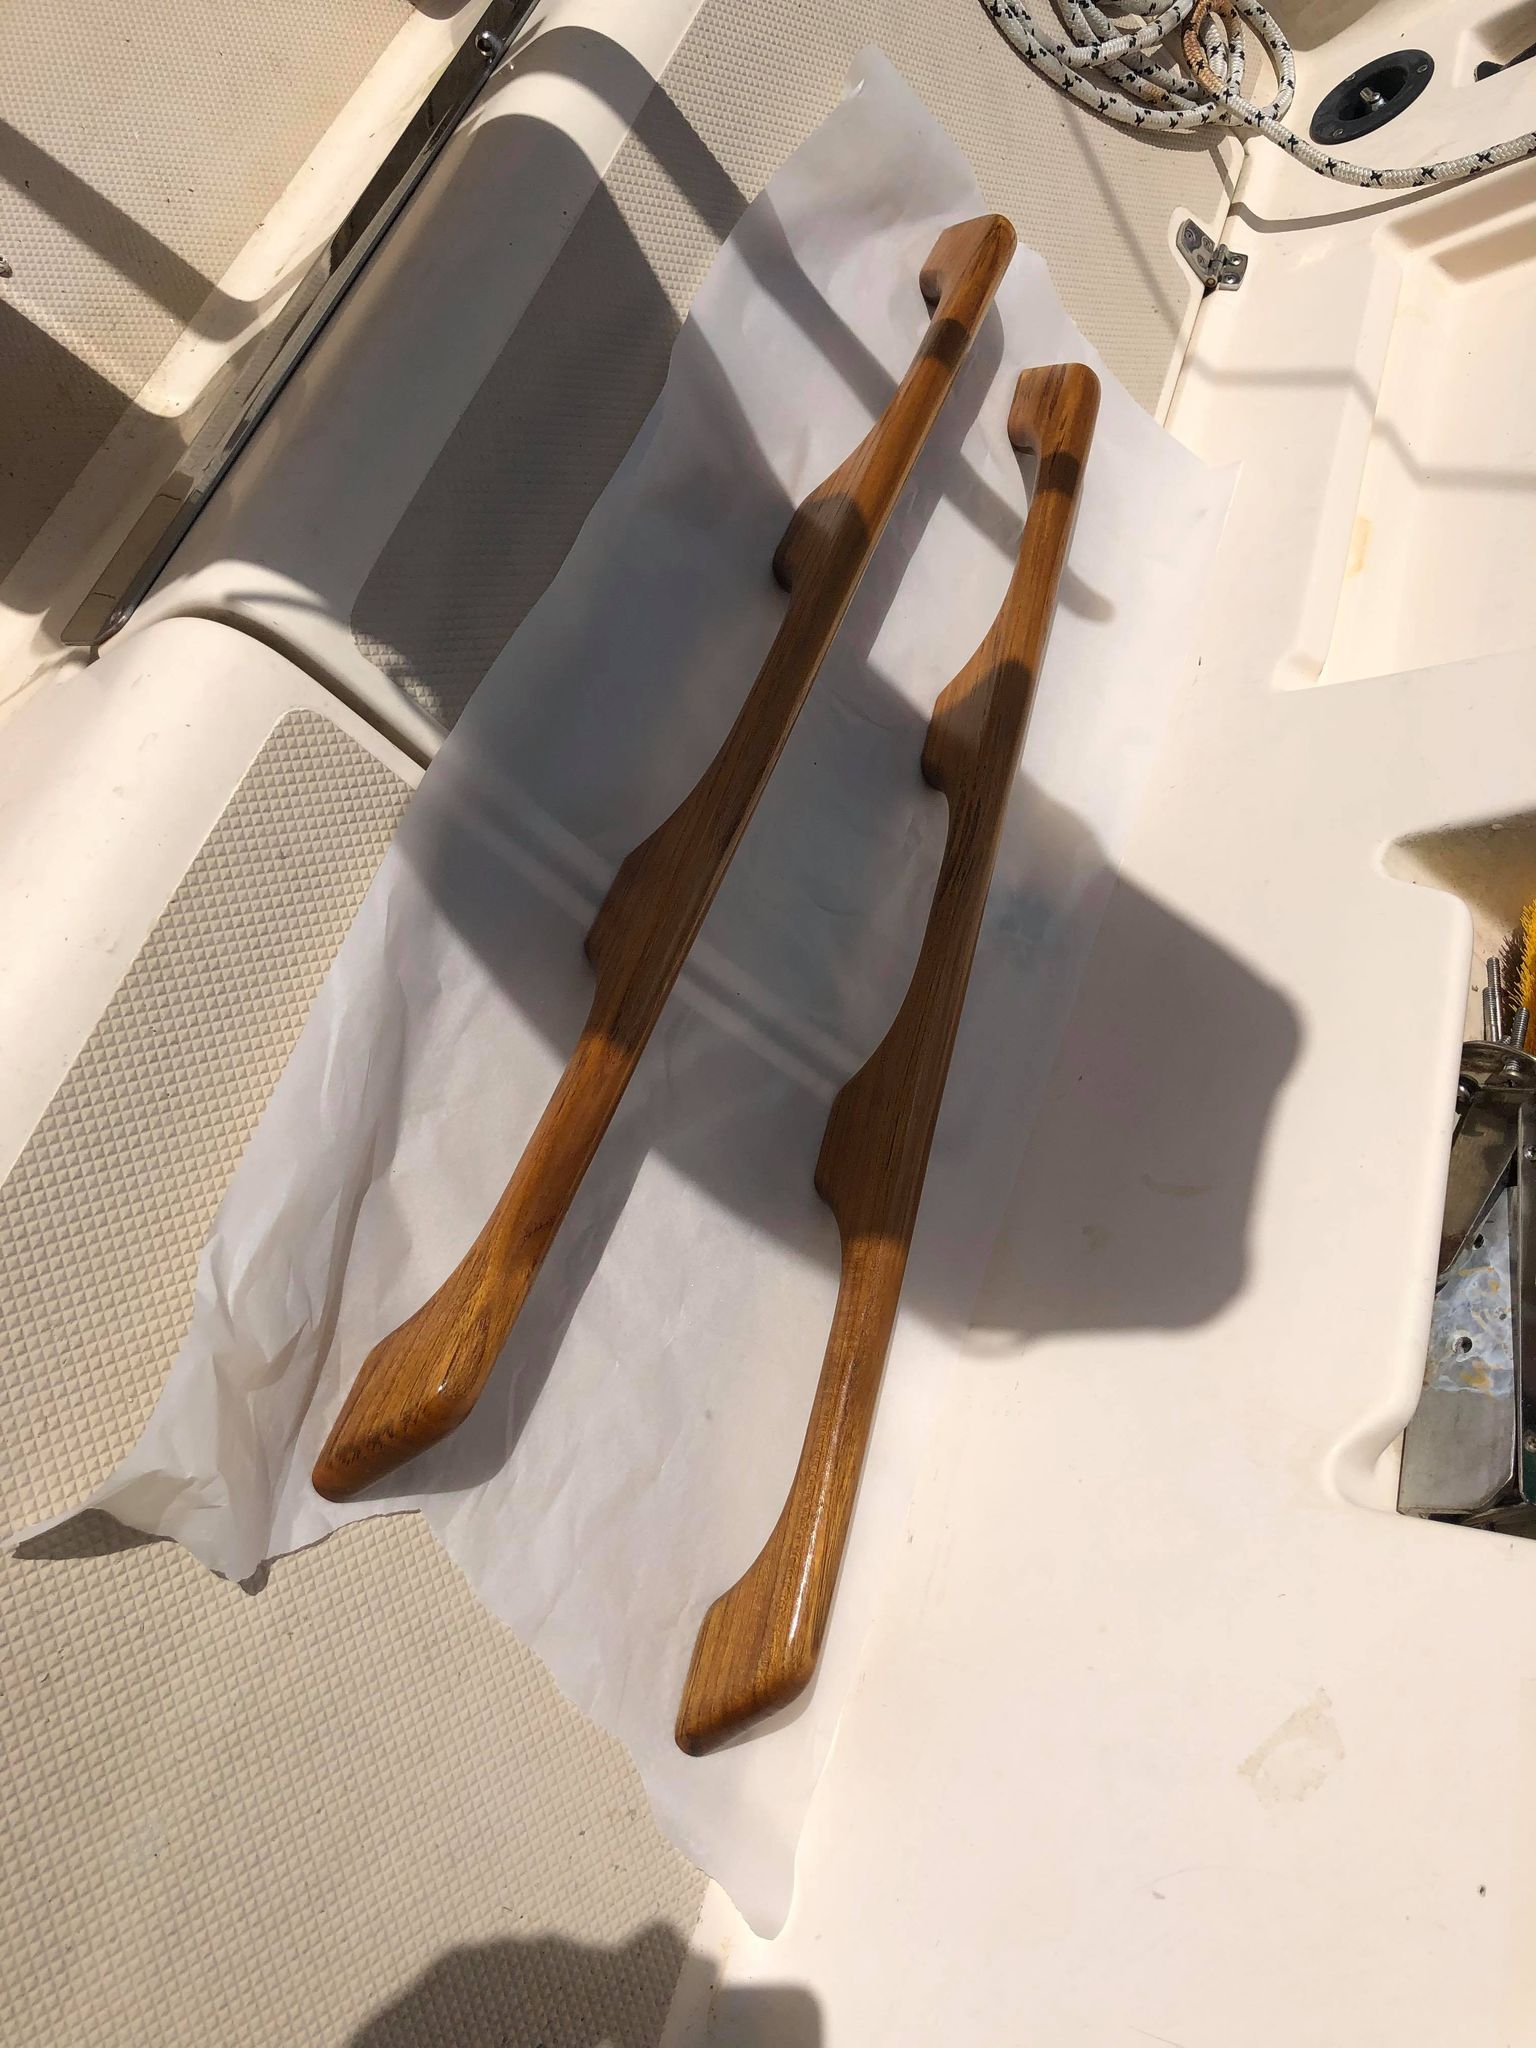
We also ordered some teak handrails for the hardtop so I put a coat of primer on them as well!
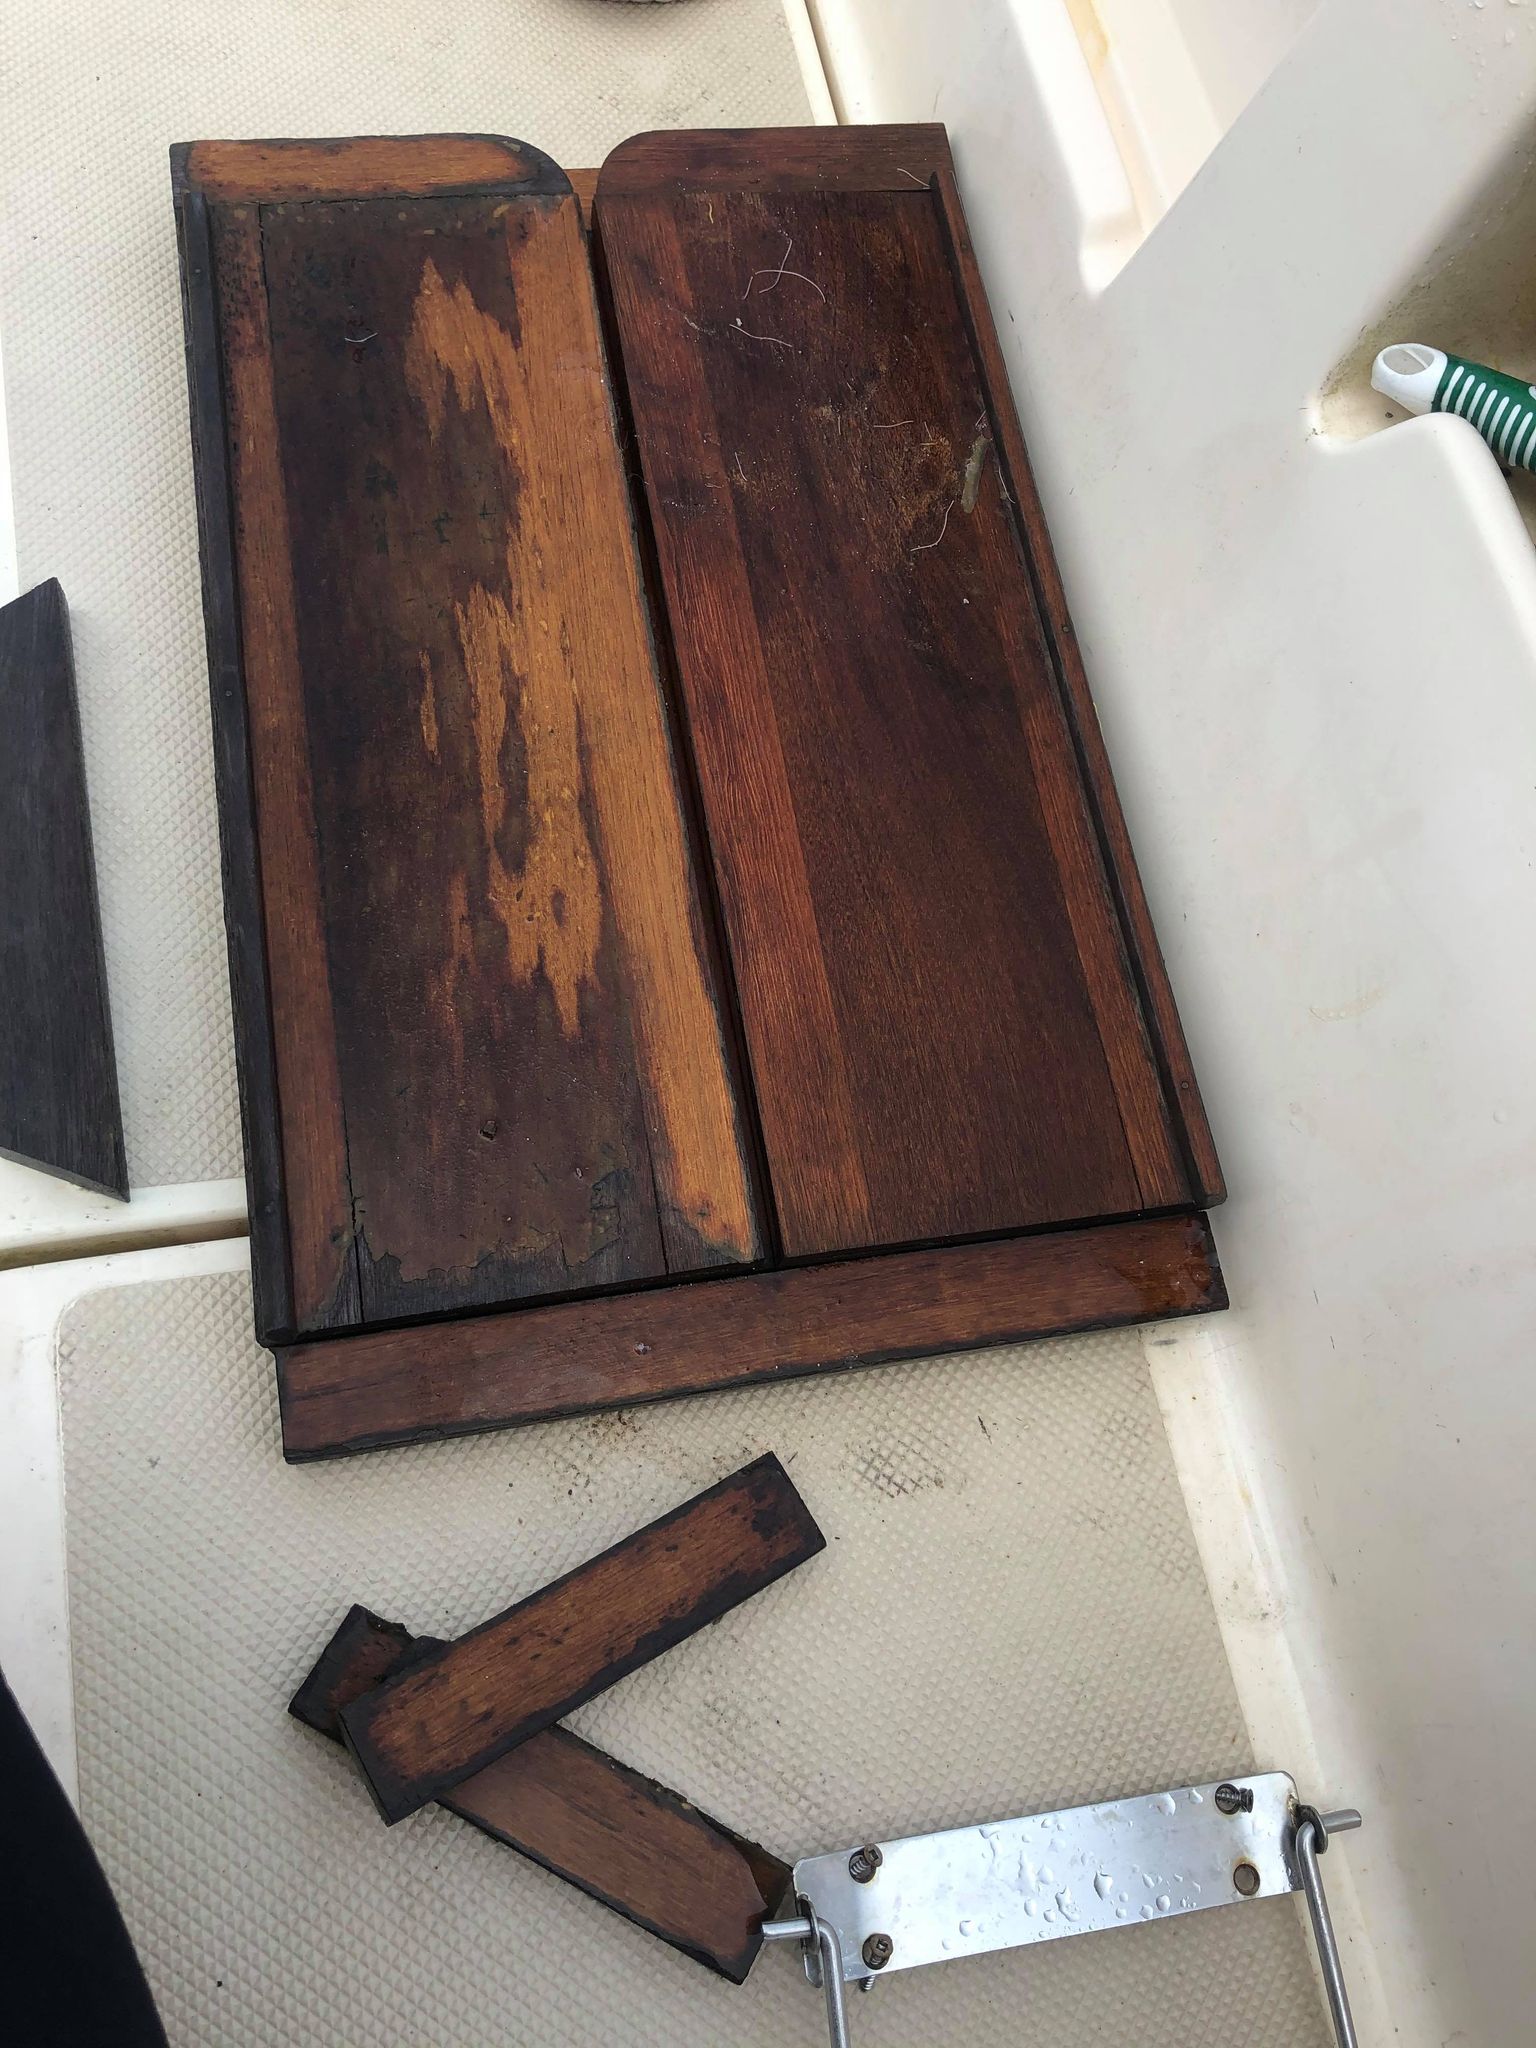
The table already looks fantastic! We think the center sections are mahogany while the outside is teak because they’re distinctly different colors. I’m actually really proud of myself for successfully doing some woodworking and putting this thing back together! (that would be a first… I hate woodworking!)
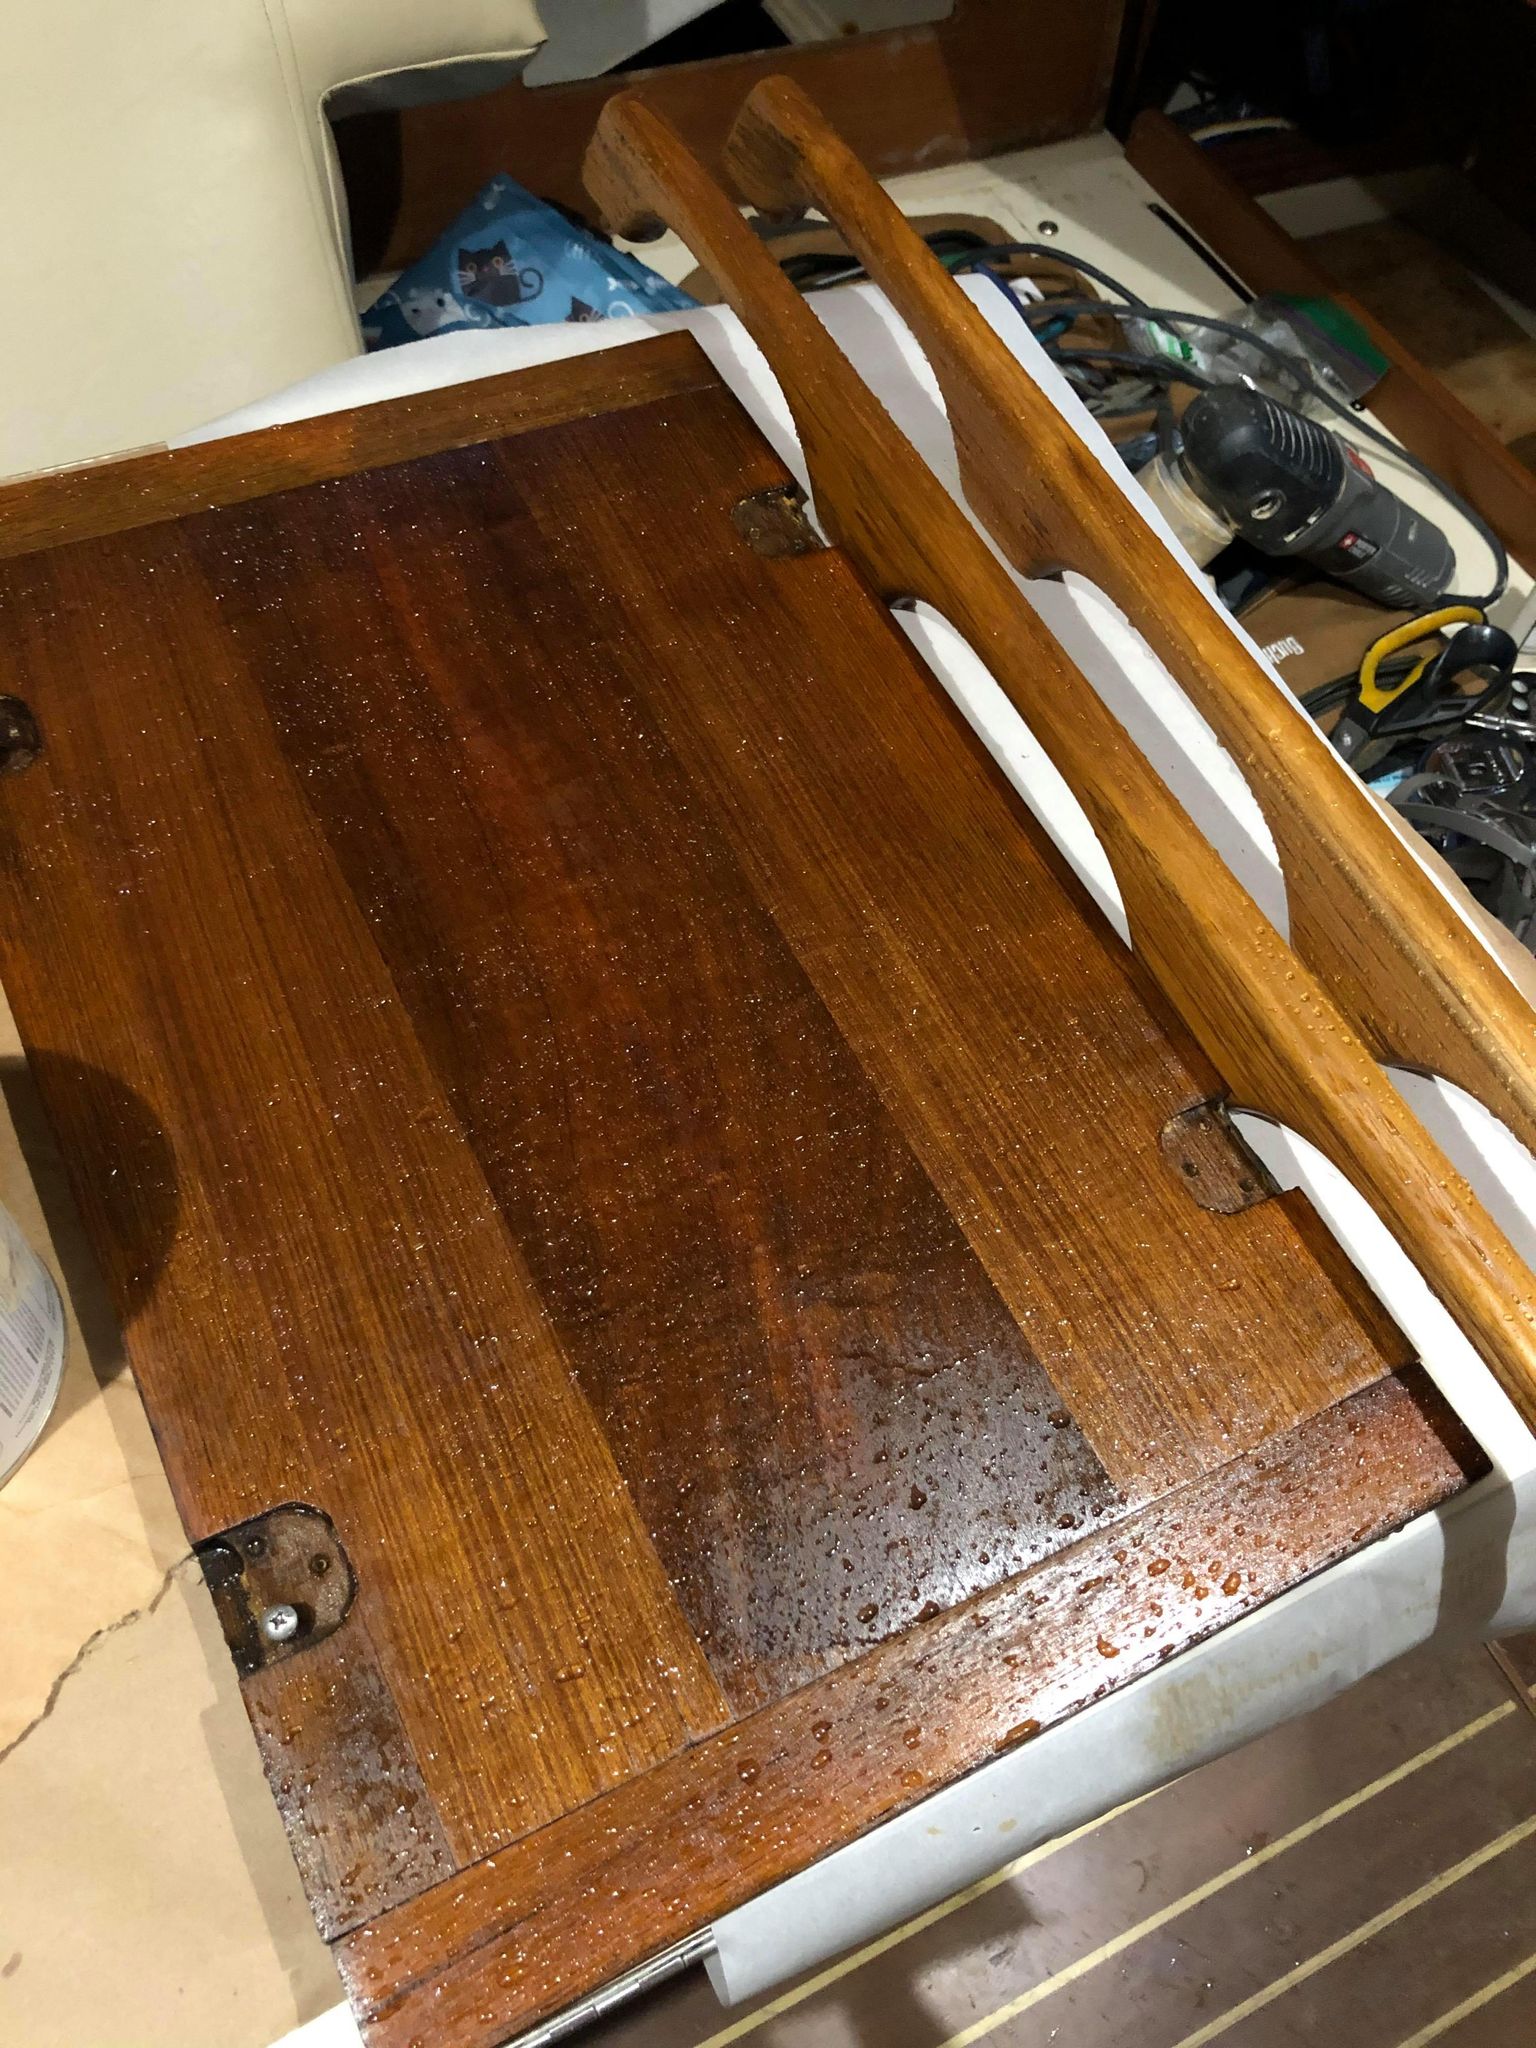
The first coat of varnish went on nice! It’s a little bubbly and wavy because I put it on while the pieces were hanging. I think I’m going to have to lay them flat for the final coats for sure.
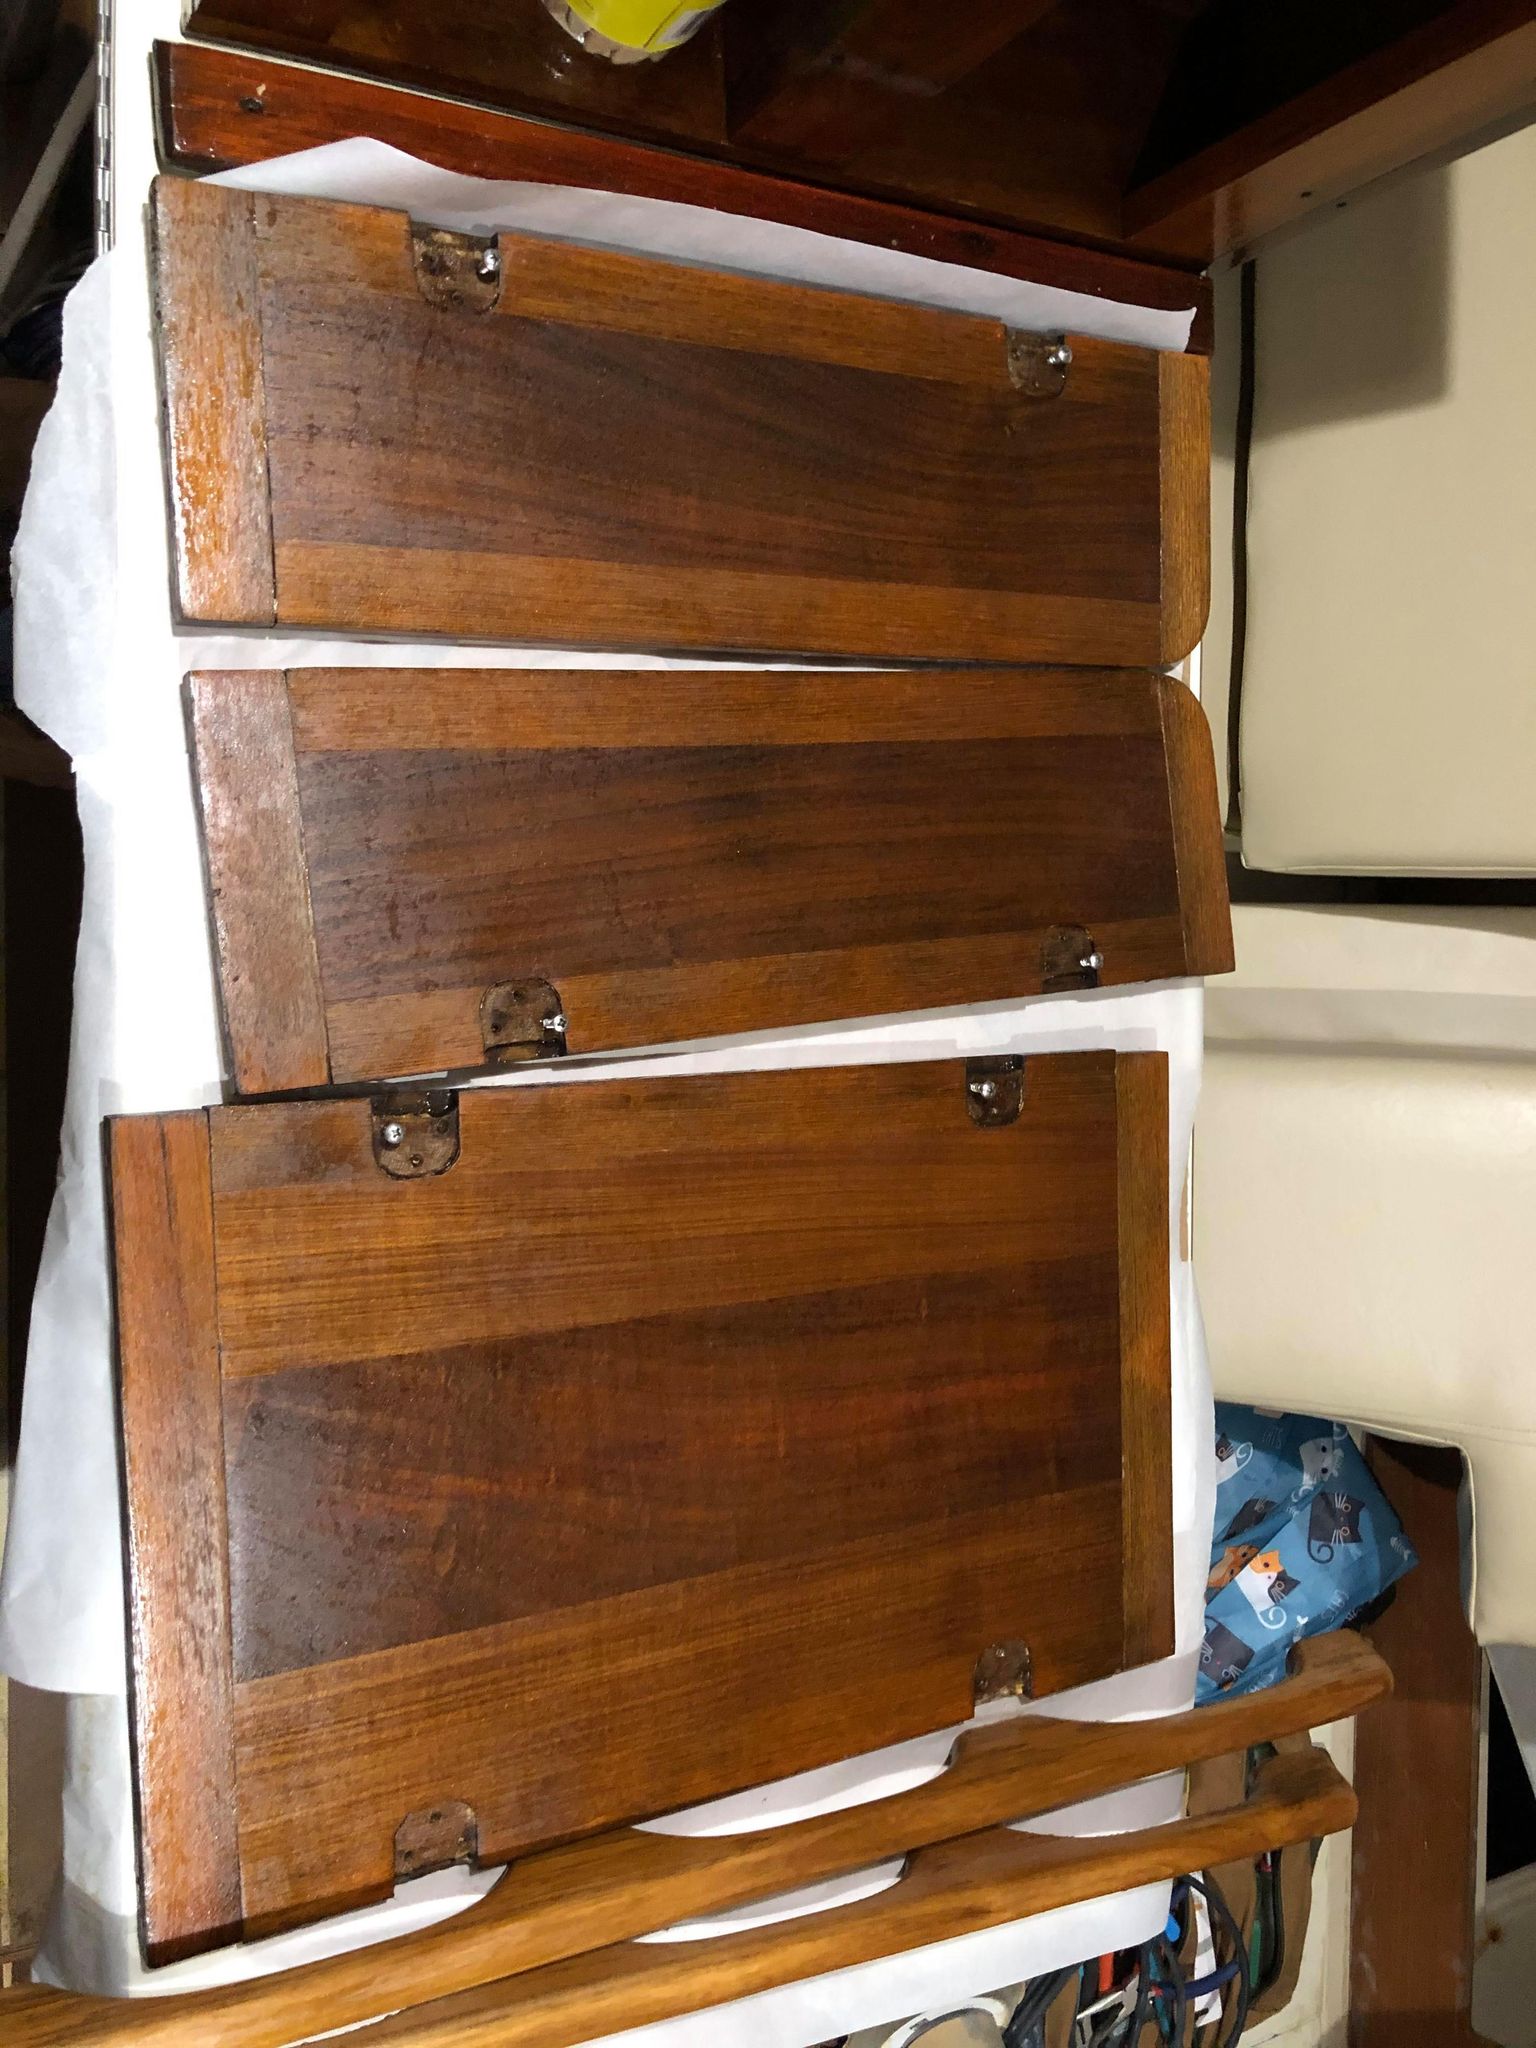
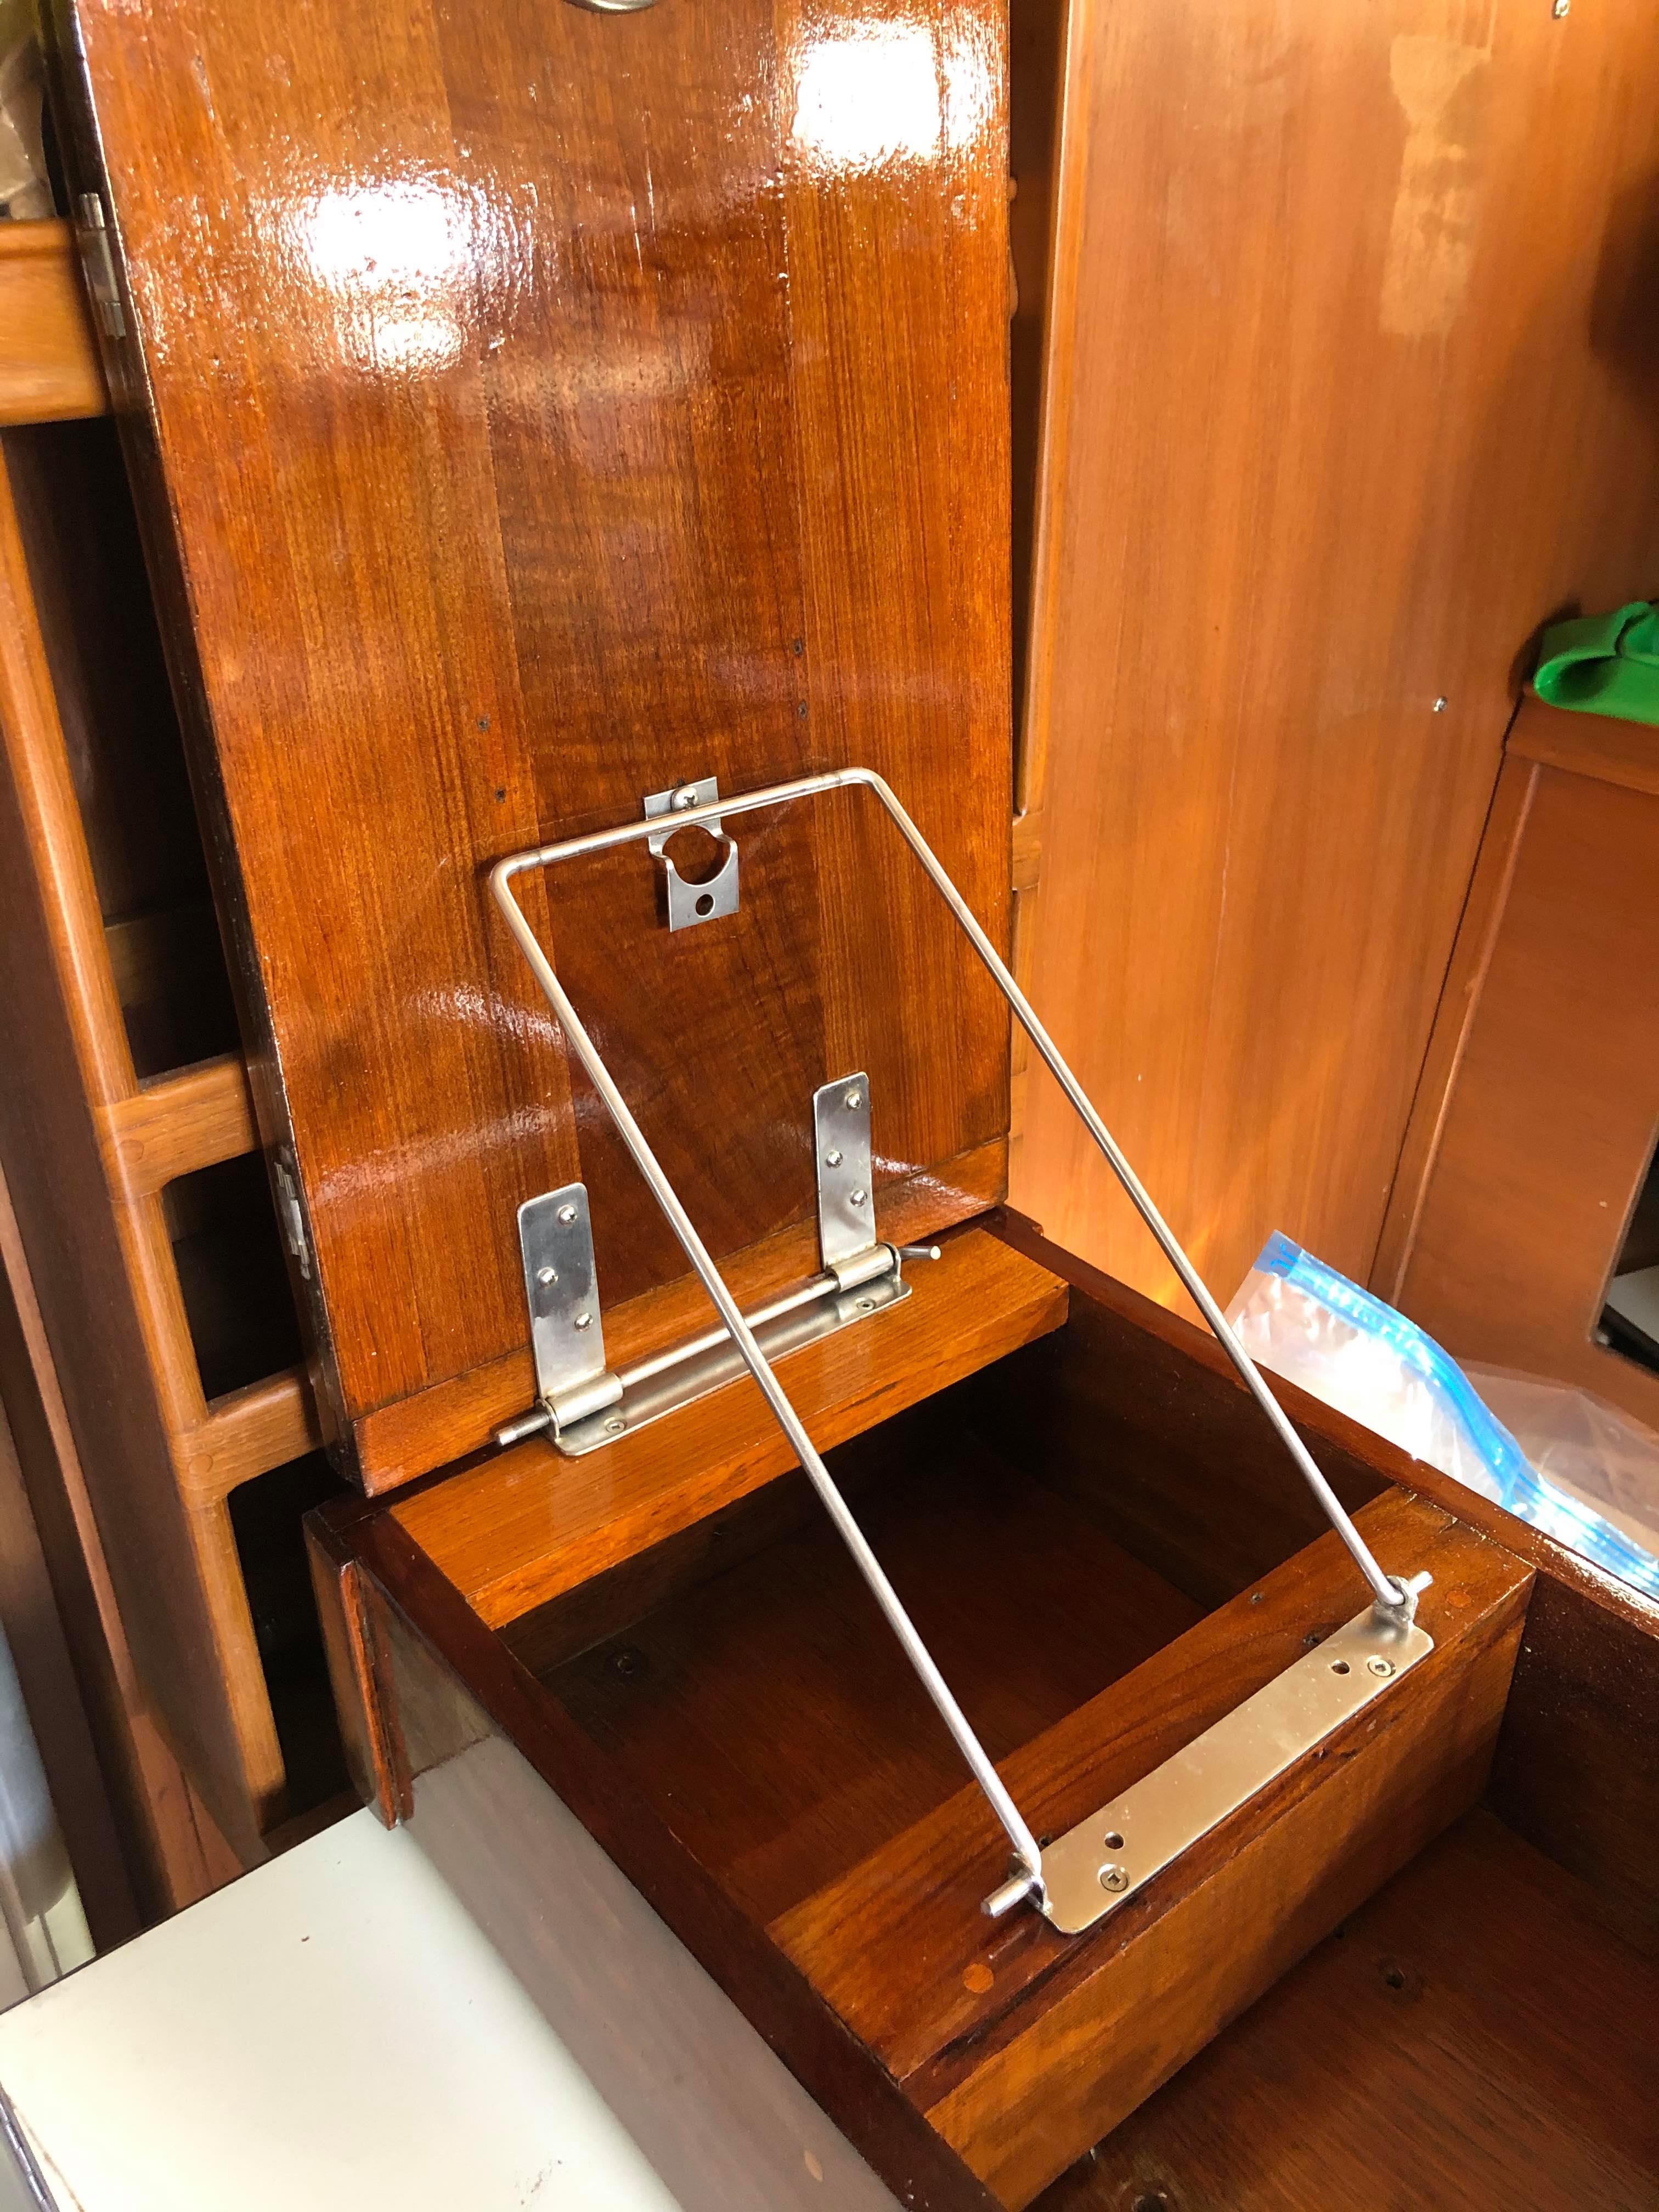
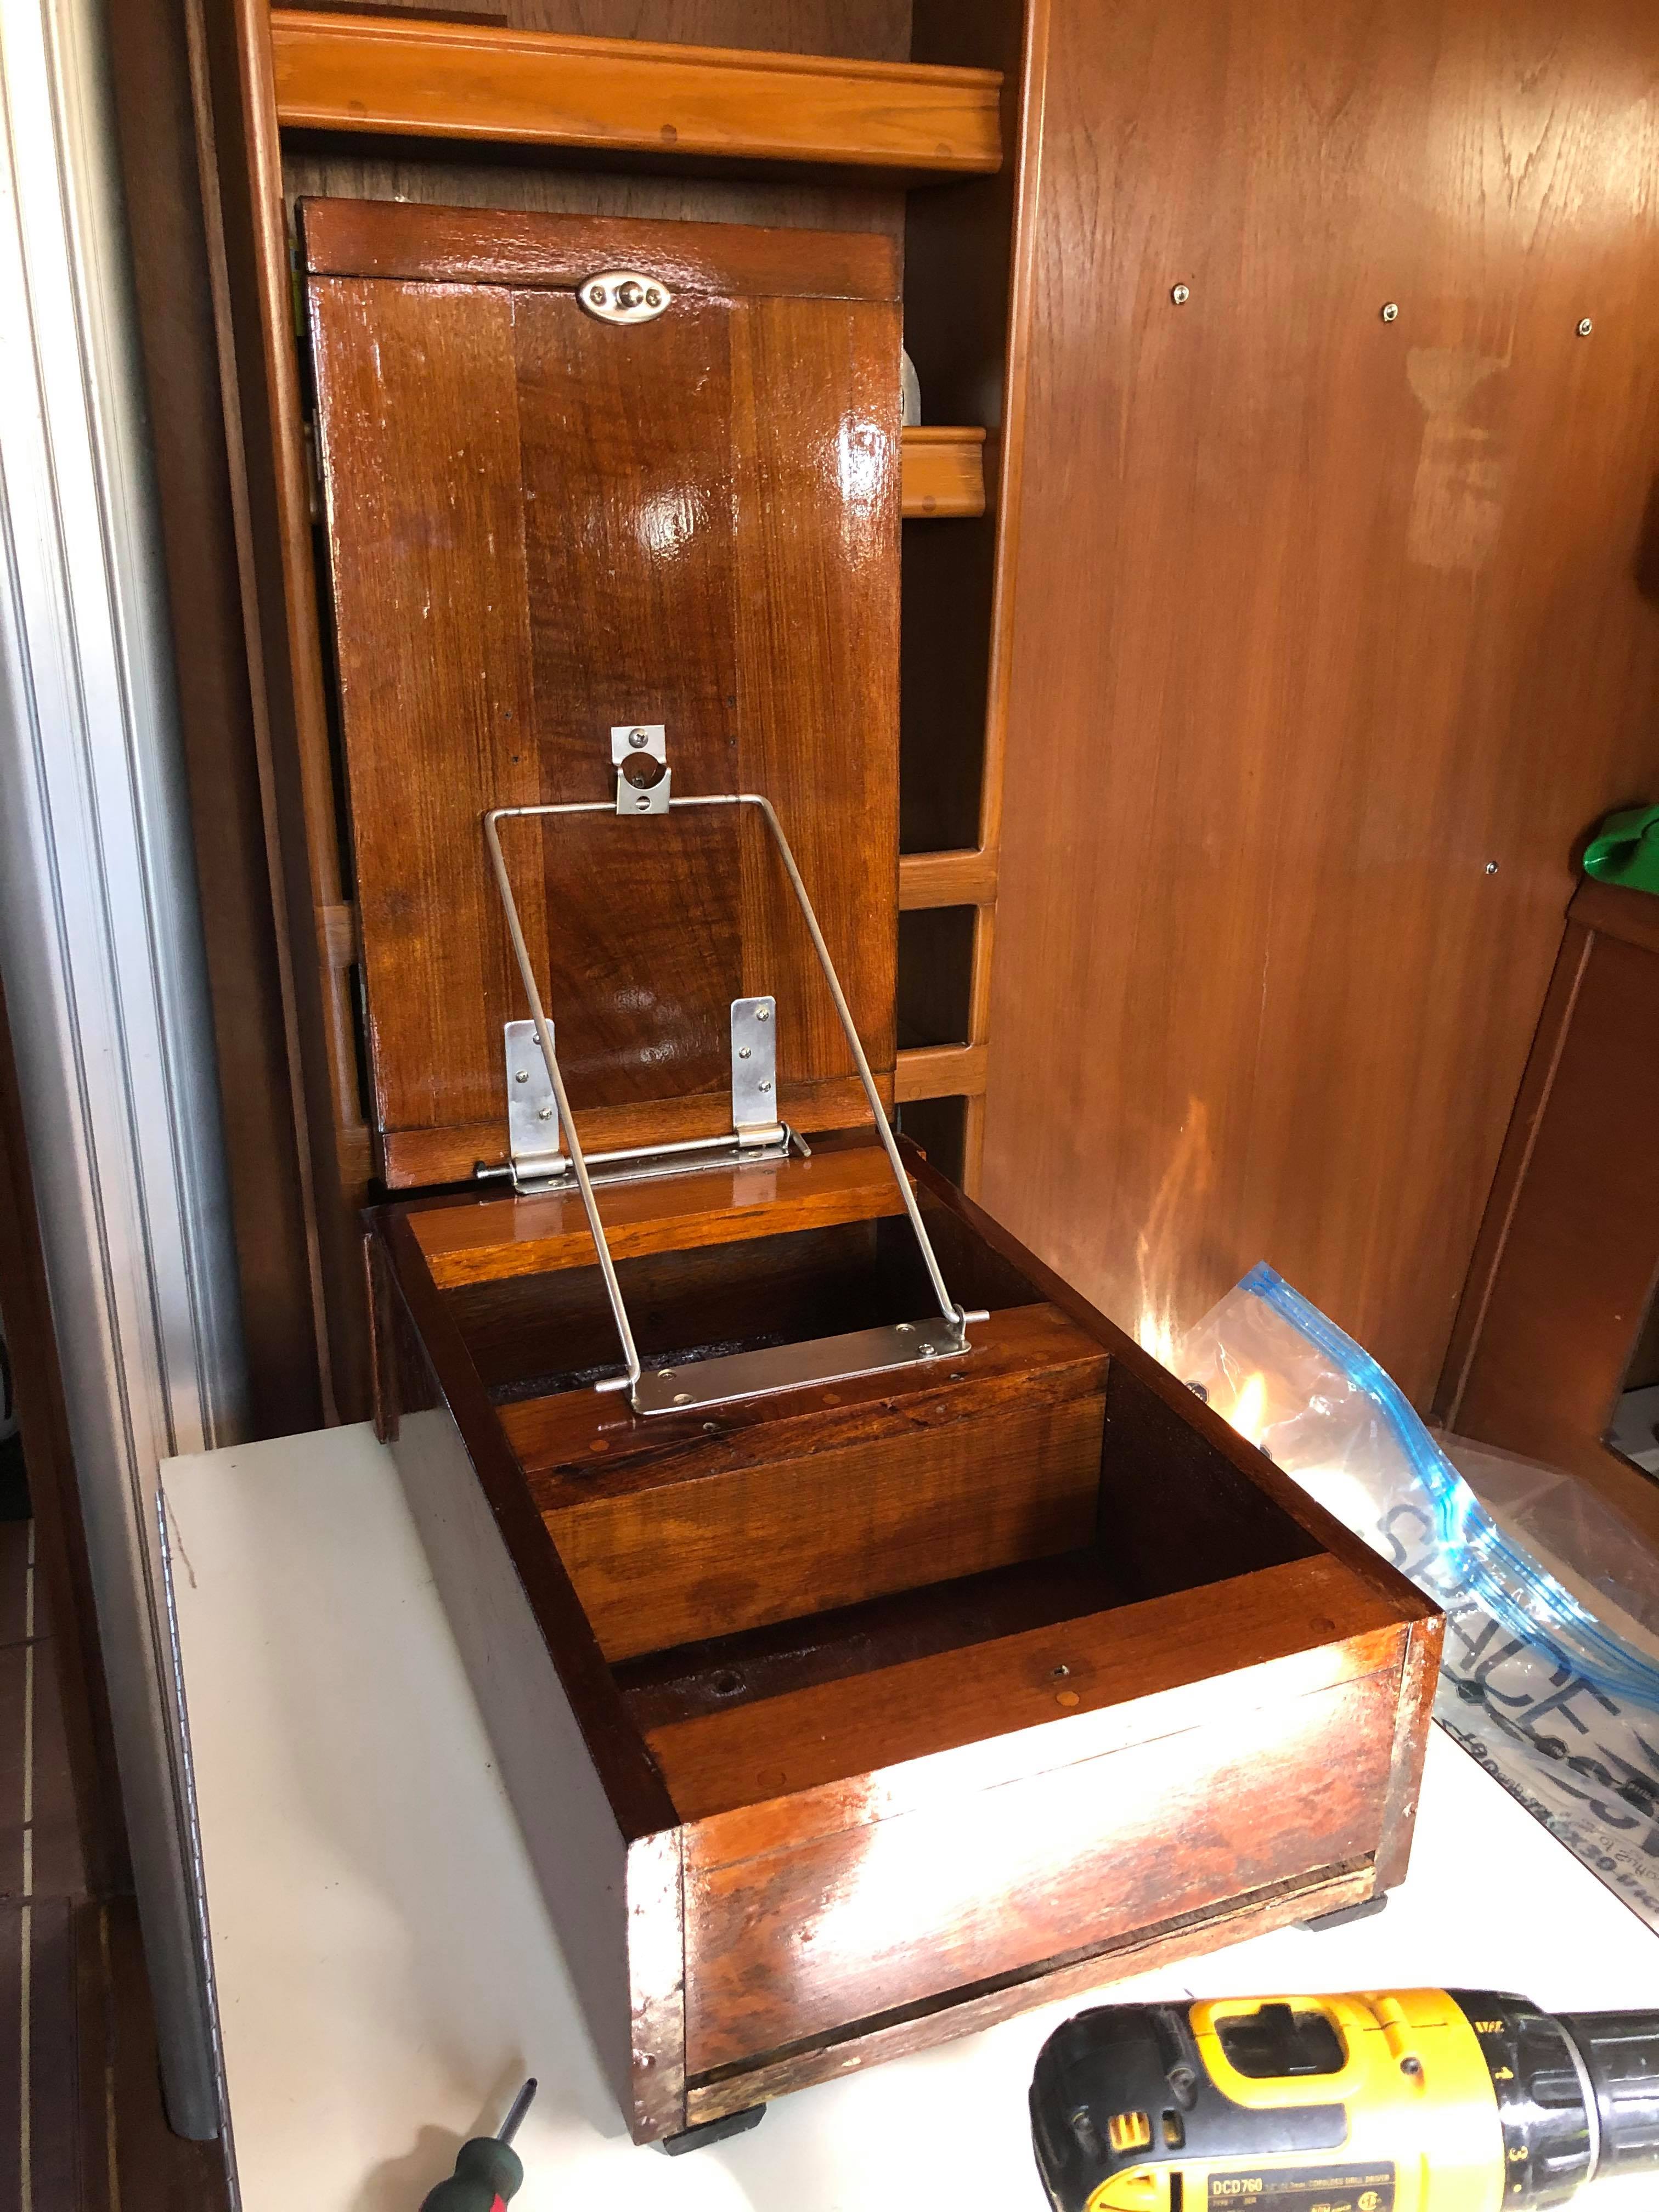
Now that all of the pieces are varnished, I had to figure out how all of the hardware actually works. The way that things were bolted together originally doesn’t actually work! Eventually I figured it out and got everything bolted back together!
Now it’s time to put the table back where it belongs… OUTSIDE!
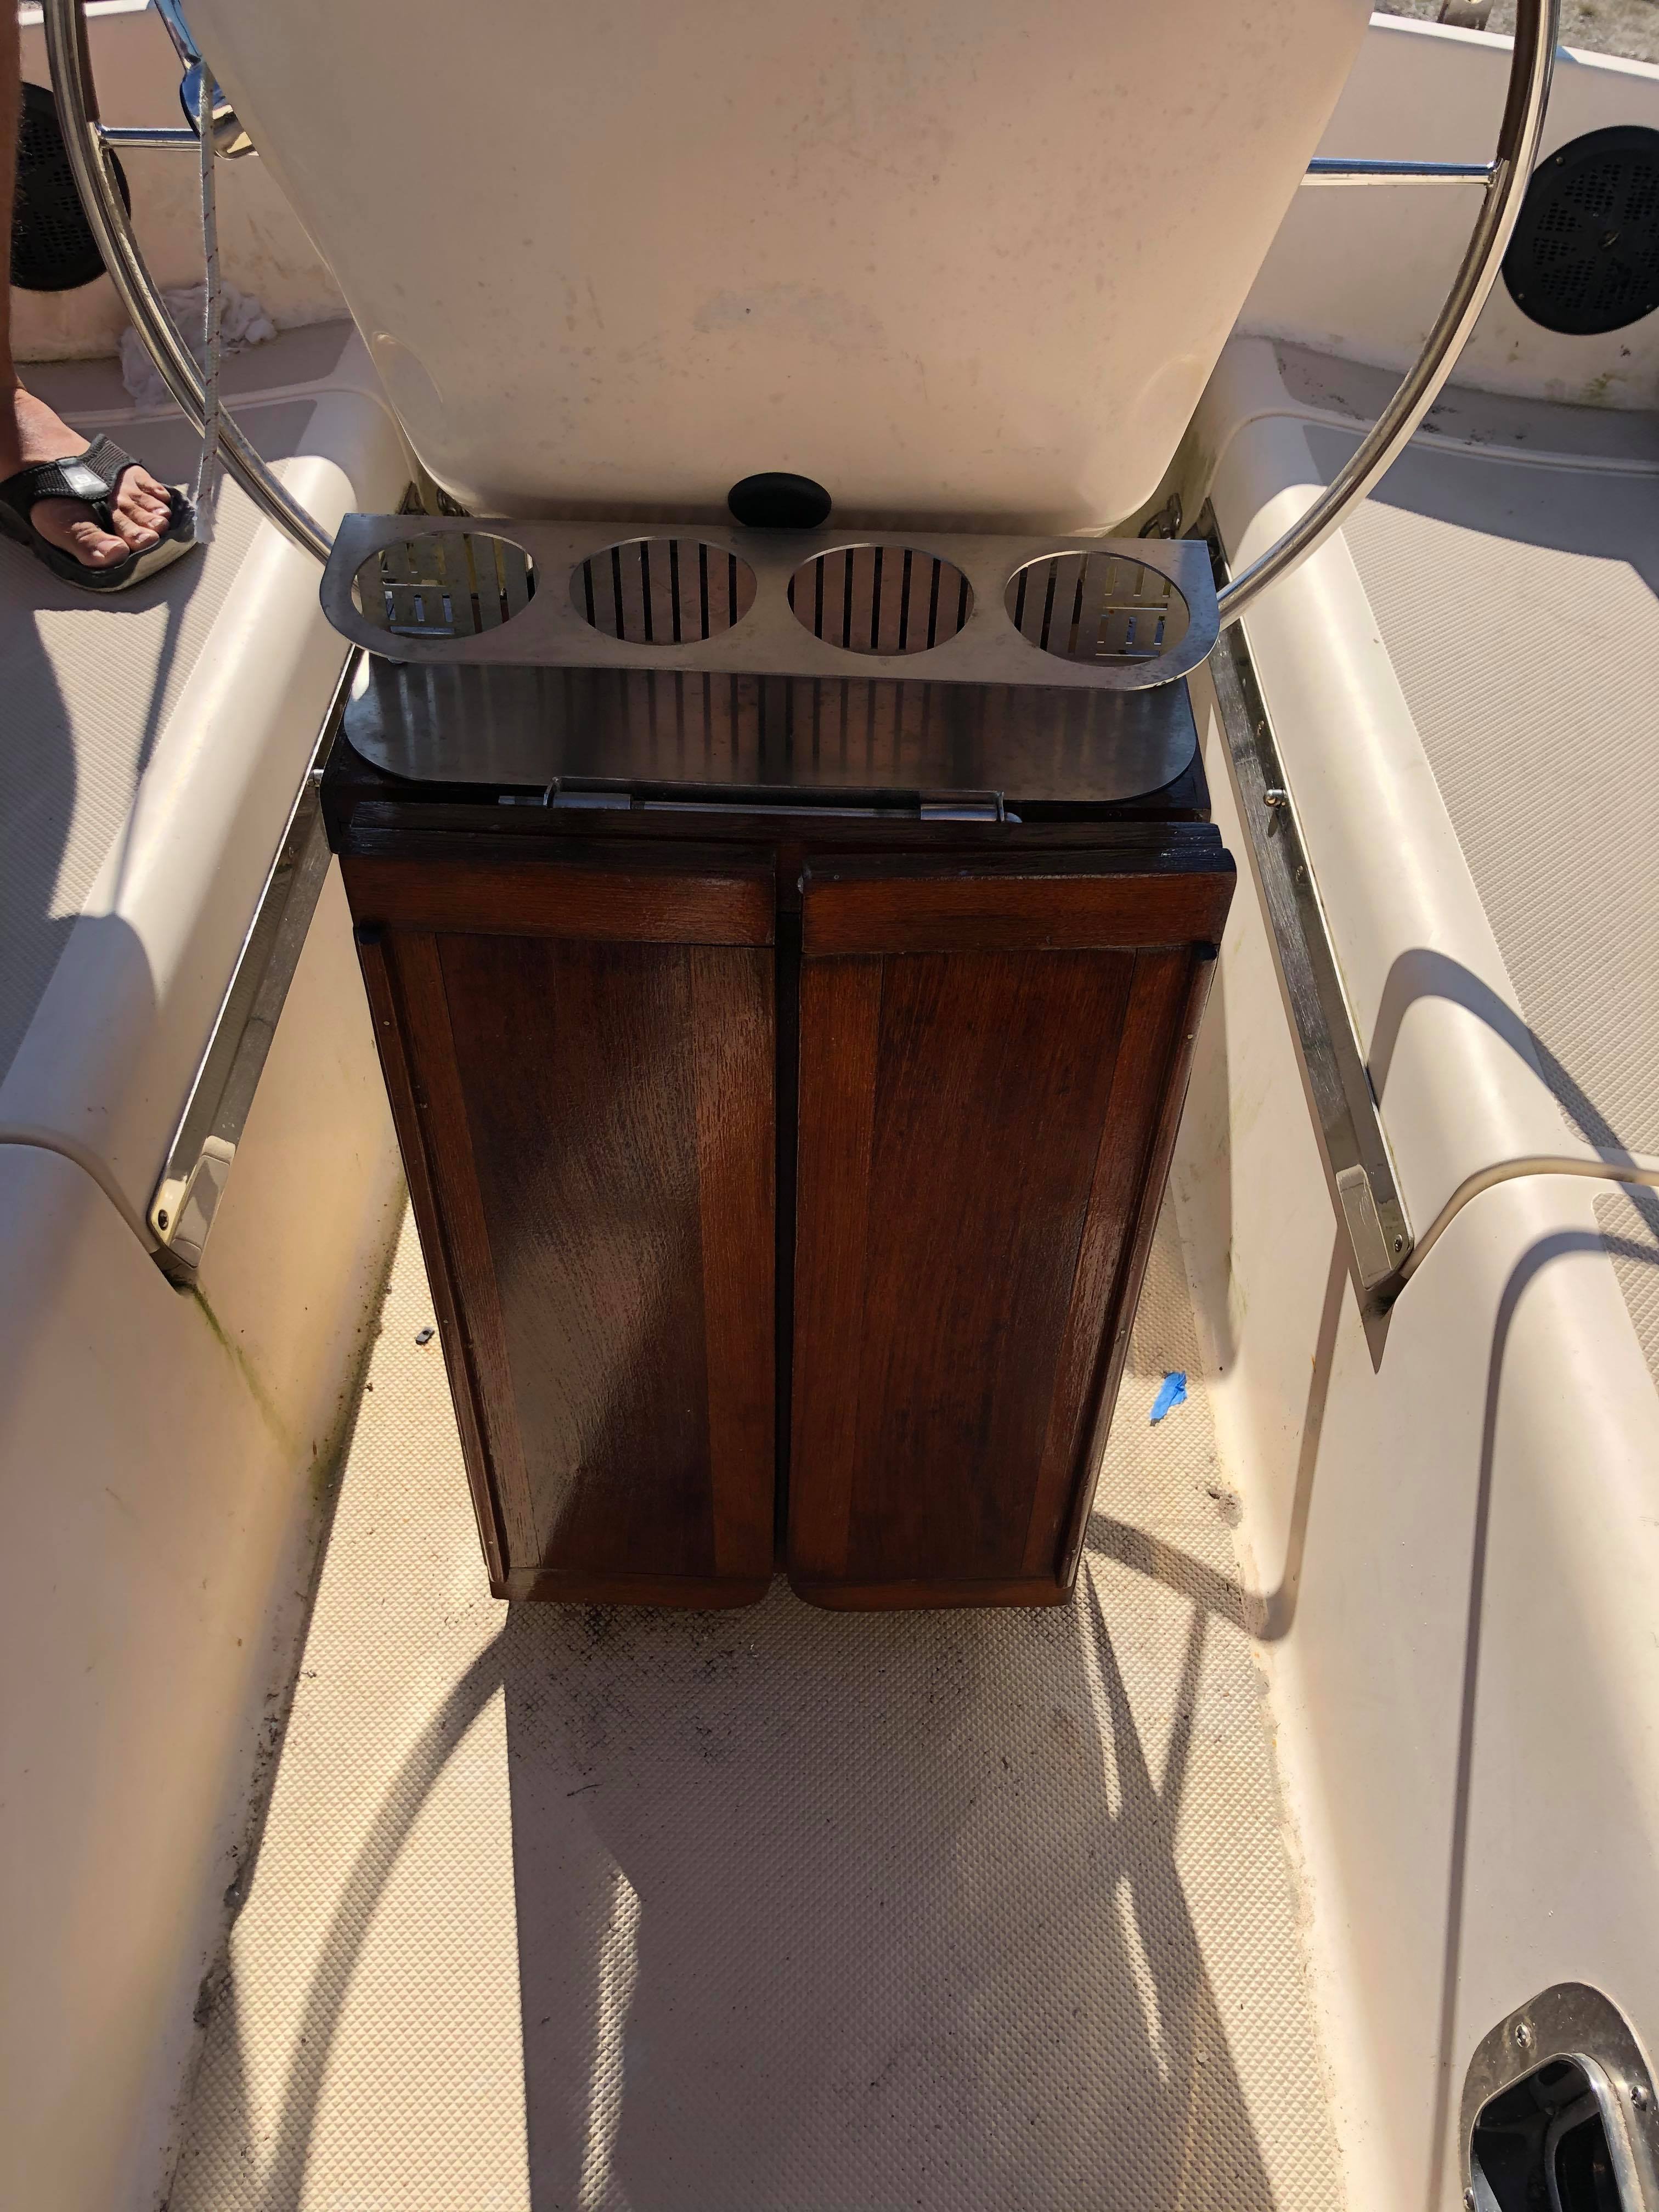
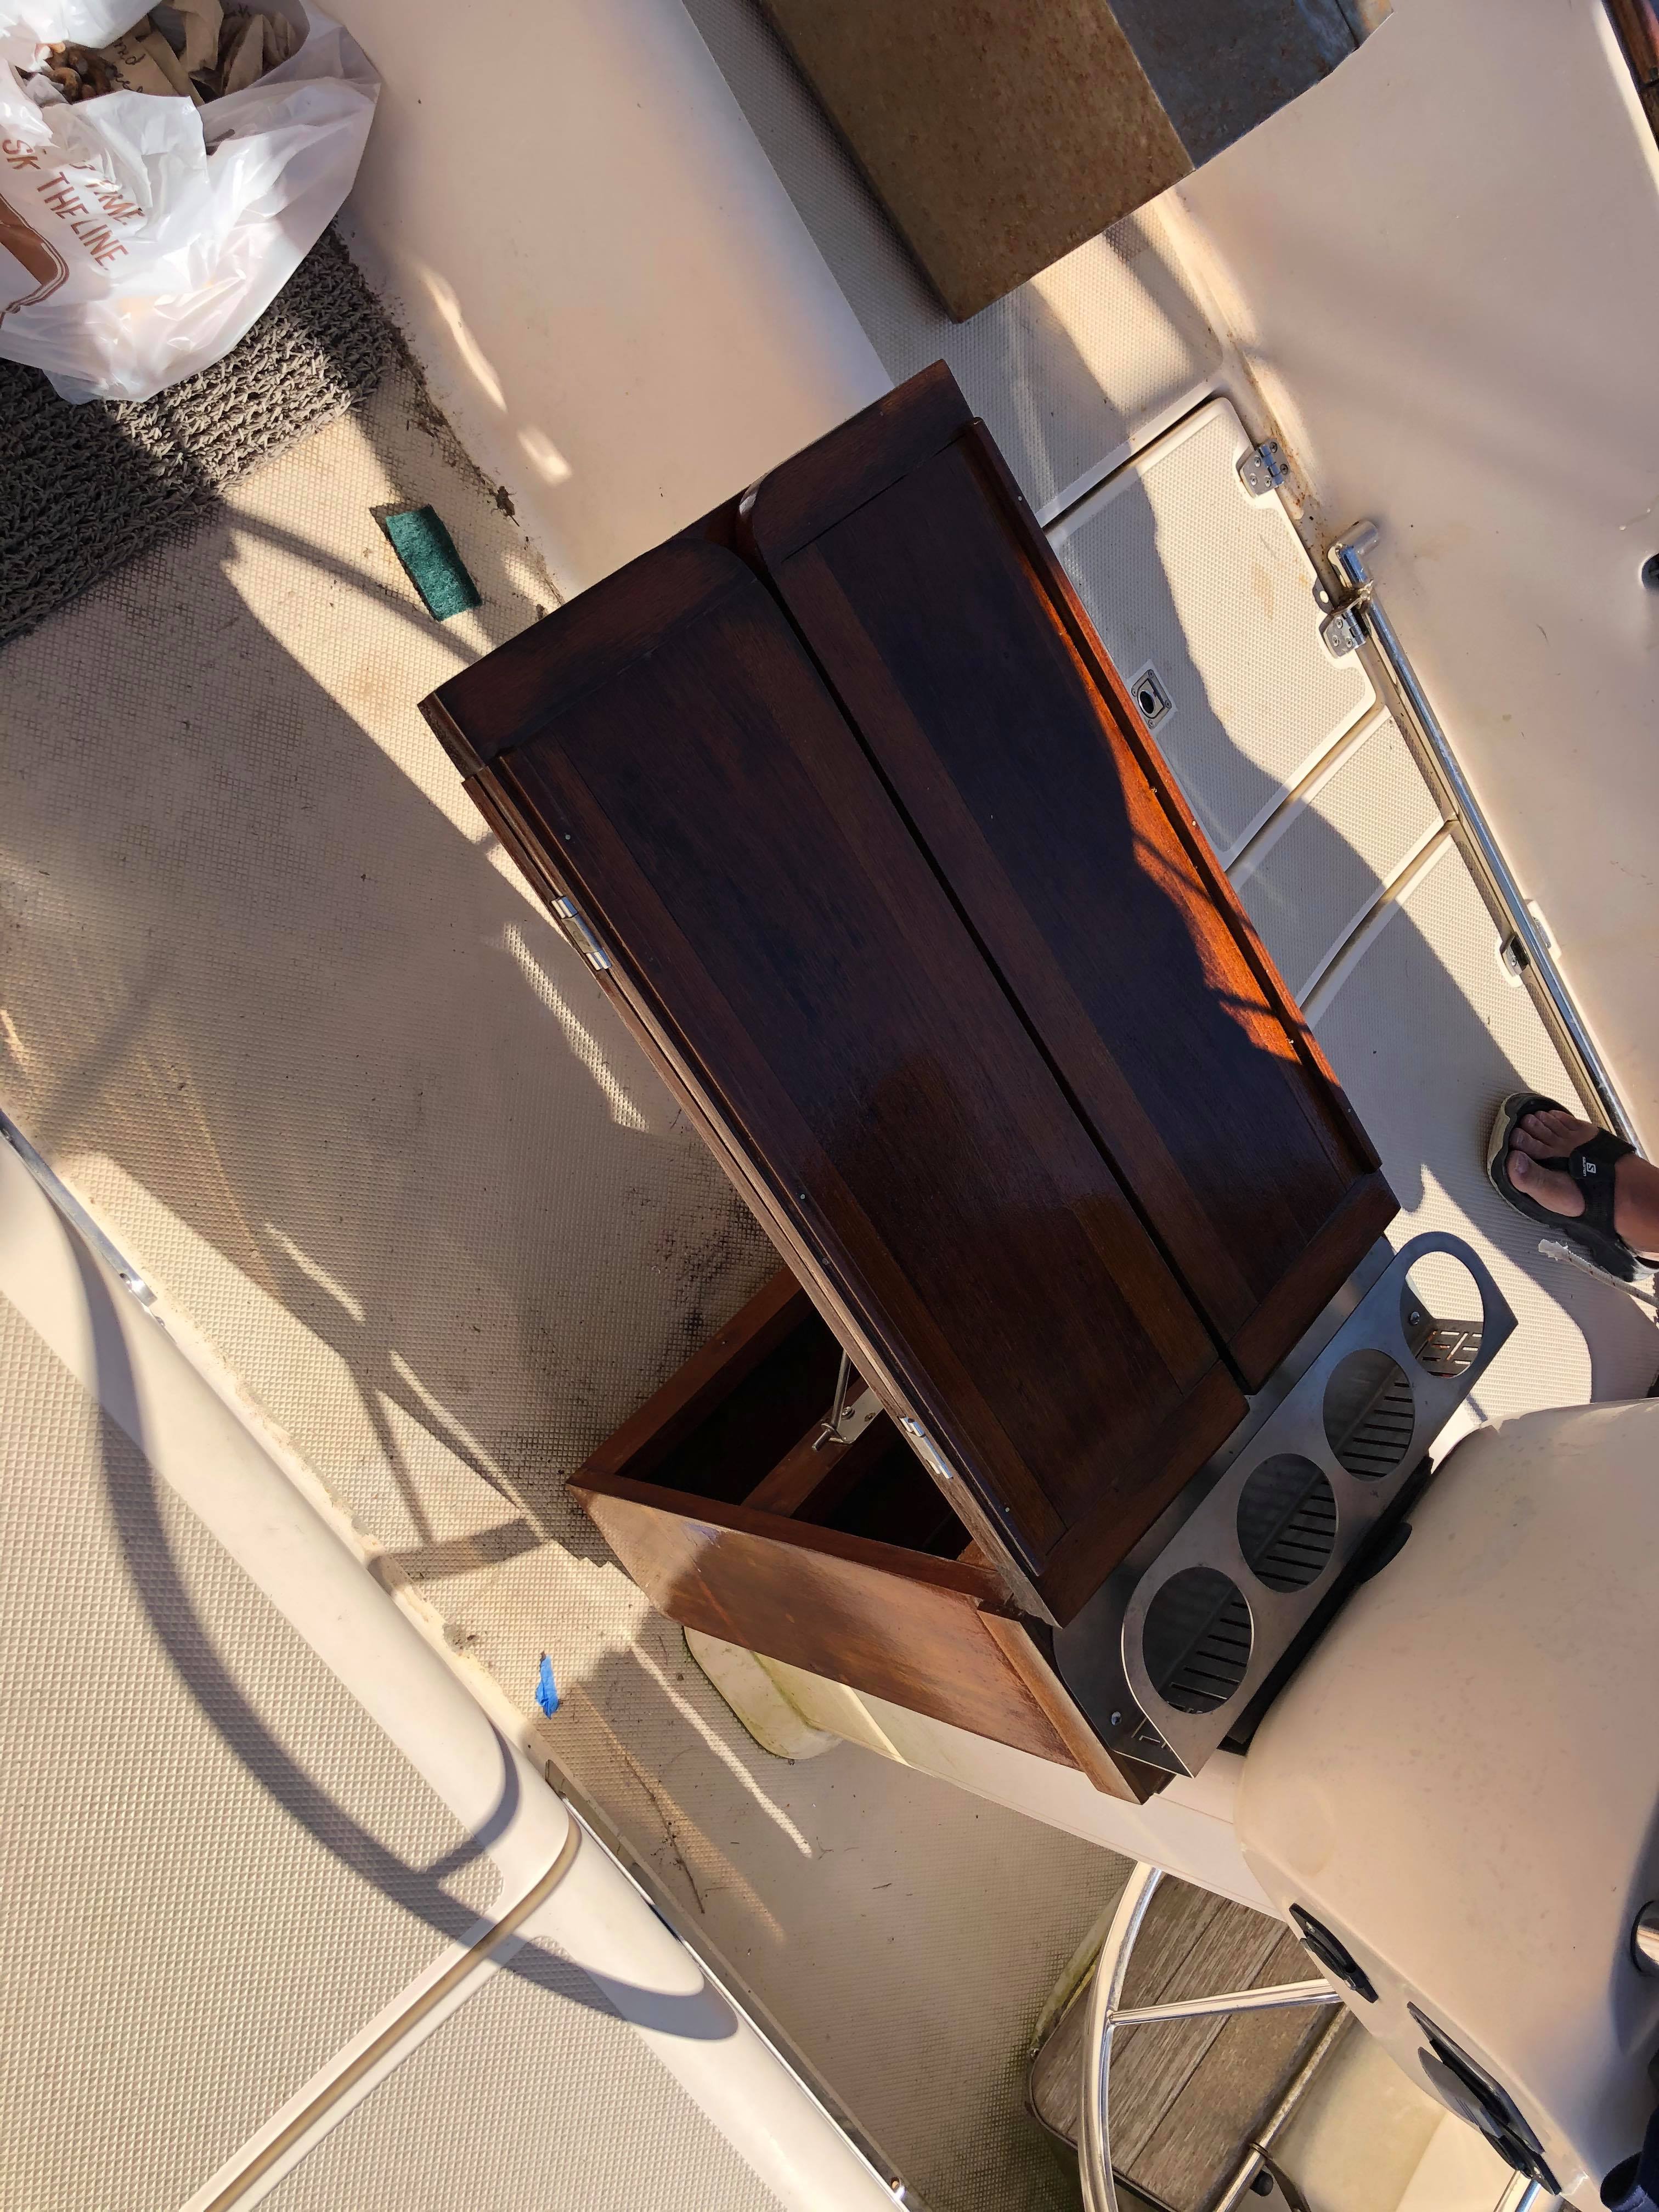
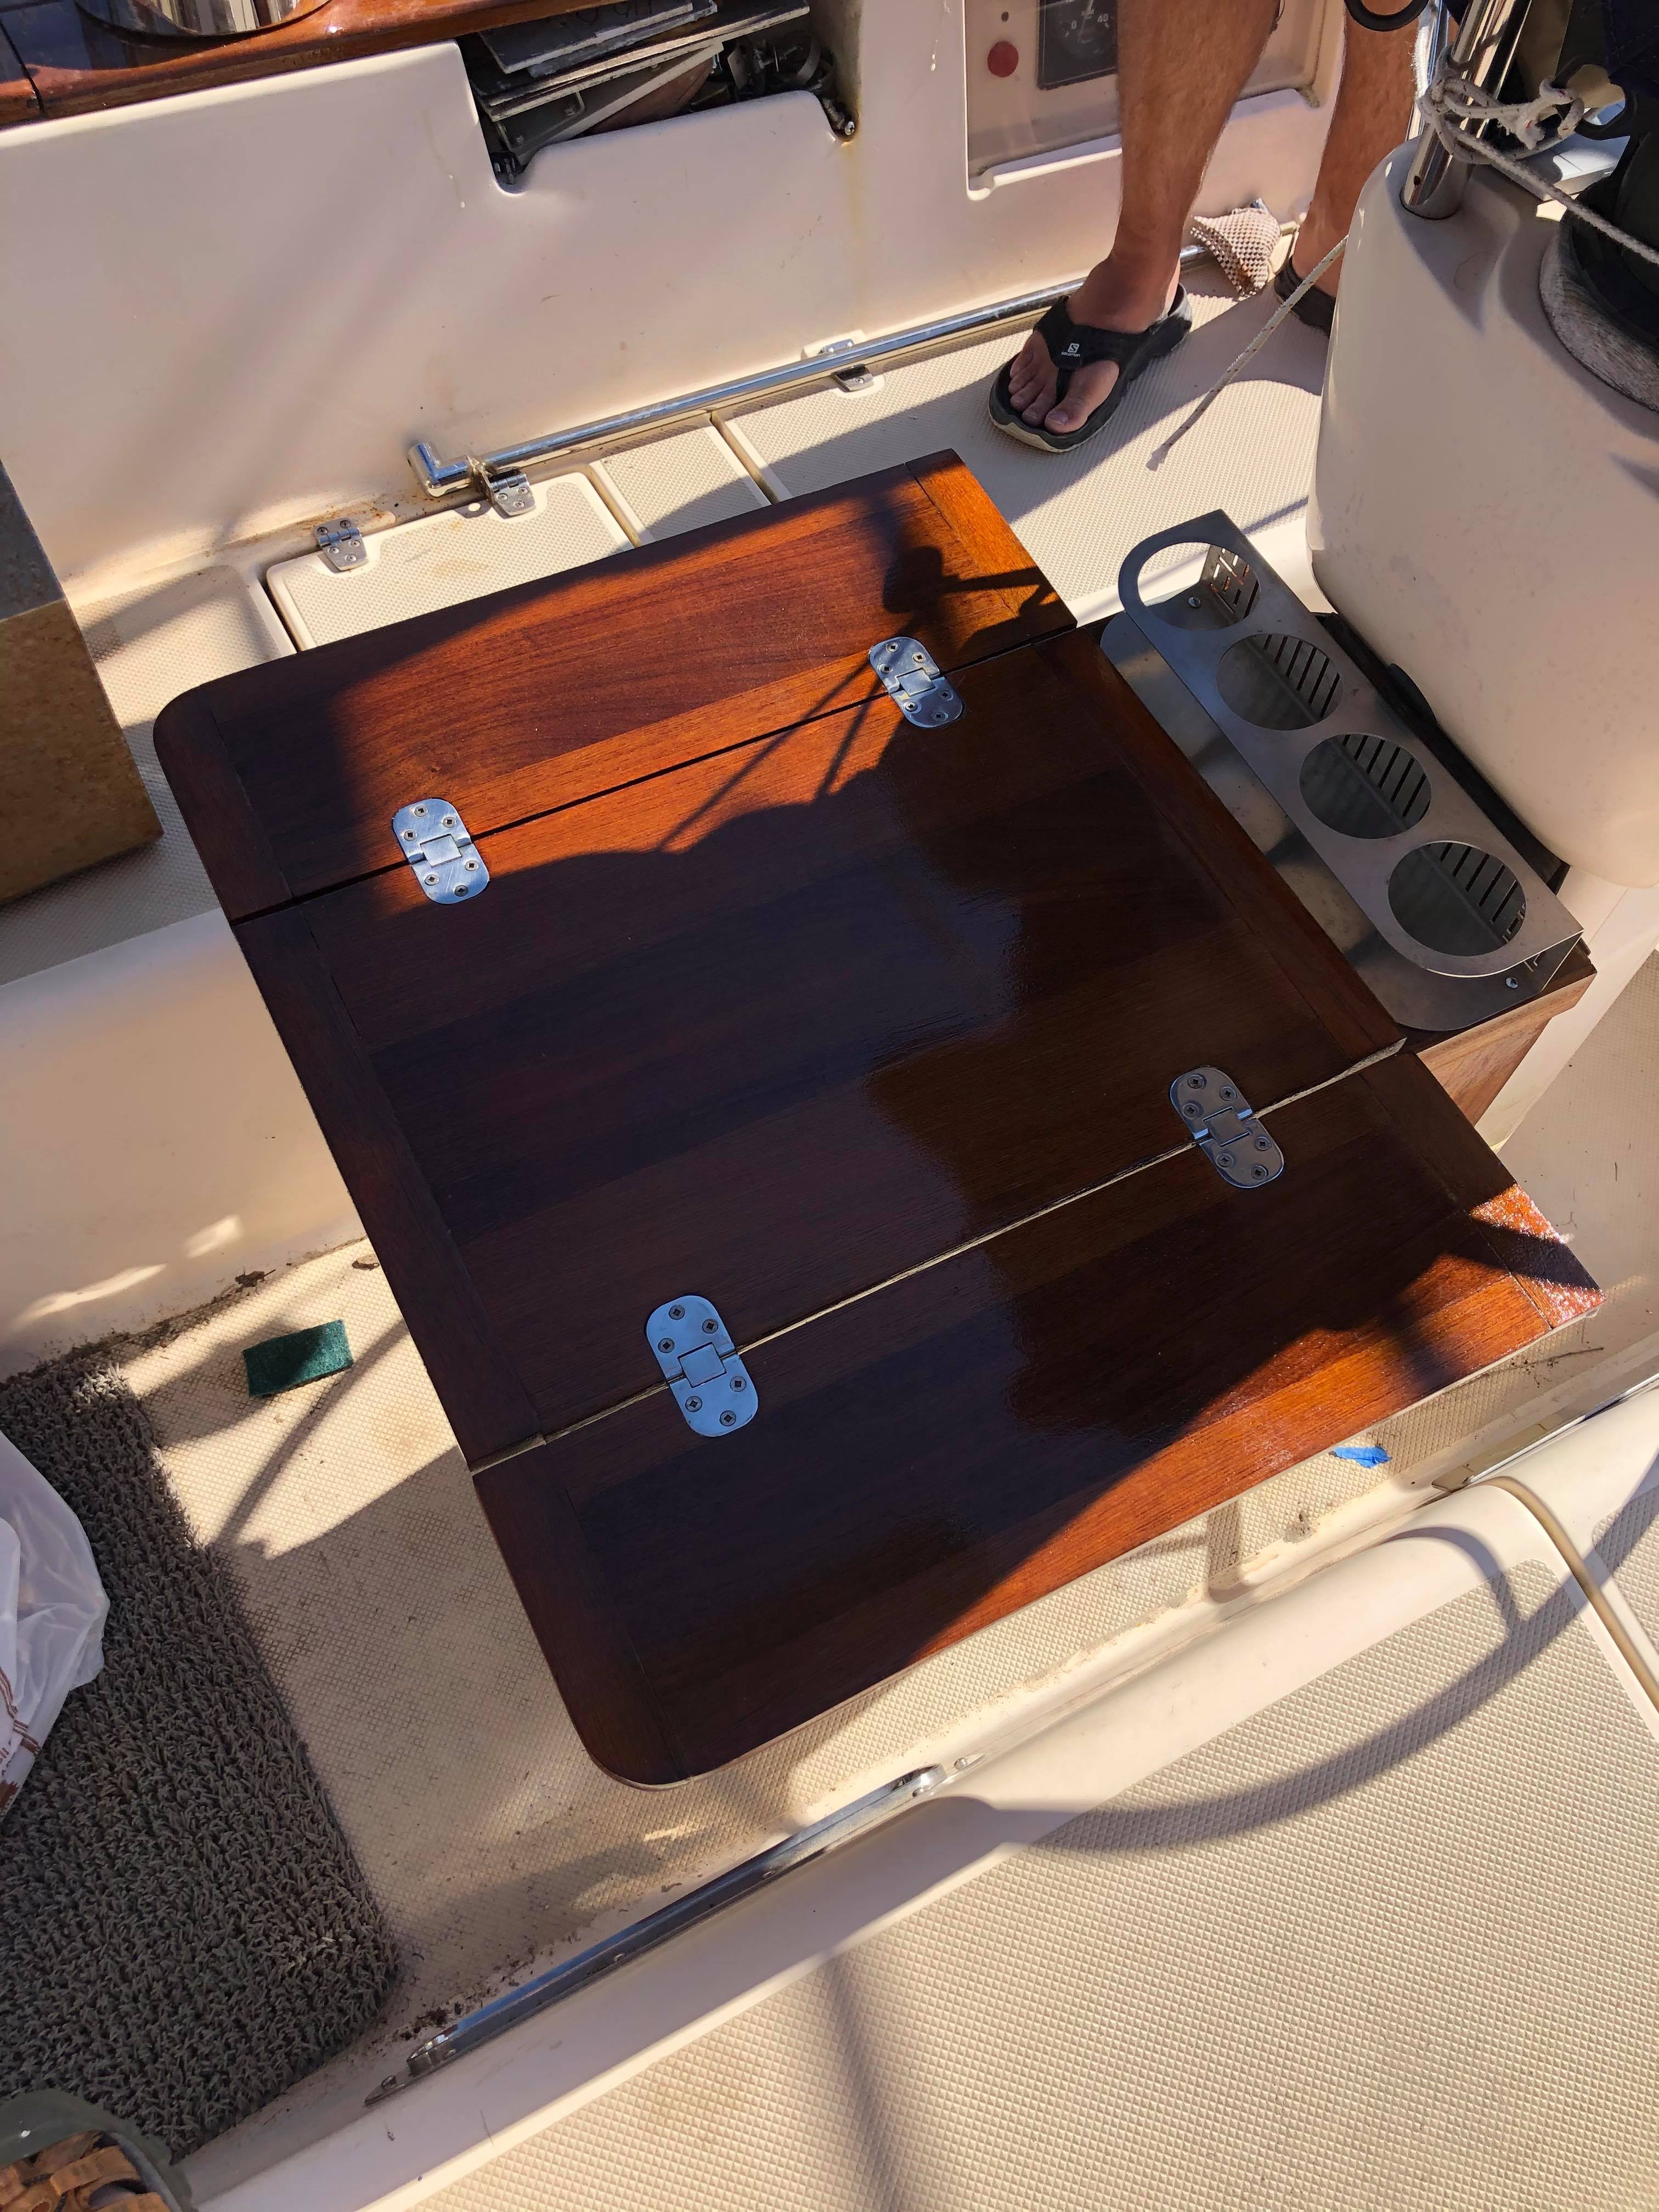
I hate woodworking so much, but I was too cheap to just trash this and spend hundreds of dollars on a new table. I’m glad I put the effort in and I’m actually kind of astounded that it worked out as well as it did! Now I have a shiny table to set my beverages on up on deck! 🙂