When we first bought the boat we had a big debate on whether we wanted to keep the existing propane system with the all-in-one stove and oven or convert it to electric. On one hand, propane doesn’t use any electrical power but on the other hand it can explode and kill you. In the end, the decision was made easy by the fact that the existing propane lines and solenoid were completely shot and needed to be replaced. We decided to rip out the entire system and just keep the tanks in the locker to power our outdoor grill.
So now we’re all in for the electric galley. Jason had a fancy induction cooktop in our old house in Washington and he loved it. It heats the pans directly, so there’s way less residual heat to make the cabin hot (very very nice when living in the tropics with no AC). We found a small 2-burner cooktop made by Kenyon. It even comes with a silicone mat that goes on the top to keep pans from sliding, making it perfect for our boat! It’s only about 1800 watts on max power too!
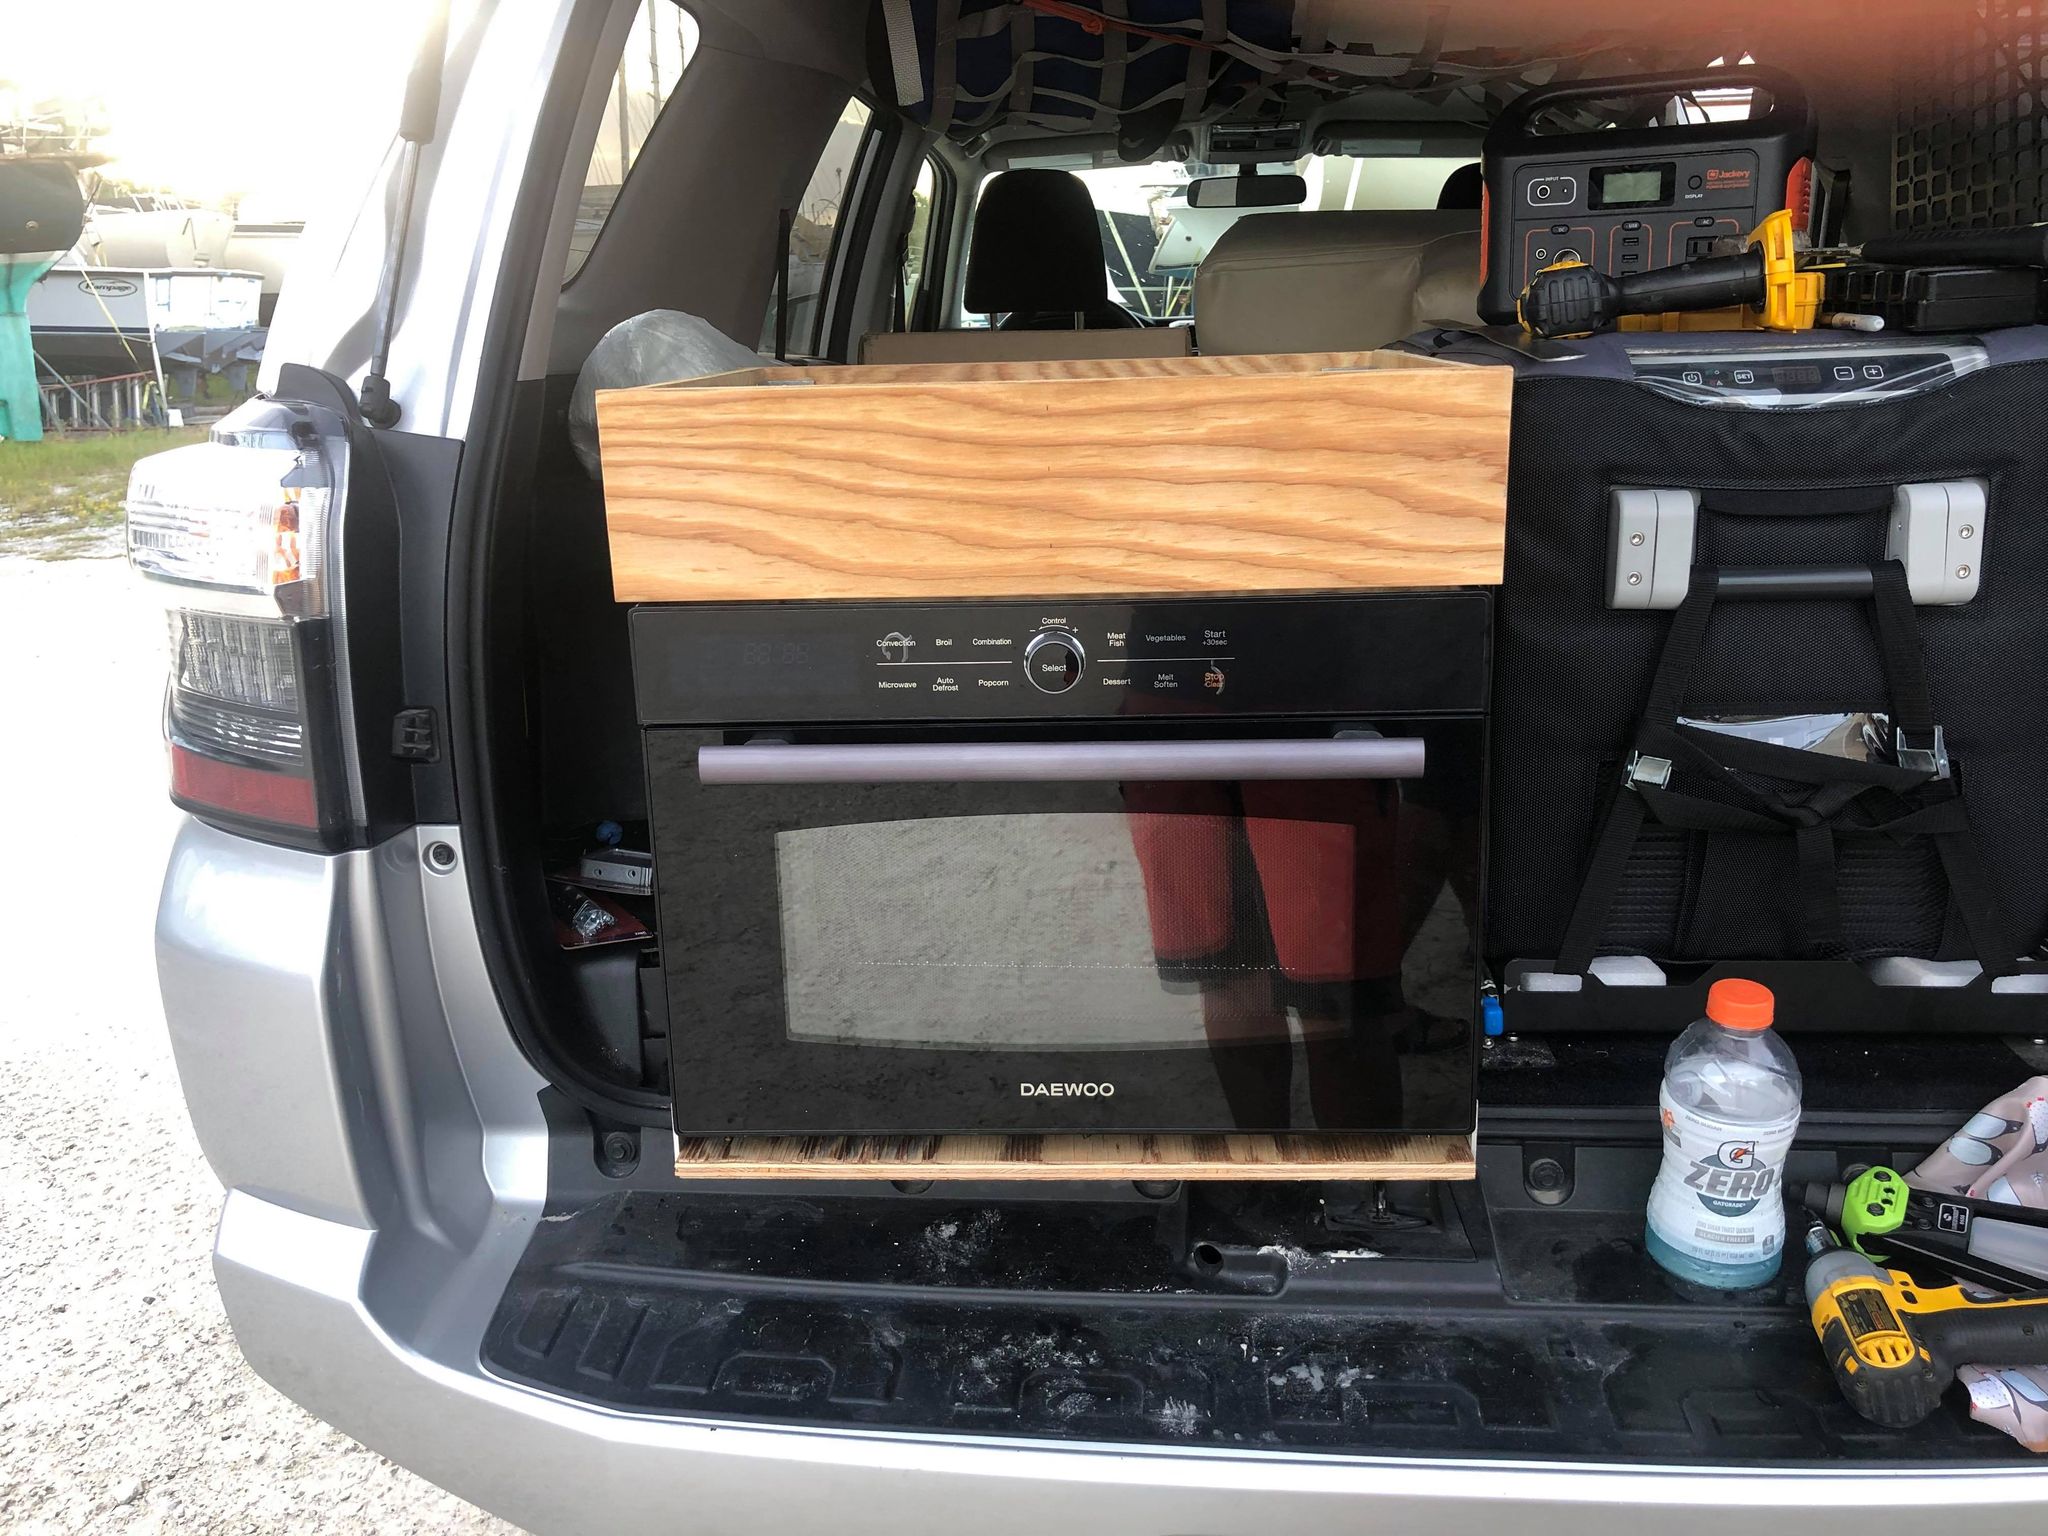
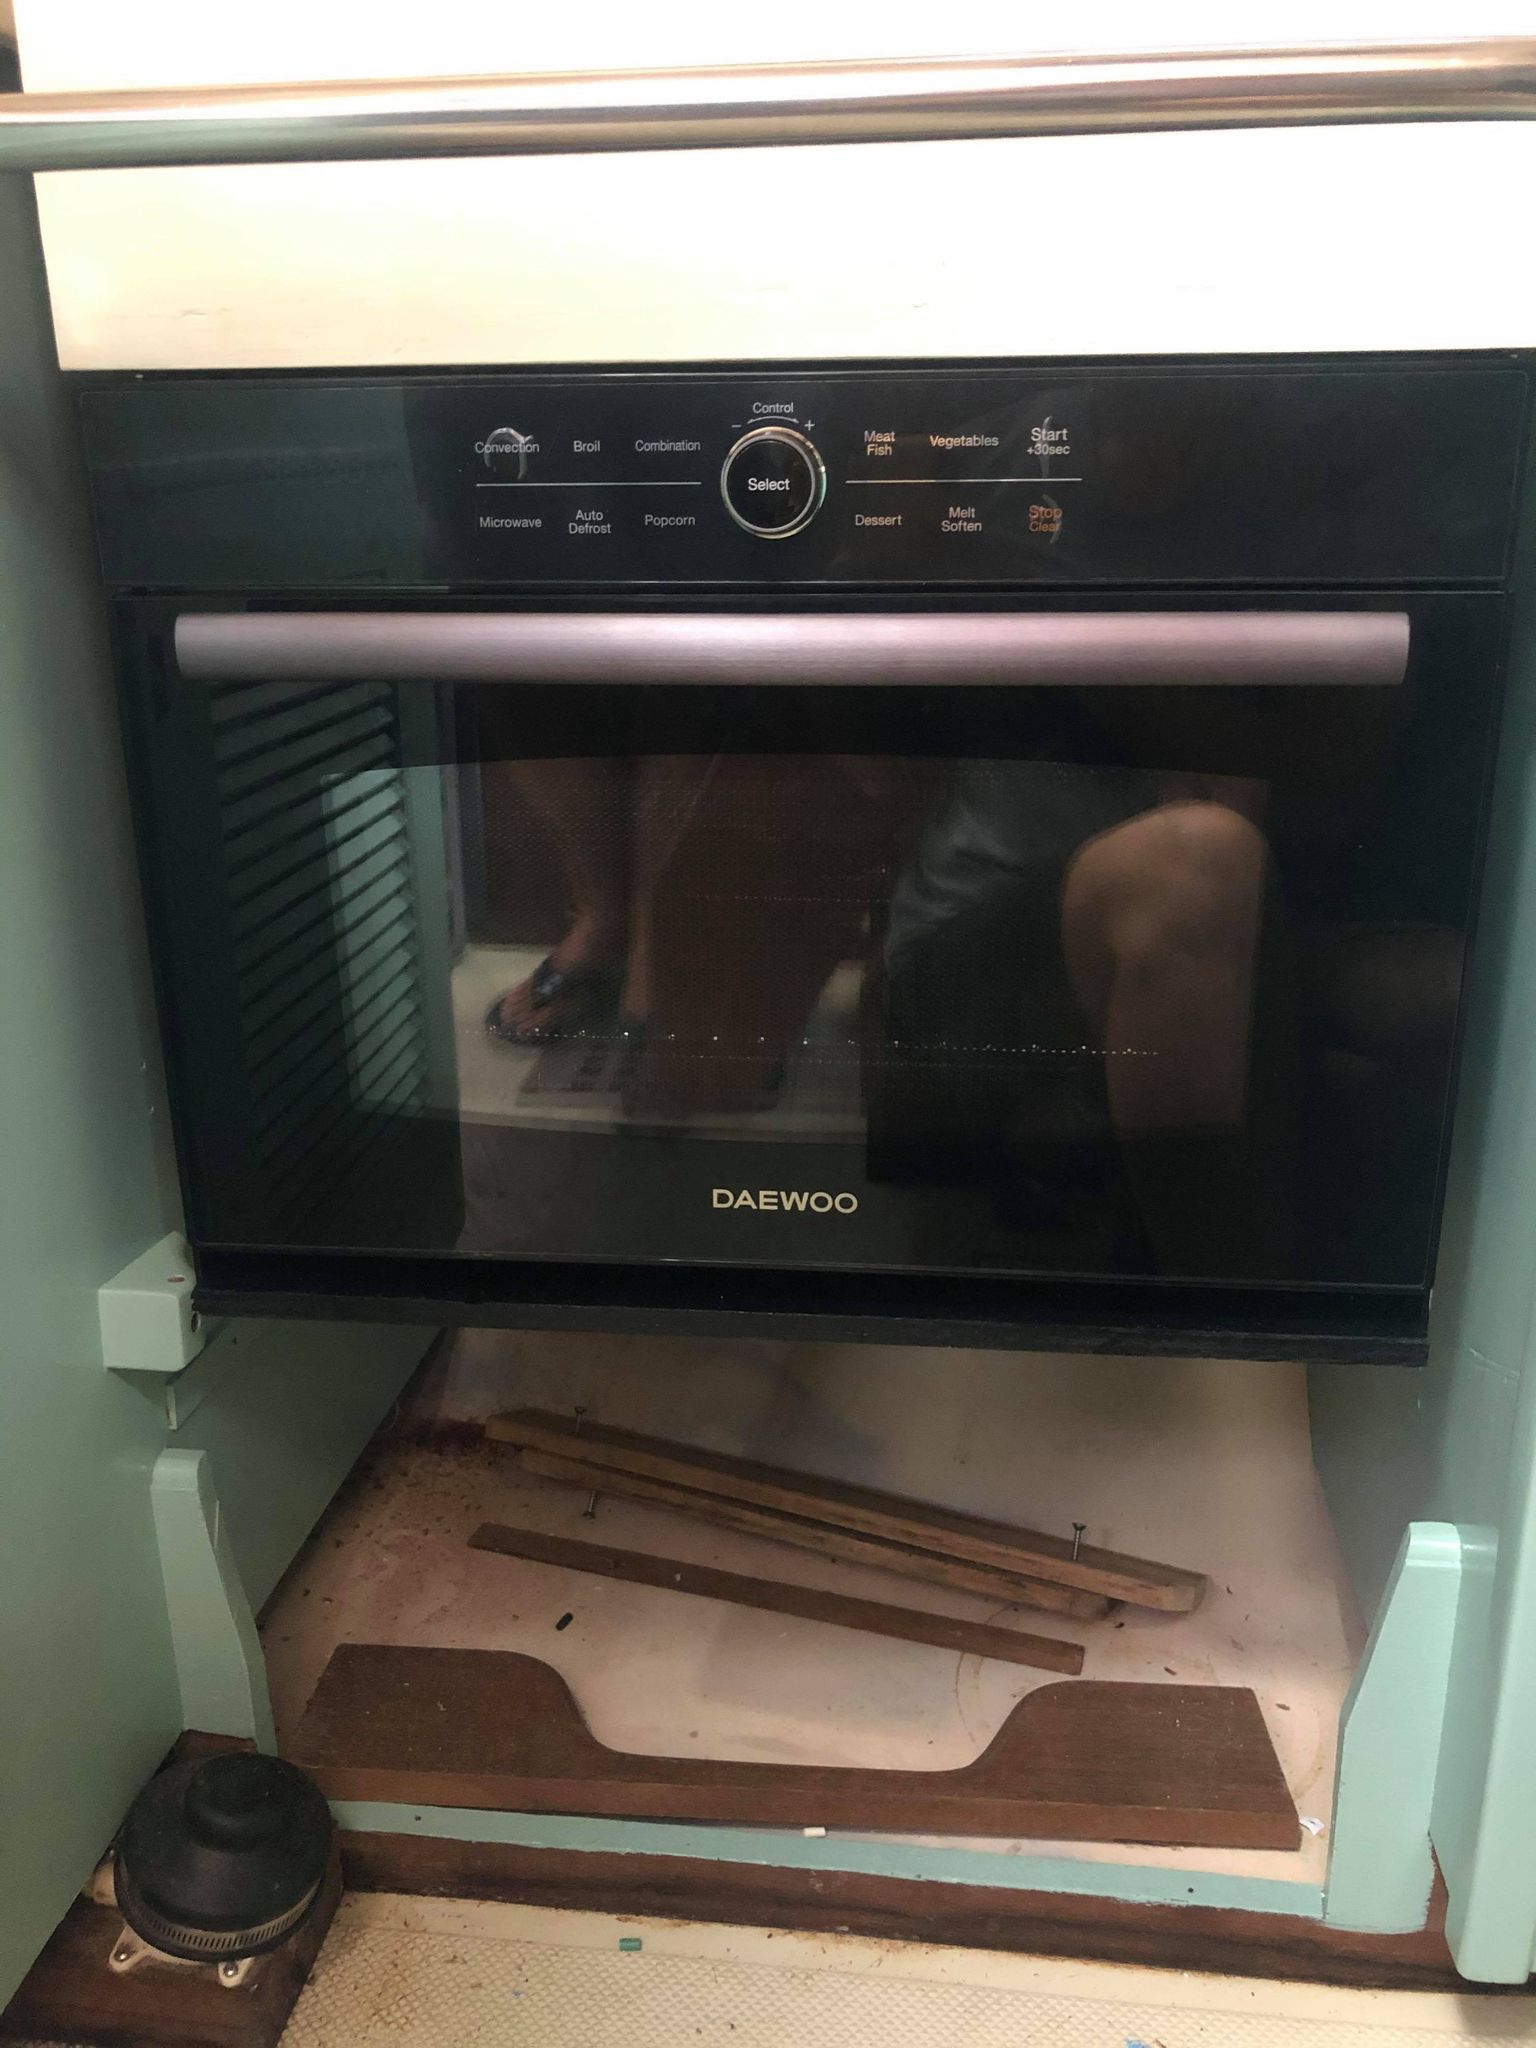
With the cooktop figured out, we moved on to the stove issue. Since I’ve made several posts regarding the replacement of our tiny, useless, broken microwave with a custom built coffee cabinet, you may have realized that currently we don’t have a microwave… That’s a requirement for me (like the main way I cook…), so we needed a combination microwave and regular convection oven. They’re fairly new tech but a few companies are making them now. Ours is by Daewoo. It wasn’t nearly as cheap as a regular microwave OR an oven, but it clears up a ton of cabinet space by having those 2 appliances in the same spot. We had it set up on the counter in the apartment to test it out and it works fantastic!
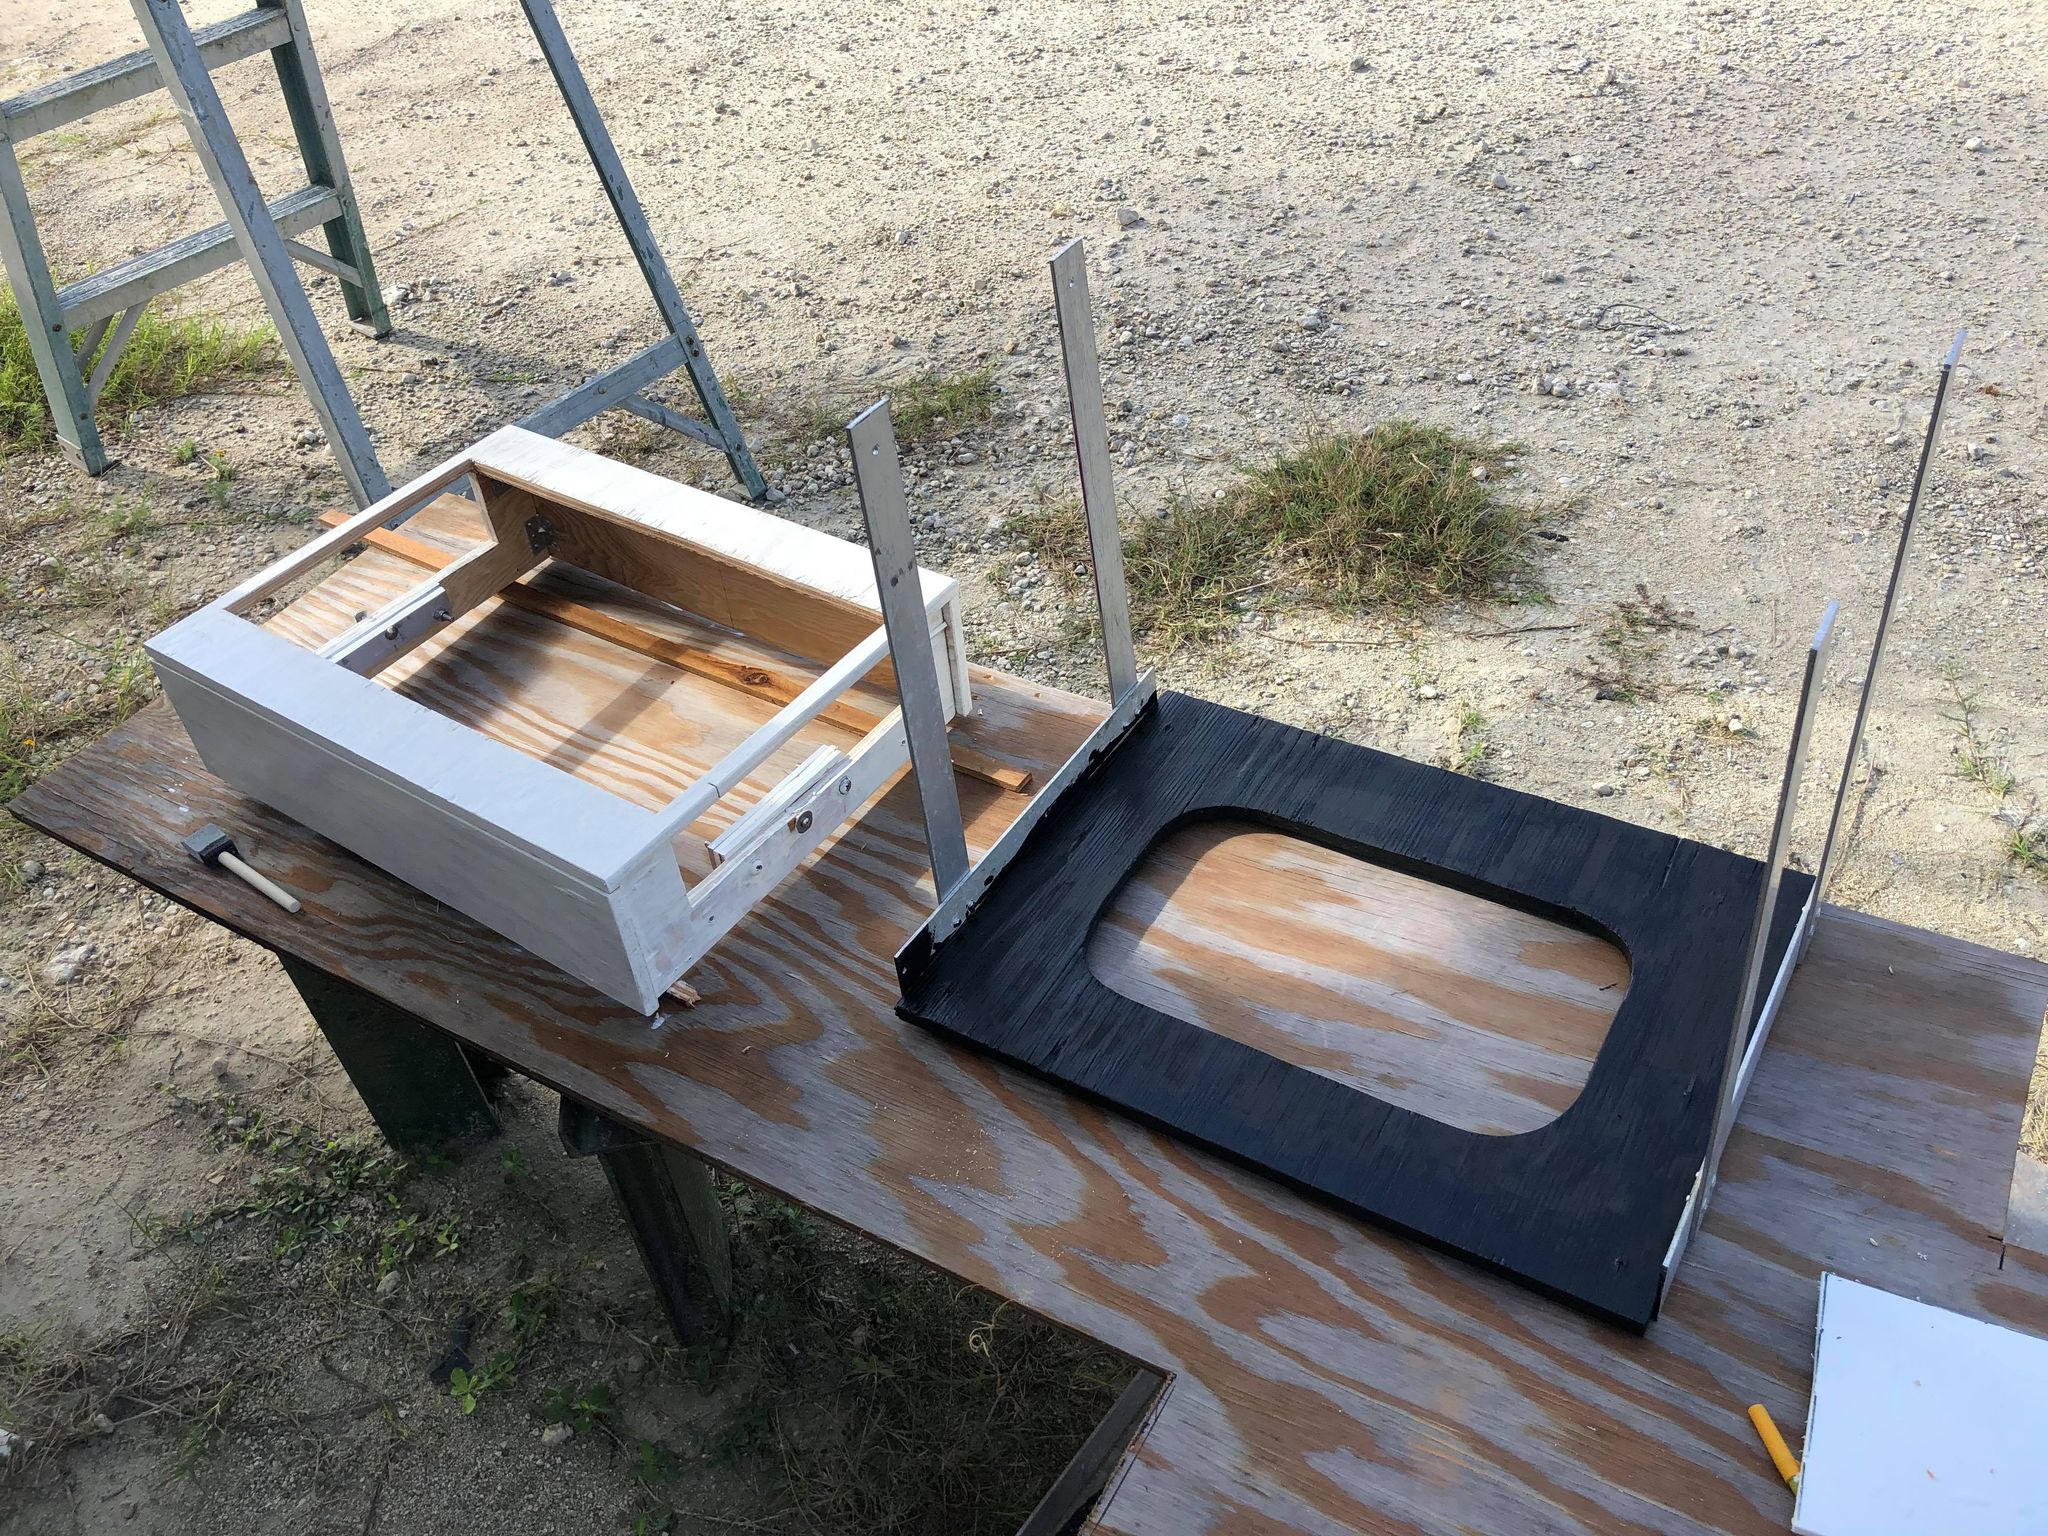
With our new cooking appliances in hand now we have to figure out a way to install them where our old propane stove used to go… This is complicated by the fact that it’s a sailboat and everything has to be mounted on a gimbal to actually be usable while the boat is in the water. (Sailboats lean over… it’s their thing) Jason came up with a design for a box to house the cooktop with the gimbal attachments on the side and then metal straps to hang the microwave/oven beneath it. Honestly, I just let him have at it and didn’t have much to do with the design of this one, so here goes:
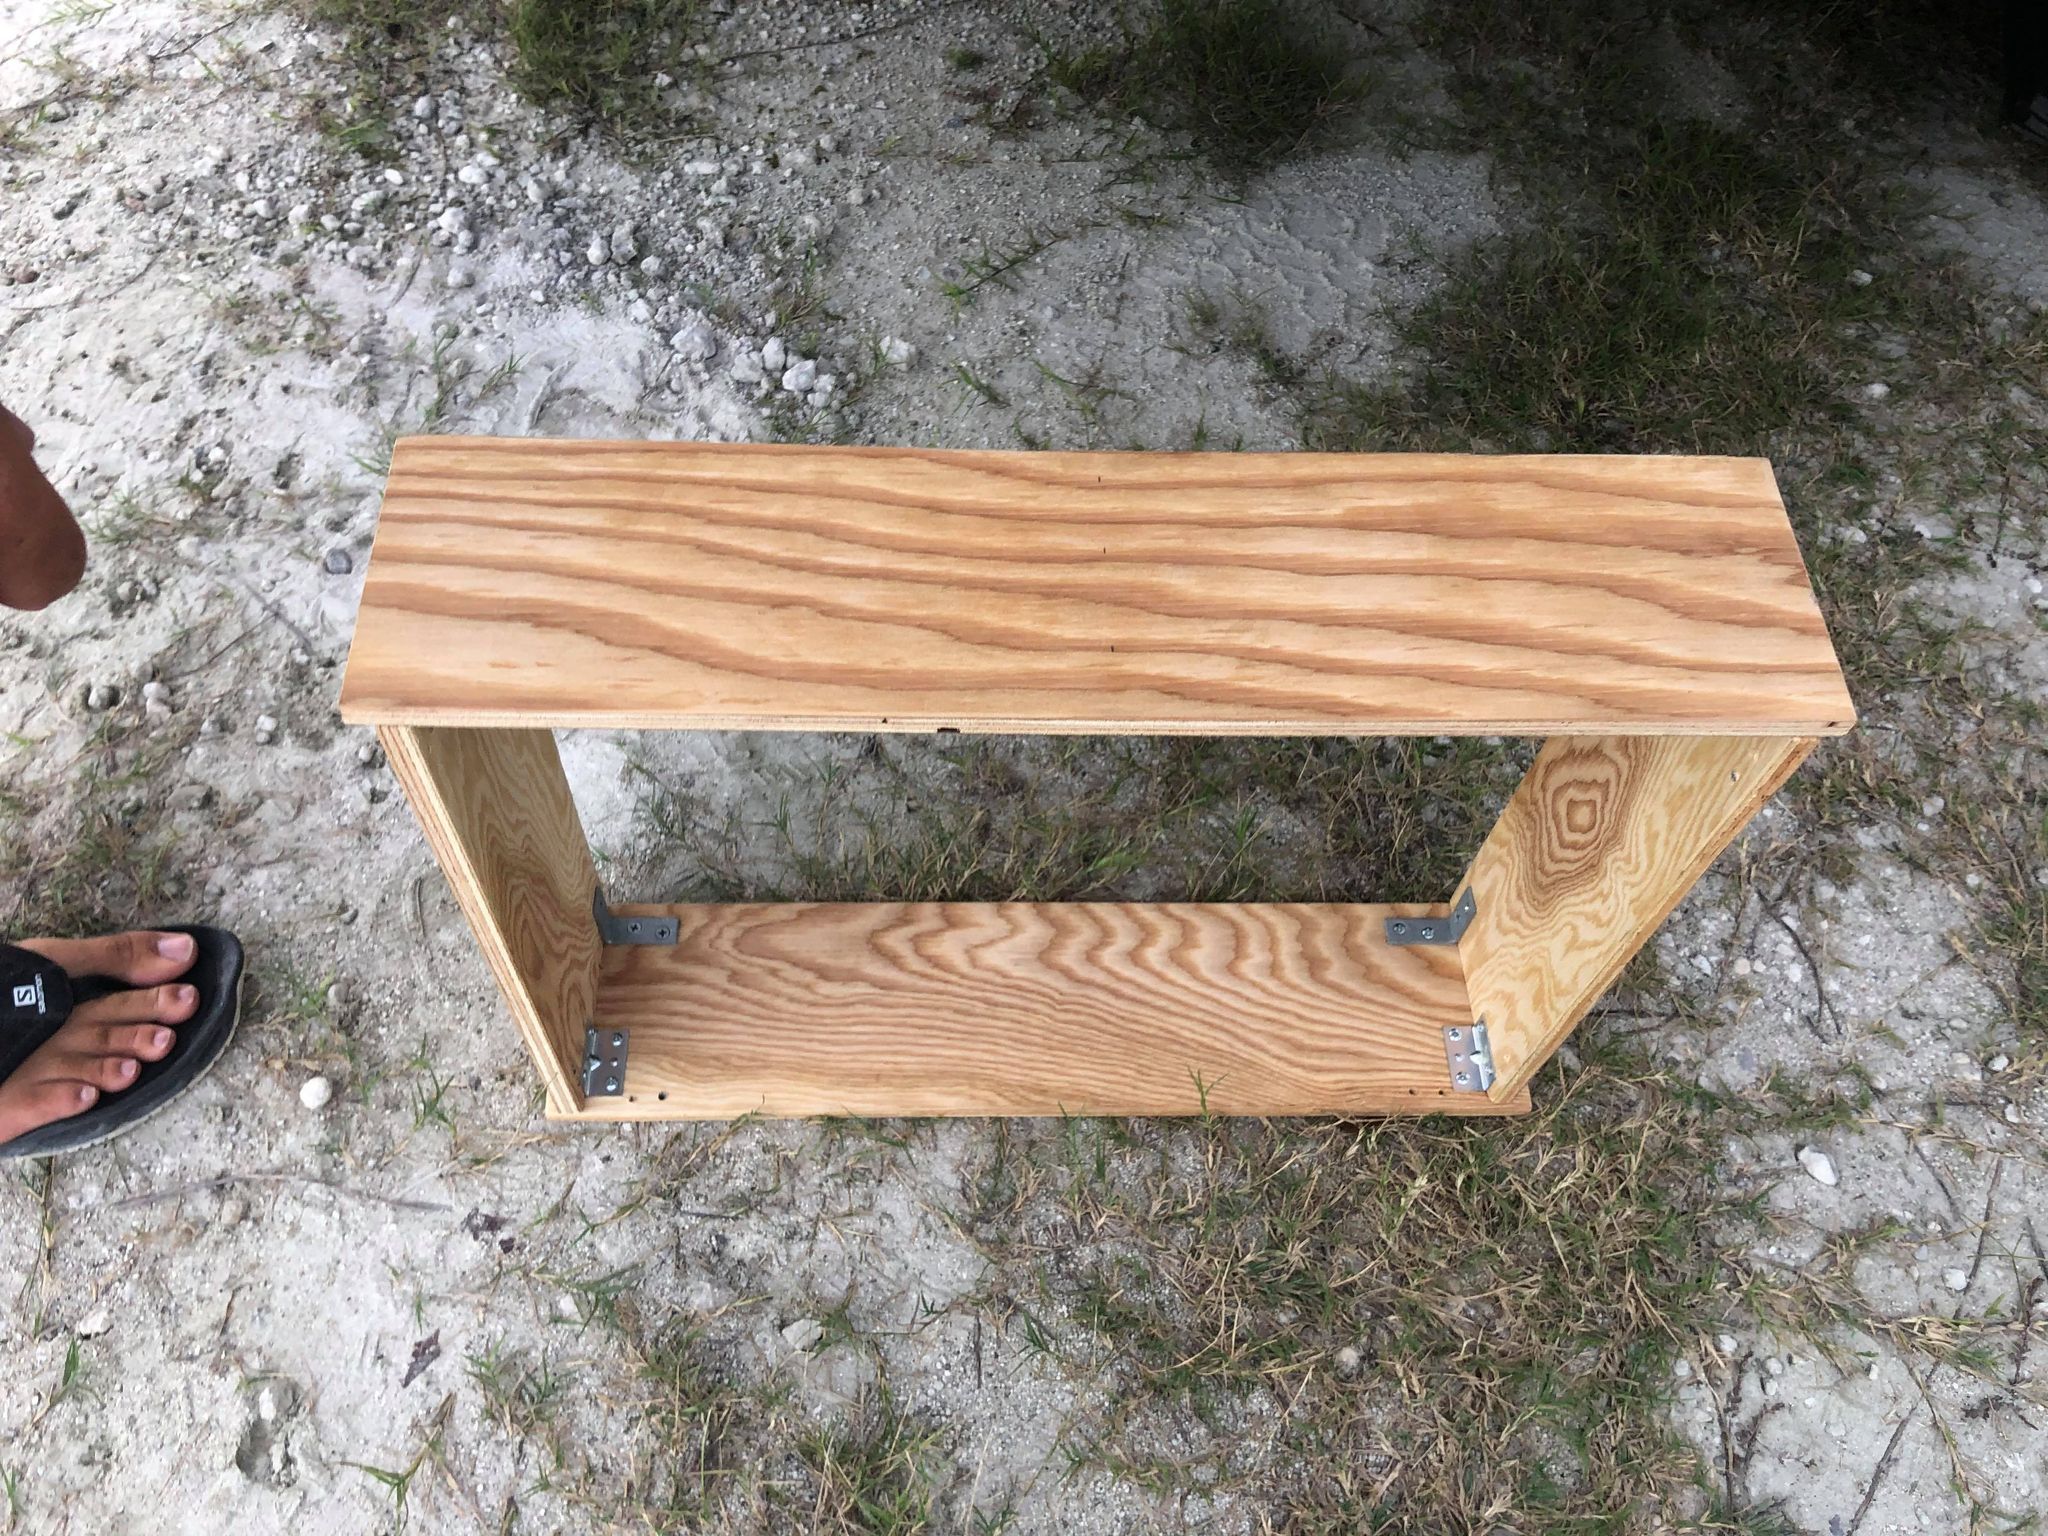
The mount for the microwave was pretty straightforward. It sits on a piece of plywood with a hole in the bottom for ventilation. The cradle is made of angle aluminum at the bottom and riveted to aluminum straps on the sides.

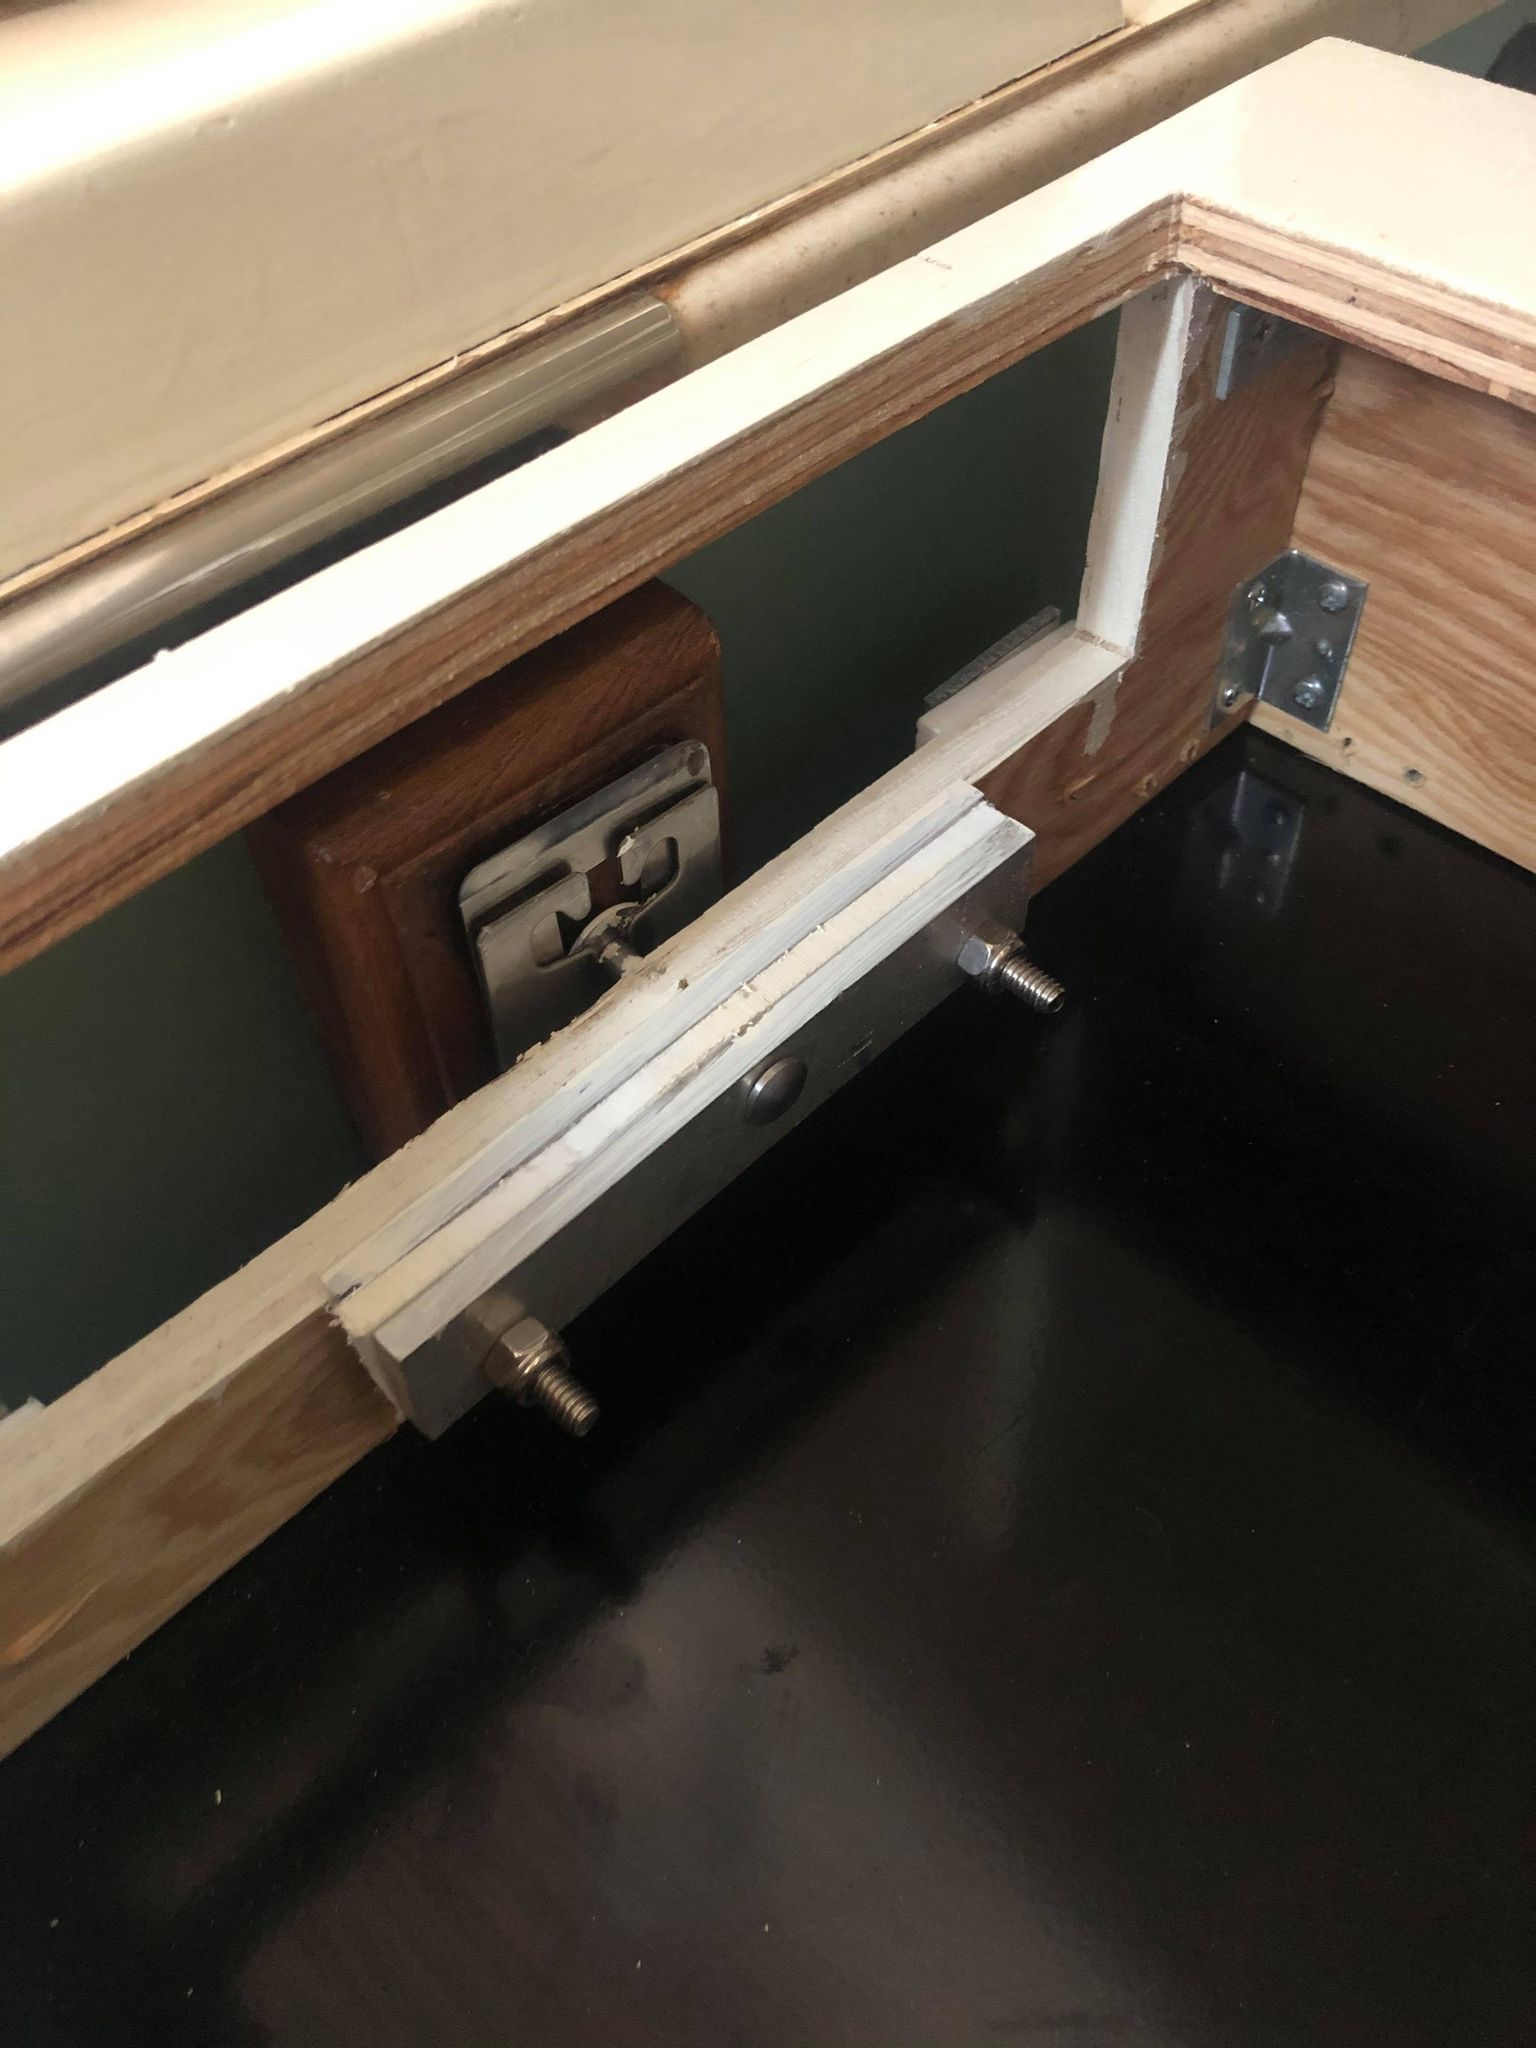
While the microwave was easy, the cooktop was *not*. Jason had to contend with the width of the cooktop itself, the width of the gimbal mounts, and the width of the countertop edges. Judging by the amount of words muttered angrily, it wasn’t as nice as he wanted it to be!
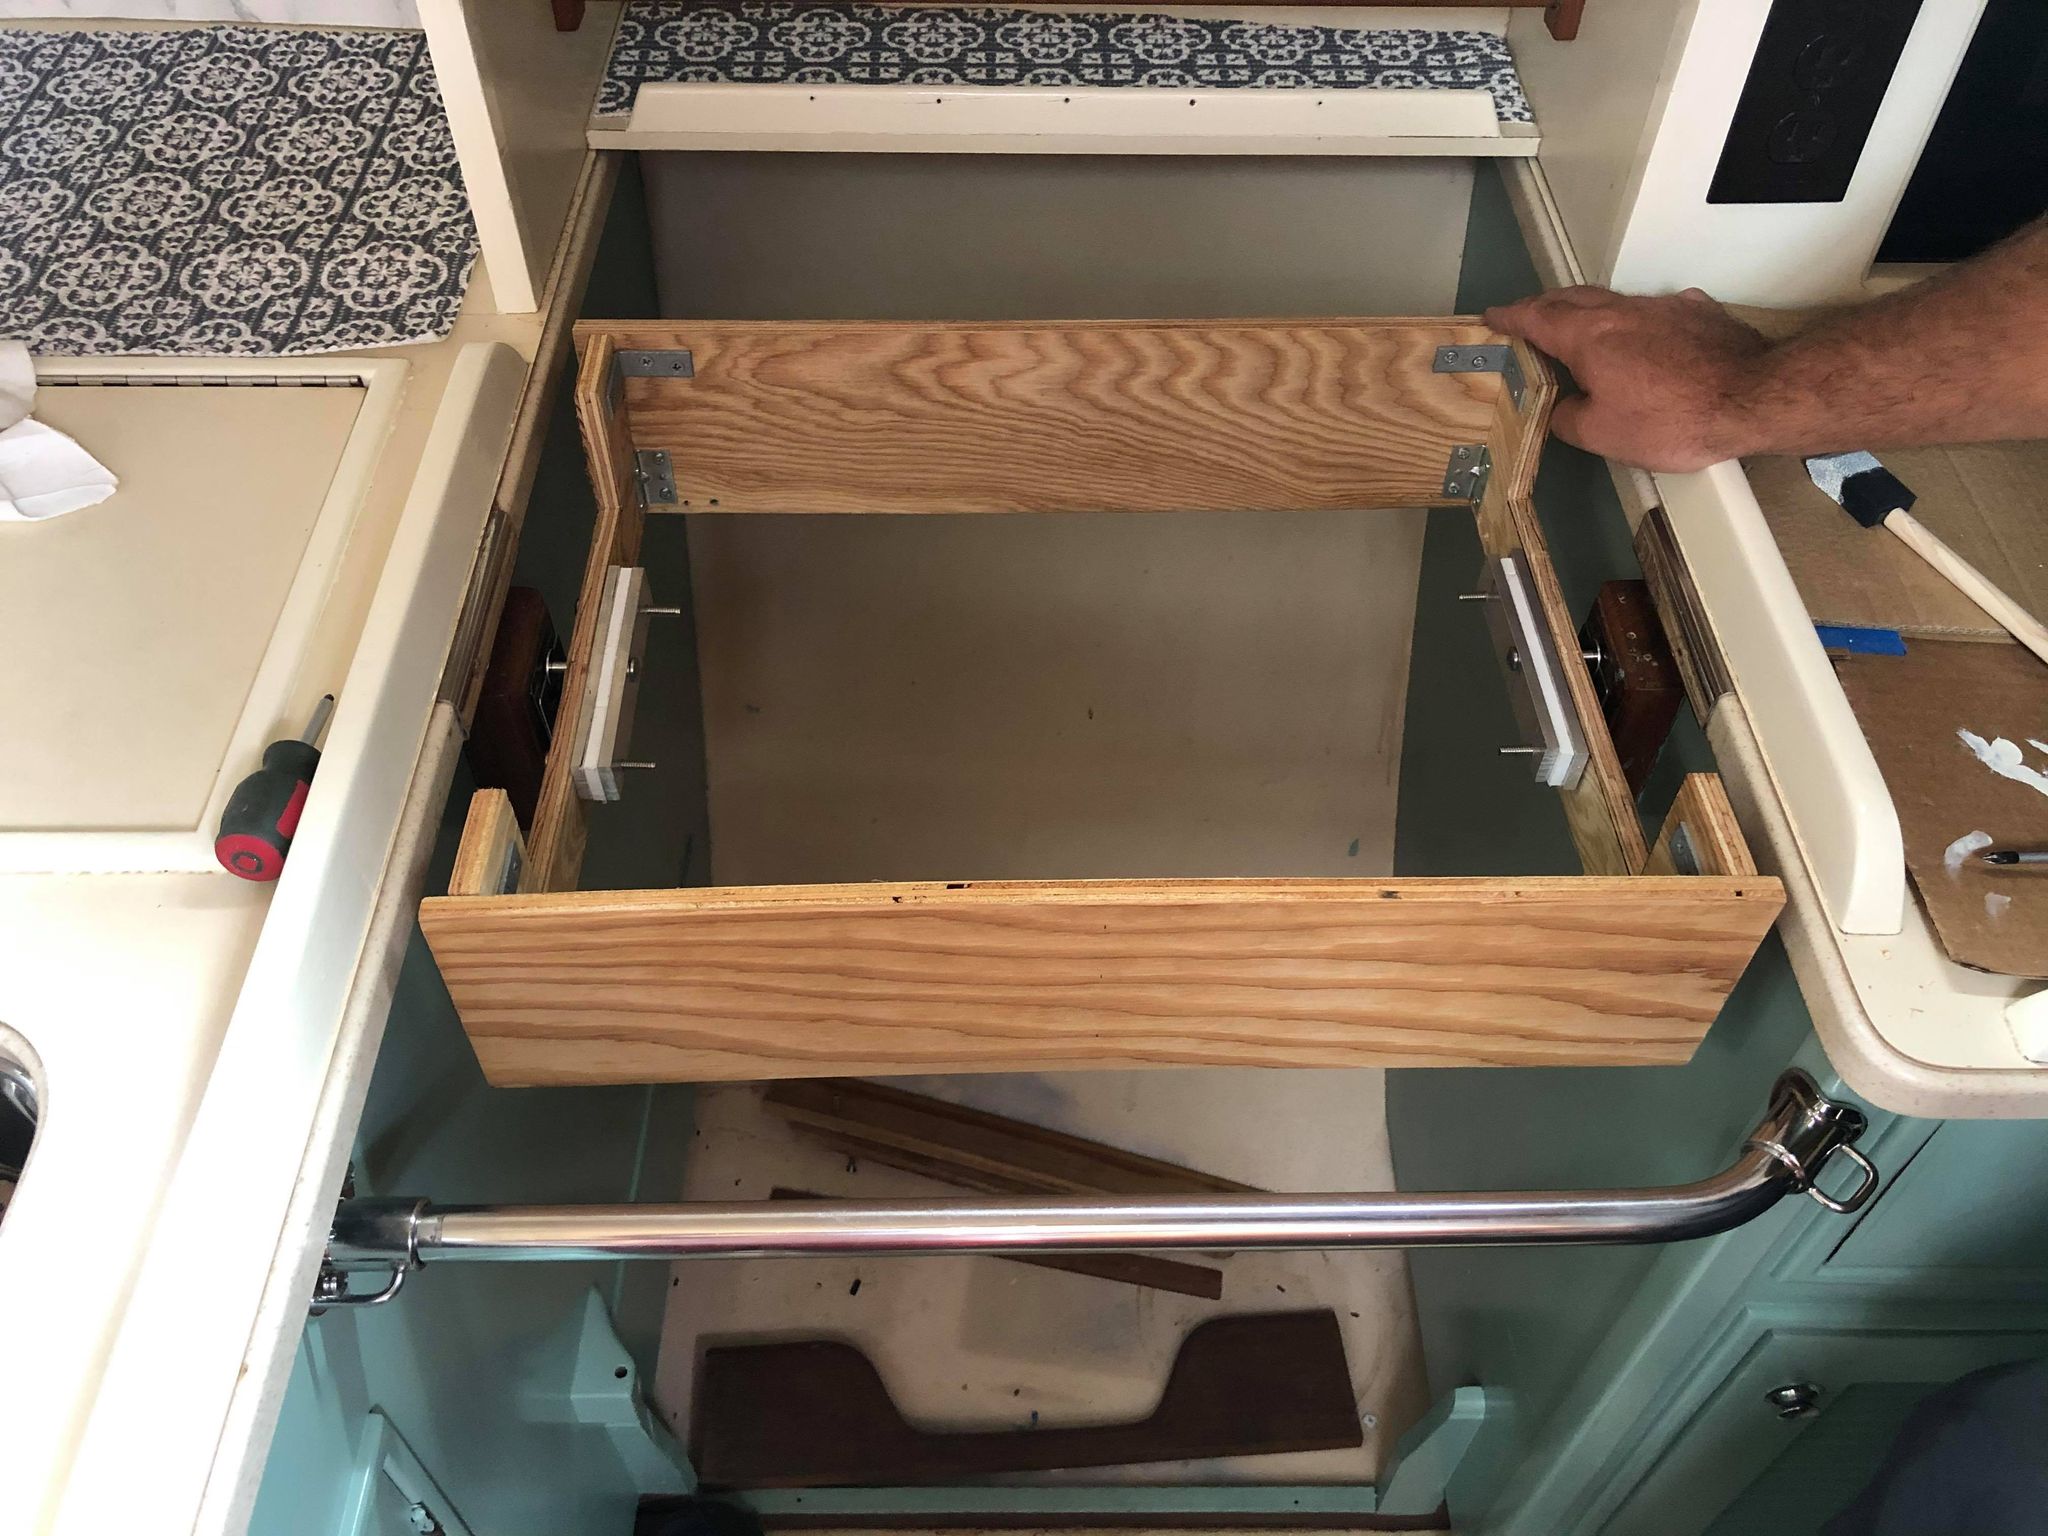
After extensive fiddling with the gimbal spacers and width of the side walls, Jason finally the box where he wanted it to be. Everything is now ready for paint! I used some random Rustoleum black that I had laying around for the bottom so it would disappear underneath the microwave. The top is going to be white so it matches the countertops. I thought about making the top white and the sides green, but I’m lazy and didn’t want to have to mask everything off. 😉
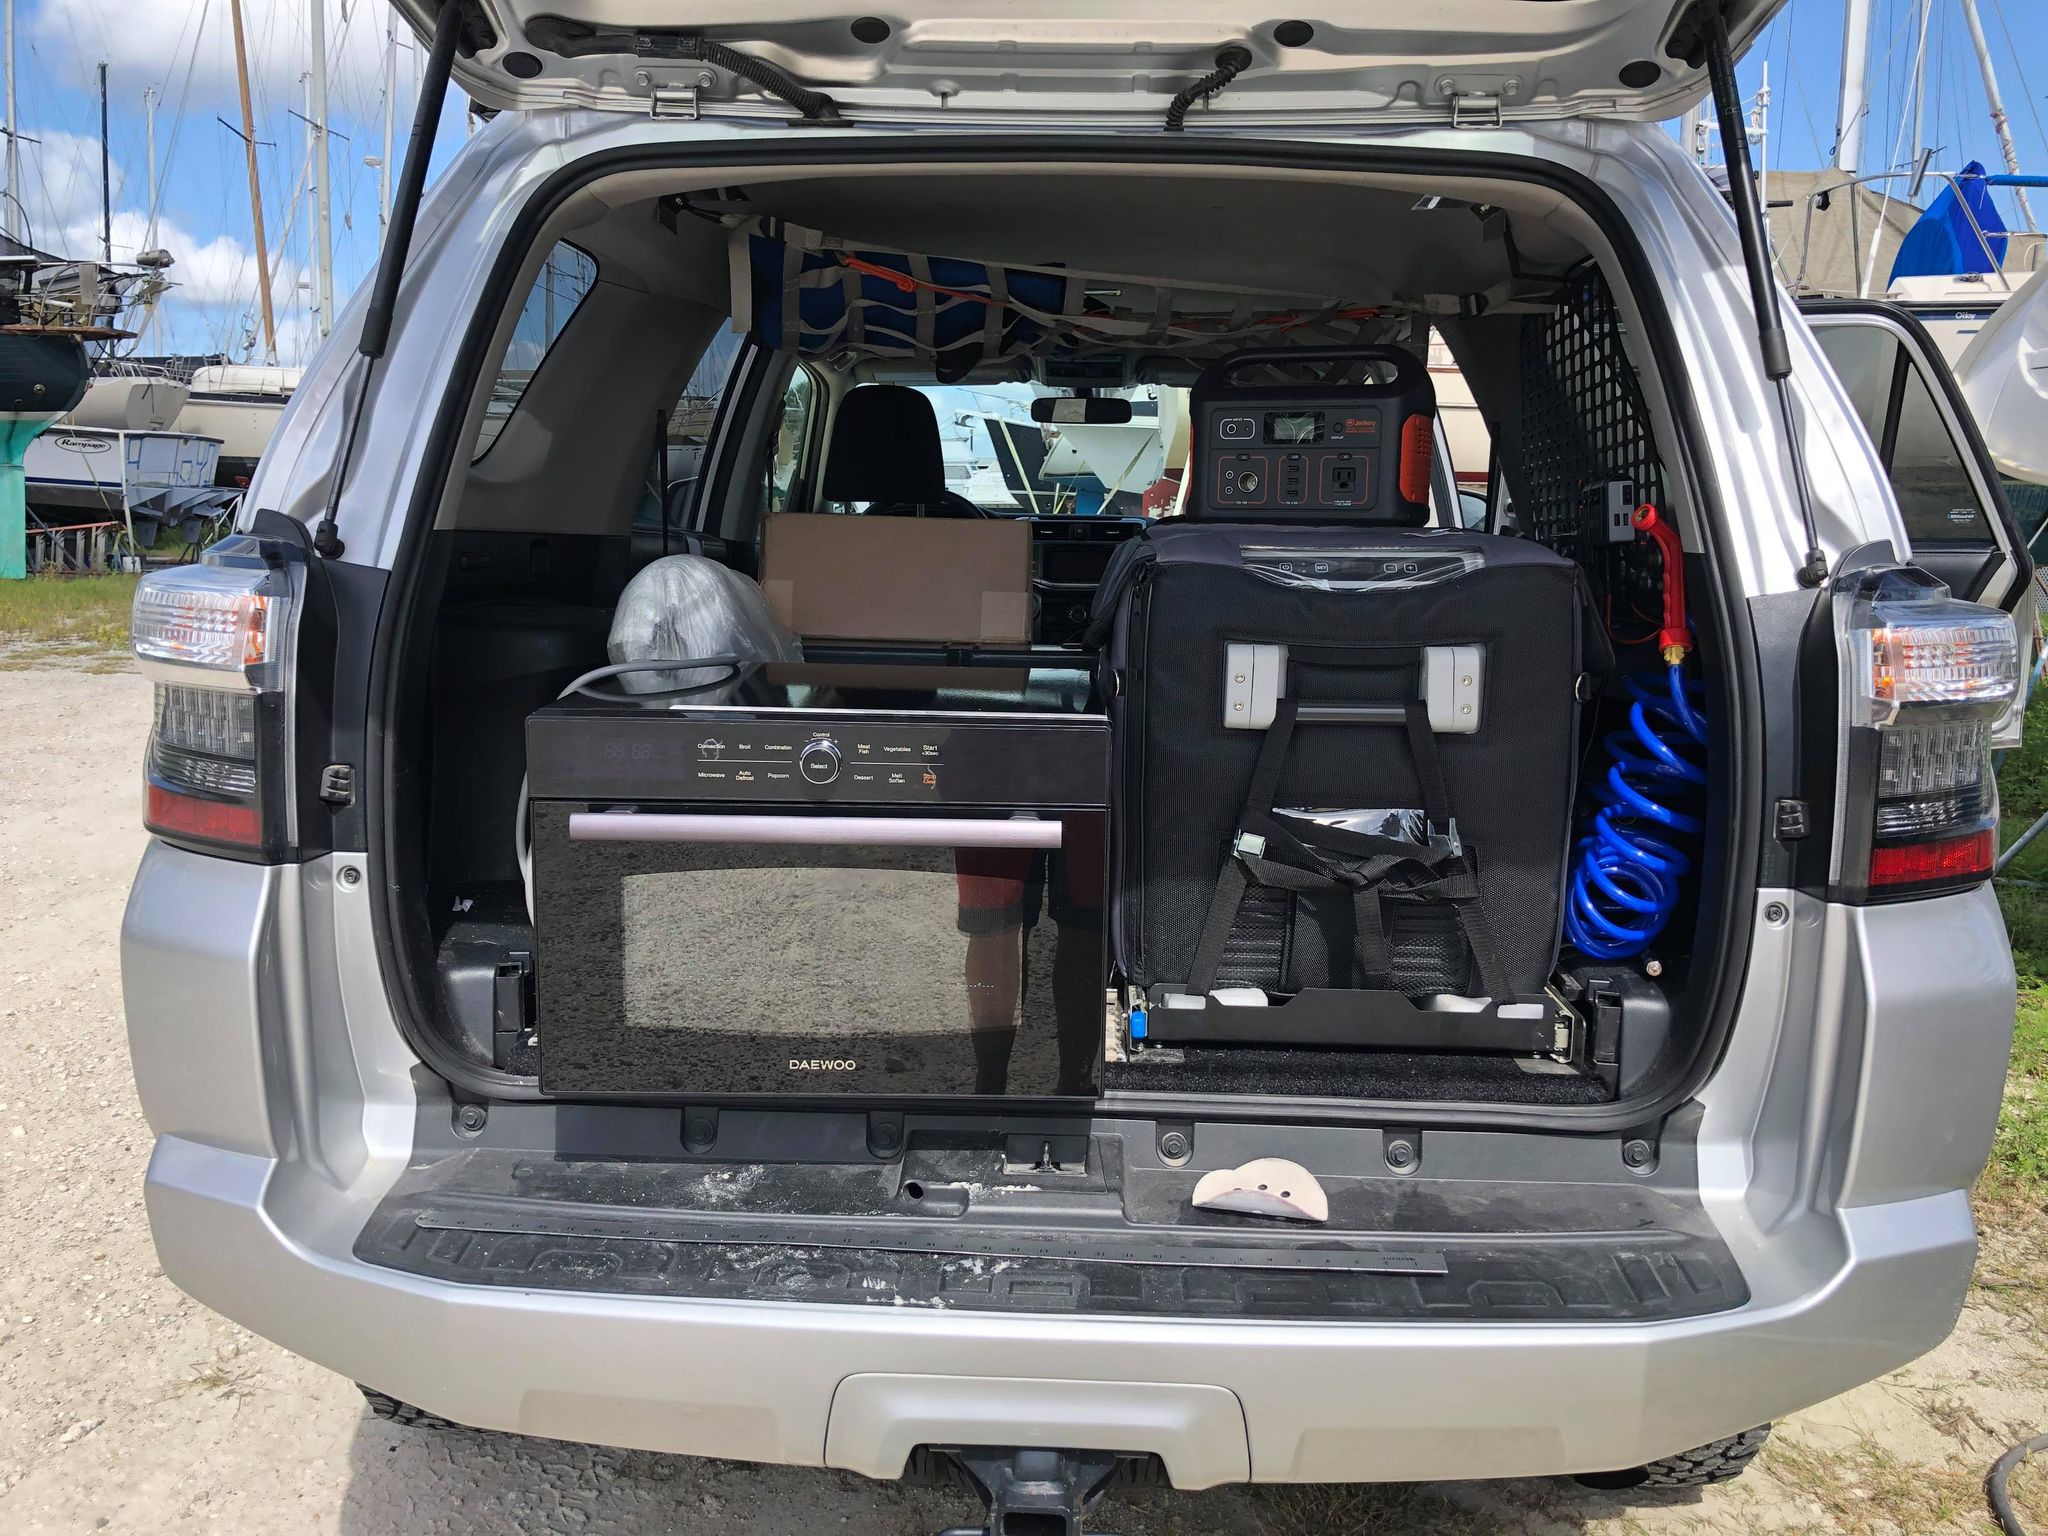
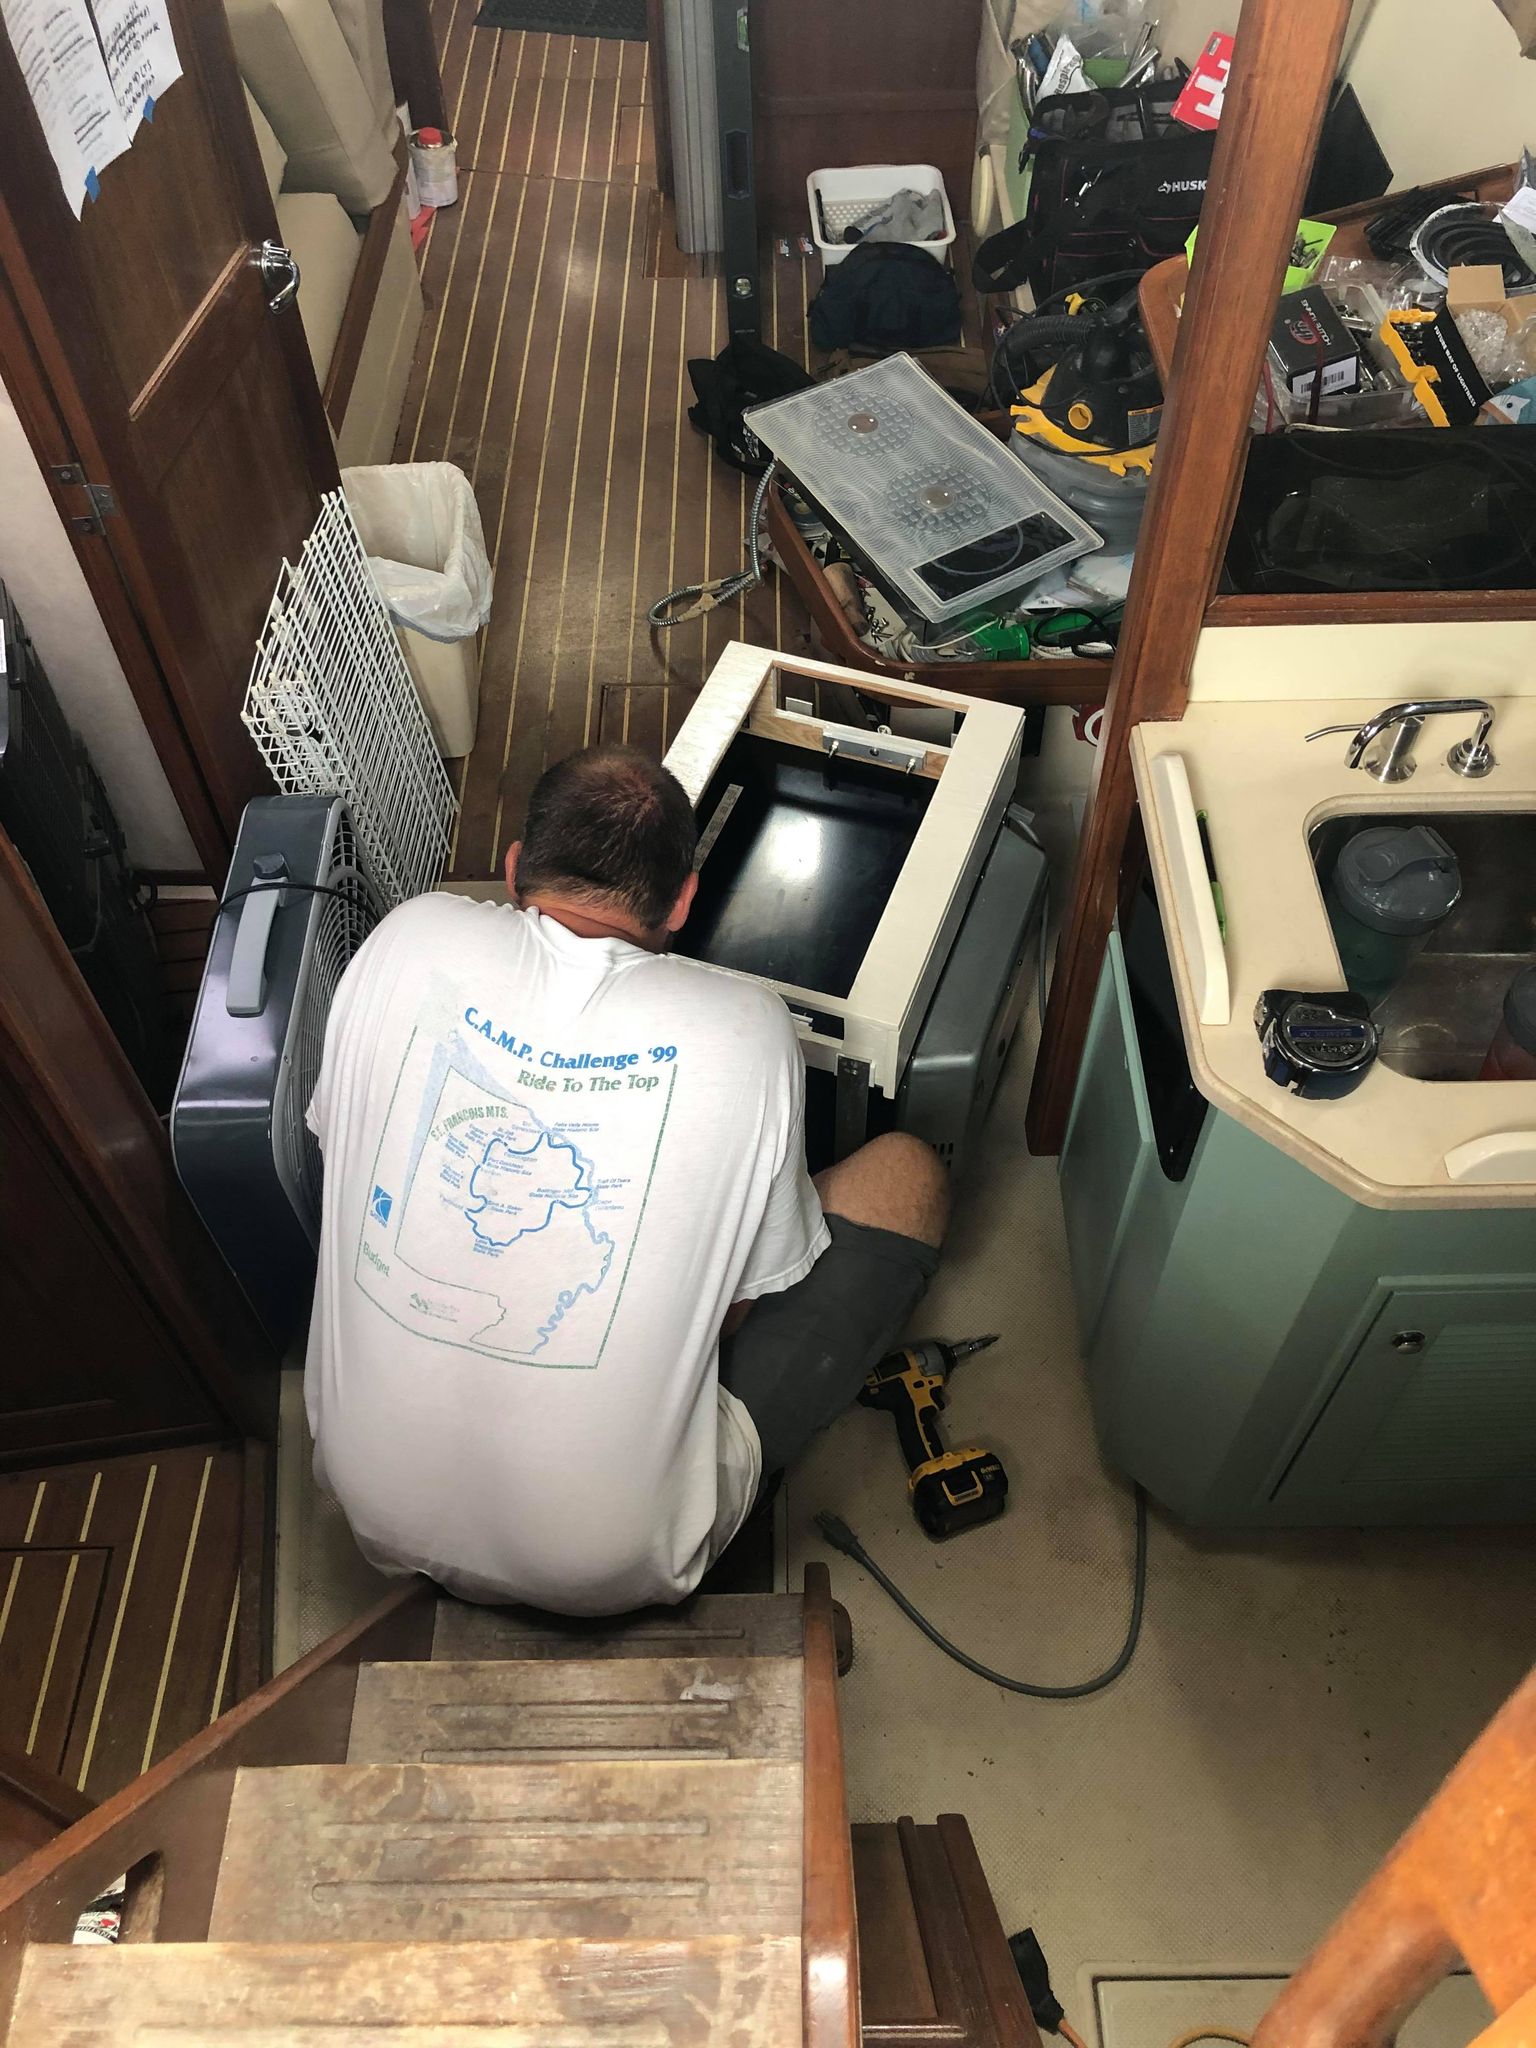
The paint finally dried and we were finally ready to drag all the appliances out of the truck and assemble it all!
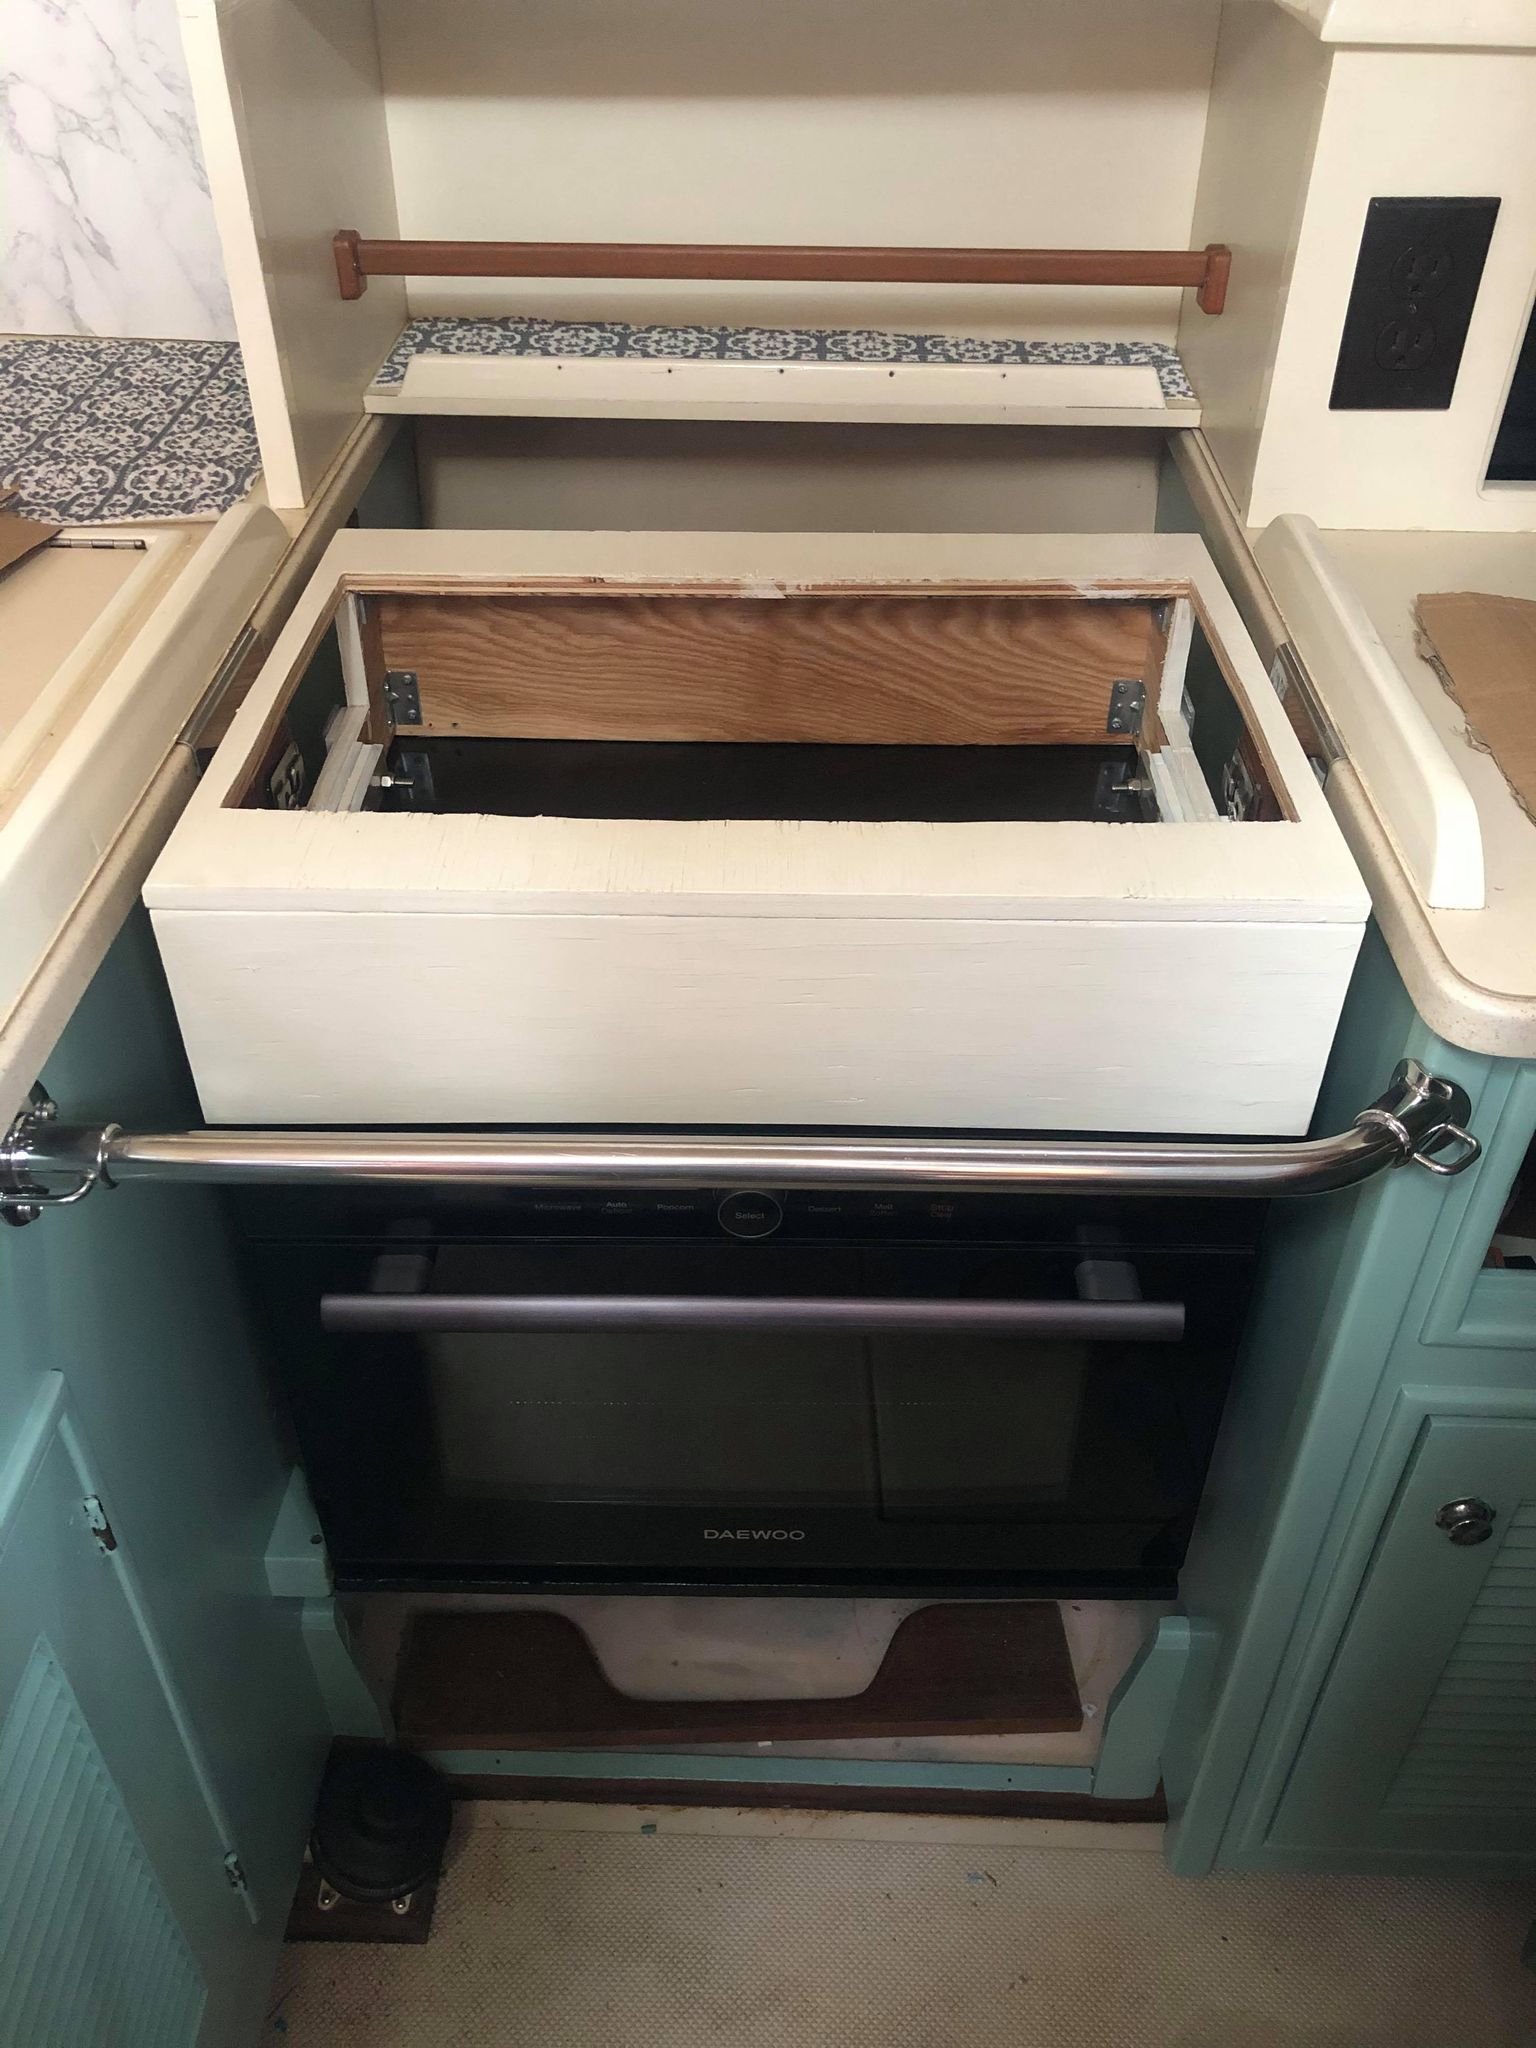
The induction cooktop just sits on top of the box and slides inside the hole. We will probably go back and add some tape to actually glue it down to the wood.
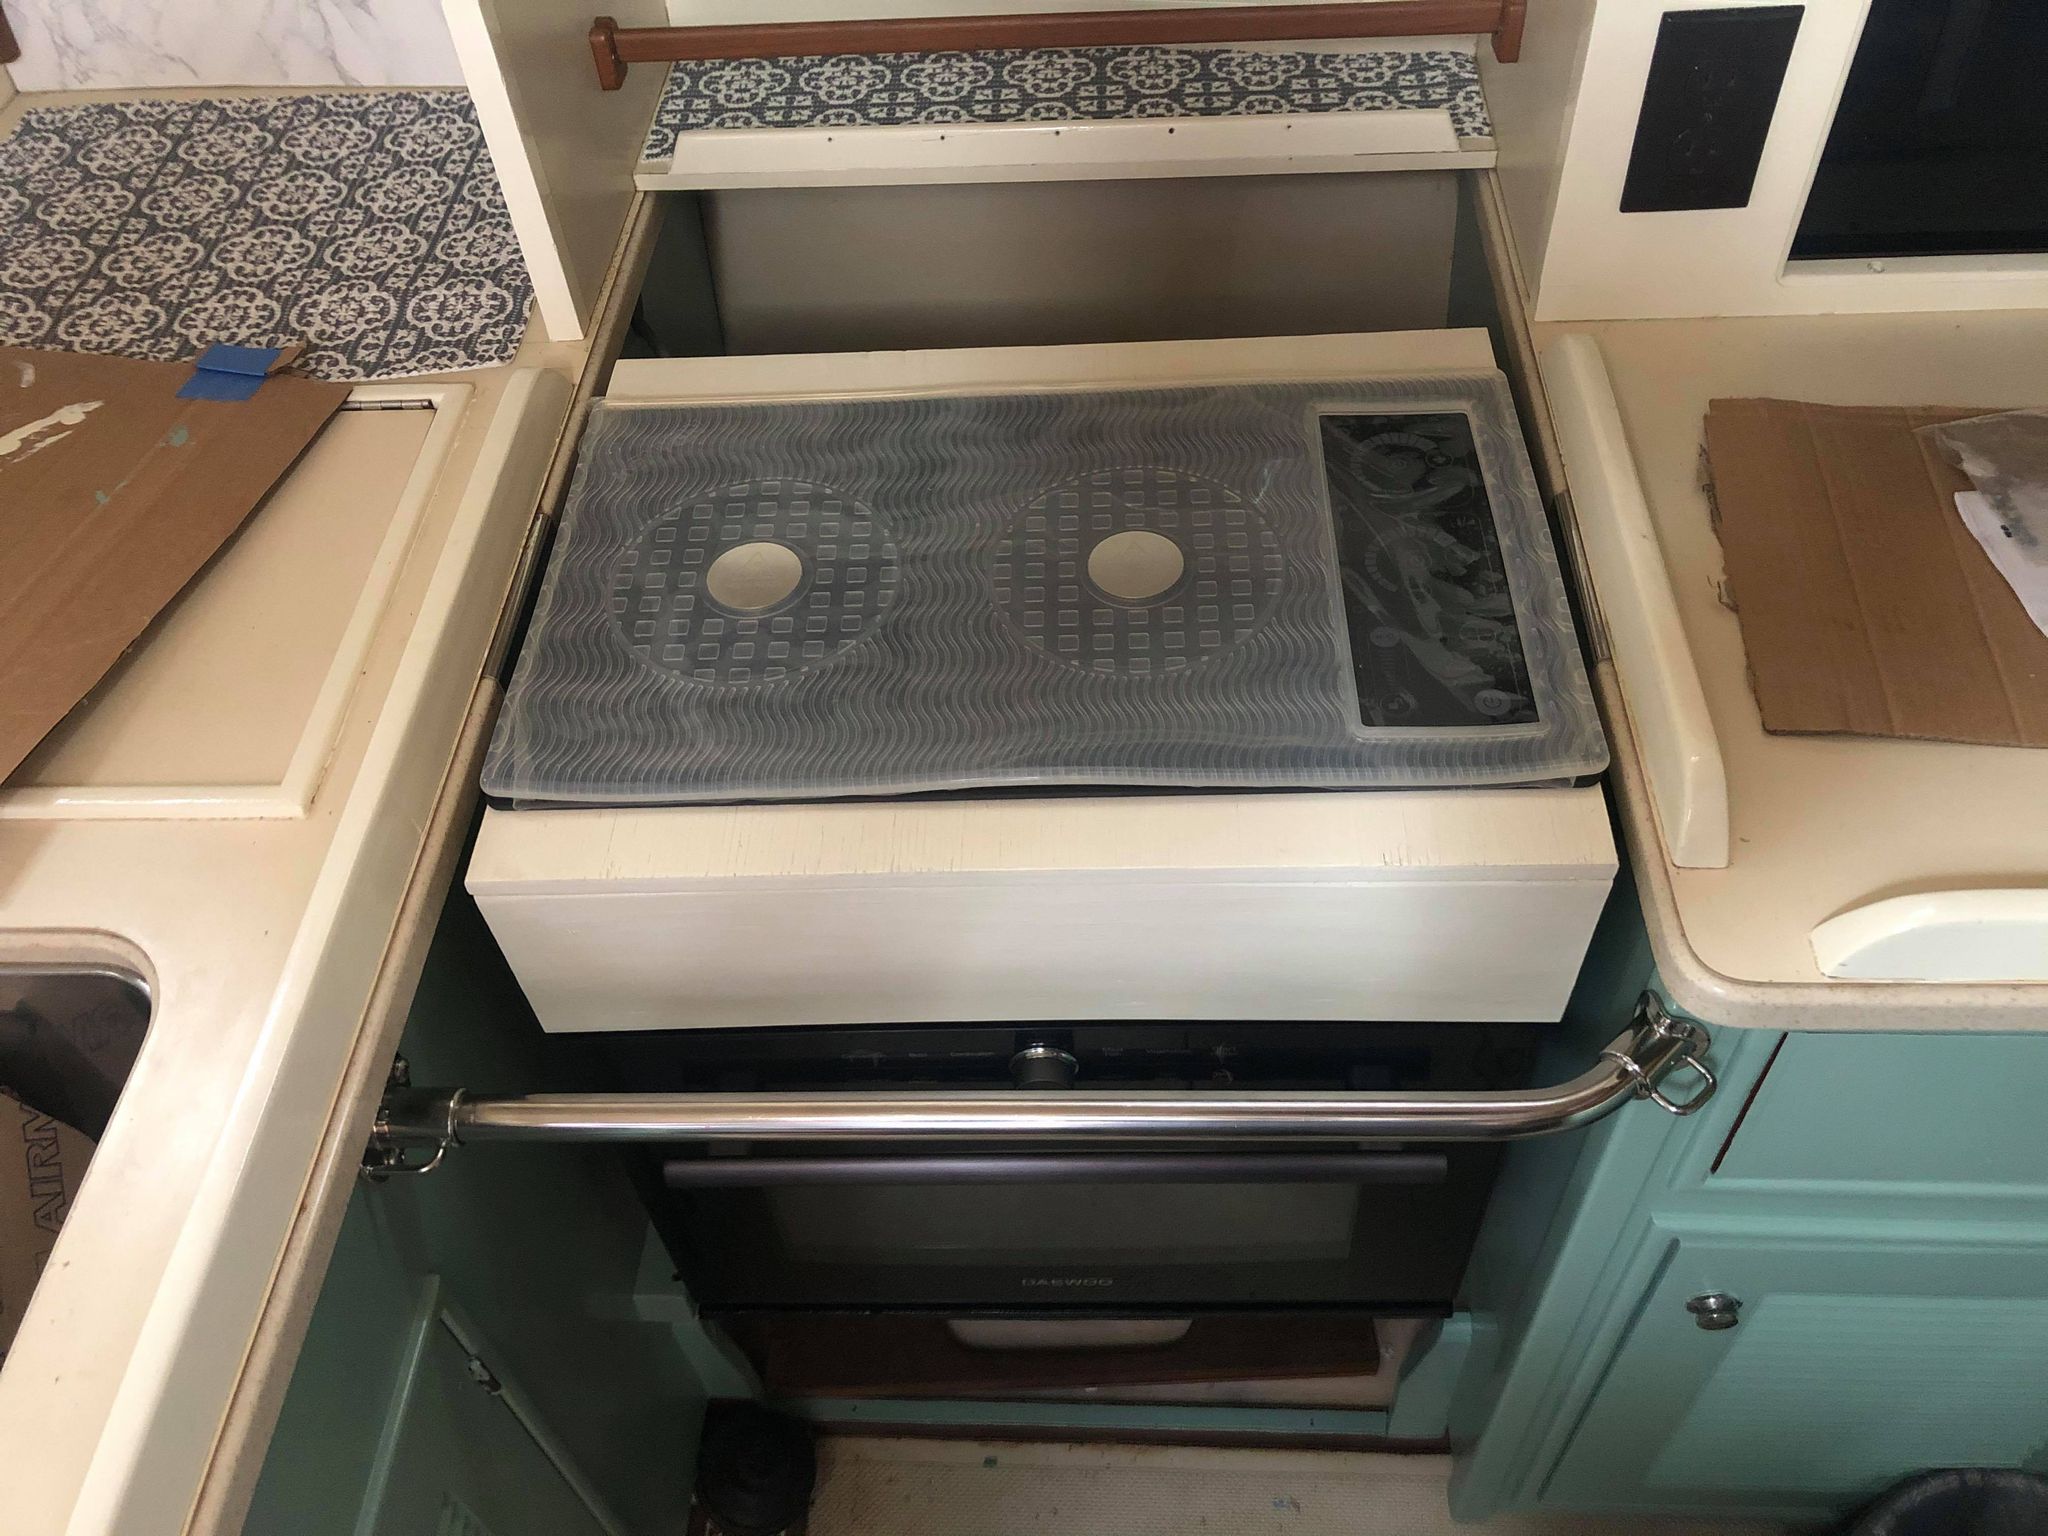
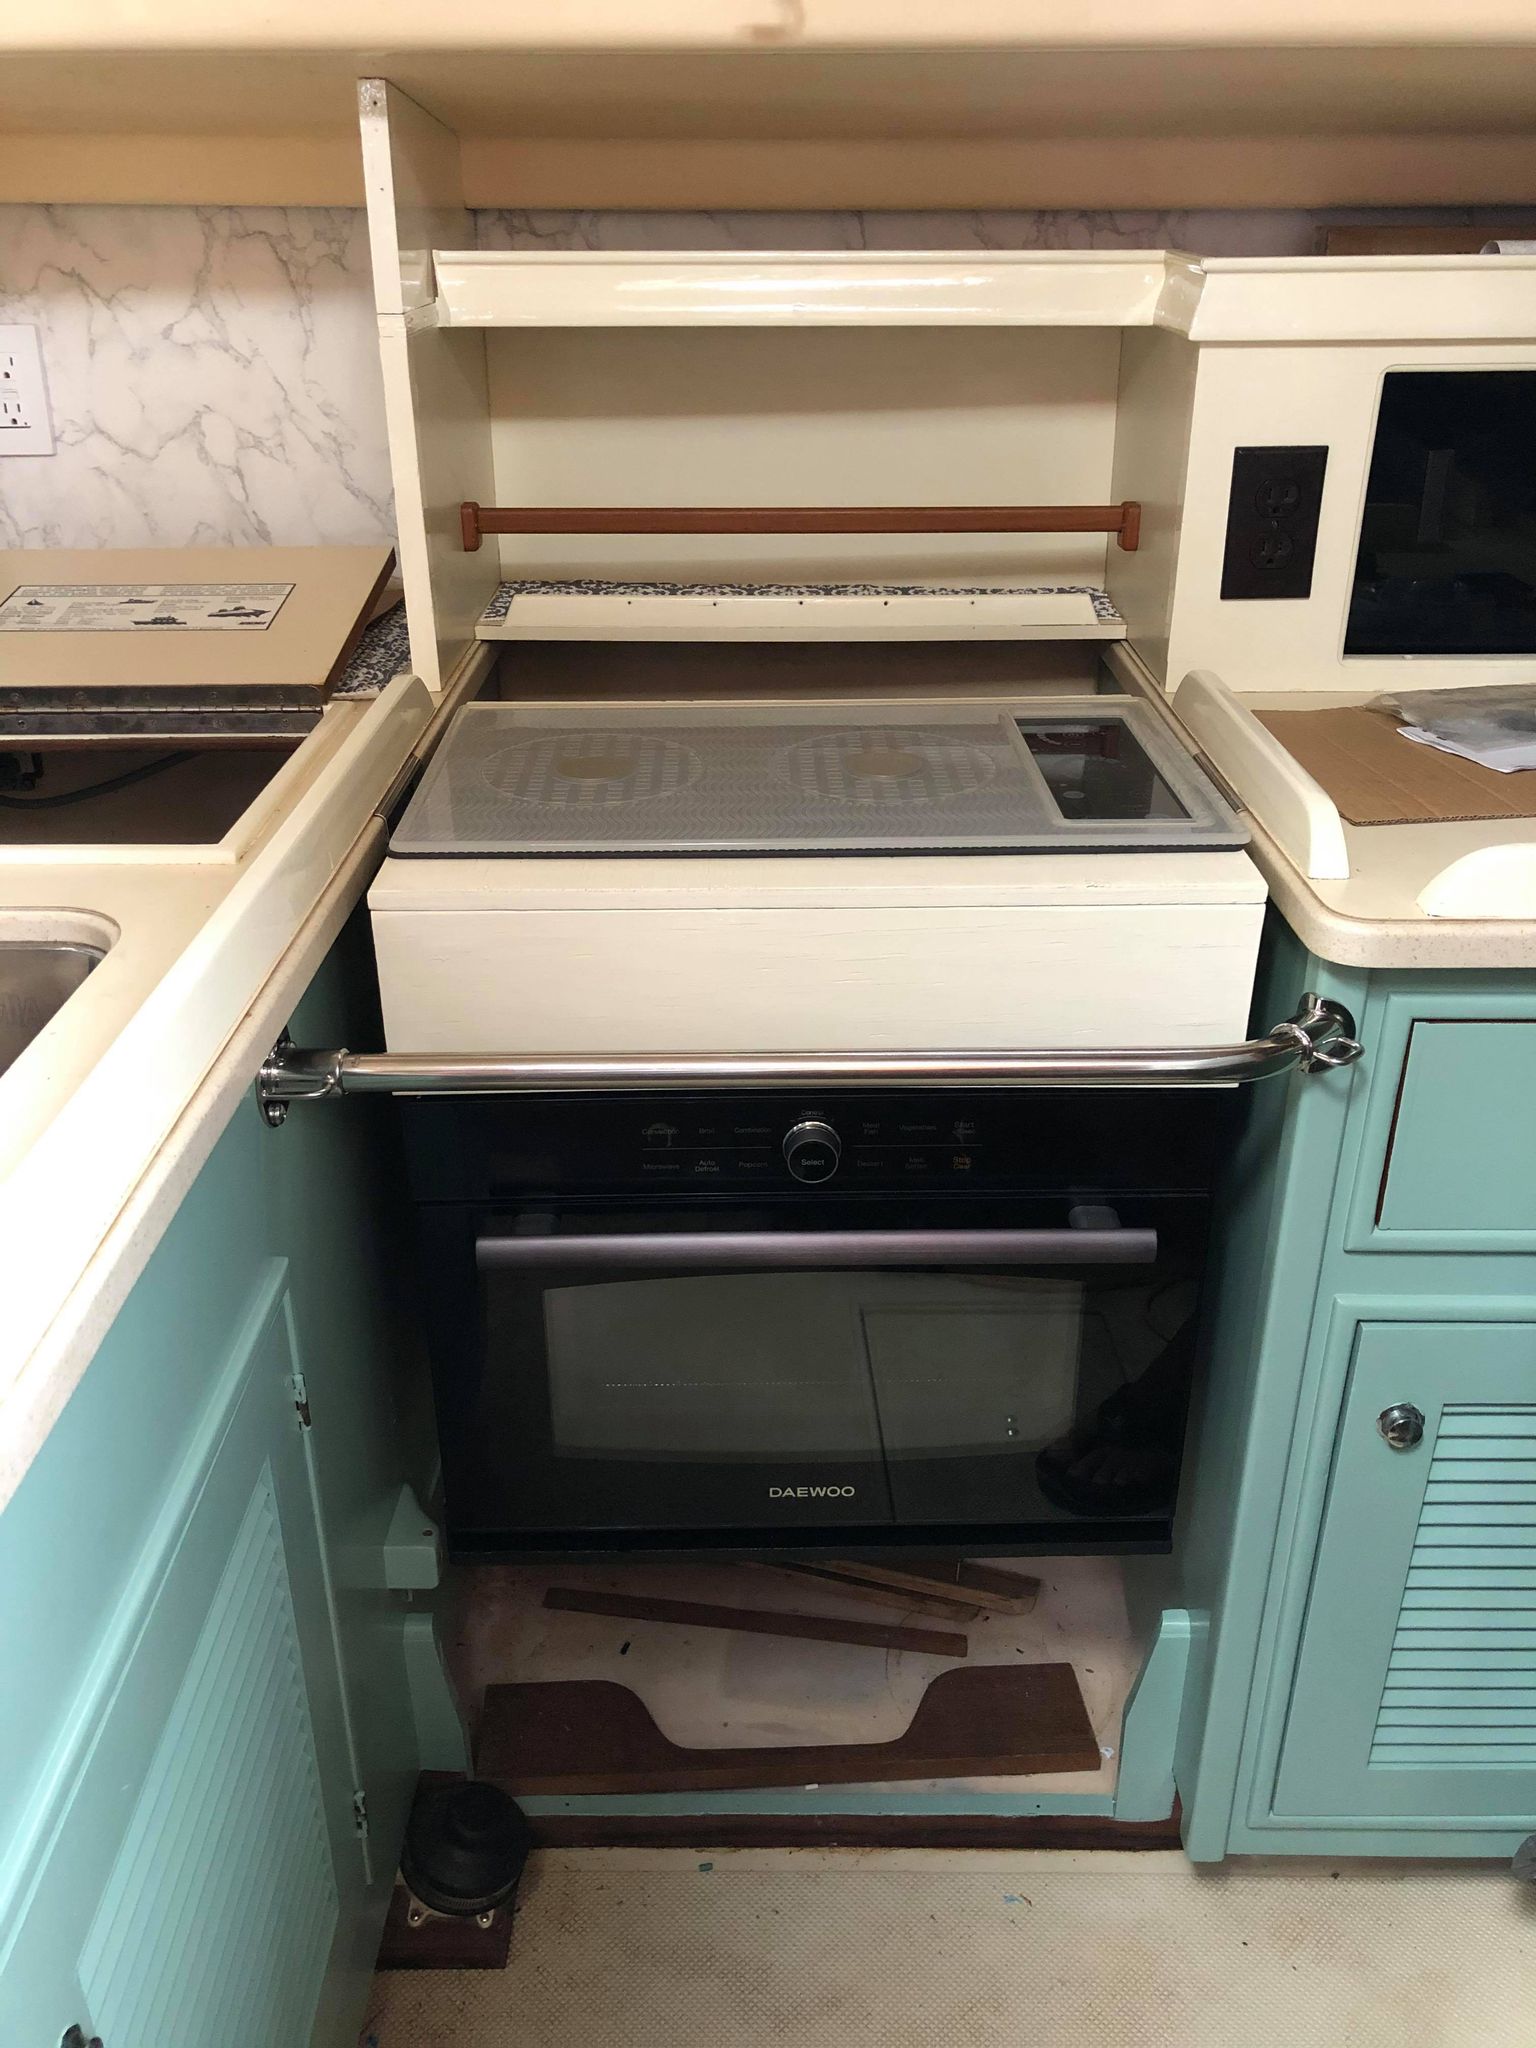
Jason wired everything up and tested it and it works! We now have a fully functional galley!
Overall I like how the galley is going to operate. However, the sizes of everything are just slightly too long and it made mounting them on a gimbal way more awkward than it would be otherwise. According to Jason the mounting box was super hard to make, measure, and fabricate so if you look closely you’ll notice it’s not quite lined up right and the wood we used wasn’t very nice so the paint finish is also not very nice. I can see us using it like this for a few years and then remaking it. As it sits, it’s more than good enough to have a usable boat, but I would like to put some laminate, metal, or something else on the sides and top of the painted box so it will be more durable and more attractive.
What’s next? From the factory there was a little storage area underneath the stove. The previous owners ripped it out for some reason, but kept the pieces (they’re laying underneath the microwave in the pictures). I’m planning on at least putting the front door back on with some hinges and making it to where I can store our pots and pans in there.