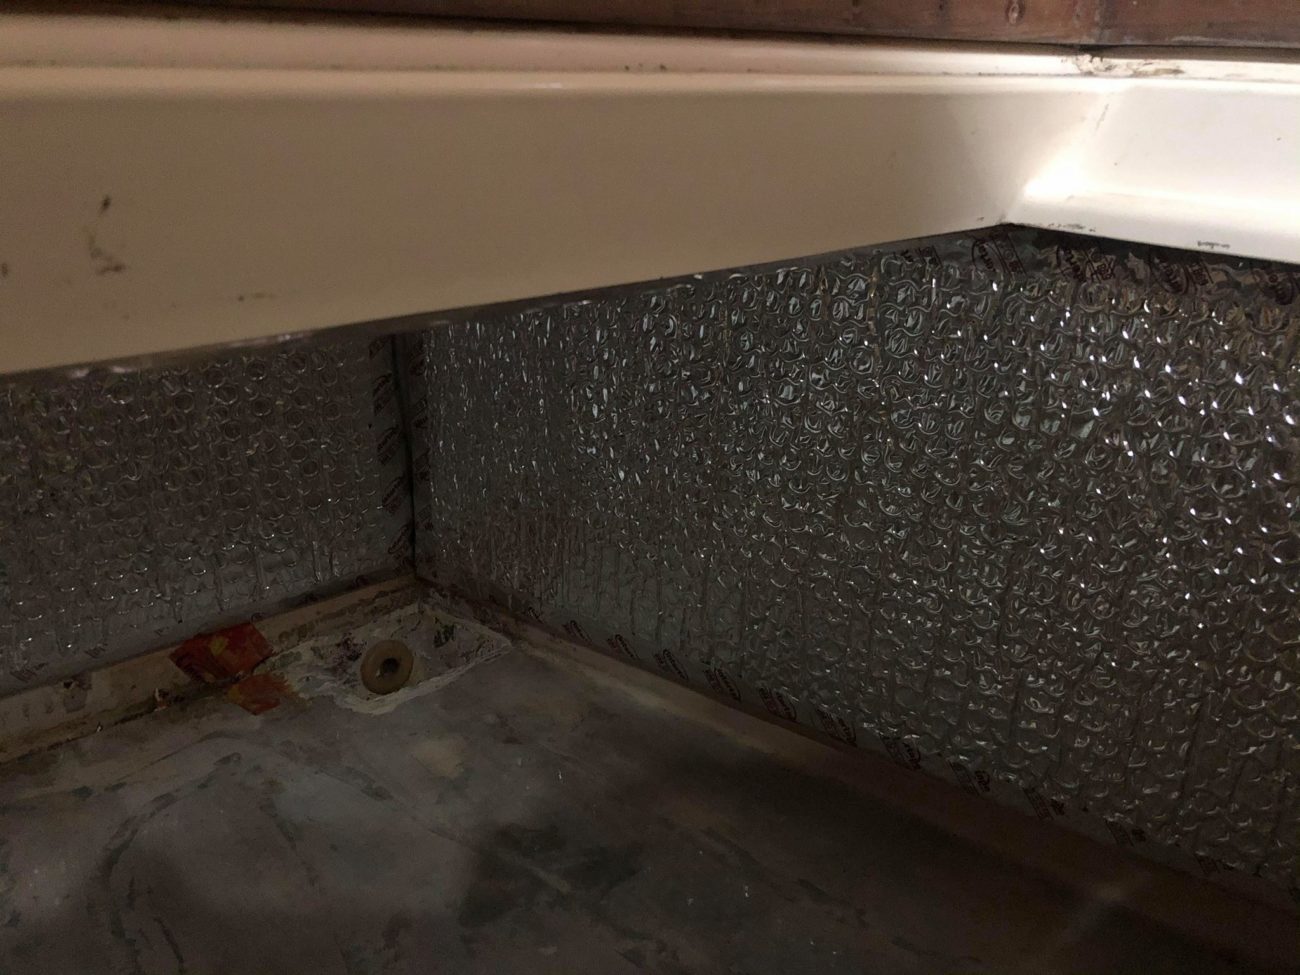
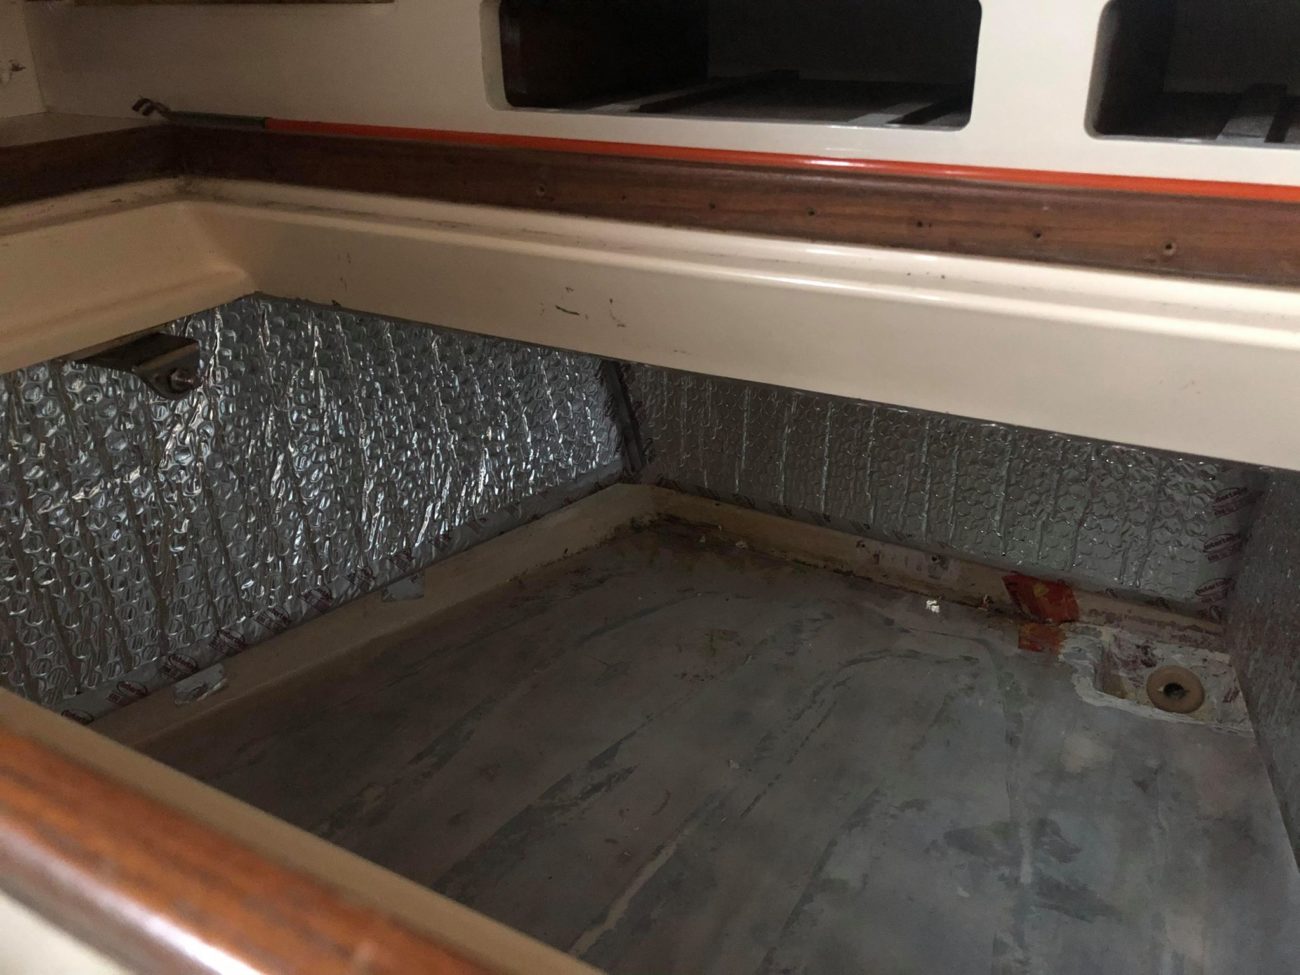
Earlier I wrote a post about the layers of insulation in the fridge/freezer box and how the additional foam was saturated with water and mold. I ripped all of the foam out and cleaned the freezer box. (no small feat!) Jason and I debated not reinstalling foam so that the volume we have for food would be bigger, but it’s hot in the tropics and apparently a little bit goes a long way to helping the refrigeration system keep food cool!
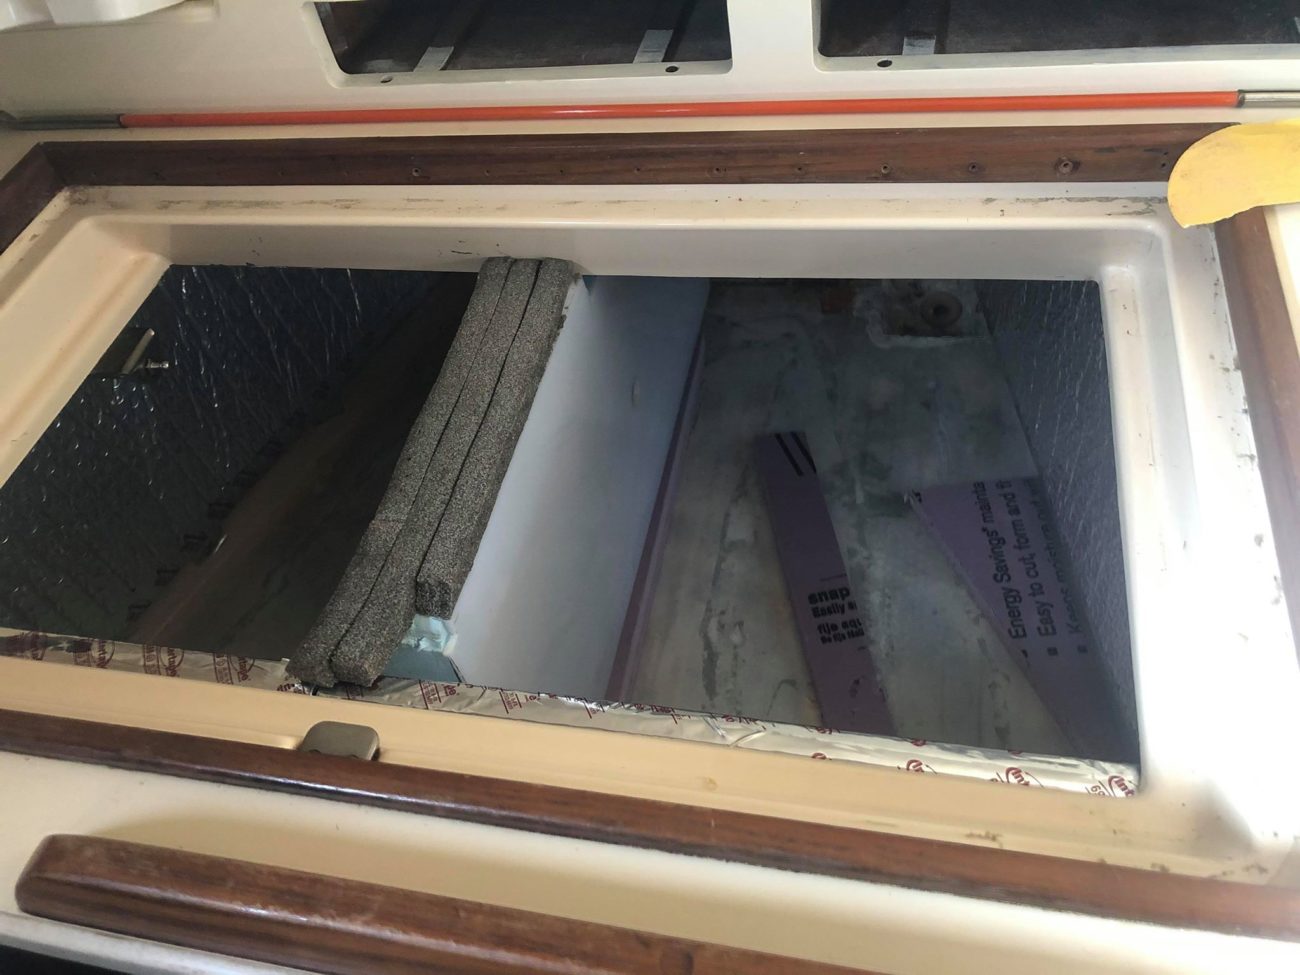
We decided on a 1″ layer of pink polystyrene XPS foam from Home Depot on the roof and sides. The previous owners had added 3″ on the bottom, but I’m not risking another foam disaster so I’m leaving a few inches up the sides and the bottom of the box uninsulated so water can drain to the sump like it should. We purchased a huge sheet of 4×8 foam and cut it in the parking lot so that it would fit inside the 4Runner!
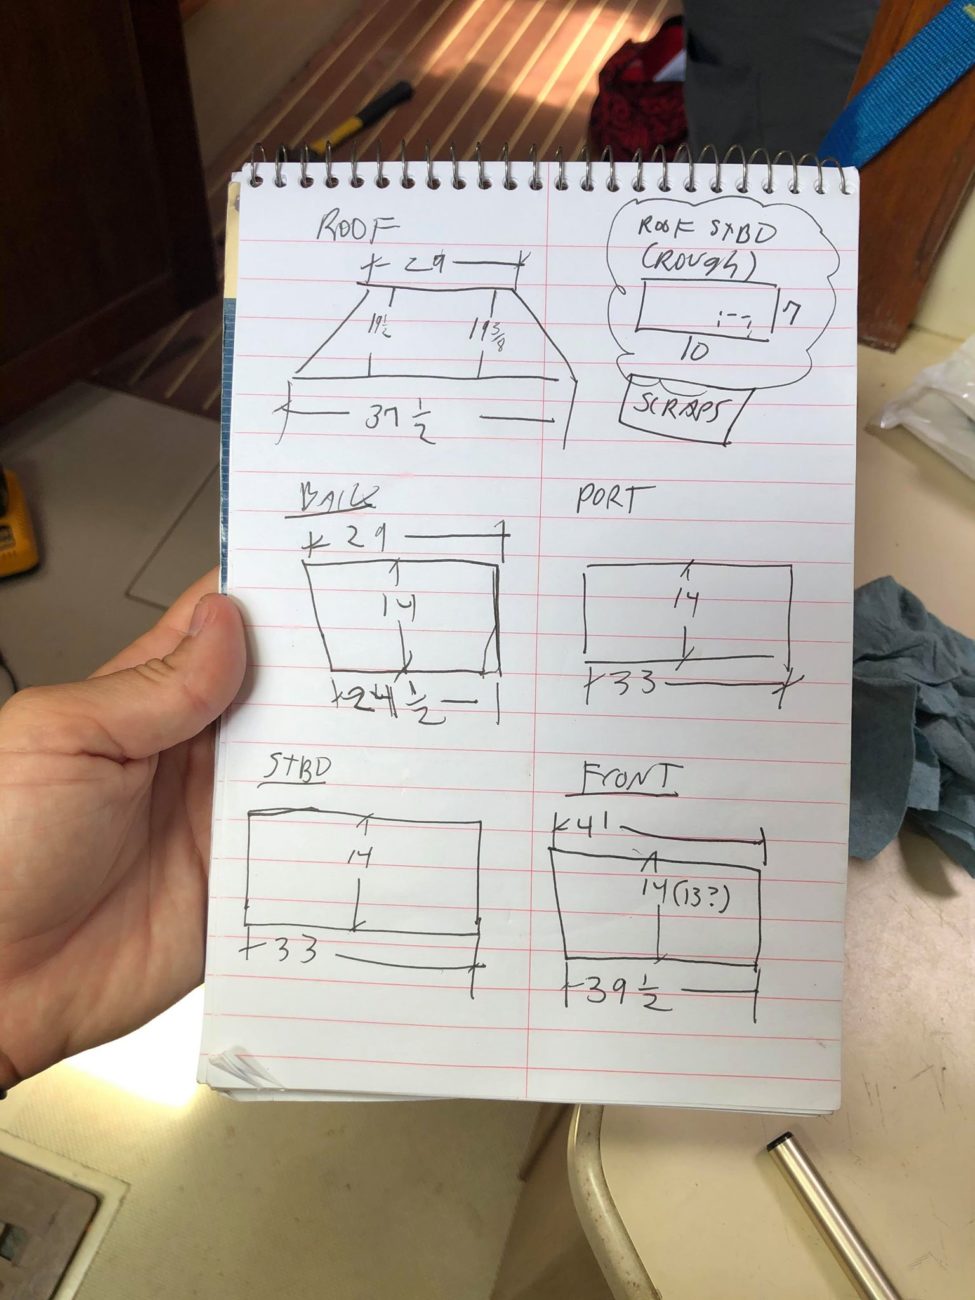
Cutting the foam was pretty easy, just mark with a pen and cut with a razor blade. I chose to wrap the edges in foil tape so it will be easier to join the pieces together later.
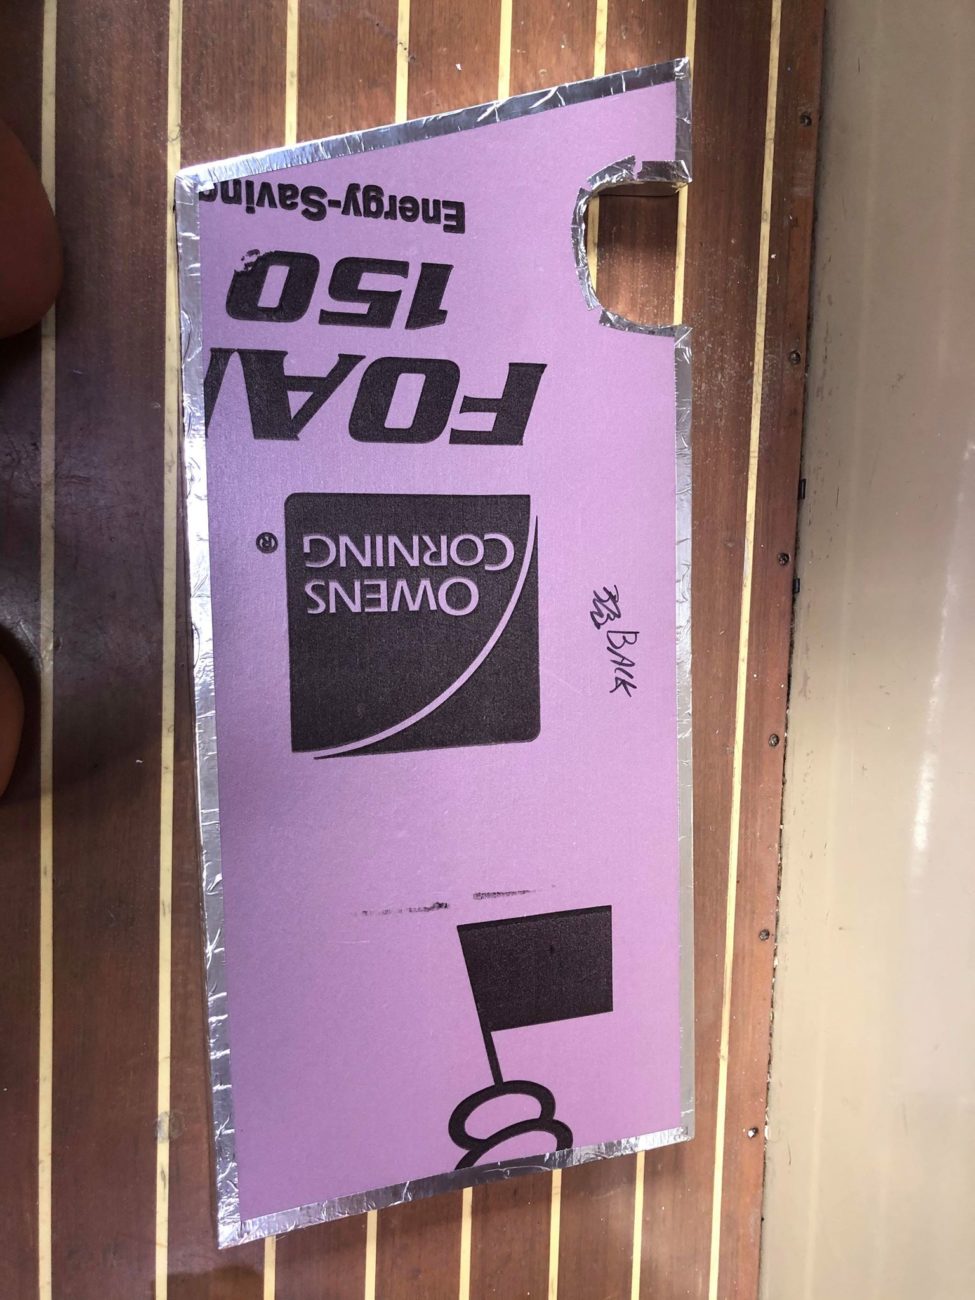
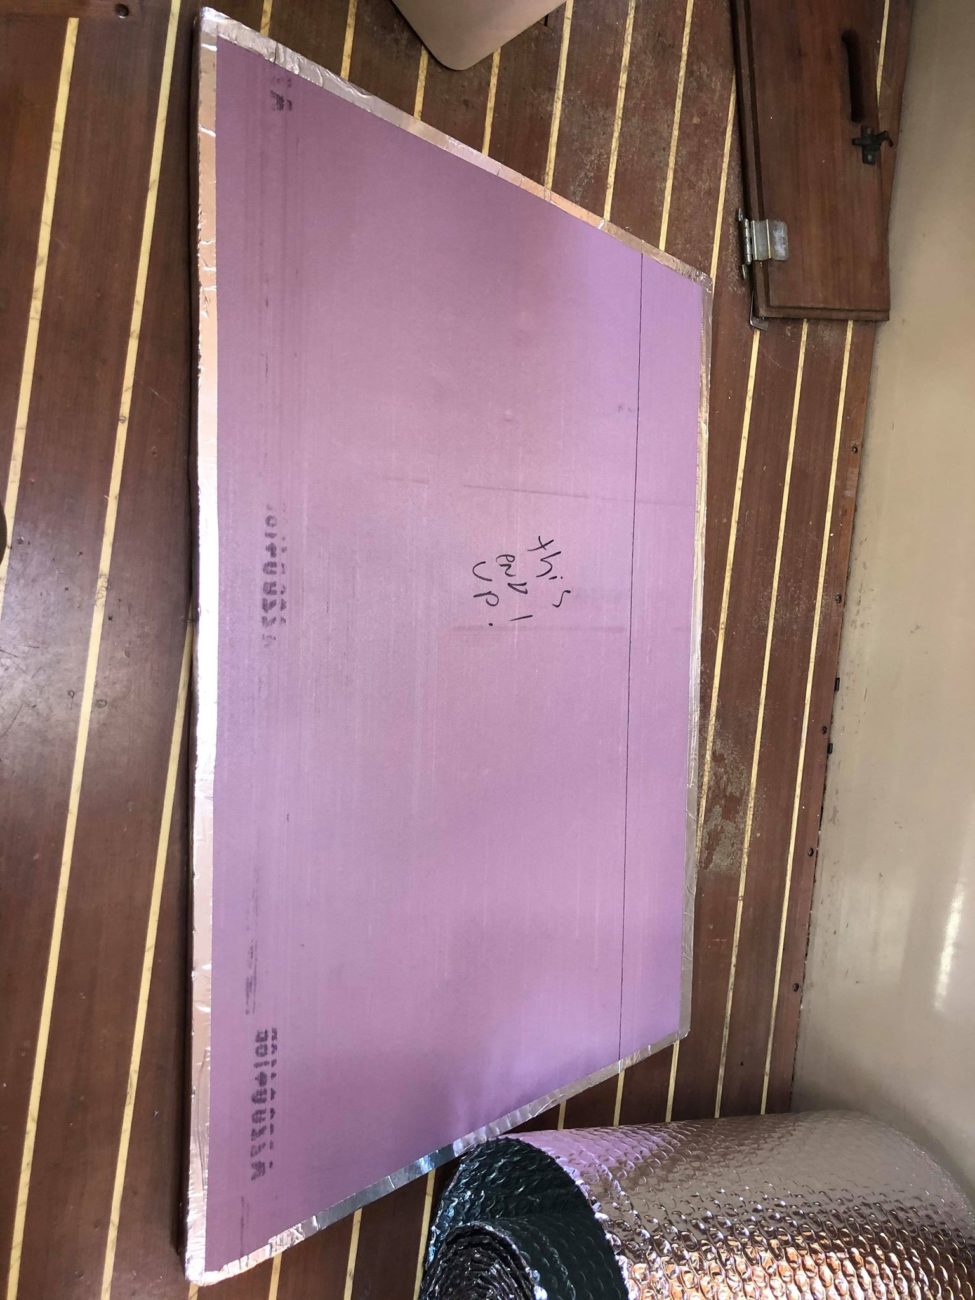
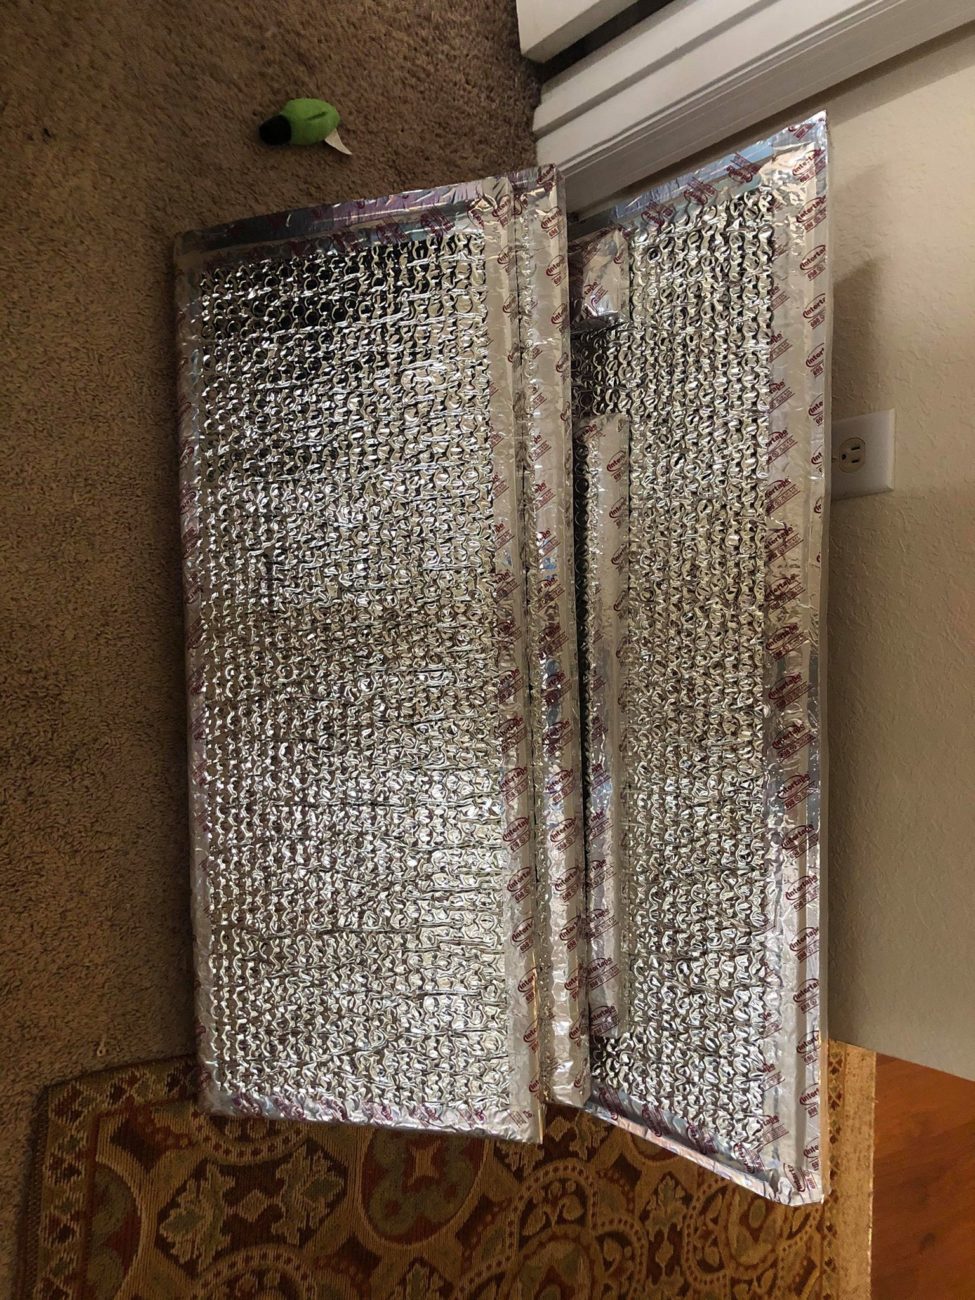
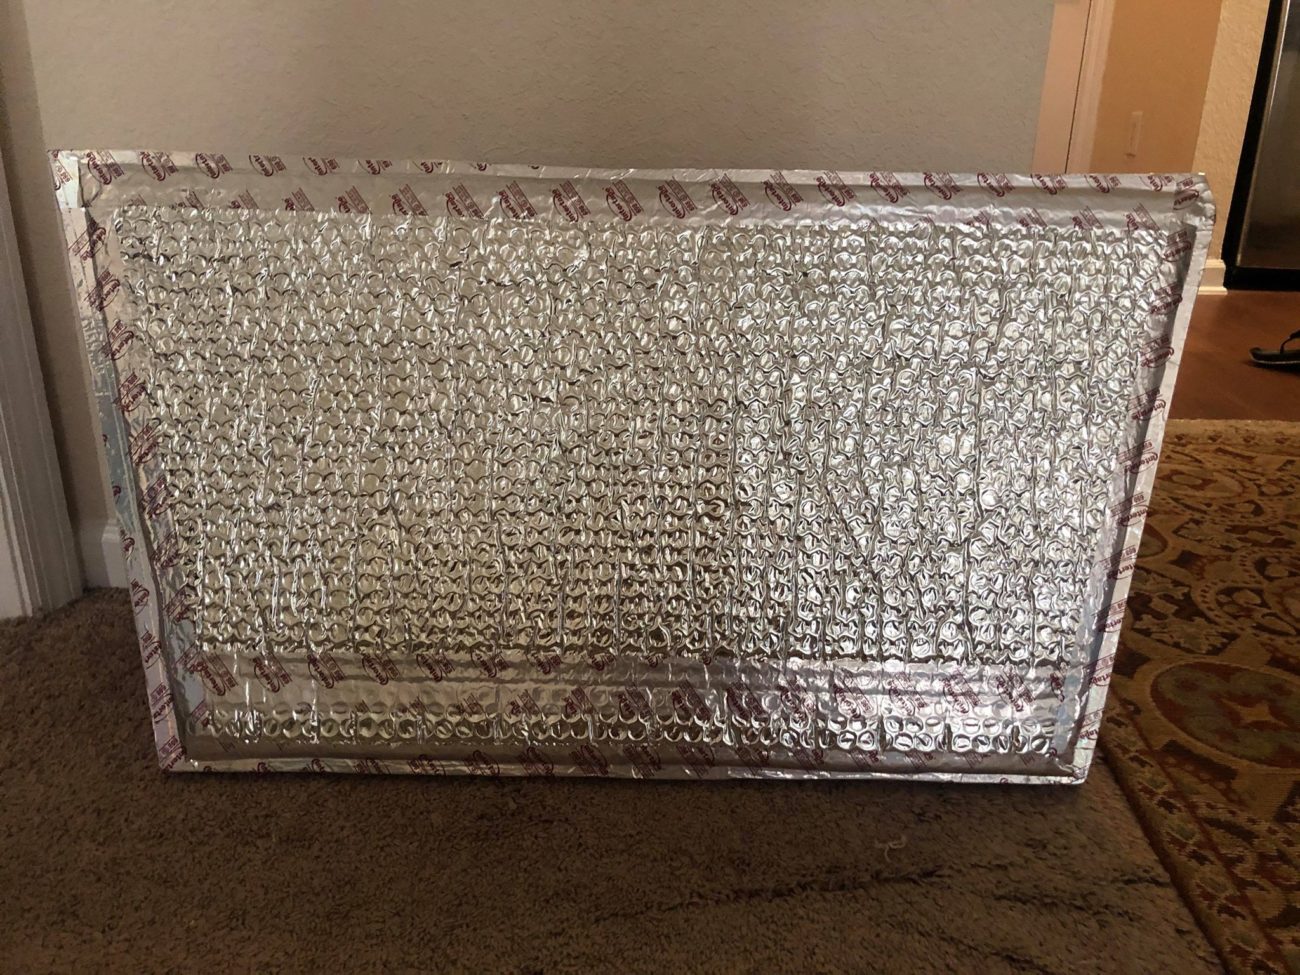
The pink foam should do a pretty good job on its own (it’s an R-value of 5) but just to reflect some more heat and protect the foam (because, hey, bubble wrap), I’m also adding a layer of Reflectix foil lined bubble insulation. It can’t hurt and it’s shiny!
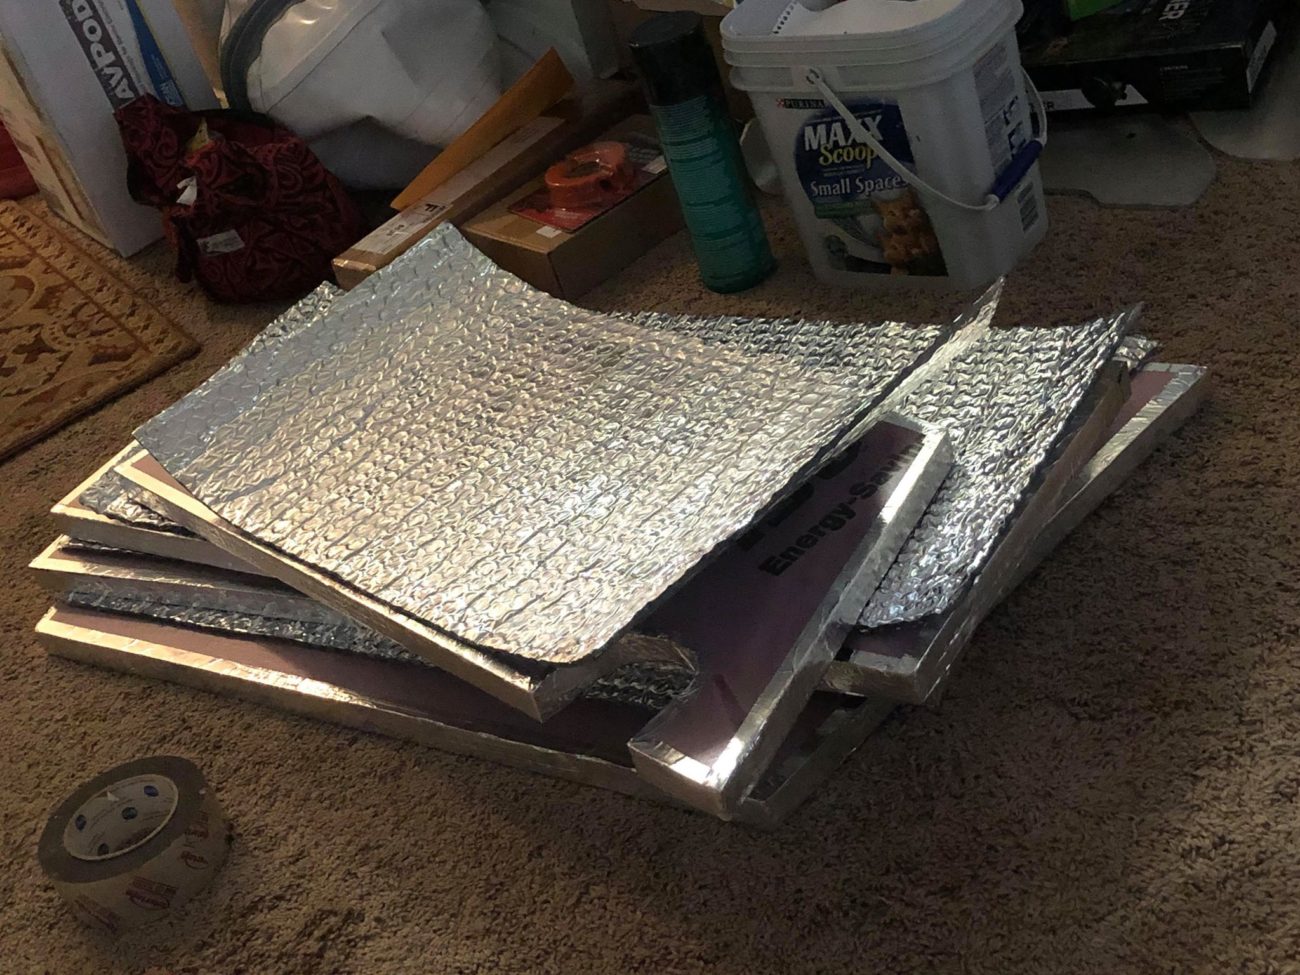
This part where I want to glue the reflectix to the foam is where it gets tricky. It’s very hard to find a spray adhesive that won’t eat styrofoam! I tried Gorilla spray and 3M 90 and neither will work. I also got a few types of caulk that I realized weren’t going to work either.
I made my way to Michael’s and found some glue that specifically said it was ok for styrofoam and came home and sprayed a few panels. It’s been a few hours now and the glue is still wet…
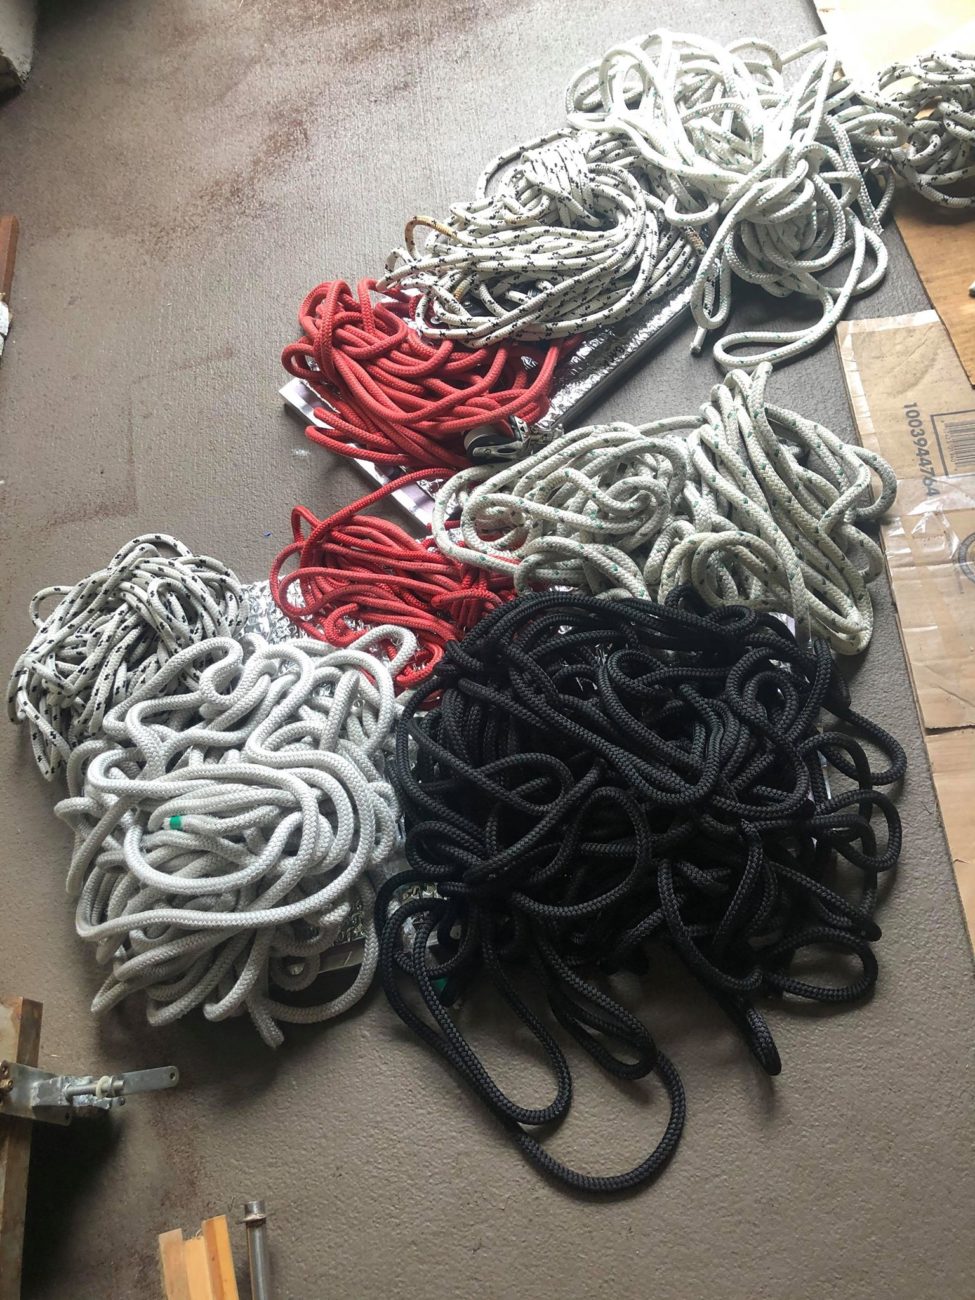
Also… didn’t they tell you to not eat glue as a kid? What’s the deal with this then:
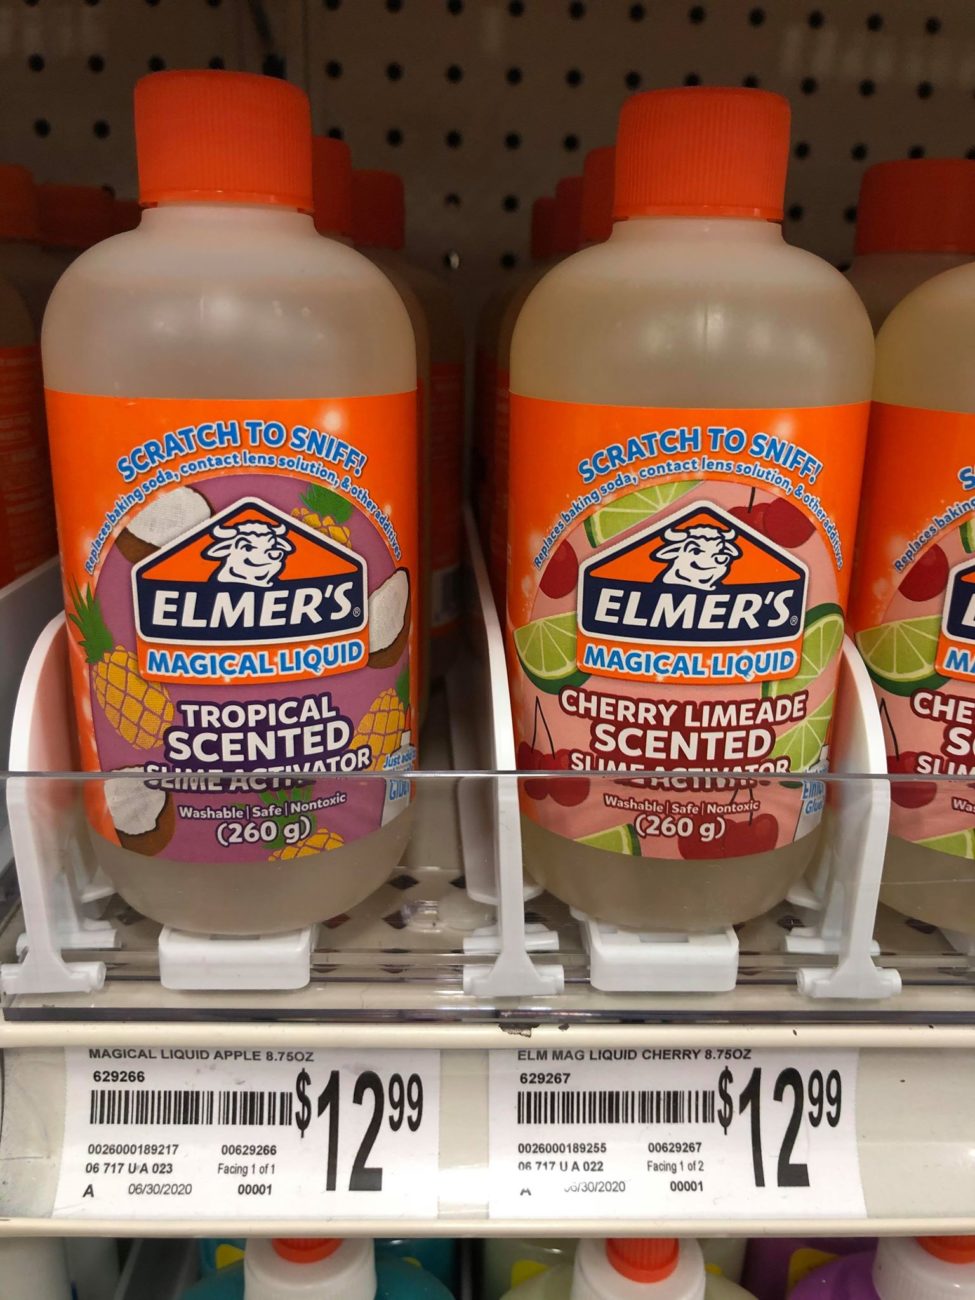
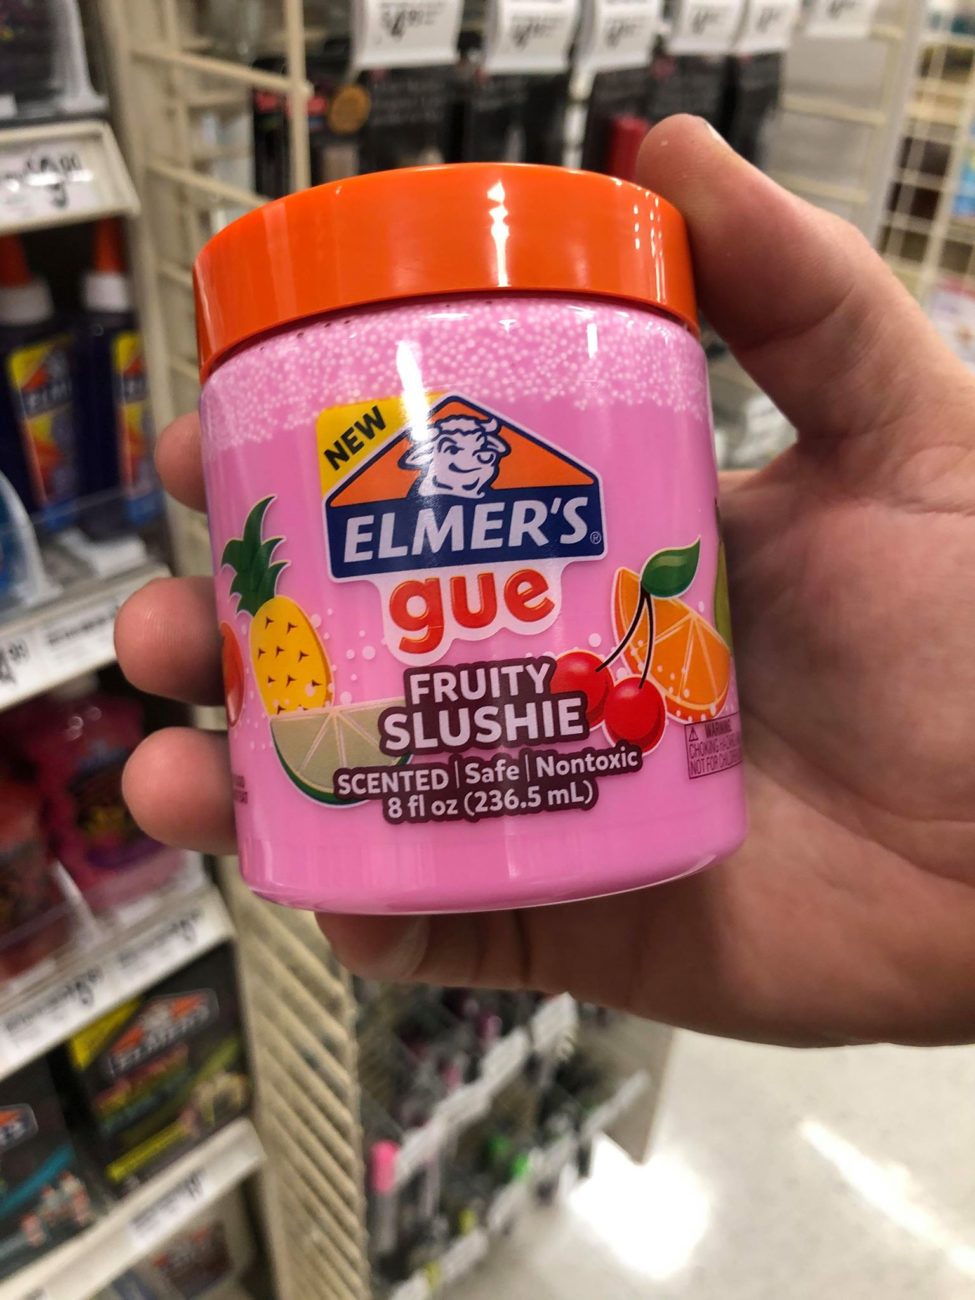
So the cool styrofoam safe glue I found didn’t work worth a shit. I left it overnight and it didn’t dry at all. I wiped it all off with a paper towel and started over. At this point, I’m so frustrated as to why I can’t find an adhesive that will work. It’s ridiculous! I’m going to give up and use double sided tape. As usual, Ace Hardware saves the say with some double sided “mounting tape”. The box said it was good to 15 lbs and weather resistant. Sounds great! An hour later I have all 4 panels with Reflectix insulation attached and the seams taped.
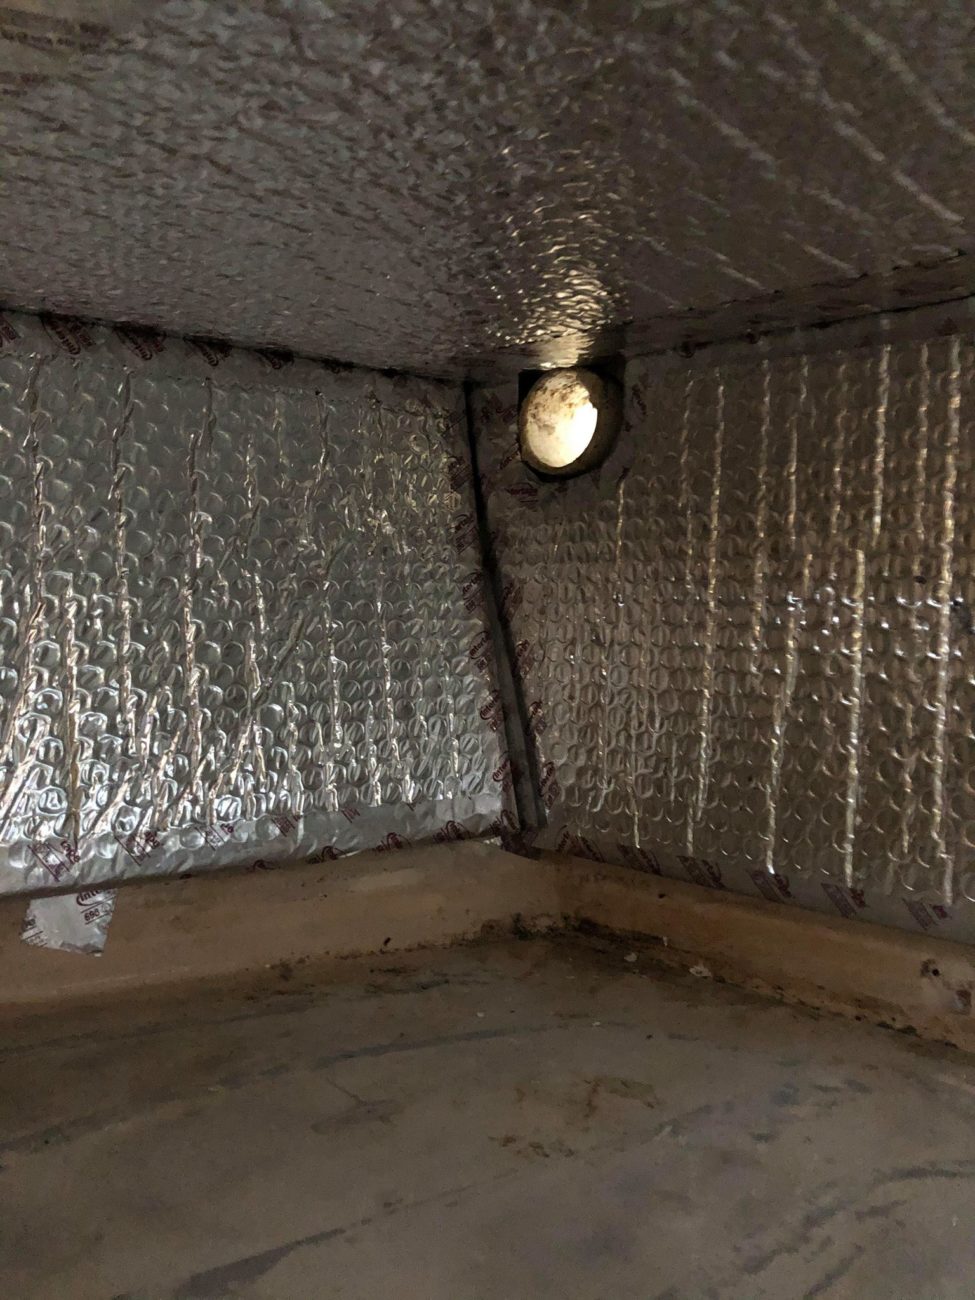
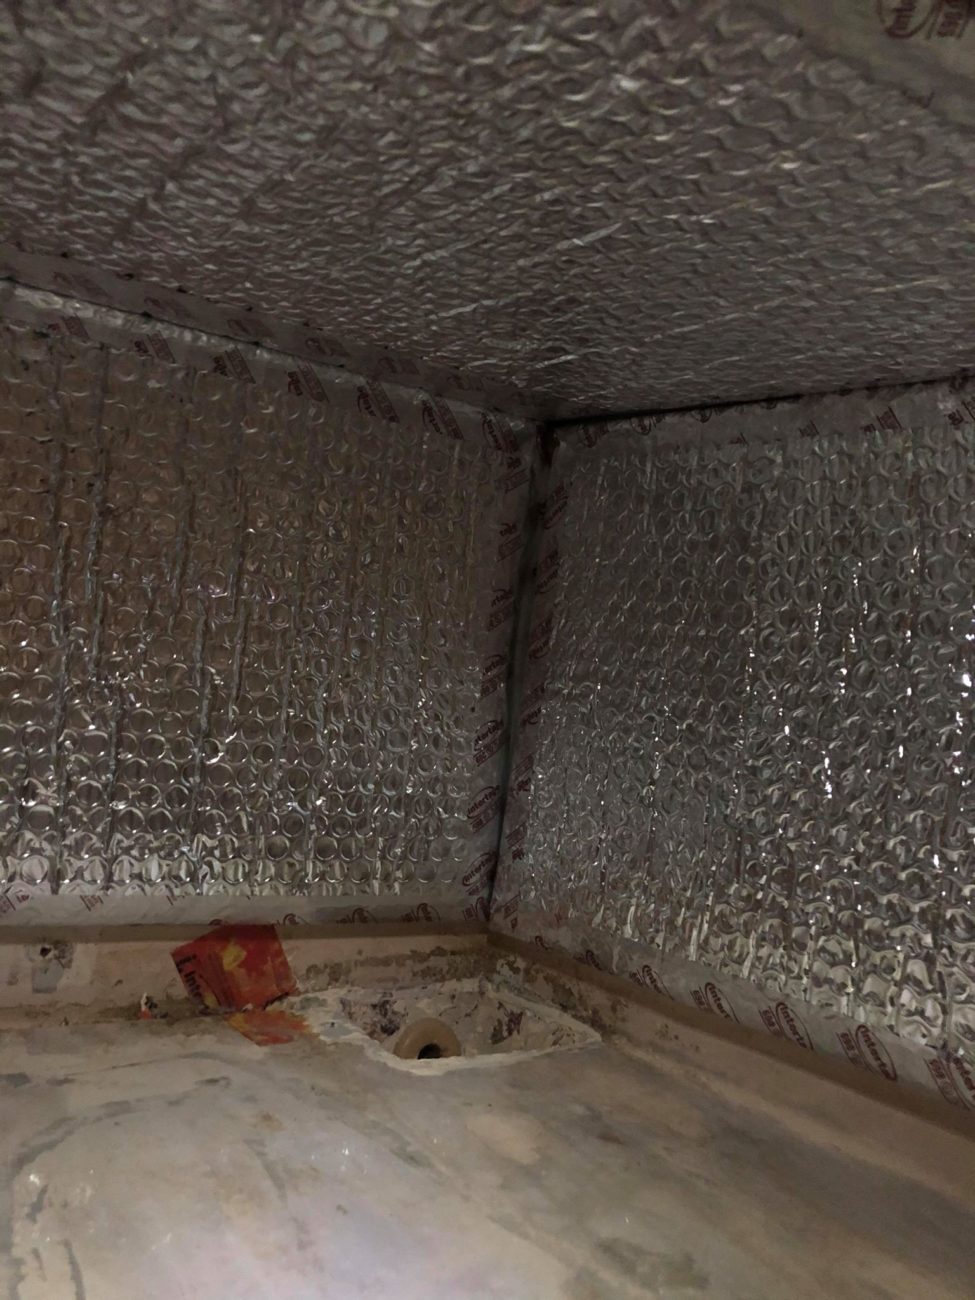
Given the trouble I’ve had so far with safely gluing the insulation, I decided to use a silicone based caulk to attach the panels to the fiberglass freezer tub. Silicone doesn’t react with anything!
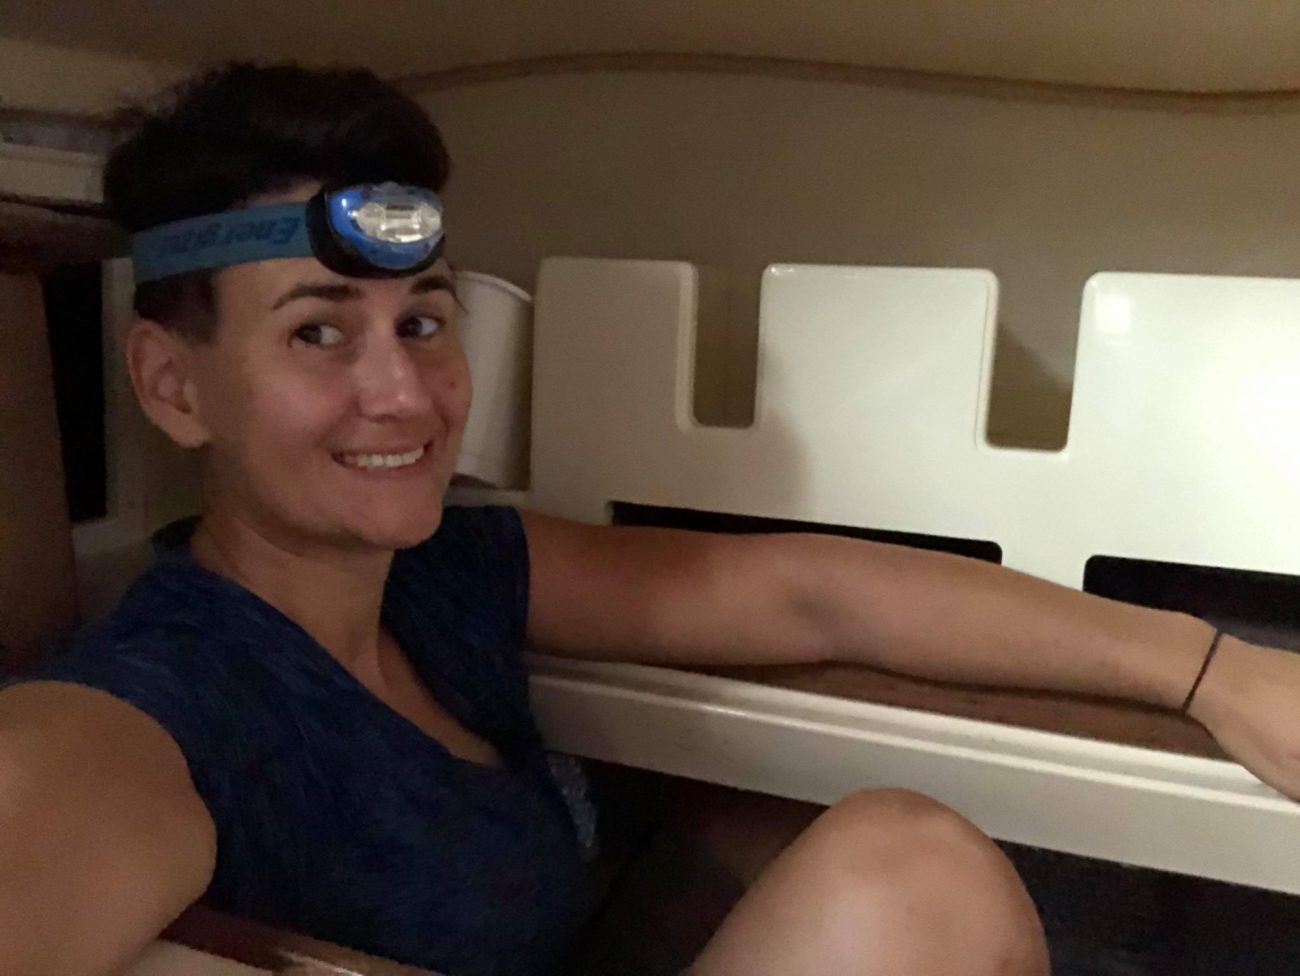
I started with the top and then did the back and sides. I had to get creative to attach the outboard side, since I had forgotten it was curved. I found it was easiest to just sit in the freezer and hold it with my feet until the caulk started to set up.
I had to do the front piece in 2 sections because it was too wide to fit through the hole in the counter. I got that piece installed pretty easily once I hacked it in half! At this point, aside from eventually taping all of the seams together to completely seal off the foam, I’m done with the perimeter! (yay, go me!) Now, however, I need to think about how I’m going to do the divider that goes between the fridge and freezer sections. The one that came out was meant to be used with much thicker foam and doesn’t fit the size of the new box. I have no insulation on the bottom and only an inch around the rest.
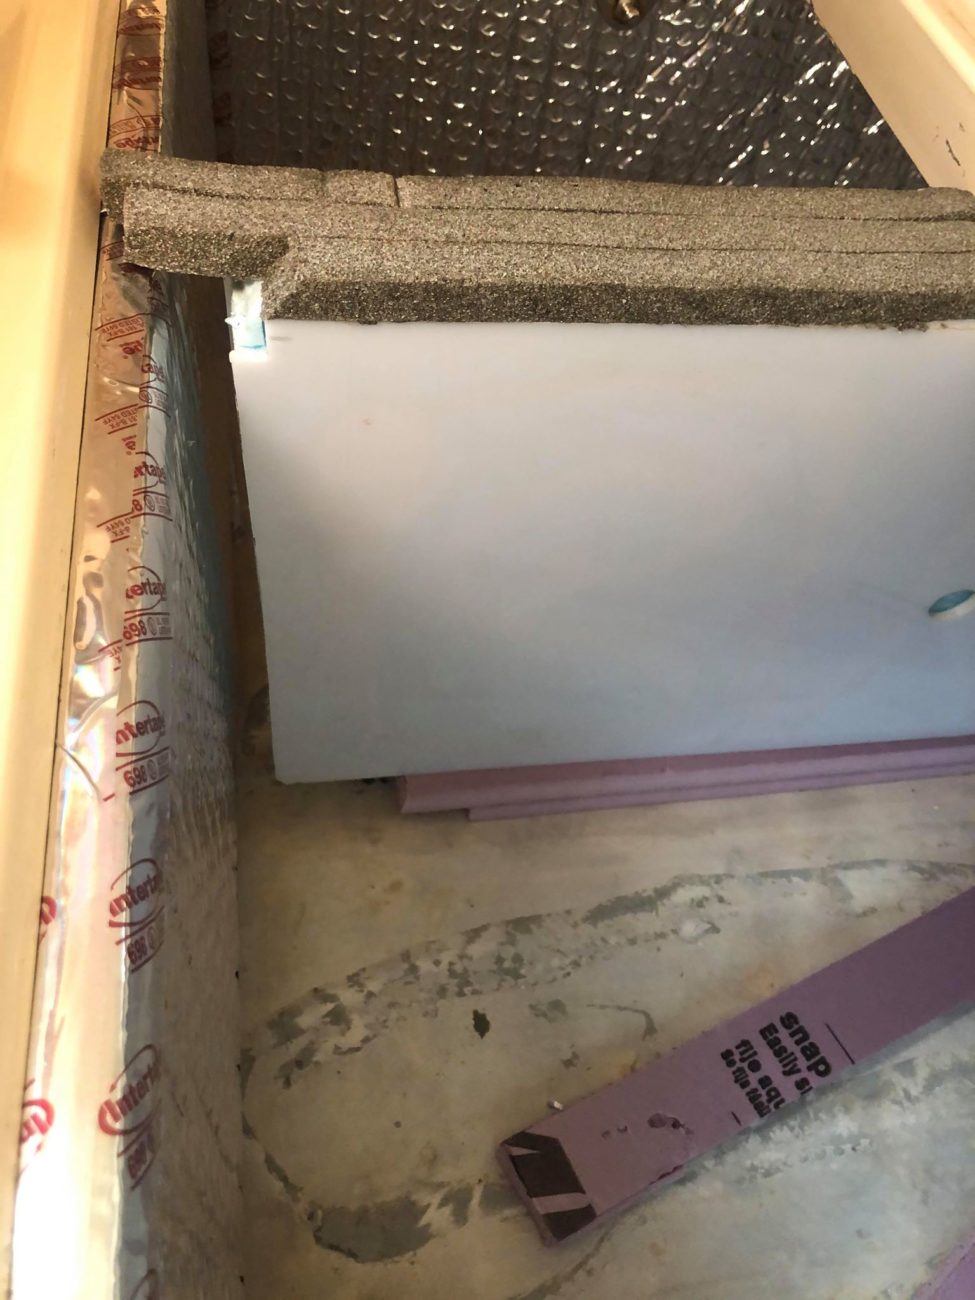
I’m not sure it’s worth trying to reuse the existing divider or if I want to go through the effort of making a new one, especially given how hard it is to glue this stuff together! Eventually, I decided to save myself some time and make it work. I took the divider, tore the nasty foam strips off of the top and then made enclosed foam cubes to fill the gap between the divider and the edge of the new foam wall.
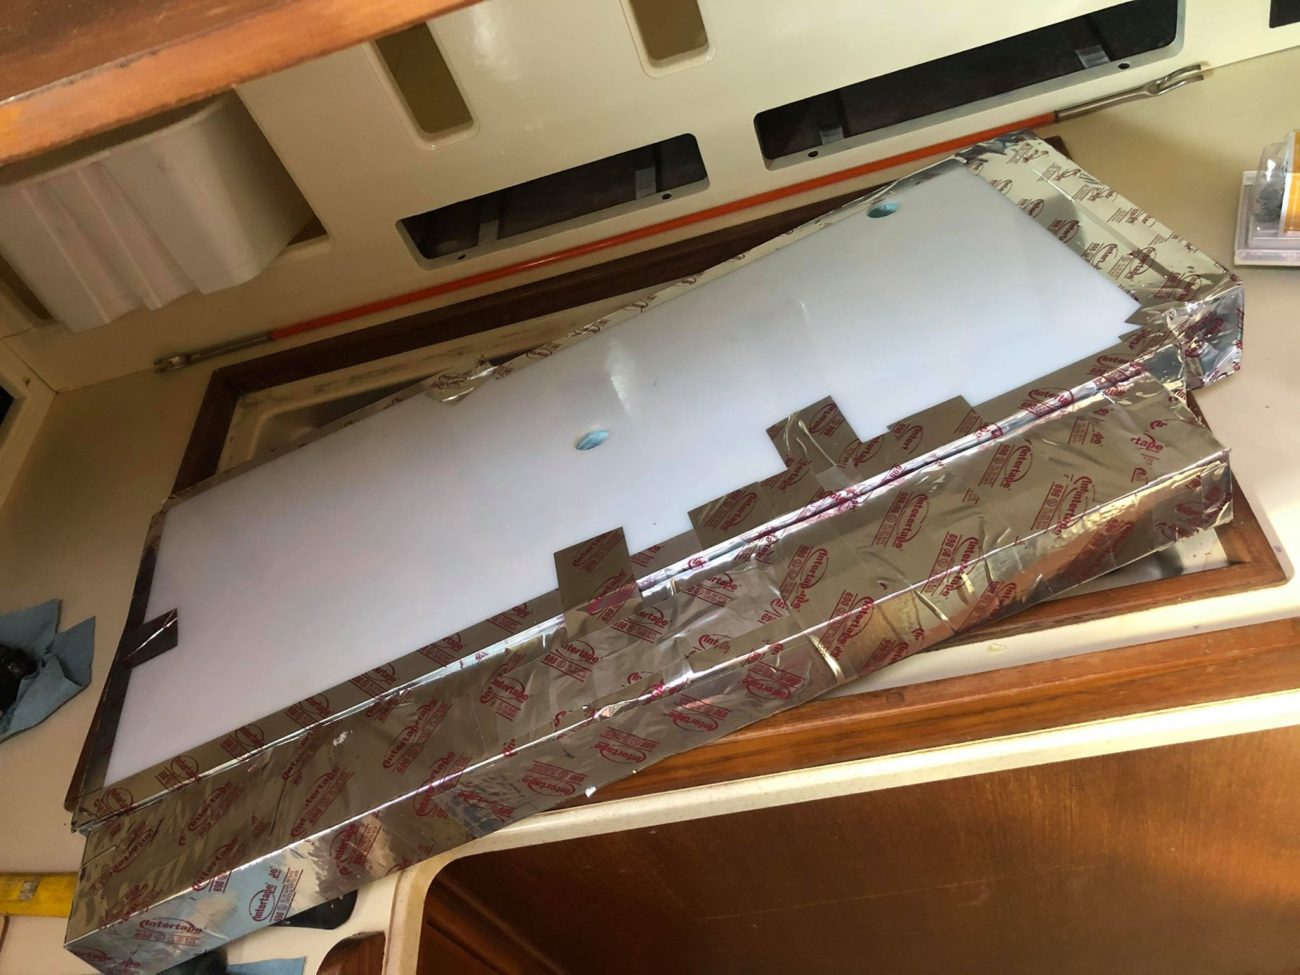
The bottom edge has 3″ and each side should get an extra 1″. I also need to add more gasket material around the door and the door sill. I tore all of that off because it was pretty gross. I don’t want gross stuff on my boat, especially next to my food!
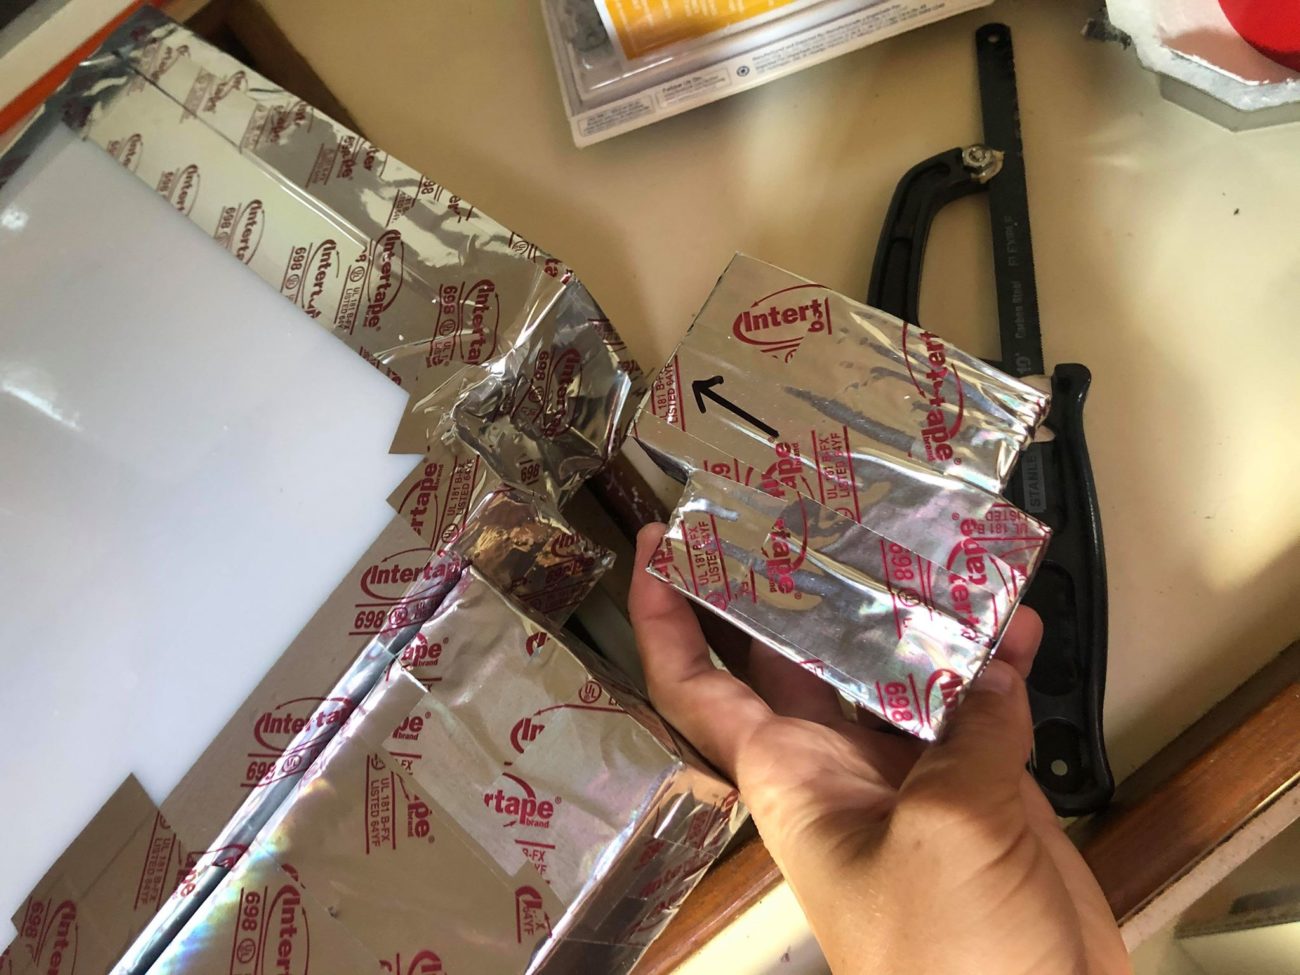
After another test fit I realized that I had to add some more foam to the divider panel because I would have too much air escaping from the freezer to the fridge. I think it’s finally ready to go in!
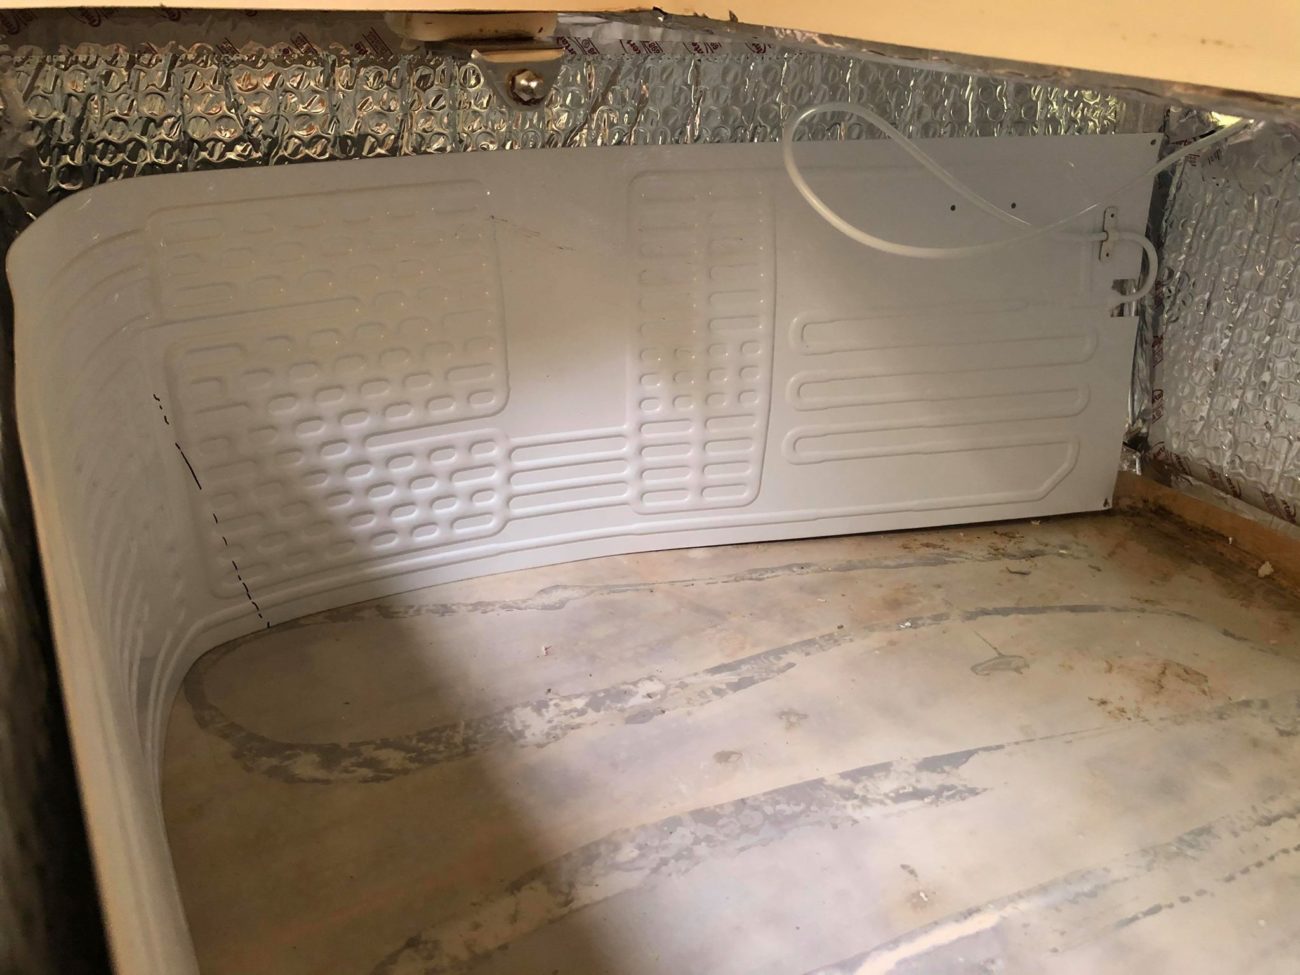
We test fit the door to make doubly sure it would seal on the divider and not fit funky. It looks great… so we ripped it back out! Now it’s time to install the evaporator panels that go in each compartment. They’re long and skinny and made to be bent to fit.
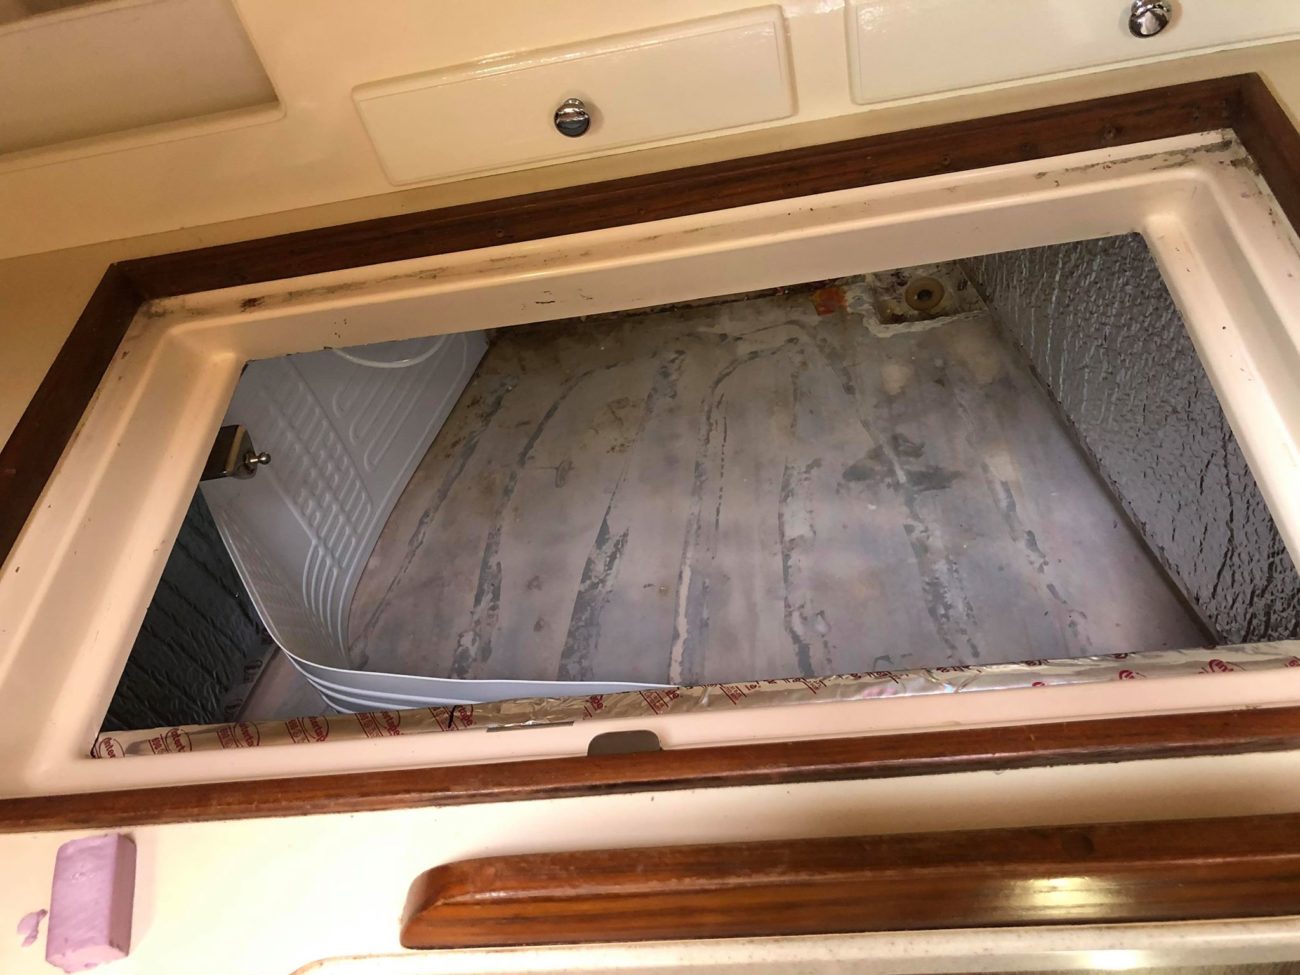
We showed up to the boat this morning ready to get shit done! Jason bent the evaporator panel for the freezer and refrigerator and together we screwed them into place.
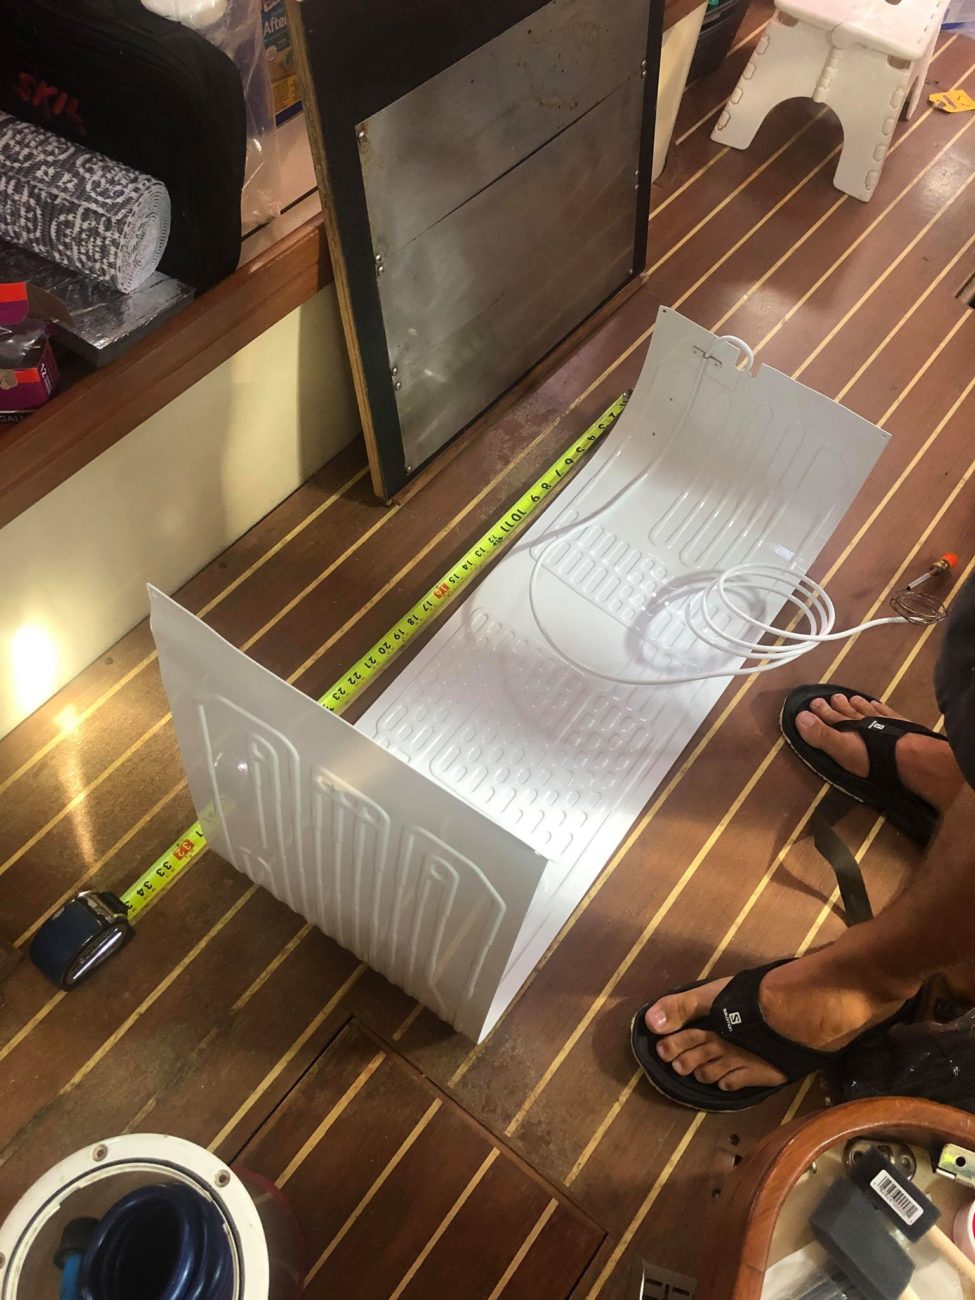
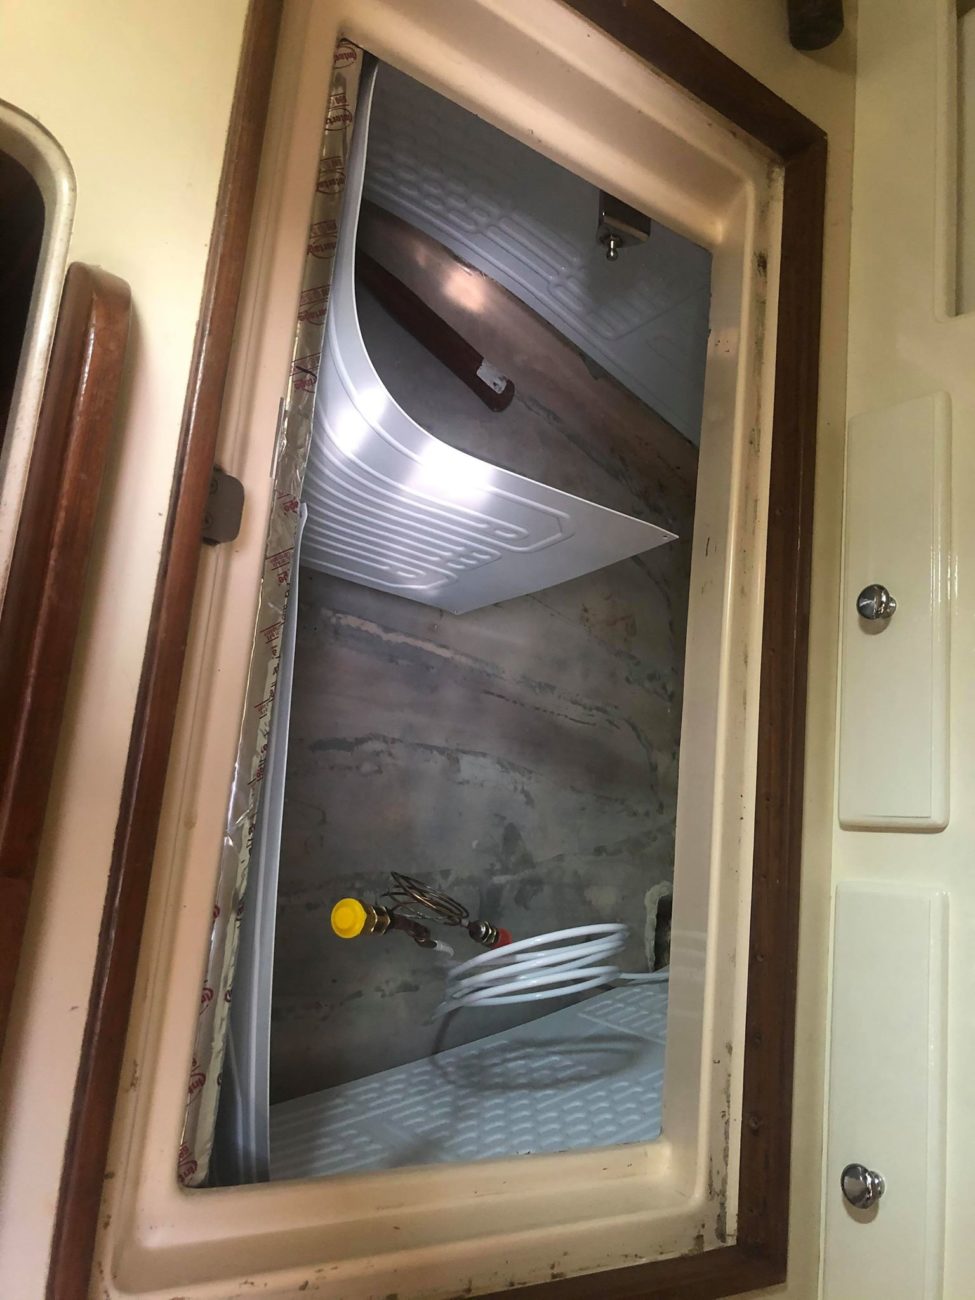
We had to modify the divider panel for both of the hoses to fit through. It had a small hole, but now it has a large slot. I’ll fill it with foam later.
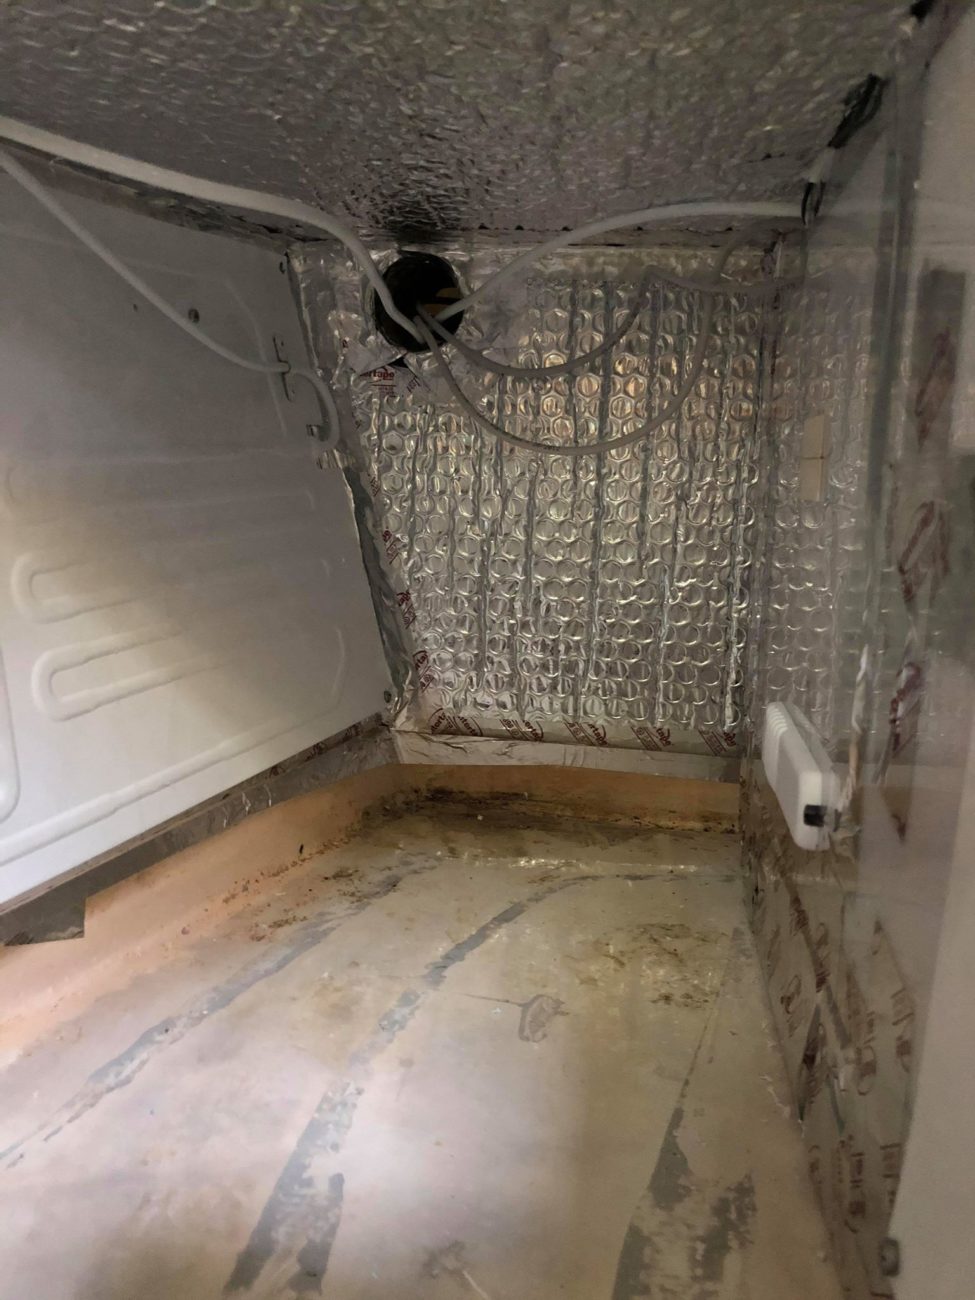
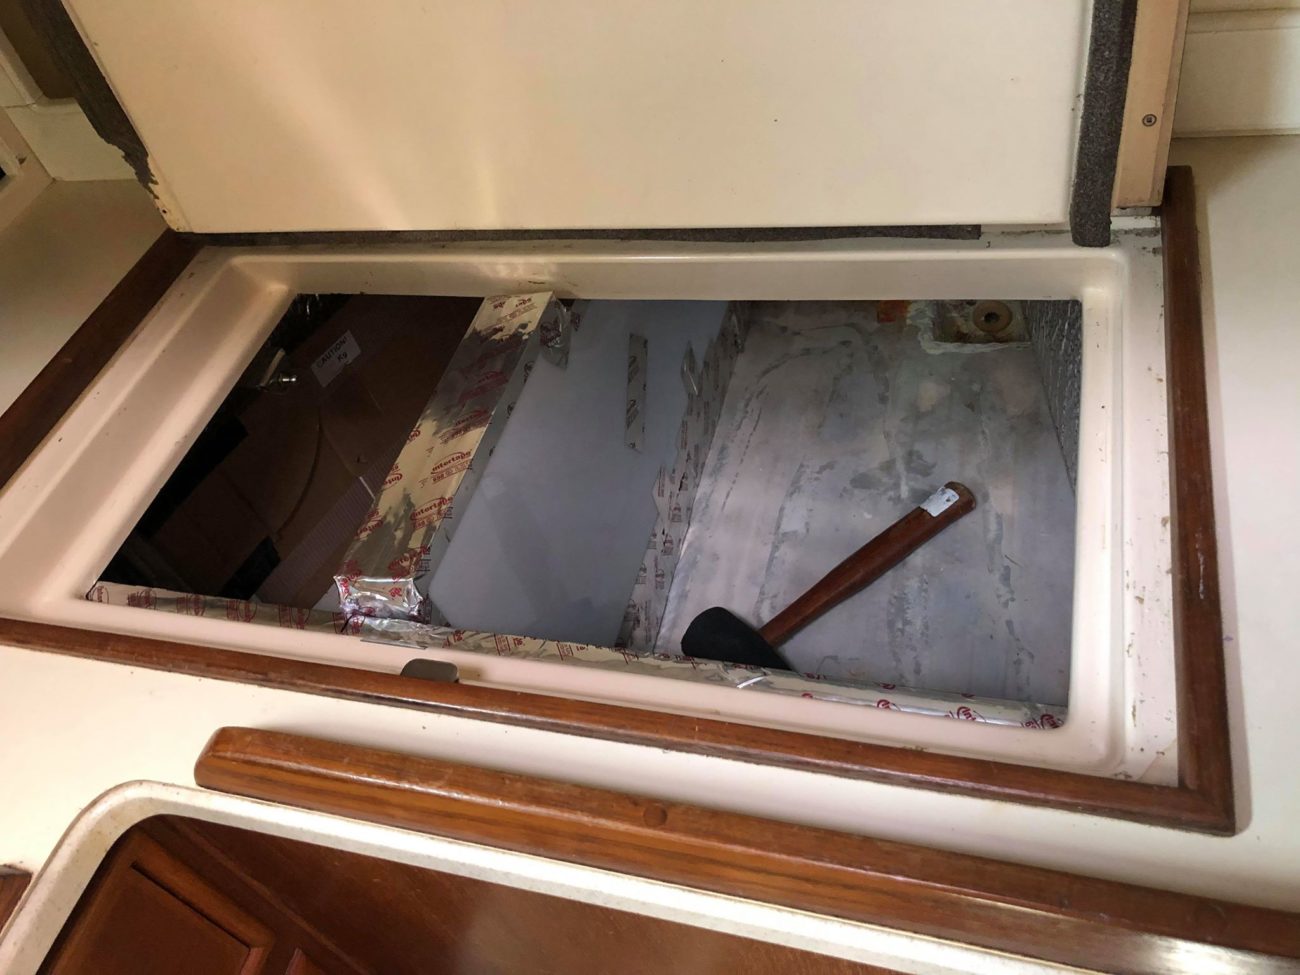
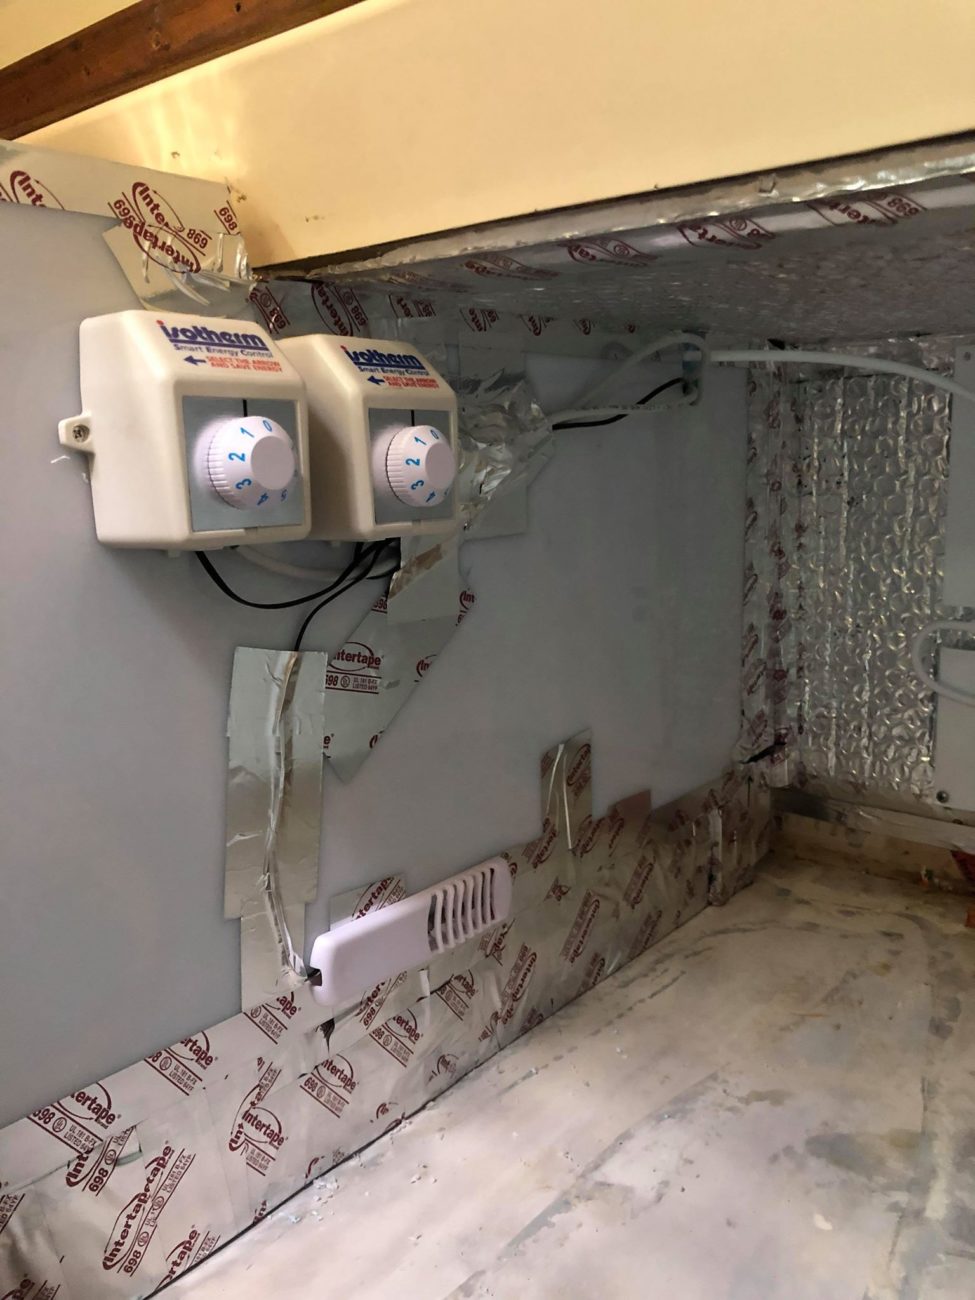
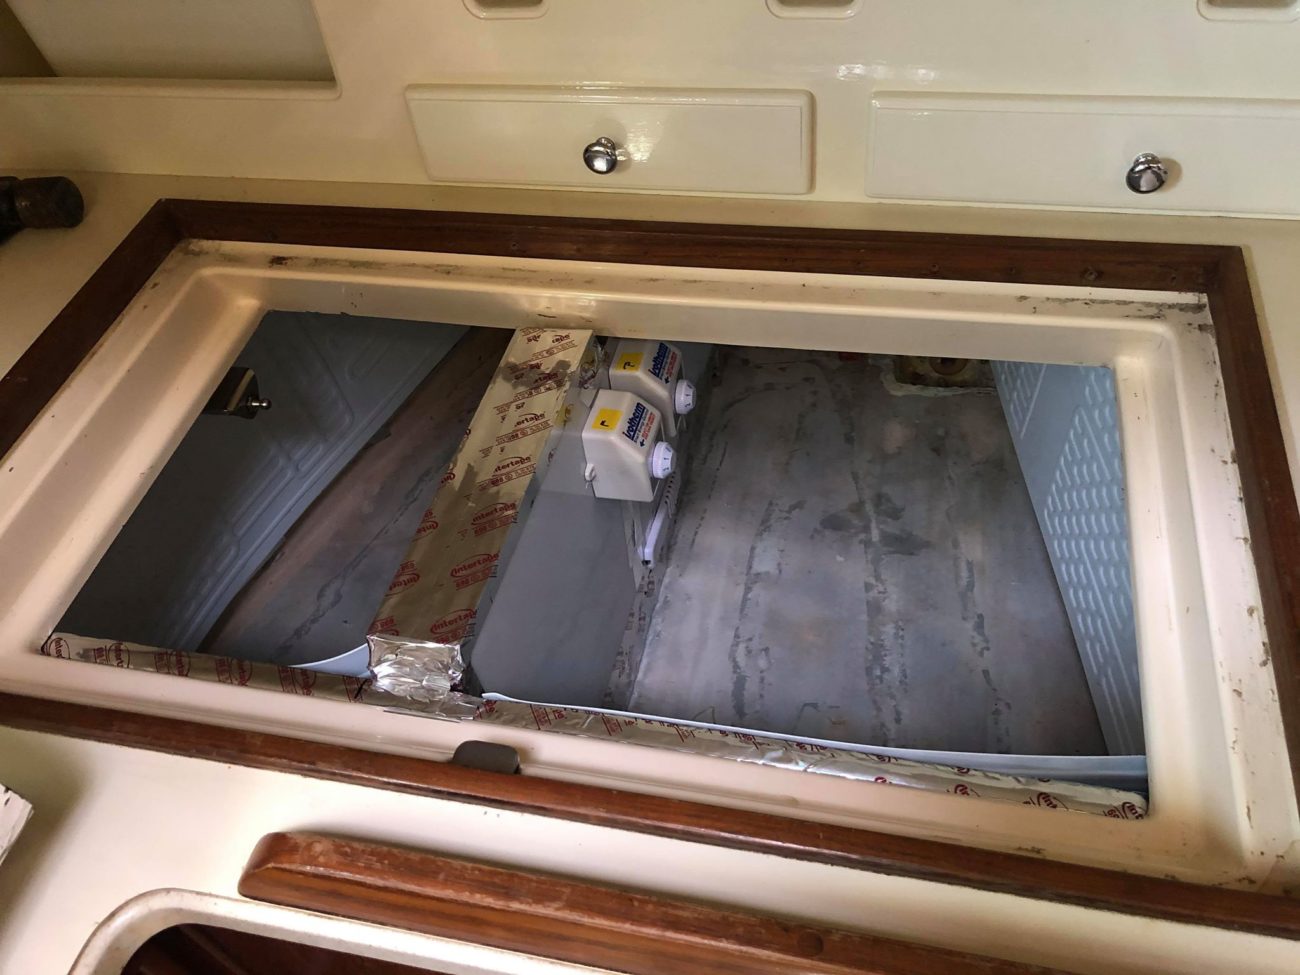
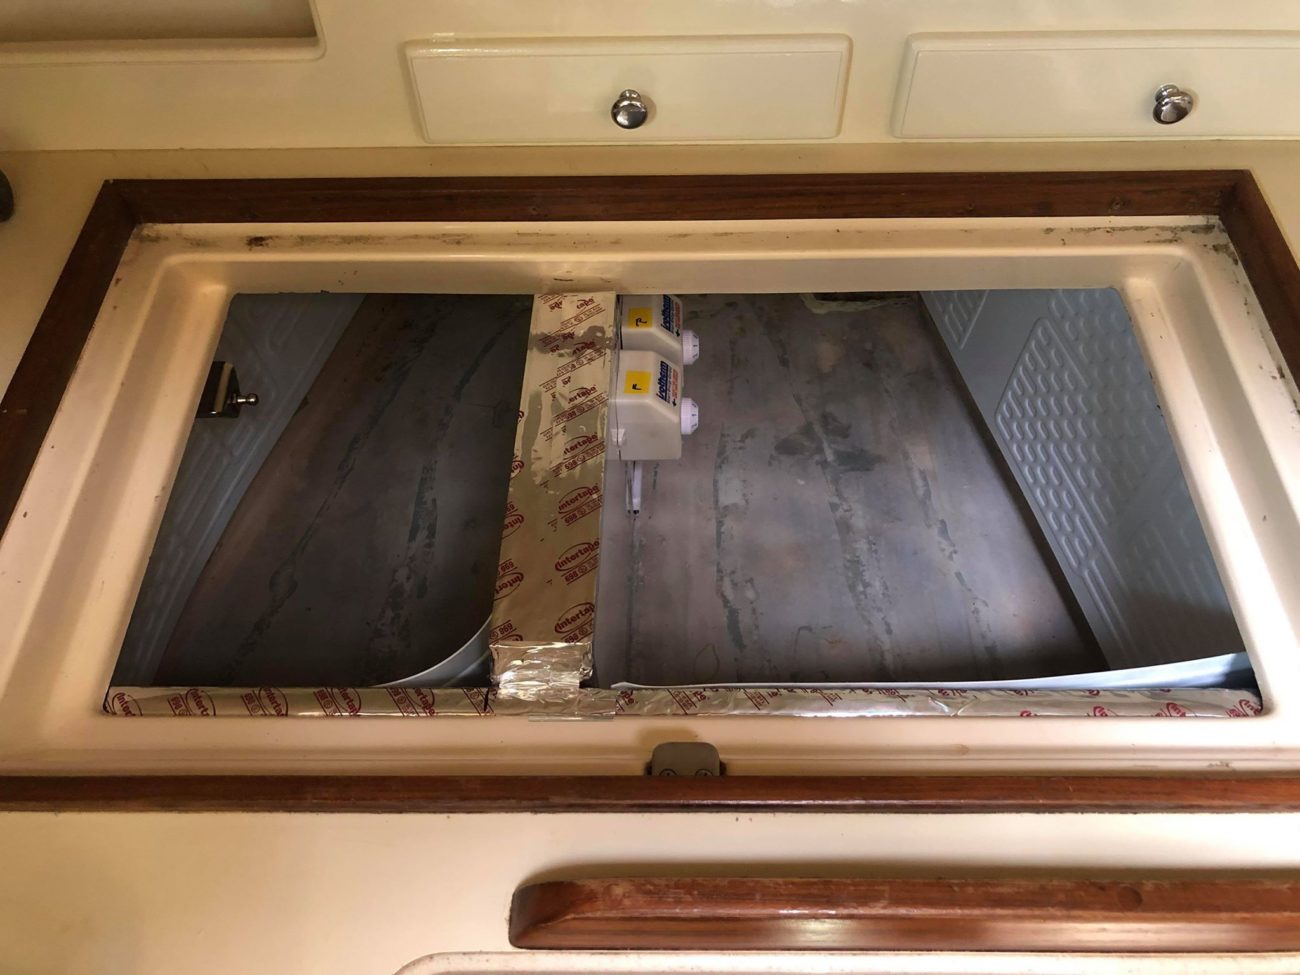
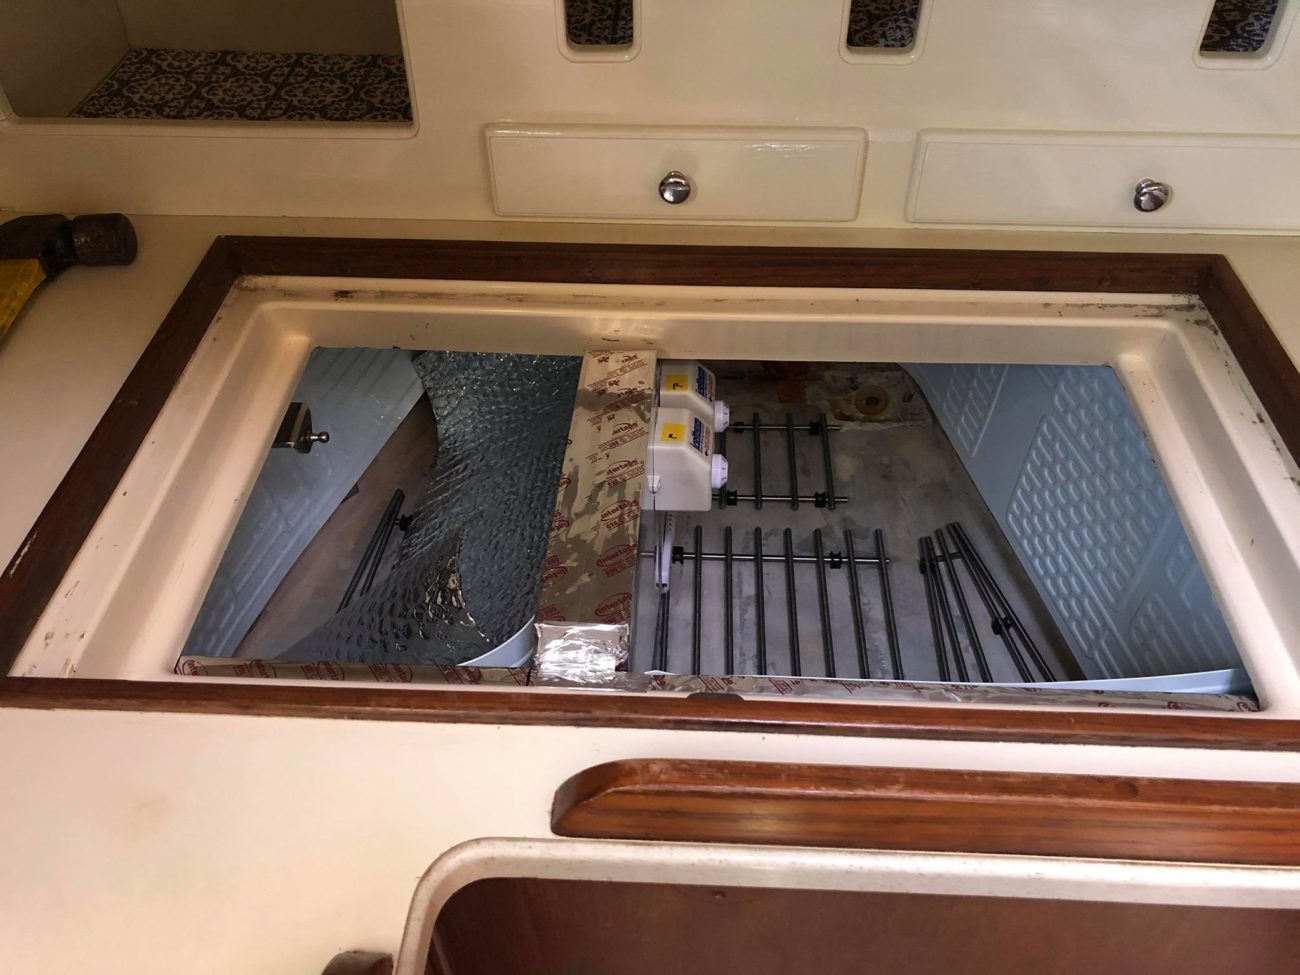
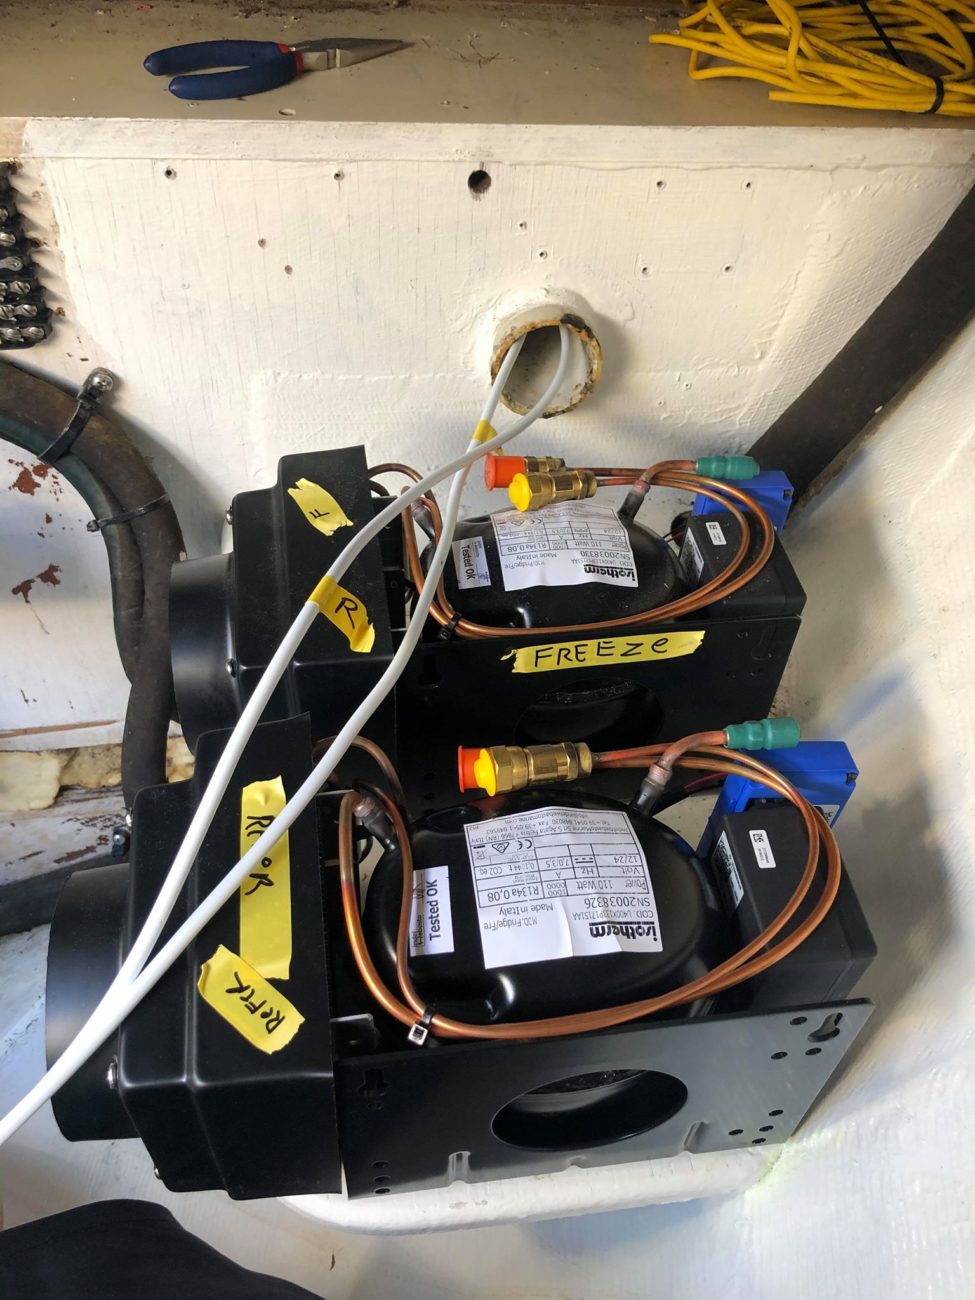
Aside from some little things like labeling and final weatherstripping to replace the nasty old stuff I tore off already, the new insulation and cooling in the fridge and freezer boxes is DONE! …but obviously an evaporator without a condensing unit is just a useless plate, so I moved back out to the lazarette just aft of the galley to arrange the refrigeration tubing and install the 2 new condensers!
The install itself actually went way faster than I thought. The units are quick connected to the mounting brackets that took maybe 10 minutes to screw into that nice little wood plate. There was some wiring to do, but that was quickly taken care of because the old refrigerator wiring was still in place. I was worried about connecting the tubing itself, because it’s copper and super thin but also flexible. How tightly can I bend it? What happens if it just breaks in half? I definitely proceeded with caution while coiling it all up and out of the way. In the end, though, it was also very easy. The units come pre-charged with refrigerant and when the ends are screwed together they make the connection without any leakage. For some reason I was dreading this install and I was *very* happy when it went smoothly!
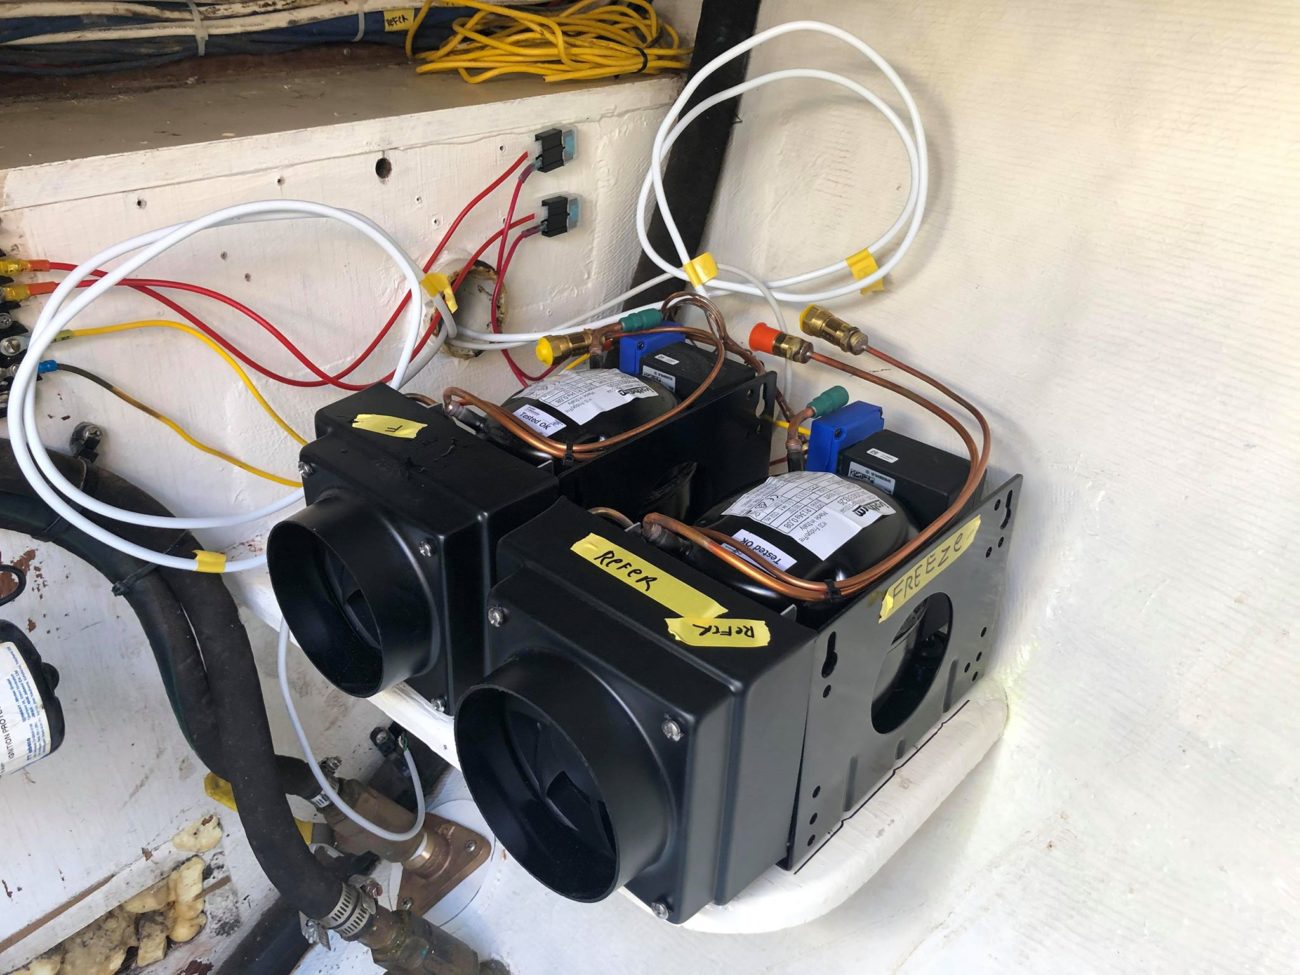
We read the manual for the startup procedure, but it was essentially “turn the dial to turn the thing on and make sure it turns on”. Ok. Sold. So I turned the dial to 3 on each one and they both started up quickly. The evaporators were cool to the touch in a few minutes, so everything appears to be working like it should!
My more nerdy readers might have noticed that we switched from water cooled to air cooled condensers. Why, though, since water cooled is generally more efficient? By going air cooled, we eliminated an entire seawater supply and overboard system from the boat and I really like simplicity. We can also now run our refrigerators while out of the water! So if we wanted to move onto the boat right now we could! (not that we would..it’s still way too hot!)
The refrigeration install was one of the last systems that we needed to put on the boat for it to be fully operational. It was really rewarding doing all the work for this and having it fire up! The boat is REALLY close to being “done” now and it feels like it’s really starting to come together!
