Today was the day that we finally got to put some finishing touches on some of our halfway finished projects!
First on my list was the water supply to the faucet. It runs from the water tank up forward, through the galley cabinet and up to the little manual pump faucet I bought so that I didn’t have to plumb up a pressurized water system. 😉
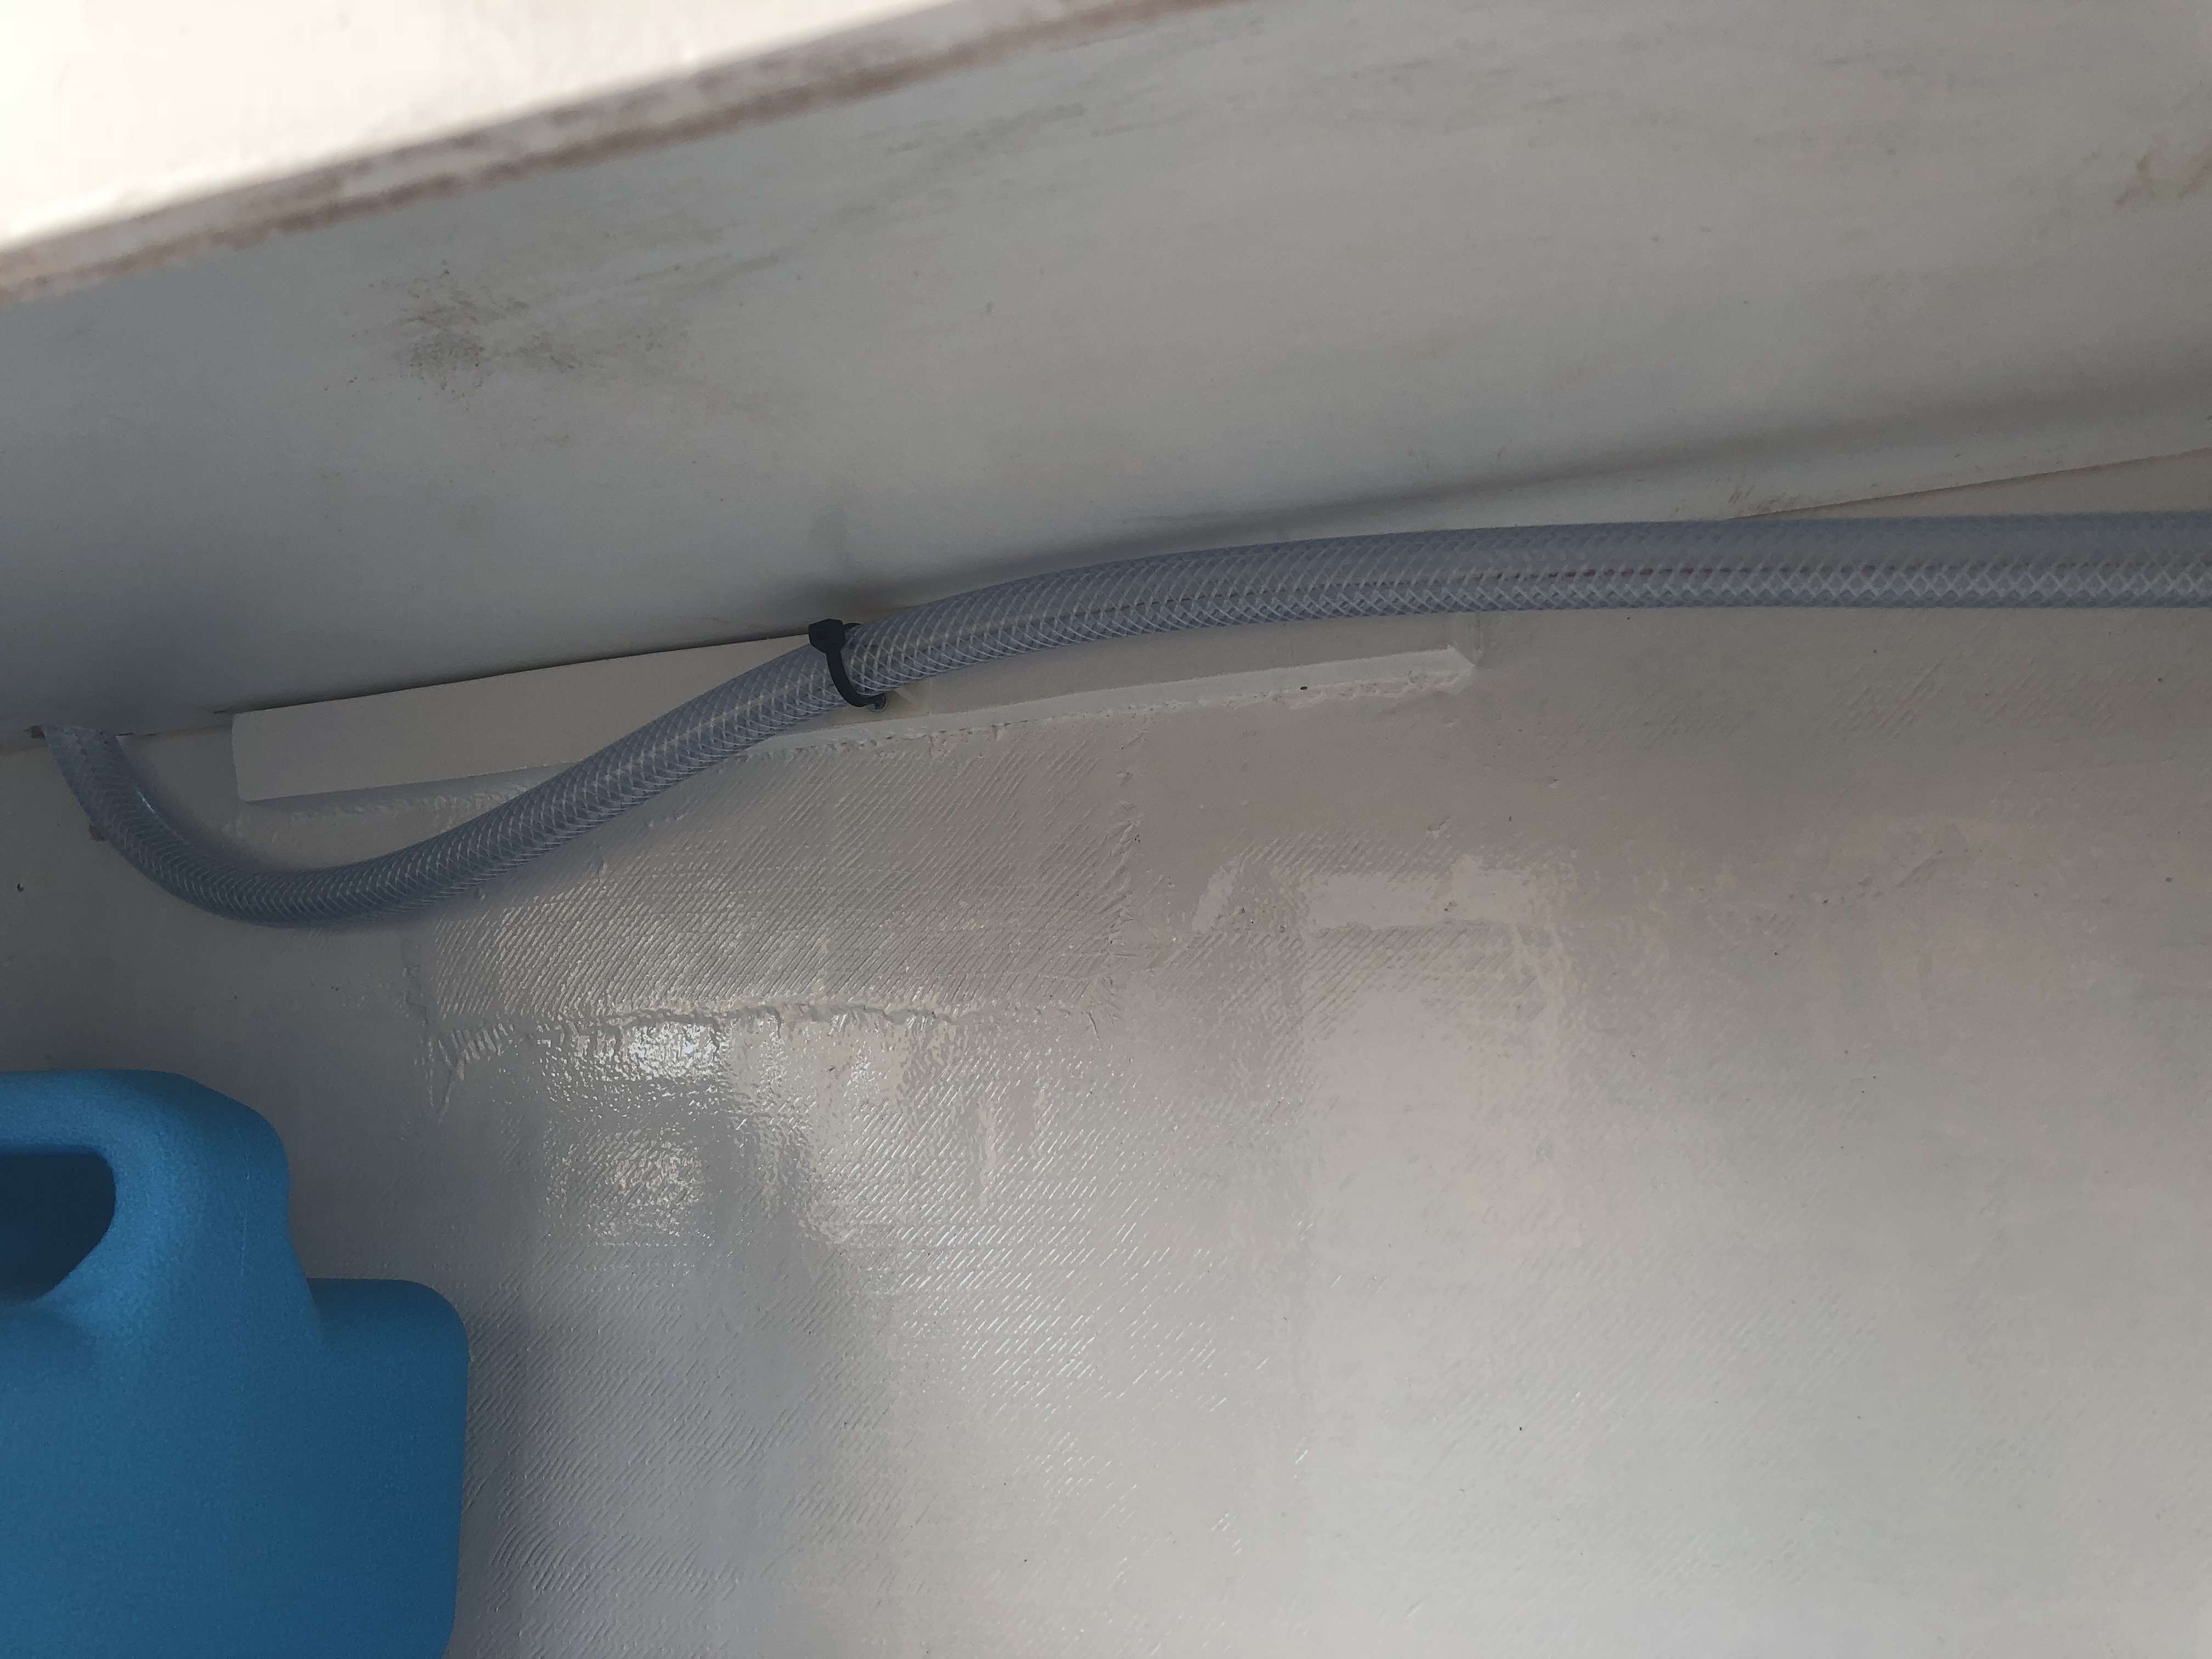
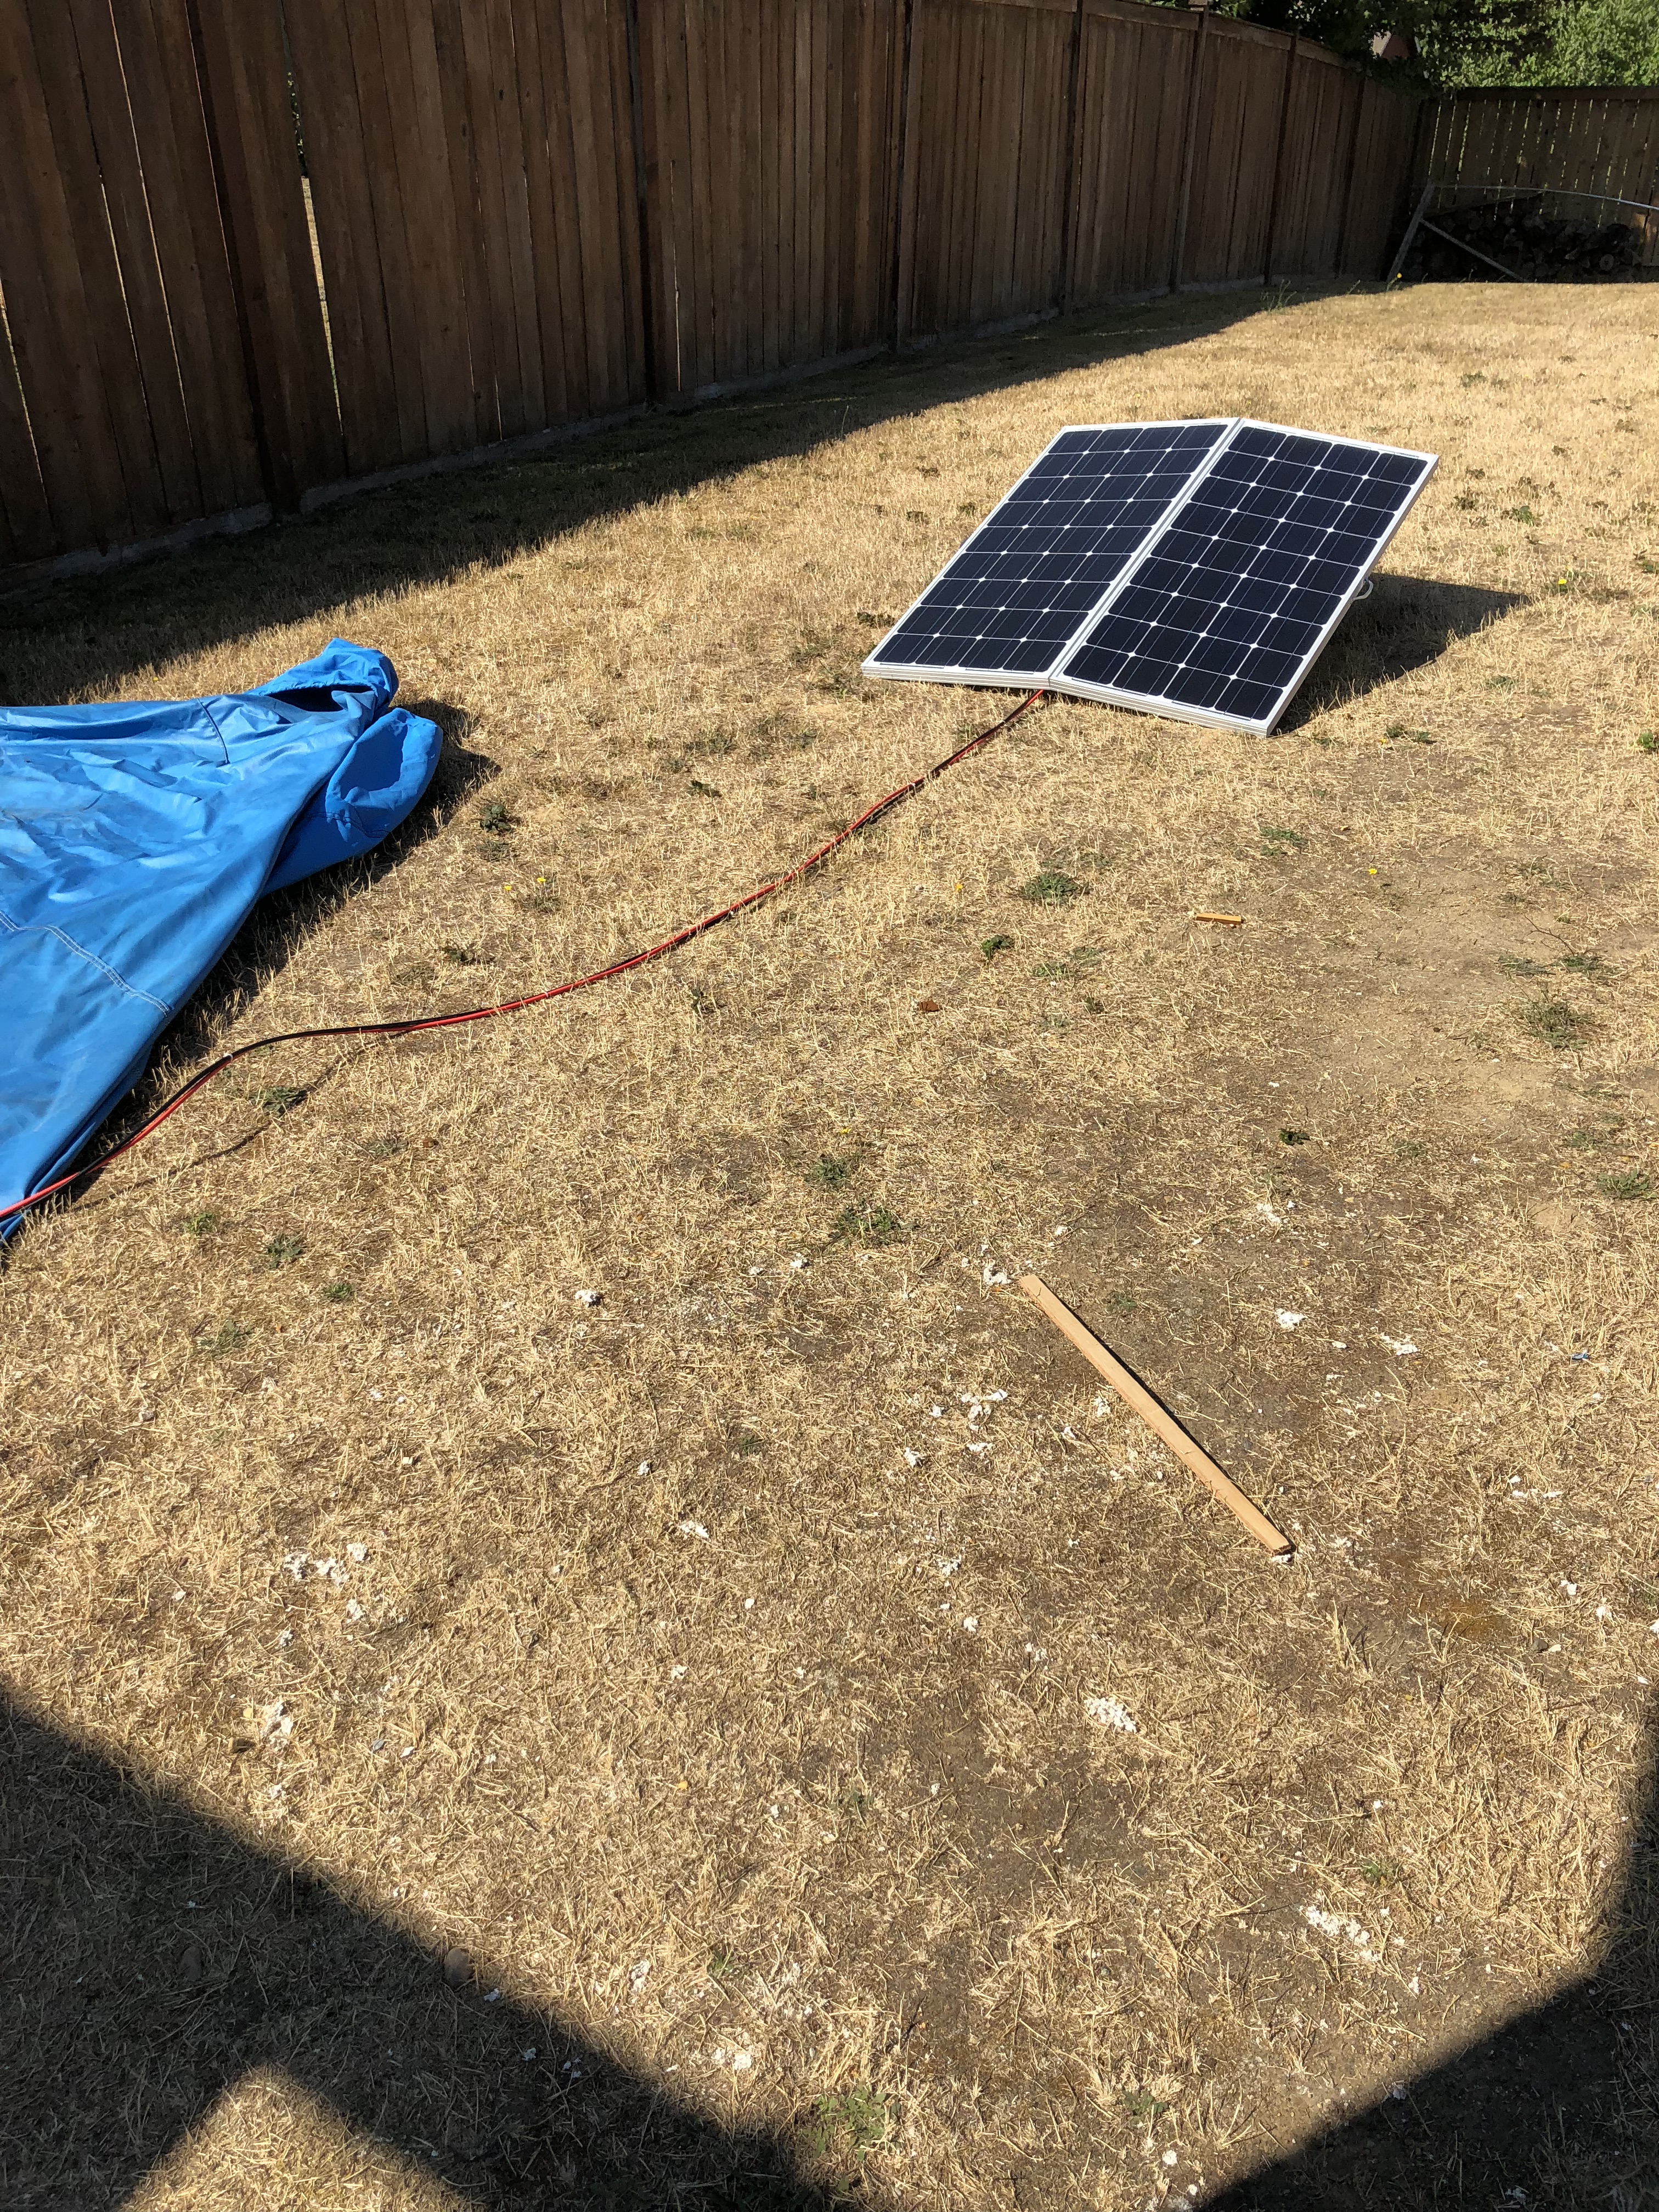
I still have to finish up the countertops and install them before I can actually mount the faucet, so I’m just going to leave it right there coiled up all nice and neat! While I was busy doing that (which took way less time than I thought… it was 3 holes drilled and some zip ties) Jason finished up his solar panel connections and plugged it into the side of the truck. Everything works great!
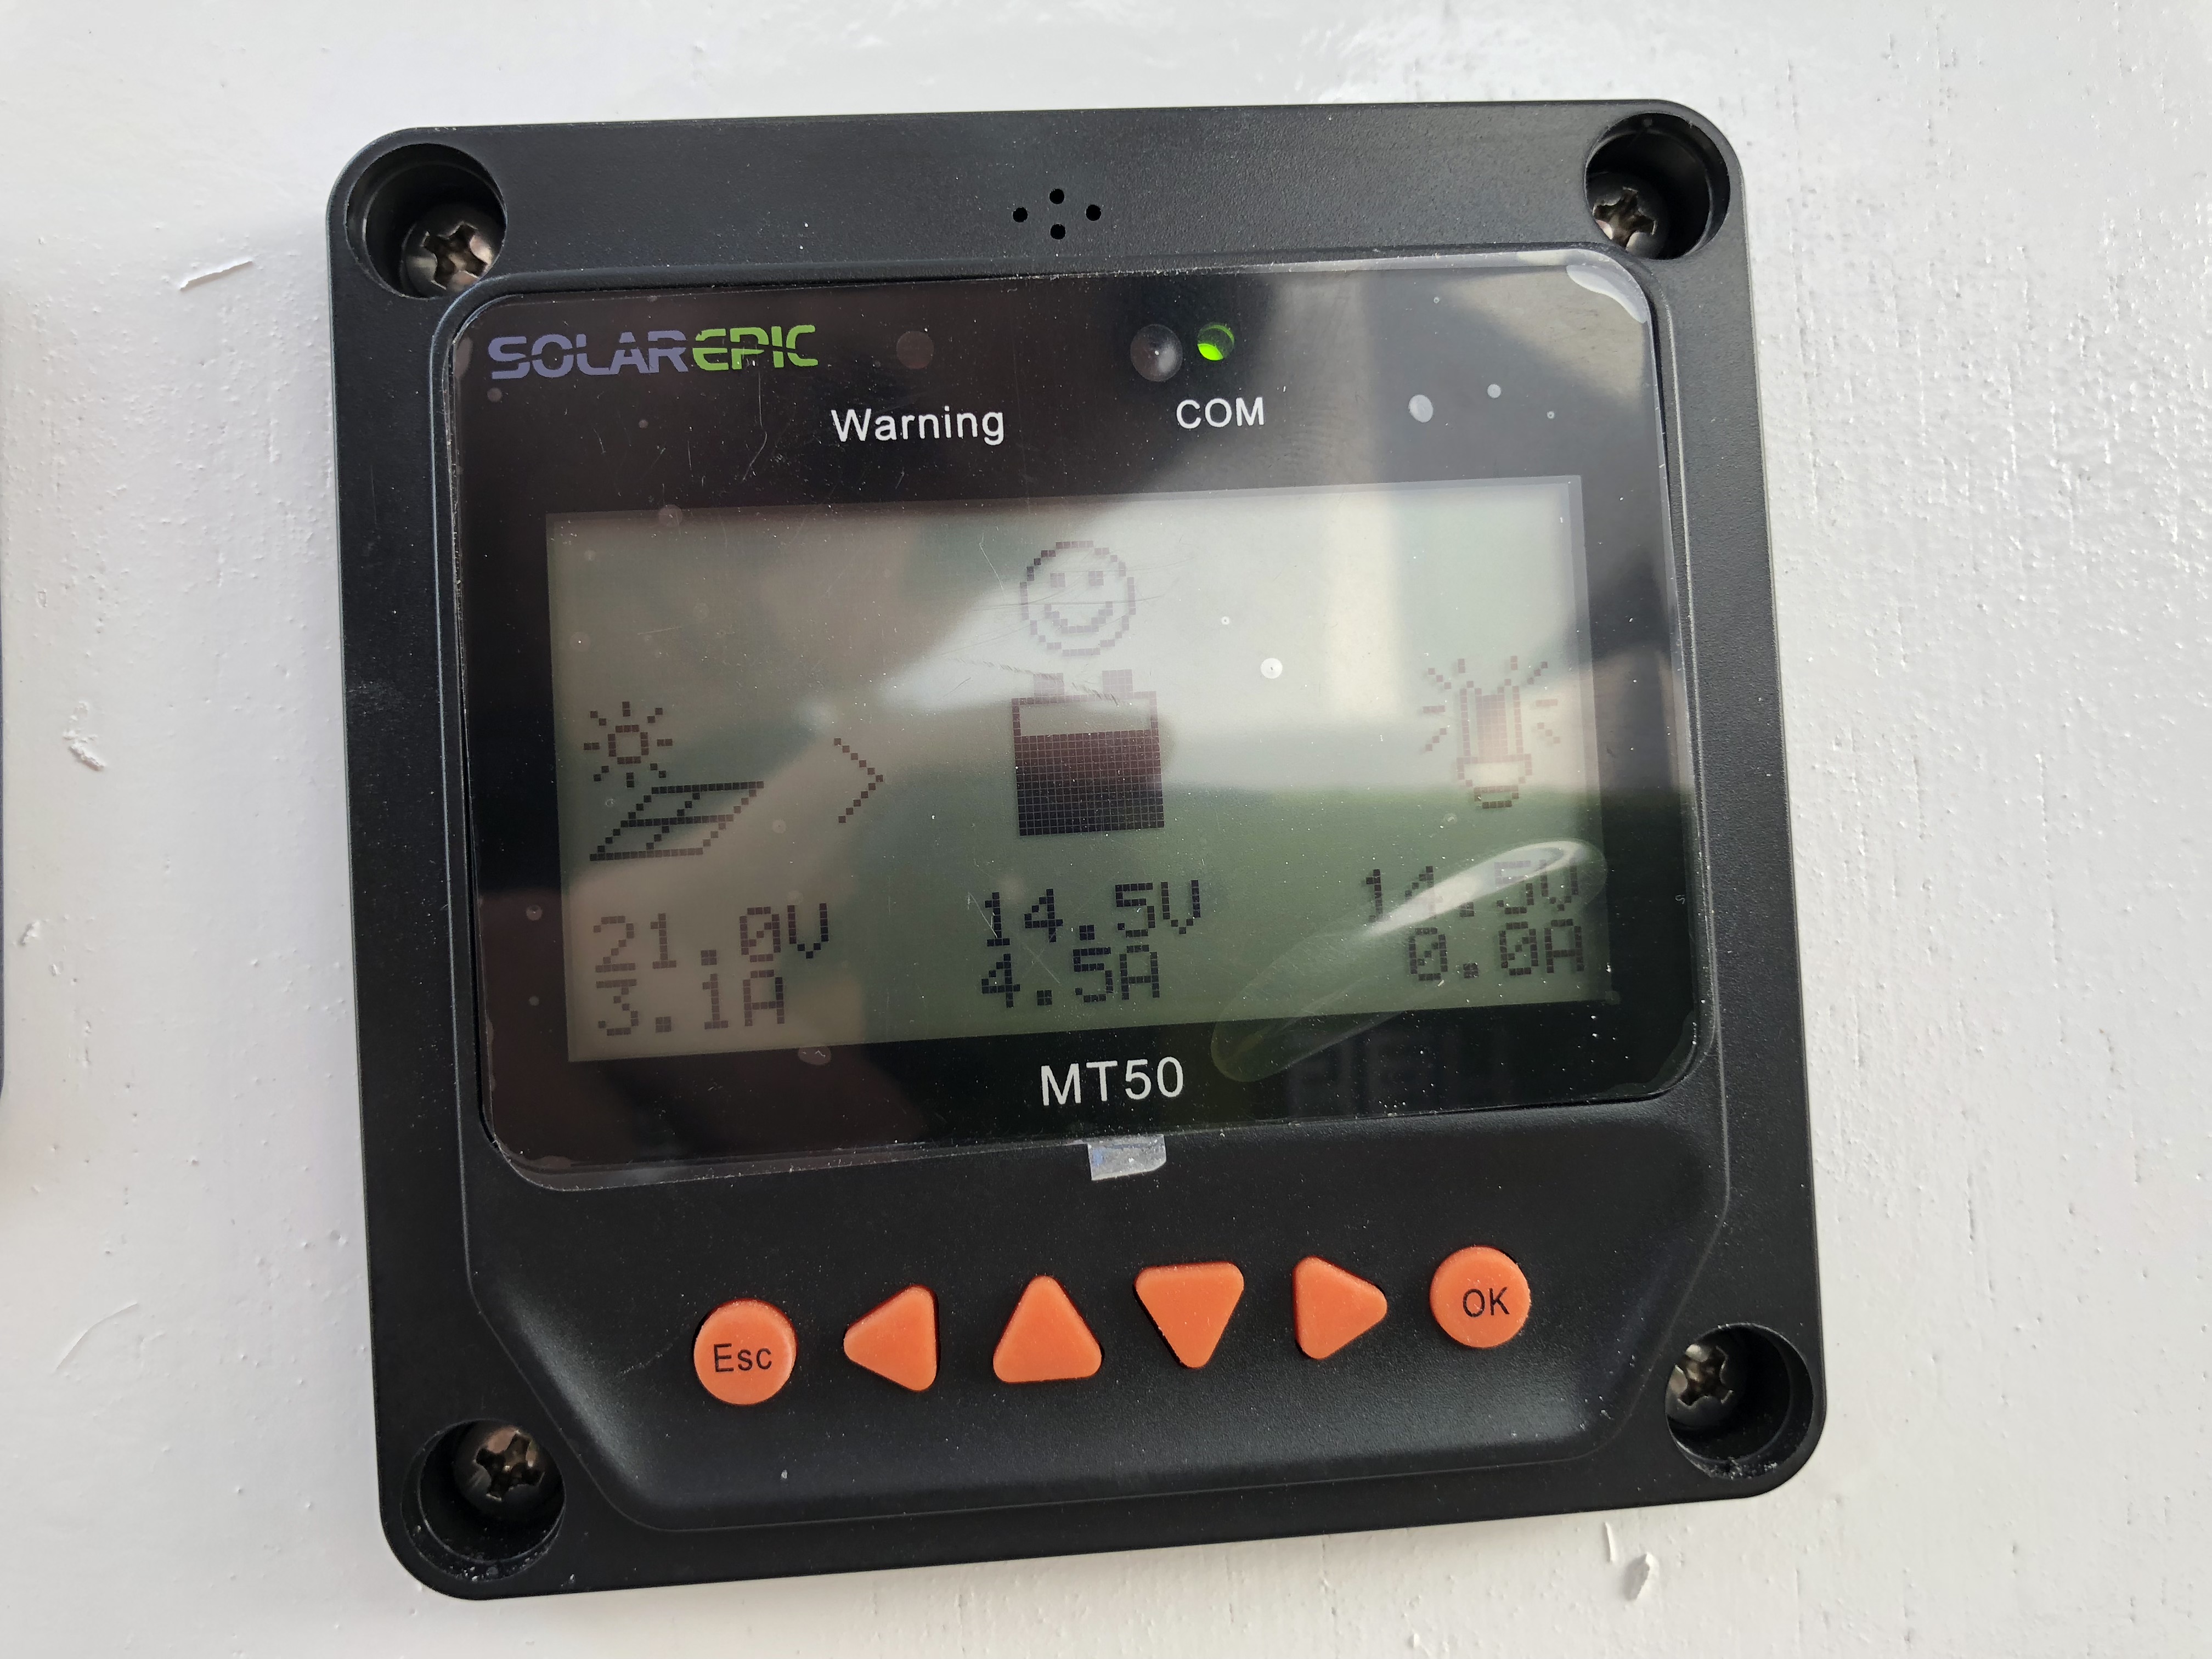
We chose to not mount the panels on the roof for a few reasons. They’re actually kind of heavy and awkward for one… We also realized that usually when we camp, the goal is to get a nice spot in the shade. So solar panels wouldn’t work well anyway! So Jason rigged them up on hinges with a large extension cord so even though the truck might be parked in the shade, the panels don’t necessarily have to be.
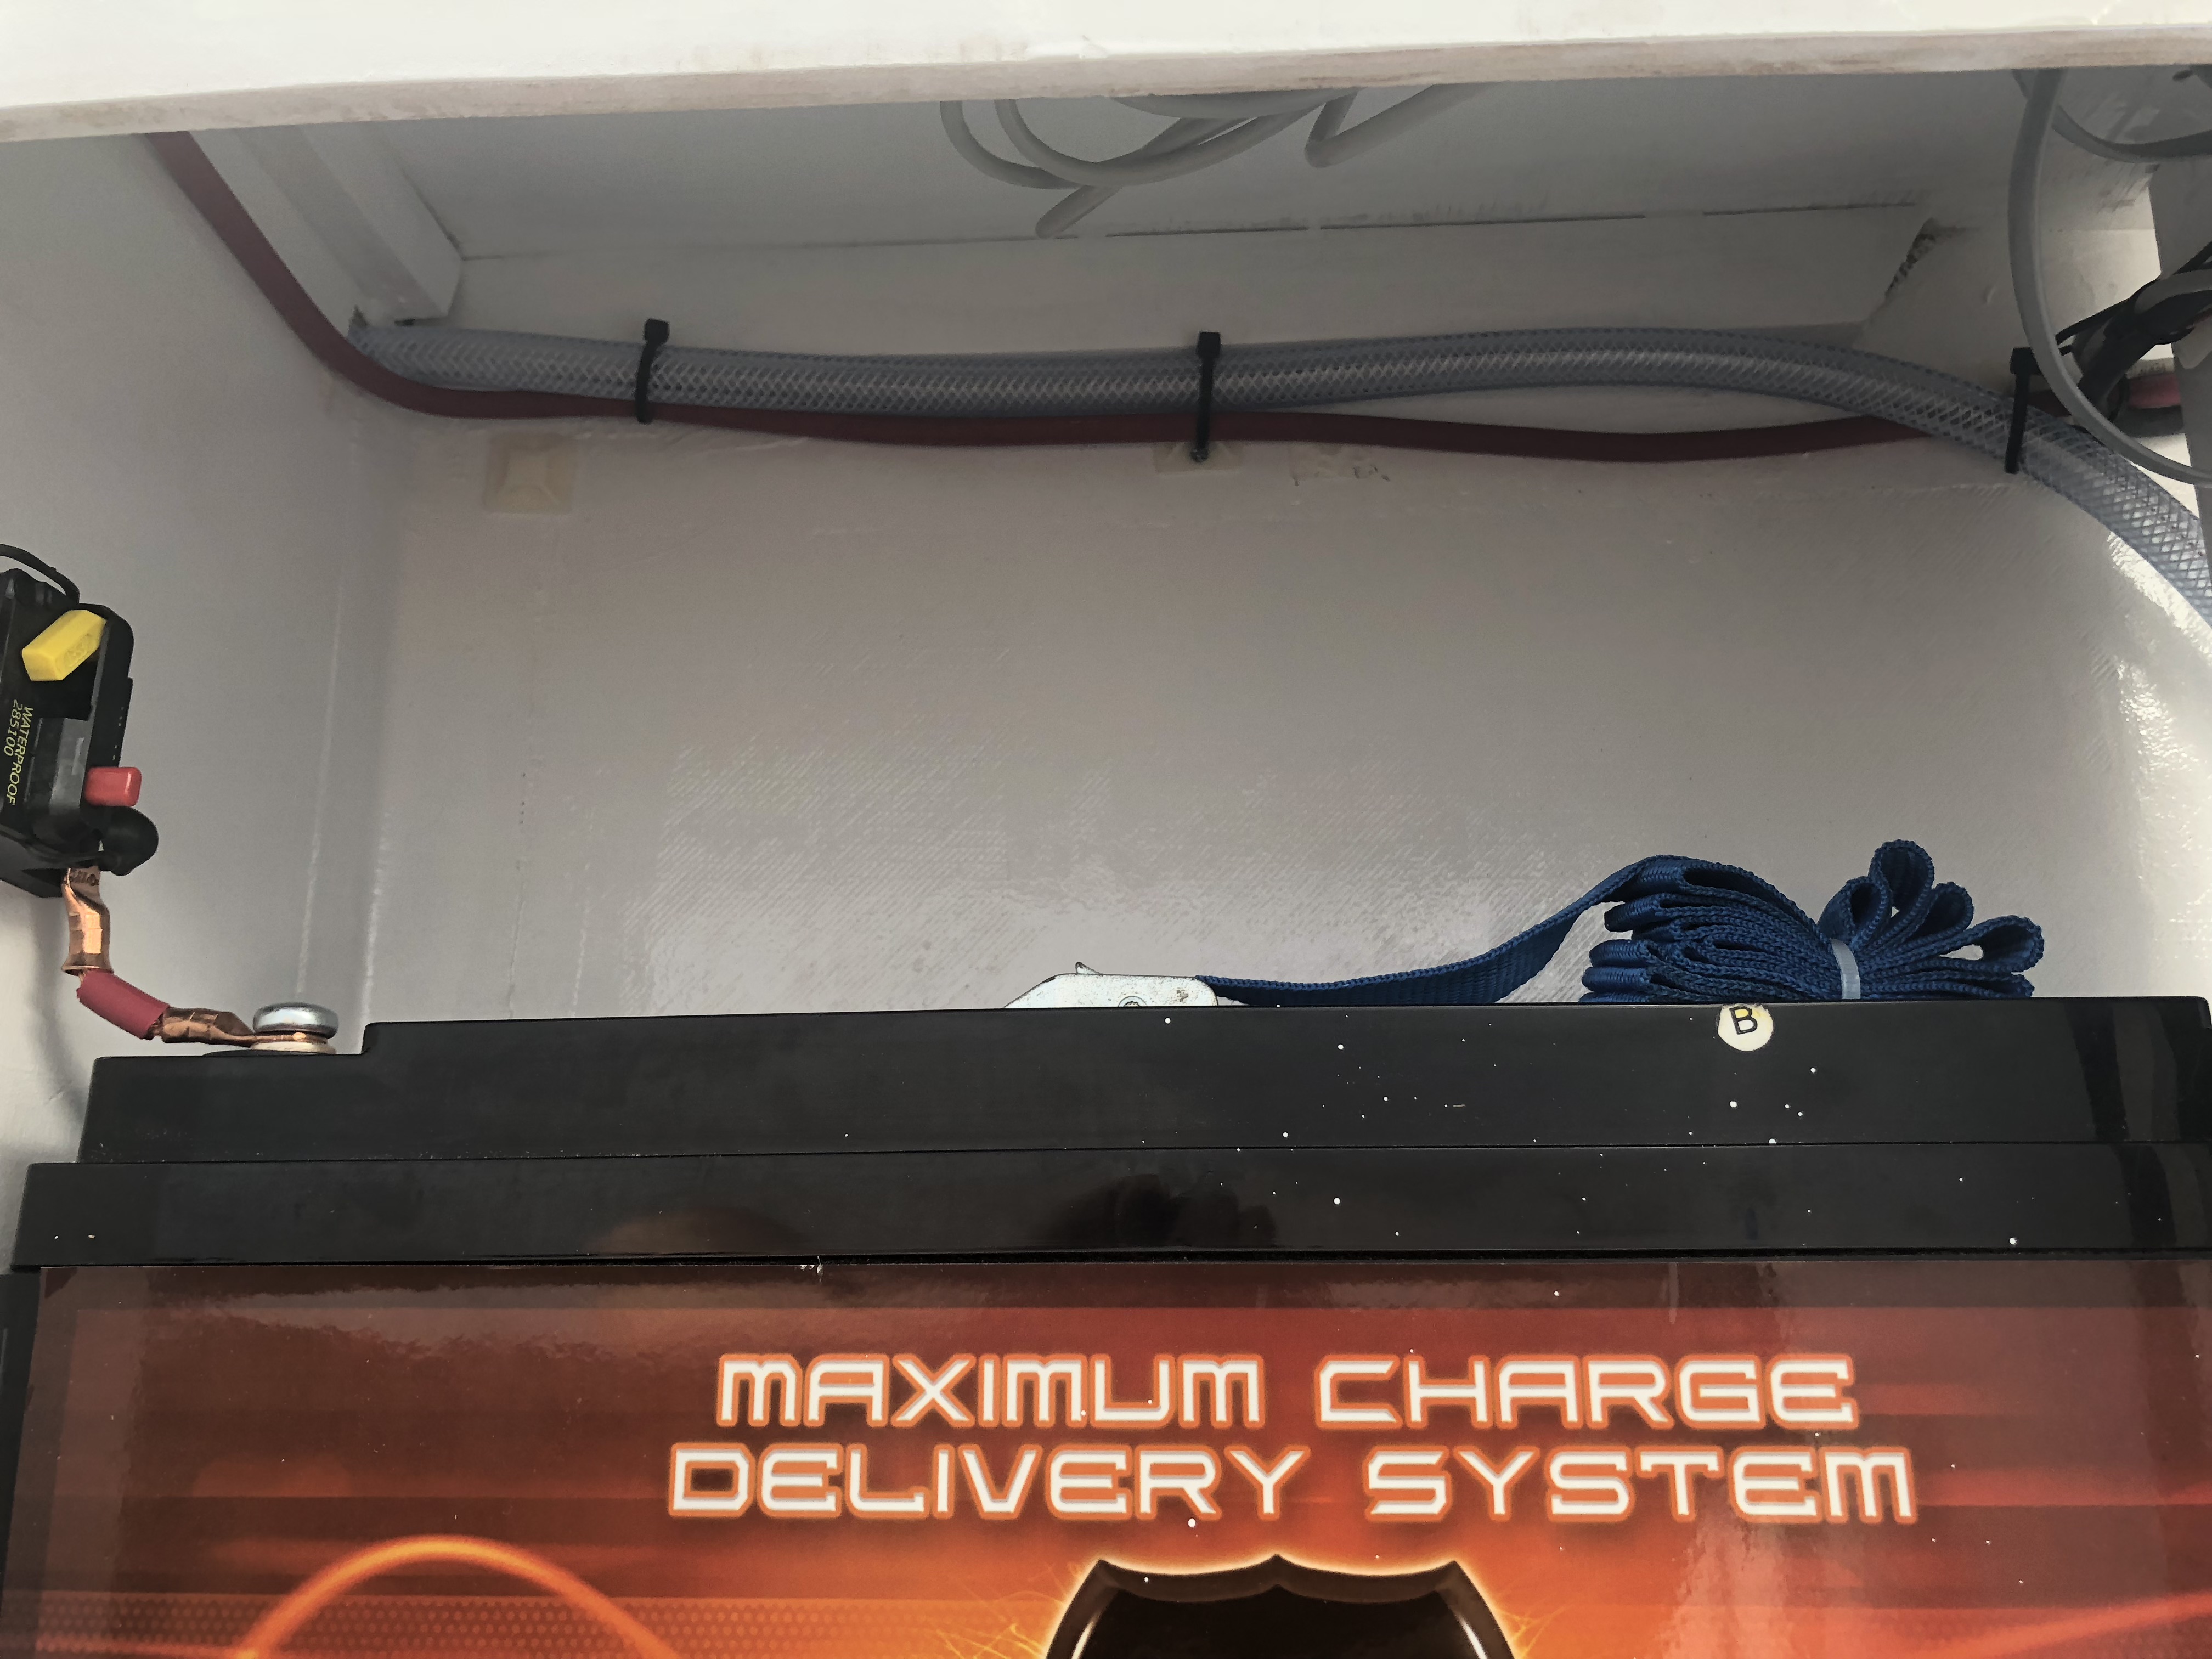
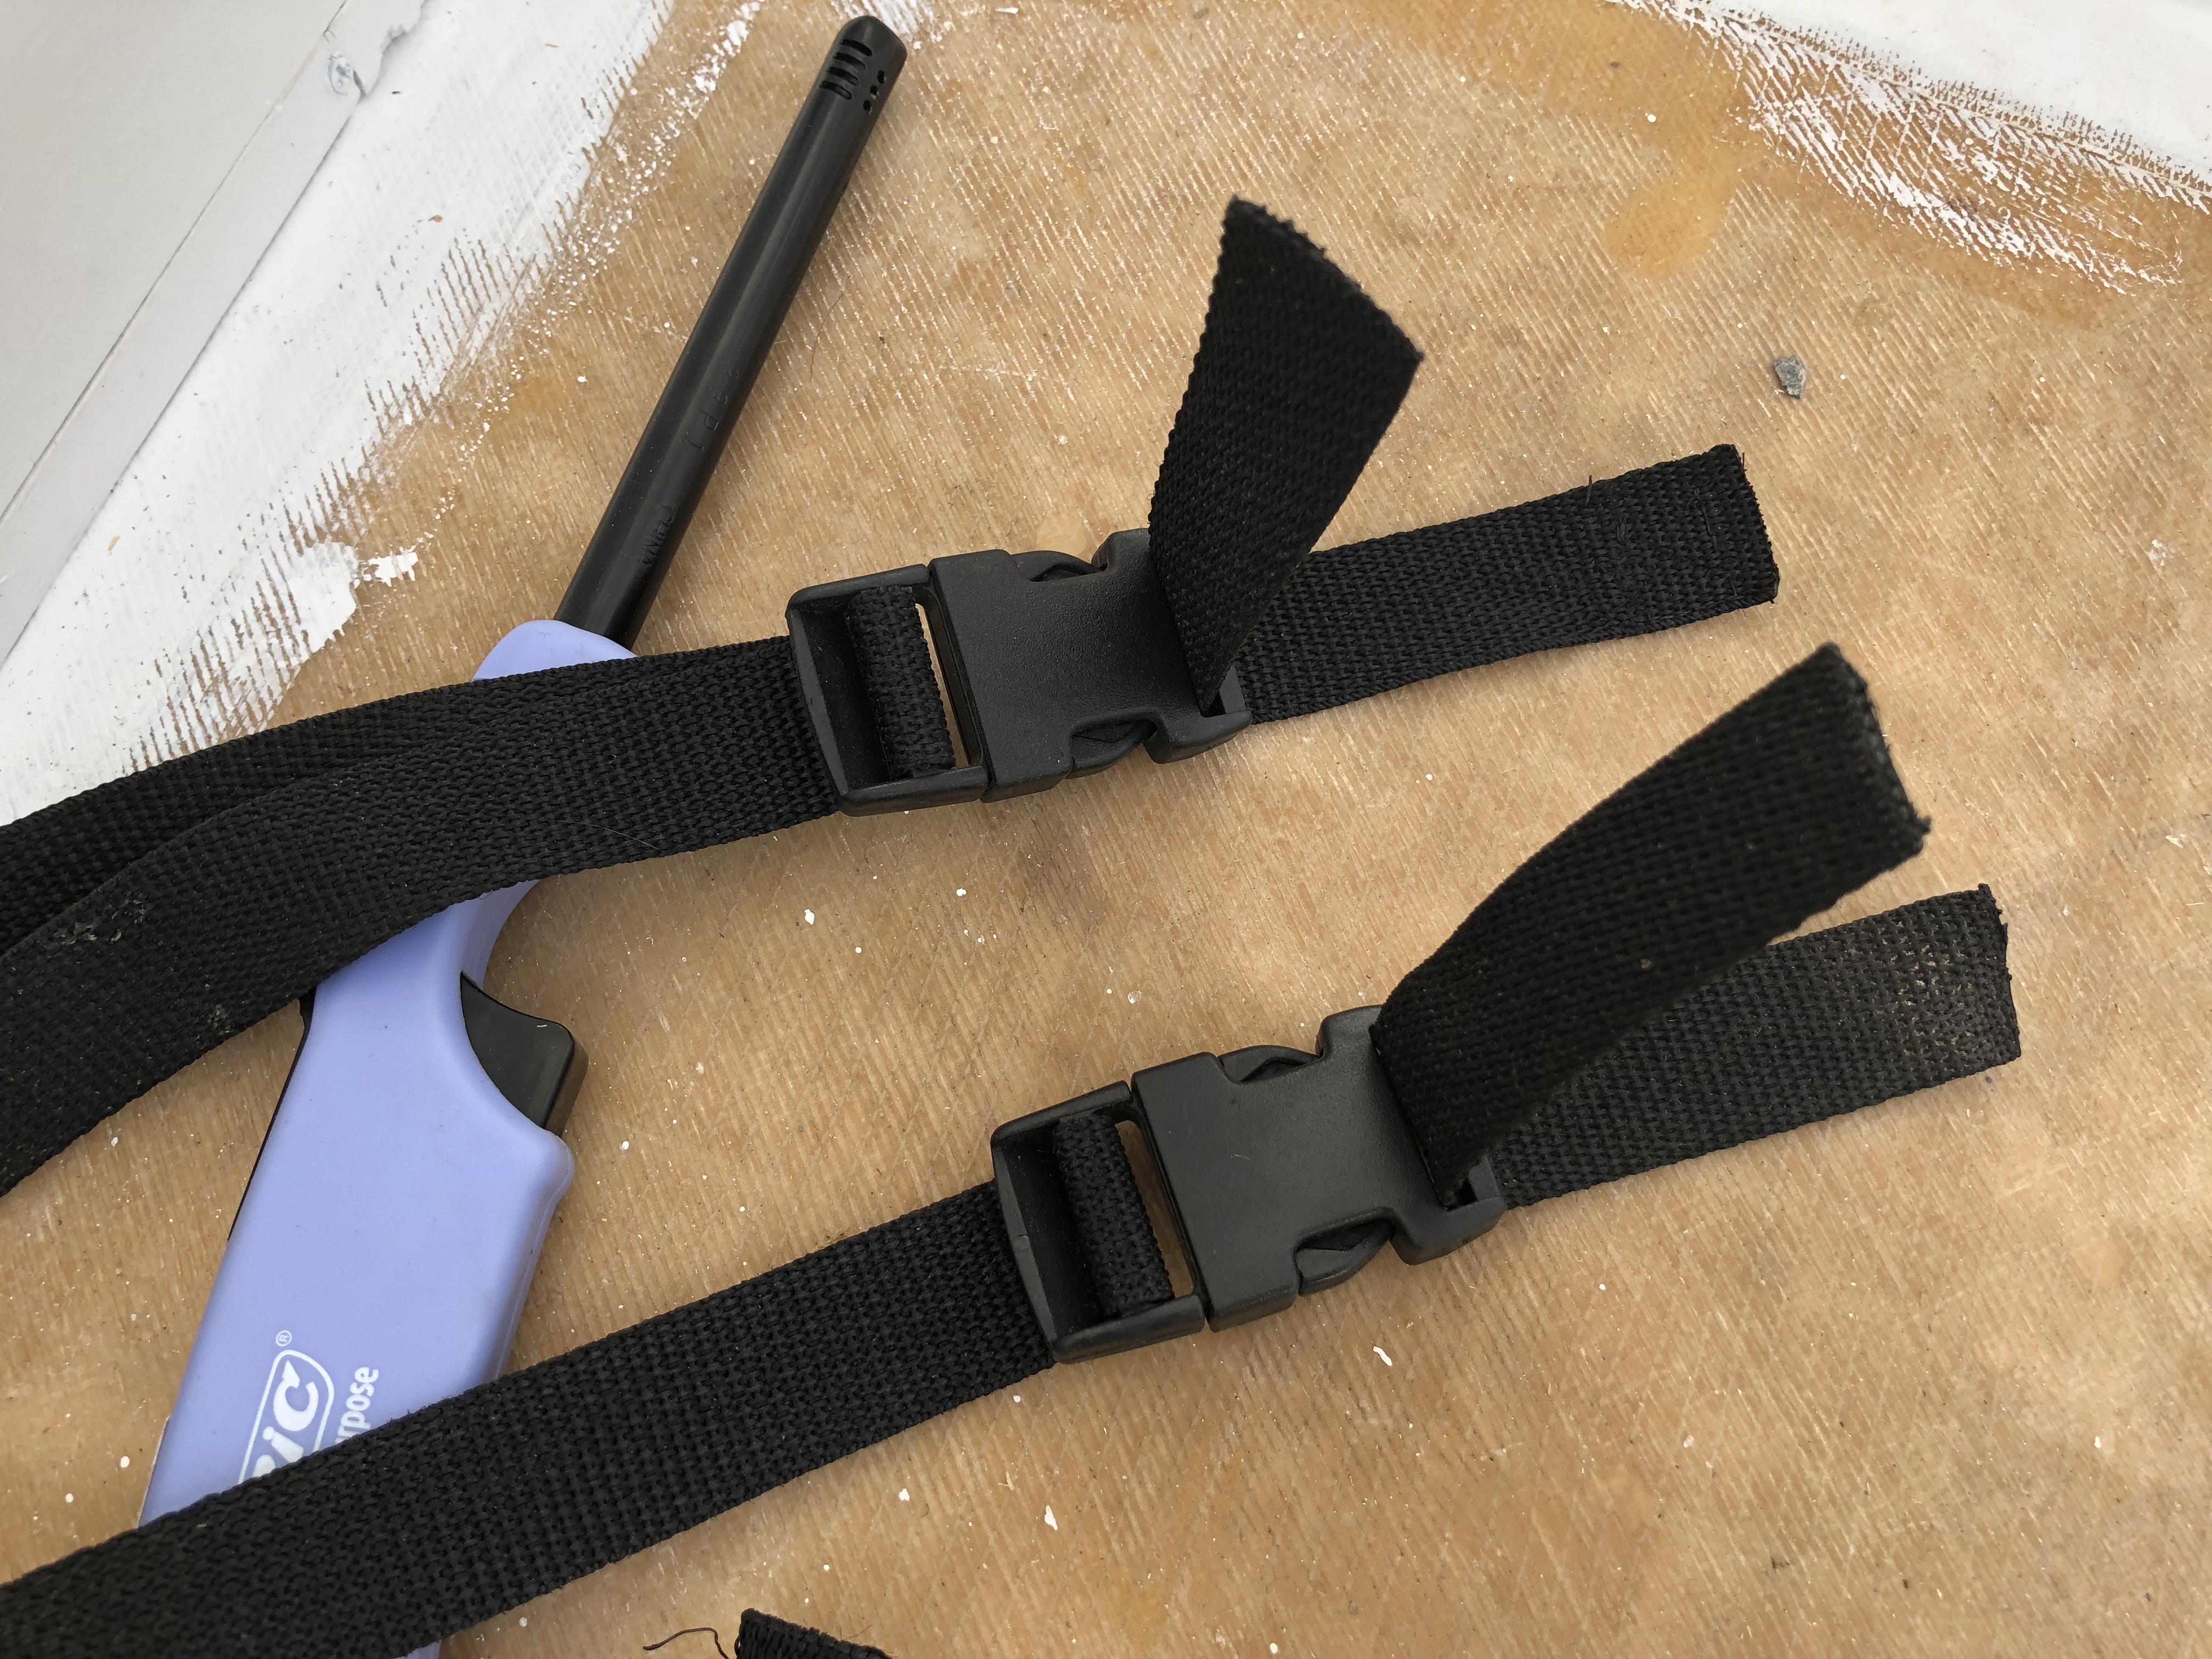
One thing that’s been on my list for a while was how to mount the drain tank for dirty water from the sink. I bought the container on Amazon a few weeks ago, but hadn’t done anything with it. I didn’t want to go to Tractor Supply yesterday to get the tie down things I thought I wanted, but then it hit me! I have the large blue boat cover that I keep meaning to tear apart and redo into a camper cover… and it has tons of nylon webbing with straps on it! SCORE! This thing is the gift that keeps on giving…
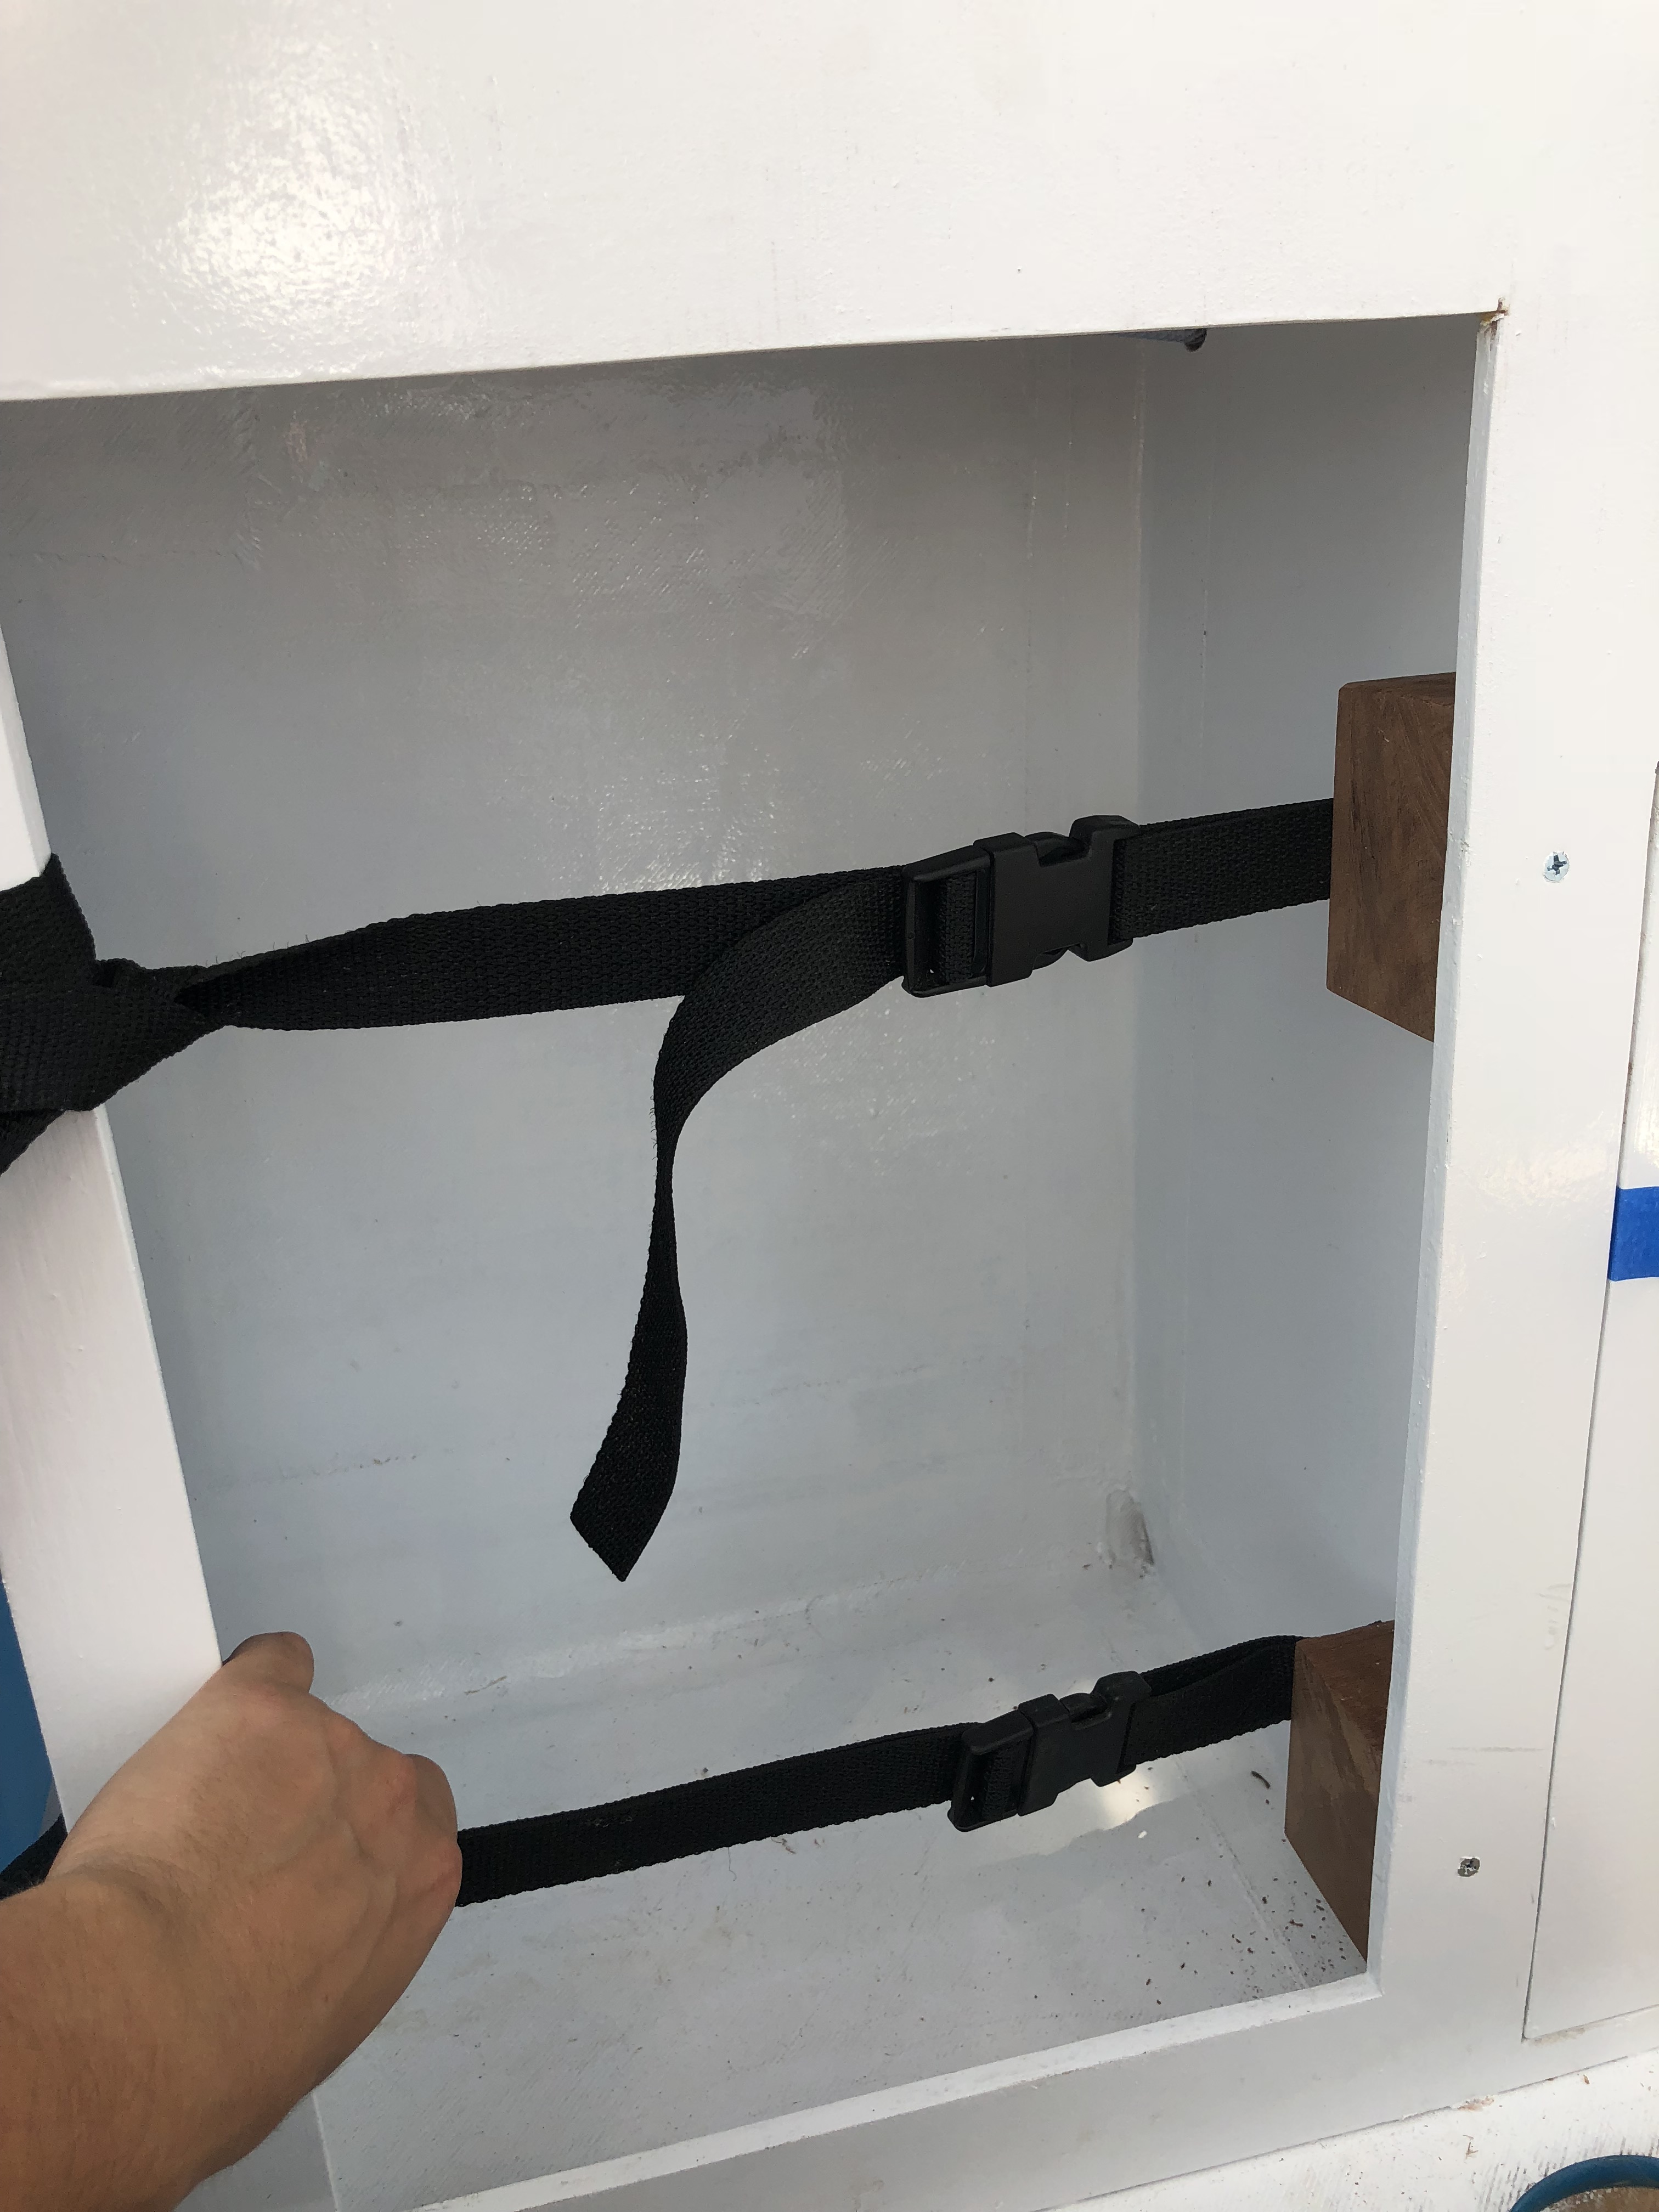
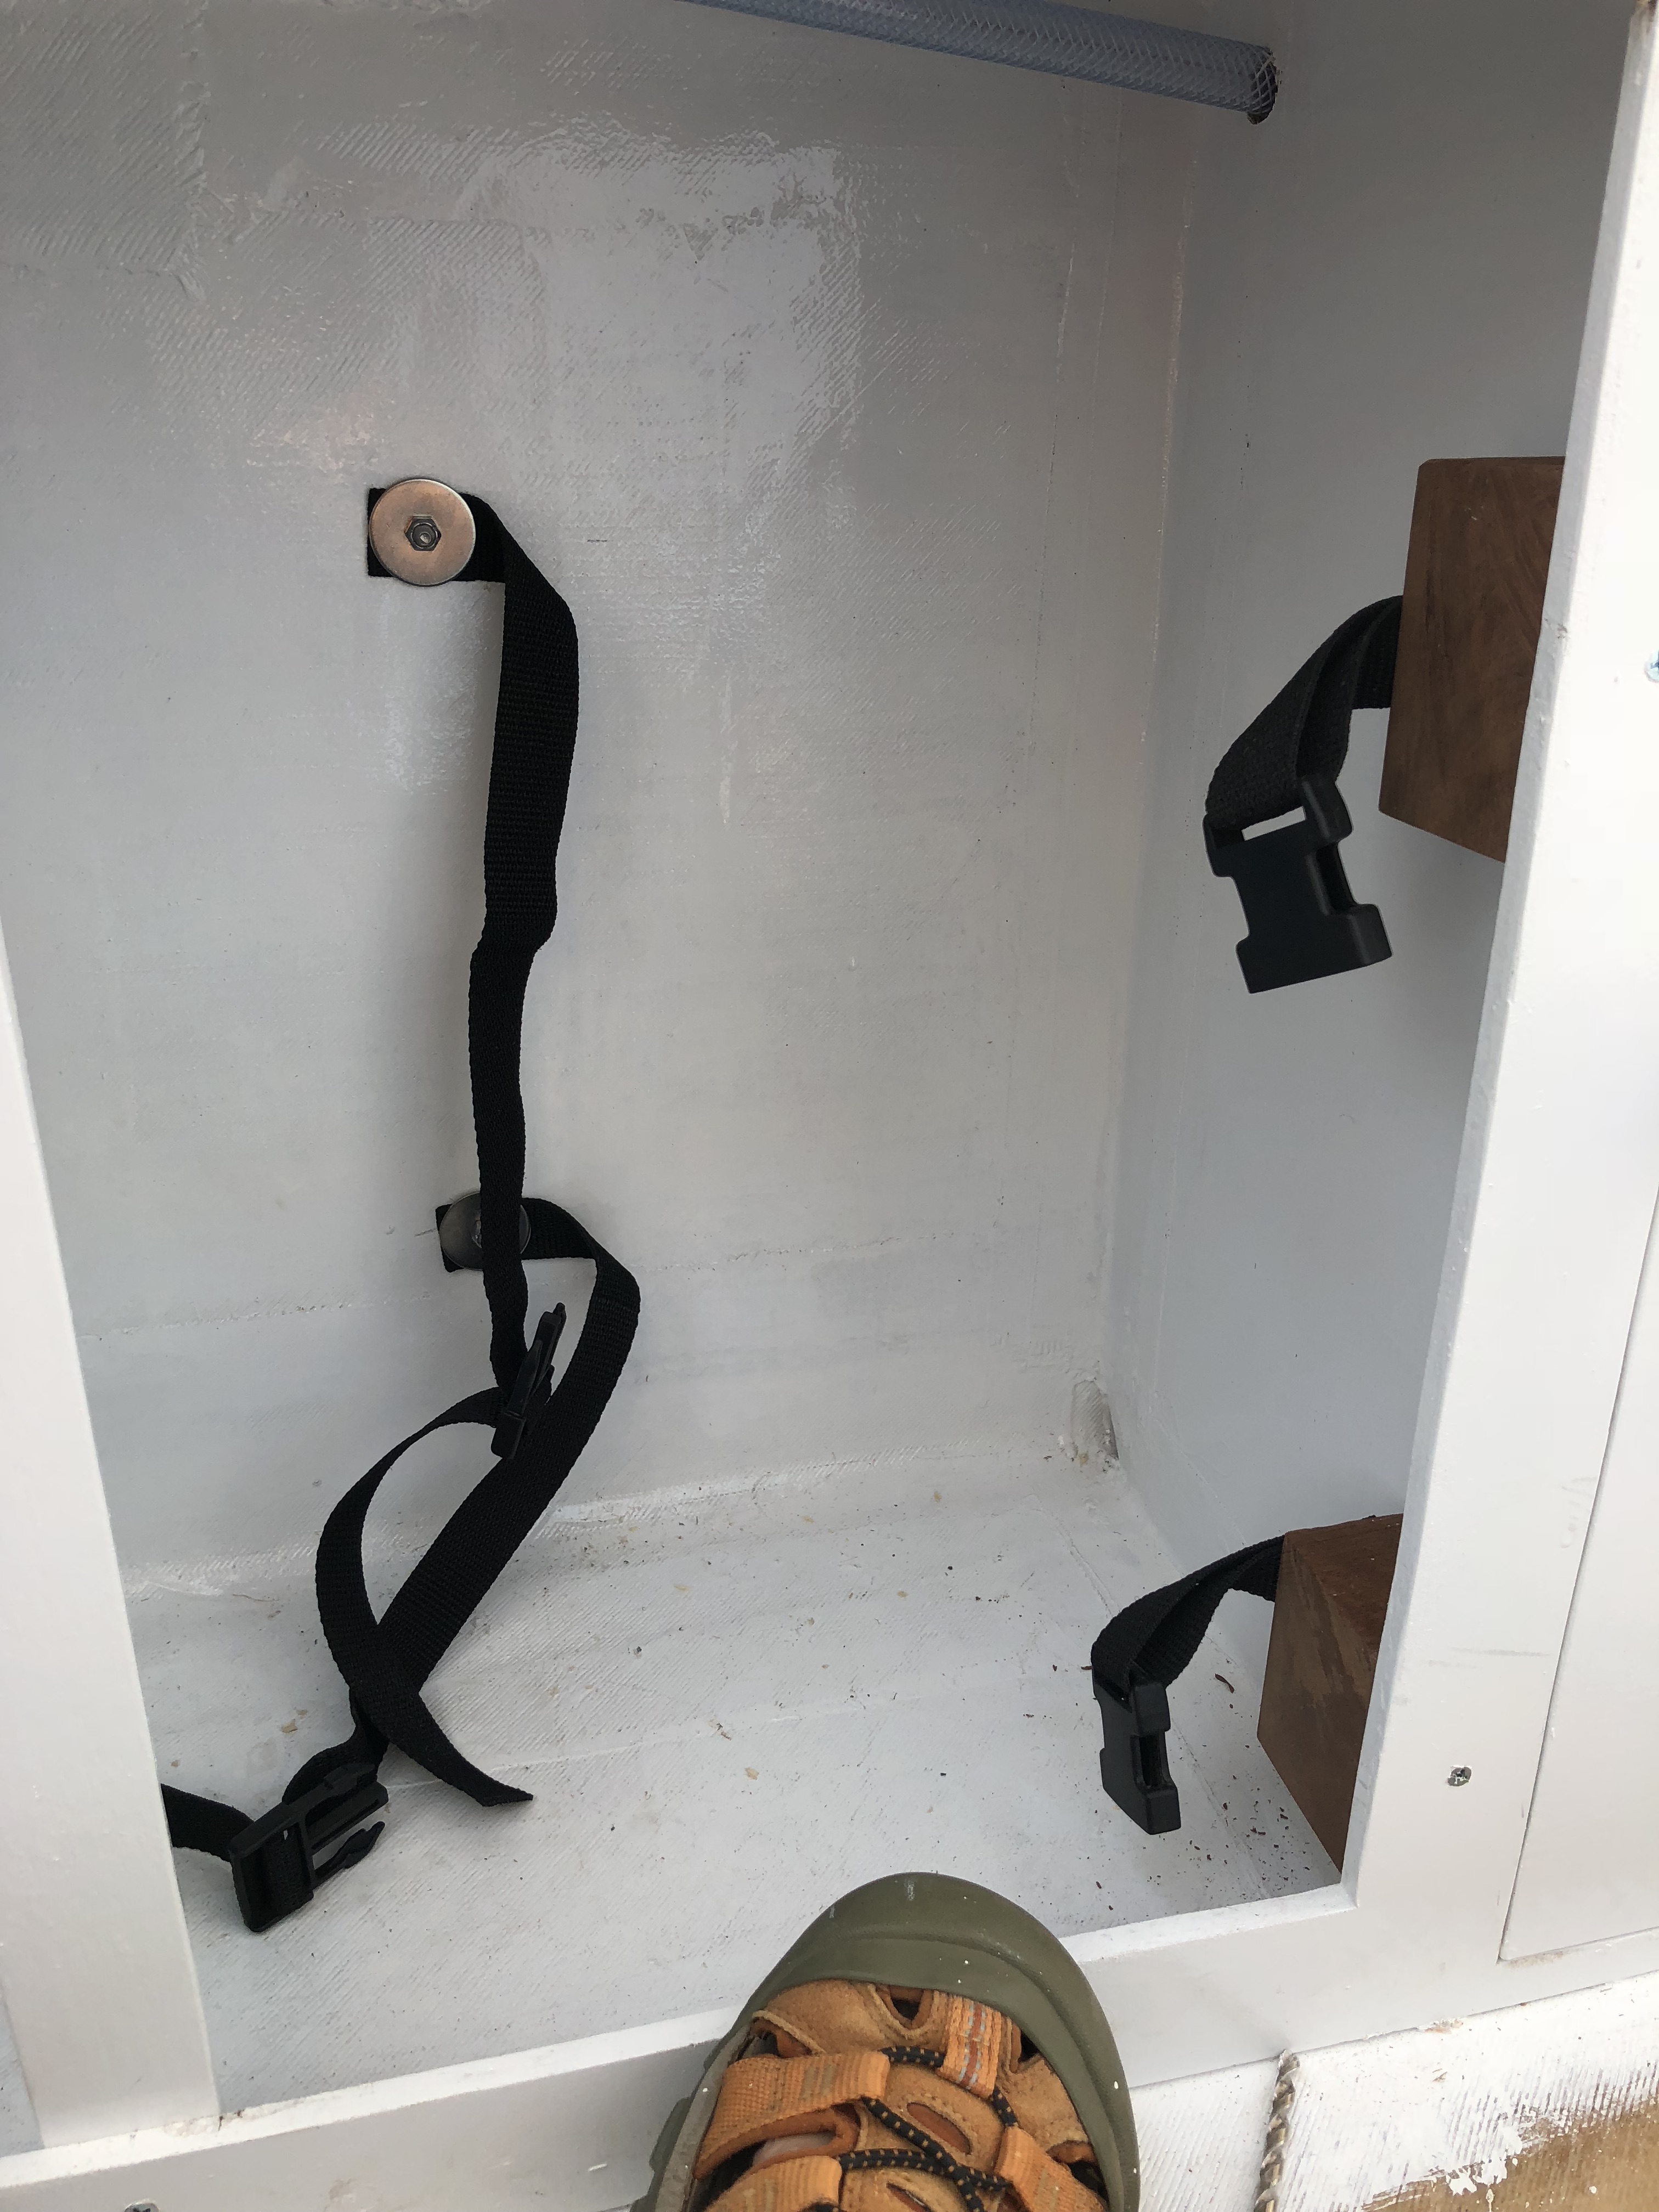
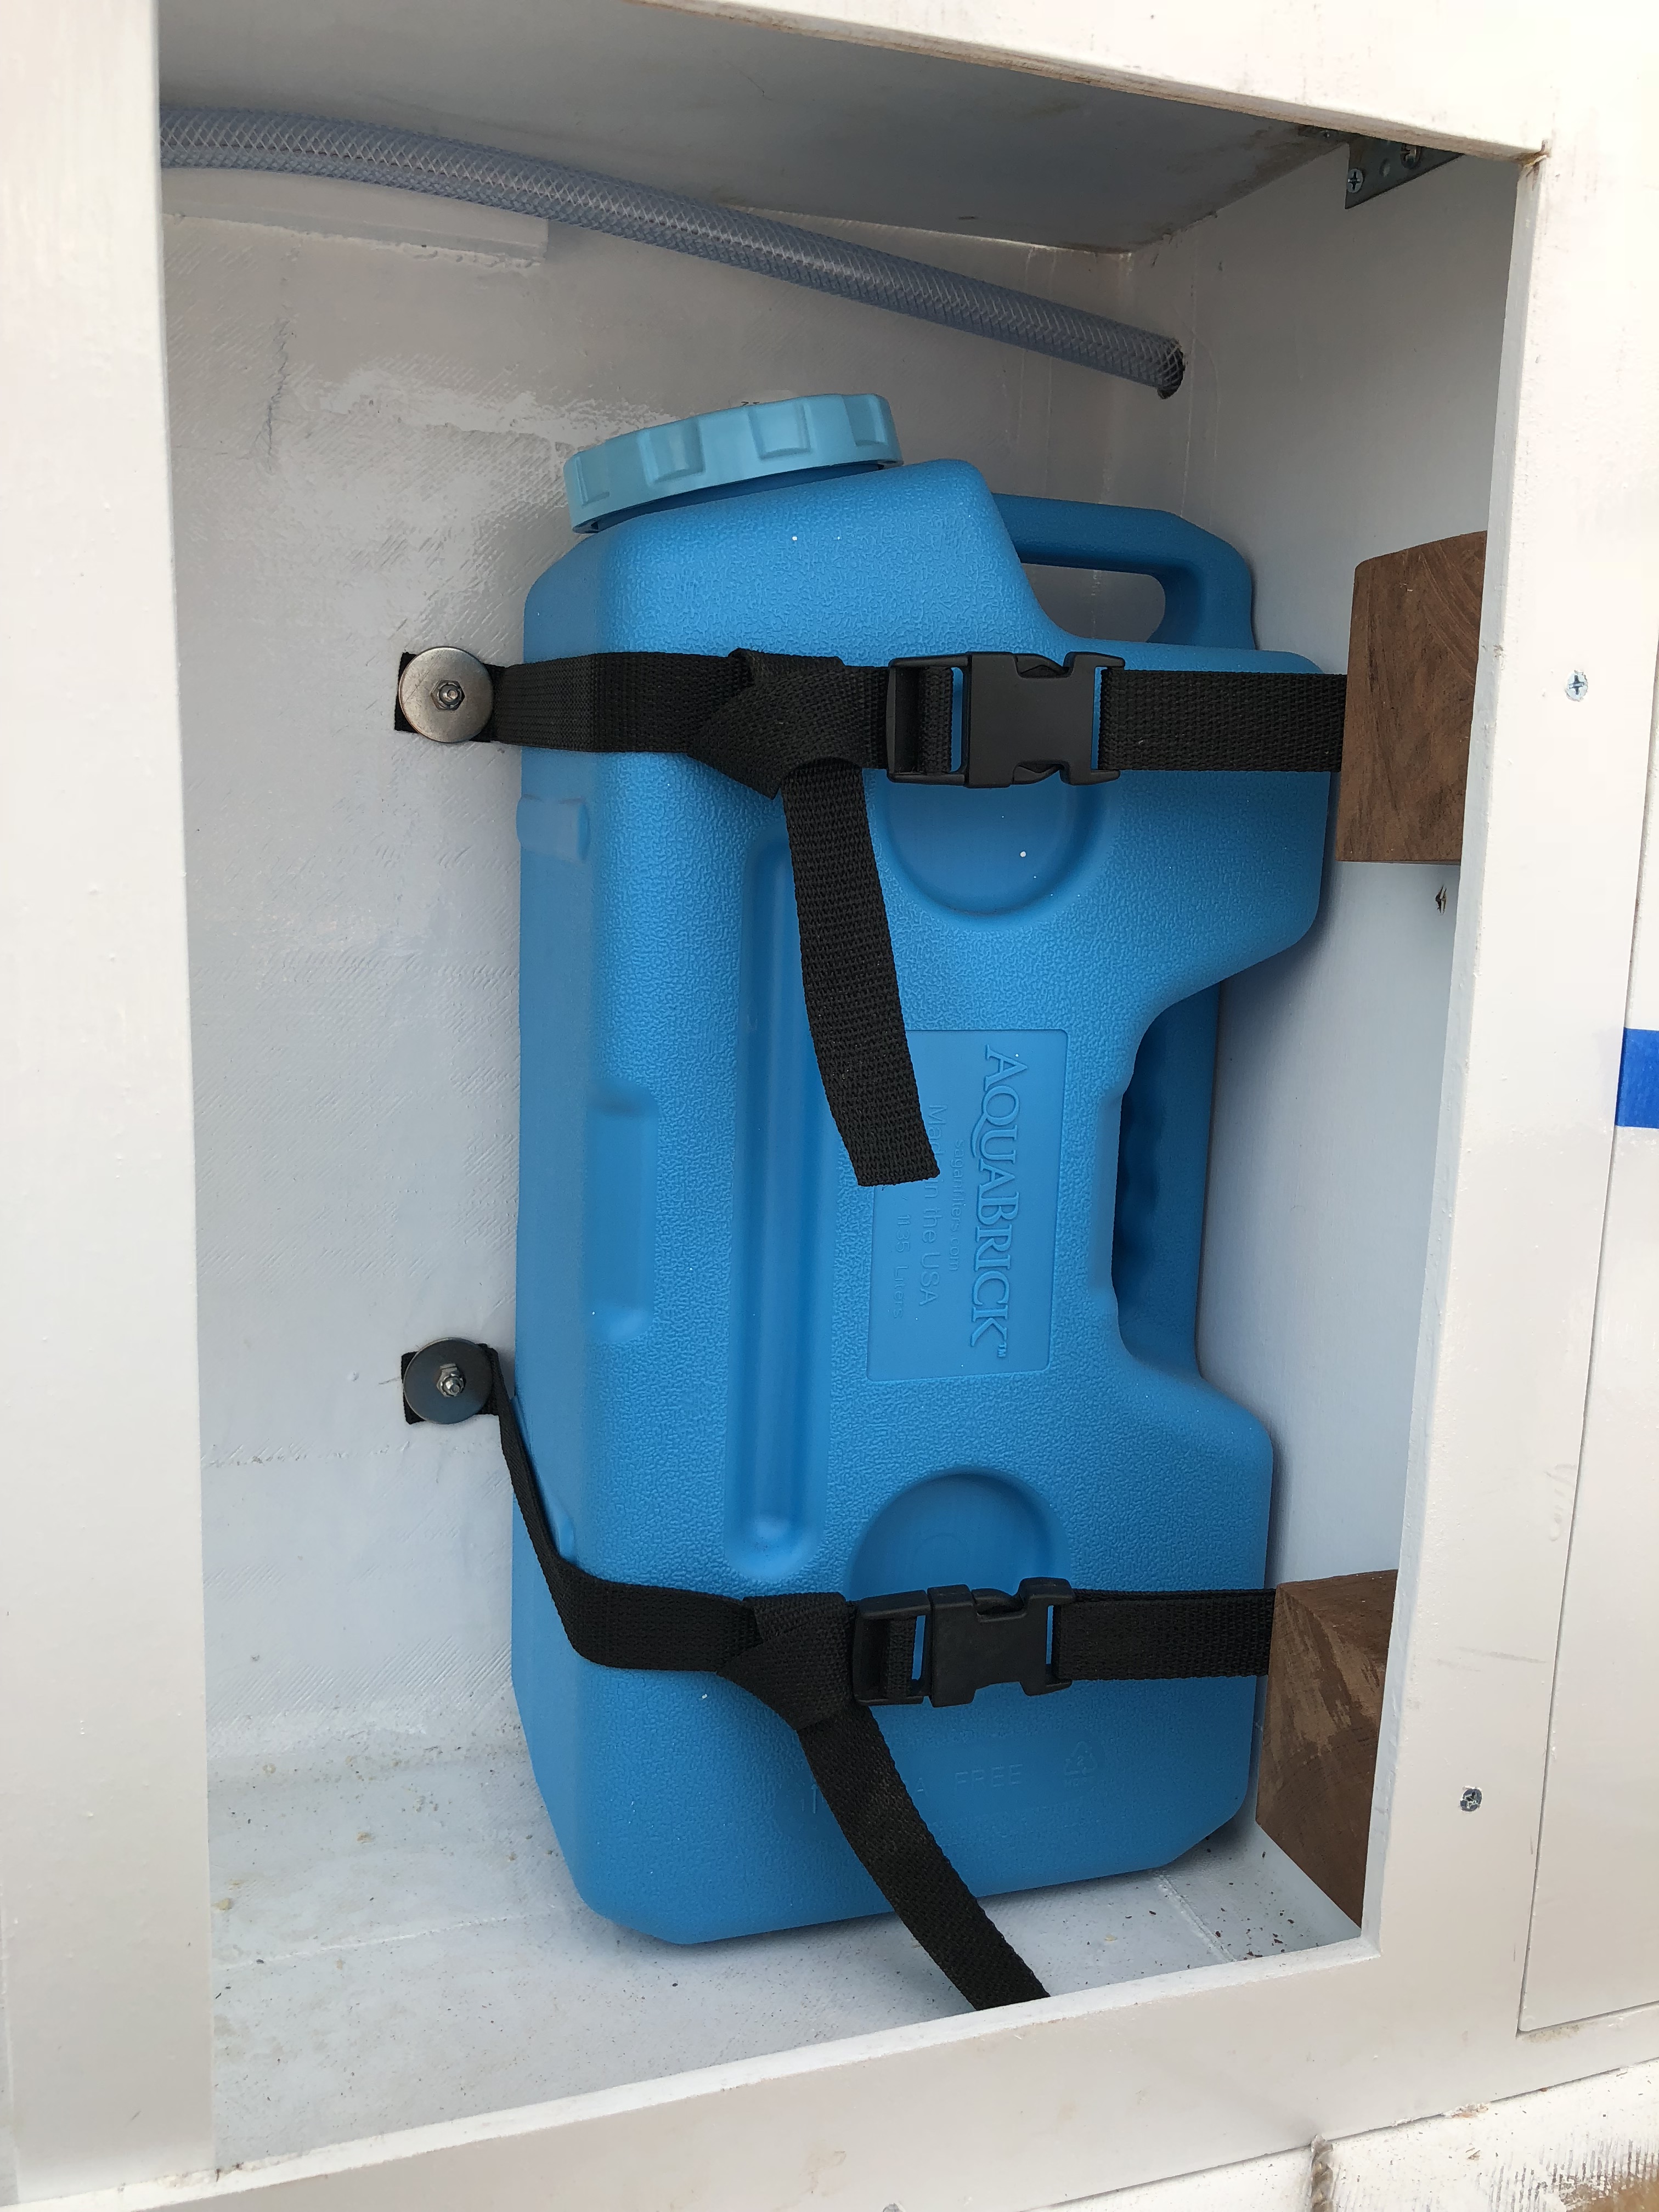
That worked out WAY better than I thought it would. 3 measly little gallons of water isn’t going go budge. And with the buckles it will be super easy to remove and put back in after we empty it. I consider this a success!
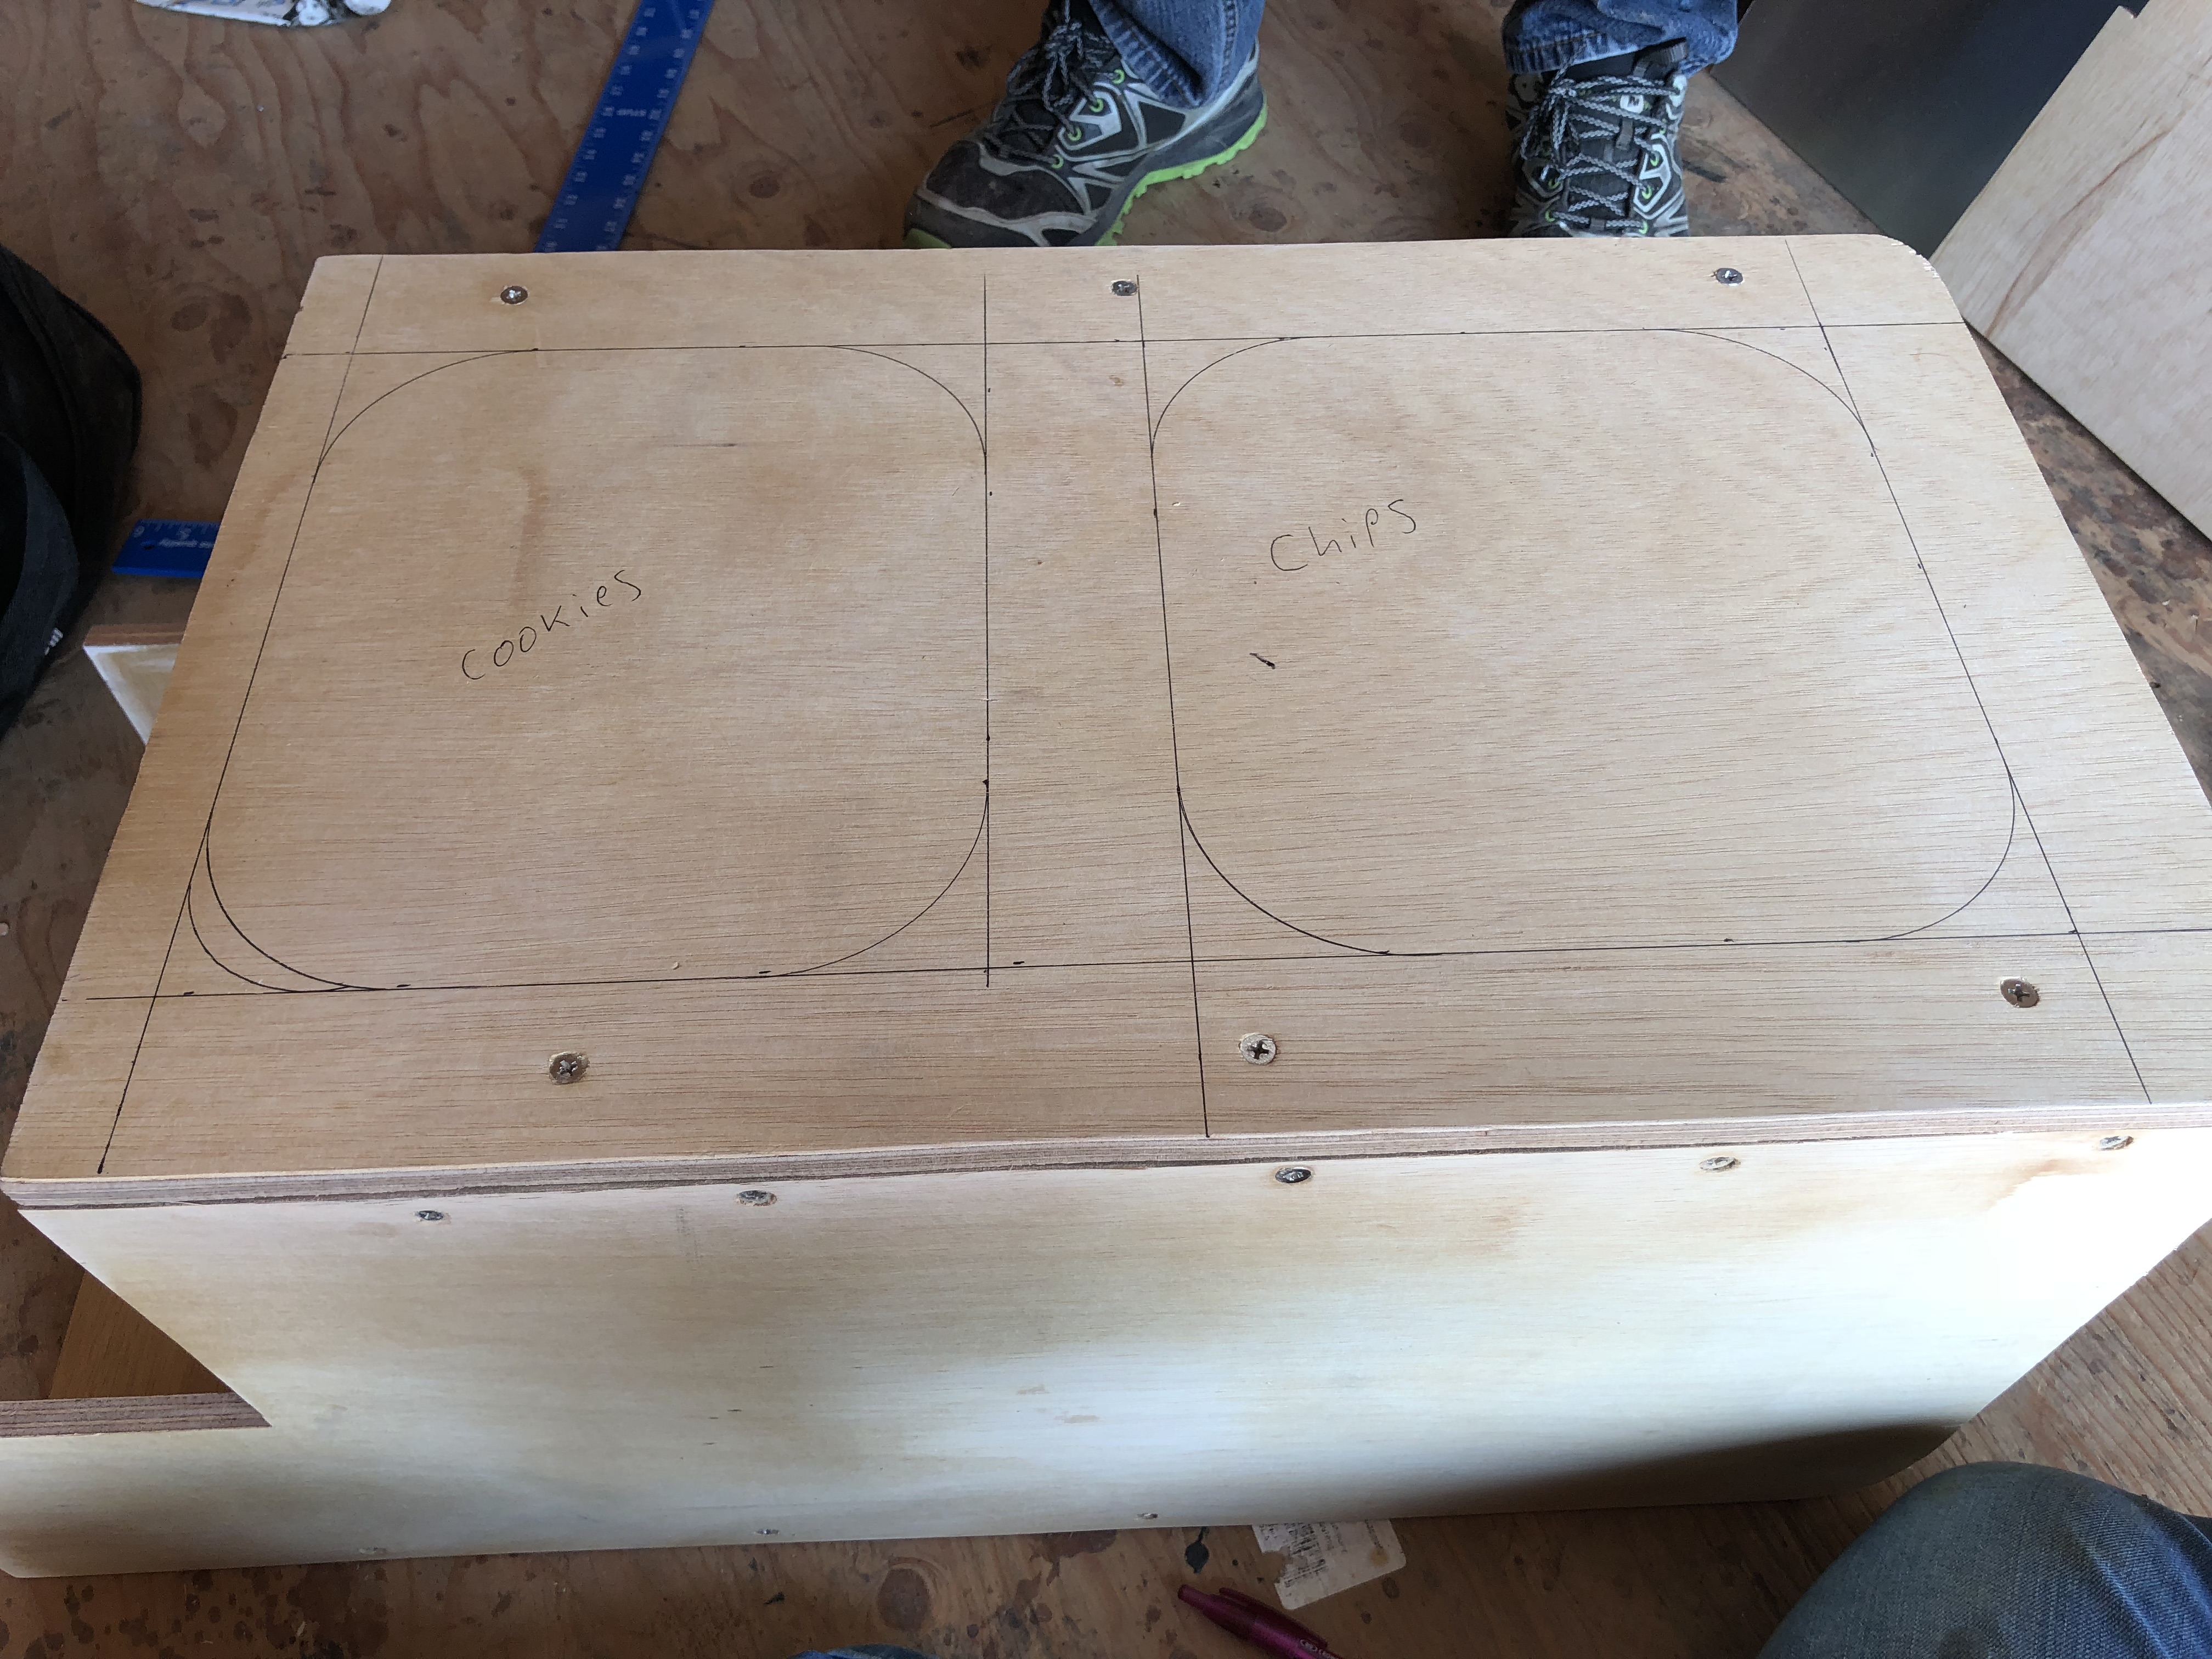
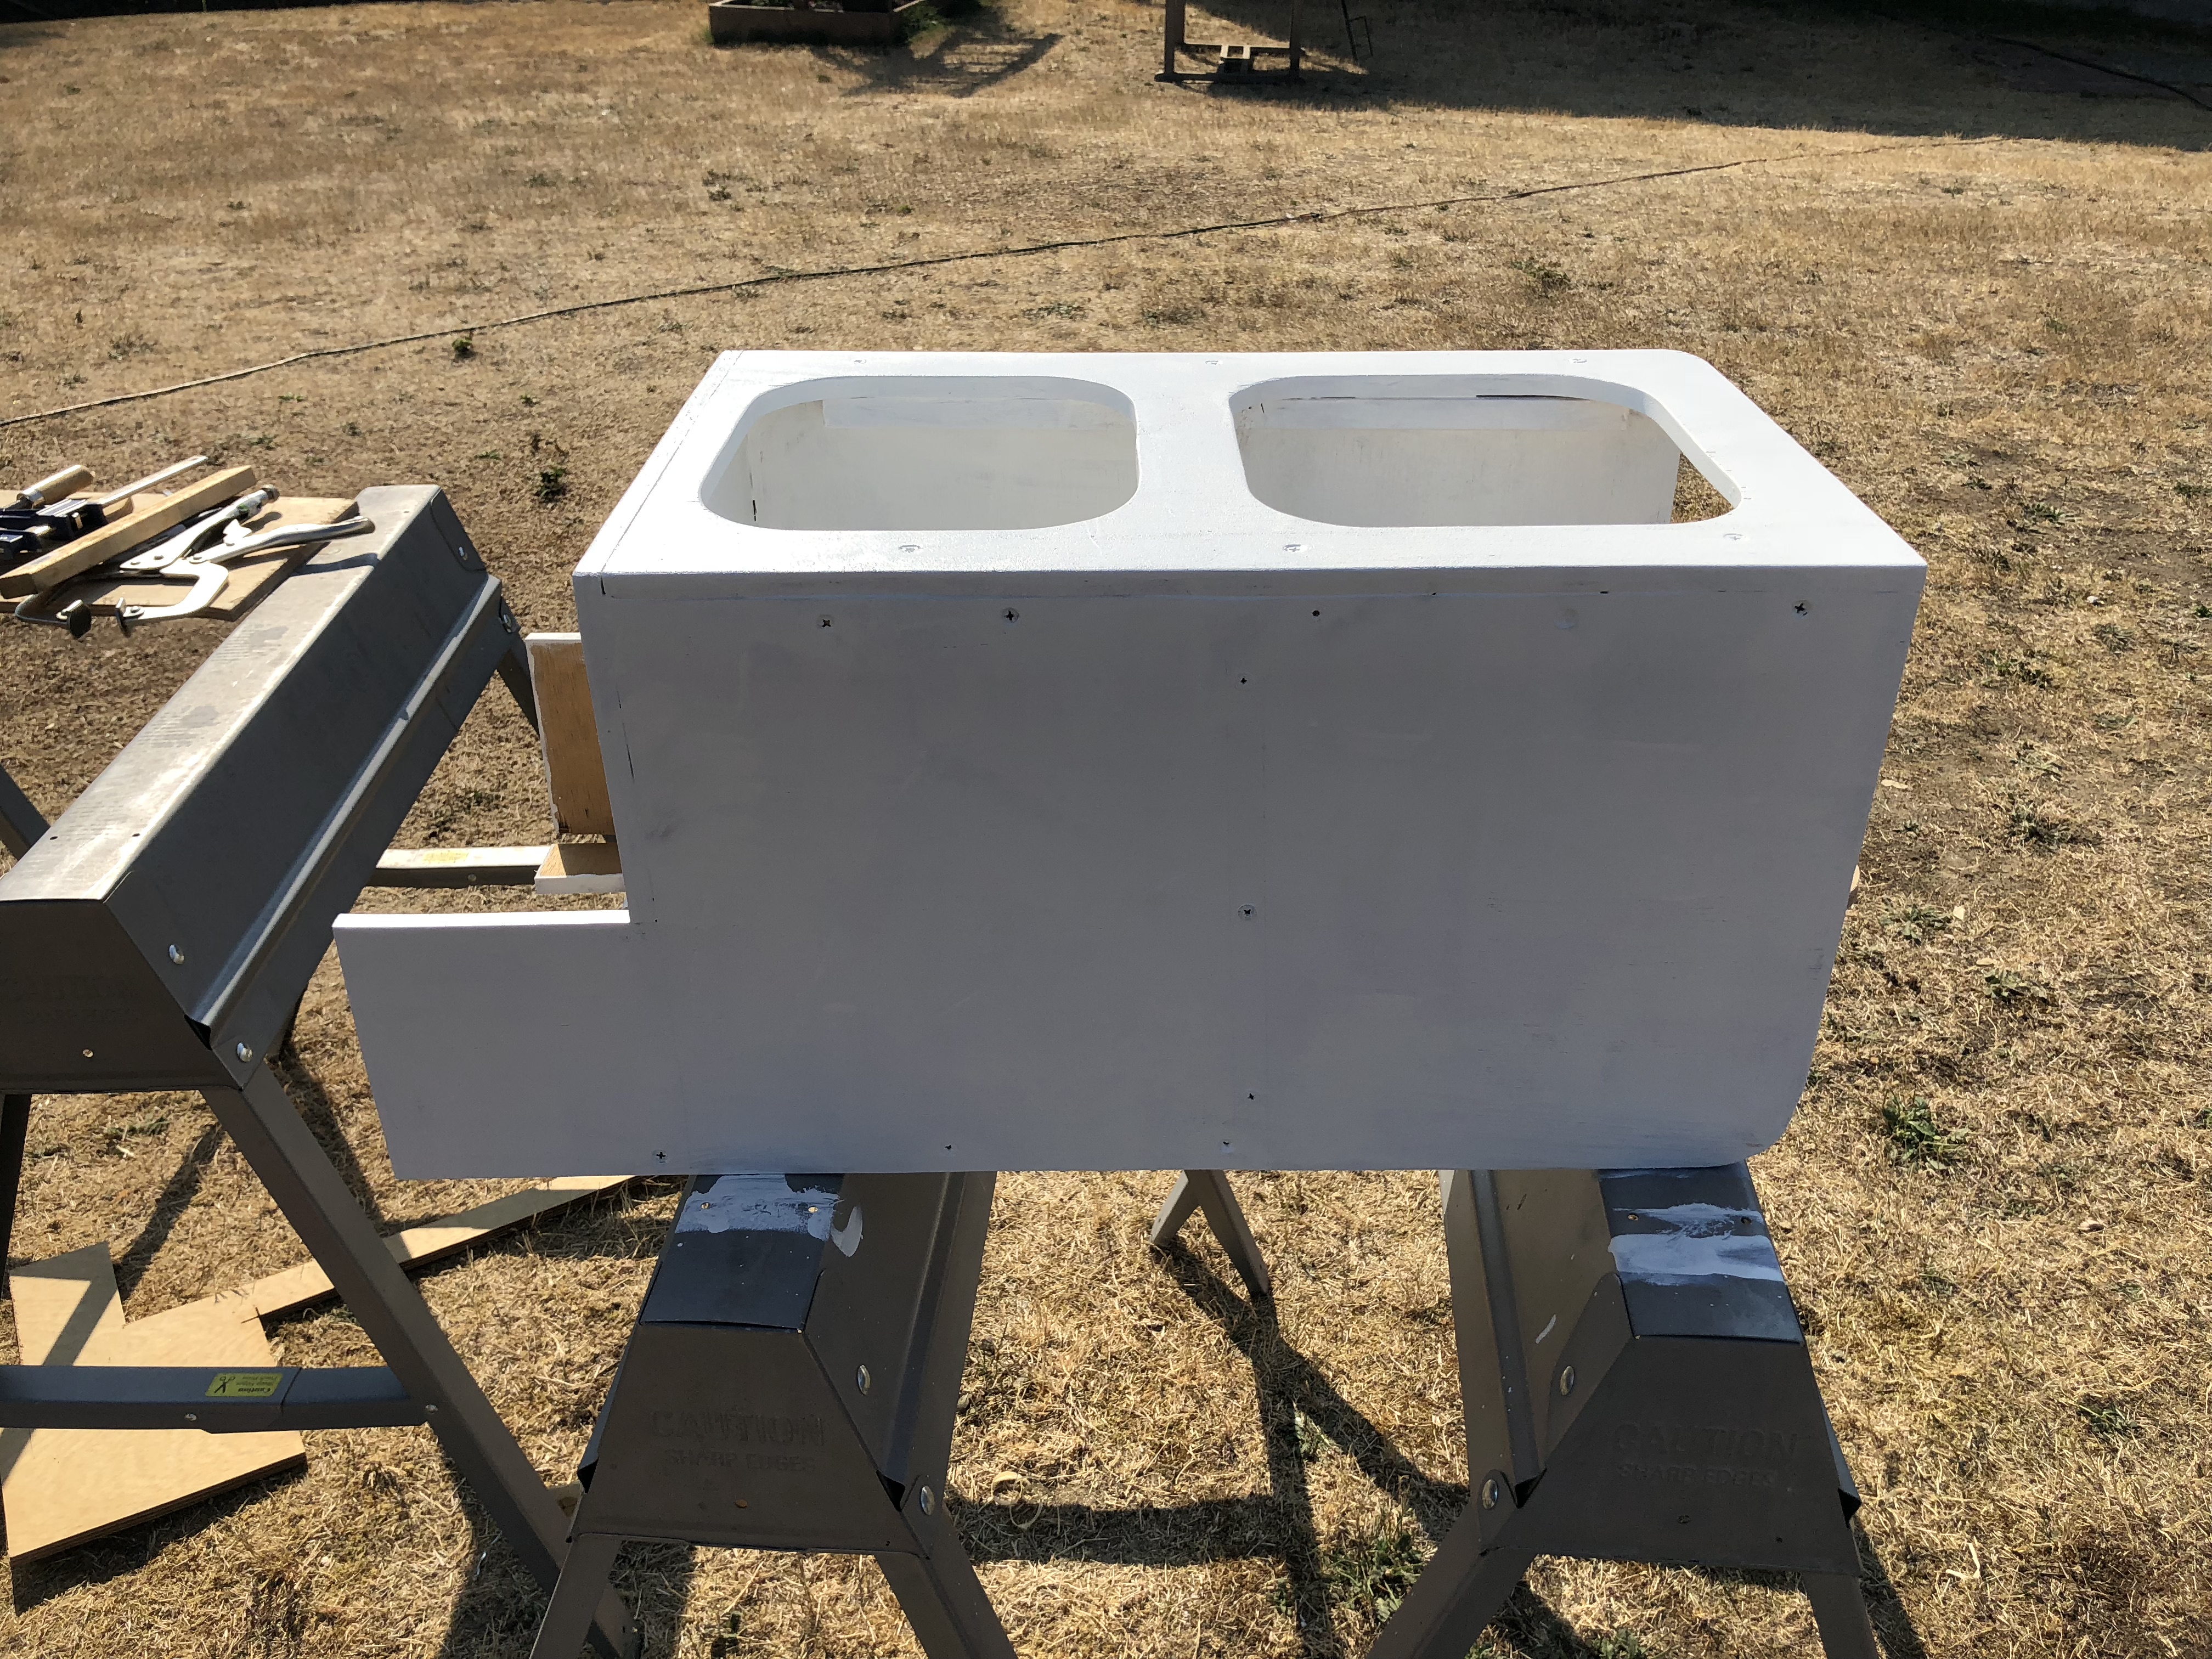
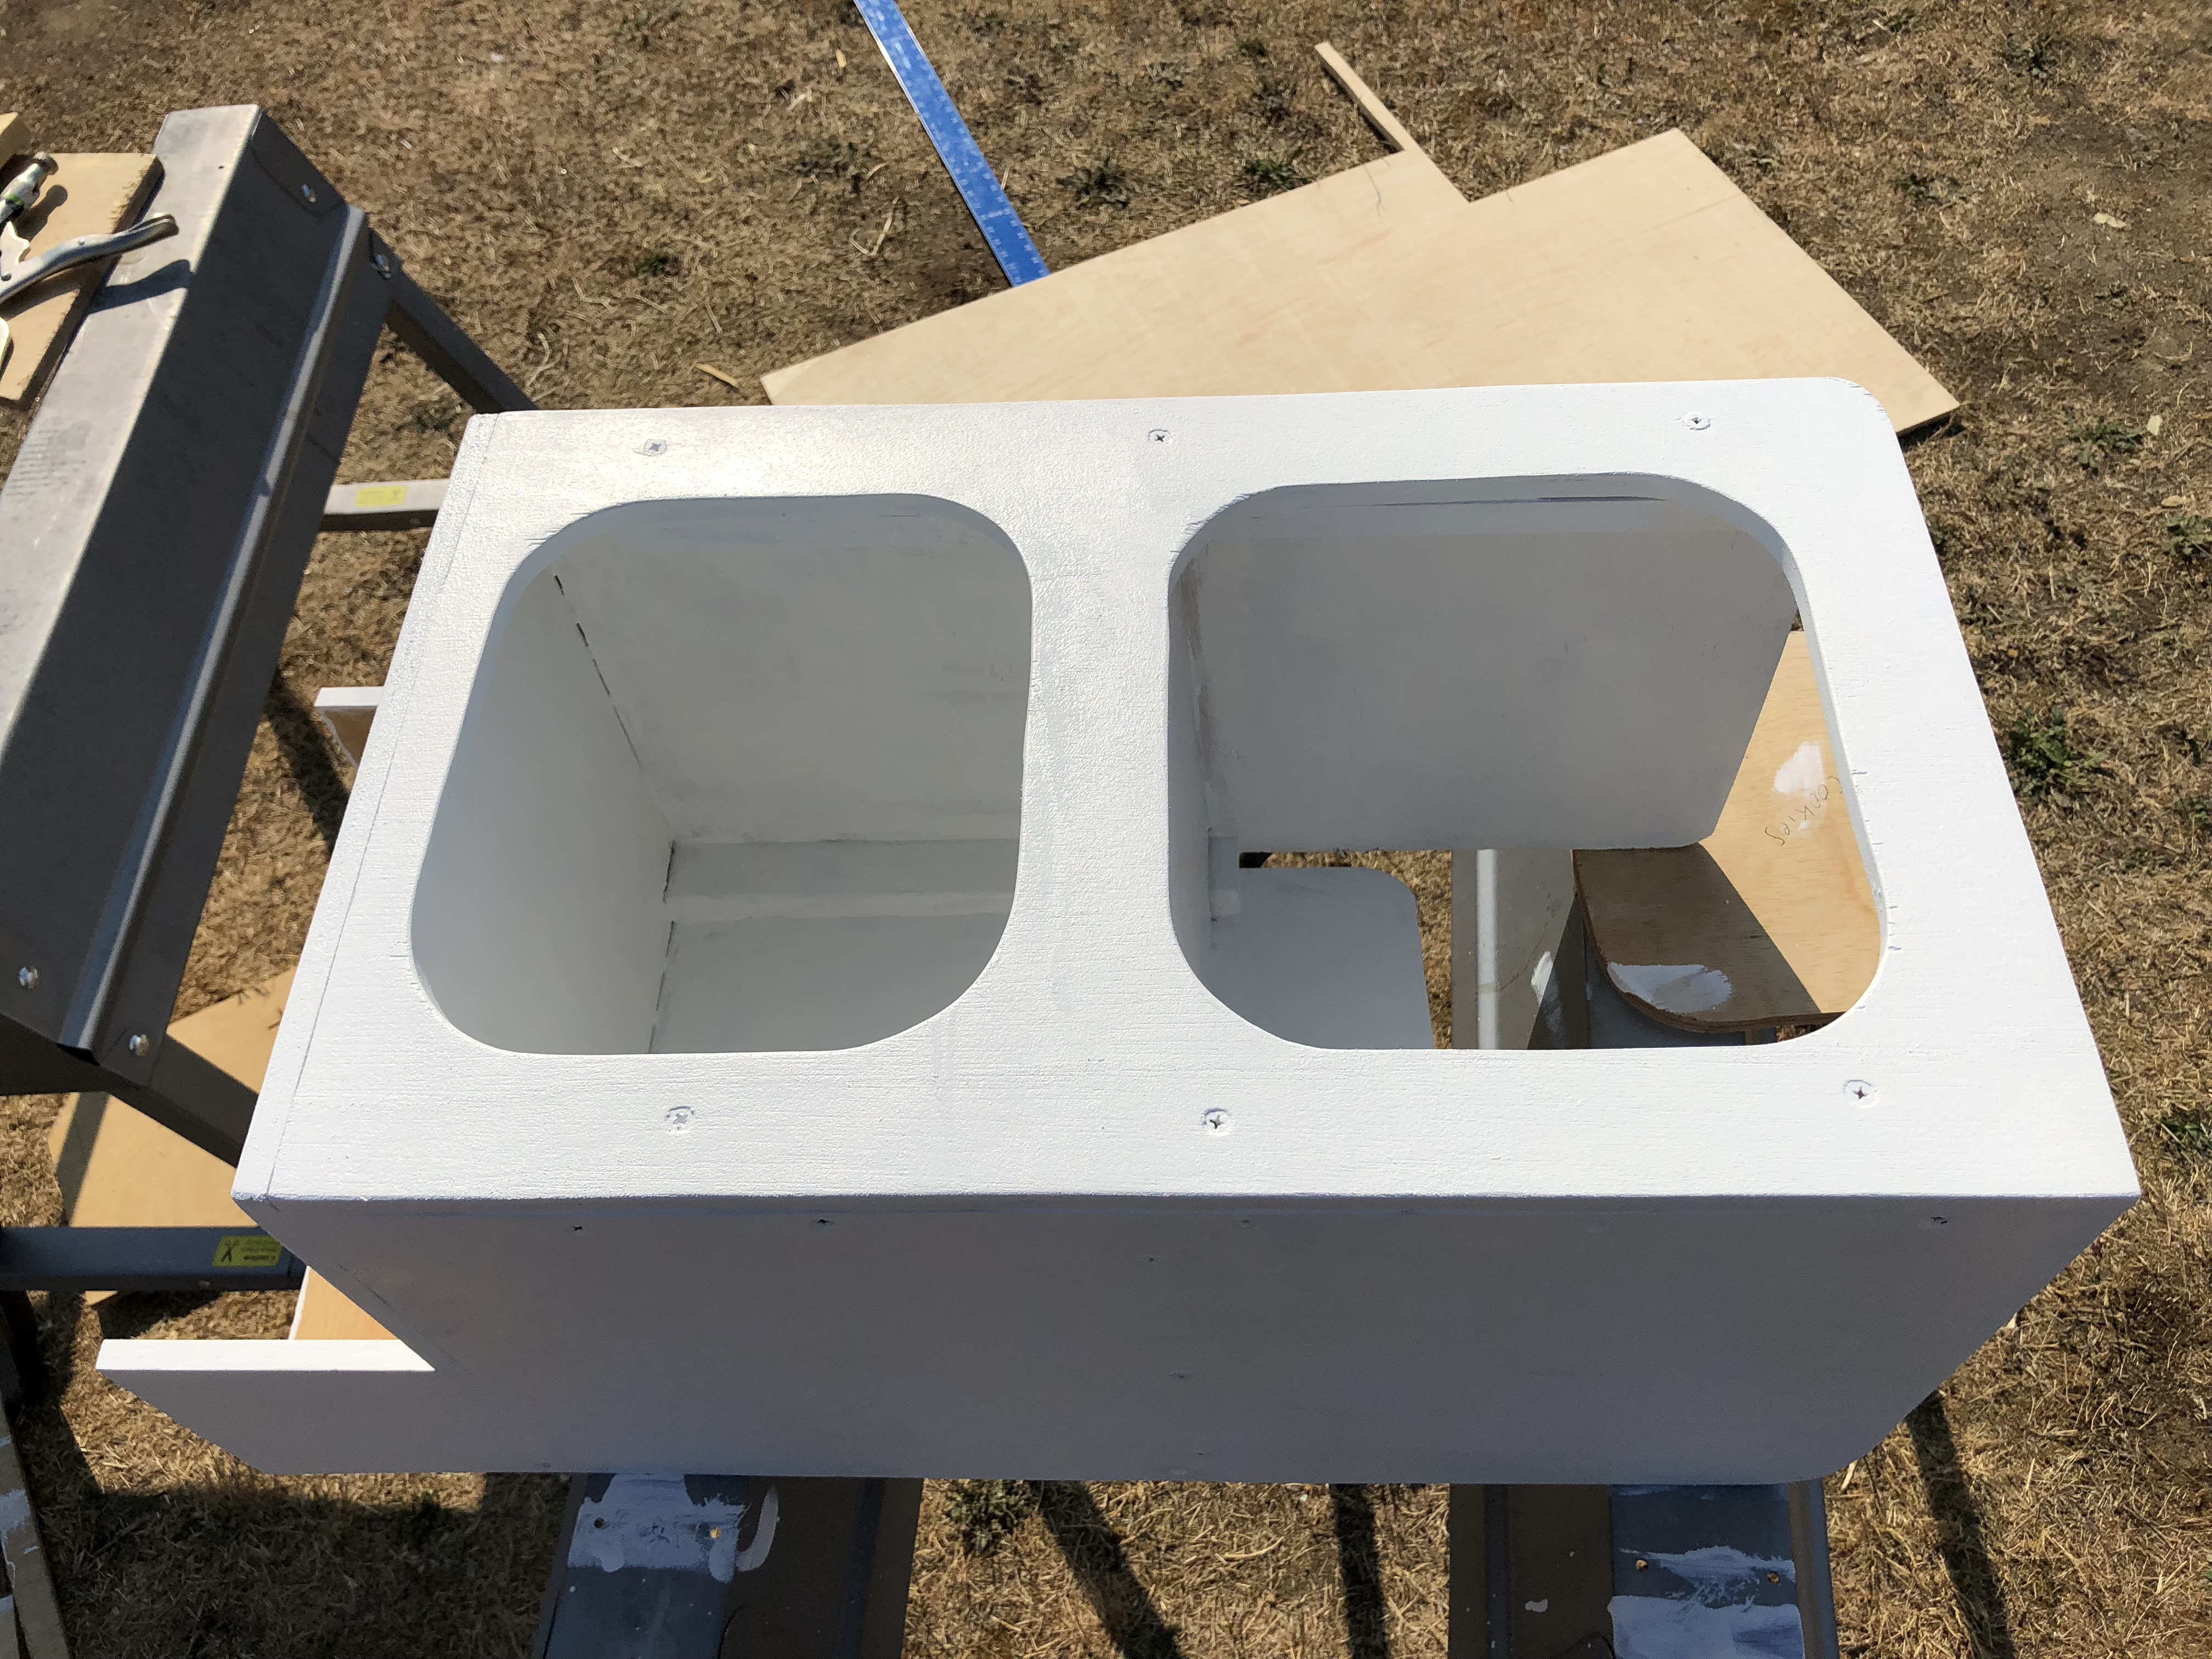
While I was busy working on plumbing, Jason was busy using the rest of our plywood up and making a cabinet to go in the back corner. The main purpose is to house the switch panel for quick access things like lights and the thermostat for the heater. We’ve done a great job at getting rid of all of our spare plywood chunks and I’m pretty sure this is the last big thing we needed to make!
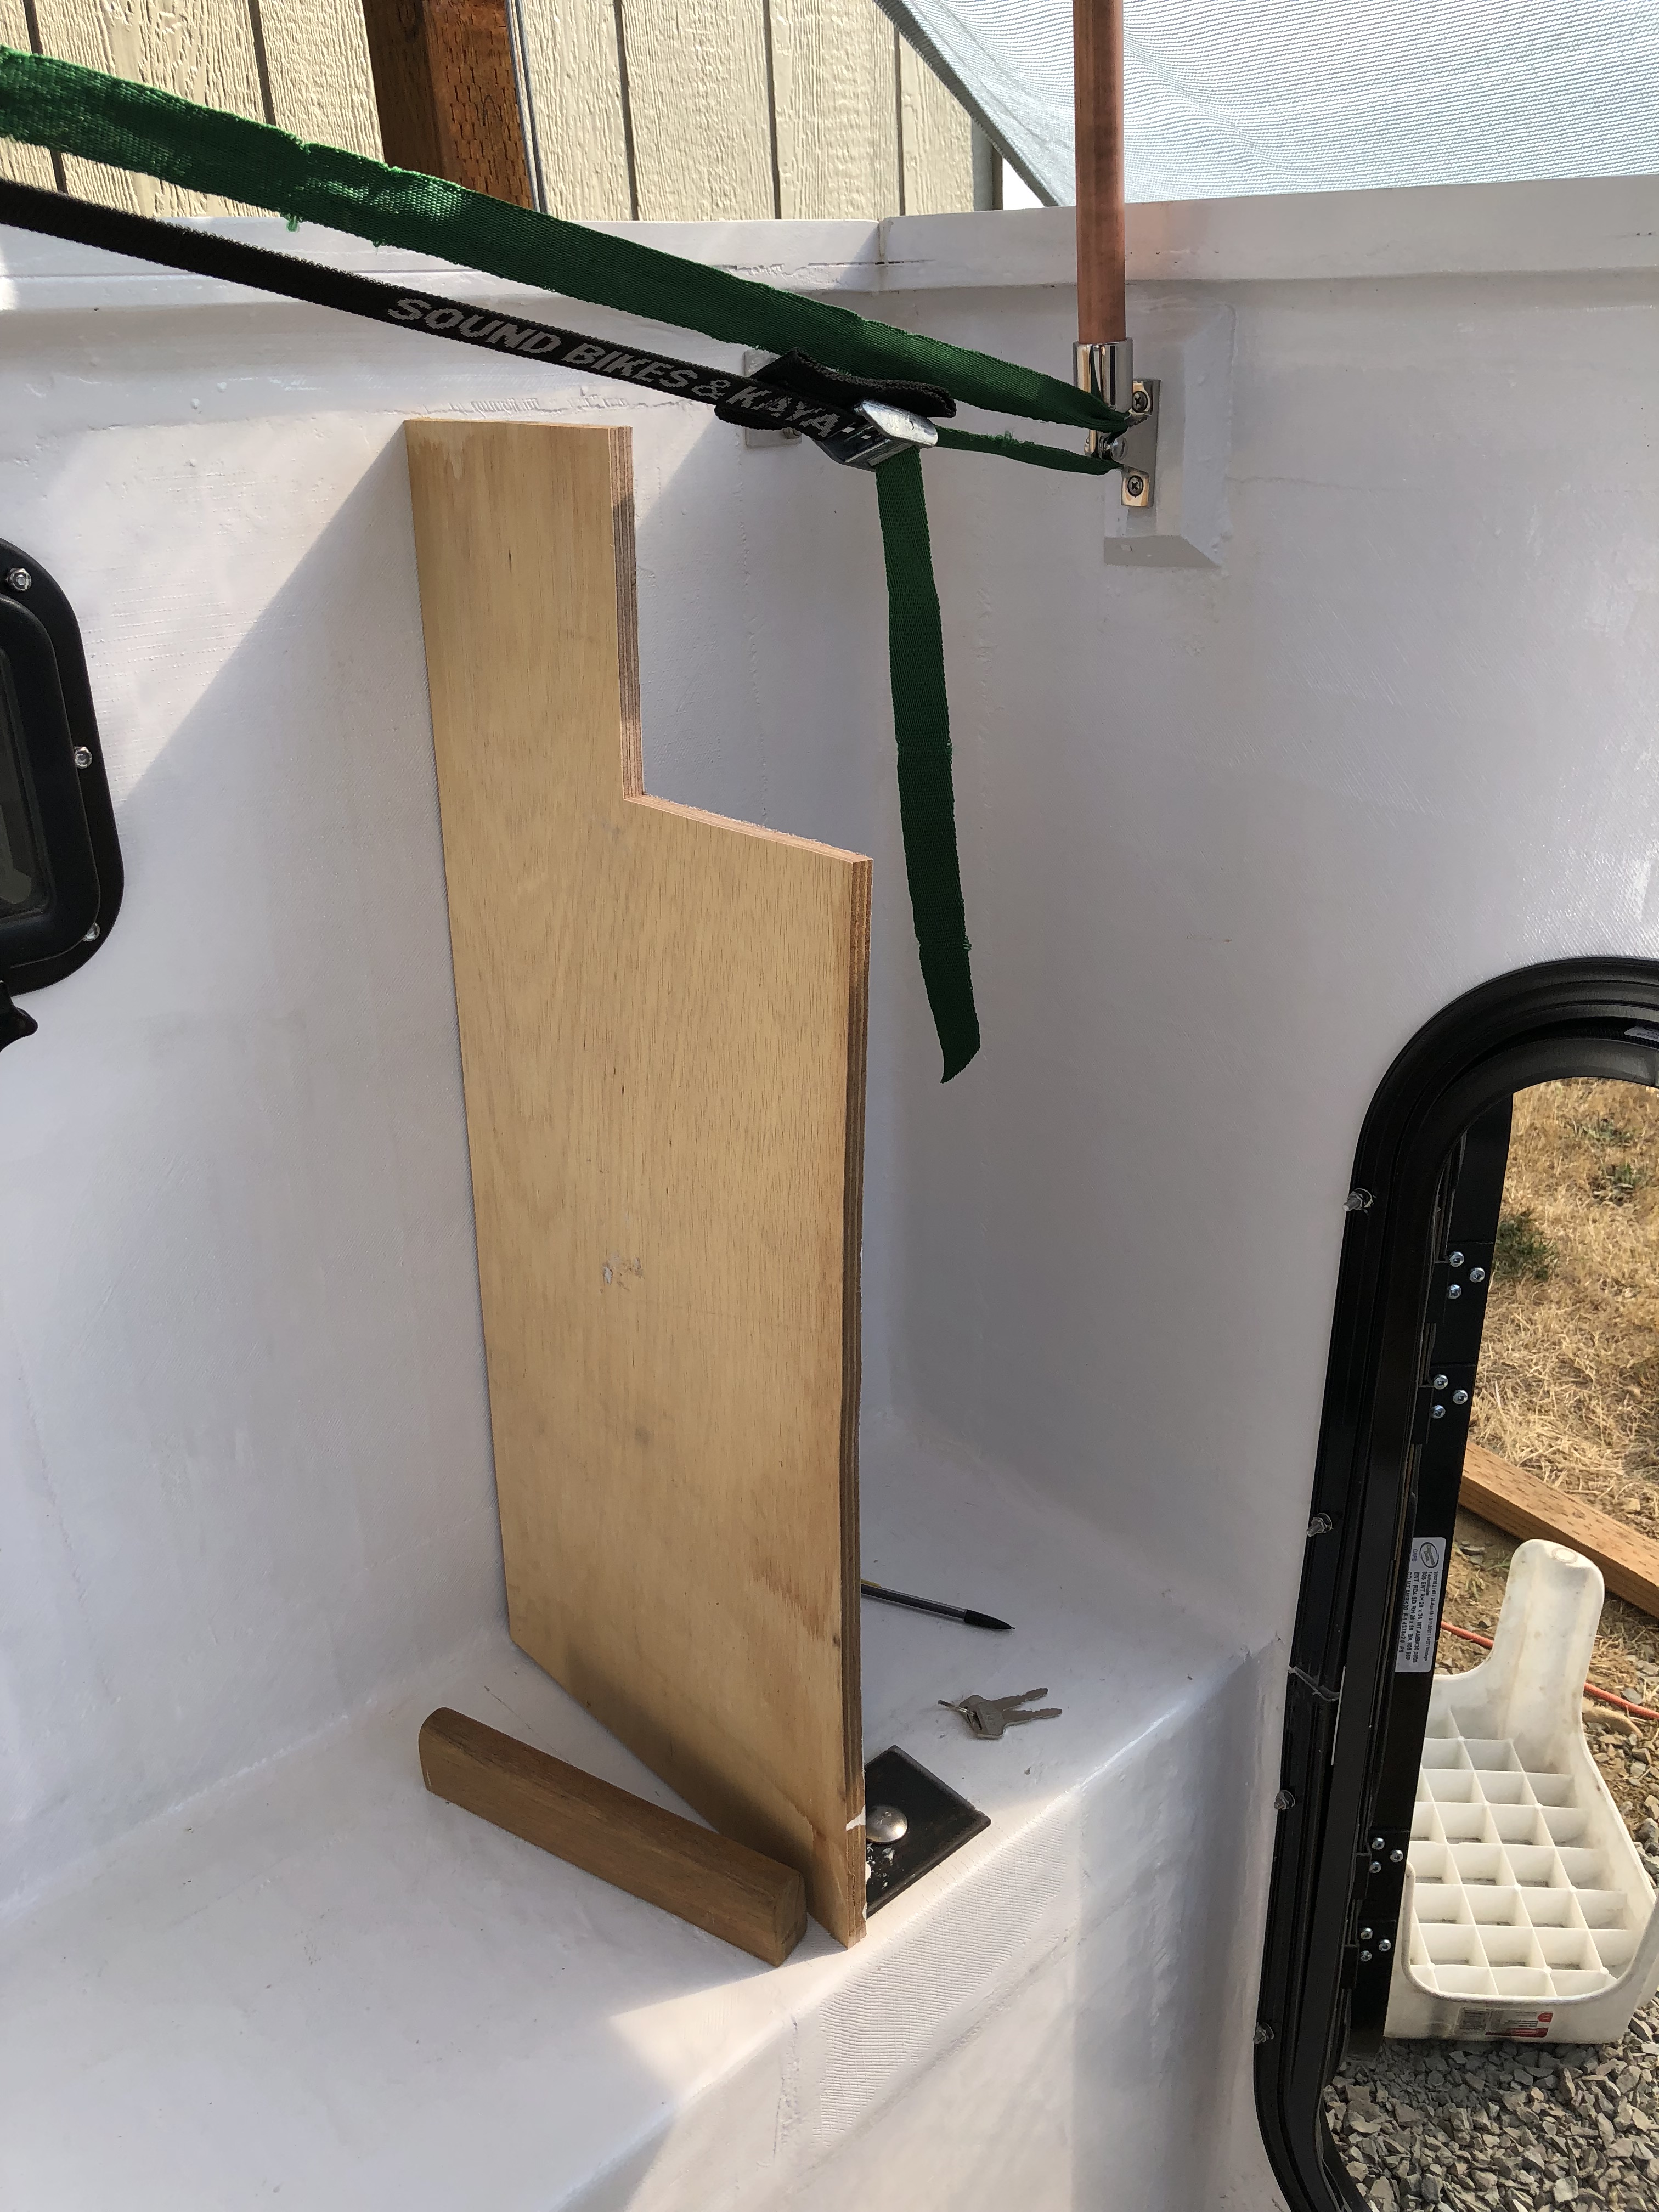
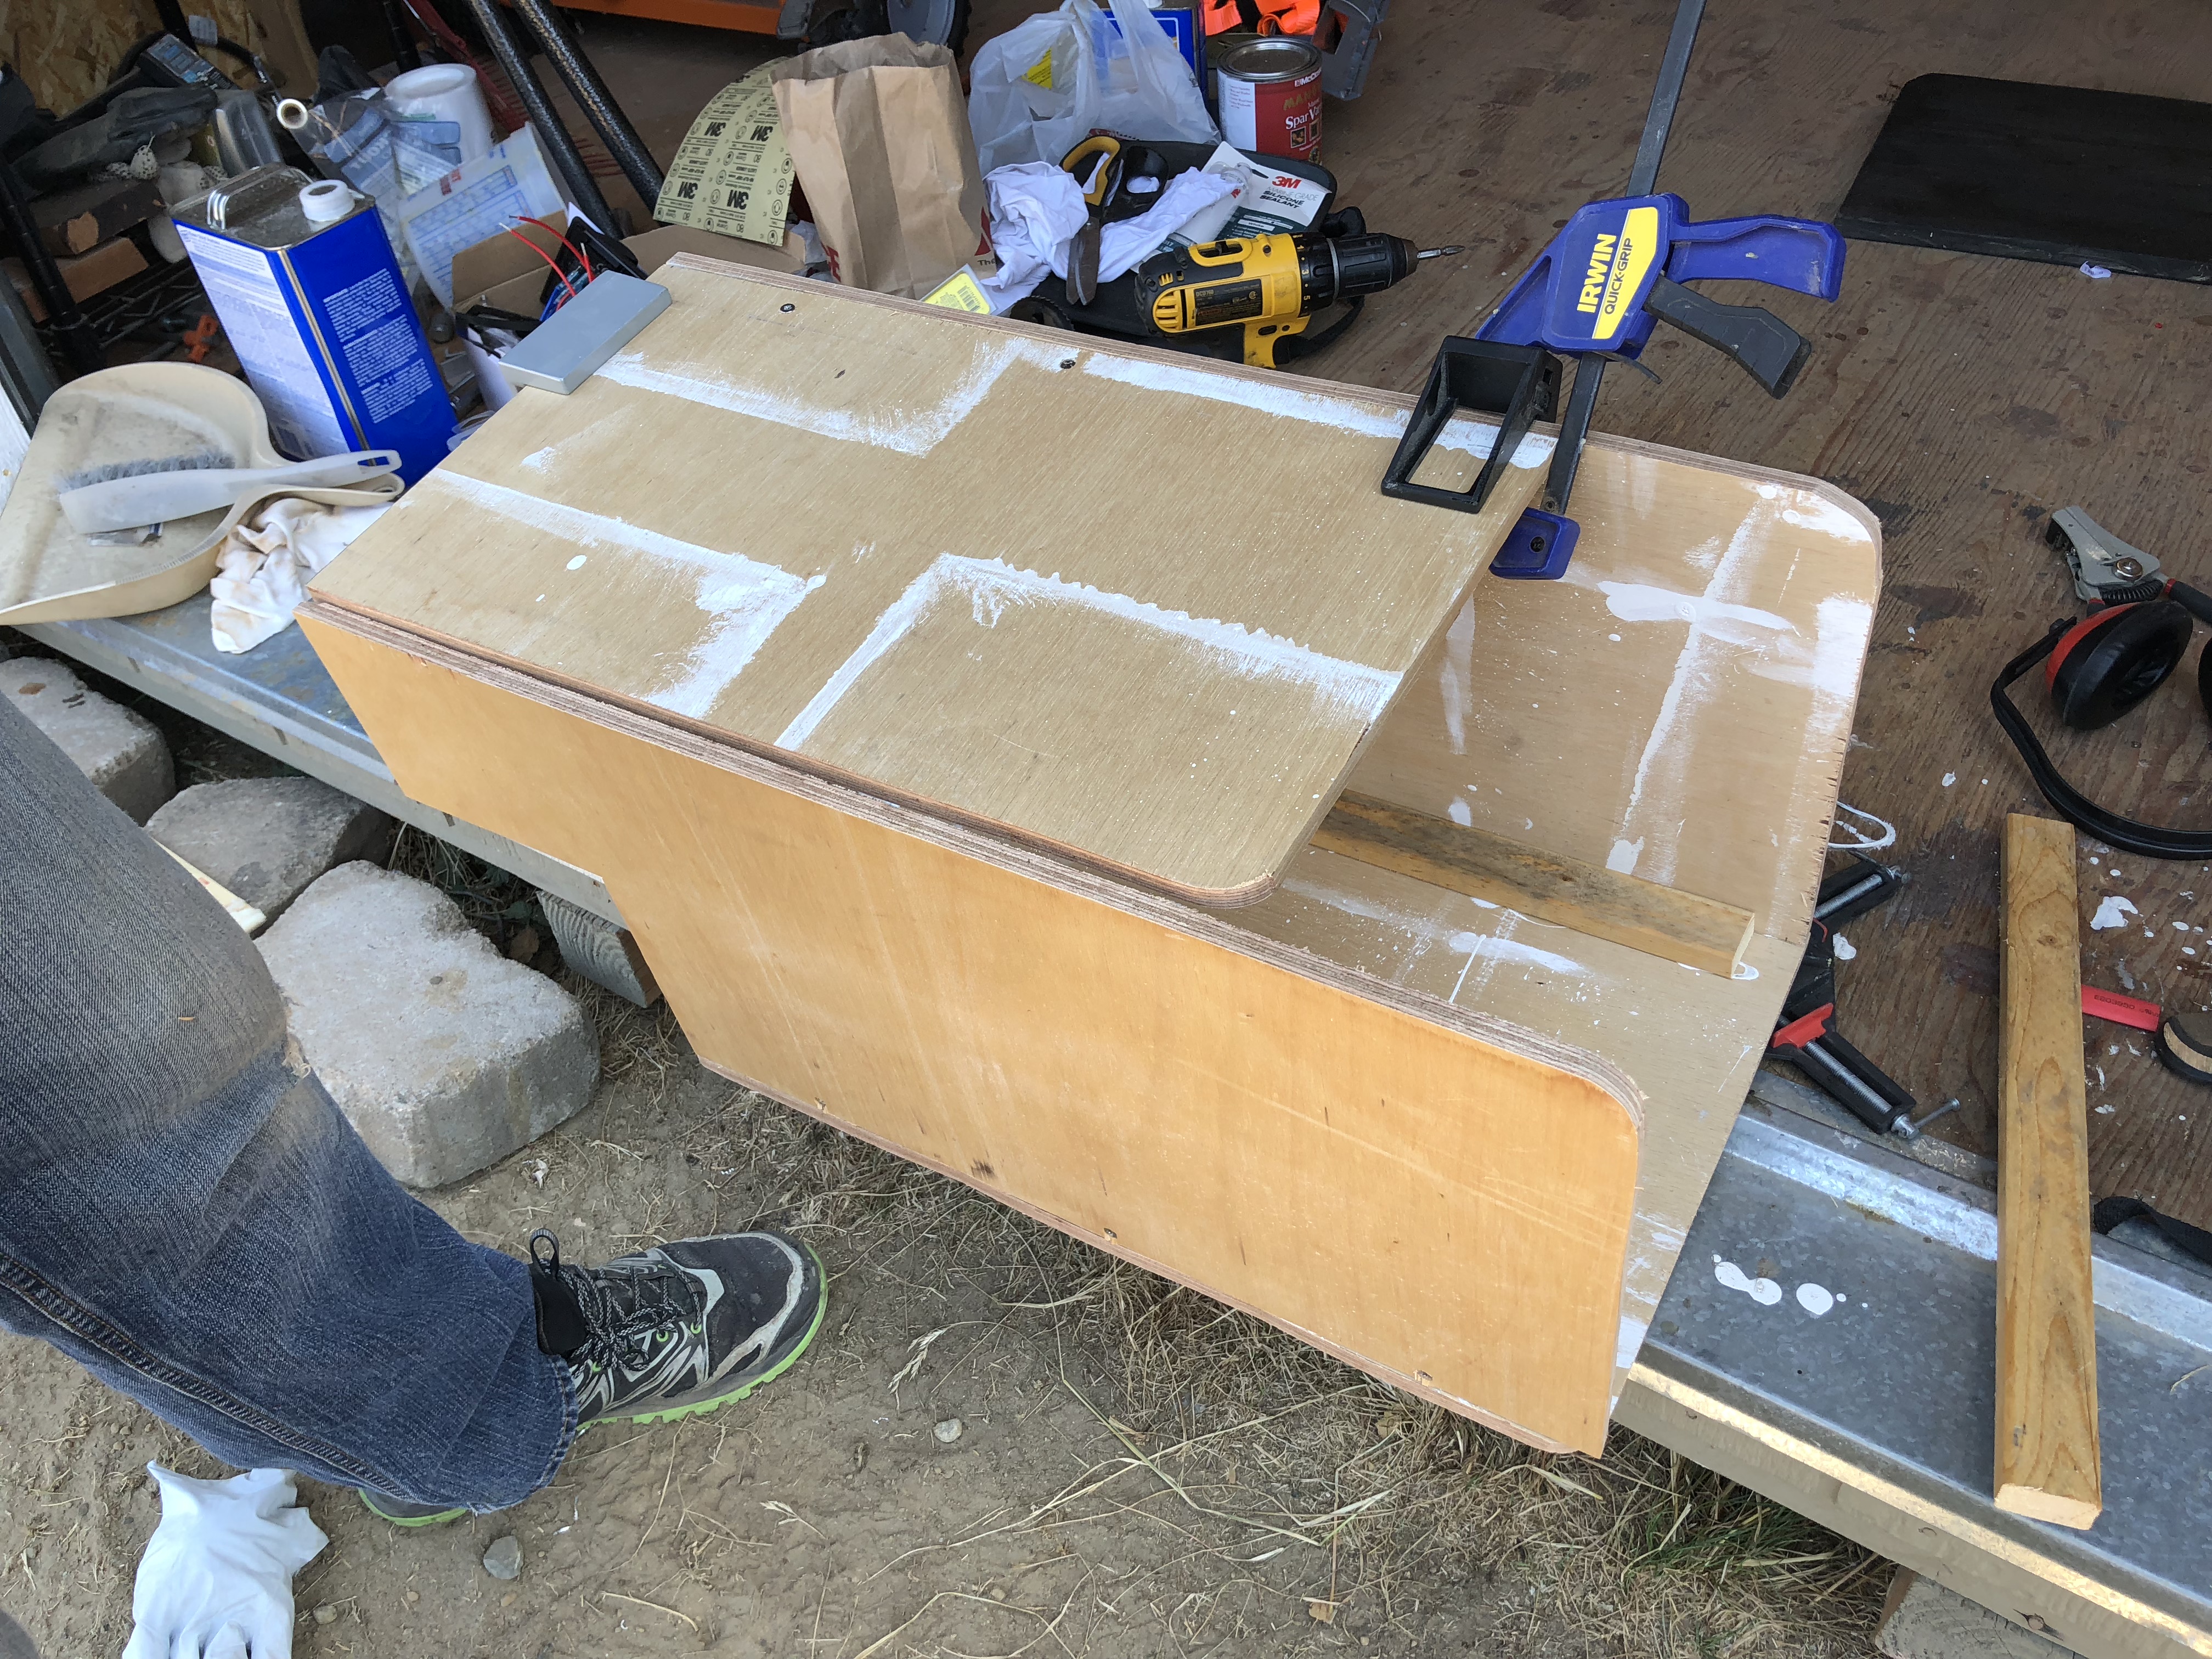
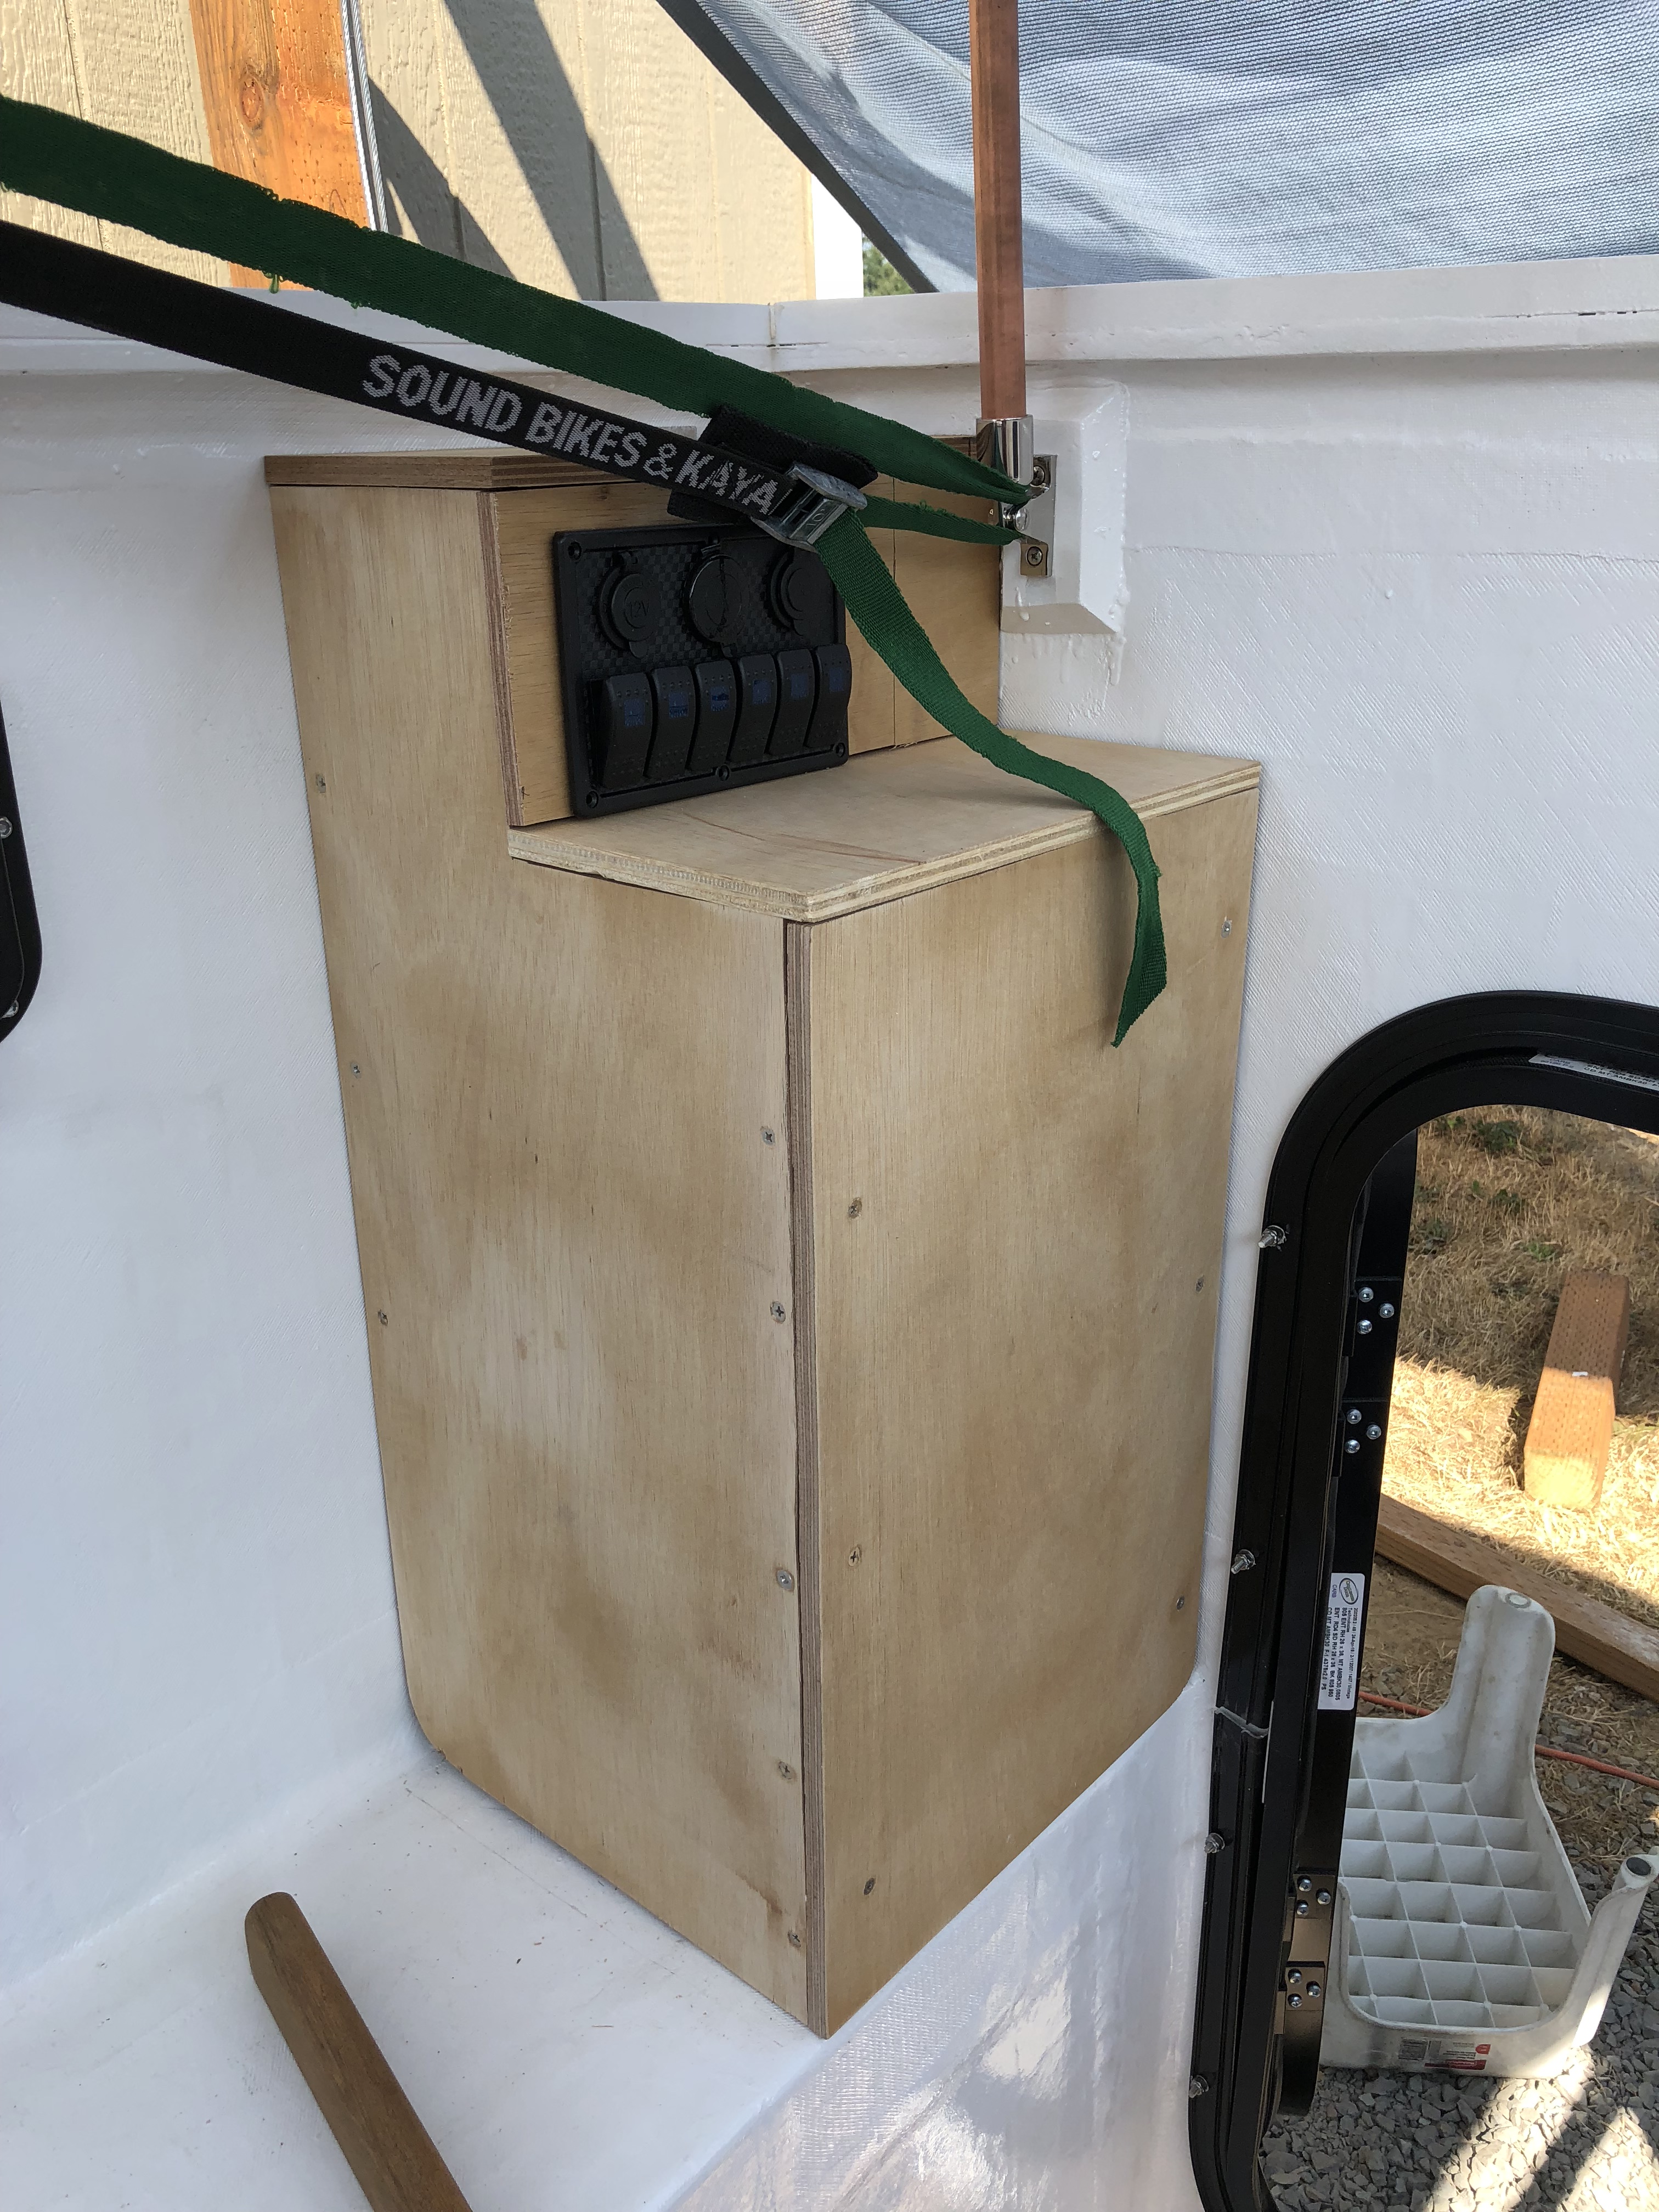
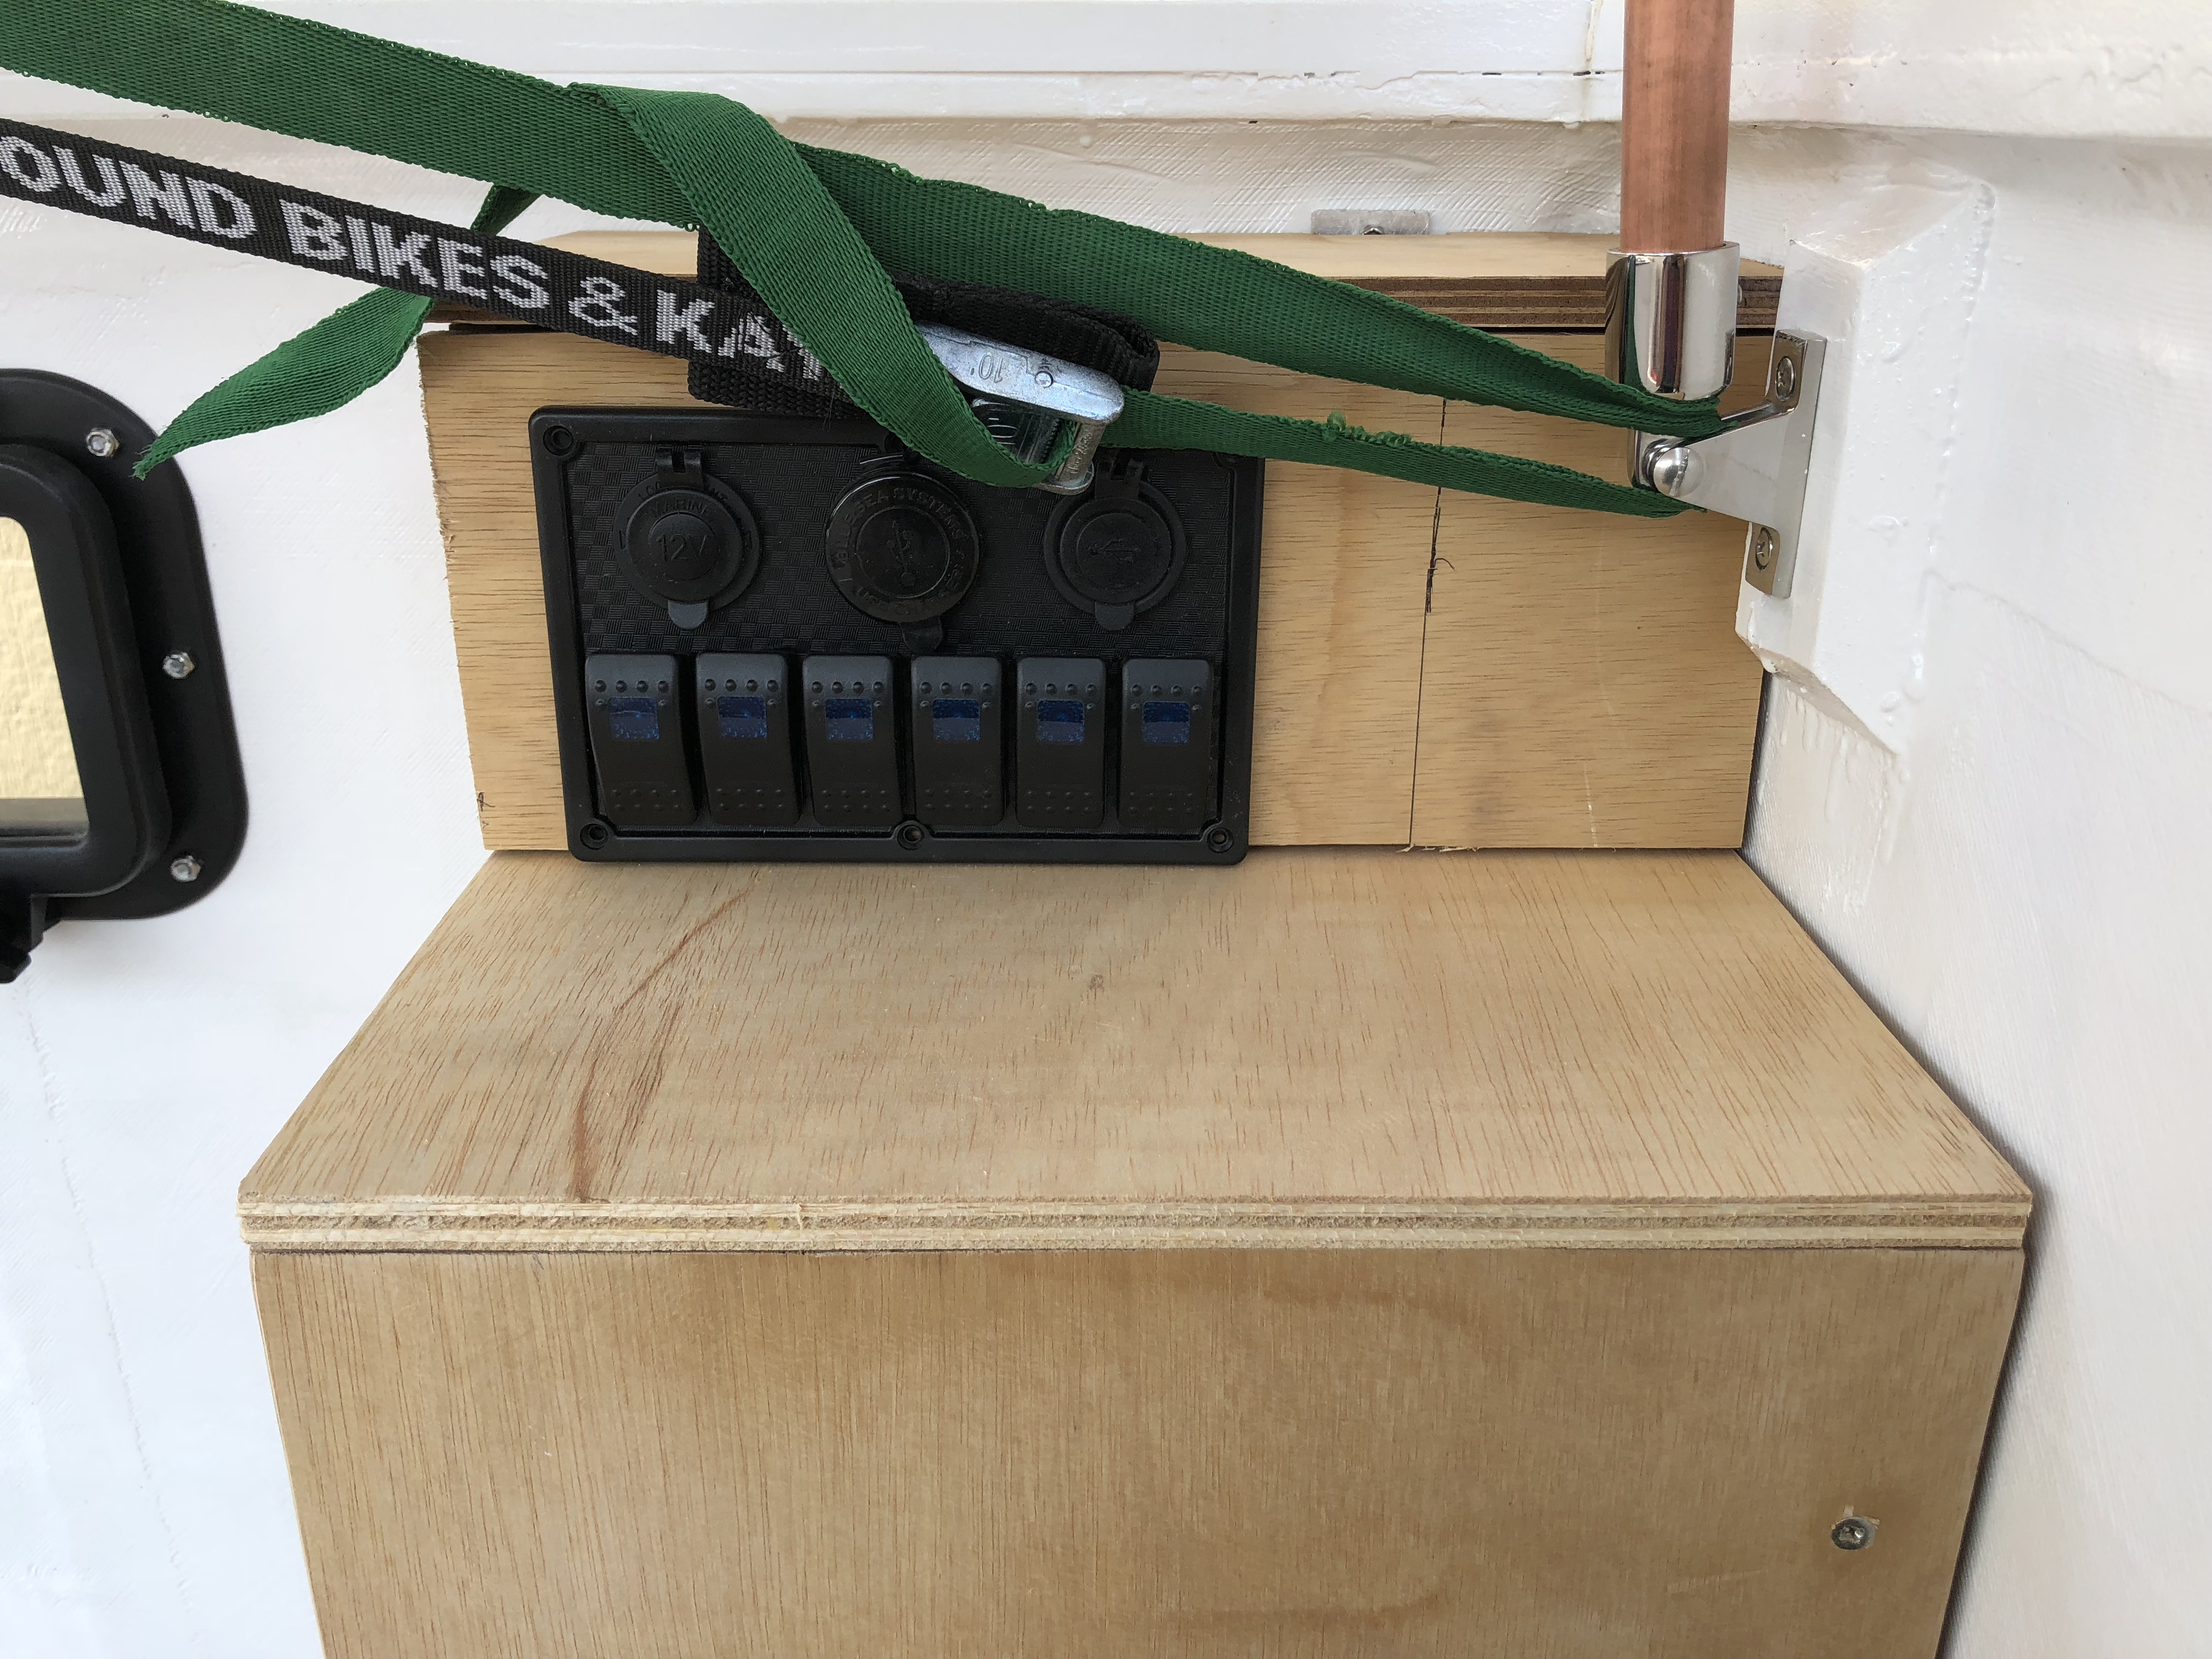
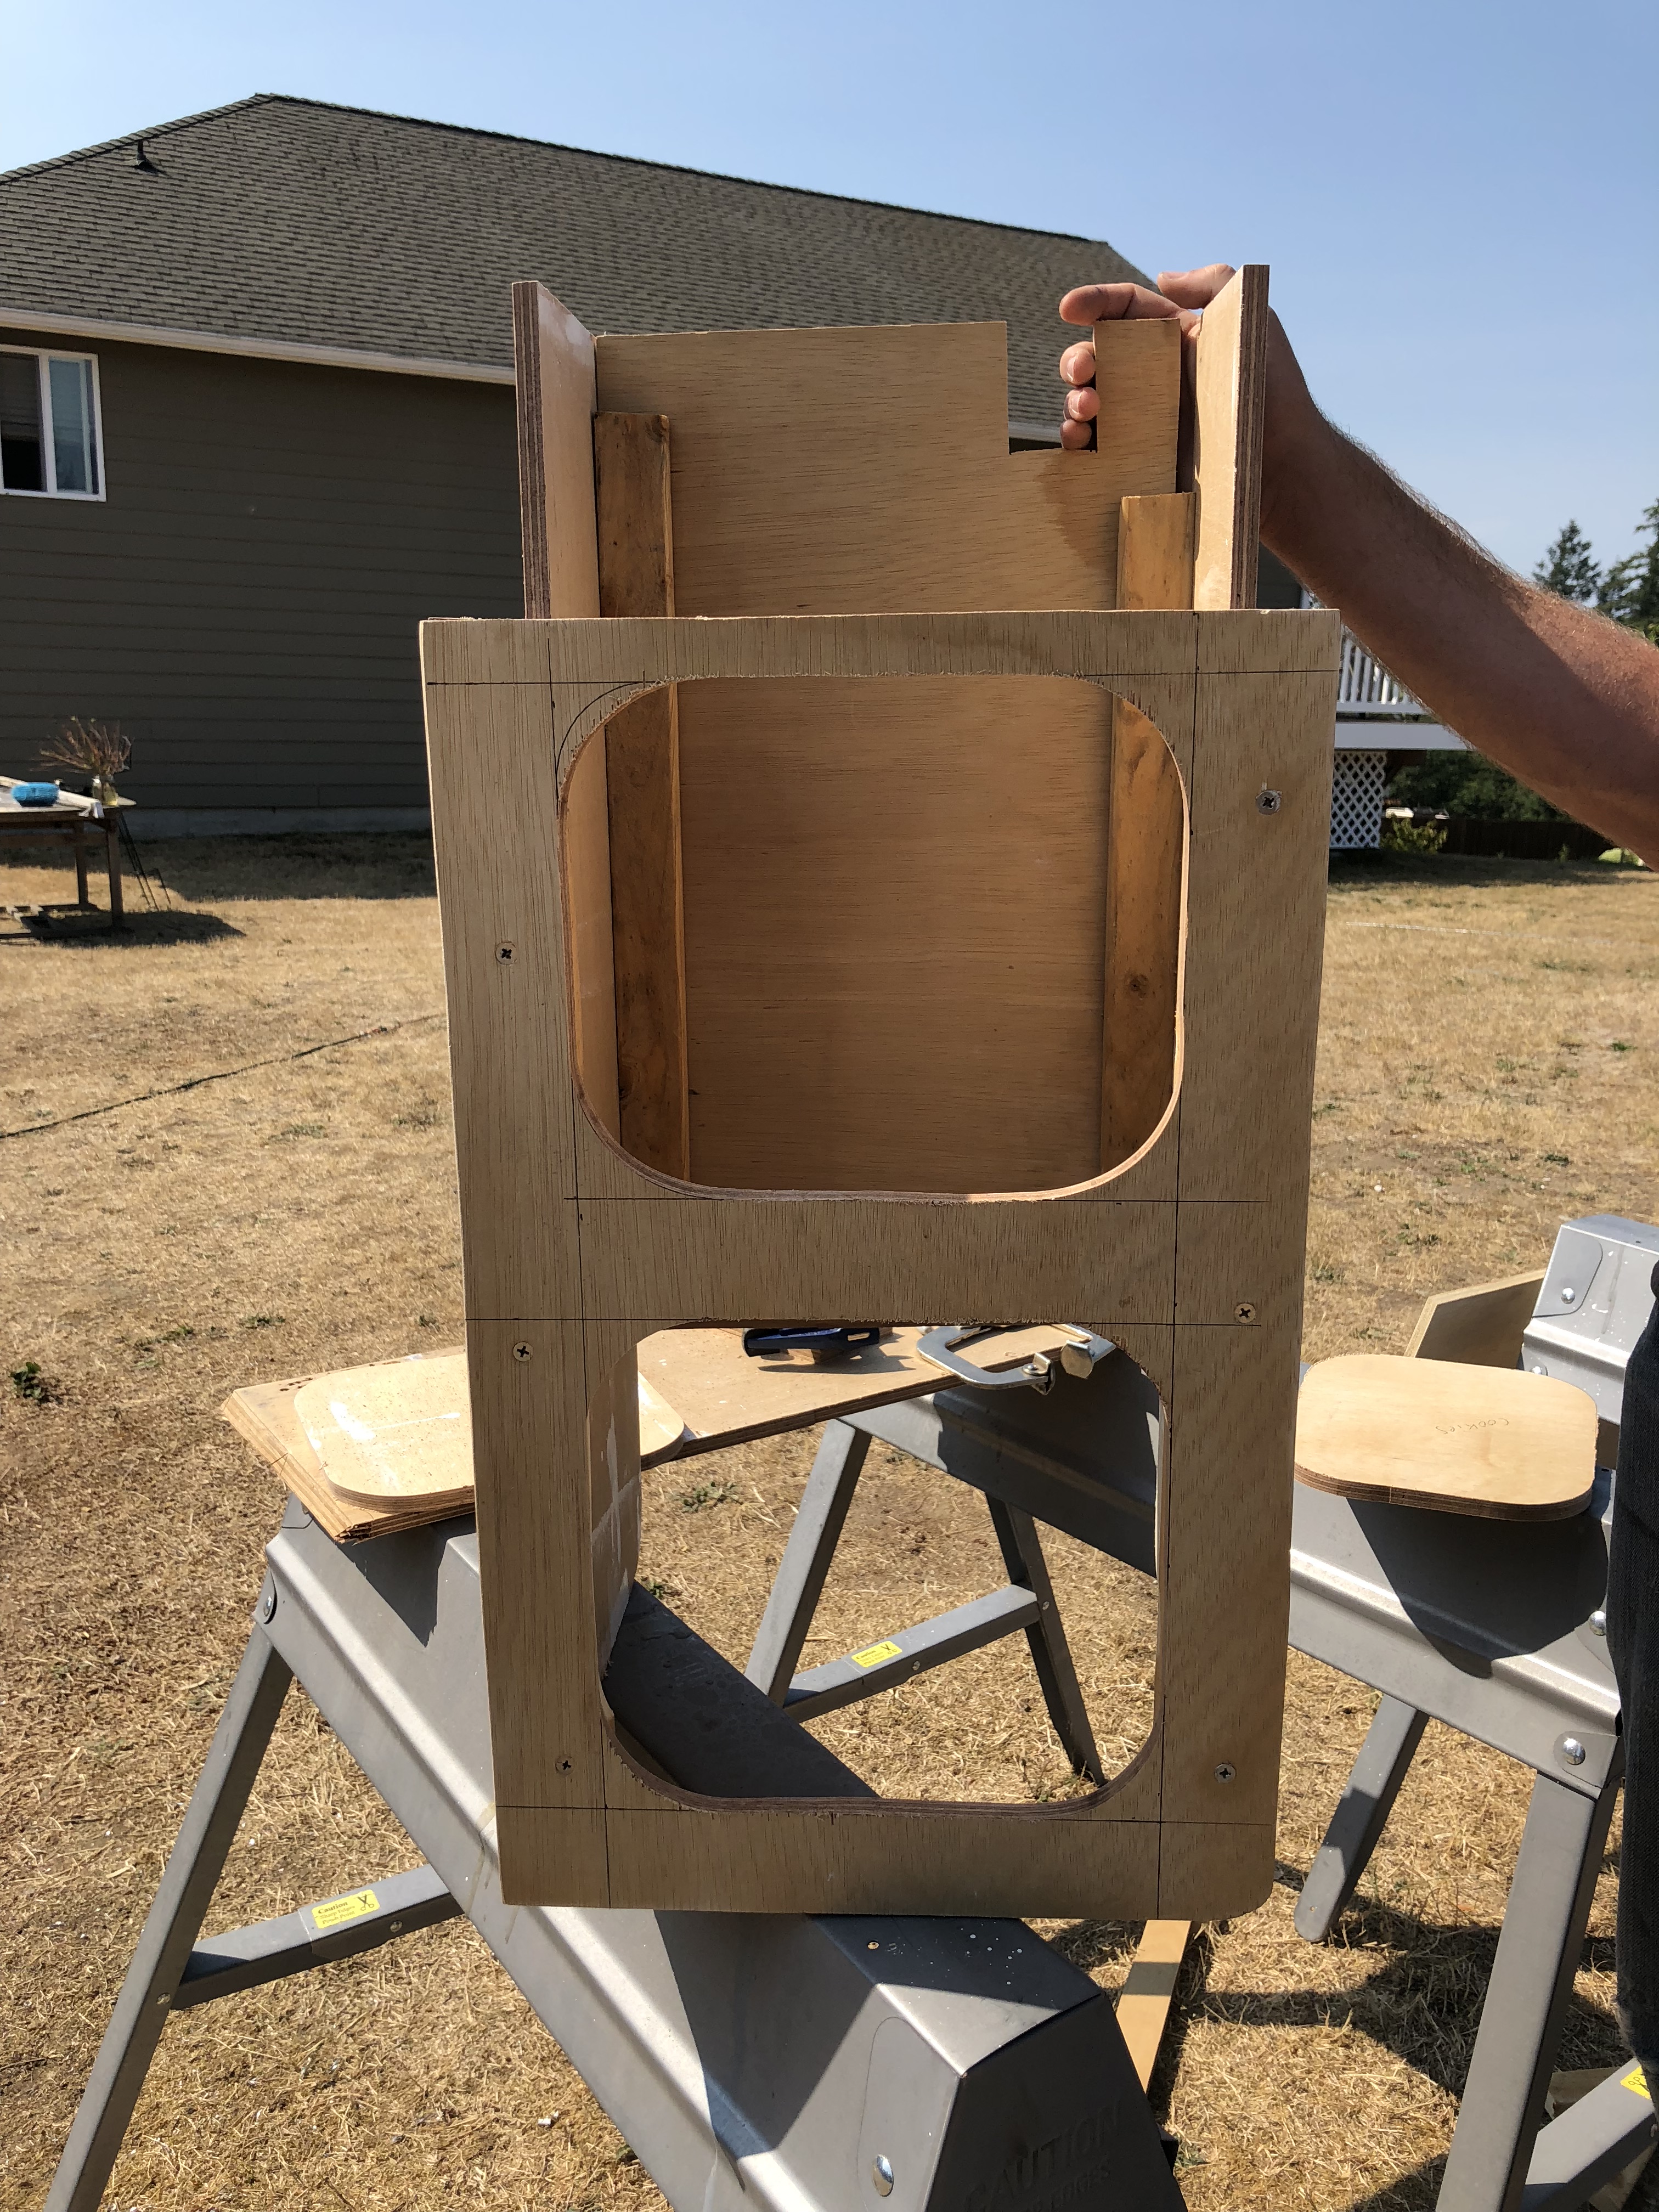
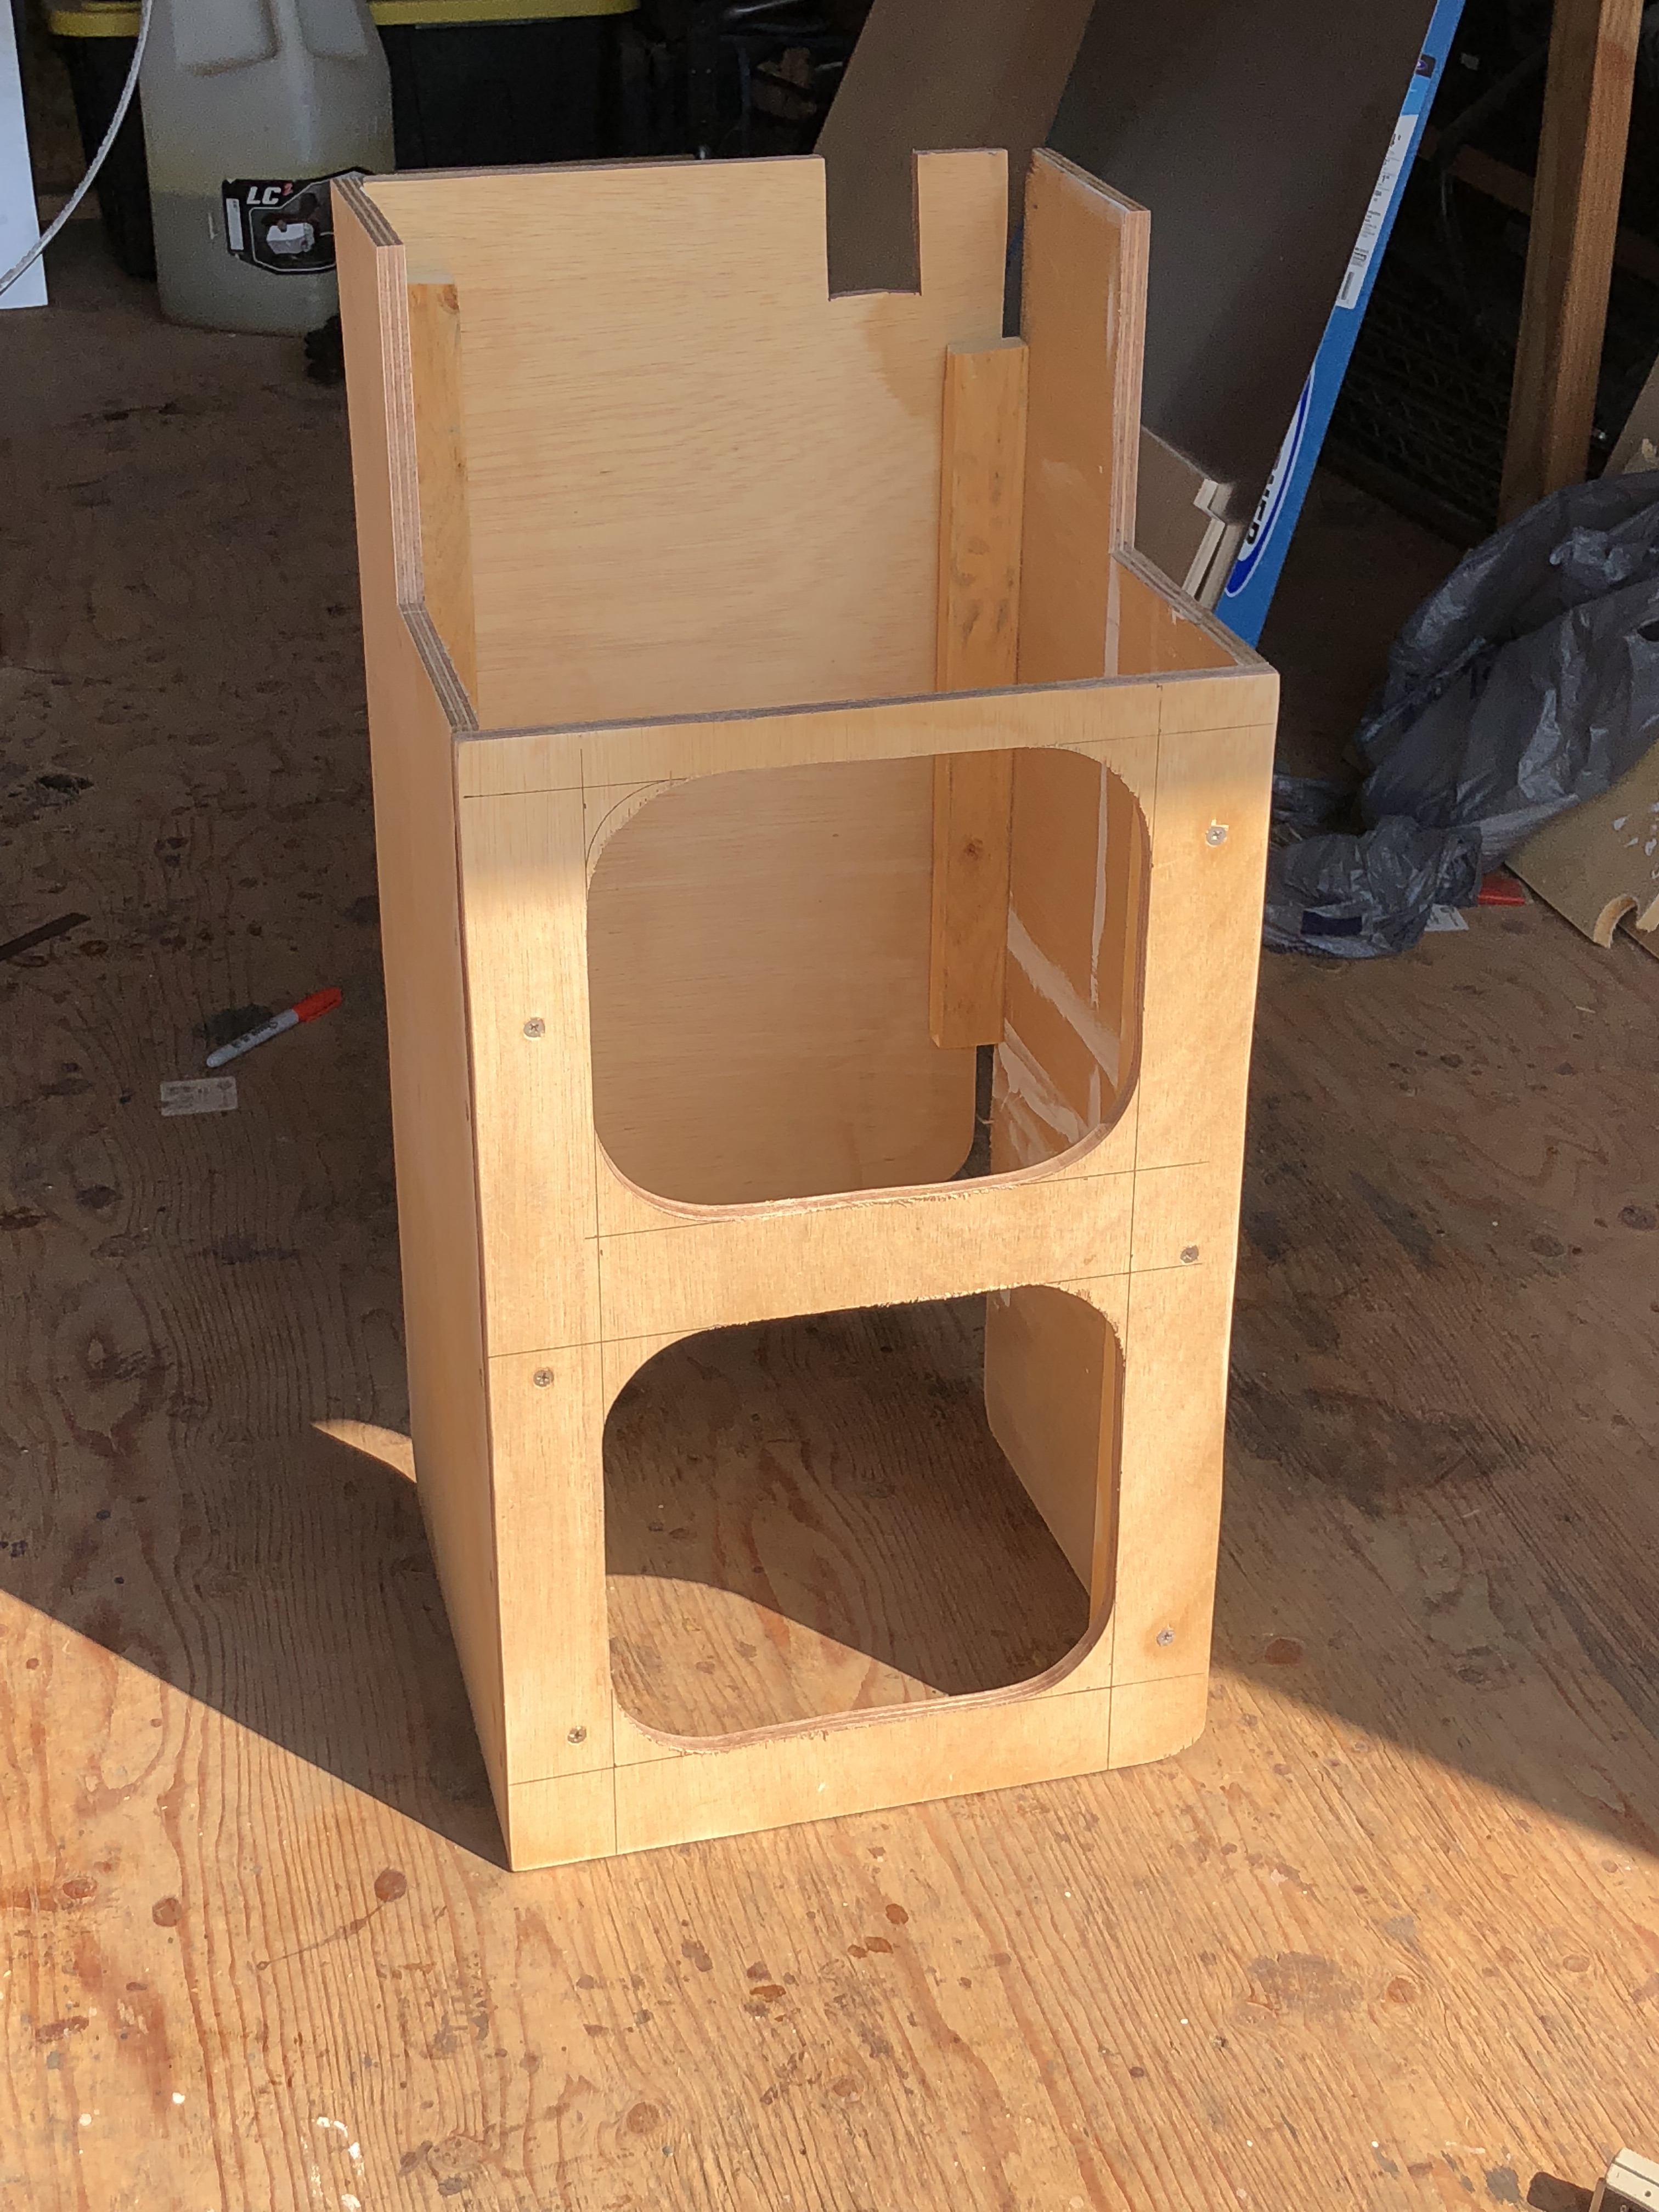
Since Jason wanted the cabinet mostly for electronics we weren’t entirely sure what was actually going to go inside of it… What type of door do we put in? There was a lot of inner structure required because the plywood was actually kind of warped. We decided that we didn’t want to screw with doors so we just cut big holes in it. I’ll cover them with canvas later.
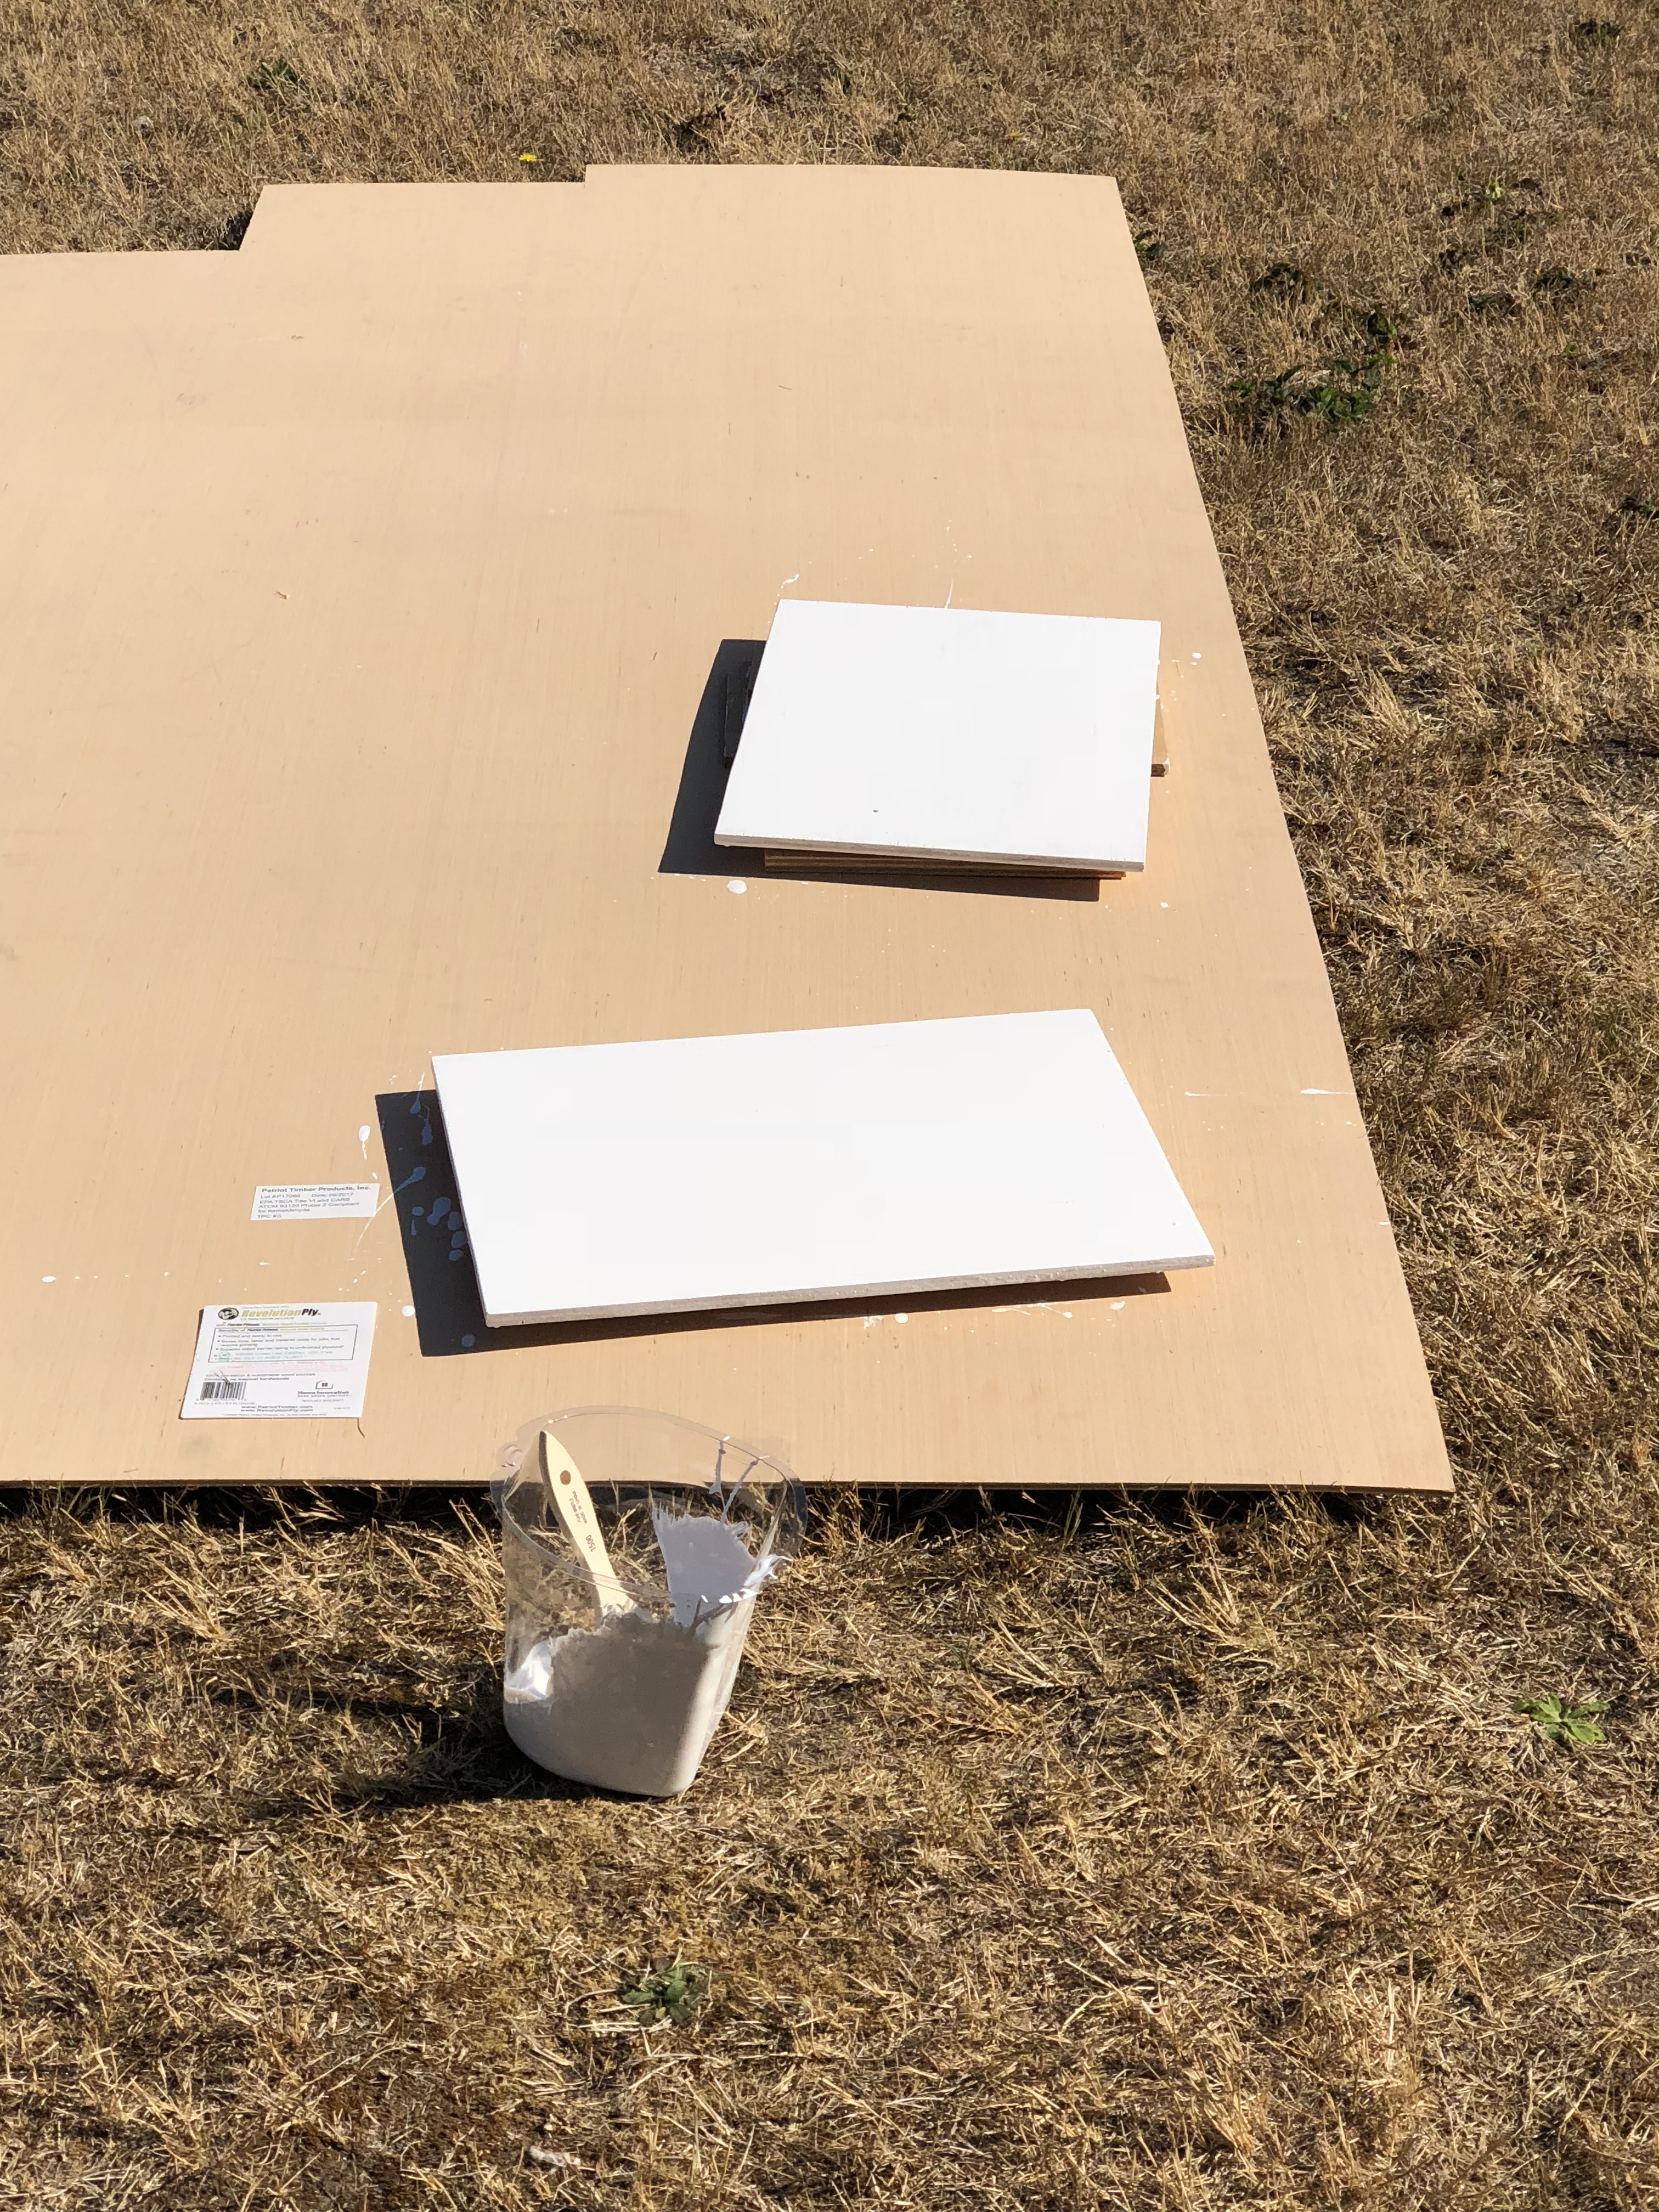
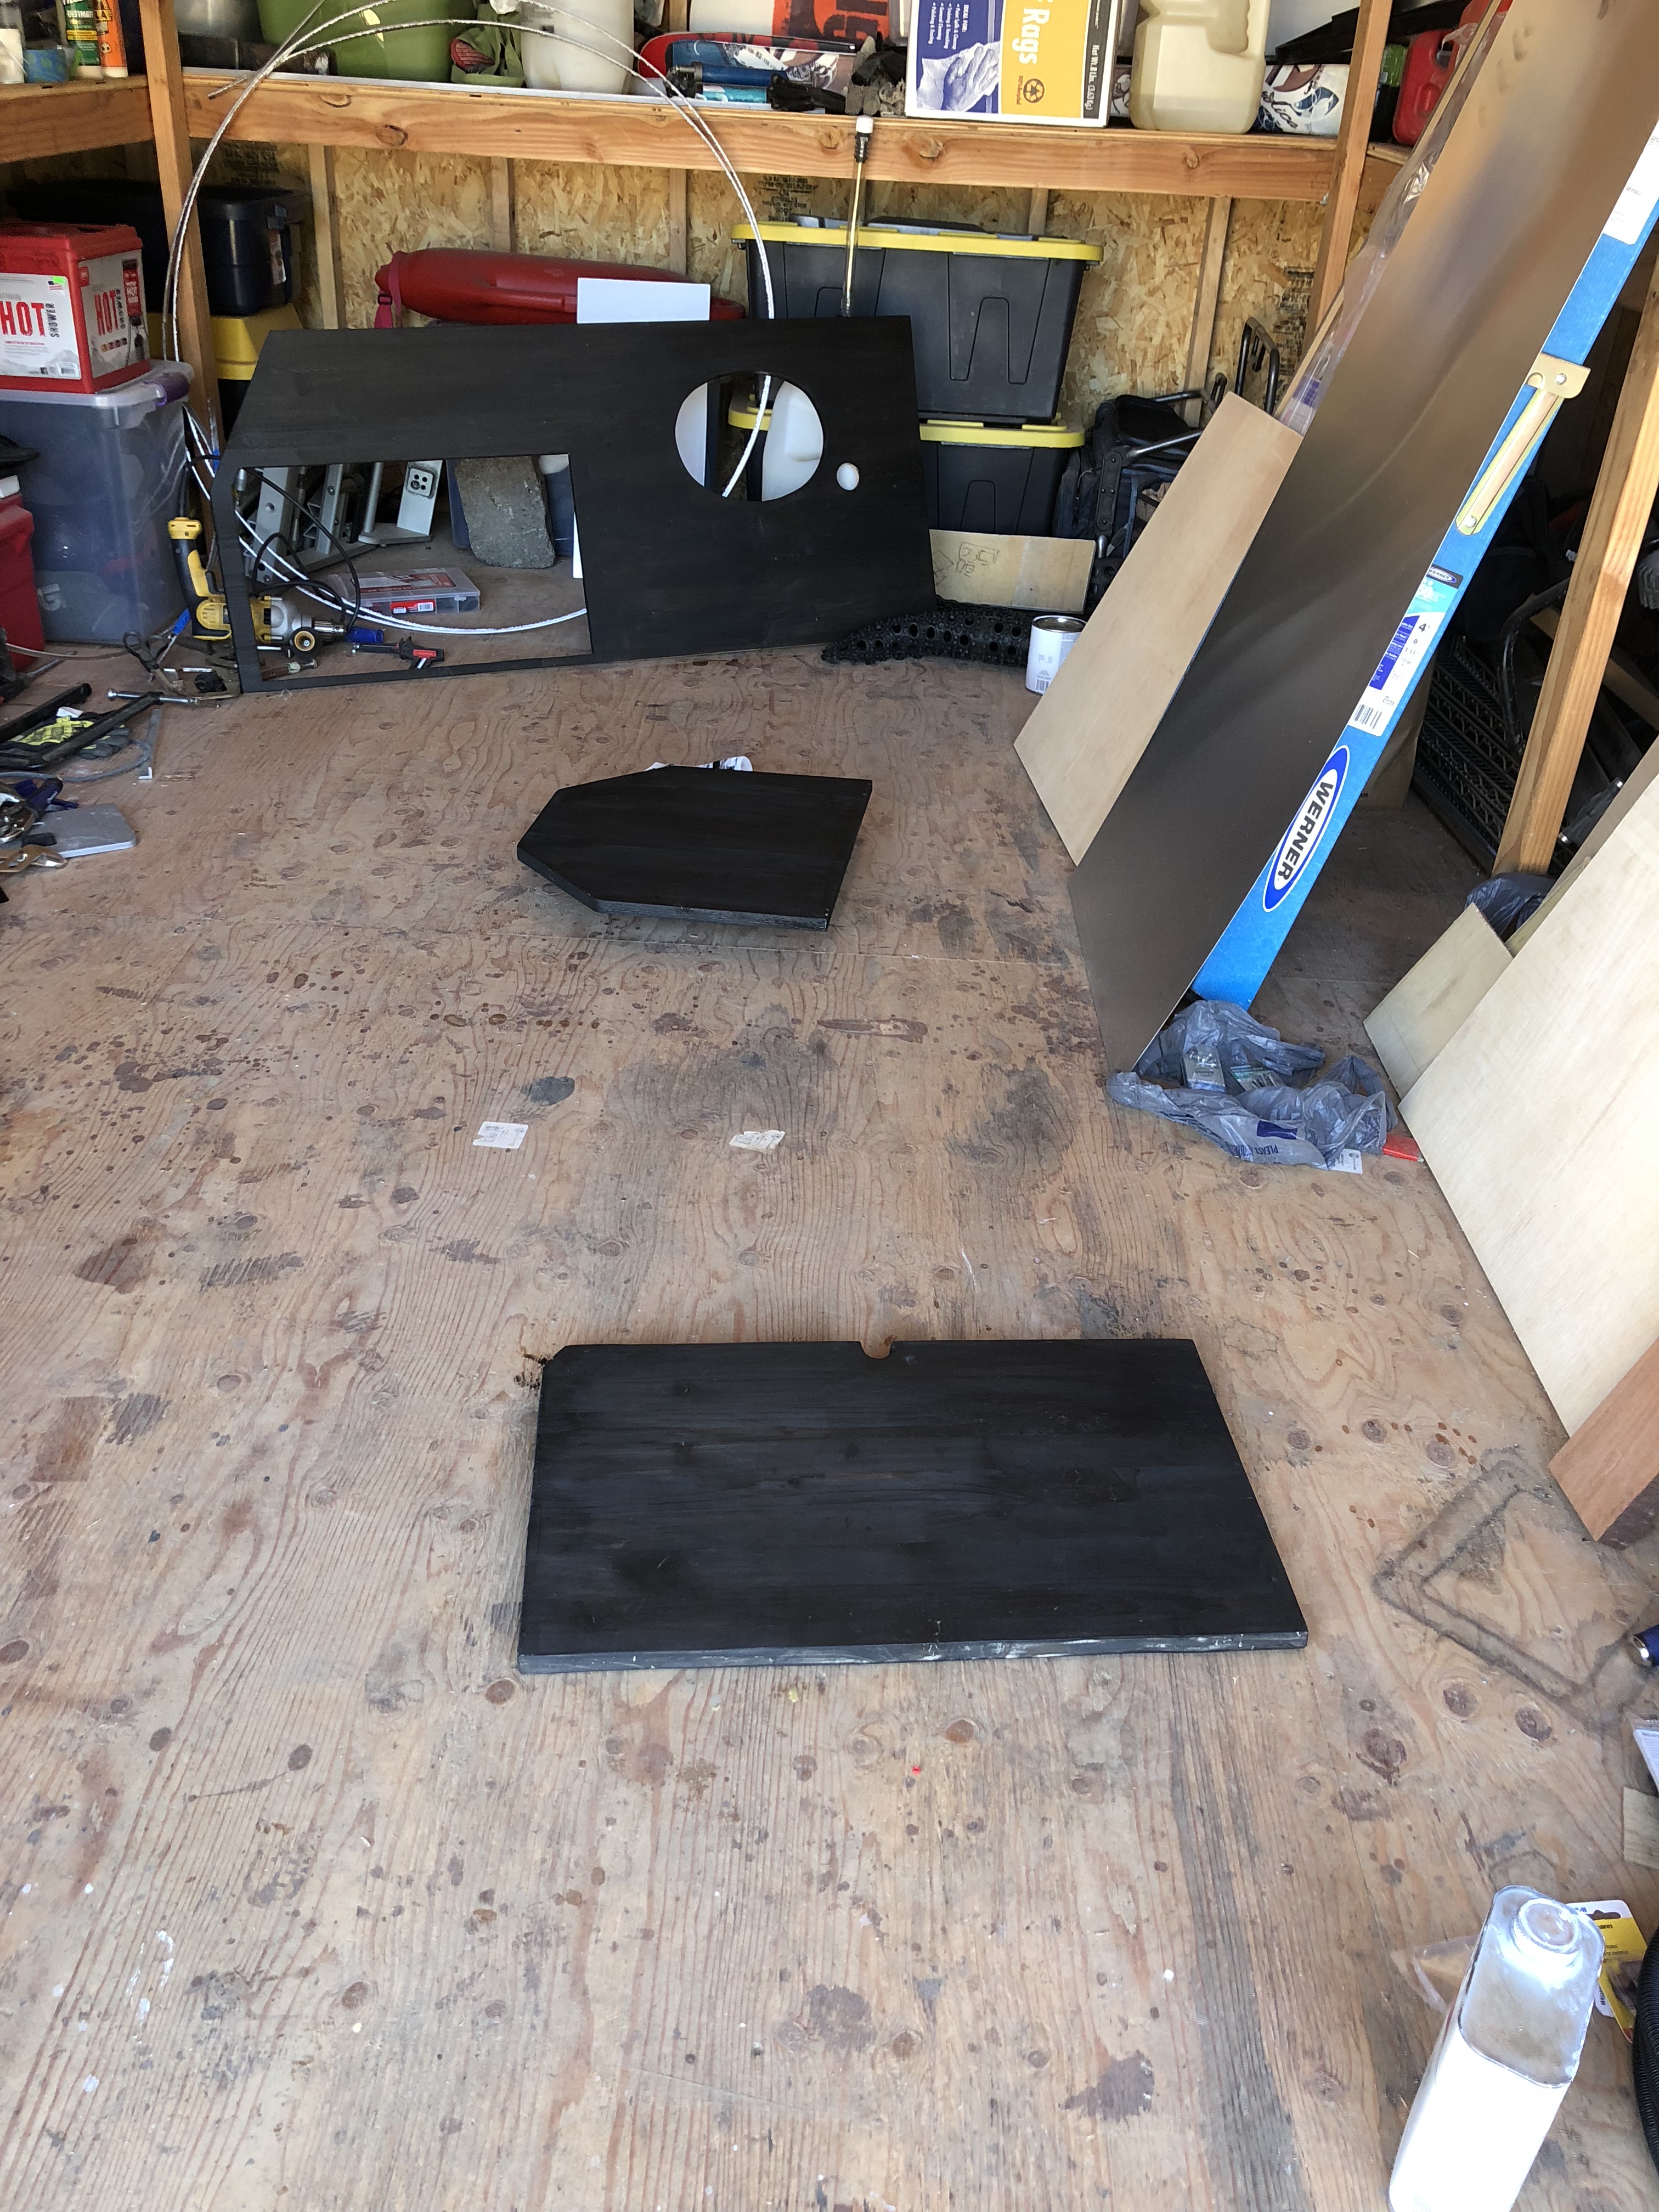
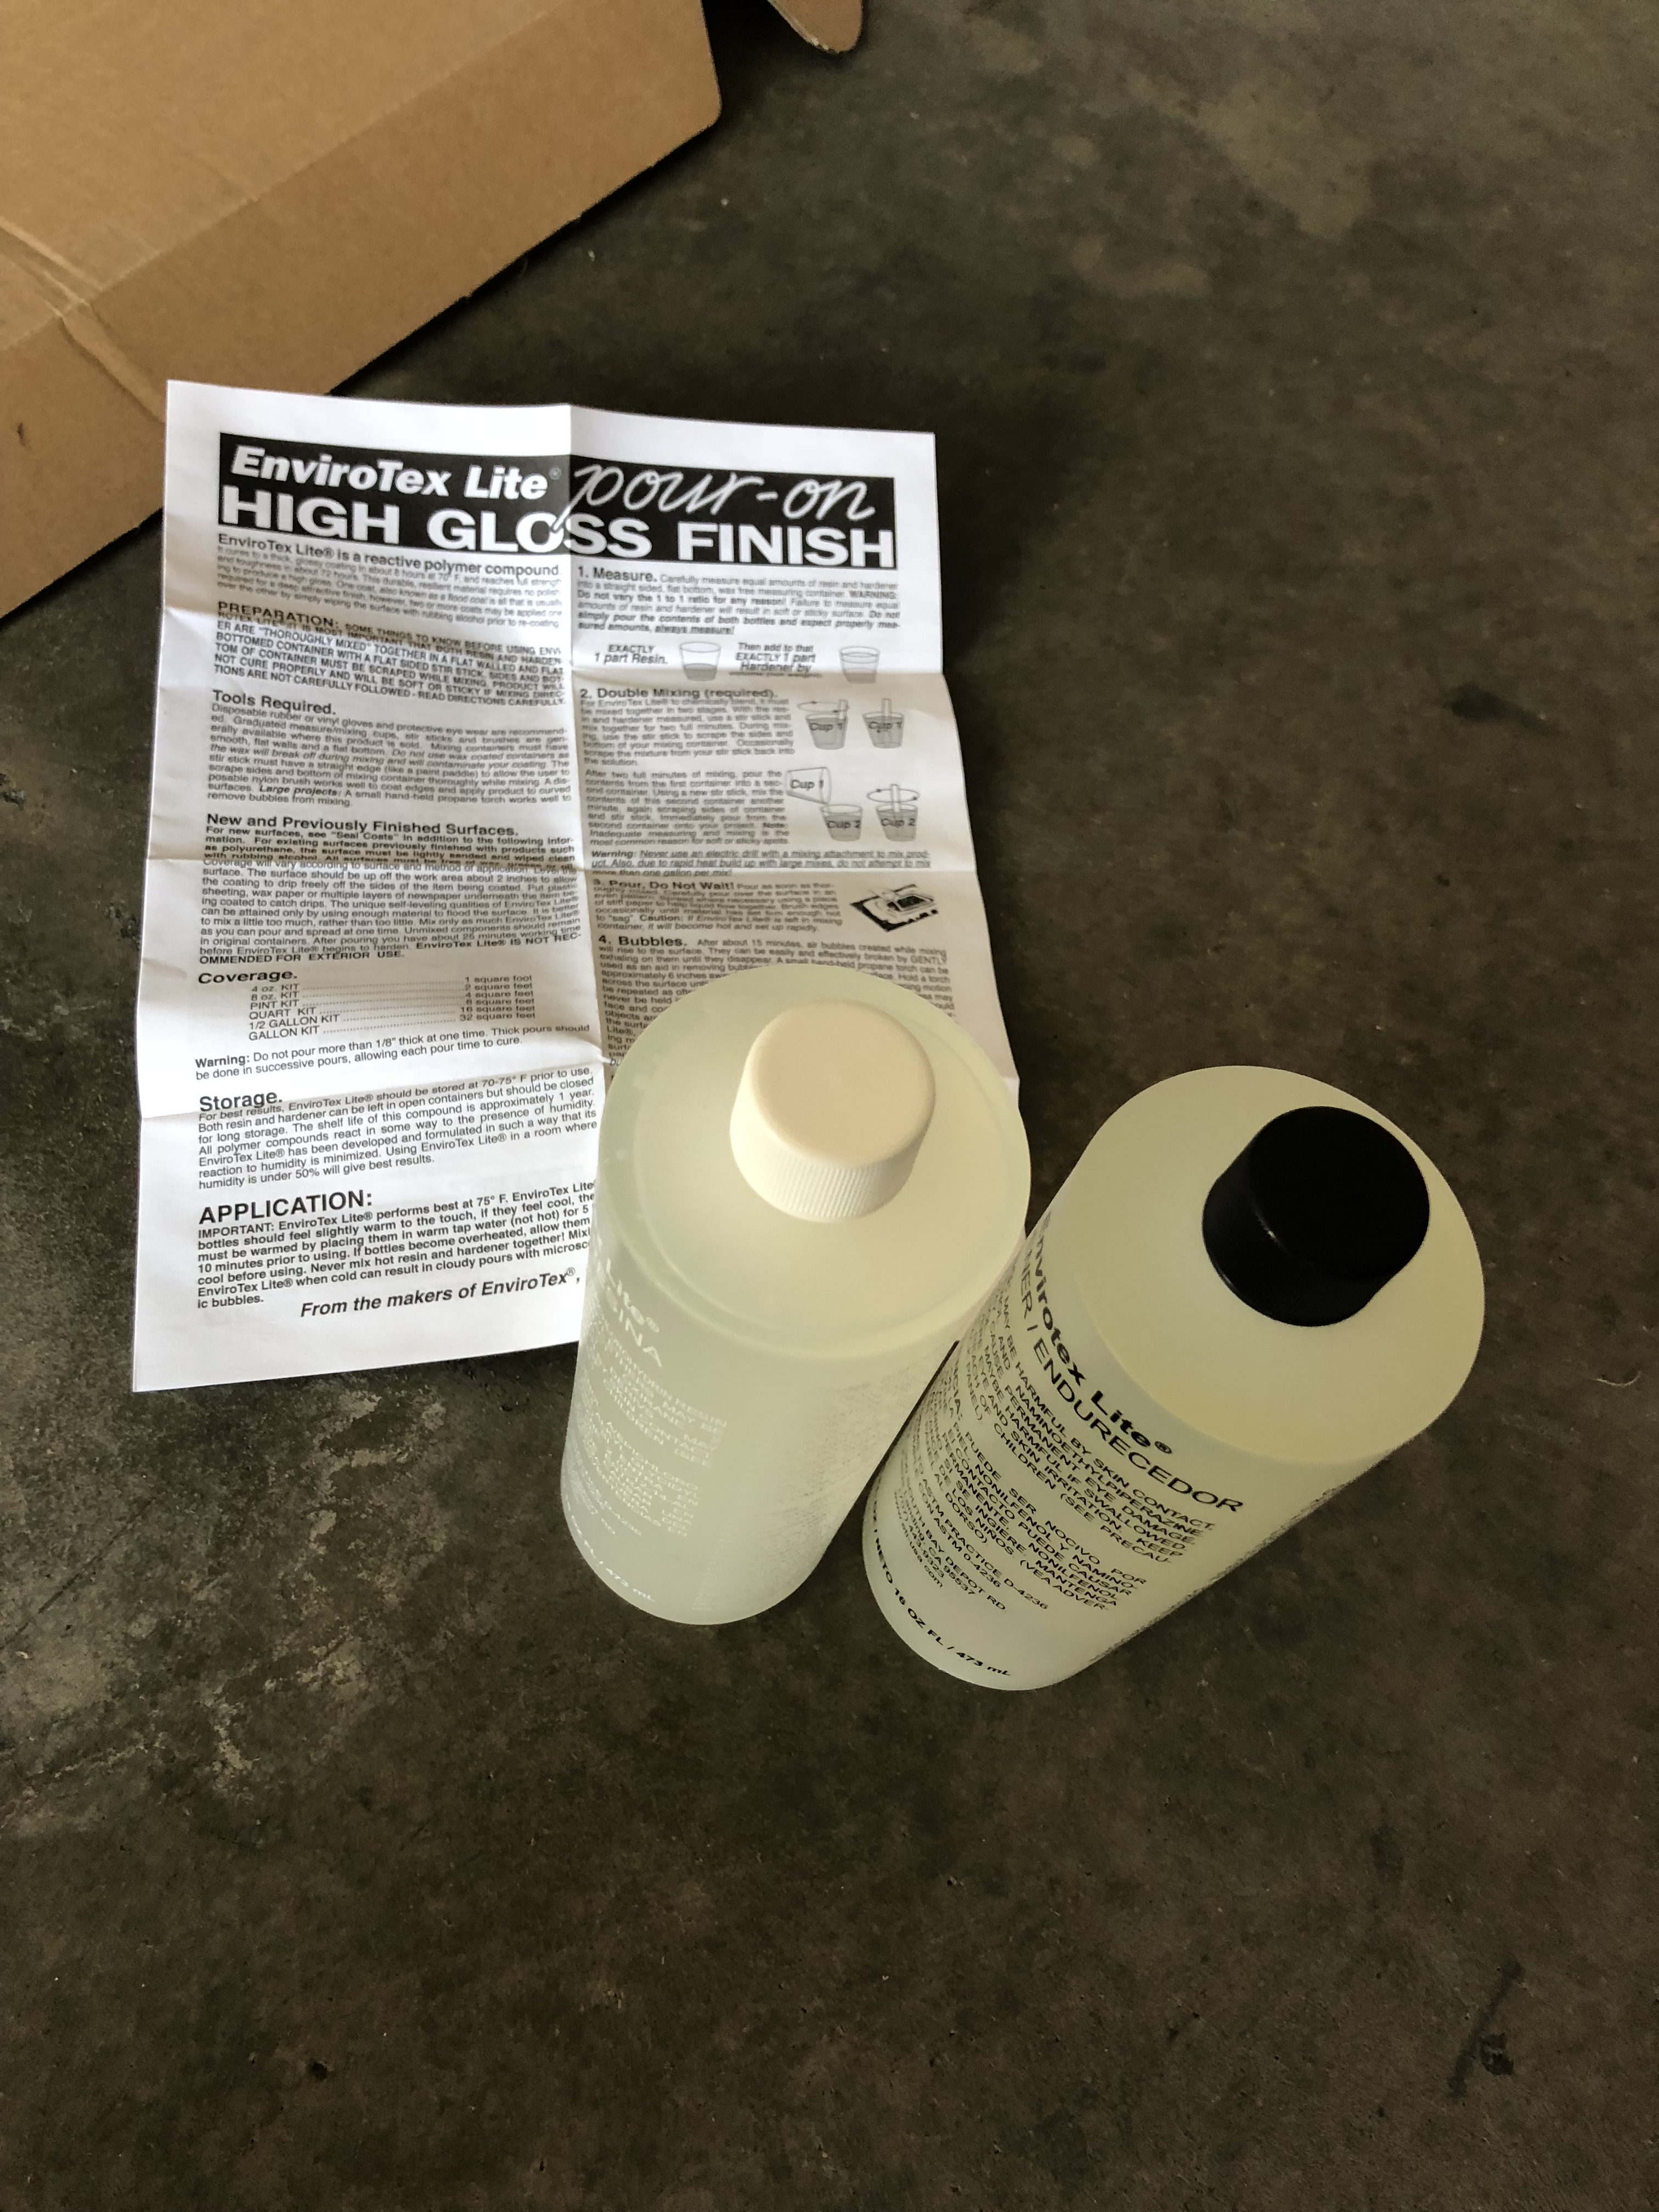
One thing that I’ve been meaning to work on for a while now has been the countertops. I finally got them burned, stained, sanded, and stained again to a color that I actually like. I wanted a dark high gloss ultramodern look and found a pour on epoxy that promised to do what I wanted. But first, I had to do the final trim on the table and get it stained so I could do it all at once!
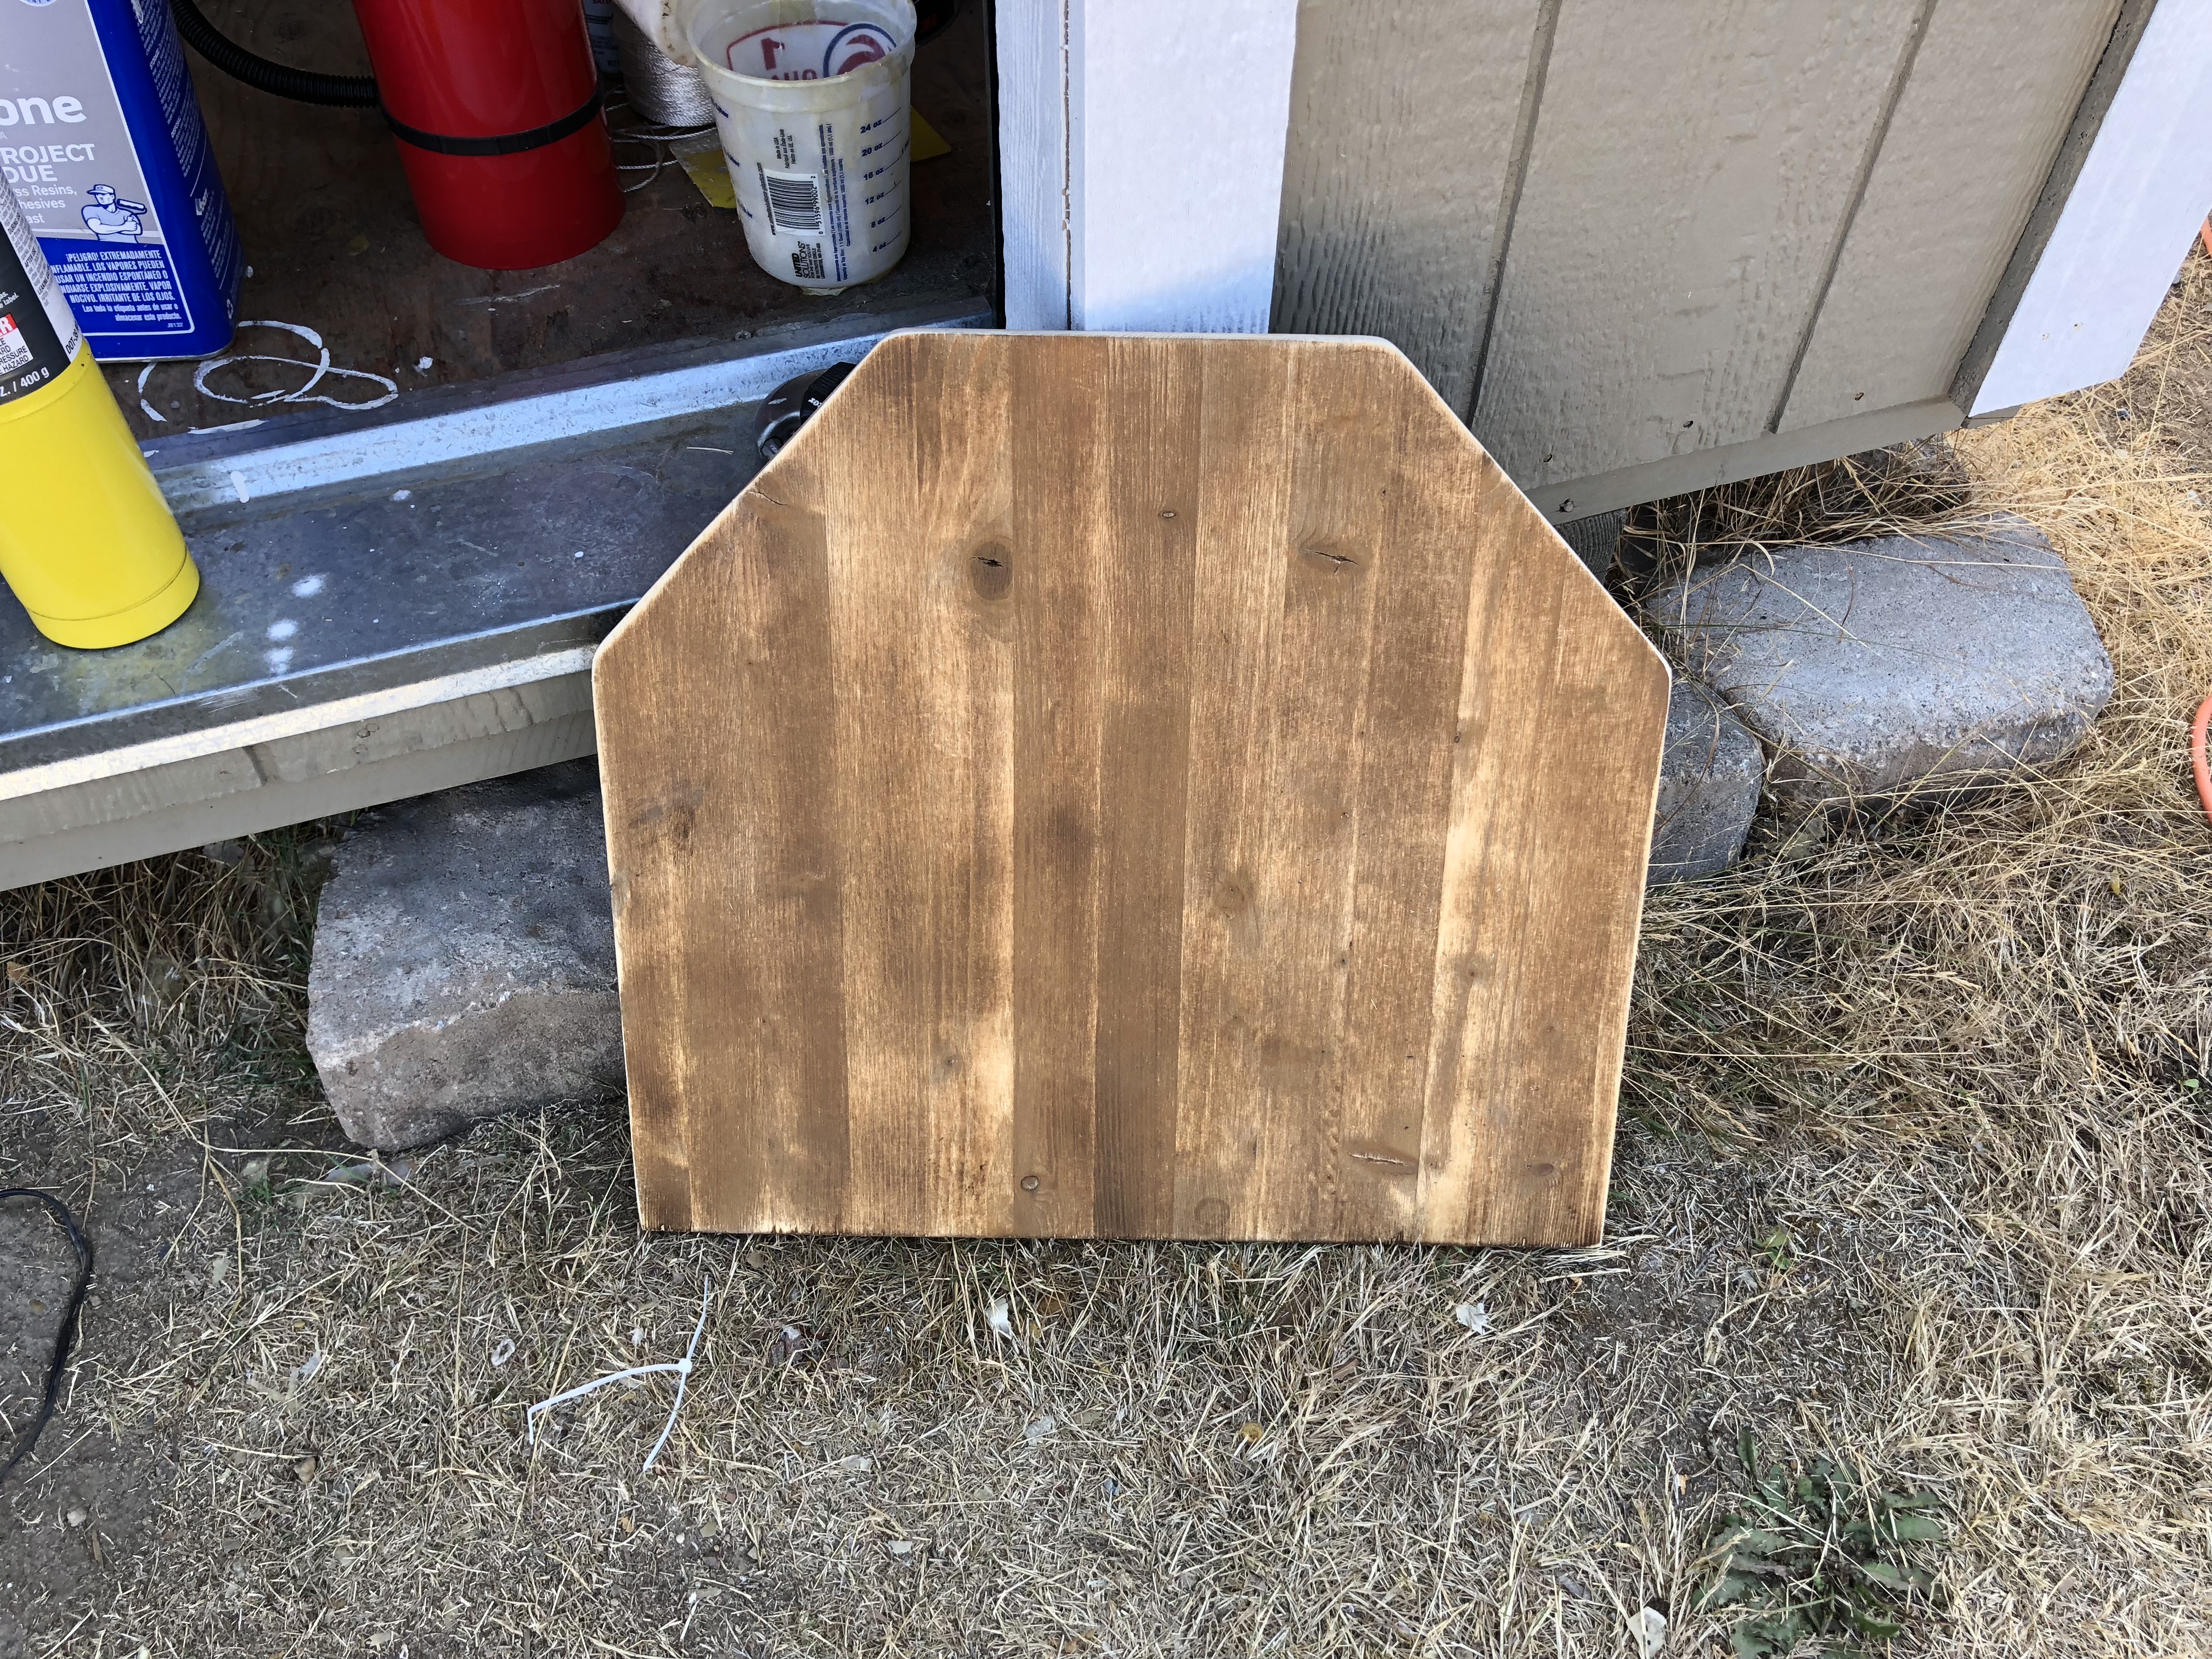
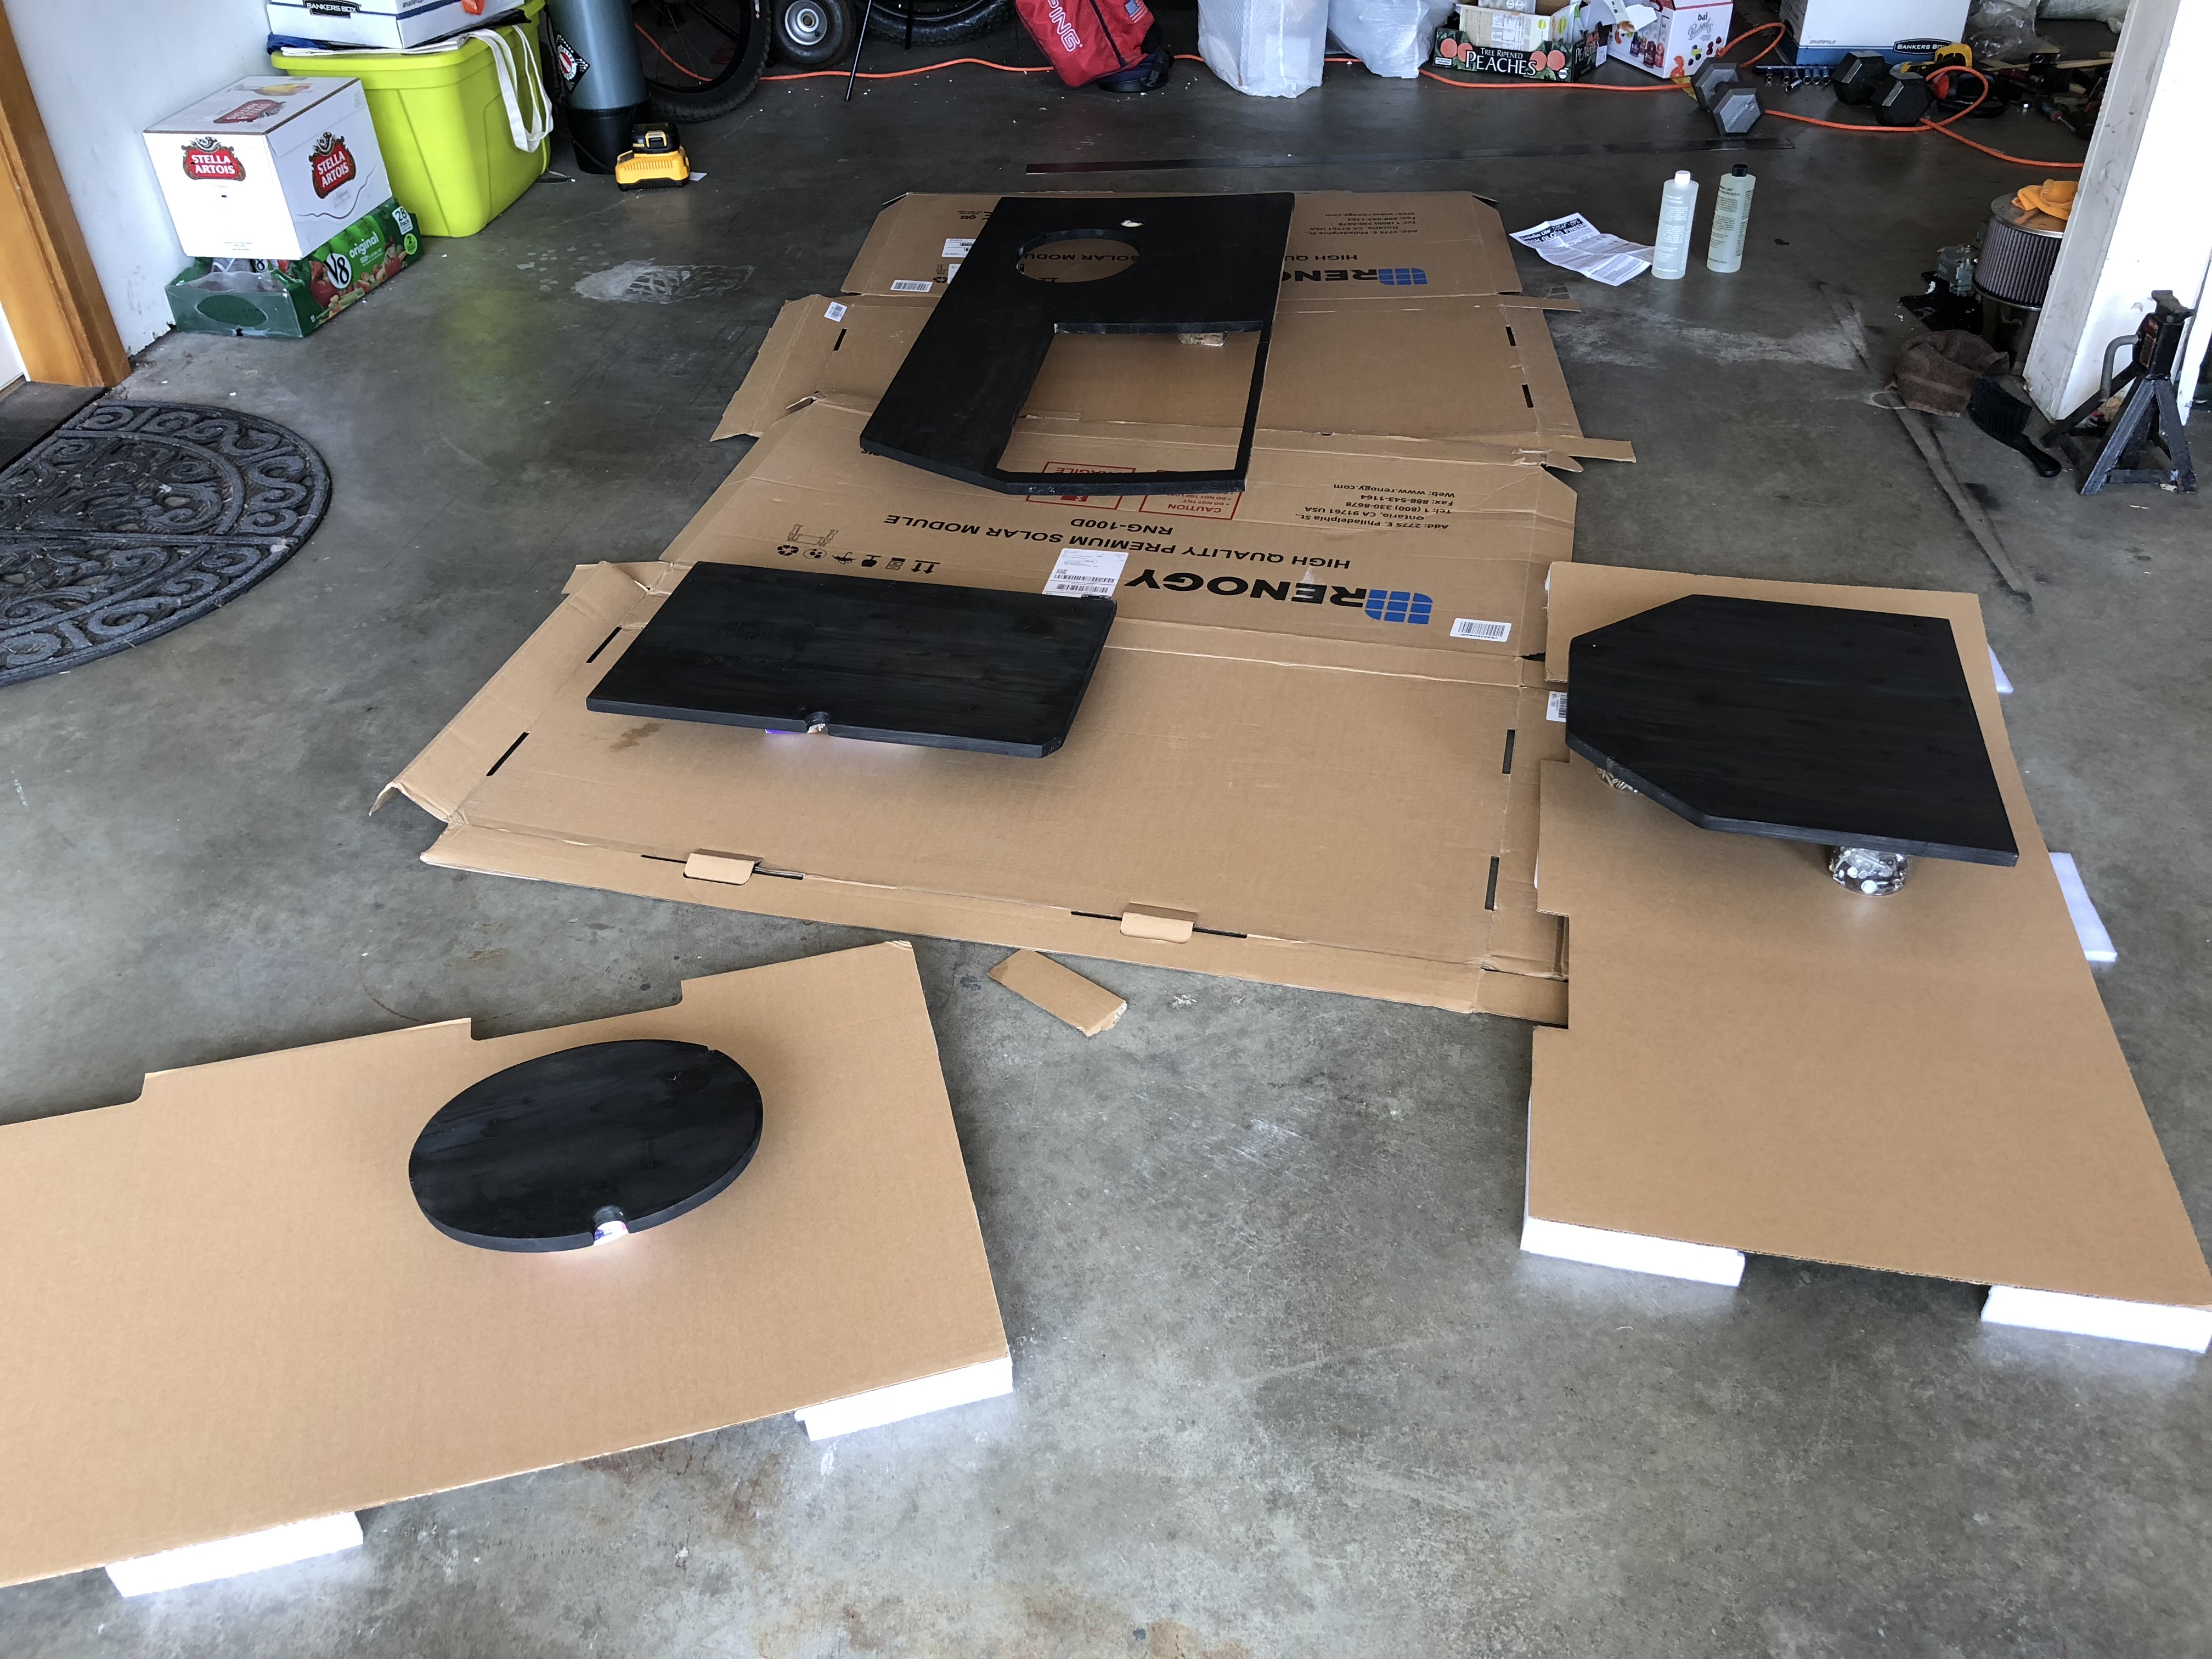
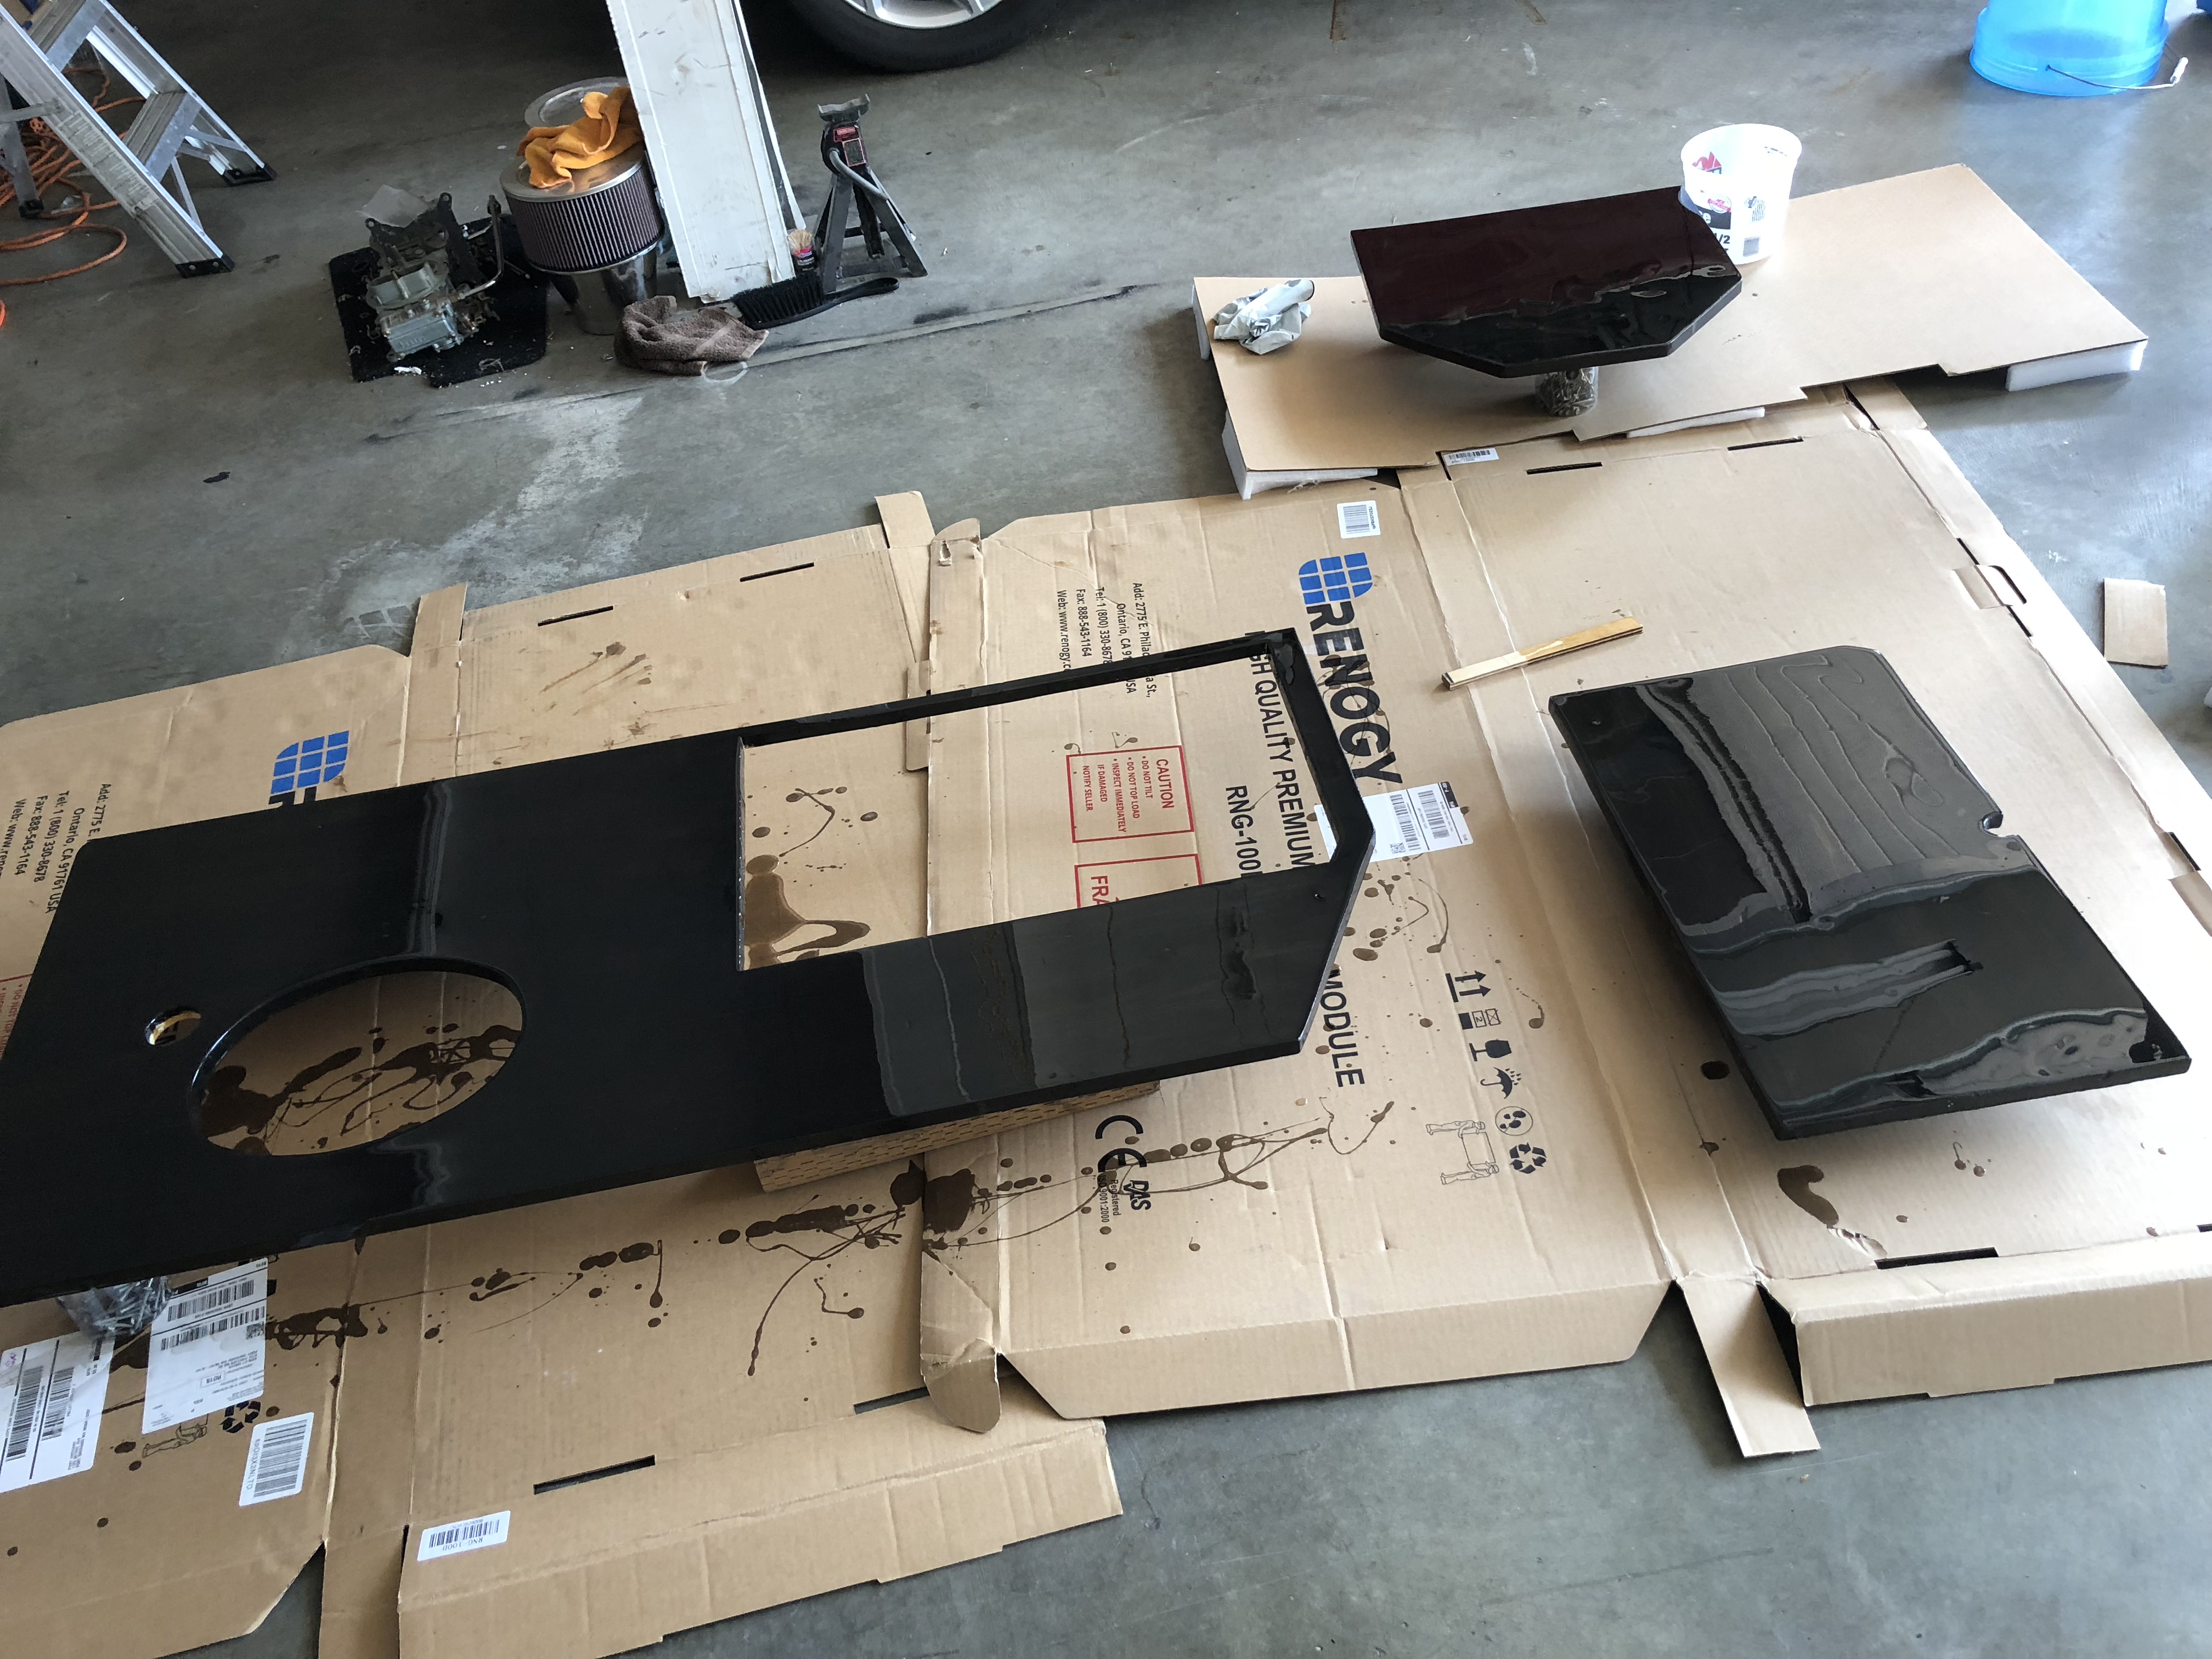
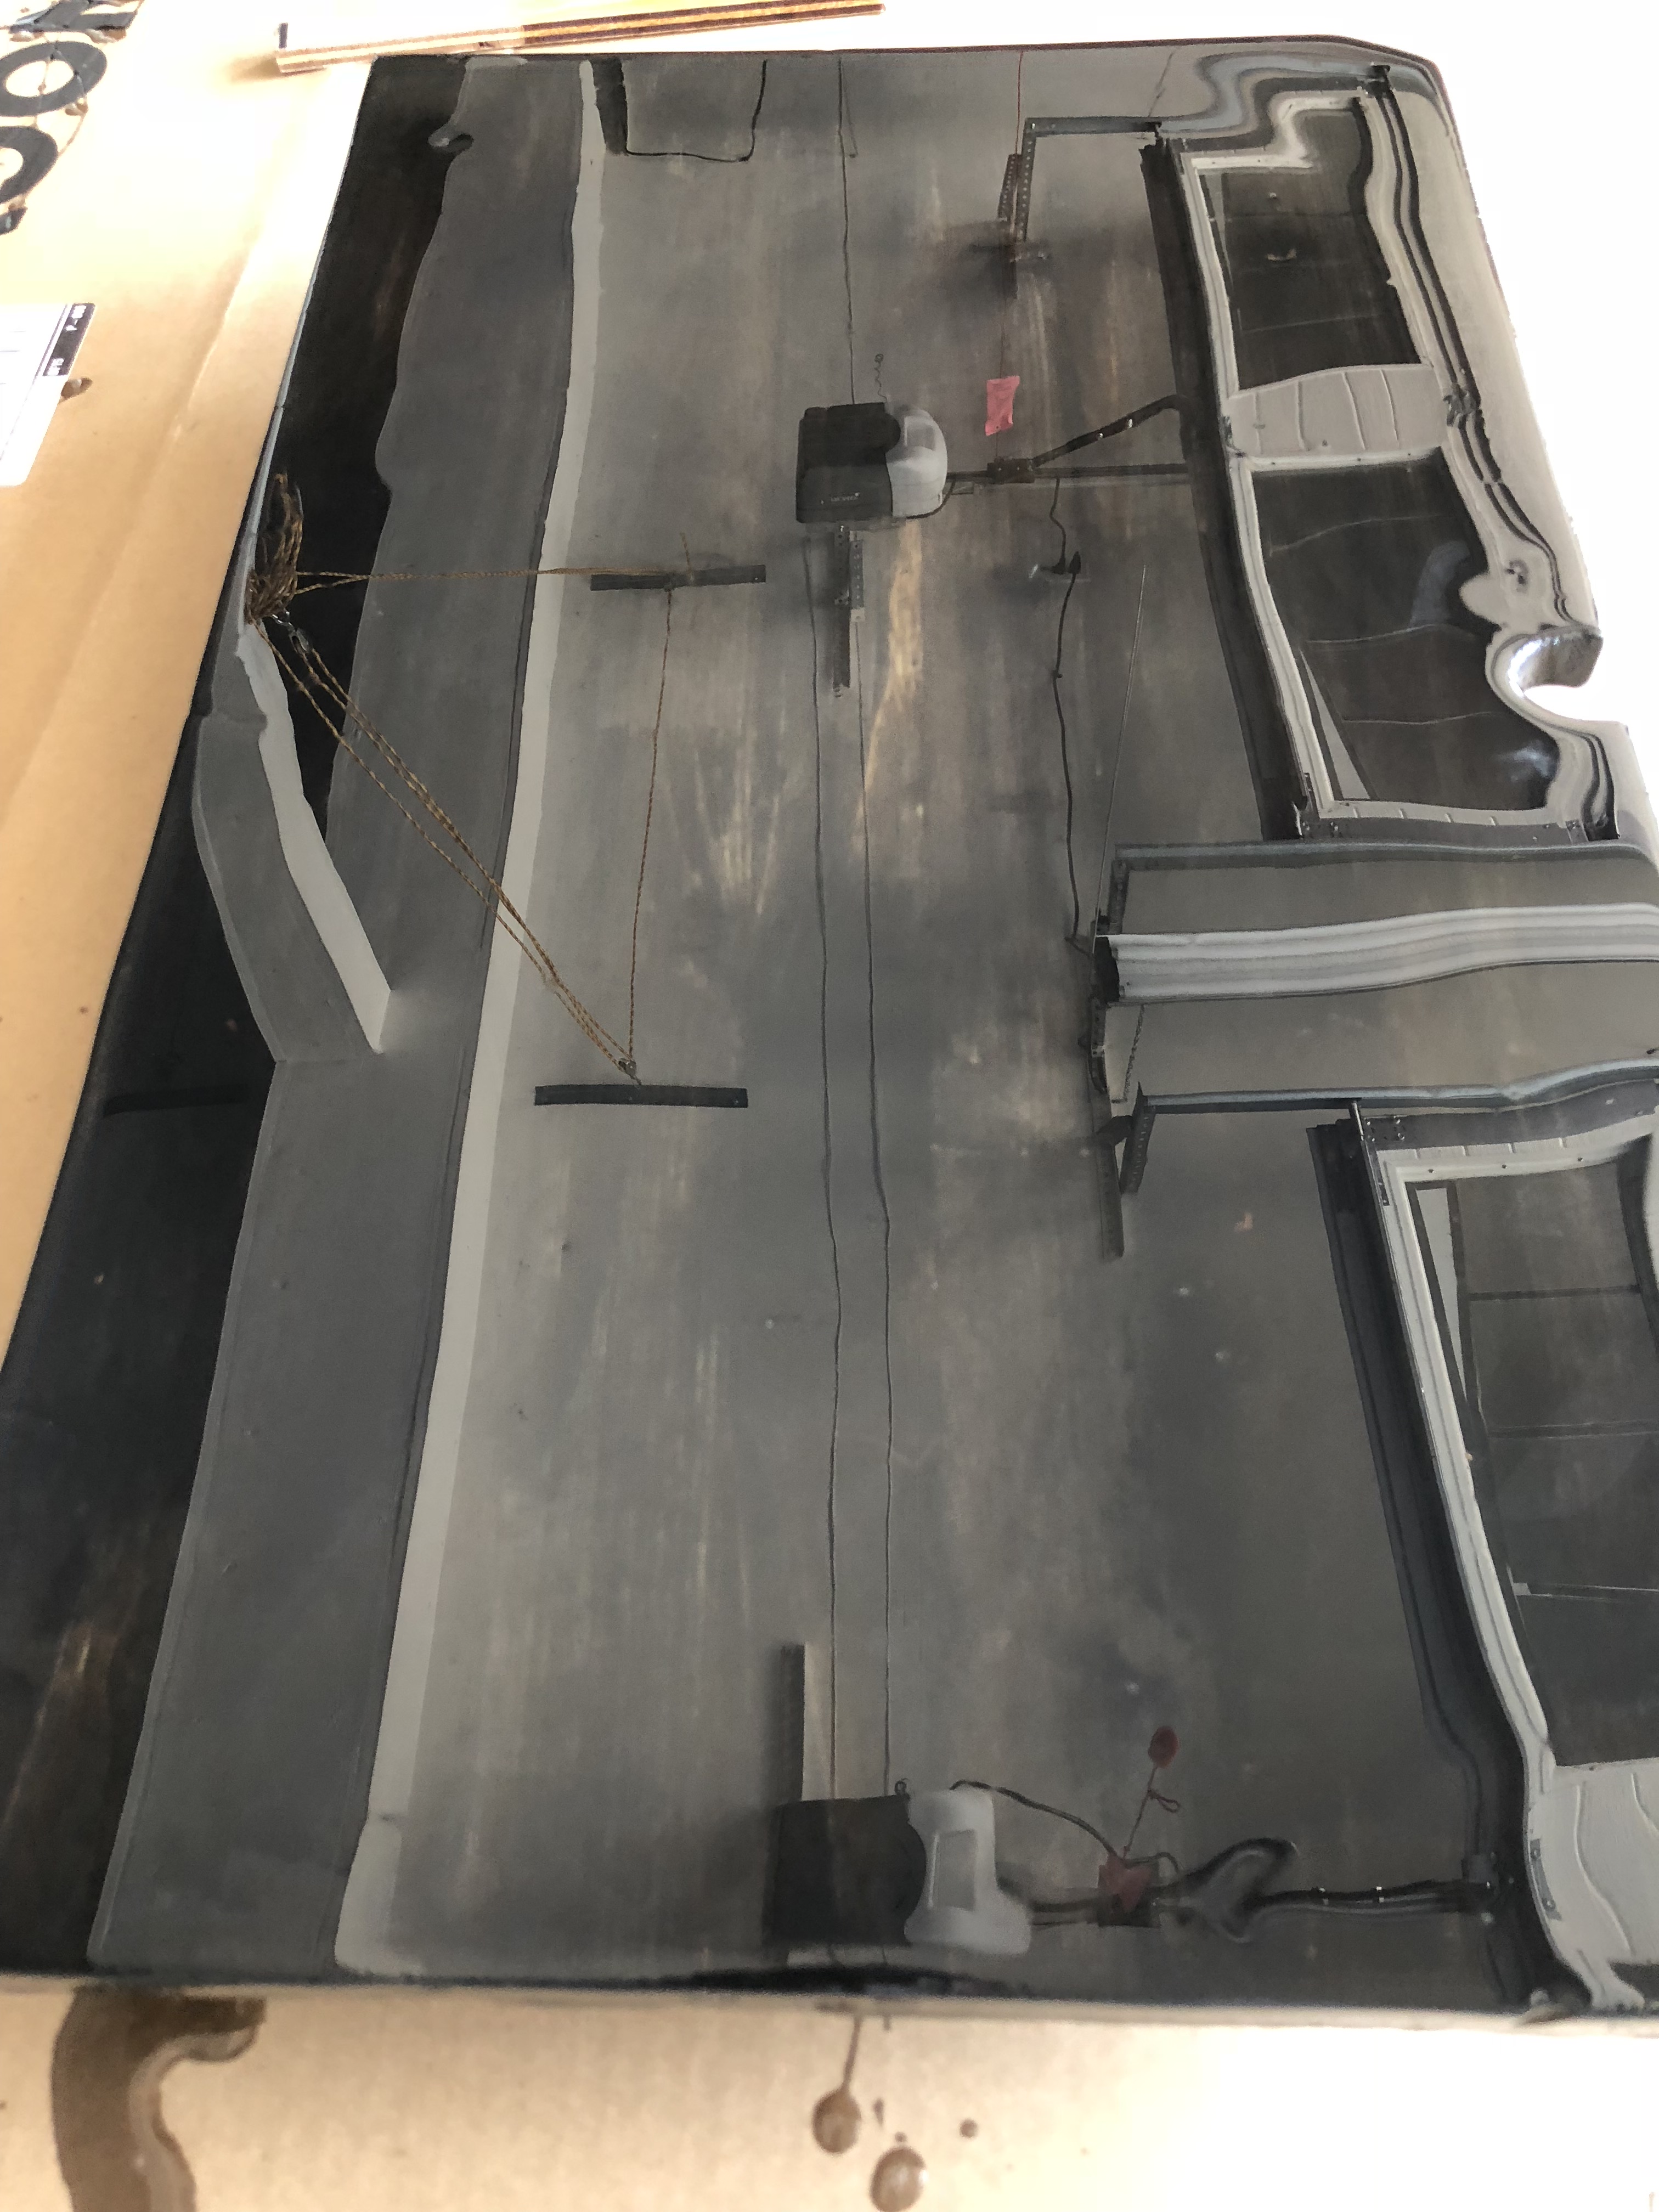
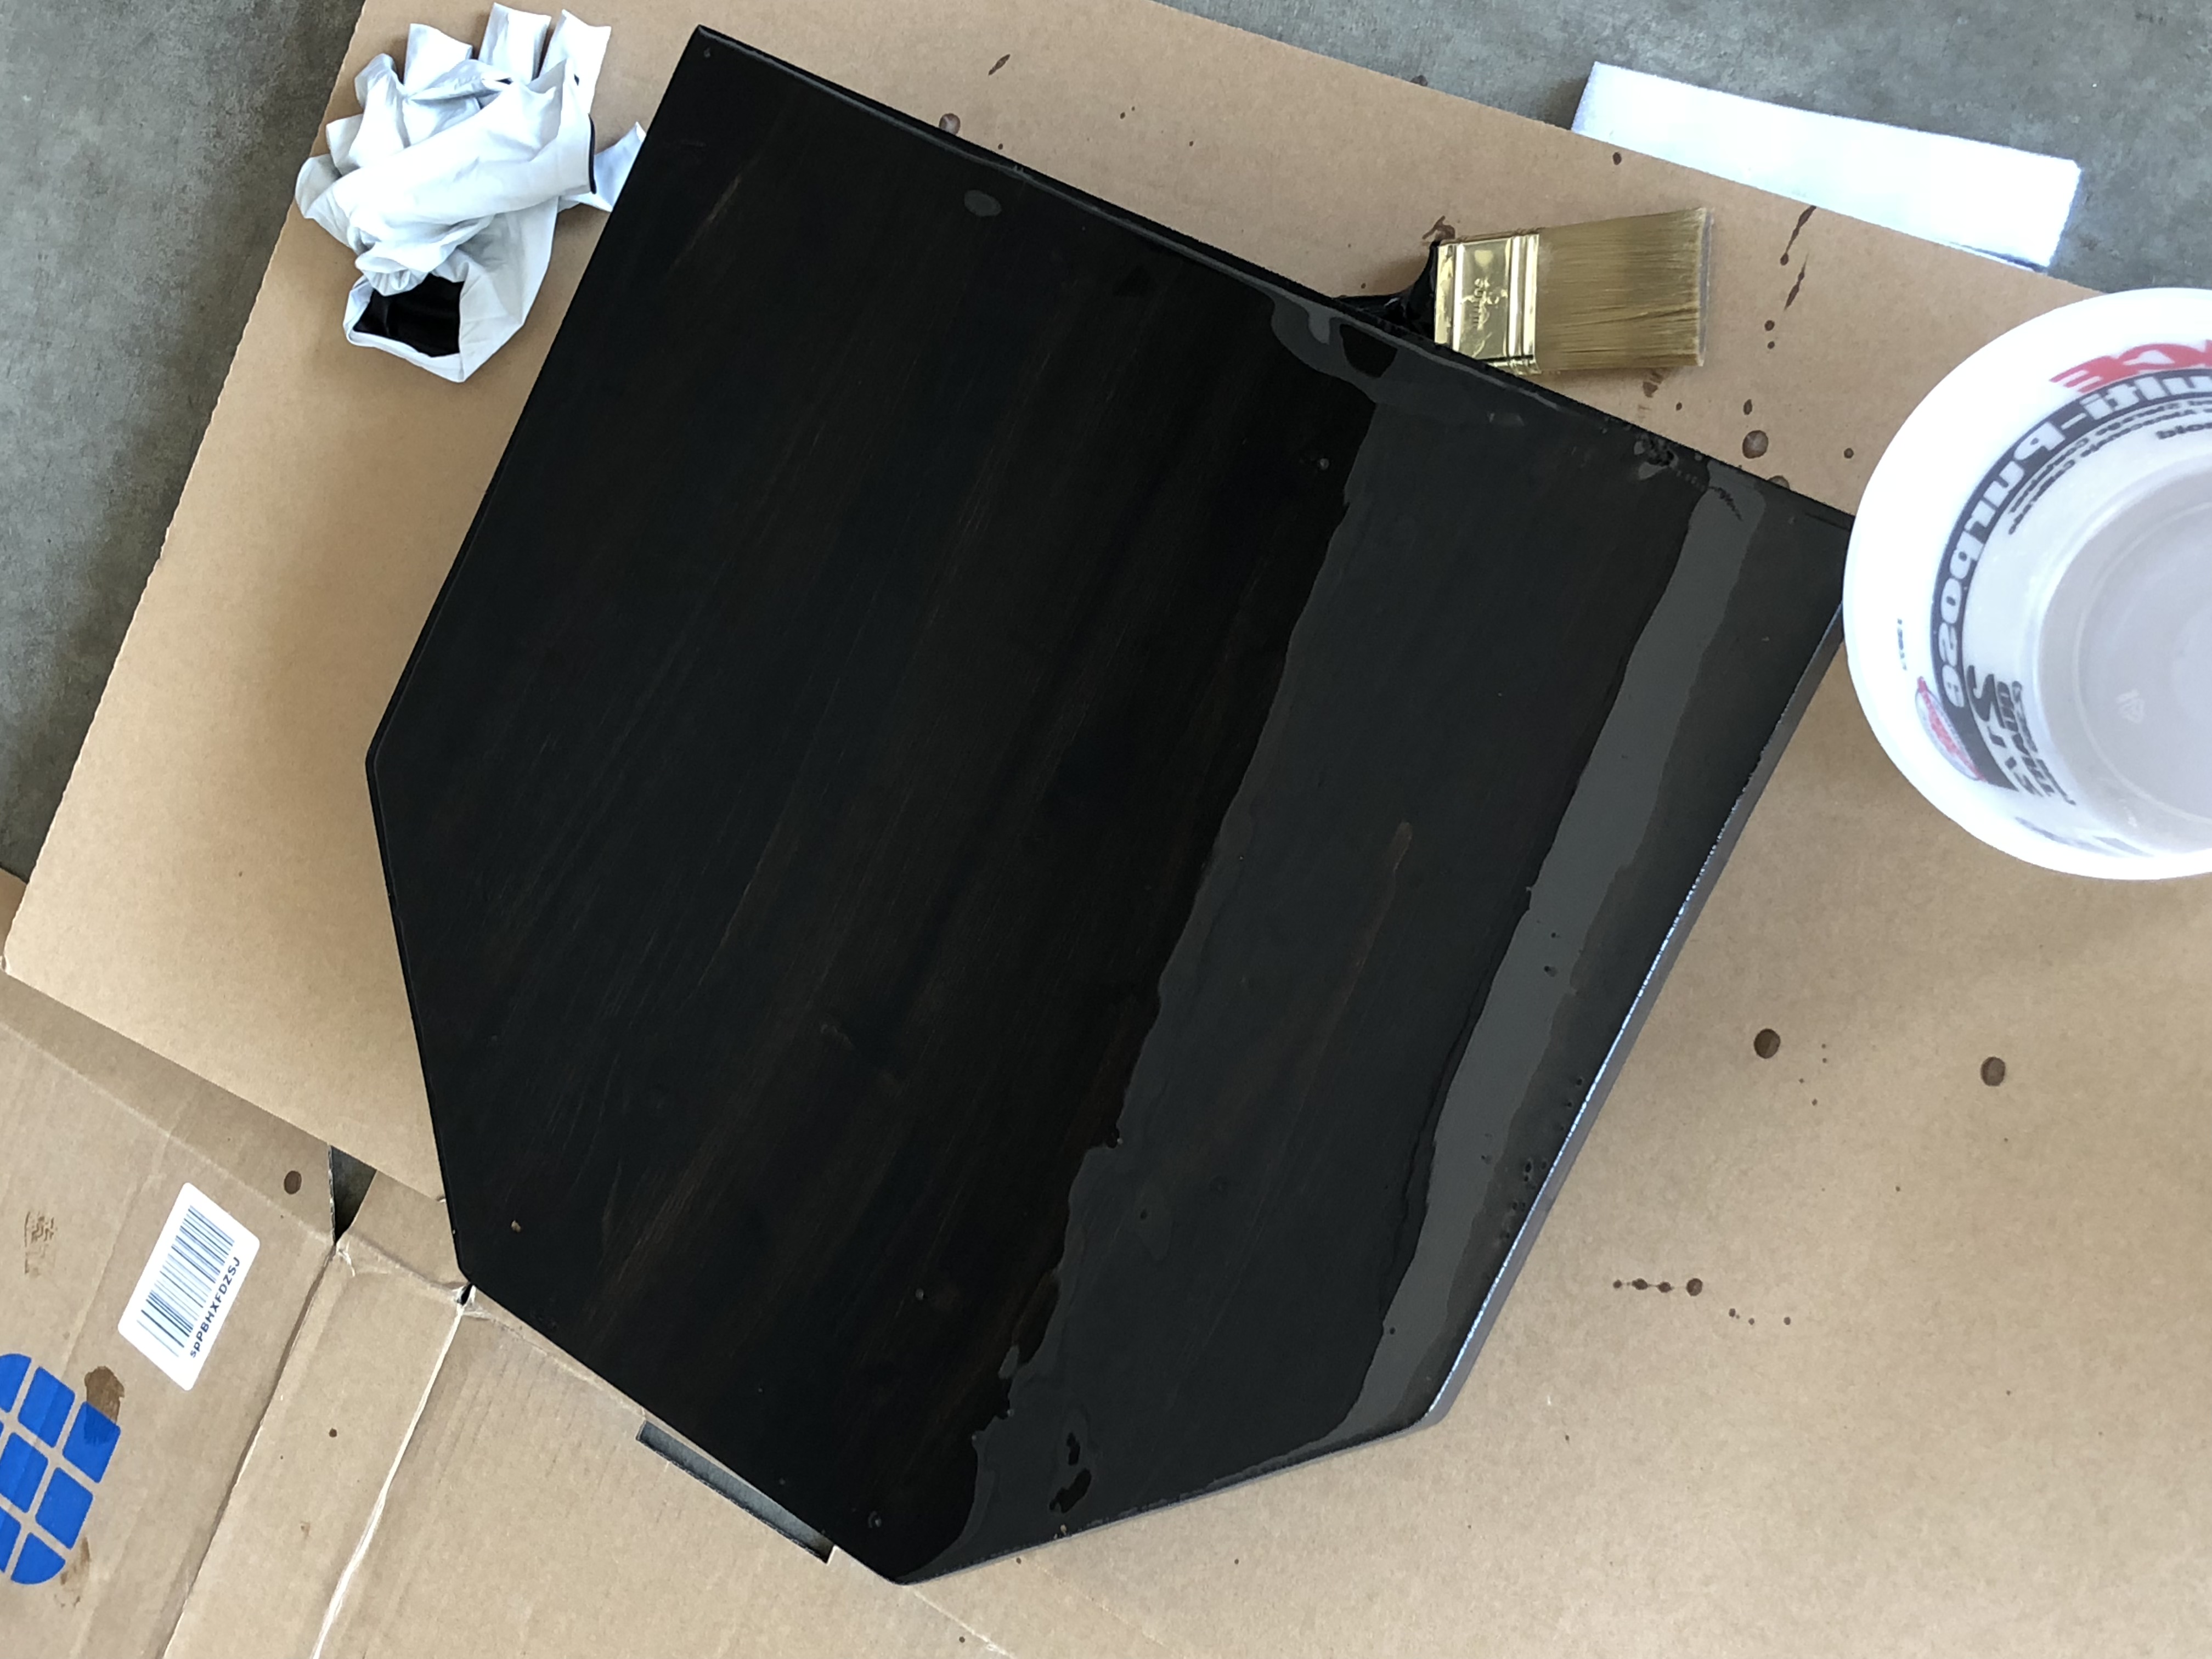
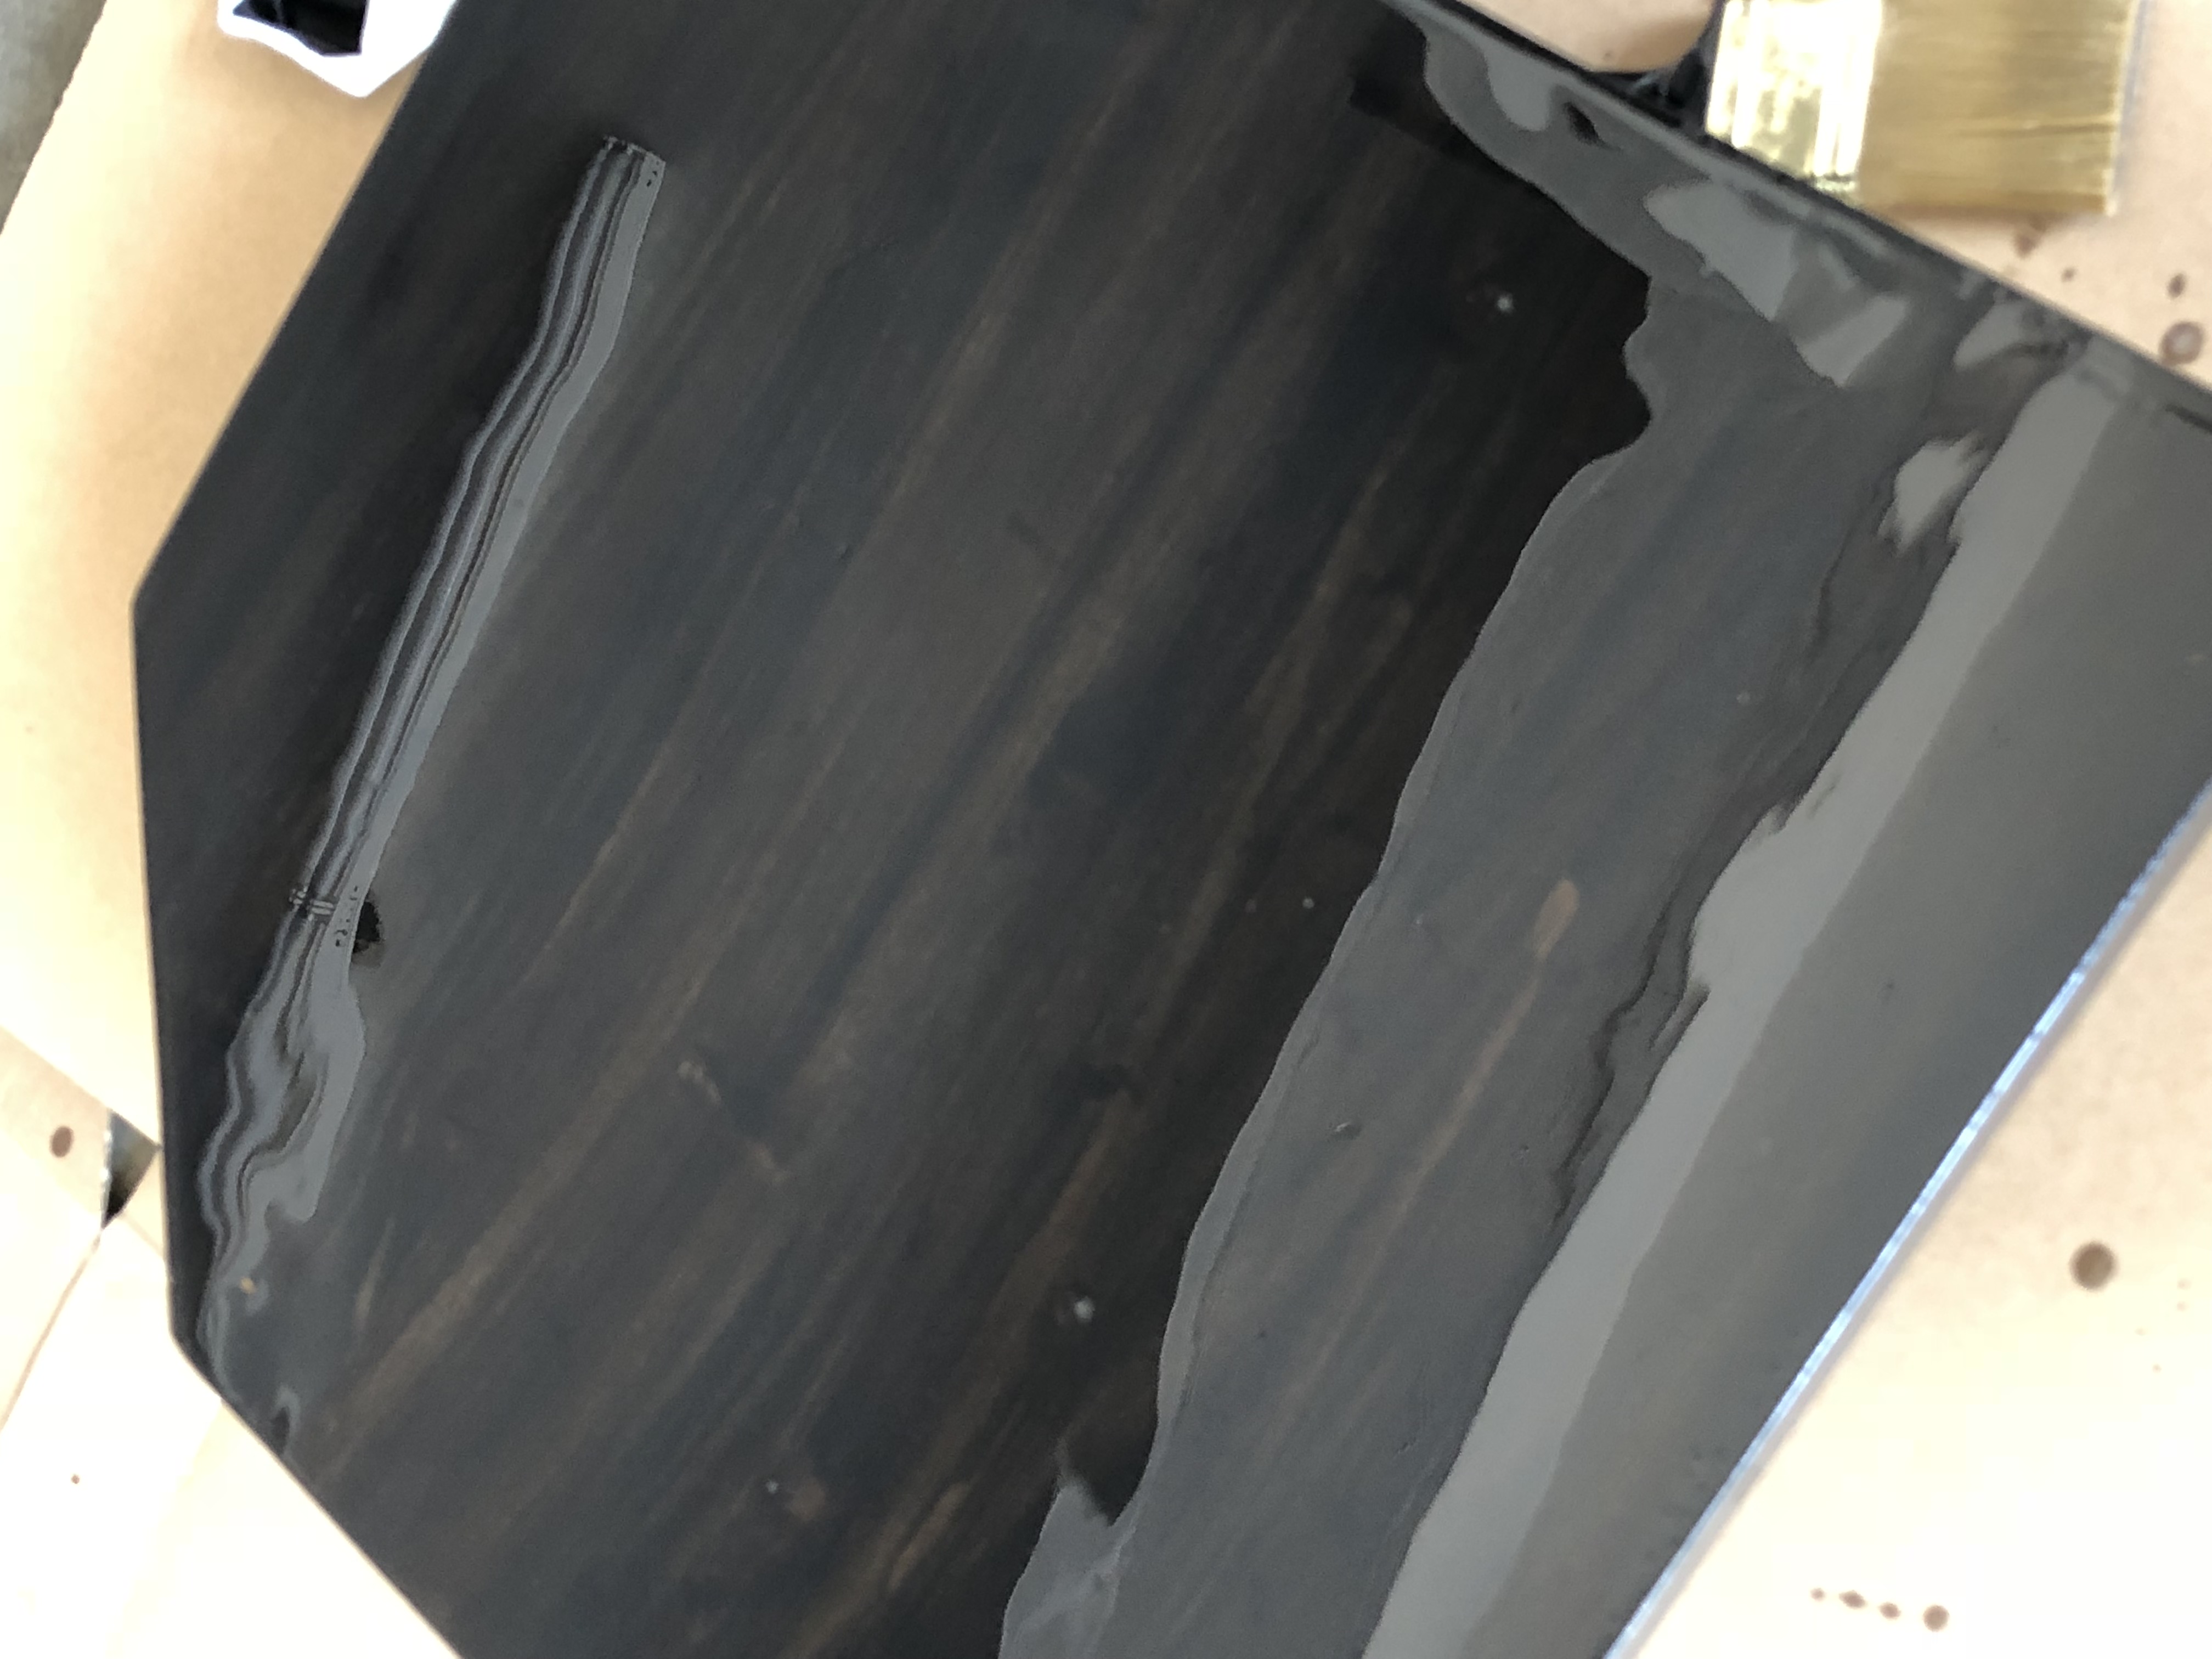
That’s literally exactly what I wanted!!! YAY! 🙂 I can’t wait to see what it looks like when it dries! I hope the garage doesn’t drop too much dust and crap into it tonight while it’s still wet!
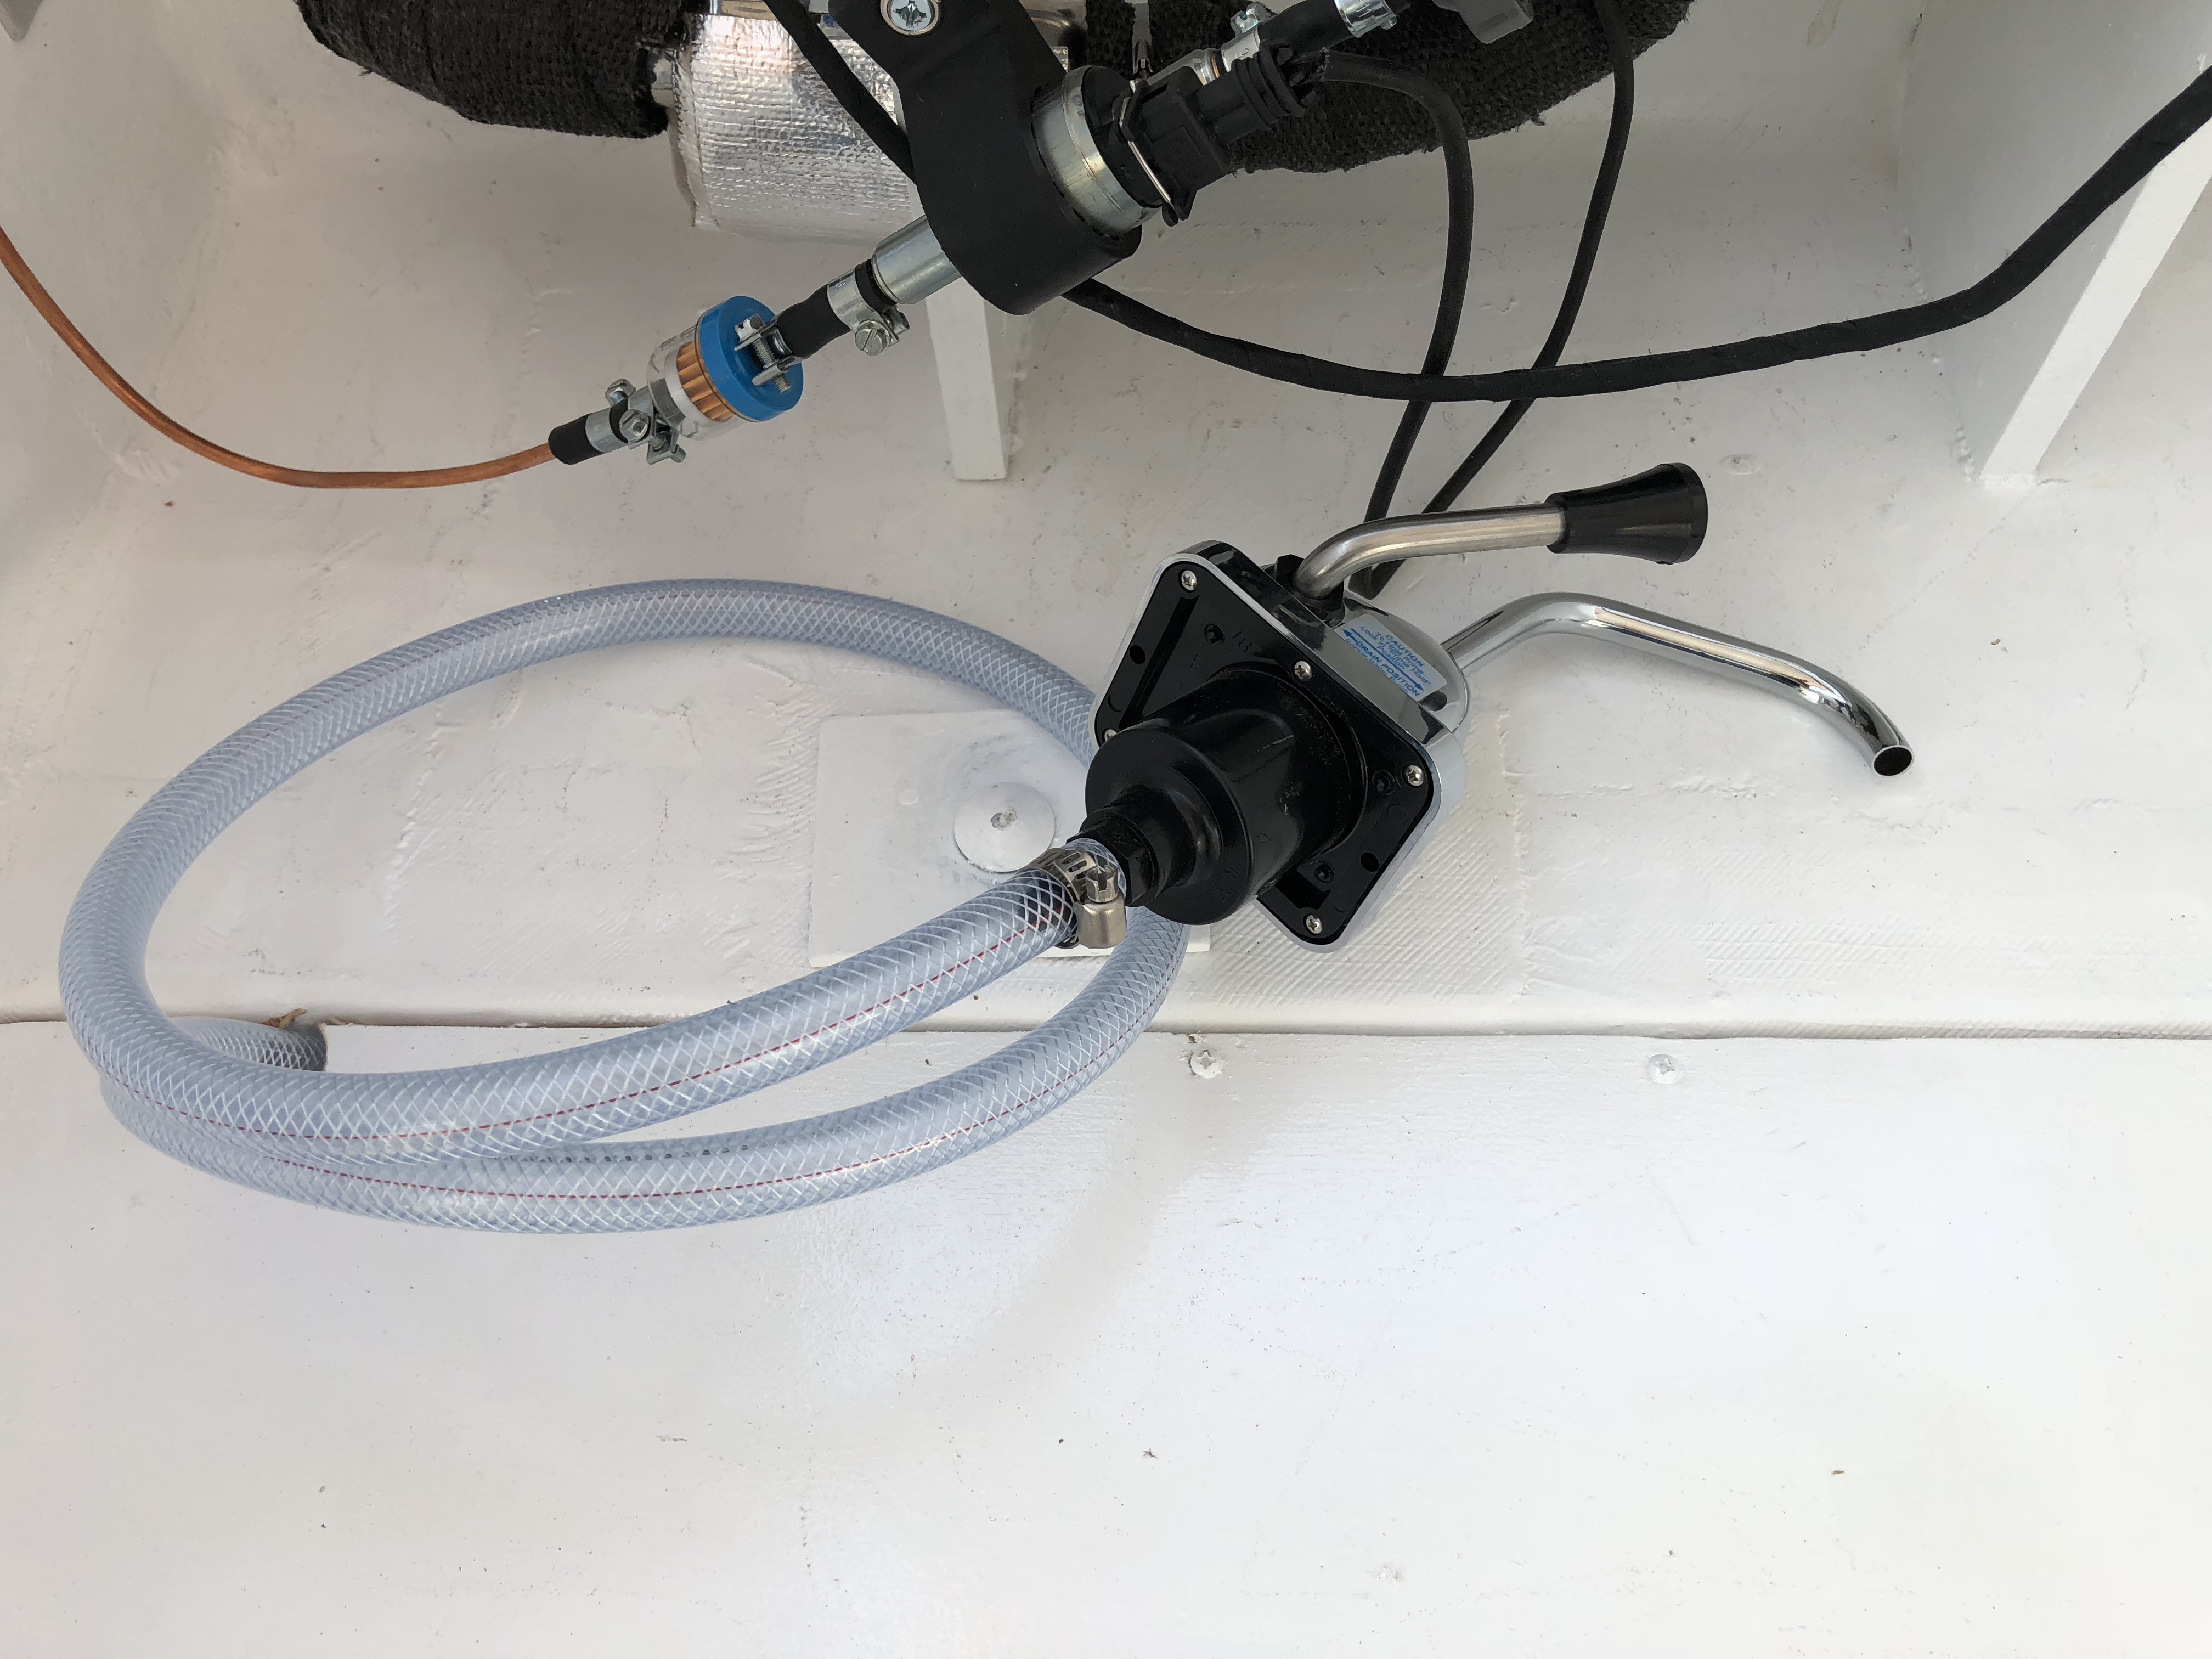
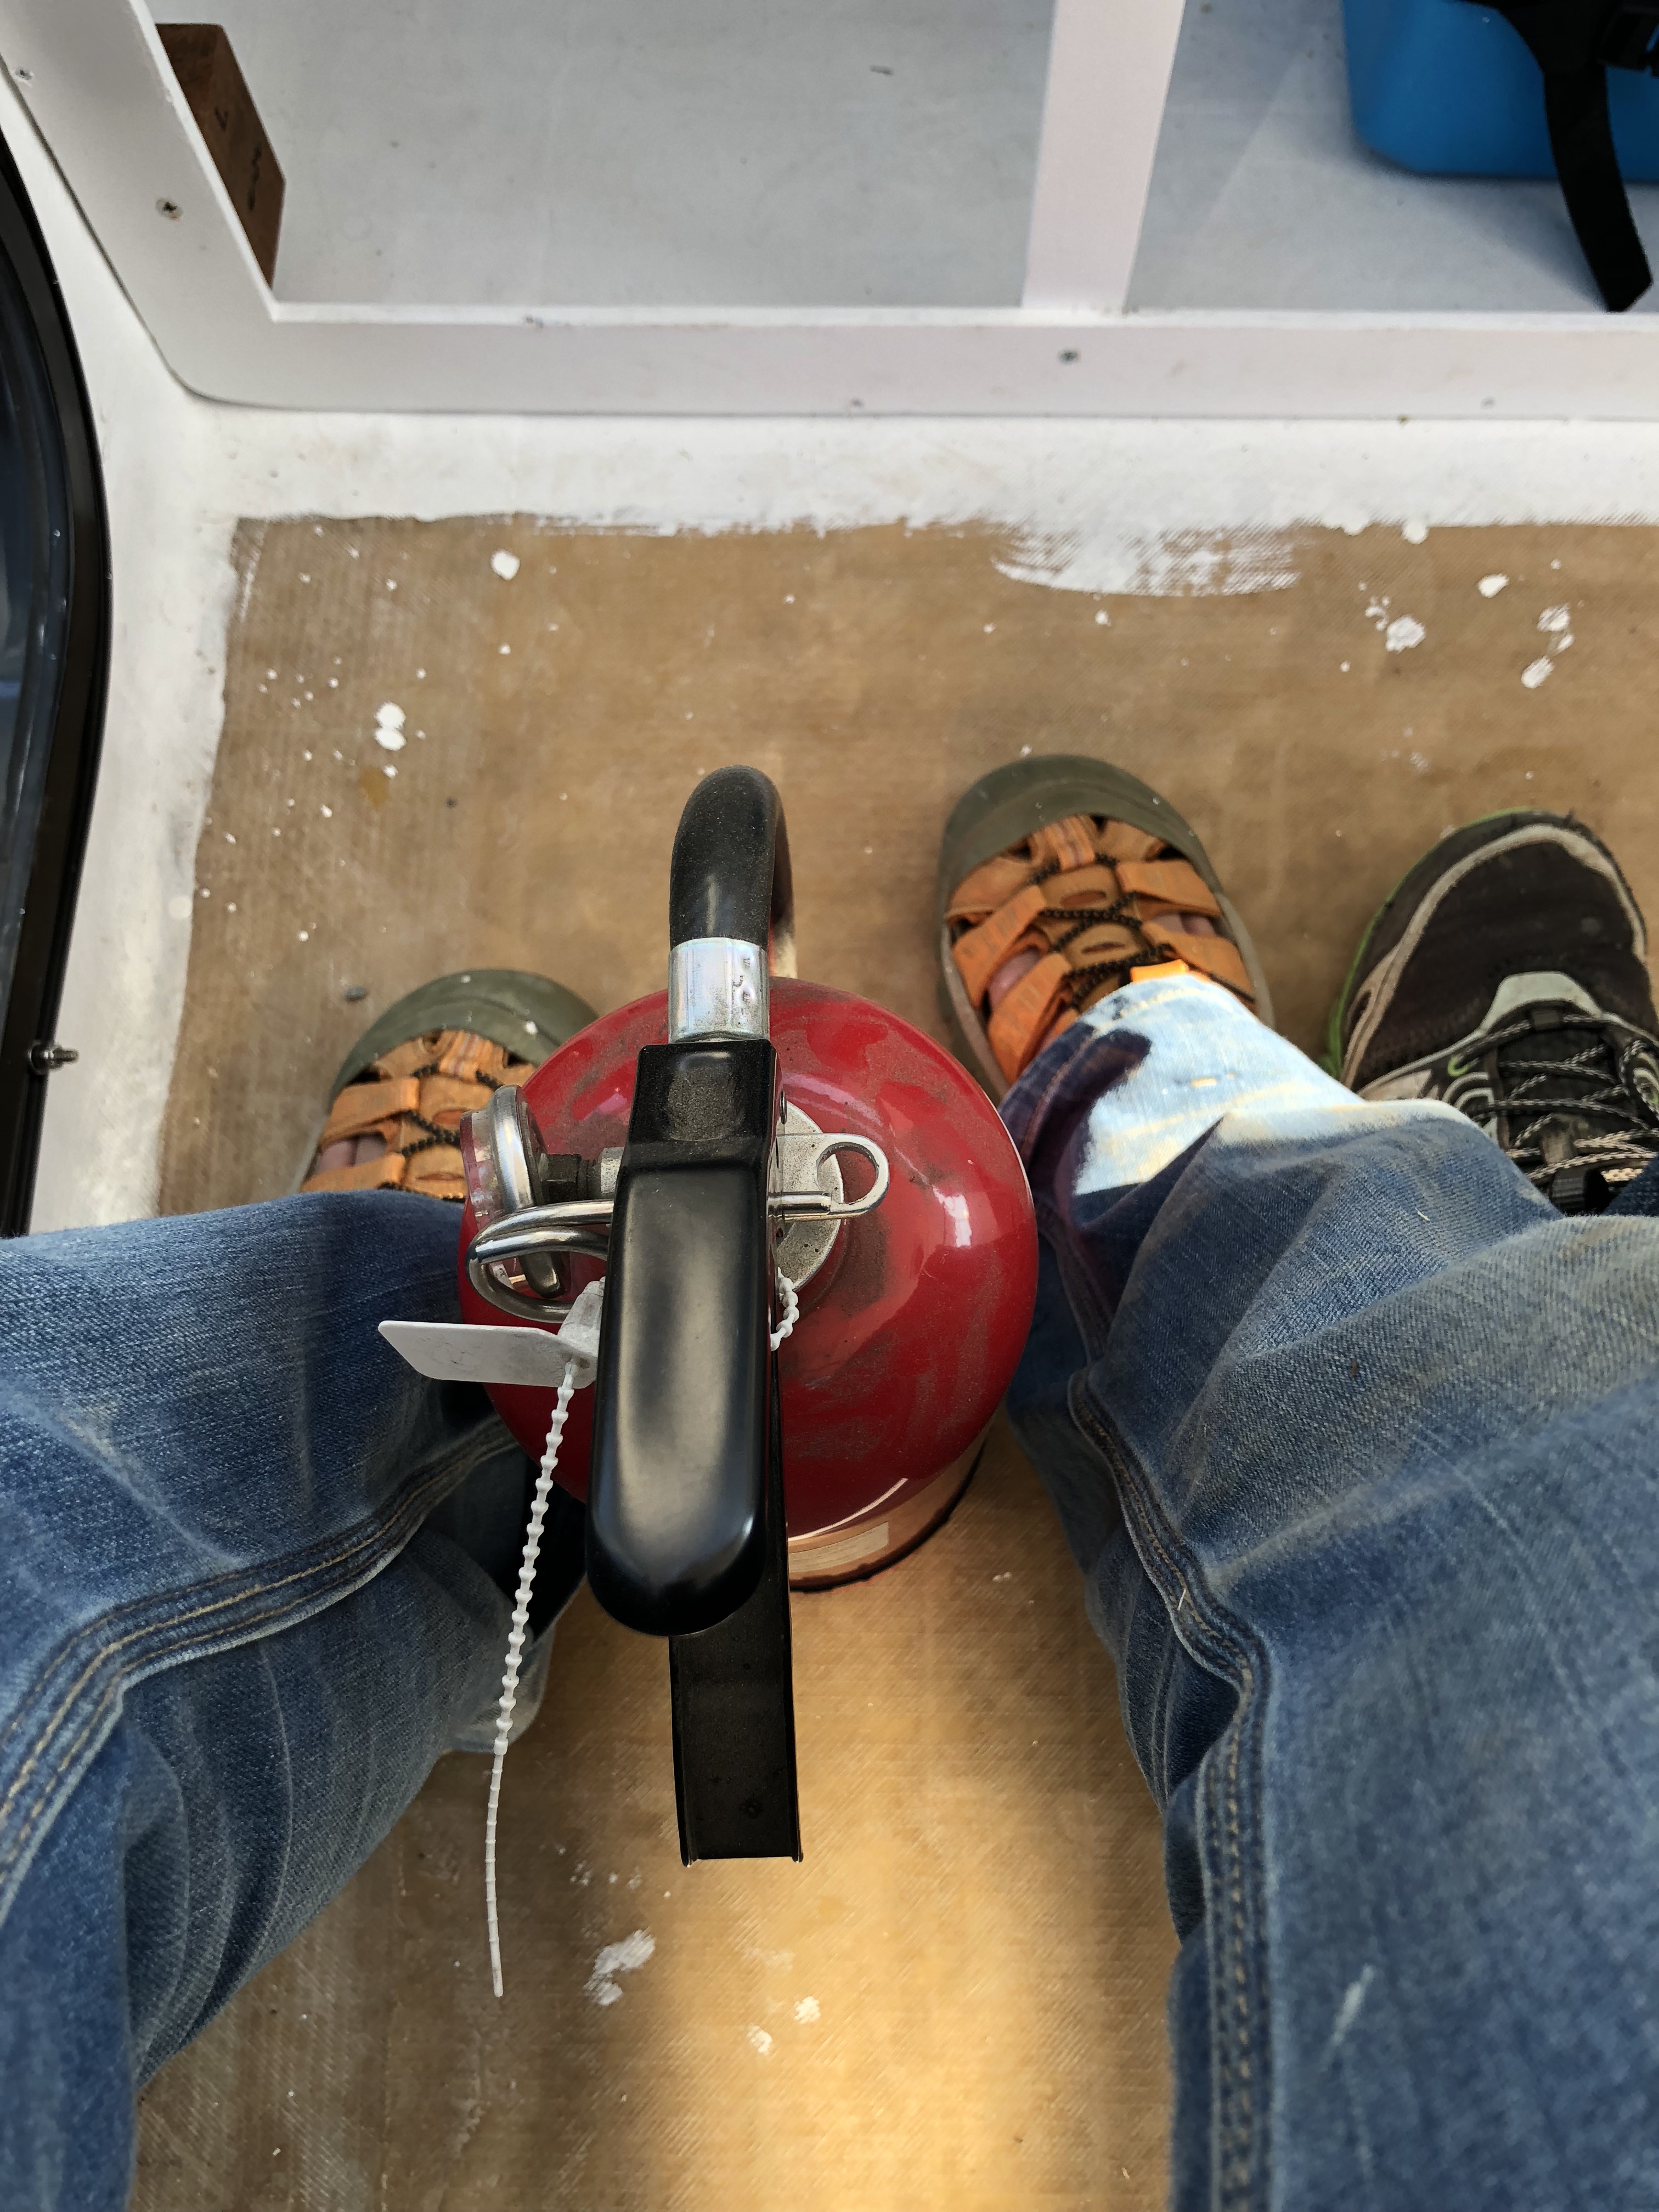
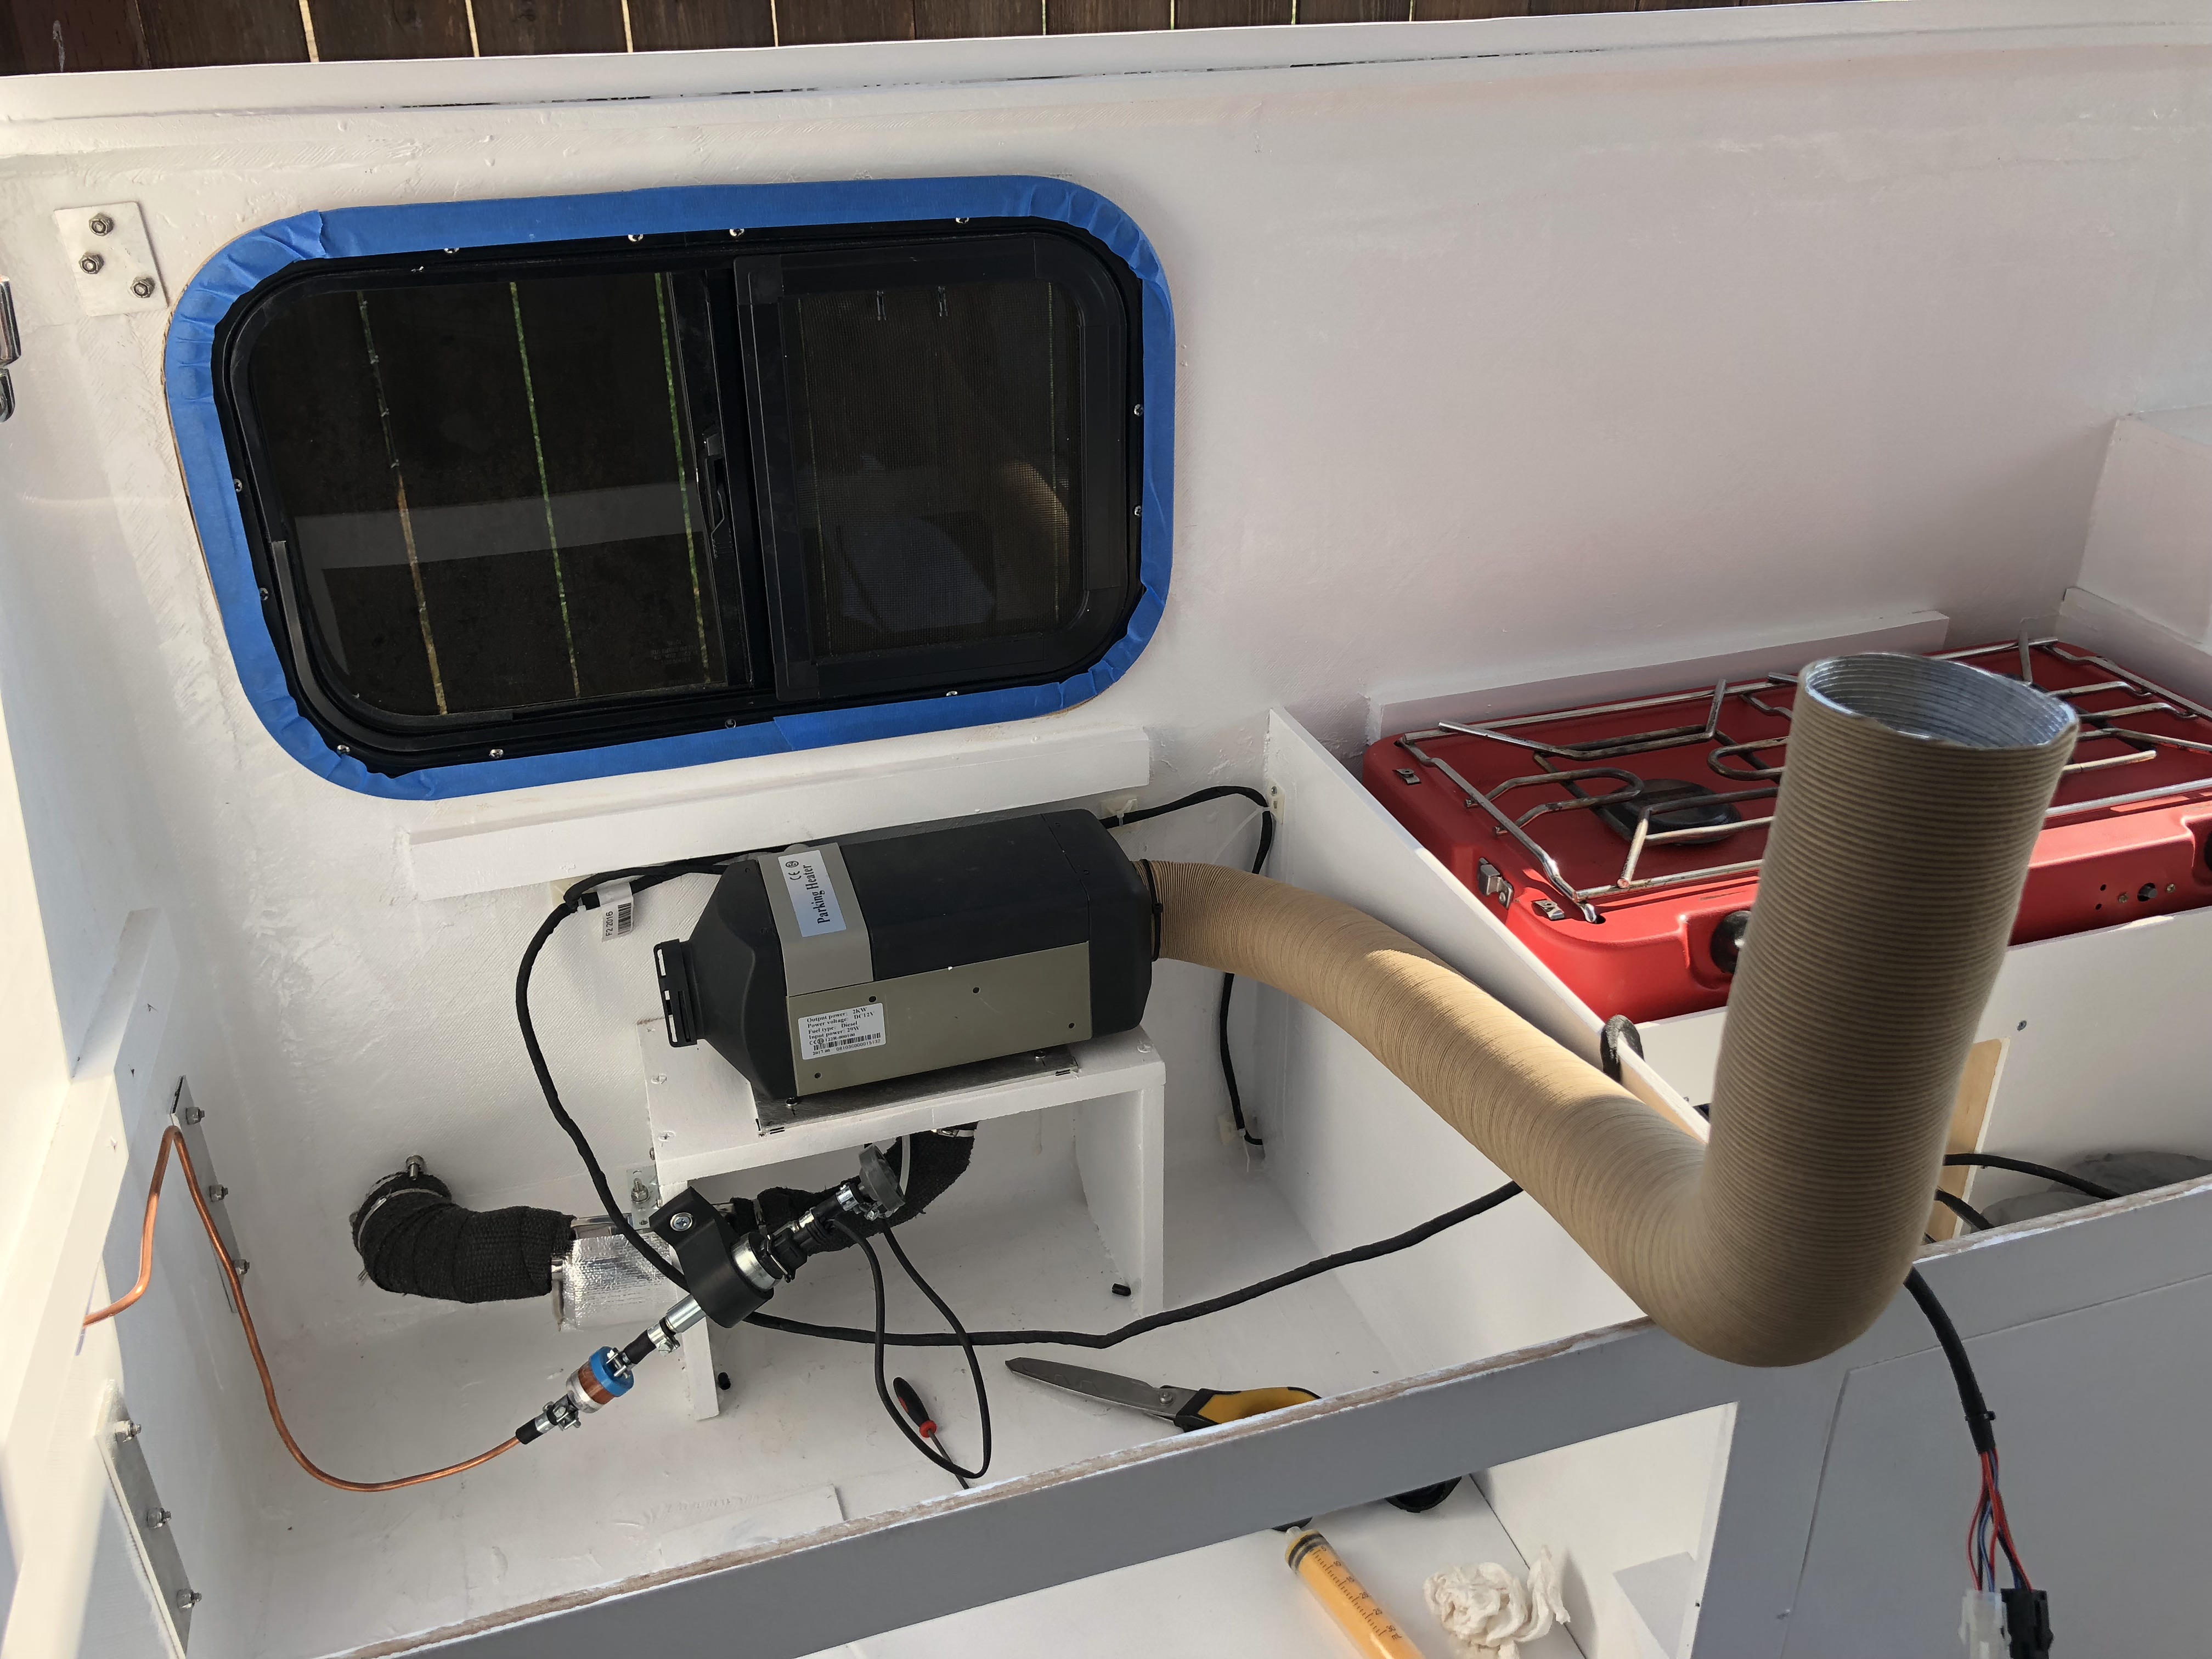
Yesterday we only had about 6″ of fuel line to run to complete the heater installation. Jason made pretty quick work of that today. (Aside from slicing his hand open on the metal hose clamps for the insulation…) So… we’re ready to fire it up for the first time! 😮 I was a little apprehensive because this thing is direct from China and it’s an engine and whatnot. I had the fire extinguisher handy just in case…
It actually started up without a hitch! It works very similar to our old Webasto diesel heater in the sailboat. It went through a little warmup sequence and then the fuel pump started clicking and working the bubbles out of the lines. Eventually the engine fired up and started coming up to temp! We let it run for a while even though it was in the 80’s outside.
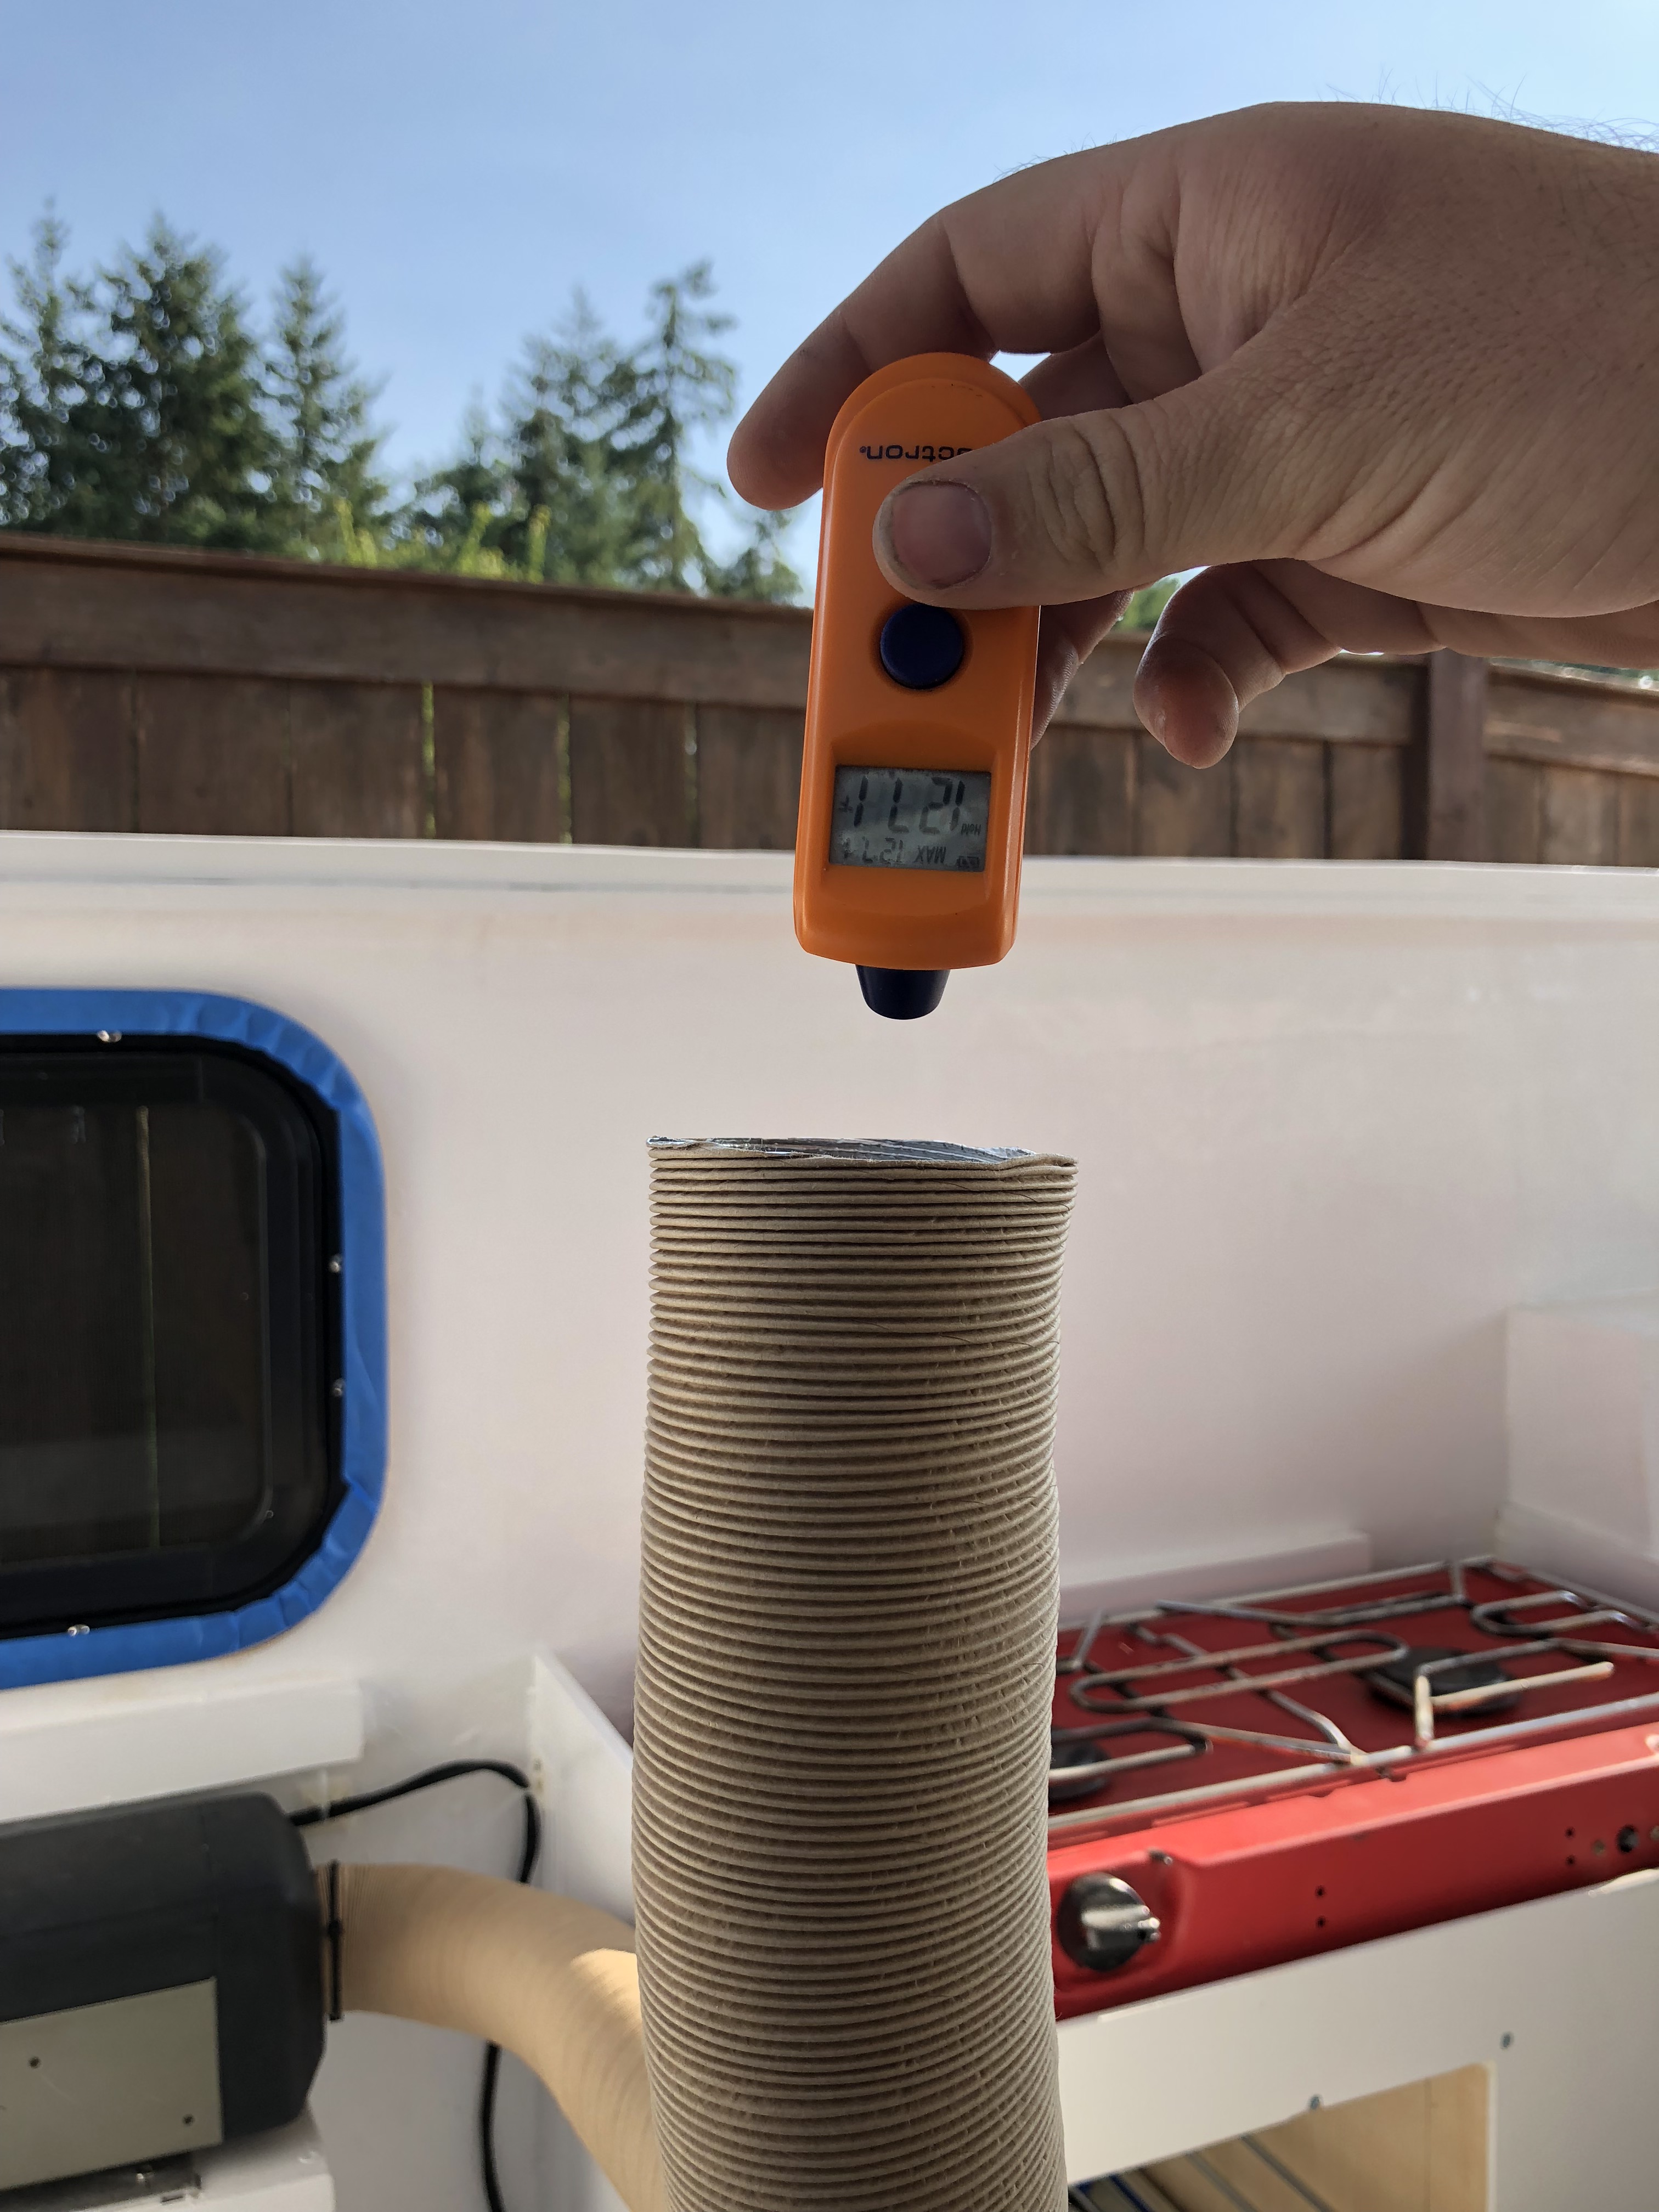
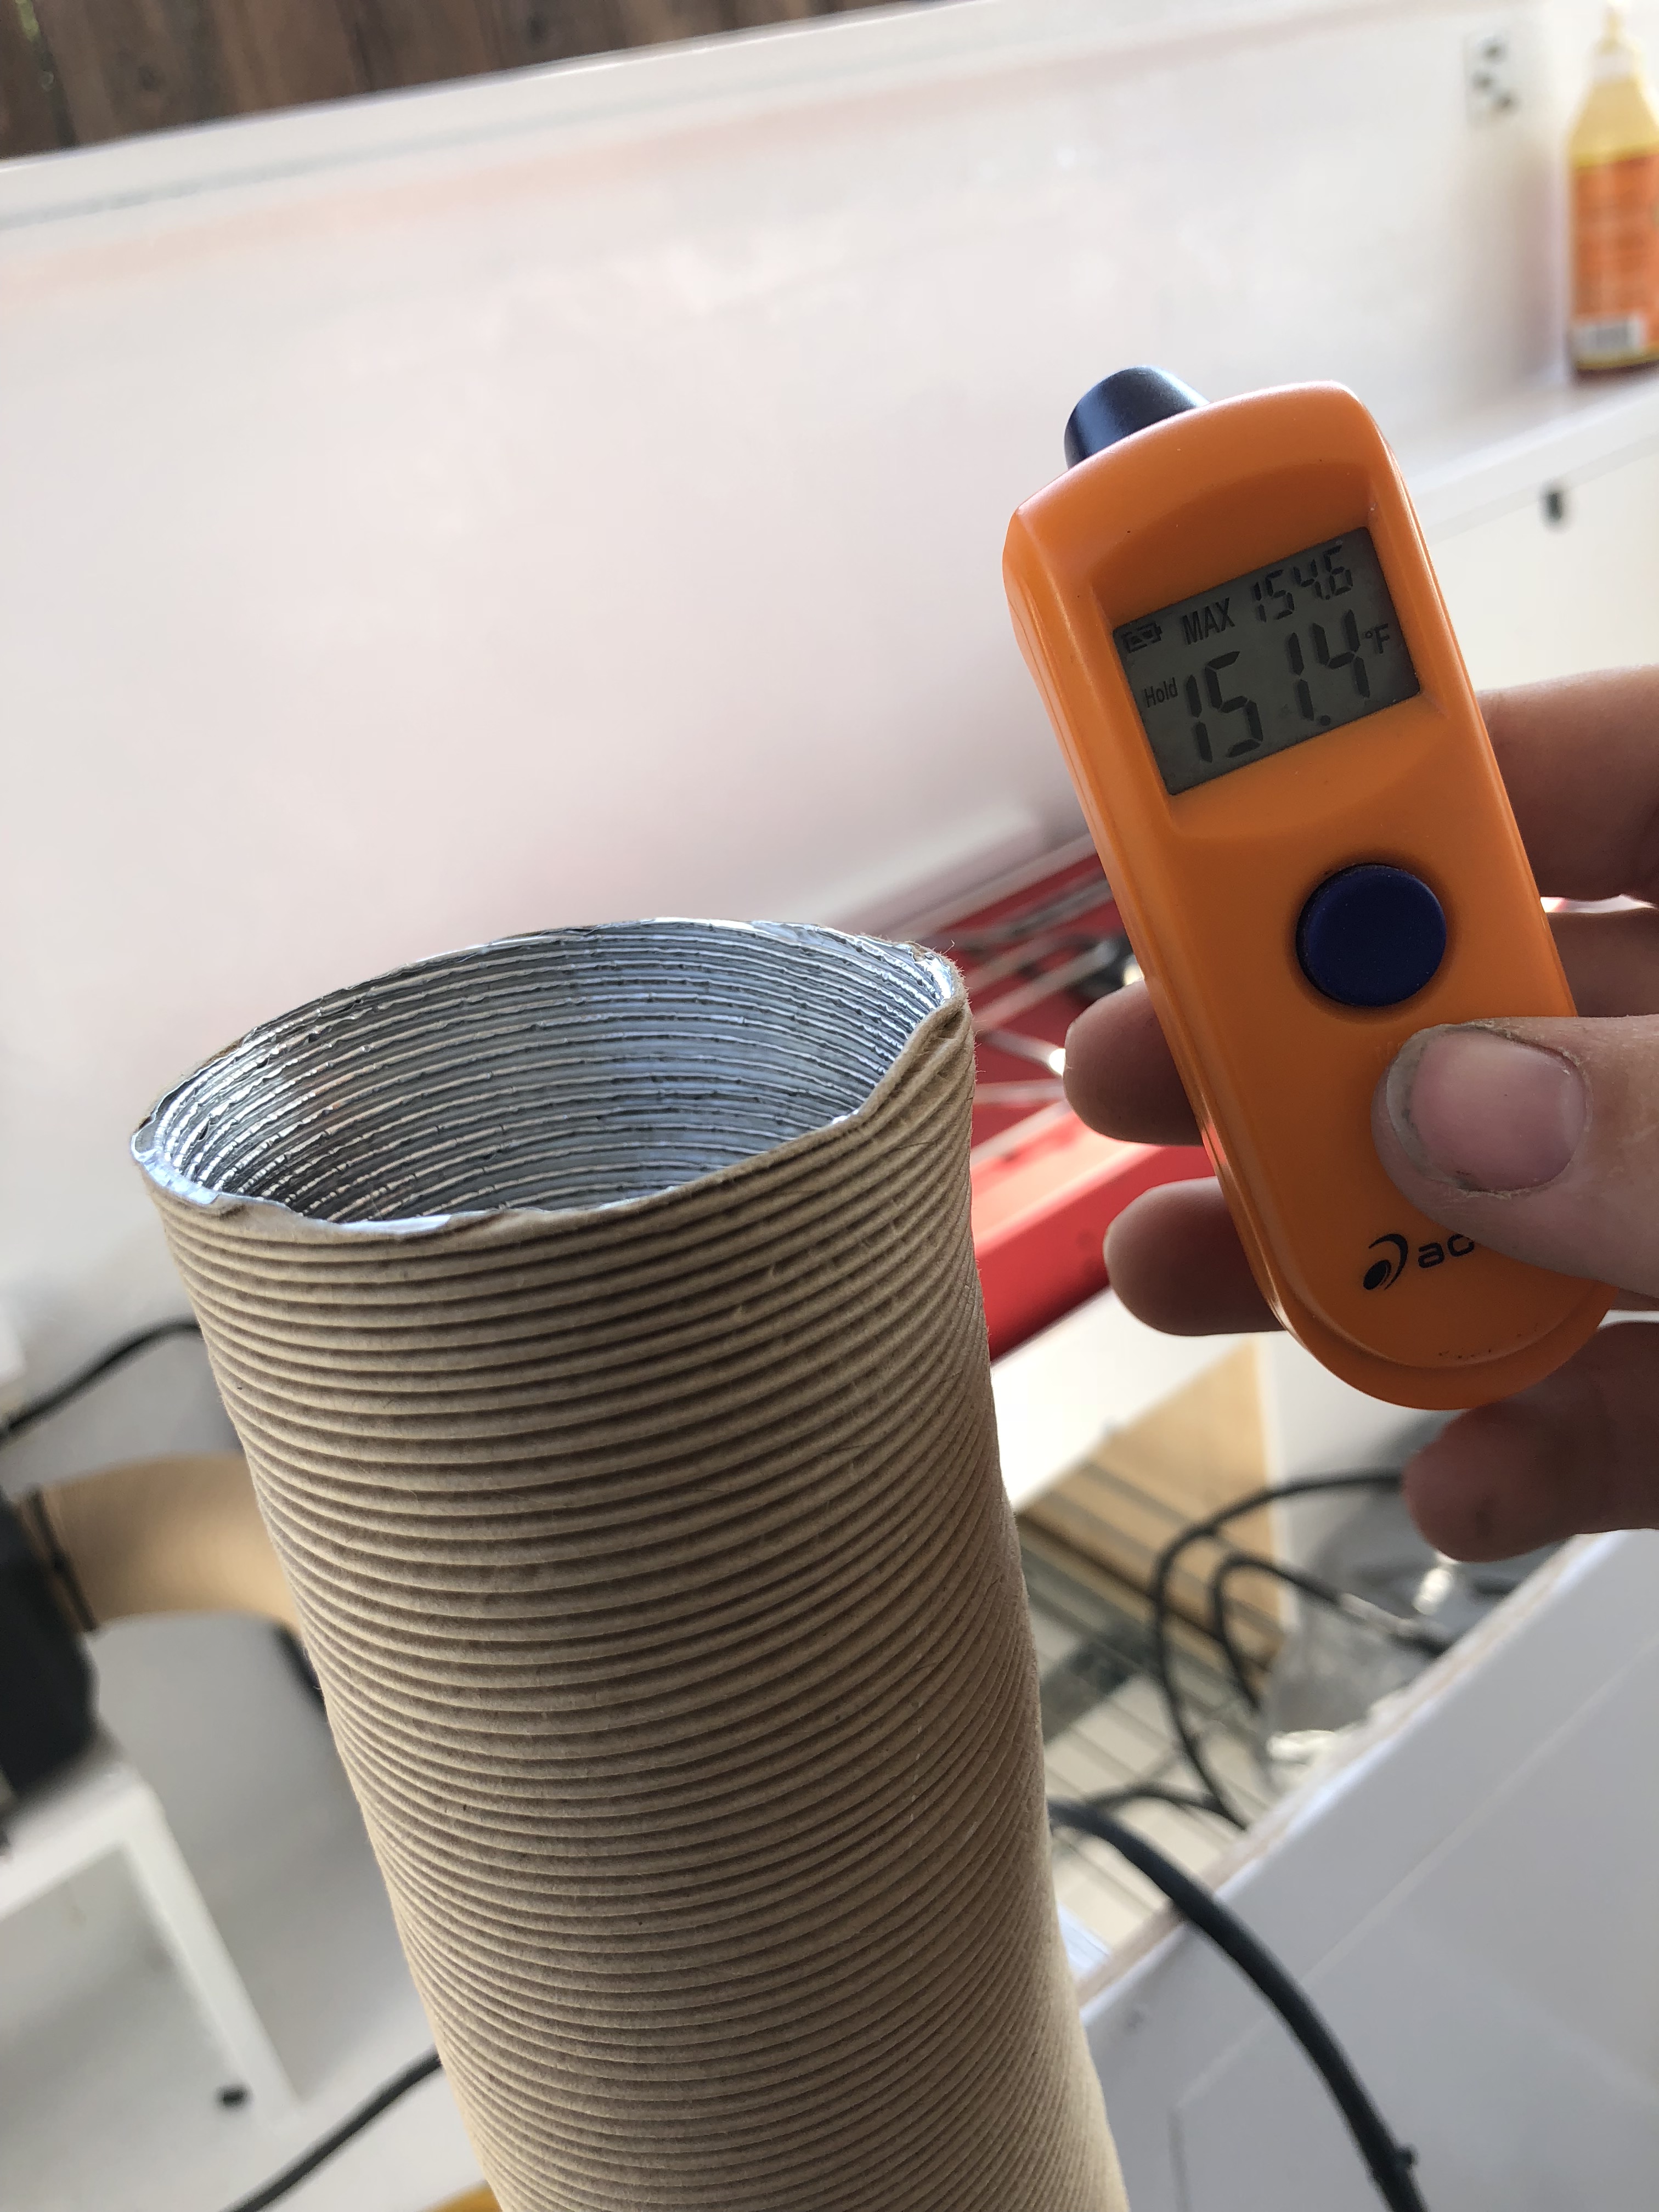
It pulls 7 amps on startup, 2 amps on high, and less than 1 amp on low. So not only is it fuel efficient (better than propane!) it also won’t draw our battery down overnight! The air coming out of the ducting got up to 155*! We should be able to camp in any weather we want to now! 🙂
So yeah! It was a super exciting day! We got the gloss on the countertops, finished up some smaller projects, charged our battery, AND fired up our heater! 🙂