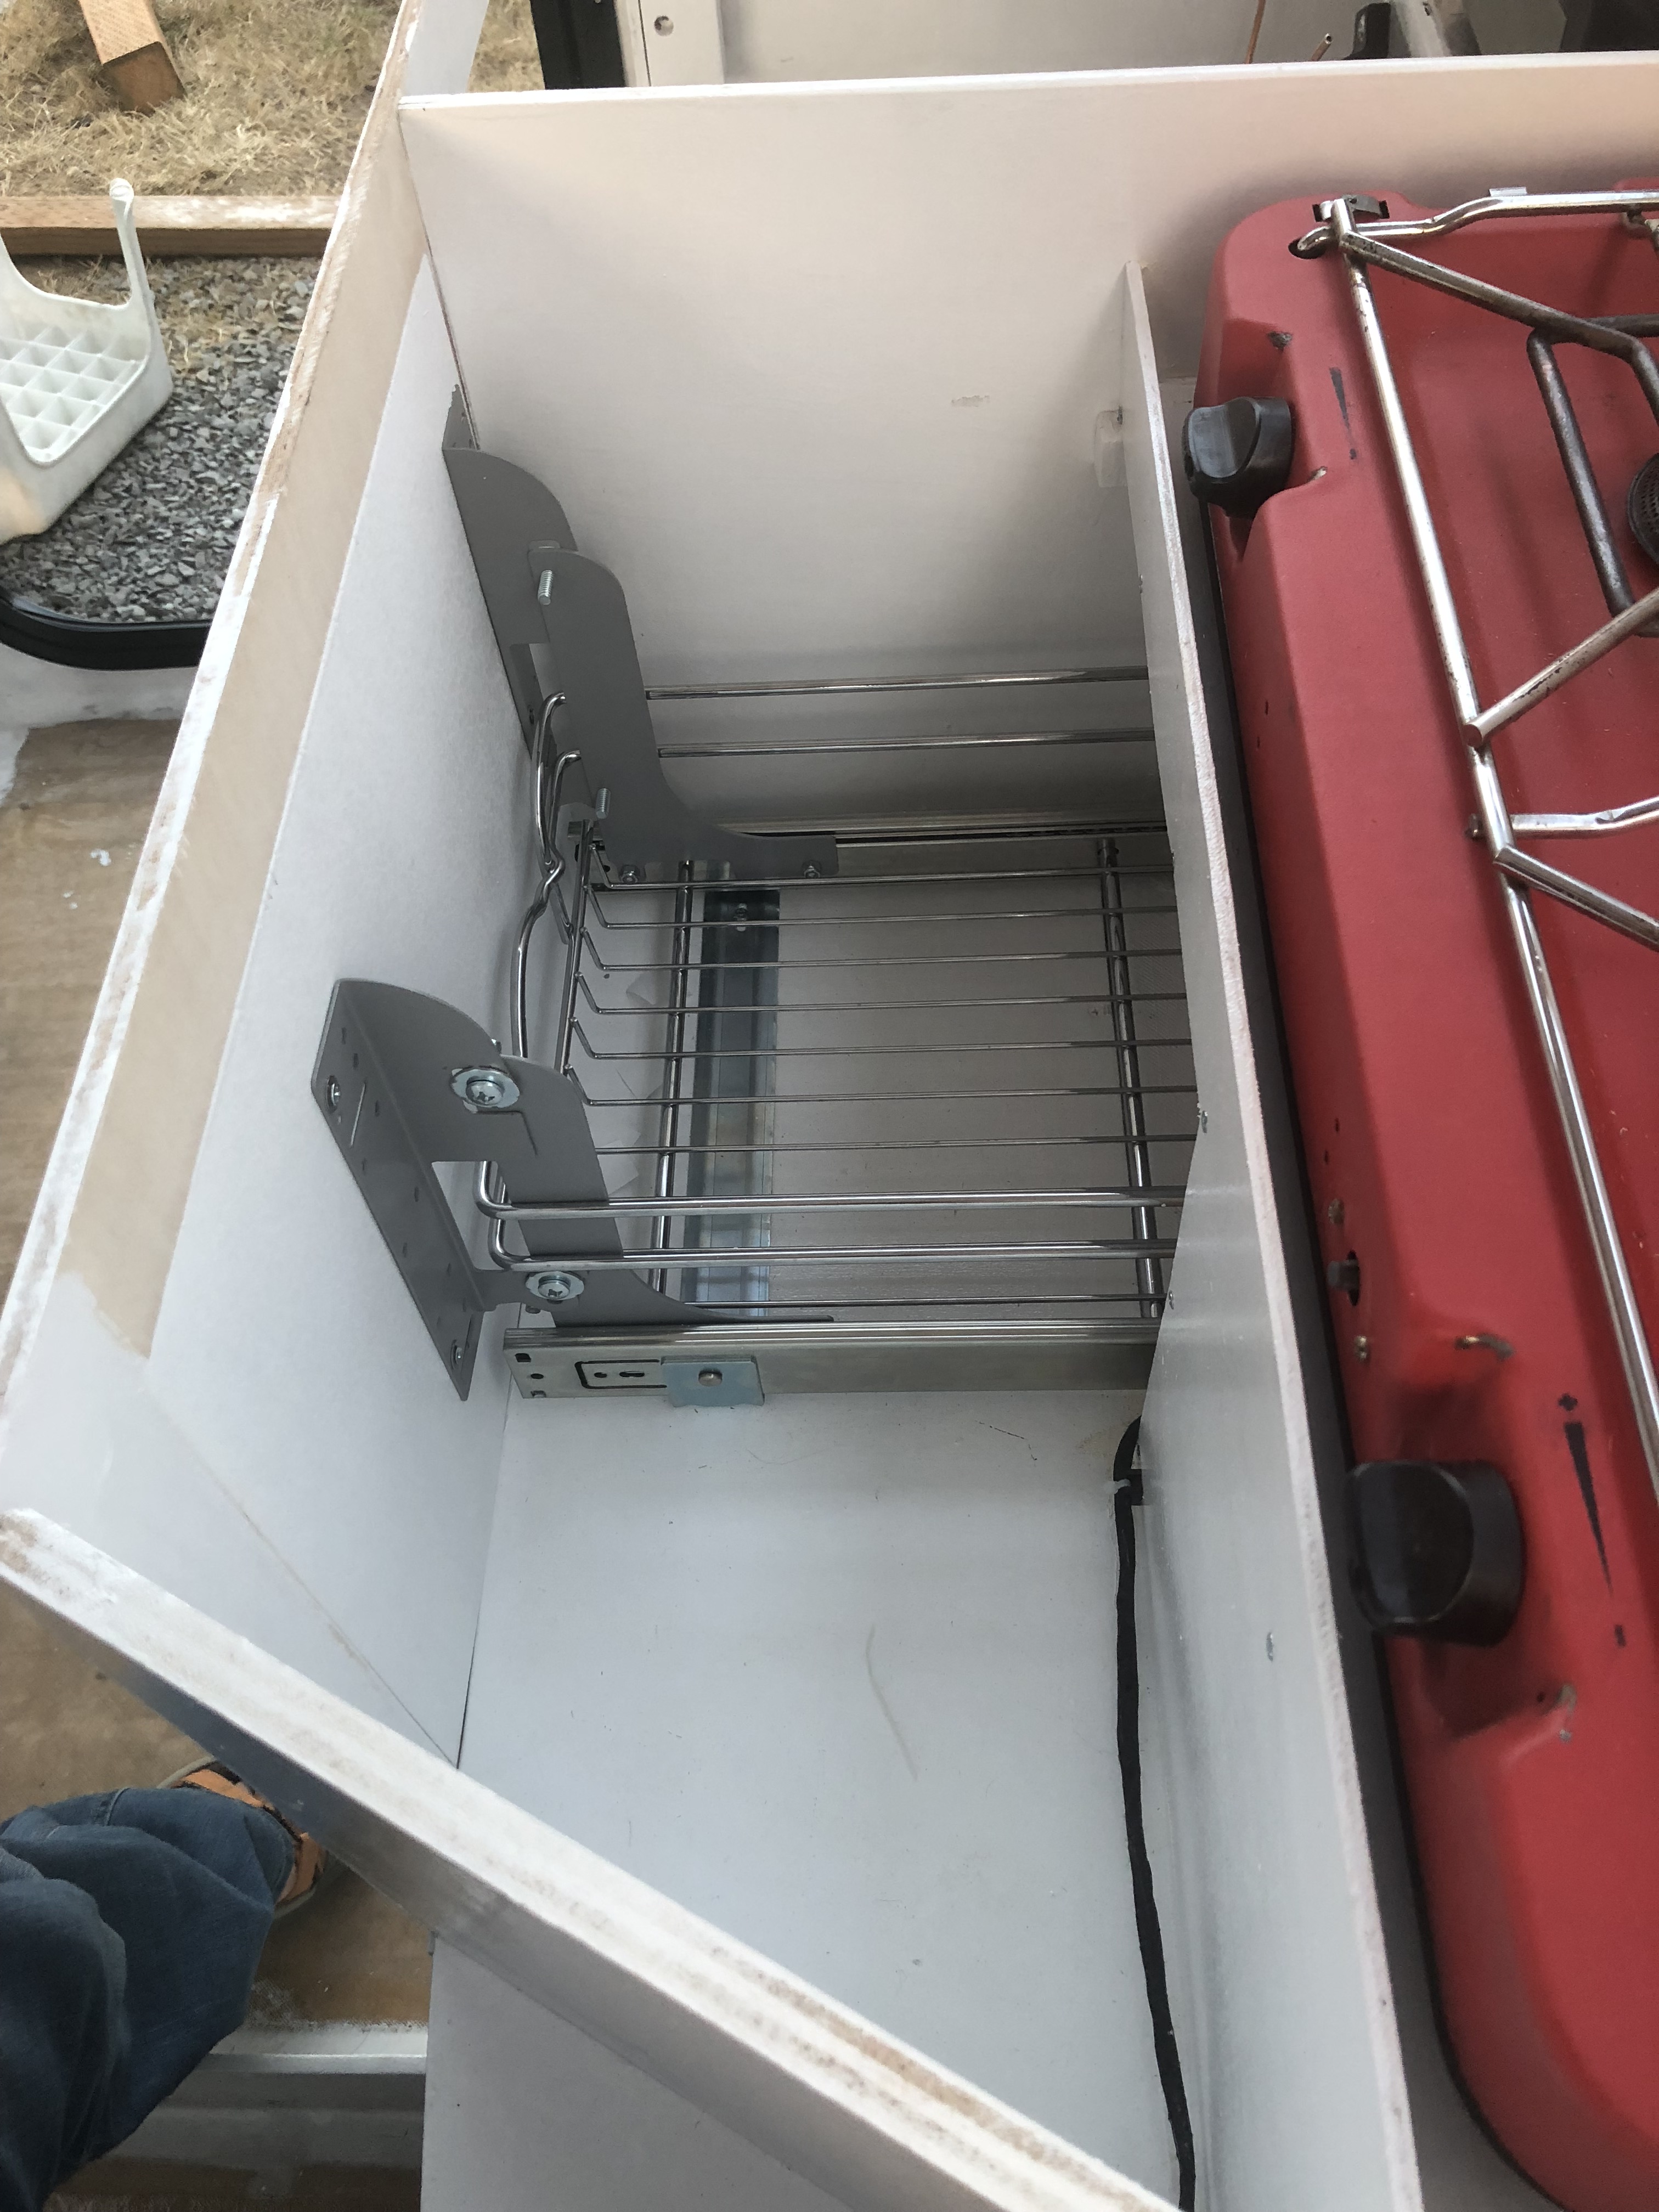
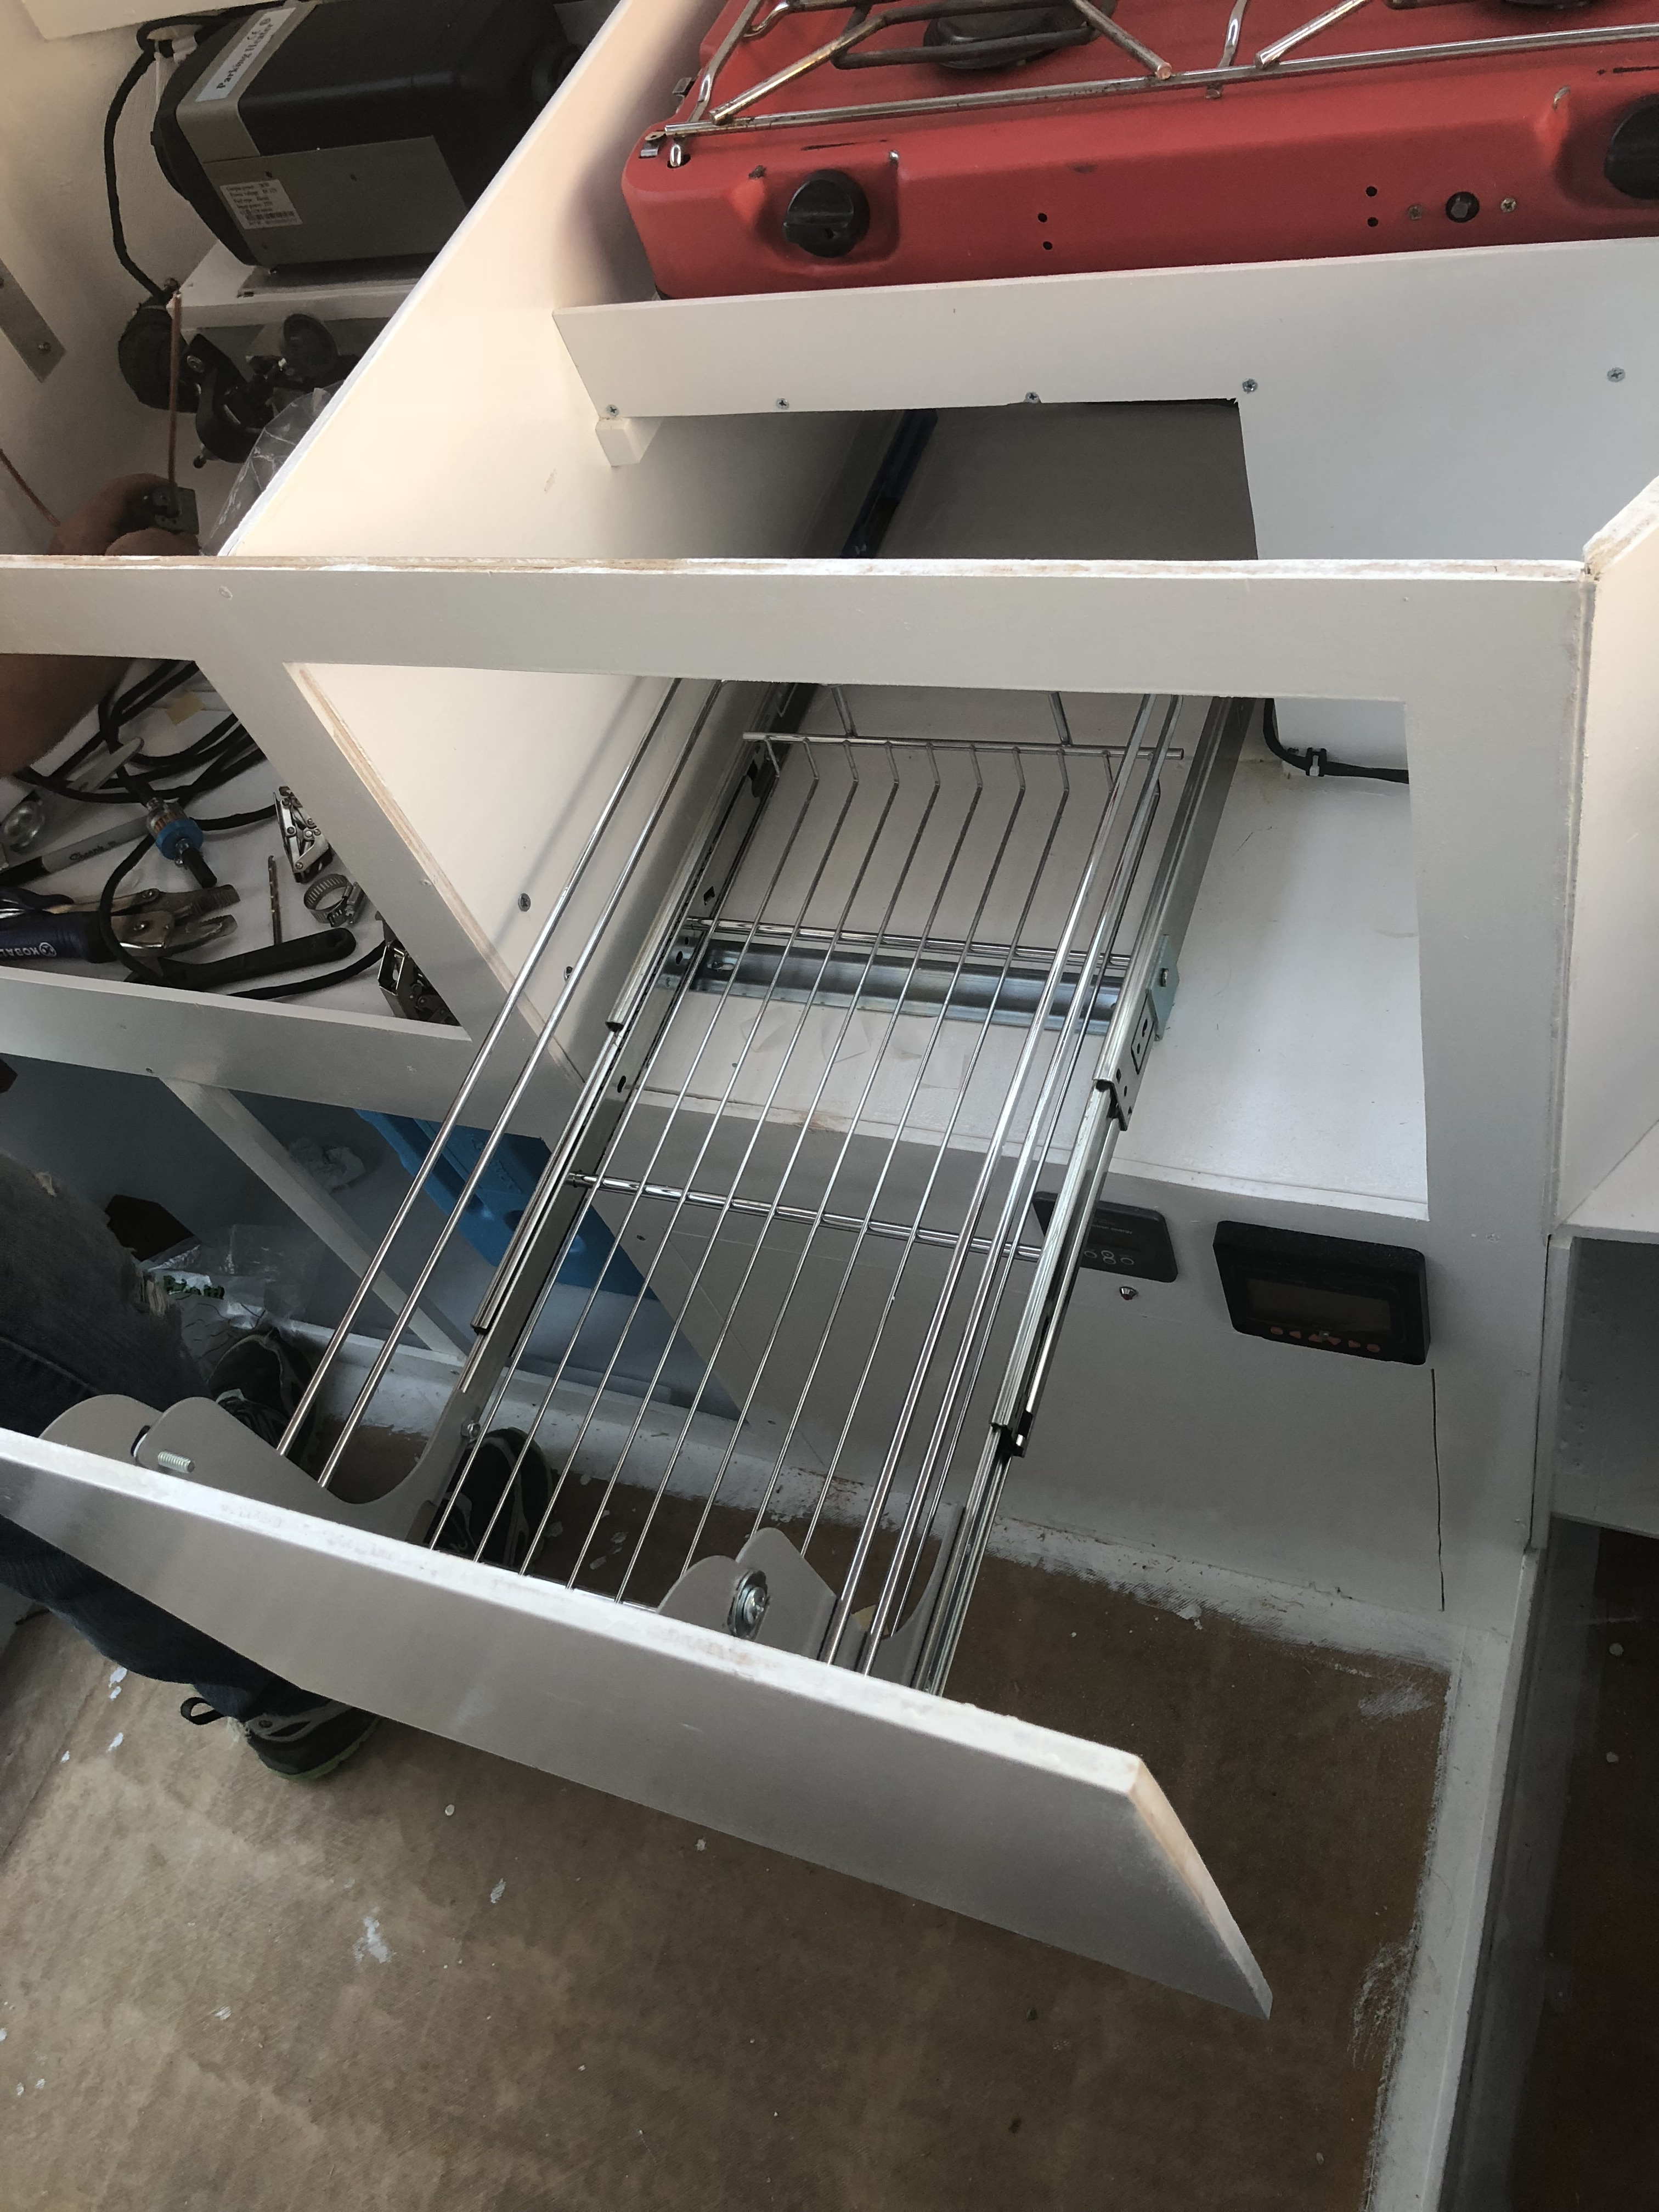
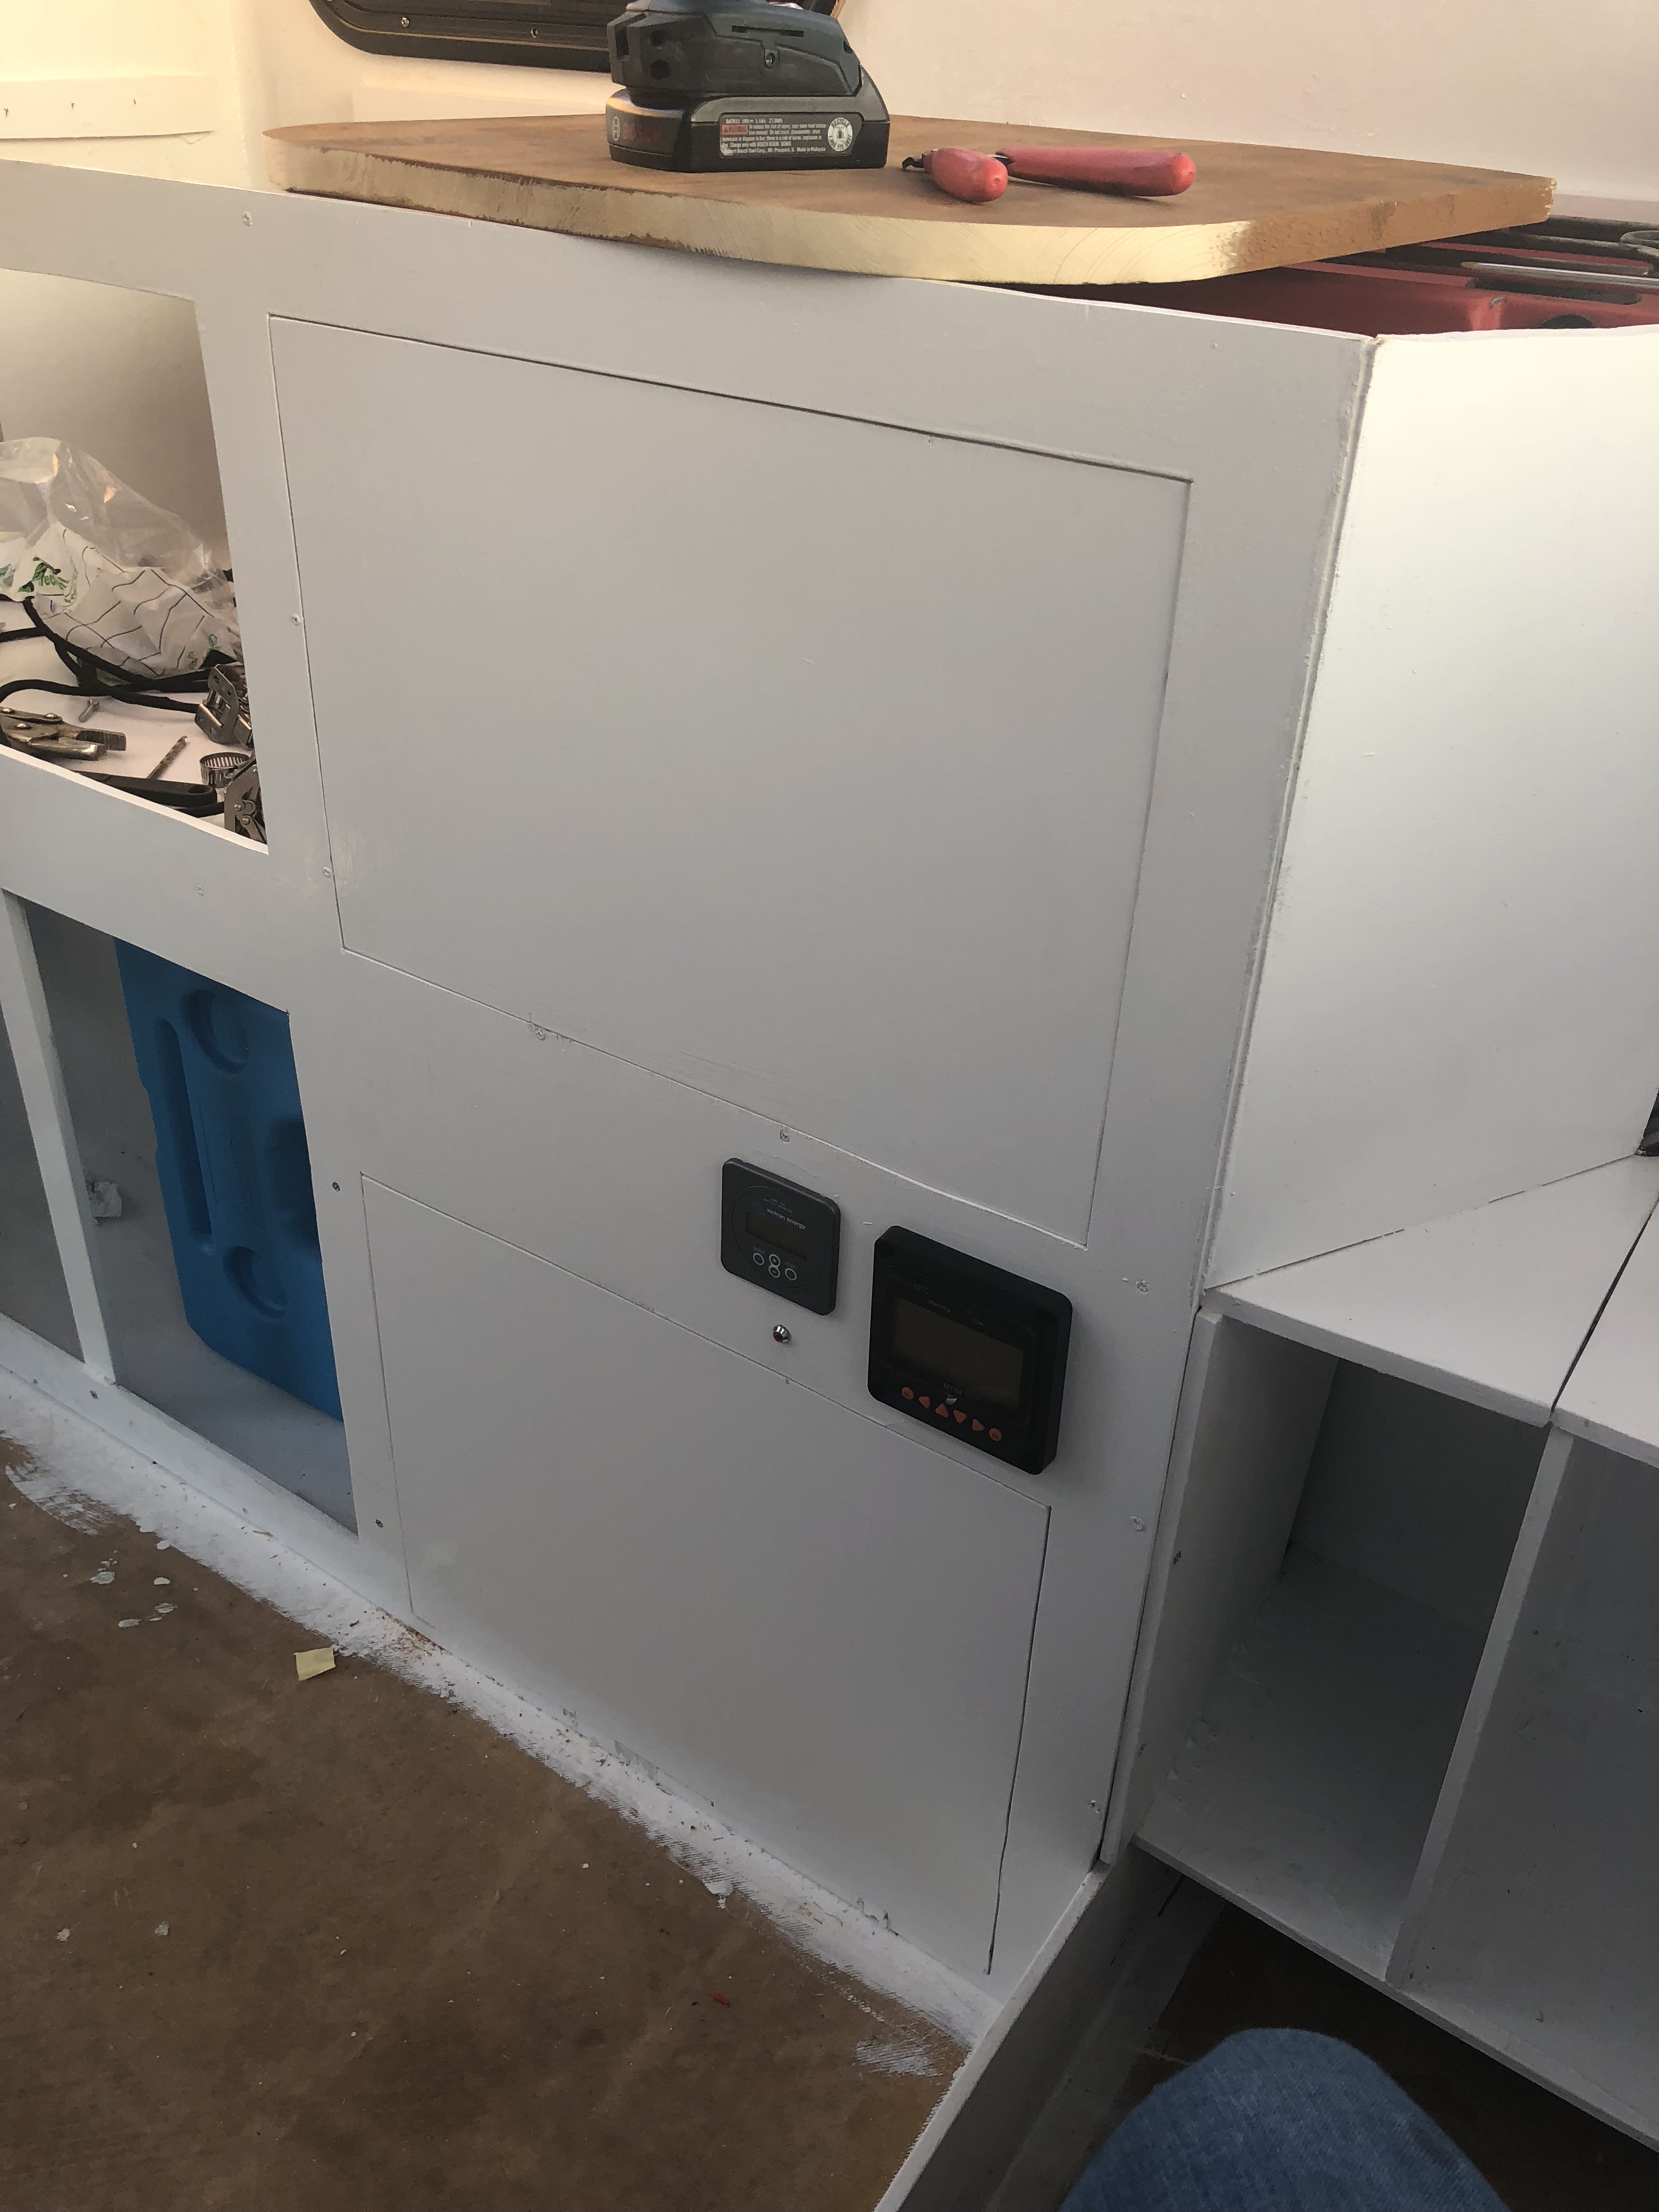
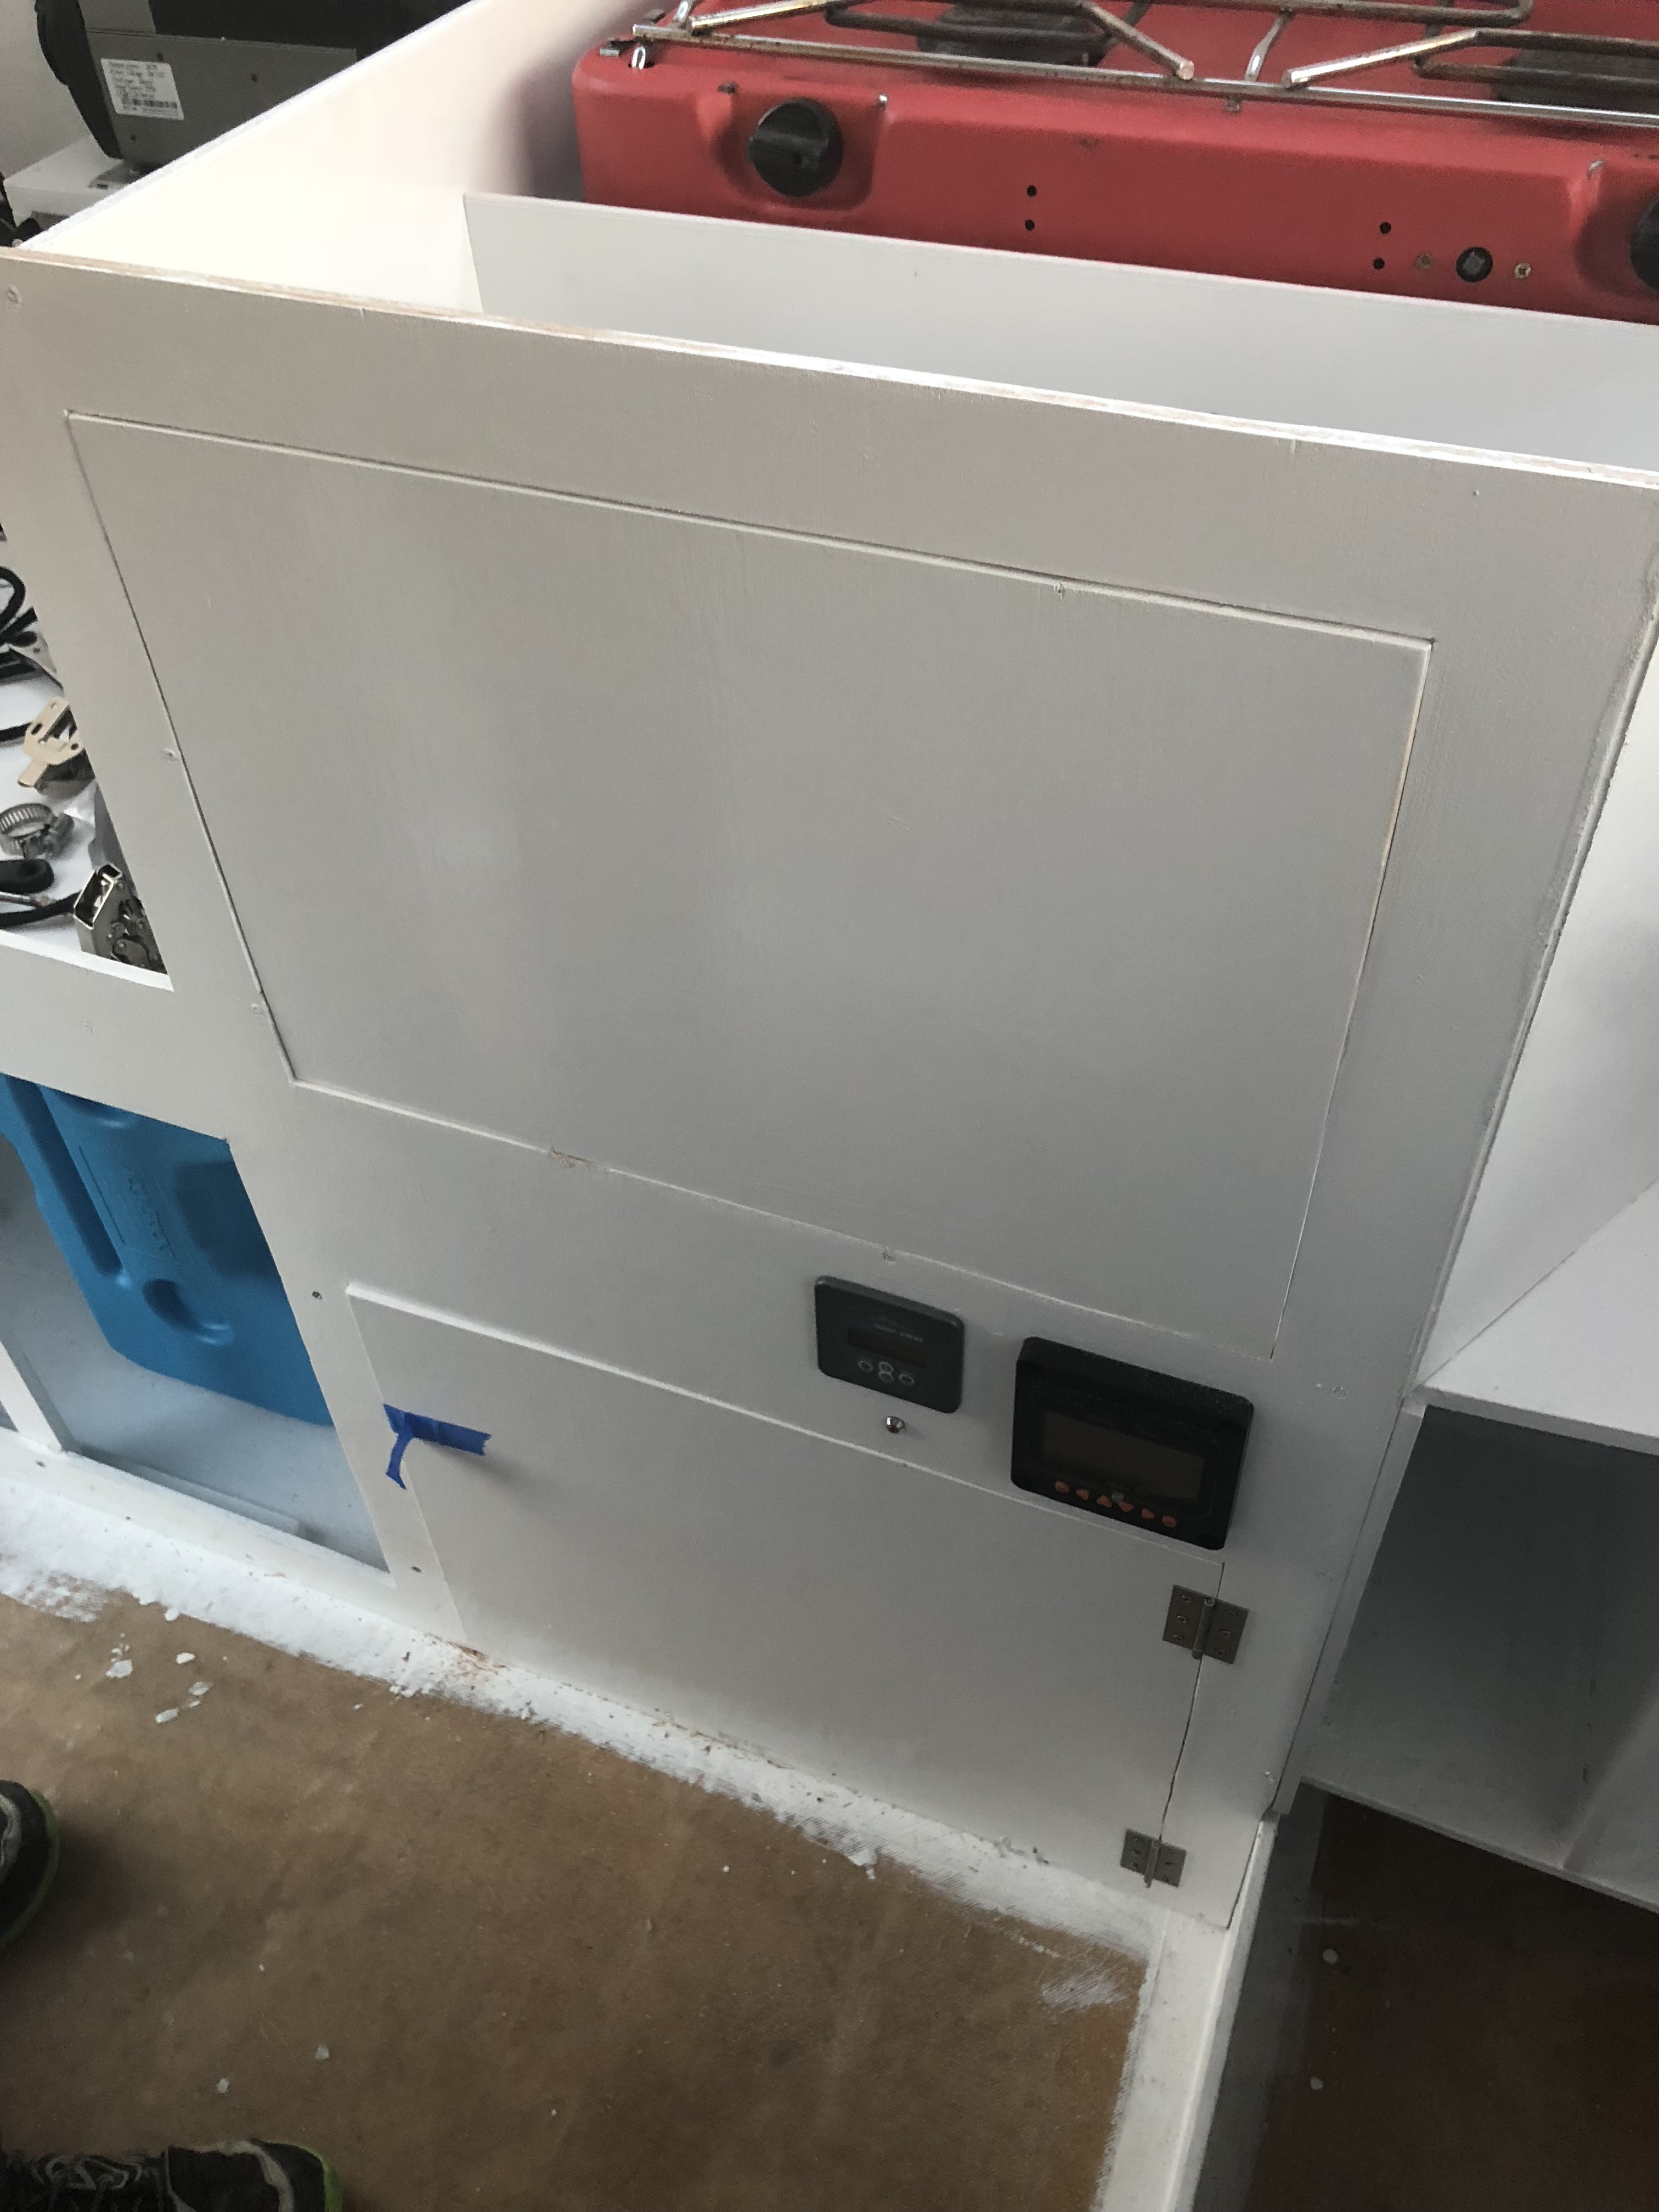
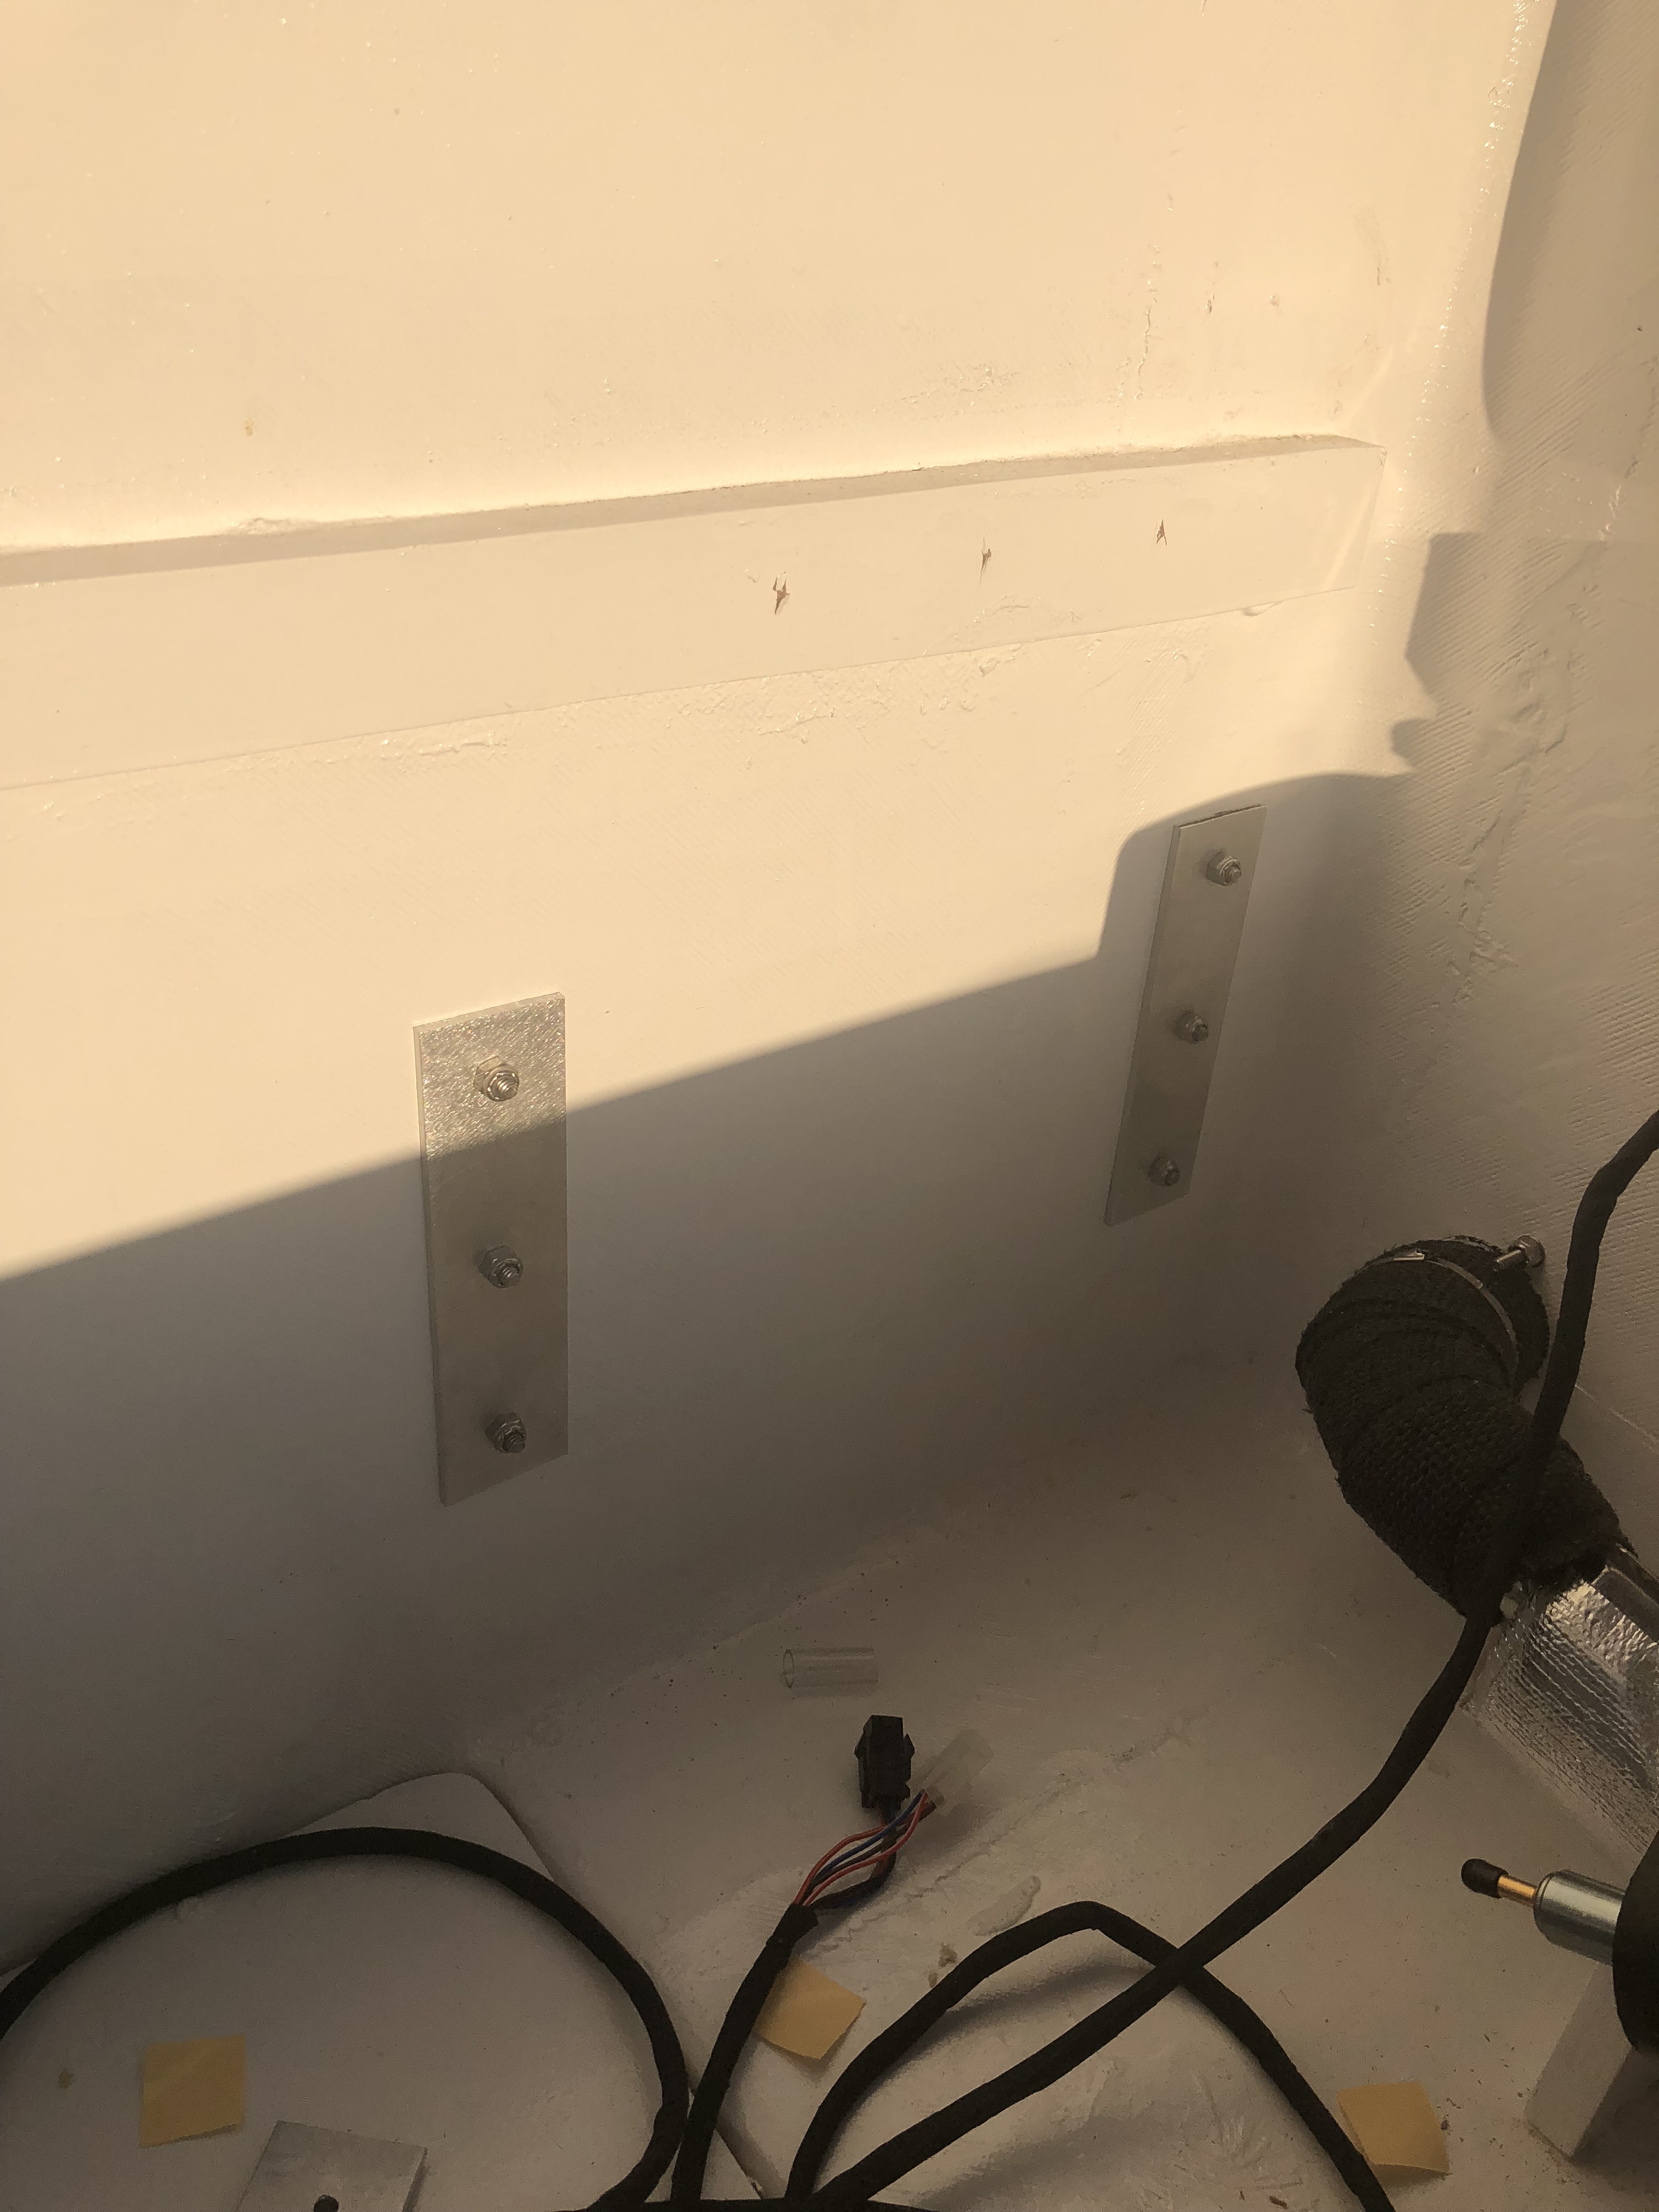
Today more than made up for yesterday’s setbacks. We ran by Ace on the way home to get all the hardware we needed. (and a bunch we didn’t, but just in case!) First thing was the galley slider cabinet. The back of this slider bolts through the camper shell, so I made sure to seal it with some sealant to keep water out. Now that we have the correct bolt and washer combo it fits perfectly and is super sturdy! I got excited and ran to get the cabinet door for that and for the battery area below it.
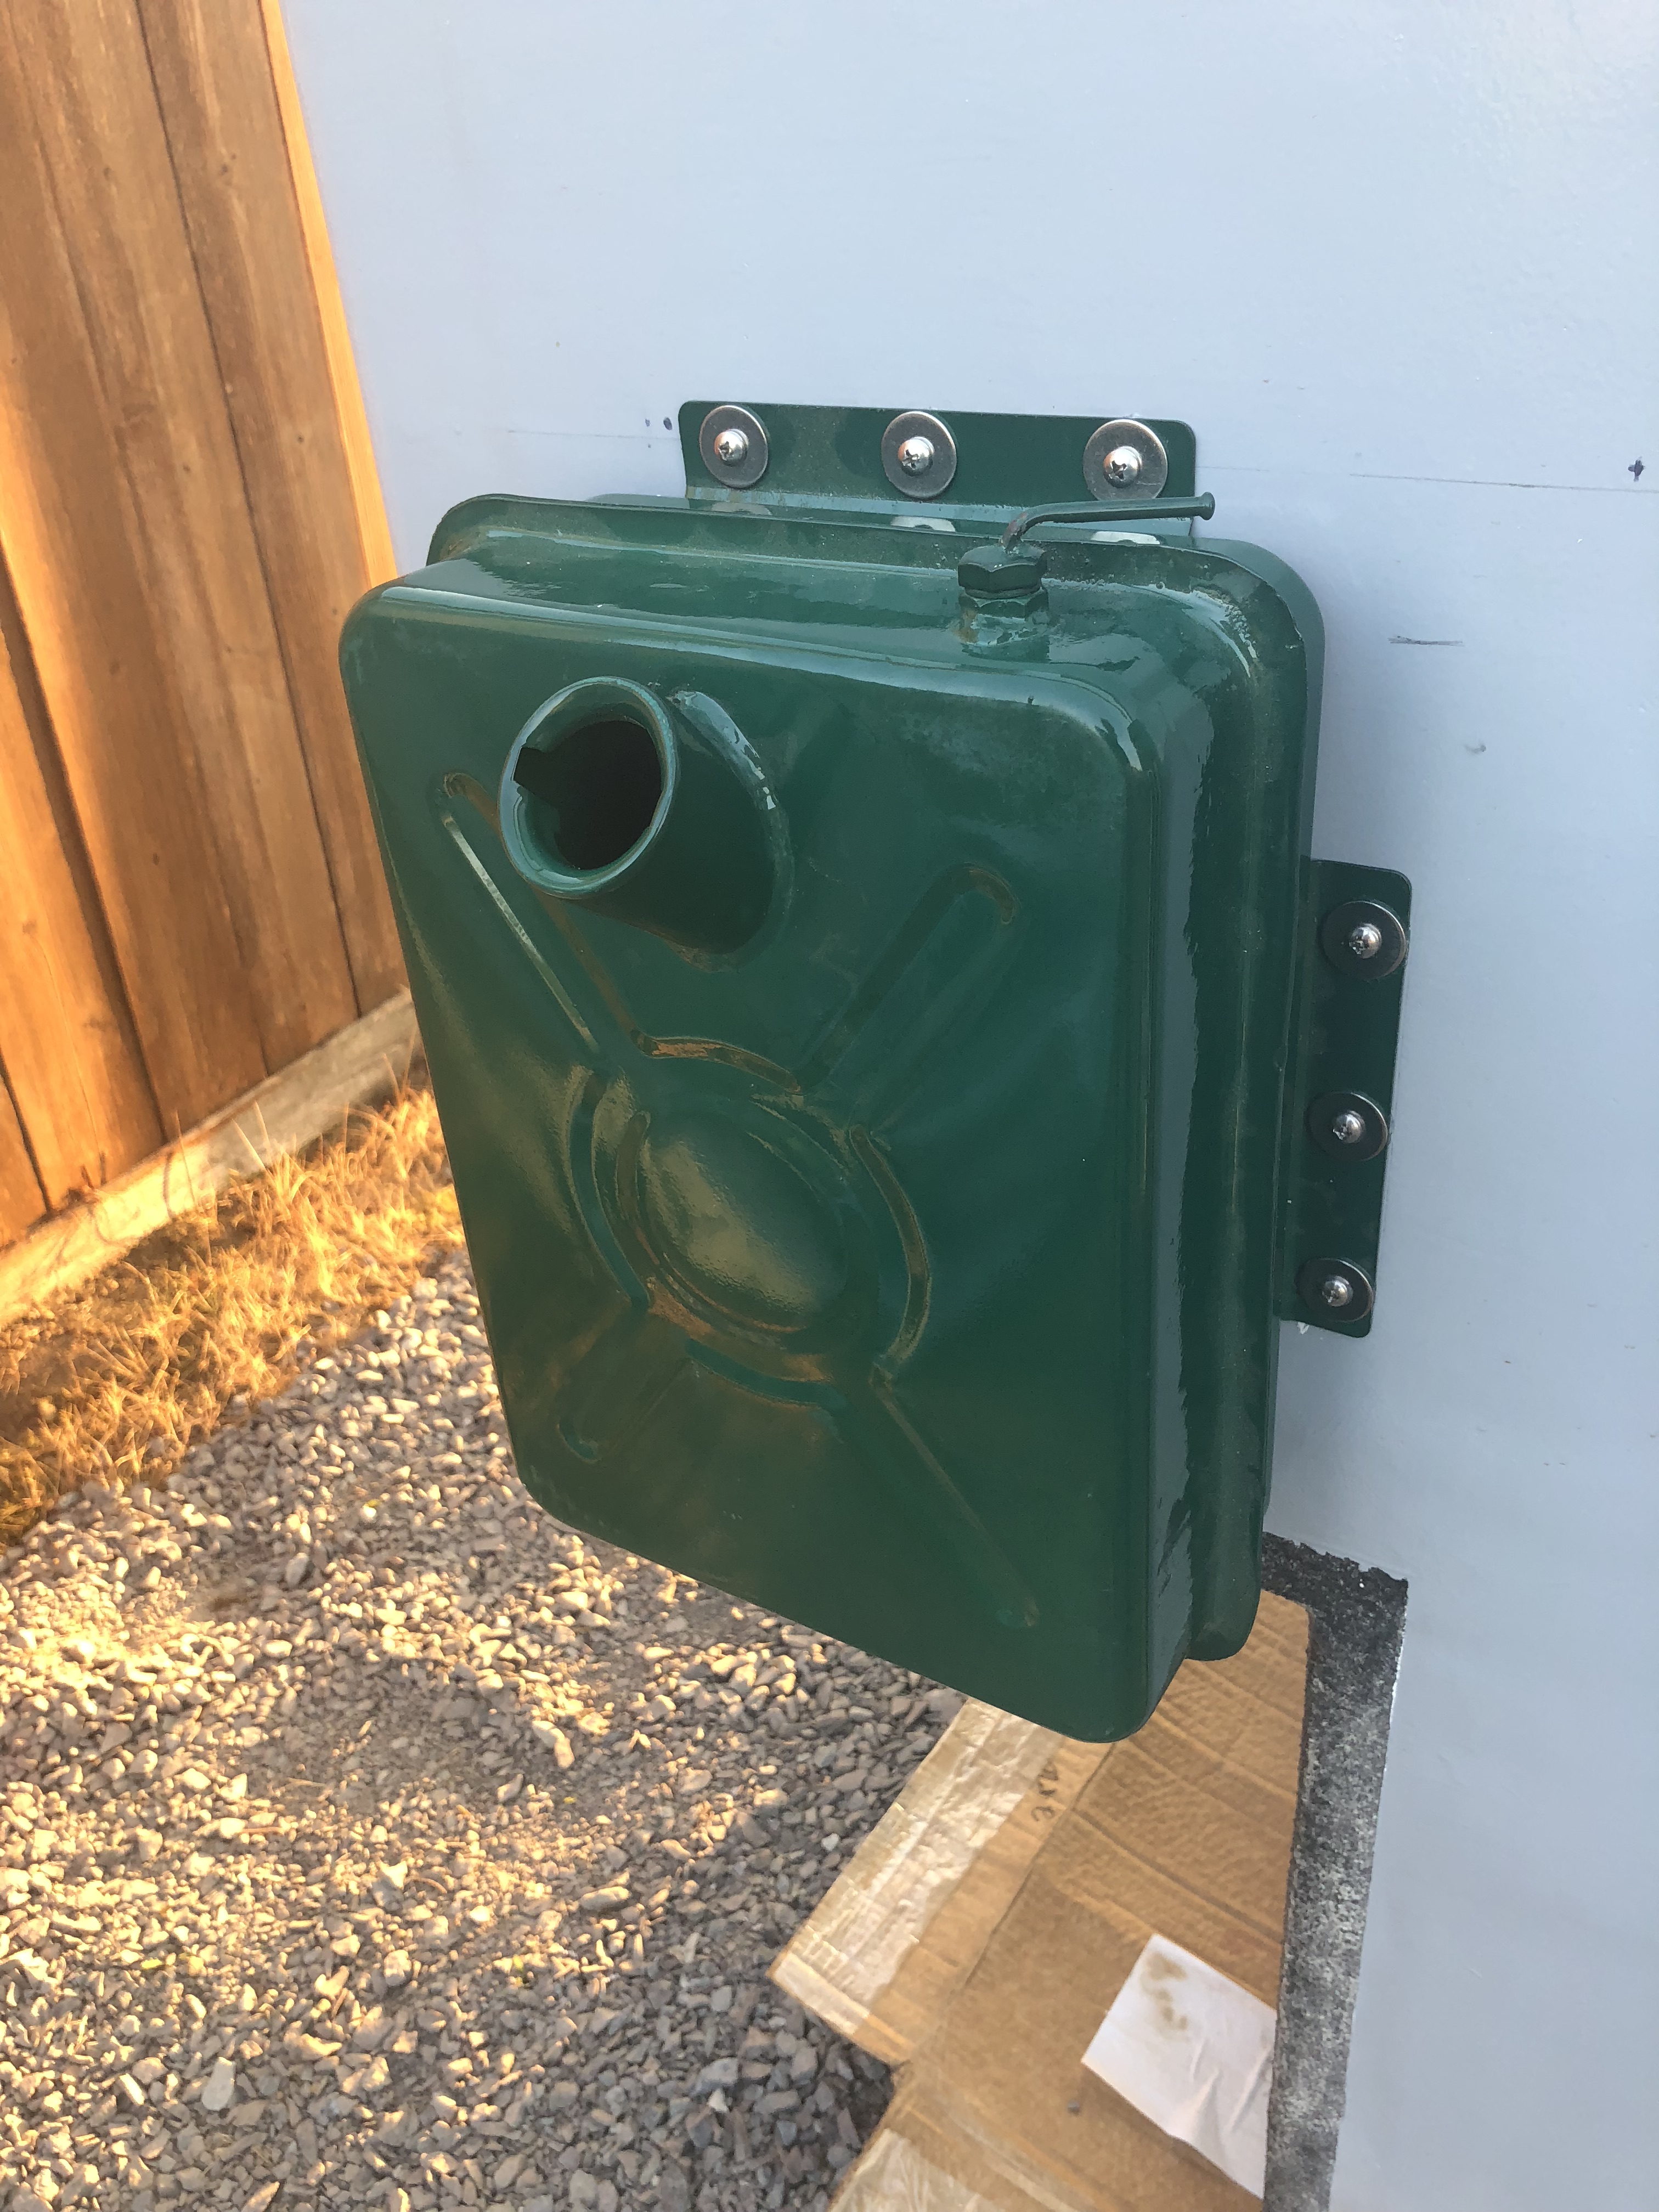
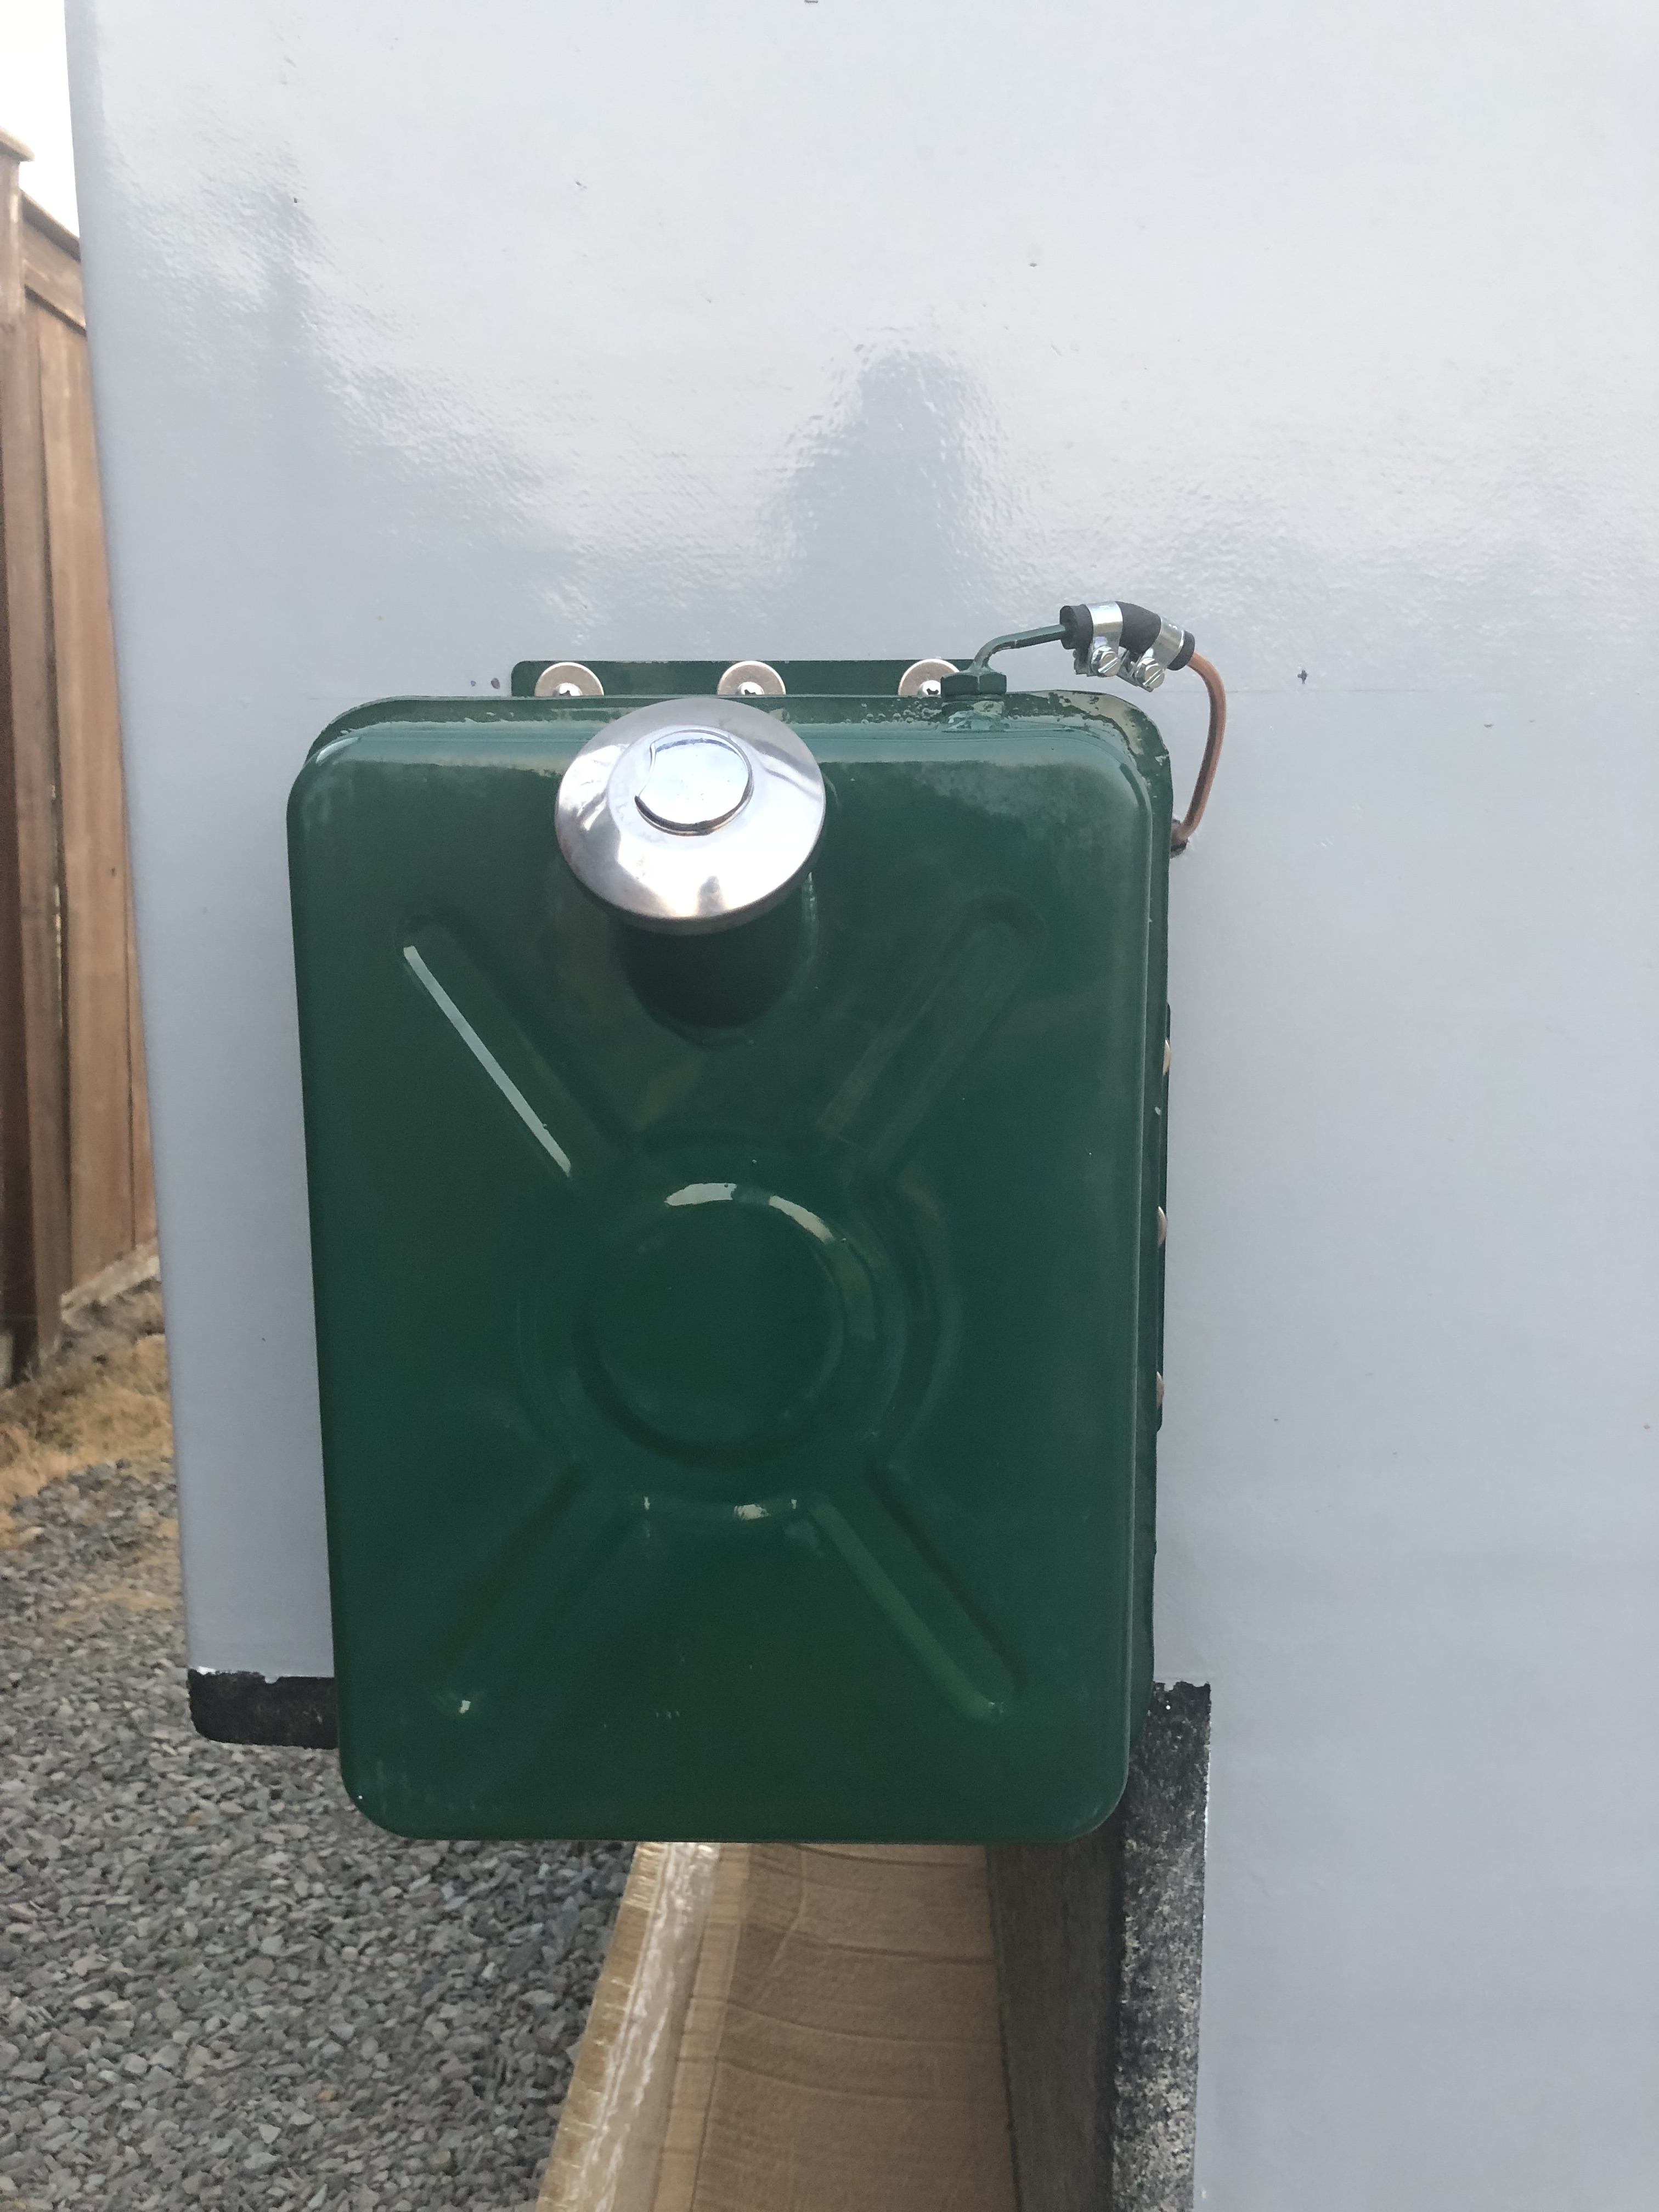
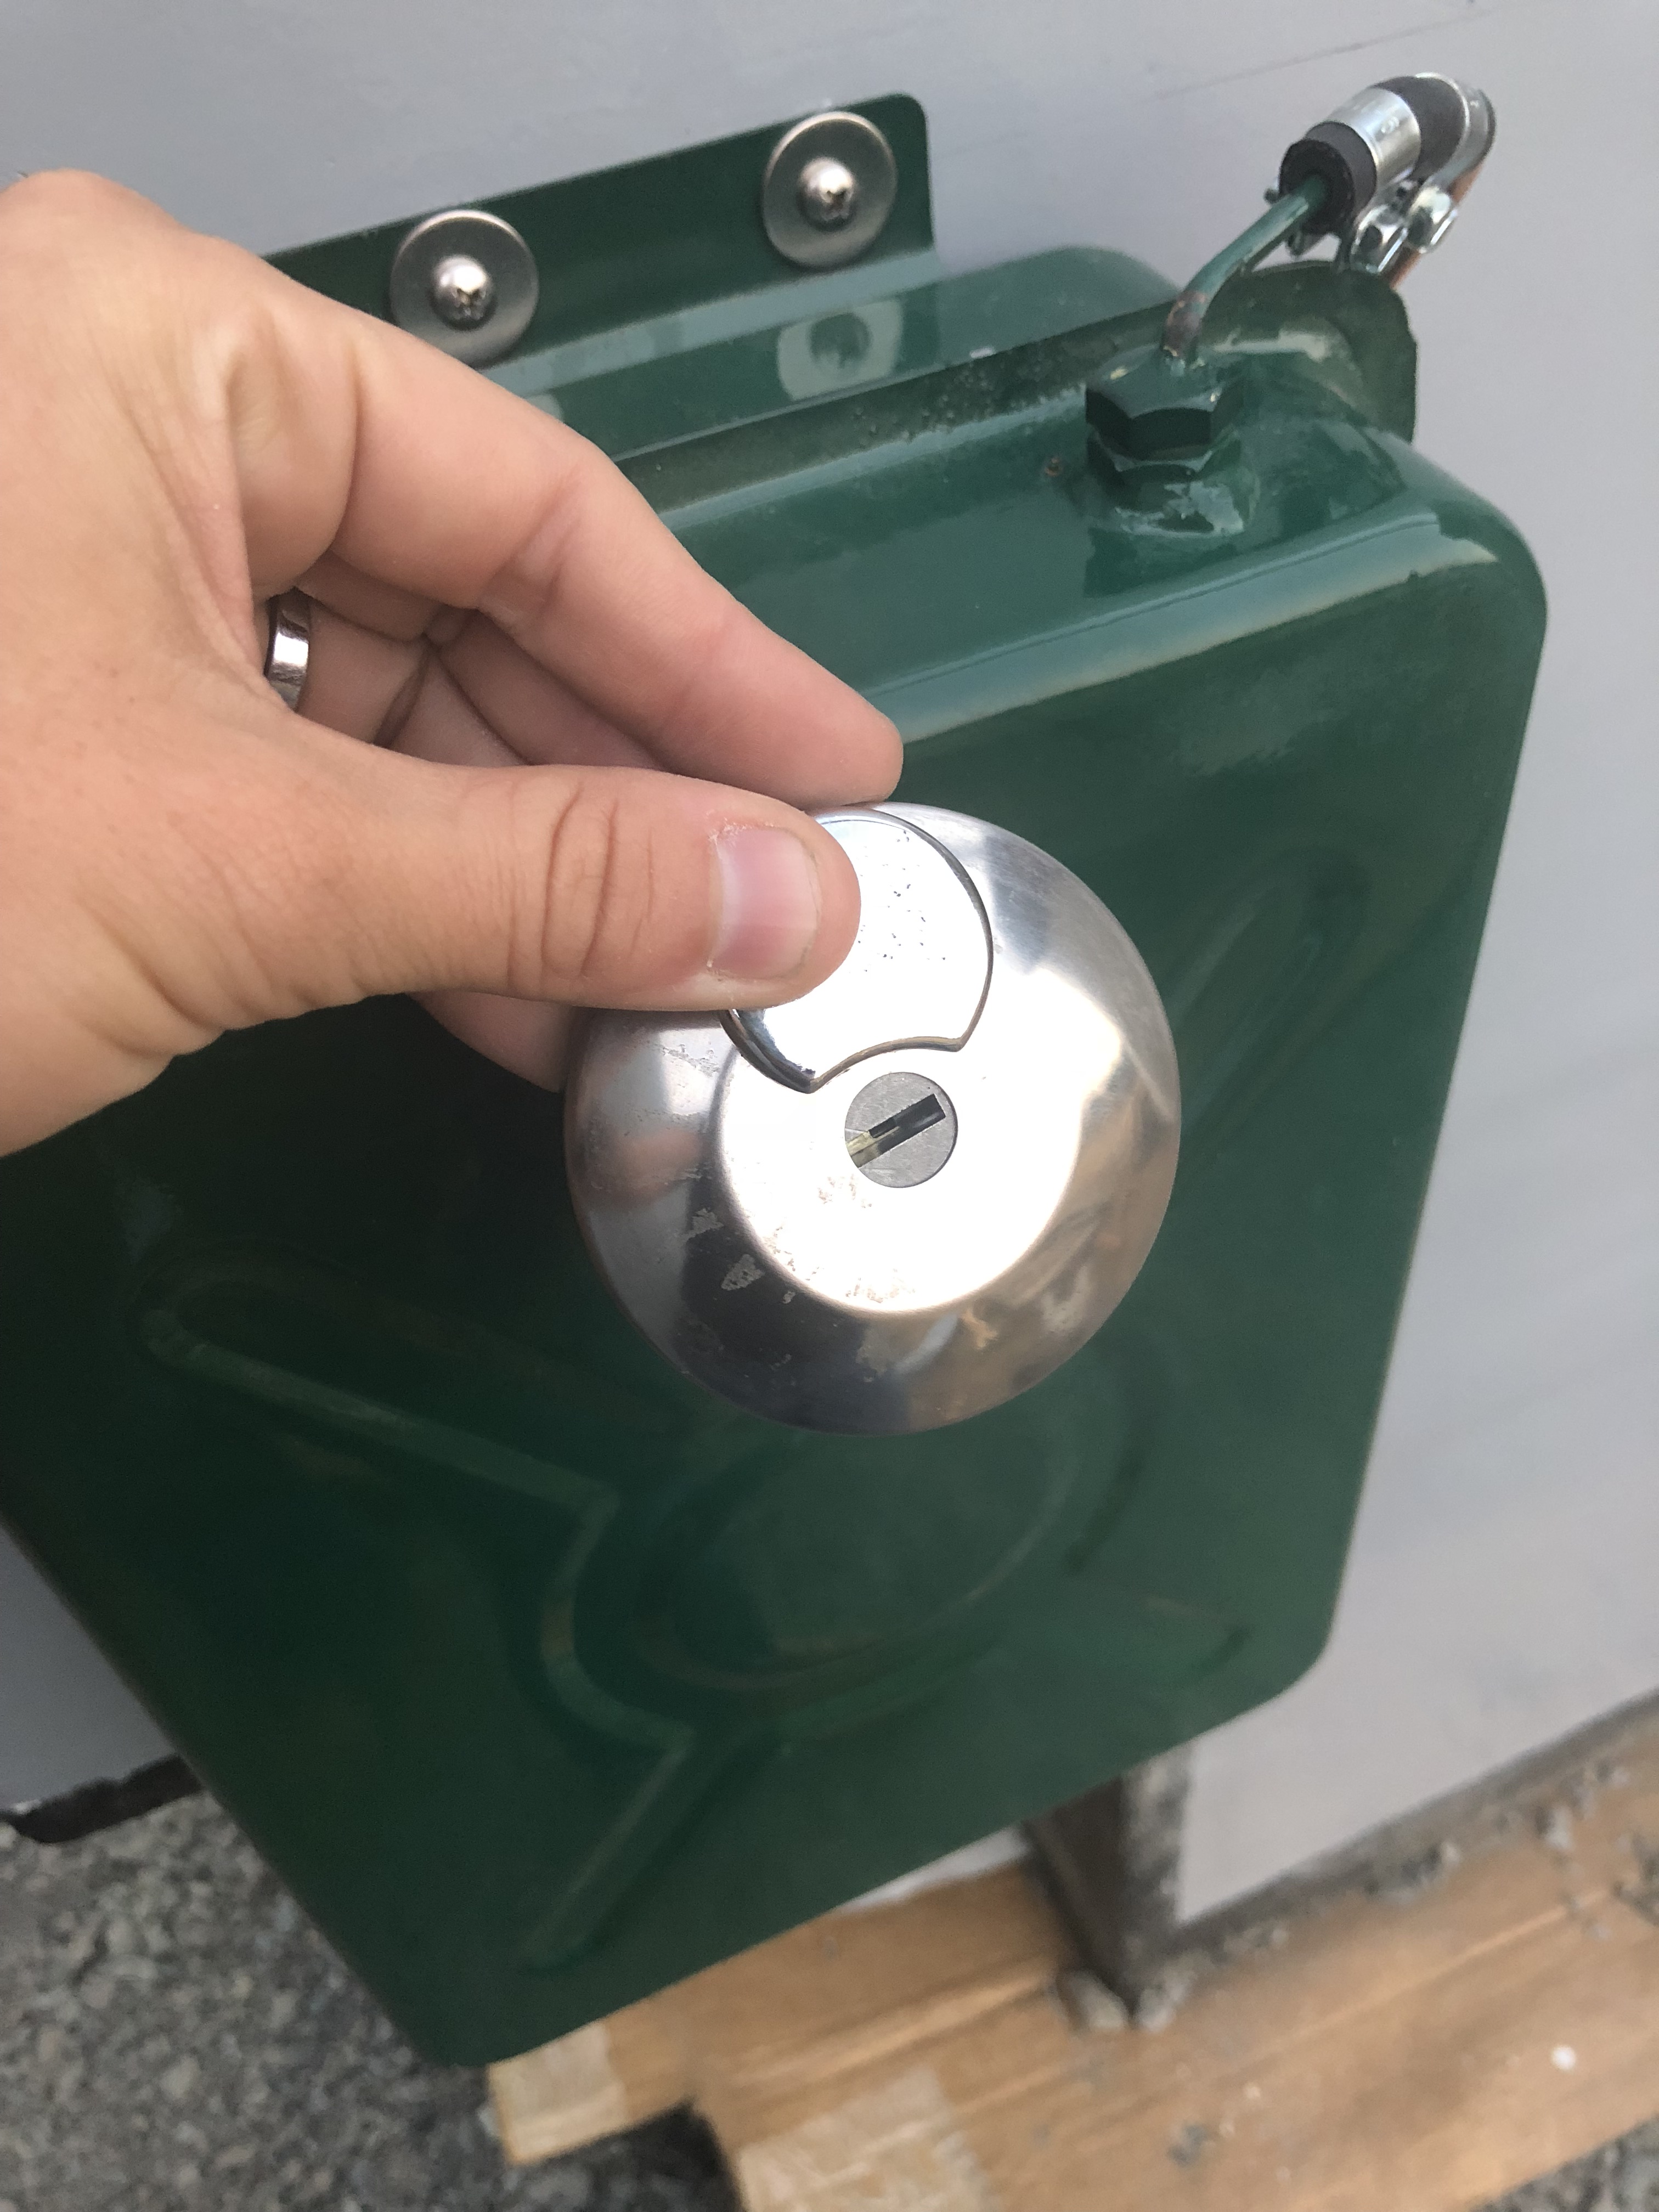
The next thing we wanted to finish was the install for the diesel tank for the heater. It was so close yesterday! The bolts and washers we bought fit perfectly. I made sure to put sealant in the bolt holes. Owning a wood boat has made me super paranoid about water intrusion!
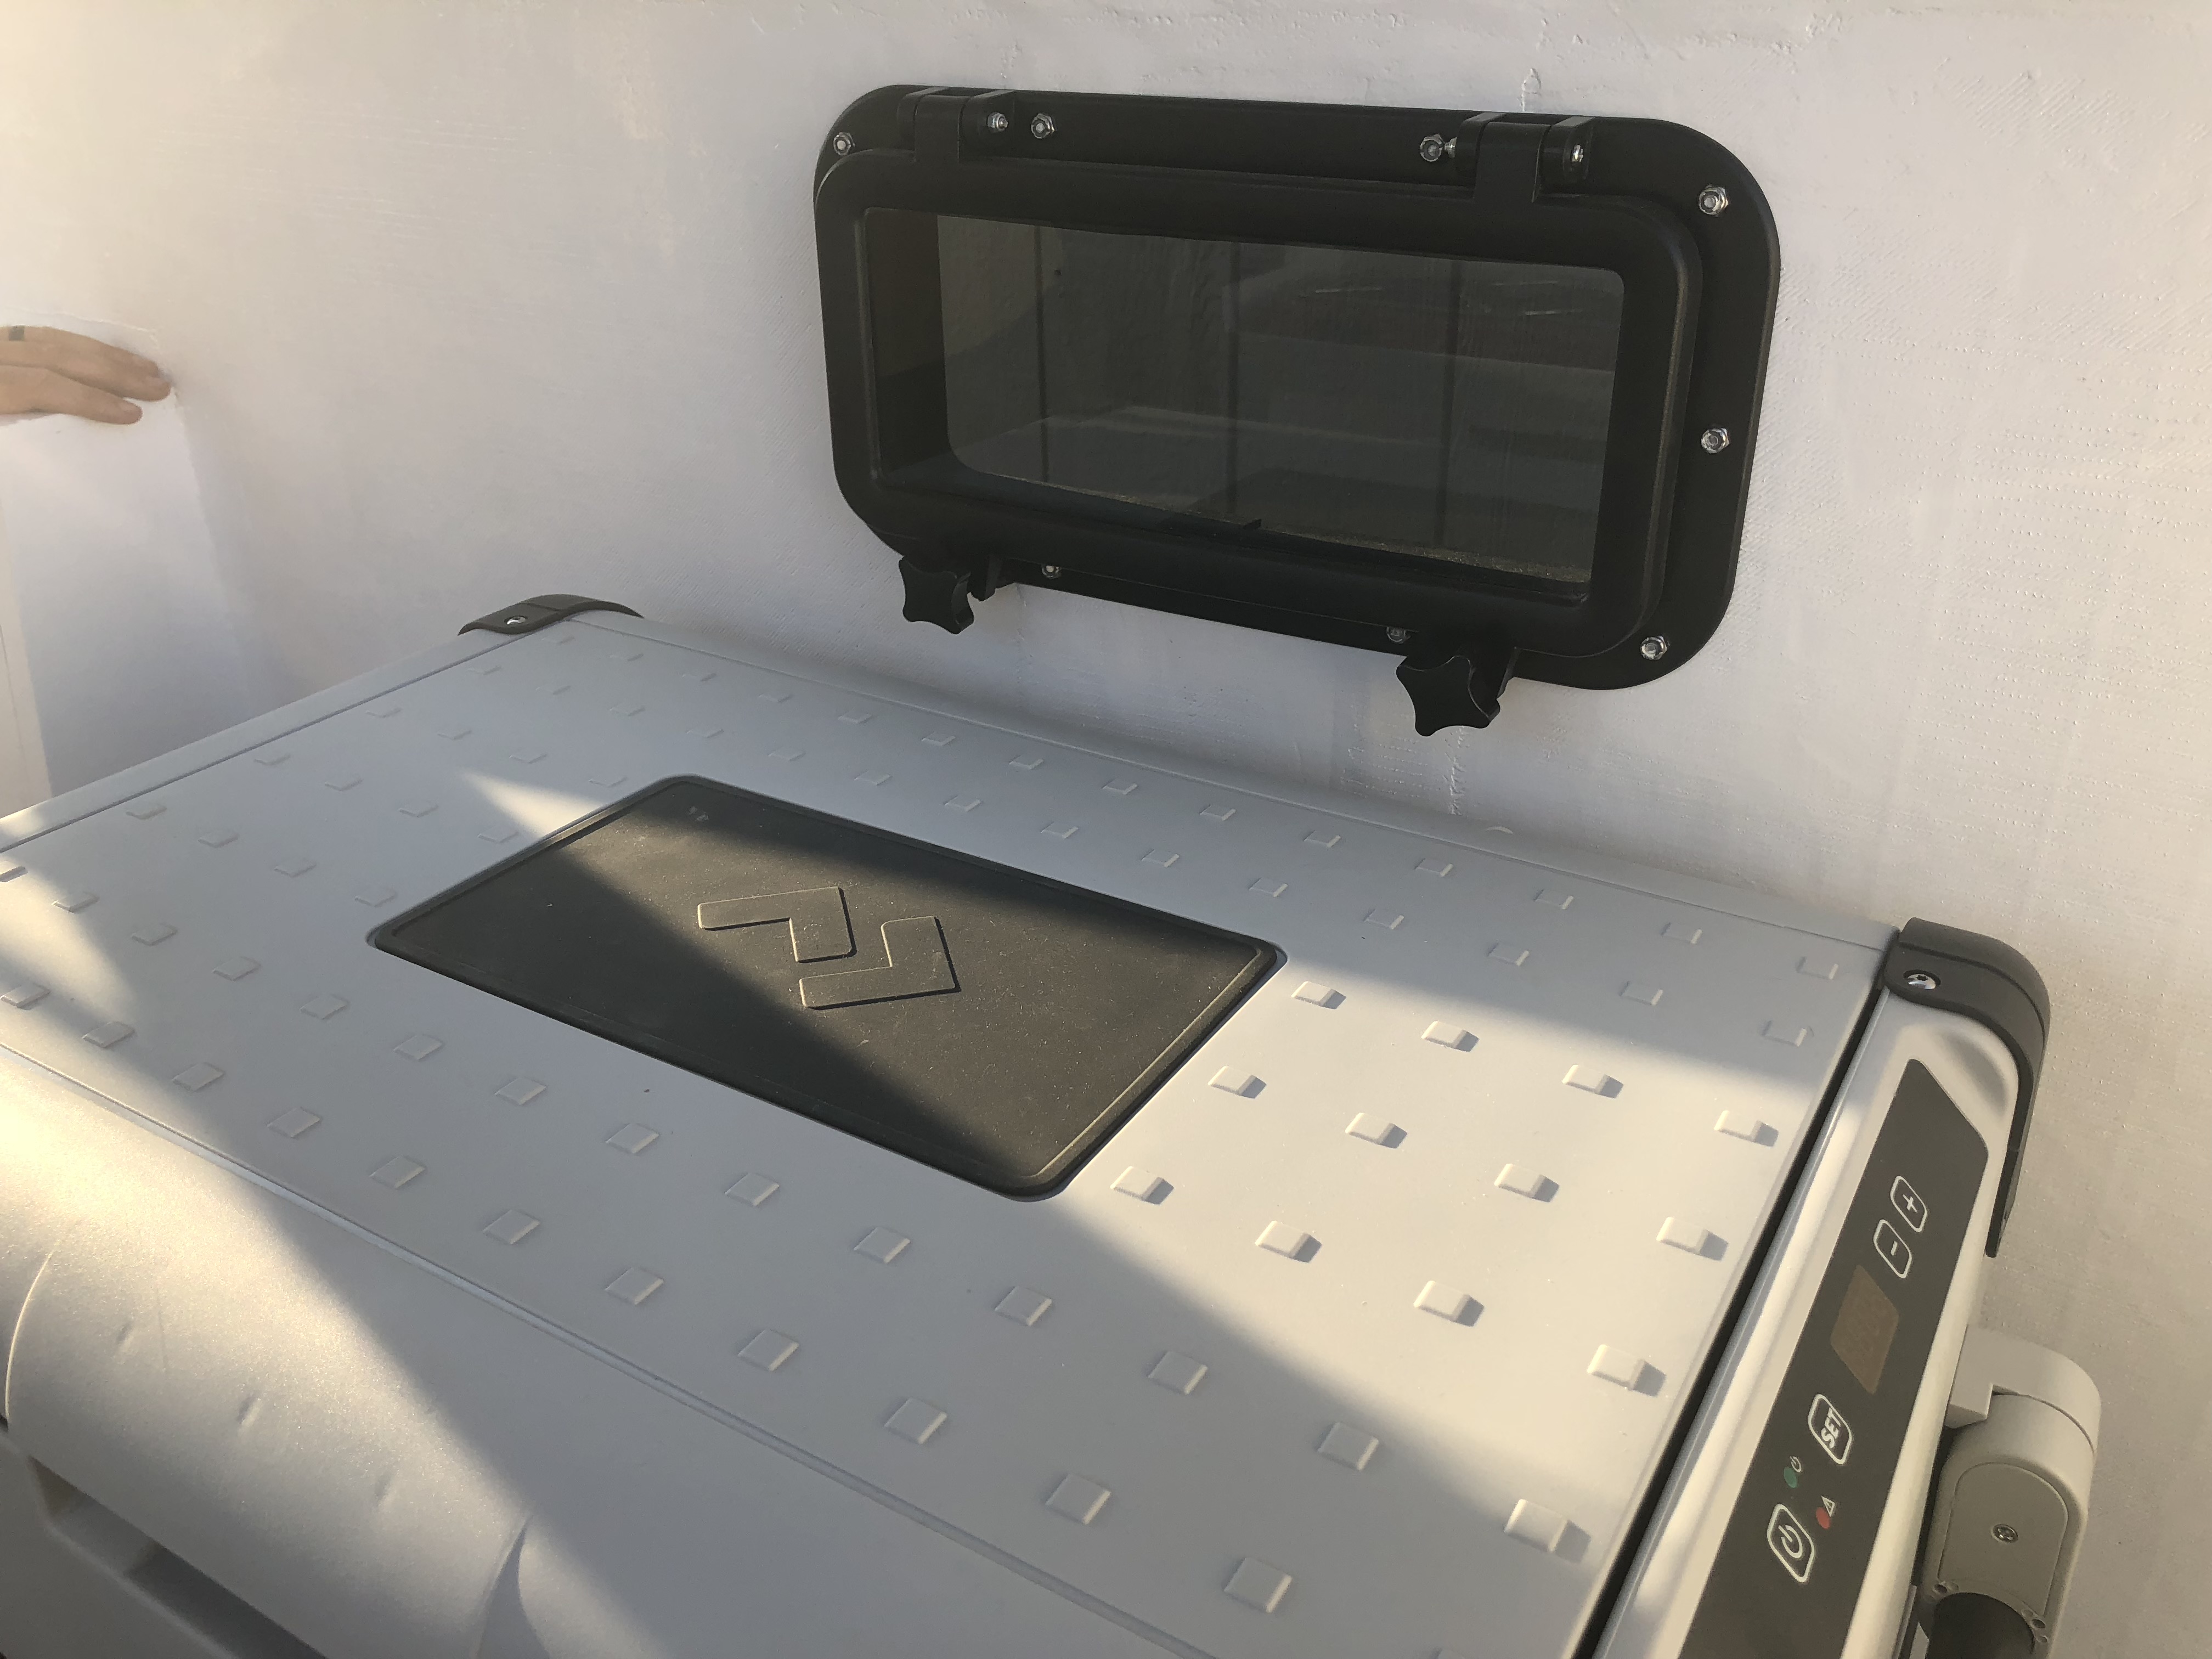
Jason is going to build a little box in the back corner on top of a storage cabinet to put the light switches etc. To figure out how big that box needs to be, we drug the cooler out of the house and placed it in the camper. The cabinet should be pretty straightforward, but we did find a fairly major (and irritating) mistake. The knobs on the porthole window stick out pretty far and with the cooler scooted against the bulkhead you can’t open the door because it hits. There’s no way to fix it unless I either bolt the window shut or cut it out and replace it with a non-opening window. For now we’ll just move the cooler out a few inches when we’re using it. It just annoys me out of principle because I know I measured that and it cleared. I guess I didn’t take into account the knobs on the window. Meh…
Whatever… We didn’t have enough time to dig out power tools and start on the cabinet, so while I was messing around with the galley, Jason started running the fuel line from the tank to the heater. The kit came with some hard plastic line. I didn’t like it. It looked easy to cut, not durable, and would probably become brittle quickly. To fix this, we got some 3/16 copper AC line and bent it with the brake line bender we were using on my truck. Turned out looking really nice and matches the copper on the roof lift. Even if no one will ever see it, I’ll know it’s there!
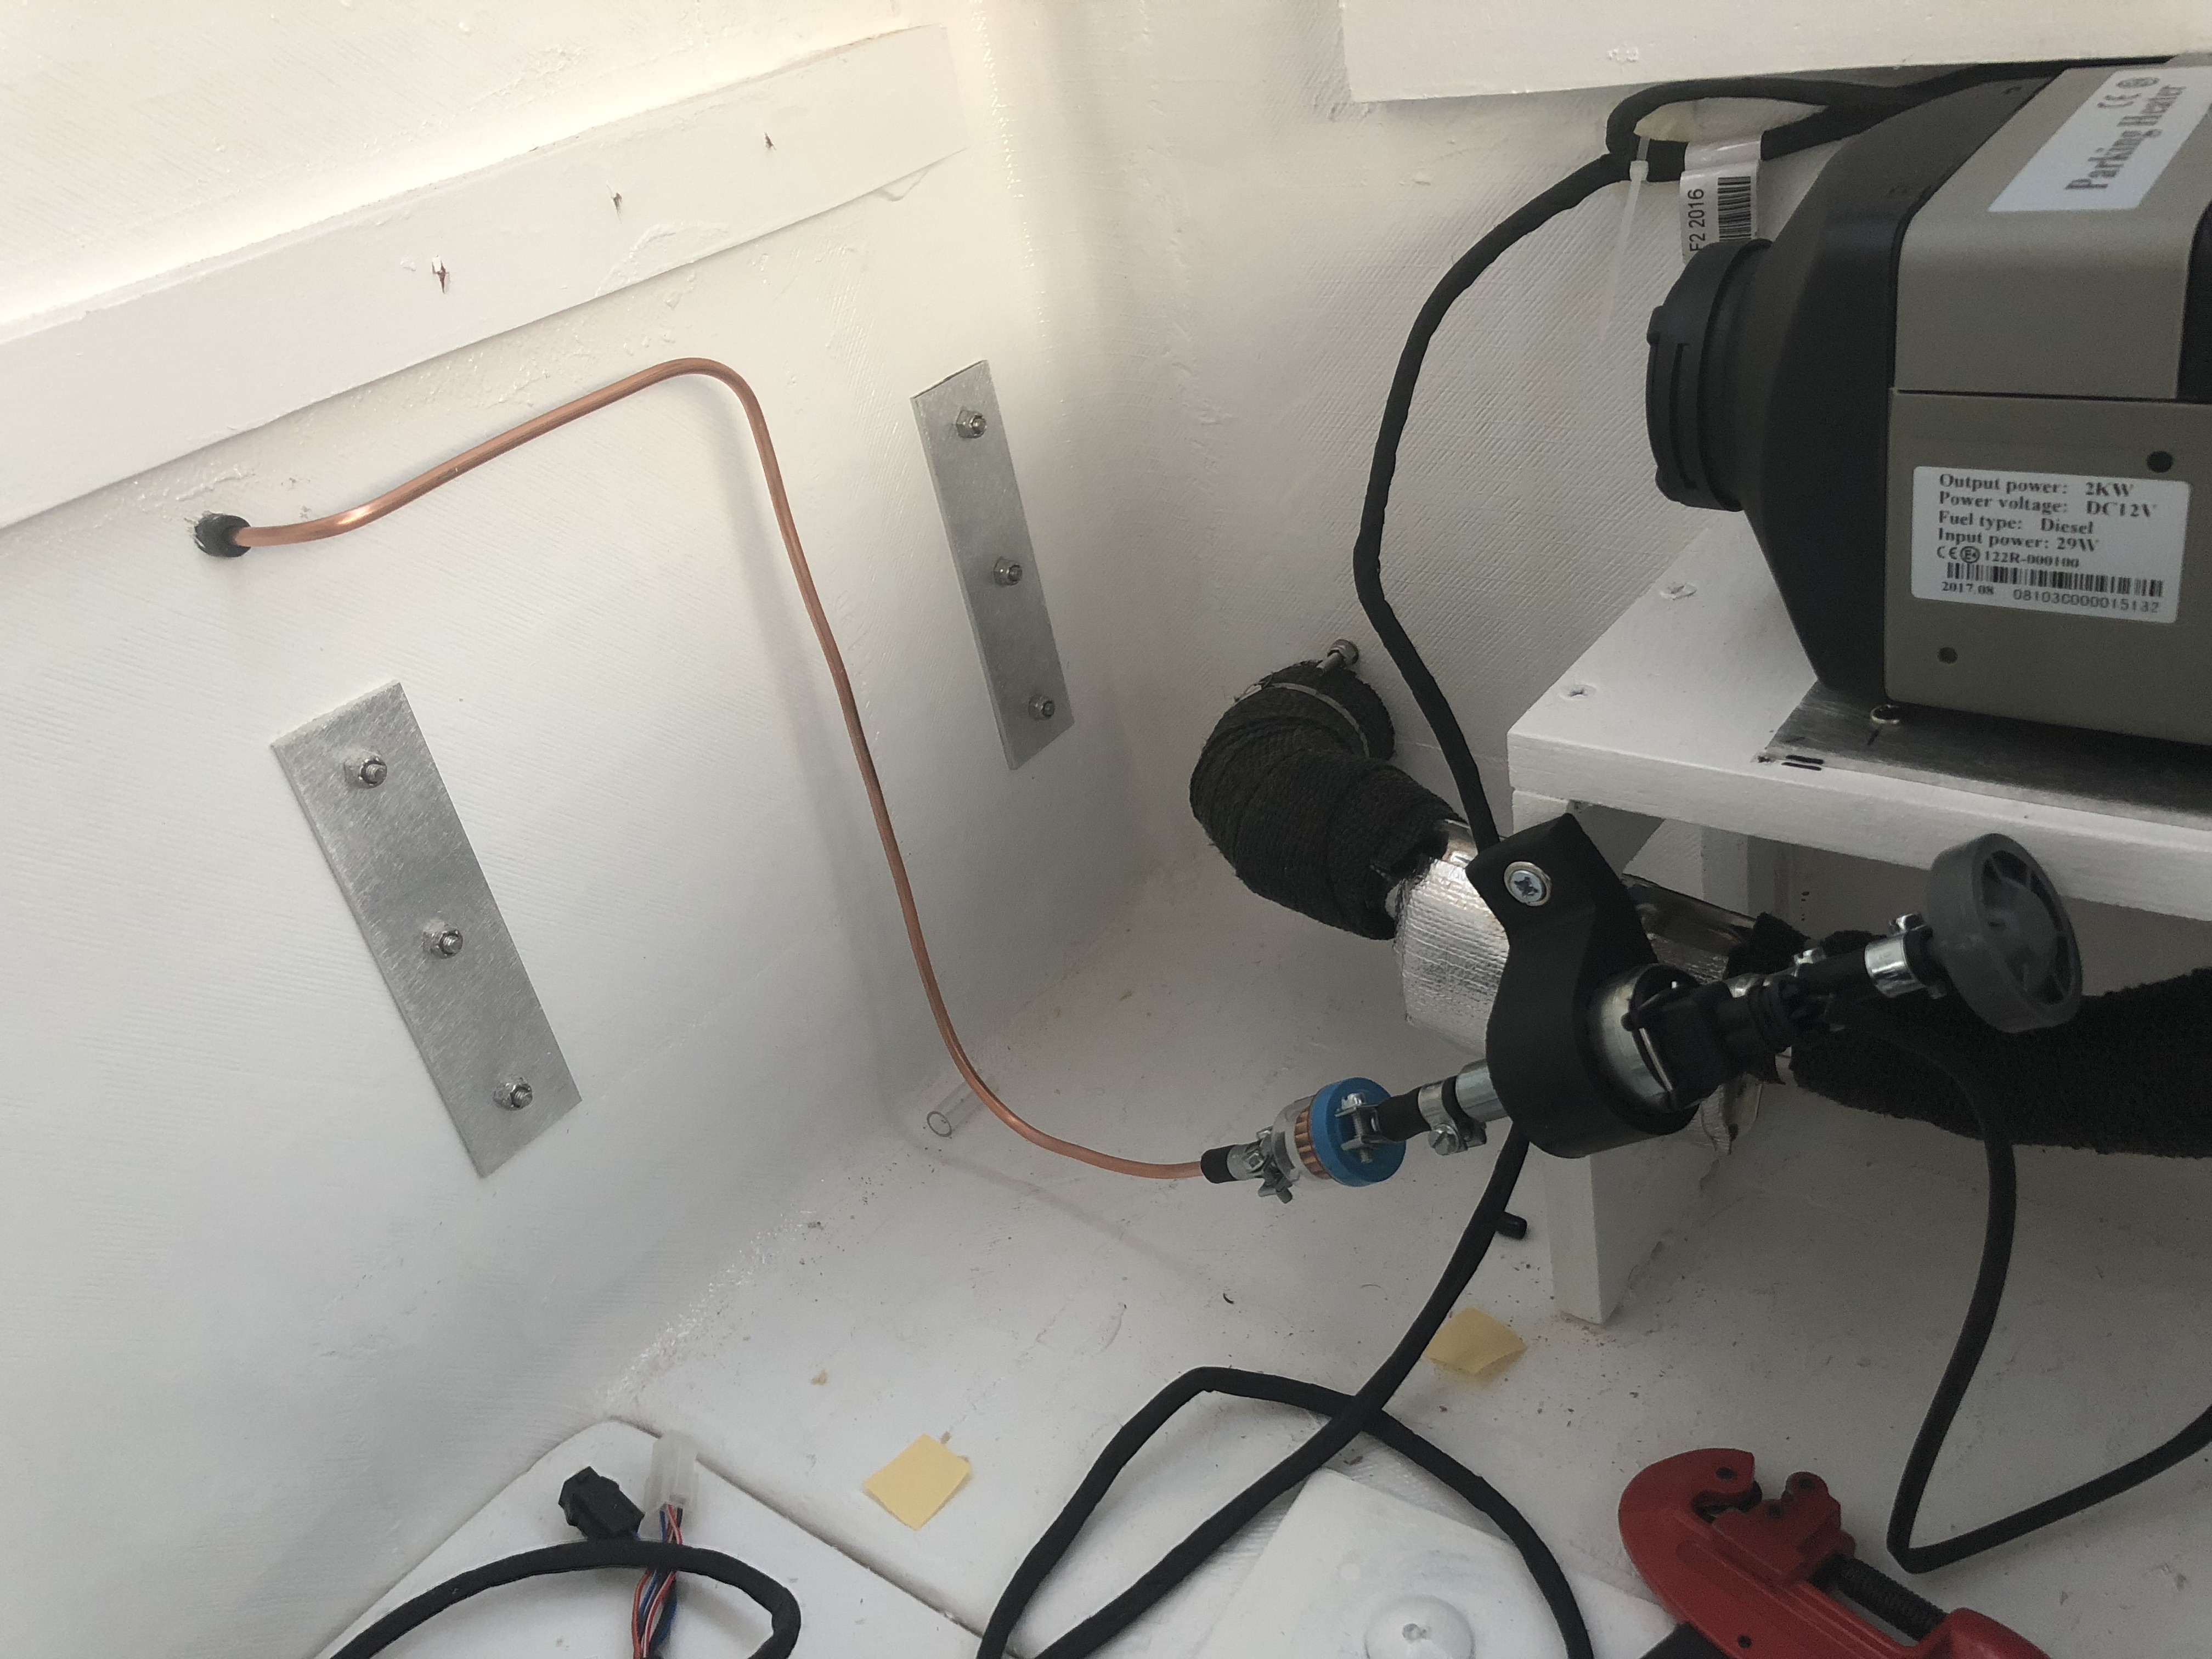
All we need is 6″ more fuel line and some actual diesel fuel and we’re ready to fire up the heater and see if it works! 🙂
I’m excited to turn the heater on and see how well it works. The few reviews on Amazon seem to indicate that it’s less powerful than the name brand units. I’m fine with that. Even a little heat is better than the nothing that we had before. I’m tired of being cold dangit! For camping is really cold weather, I plan on making an additional insulated barrier for the inside of the camper that attaches to the canvas to help keep it warm inside. The camper itself is foam and keeps heat out really well! When we had the roof out on the stands in the middle of the yard the top side would be hot to touch from the sun, but the underside was completely cool.
I want to go camping!!!