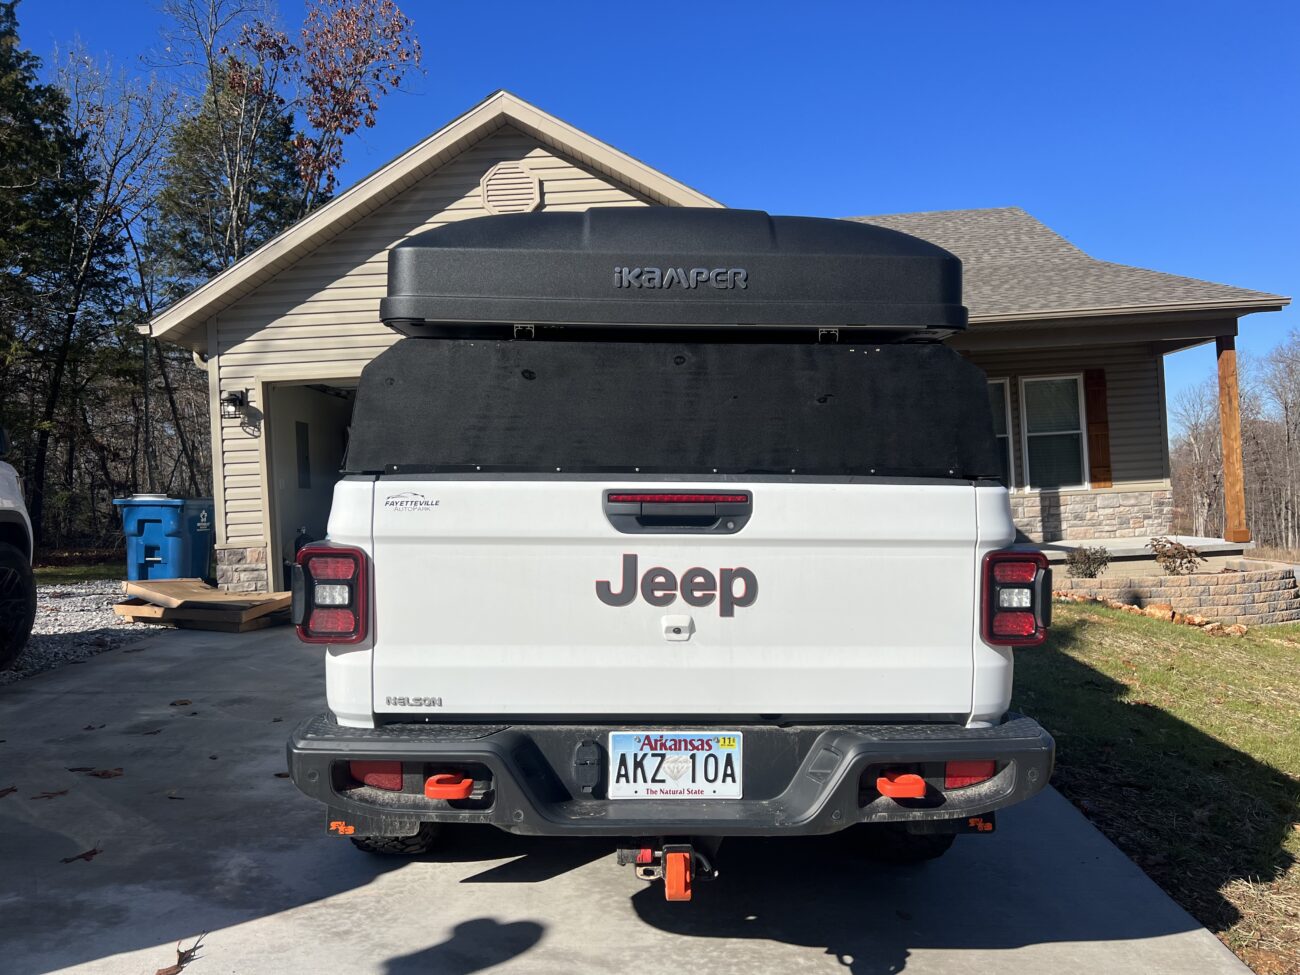
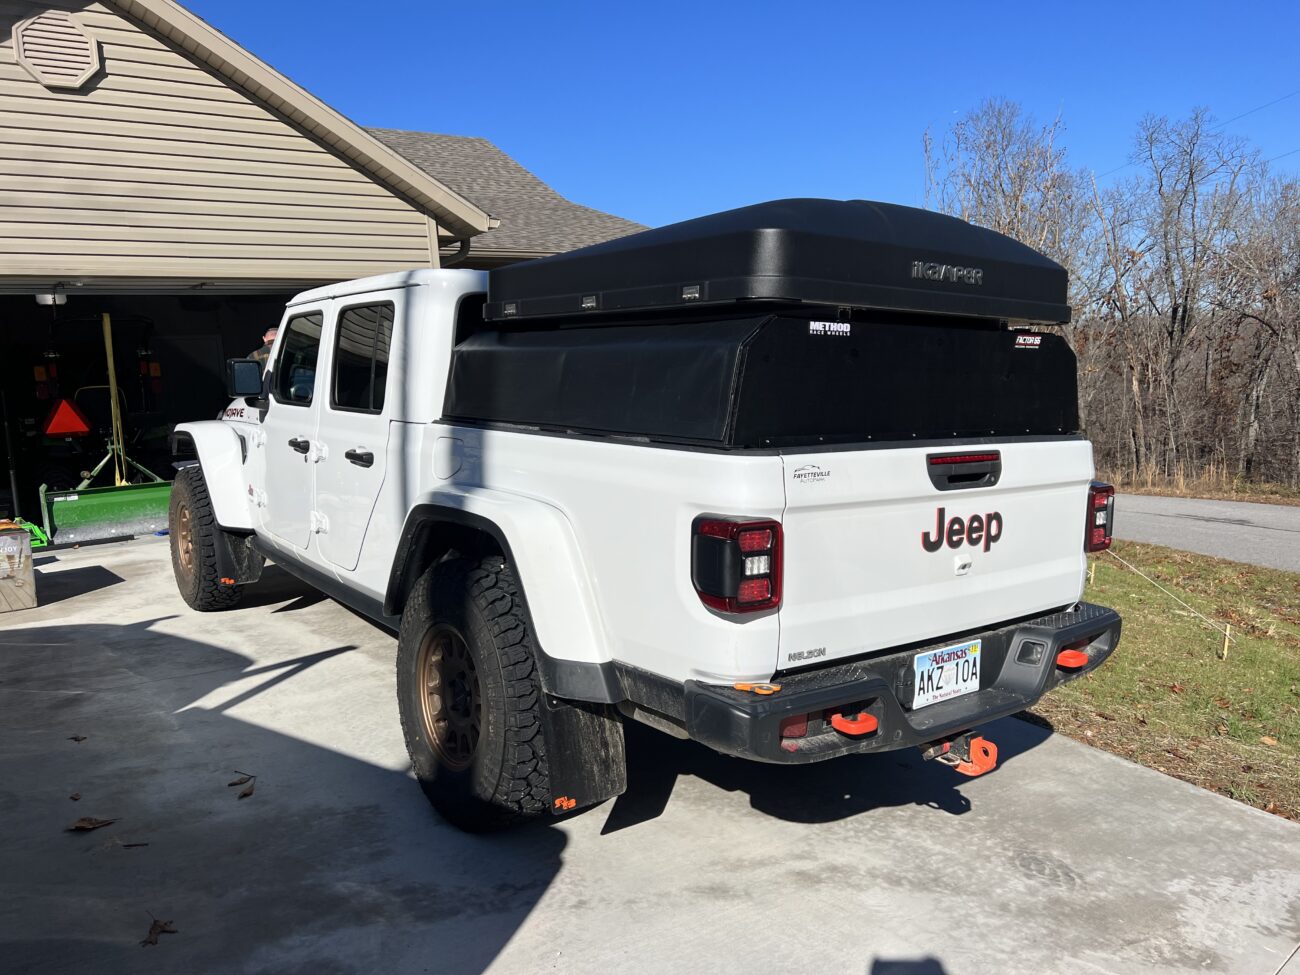
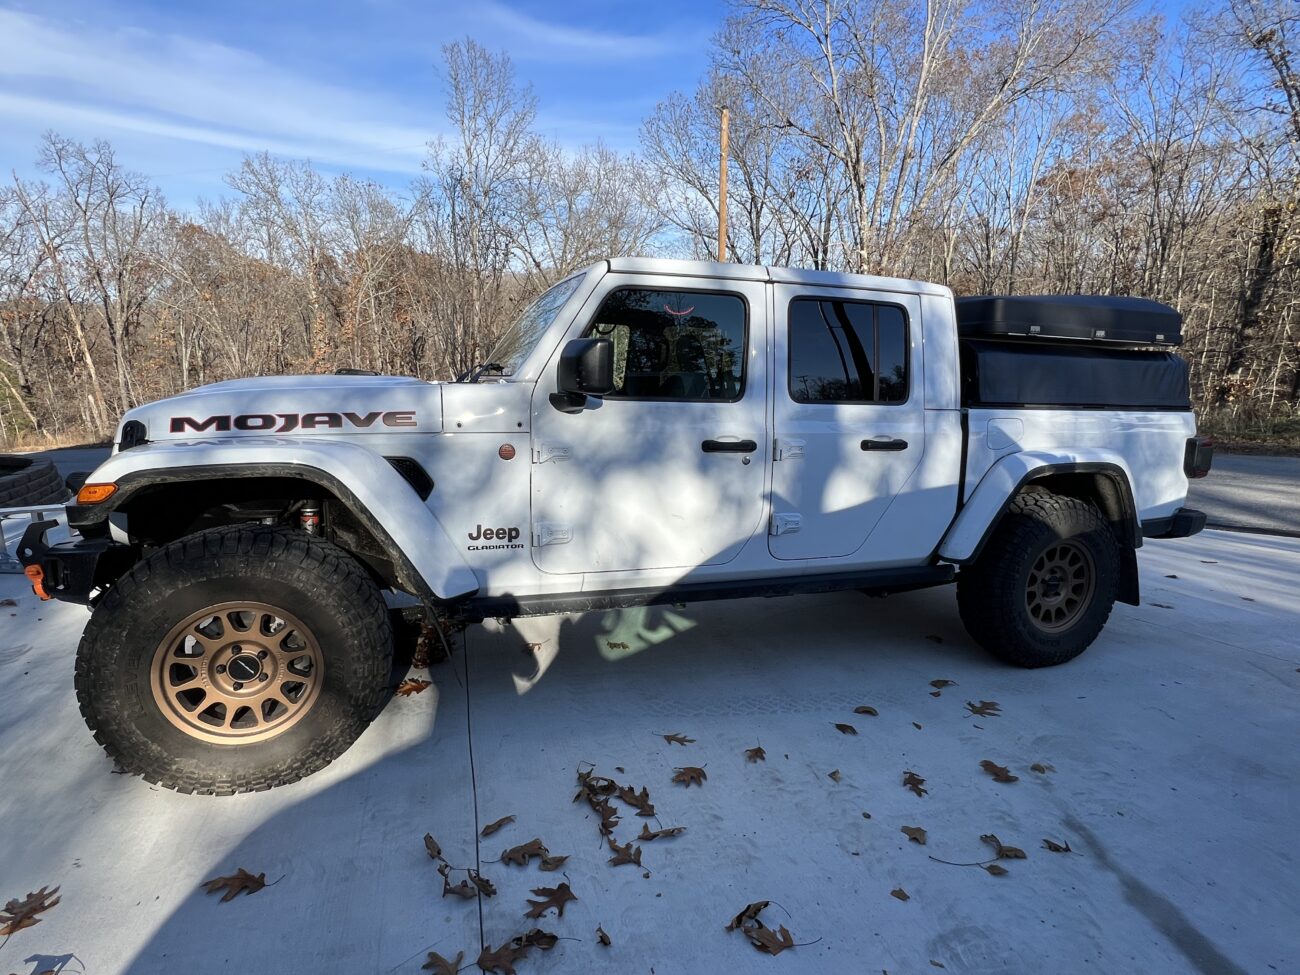
Our plans for this Jeep include a lot of camping in remote locations, which is why we bought our sweet rooftop tent! However we needed some sort of rack to bolt the tent onto over the bed of the truck. There are a lot of options on the market for bed racks of various heights and configurations. We knew we wanted a mounting solution that was short enough that the tent would be level with the top of the Jeep cap and not stick up higher. (not that gas mileage really matters at this point, but every bit helps!) We also really wanted a way to lock and weather proof the stuff we would inevitably stack in the bed of the Jeep for all of our excursions. There was really only a single option for a hard canopy that wasn’t full height and it was nearly $6000! So you know what that means. We’re going to have to make it ourselves! (why are we like this? seriously?)
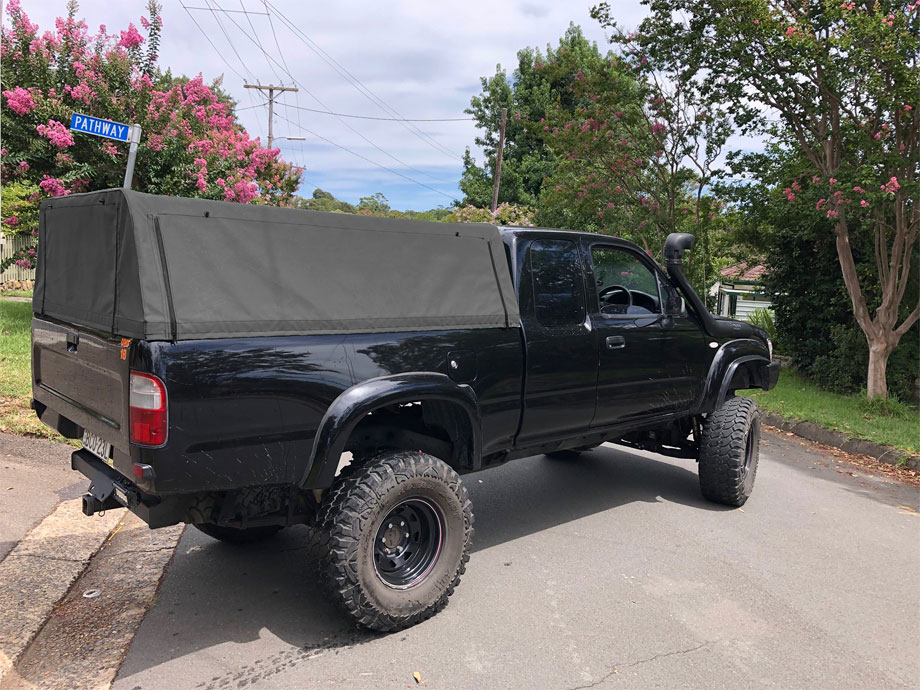
Since we don’t have a welder or any serious tools we decided to just buy a bed rack and customize it. In Australia a lot of their trucks have canvas covers on the beds to keep the dust out, so I decided to go that route since sewing large items is pretty easy for me to accomplish with my sewing machine.
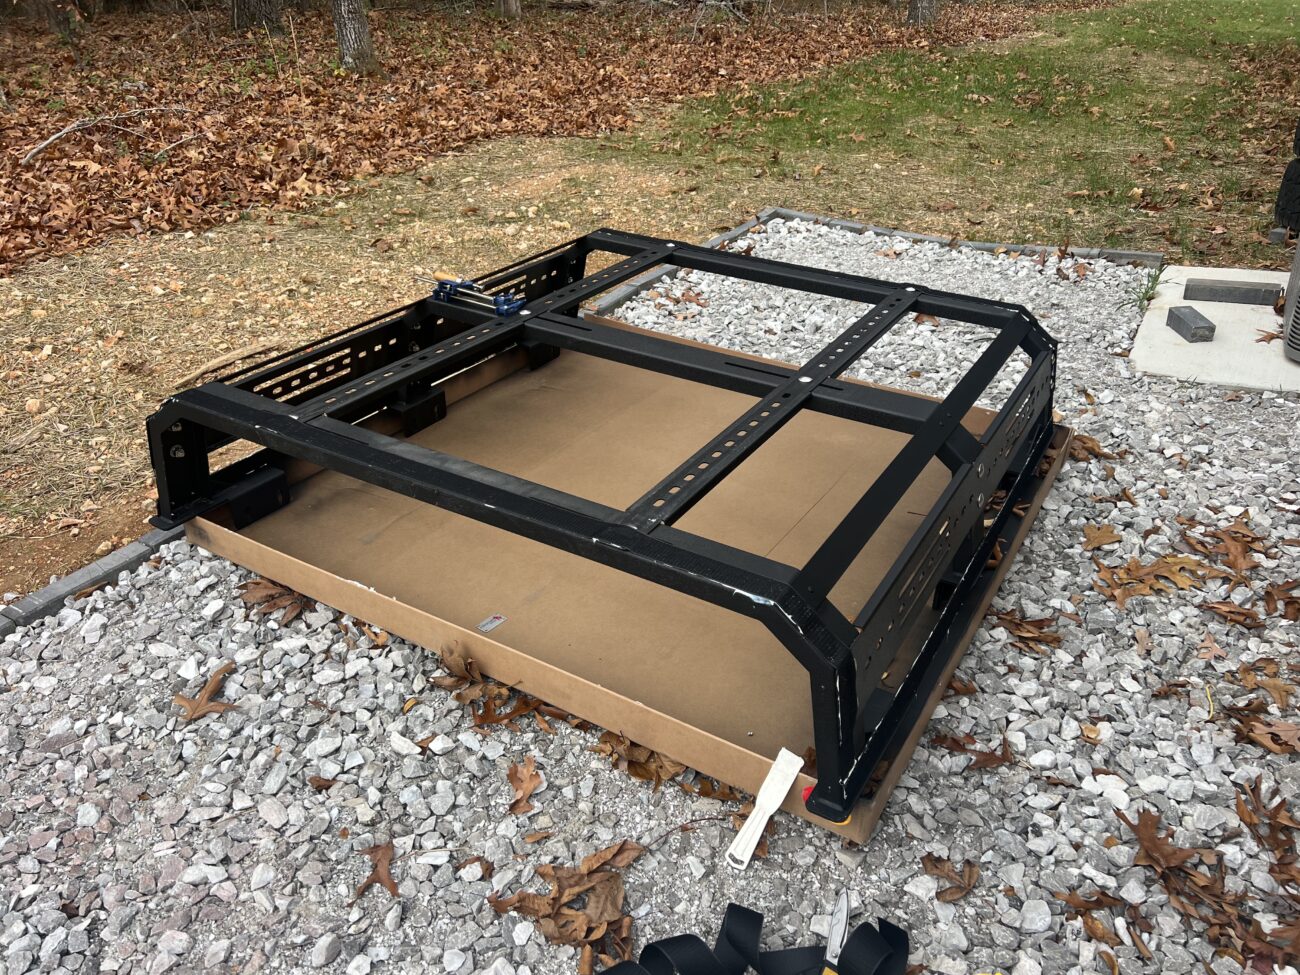
The first step was to add aluminum strips on the rack. One at the bottom to attach a large velcro strip to for the canvas and to seal the lower edge and one at the top so that the canvas wouldn’t be unsupported and flop around.
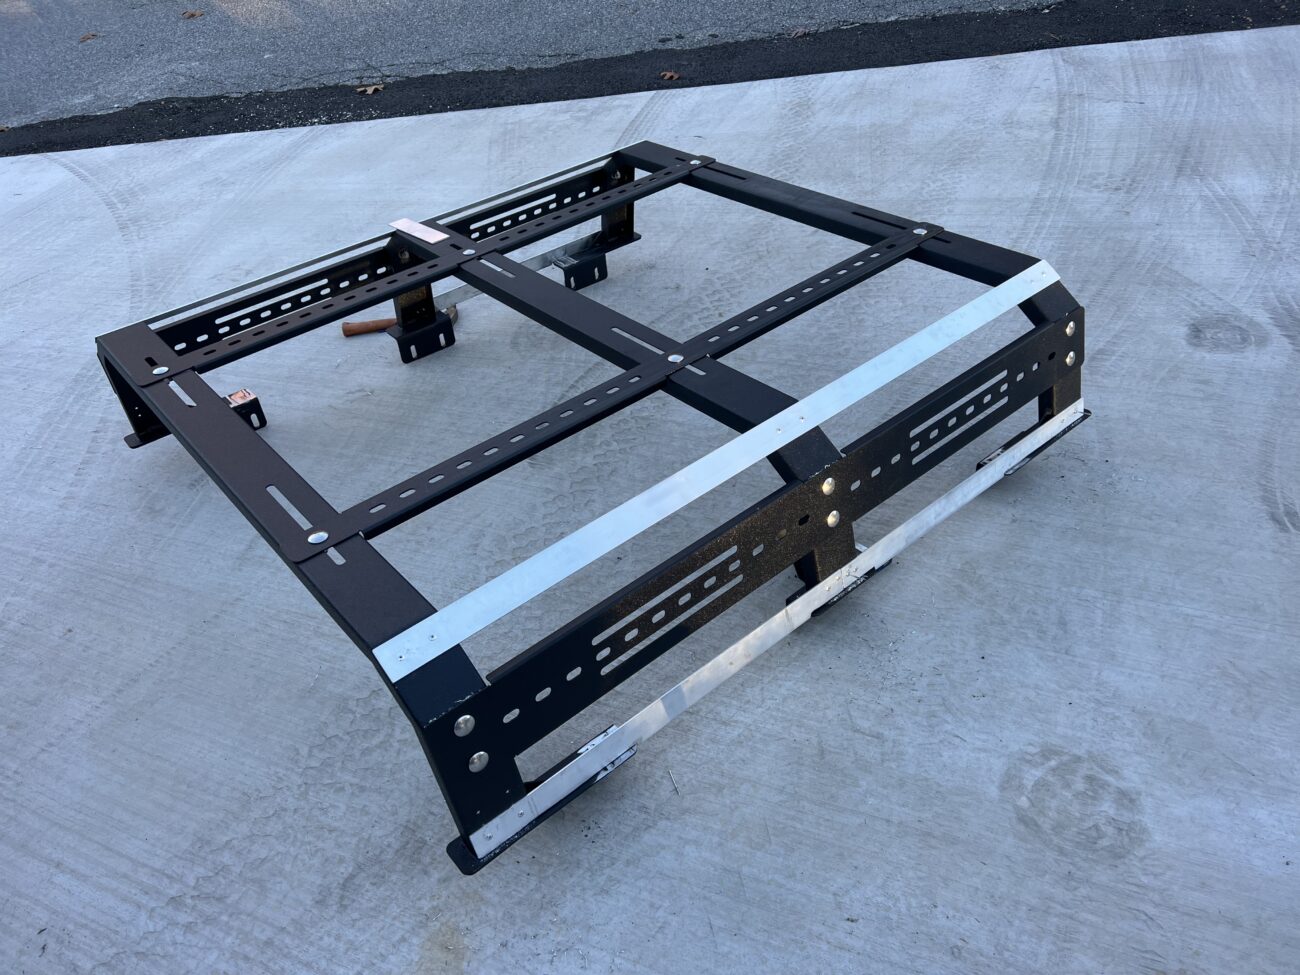
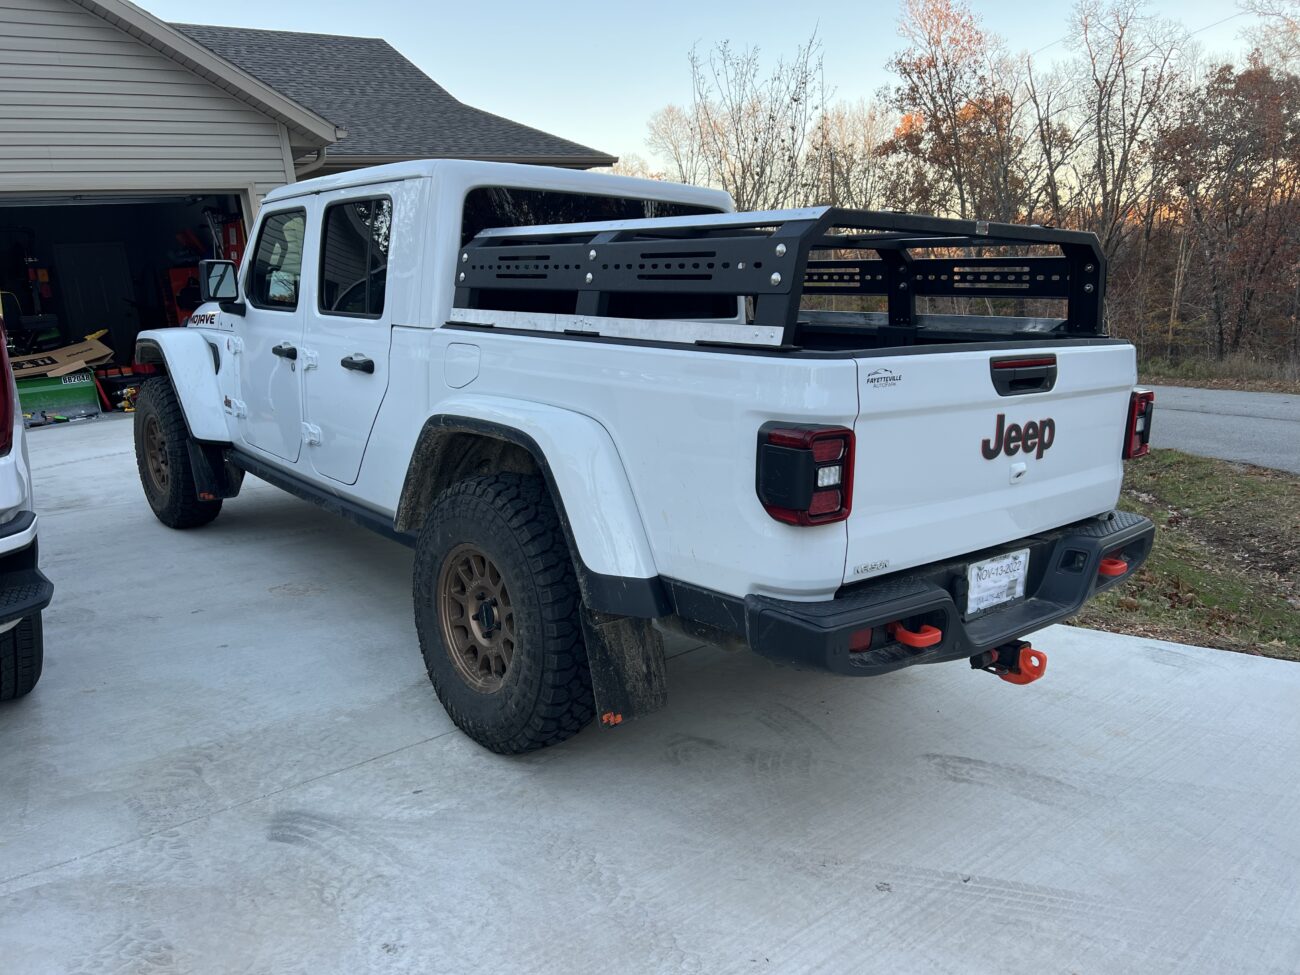
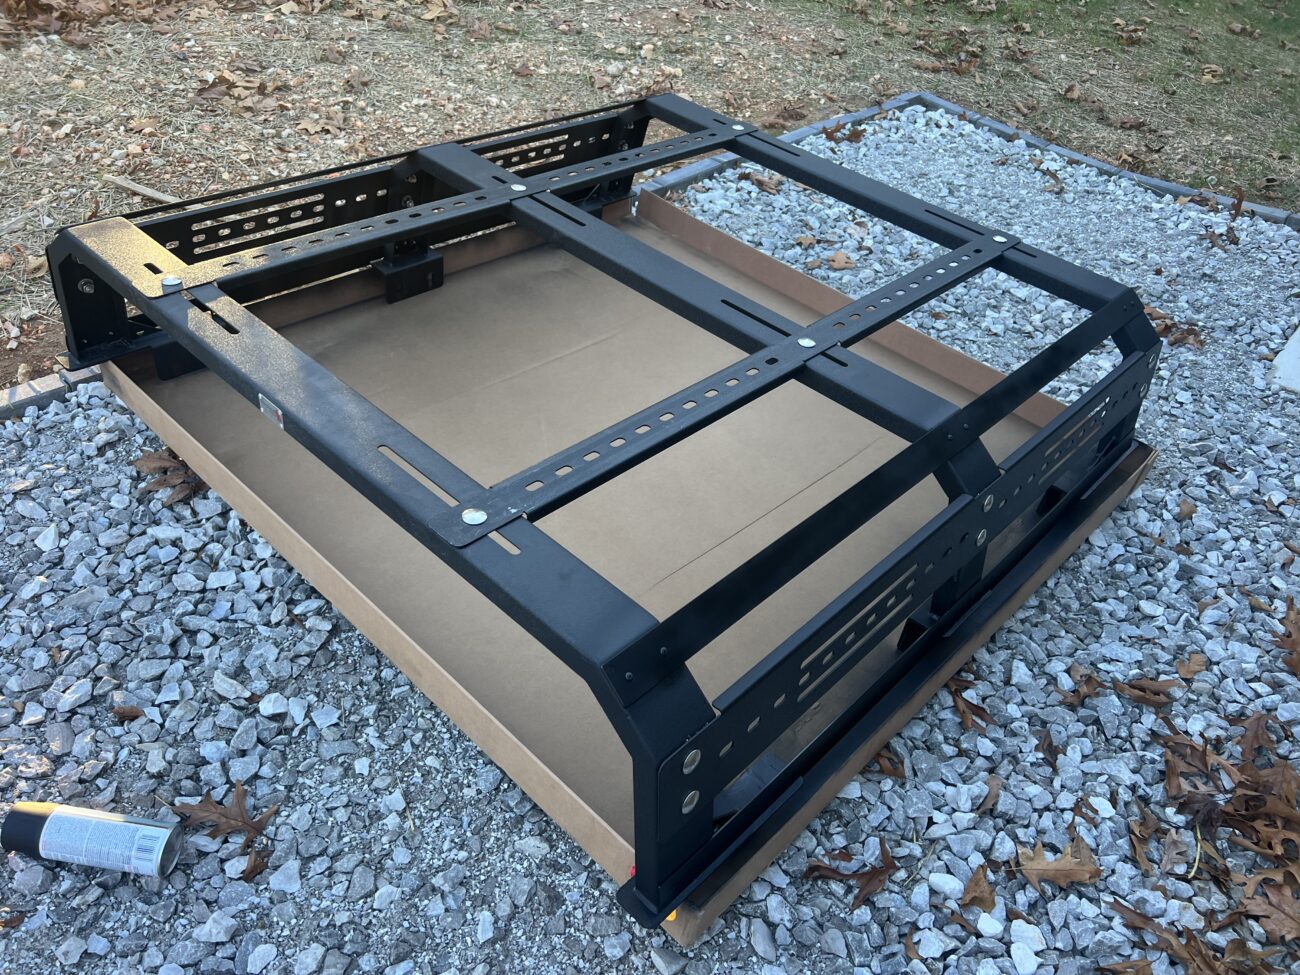
So now that the rack is modified to suit it was time to start on the canvas part.
I found some strong adhesive and glued a large strip of velcro to the perimeter of the rack. In hindsight I wish I had waited to find clear or black glue, but white was available at Lowe’s so I used that.
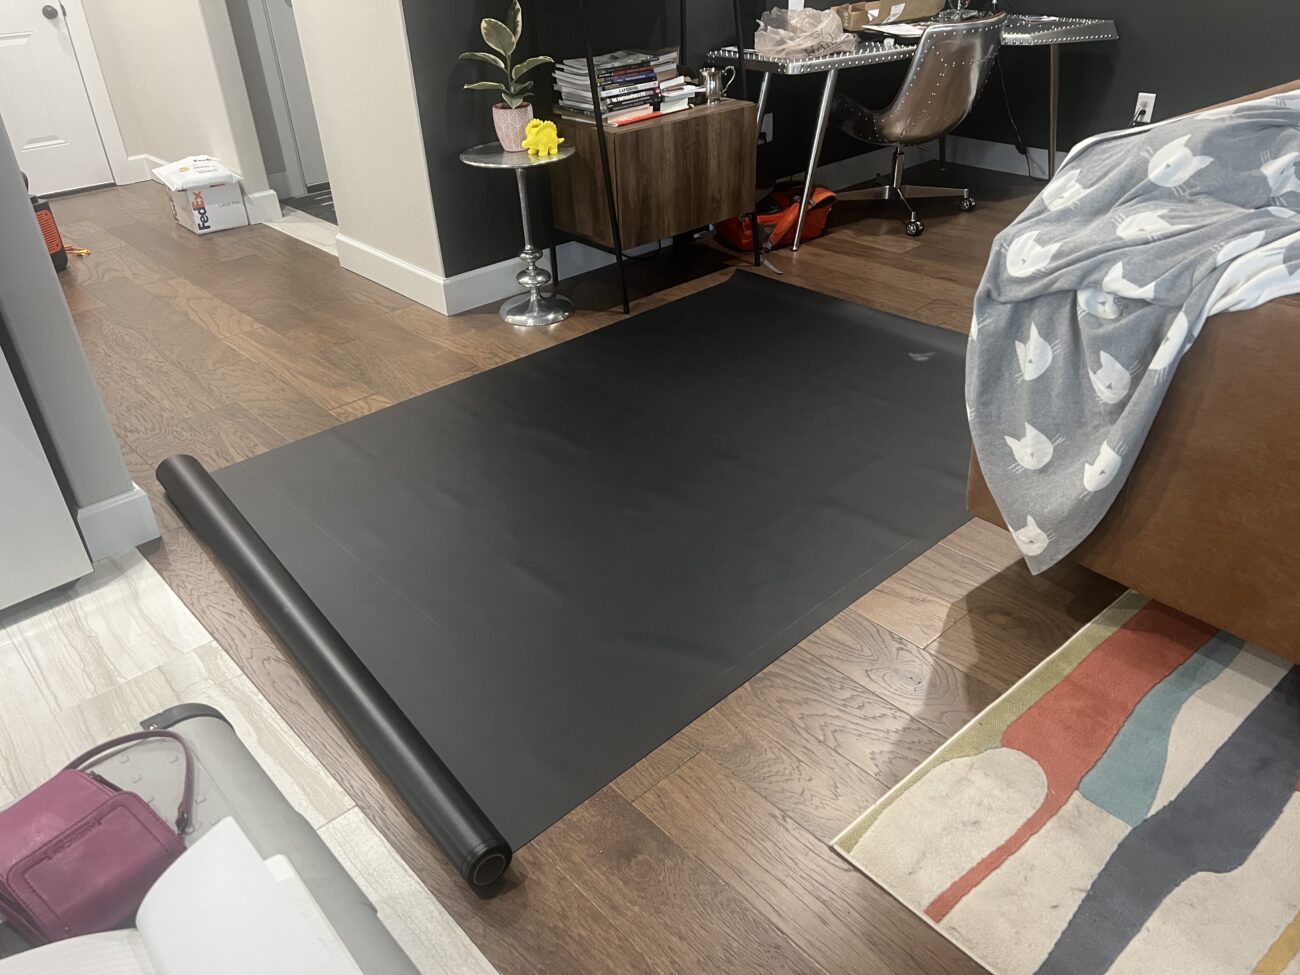
The velcro strip was actually pretty easy to finish up and now it just has to cure. Time to start on the actual canvas part. I chose to use the same vinyl coated polyester that I made the canvas on our pop up camper out of. It’s extremely durable and tear-resistant while also being completely waterproof. The main pain here was just the large scale of the piece of fabric. I cut the length I needed off of the roll, folding it over, taped on the velcro and started stitching!
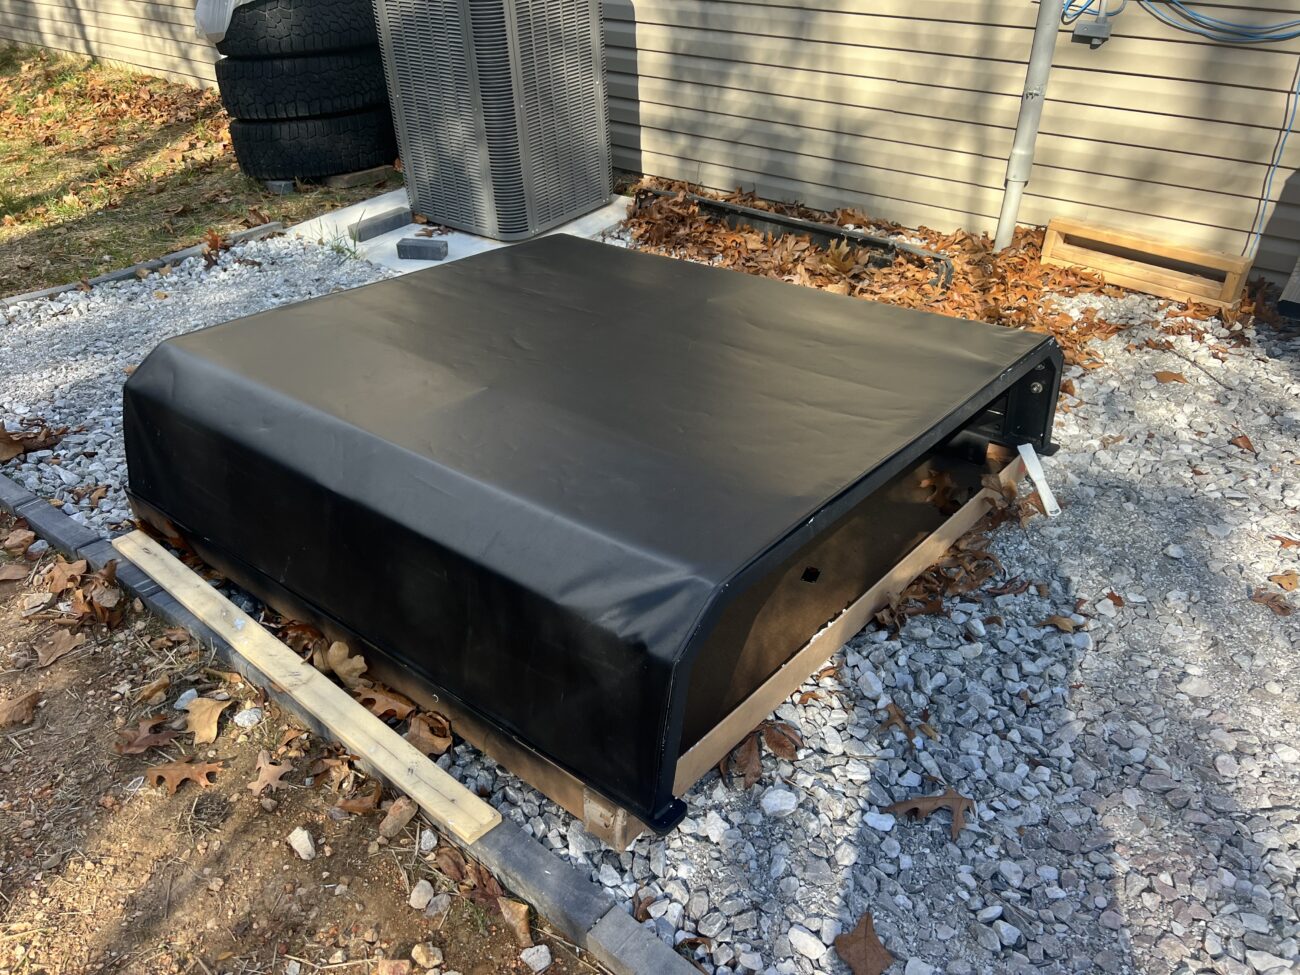
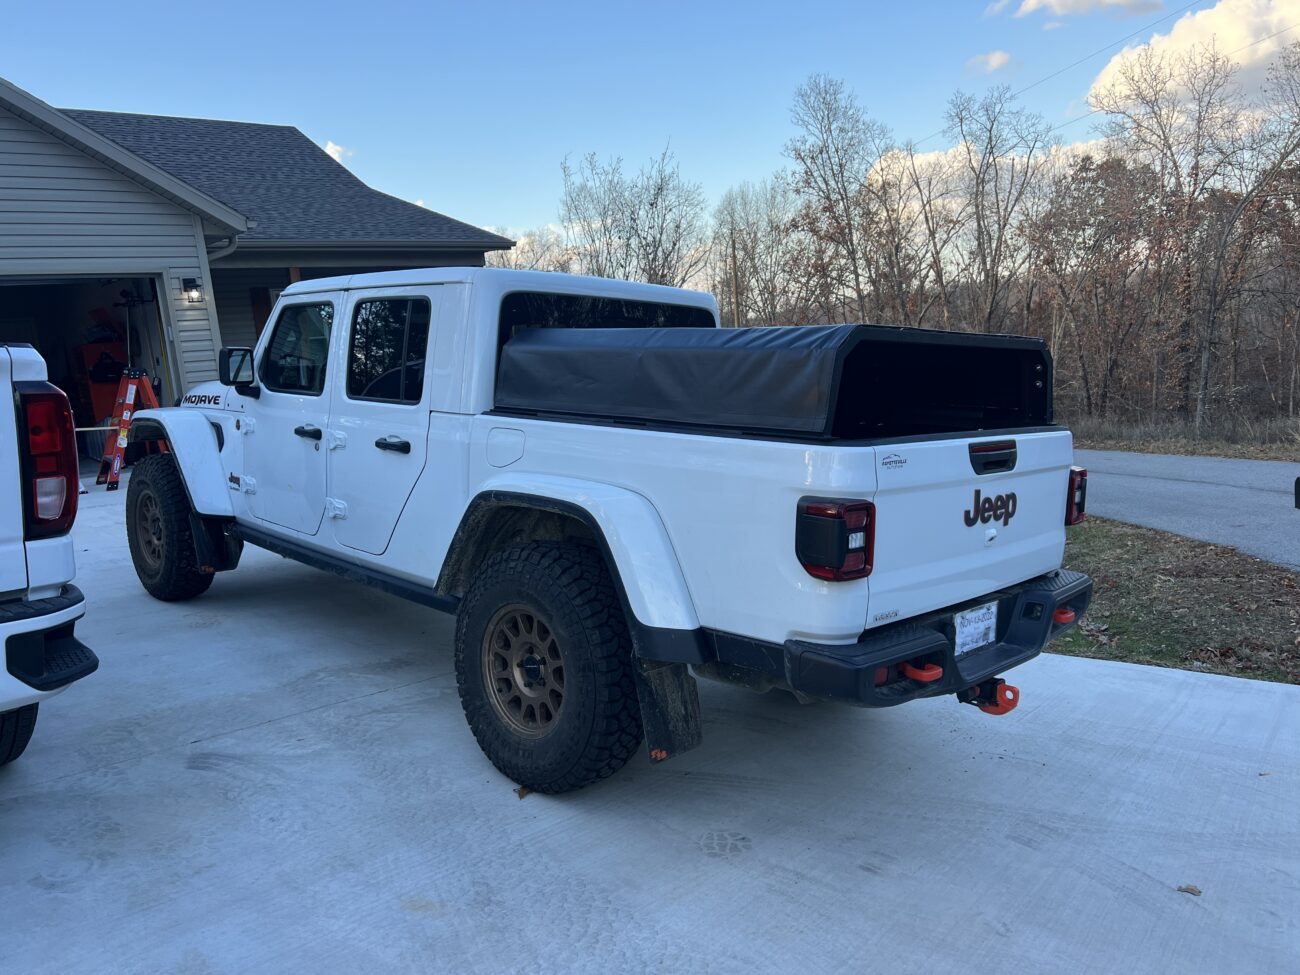
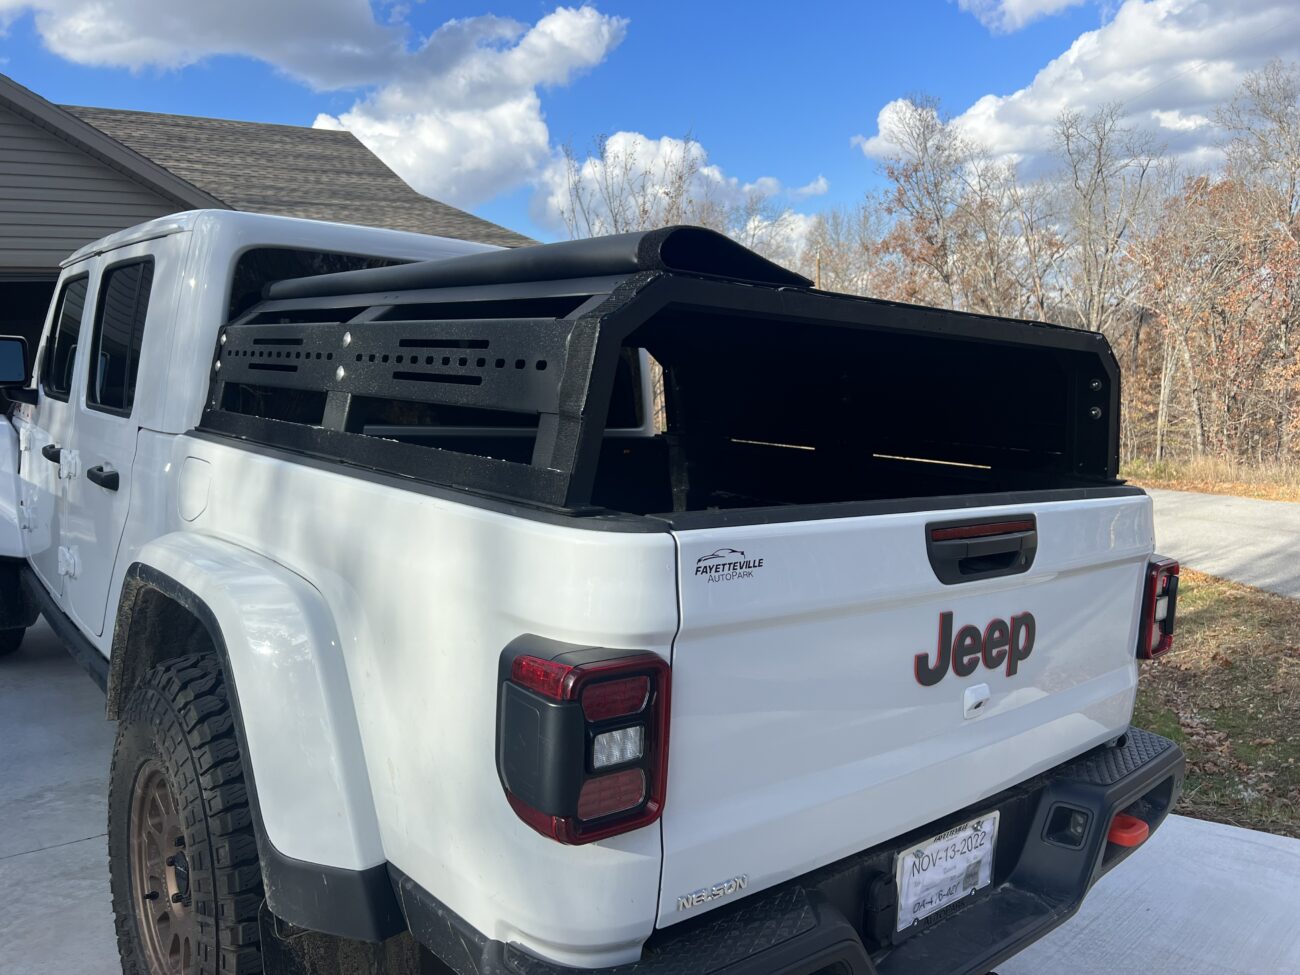
Now you might be wondering what the point of all of this canvas is if the front and back of the rack is still wide open. I’ve got plans for that! We found some wood at Lowe’s that was was the perfect height (their plywood isn’t even worth buying. What garbage!), cut it to match the angles of the rack, painted, and bolted it to the front.
For the back we wanted to be able to open the door and have the full height of the enclosed area available so we cut a similar piece of wood to the front side and bolted it onto the rack with some hinges. Add some paint and some seals and it’s good to go…mostly. We couldn’t quite figure out how to make the rear door lockable and discussed various locking mechanisms until we remembered that when the Jeep locks, so does the tailgate. So all we have to do is have the rear door extend below the tailgate and the tailgate will stop anyone from being able to open it! Perfect and easy!
Installing the rooftop tent wasn’t nearly as awful as we were expecting either, so now the whole rig is ready to go!
I wish I had the tools to make my own canopy, but this will be just fine for a while and give us a protected place for our tubs of camping crap. Speaking of camping crap, I did some organizing inside the canopy and mounted the axe, shovel, and recovery boards inside so we will always have them!
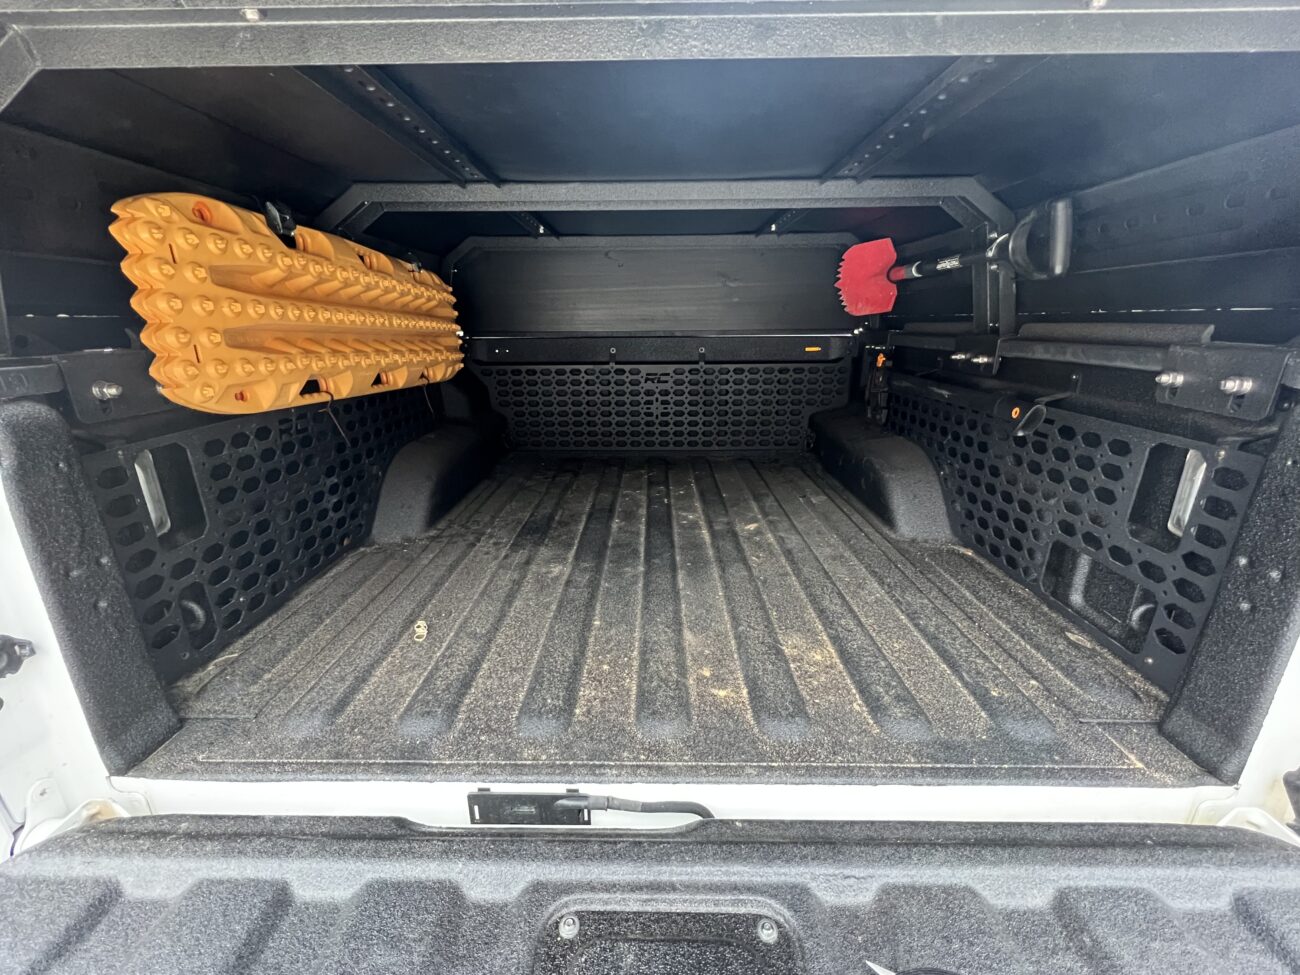
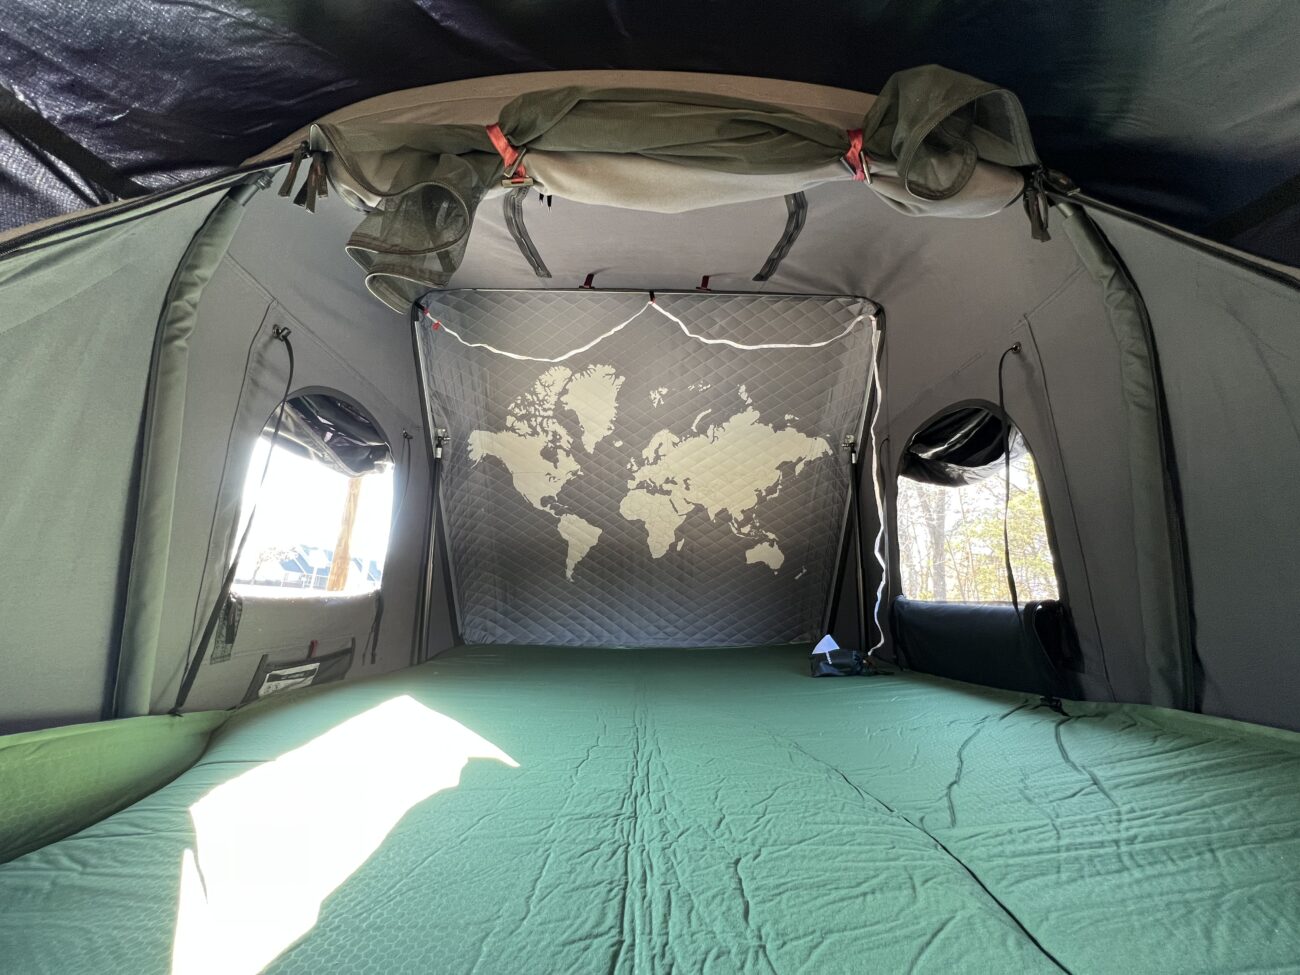
I also did a few things to the rooftop tent. I got some small 12v lights because that blackout fabric really works! We didn’t think the foam mattress that came with the tent was very comfortable so I test fit our nice air mattress that we already owned and it fits perfect!
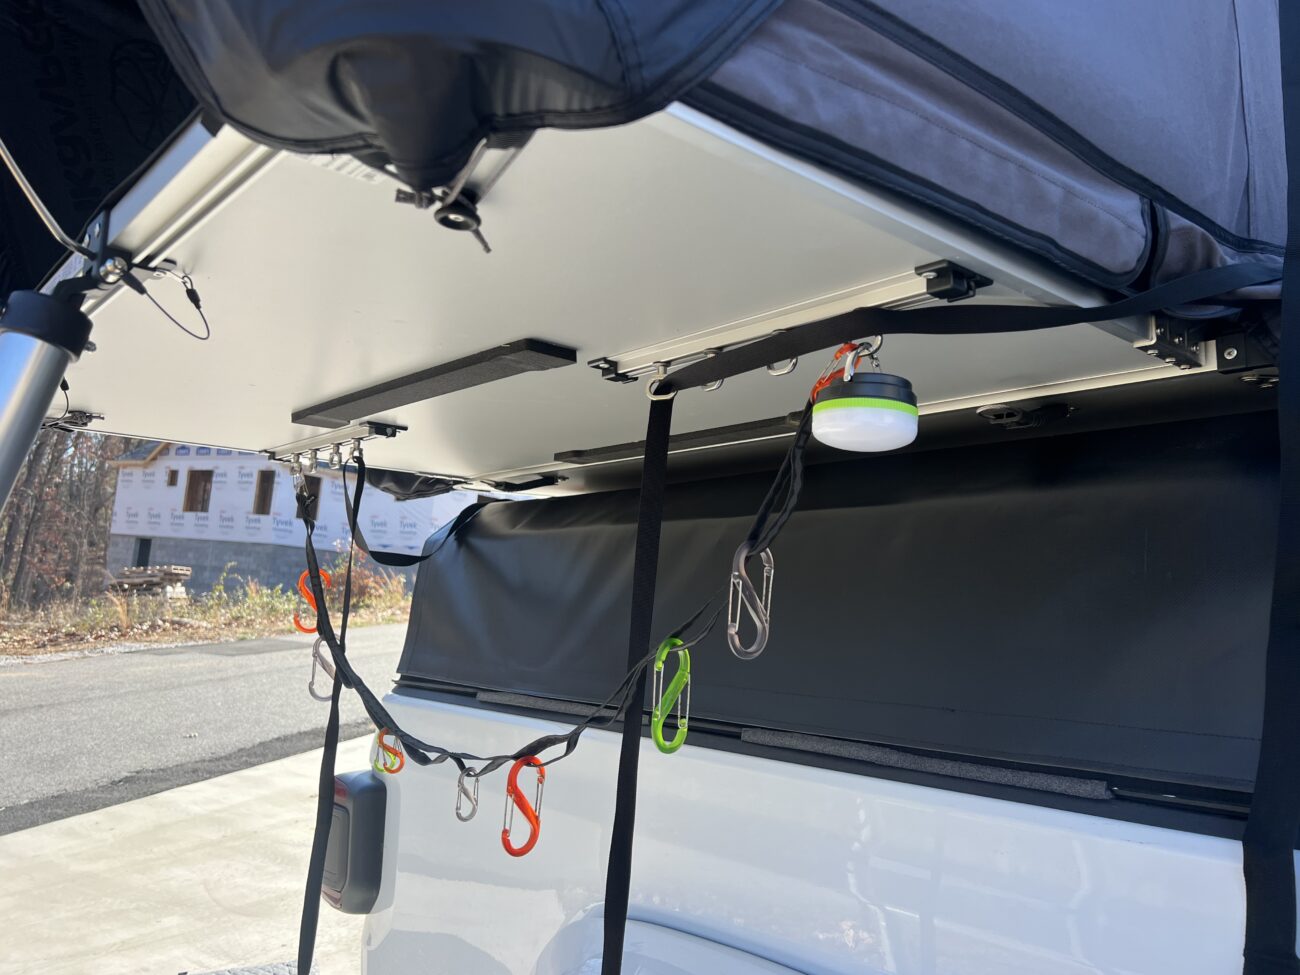
I also had this strap, loop thing that I realized would be perfect for hanging lights and shoes and whatnot underneath the open tent floor.
Now we just have to find some decent weather to head out into the woods for some camping!
