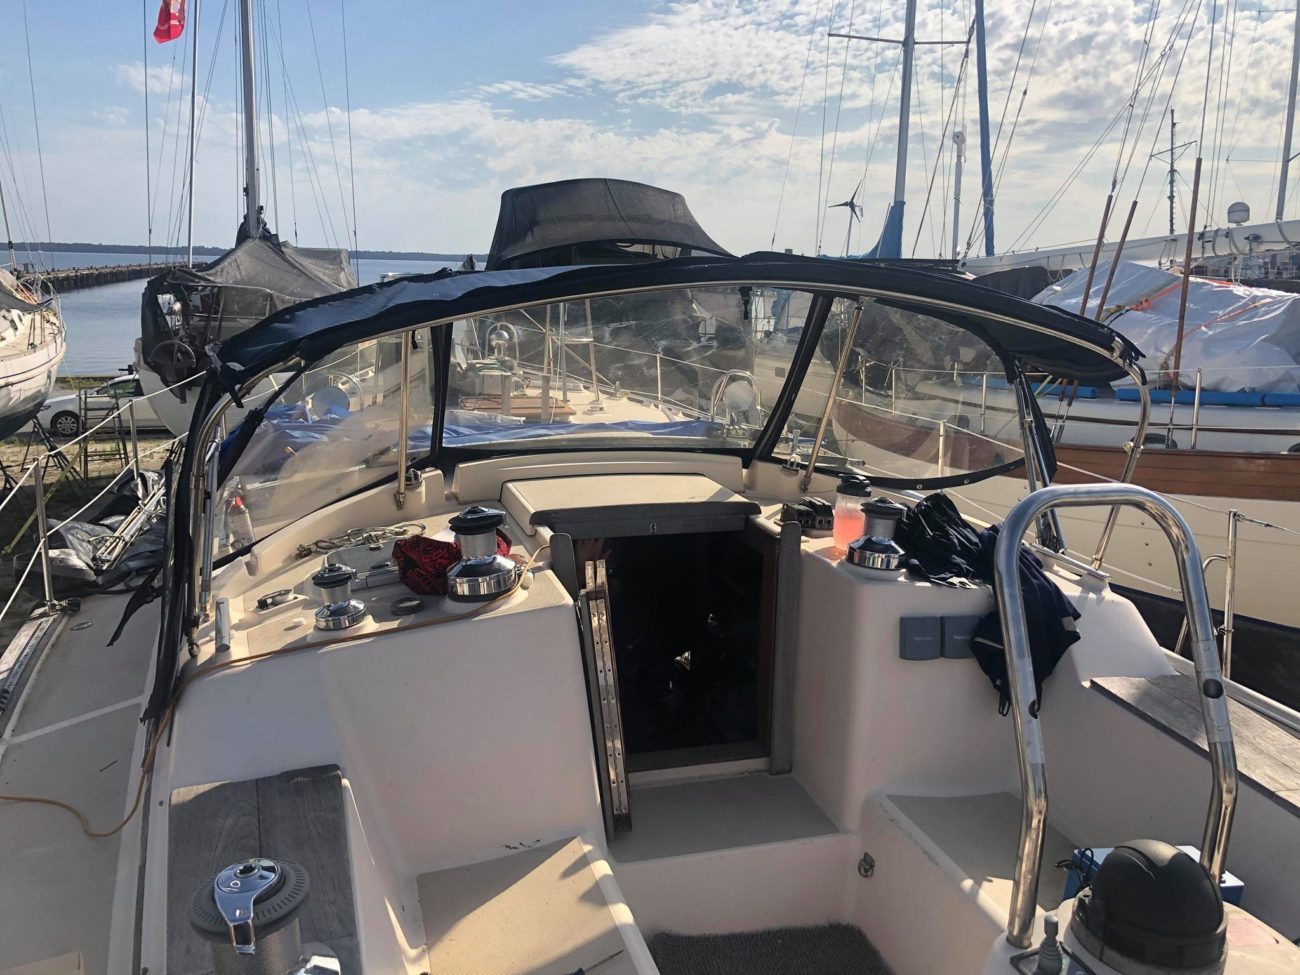
When we bought Peregrine, she came with worn out navy blue canvas that covered the front of the boat (dodger), the top (bimini) and the sides. I bought nice new tan fabric months ago off ebay to make new canvas, but hadn’t quite gotten around to it. It’s a lot of sewing and it’s not something I’ve done before… So Jason and I were sitting around the warm light of our computer screens late one night discussing what all we had to move to the boat still etc and the topic came up of fiberglass. After we built our sweet fiberglass truck camper for our old Chevy Colorado, we had roughly a sheet of Divinycell H-80 1/2″ thick structural foam and most of a roll of 1708 E-glass fiberglass left over. We didn’t want to just throw it away or deal with trying to sell it on craigslist so we panicked and brought it with us to Florida “just in case”. Well, there was no way we were going to store it on the boat and we have nowhere else to put it so… why not just use it to make a hardtop dodger for the boat?
I mean.. there are lots of reasons to *not* do this. It’s a huge project. It’s custom fabrication. It’s messy and fiberglass itches to high heaven. We have more than enough other projects without starting another one as involved as this one. Overall it’s a terrible idea… so we decided to go ahead with it! 😉
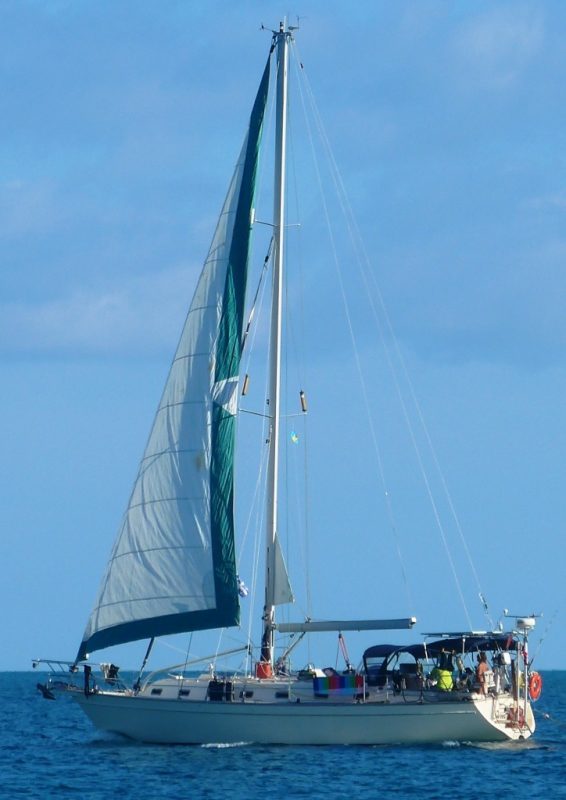
Here’s a picture of our boat currently:
The above pic is old, but you can see what all is happening!
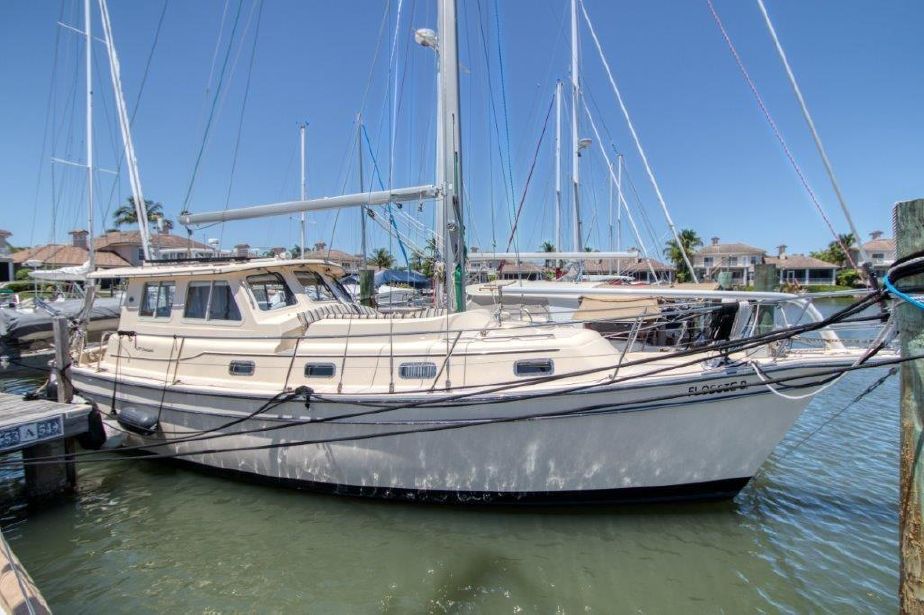
Now, as with all things, there are some realllly ugly examples of other people’s DIY projects gone wrong that just look terrible and ruin the lines of the boat. We don’t want that. If we’re going to put in the effort we want it to look nice (obviously). So our inspiration is going to come from another Island Packet model, the SP Cruiser that actually came with a full hardtop enclosure and the brand Hallberg-Rassy, which are expensive and very attractive.

So how to even start a project like this? Well… we have 4 pieces of foam and we need one piece of foam to cover the entire top, so let’s start there! We needed a flat spot for everything, so we set up shop on the sidewalk outside the Holland Marine office… It was Saturday and no one was there, perfect!
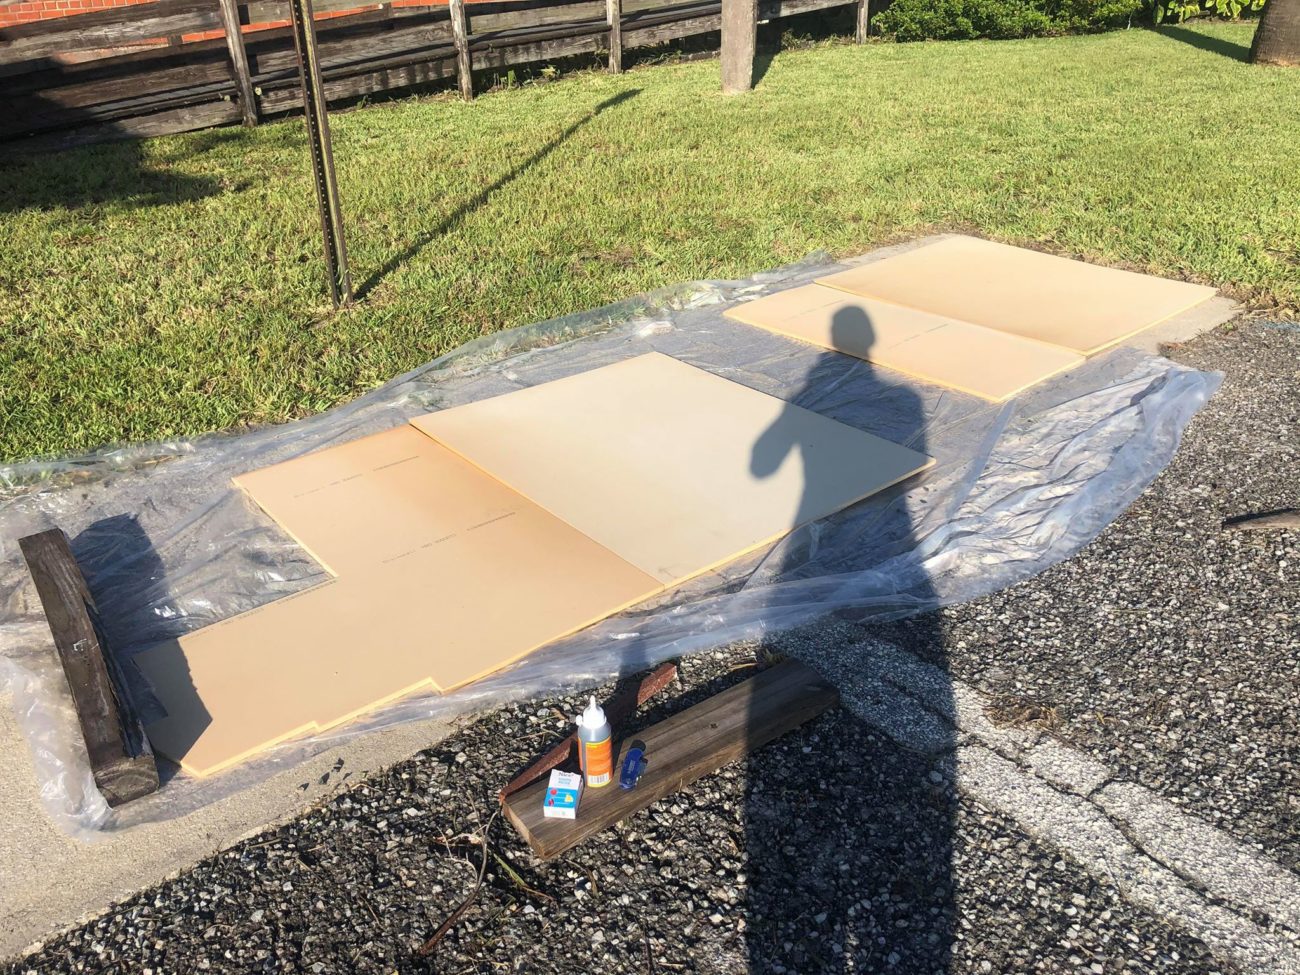
To actually join the foam together we used the same technique that we used for our camper…which is gorilla glue, because it expands to fill all of the voids in the foam, and toothpicks to hold it together! The toothpicks break off when you’re done and make it to where you don’t have to jig everything up and weight it down, etc. Super convenient life hack!
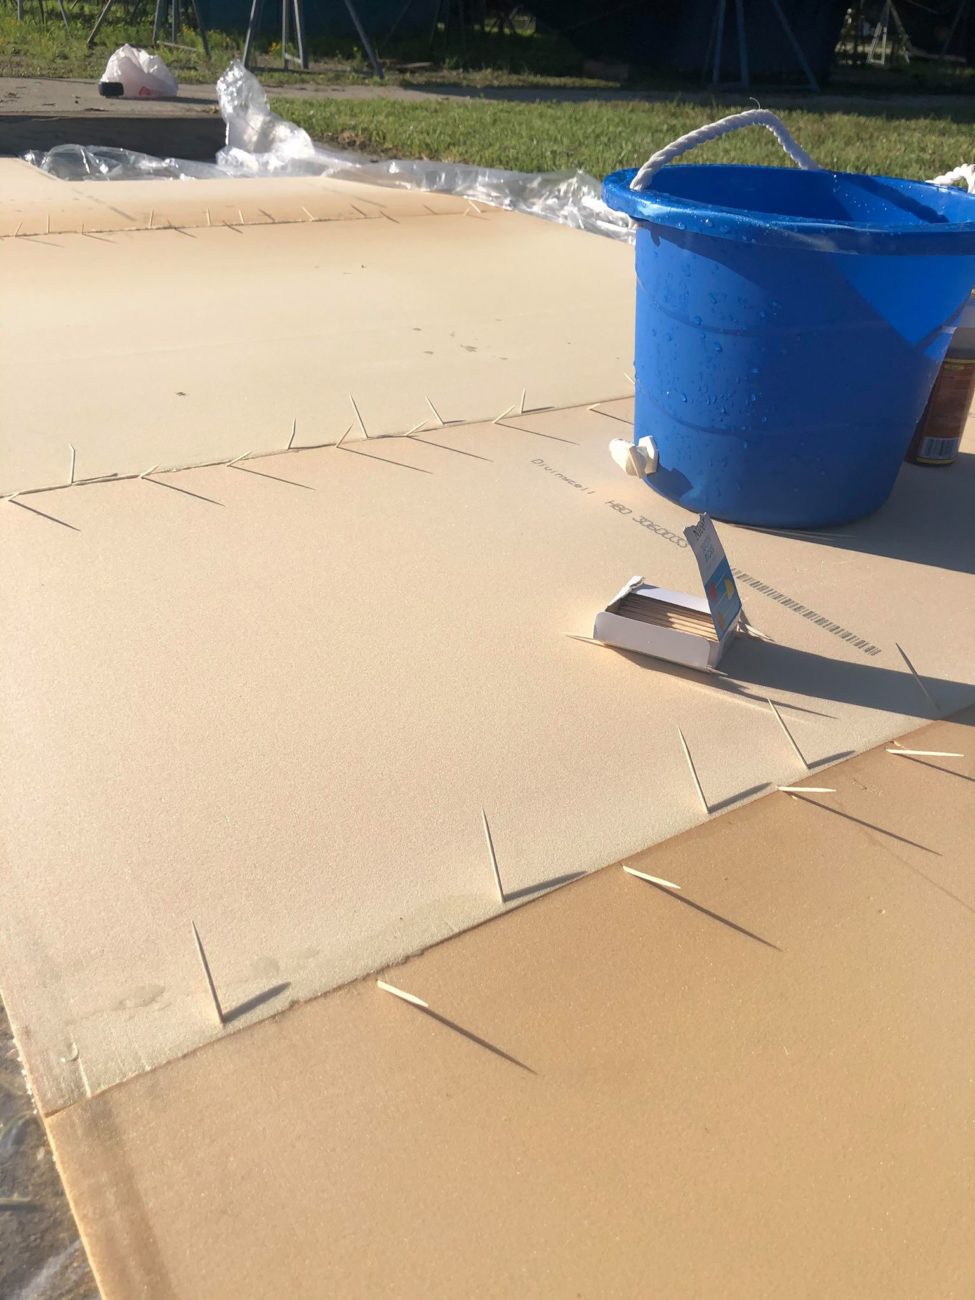
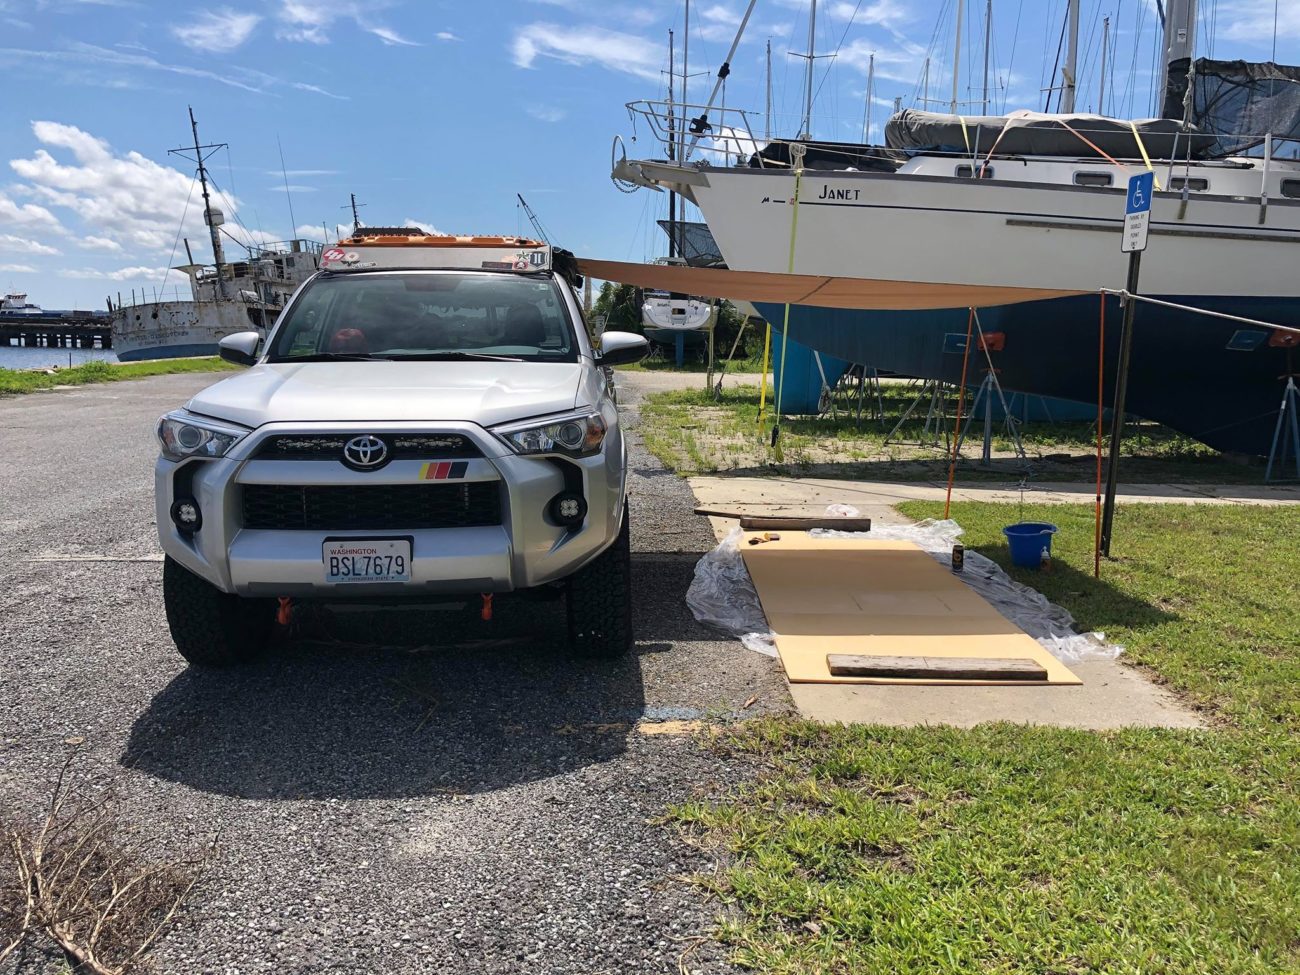
We left the glue to dry in the hot Florida sun for a few hours. In Washington we left it overnight, but down here it was ready to go! We broke off all the toothpicks and took a razor blade to the dried and expanded gorilla glue. Since this is such a large panel and we’re going to be bending and messing with it, we decided to fiberglass small strips of 8oz cloth (all we could find at Home Depot…) over the joints just to give them some reinforcement. *BUT* again, we’re in Florida now… In Washington it was always cooler outside so we bought the fast cure epoxy… that’s very much not necessary here. It’s all we have though… So to help the situation, we set up the sun shade that I made forever ago for our 4Runner so we at least wouldn’t be working with fiberglass in the direct sunlight.
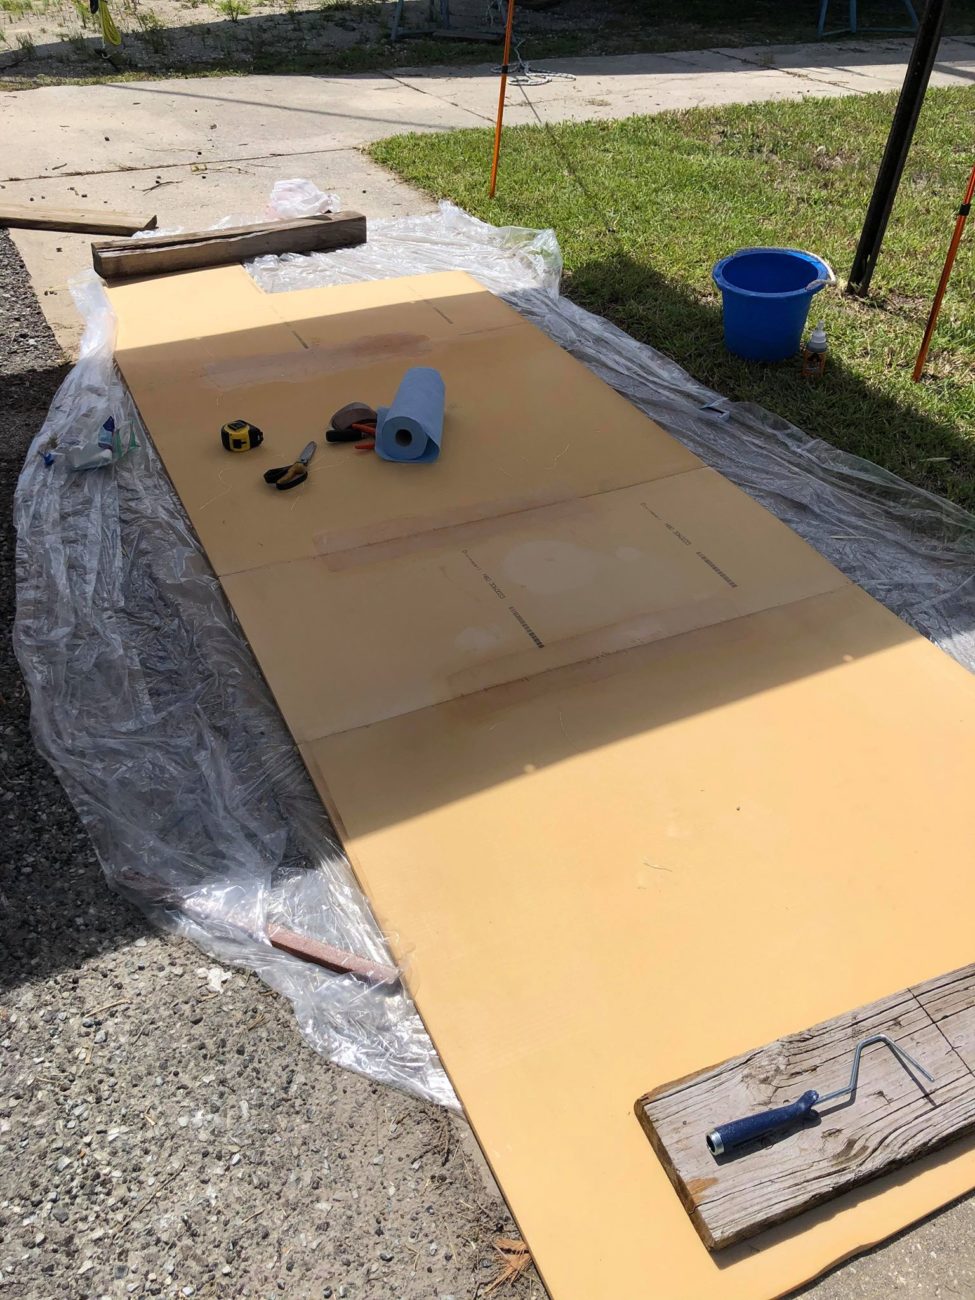
We let the epoxy set up for an hour or so while we did some other stuff to the boat. Then when it was ready, we walked it over and Jason passed it up to me from the ground. We wanted to store it inside, but it wouldn’t fit through the door, so we set it on top of the dodger frame and tied it to it with pieces of wire.
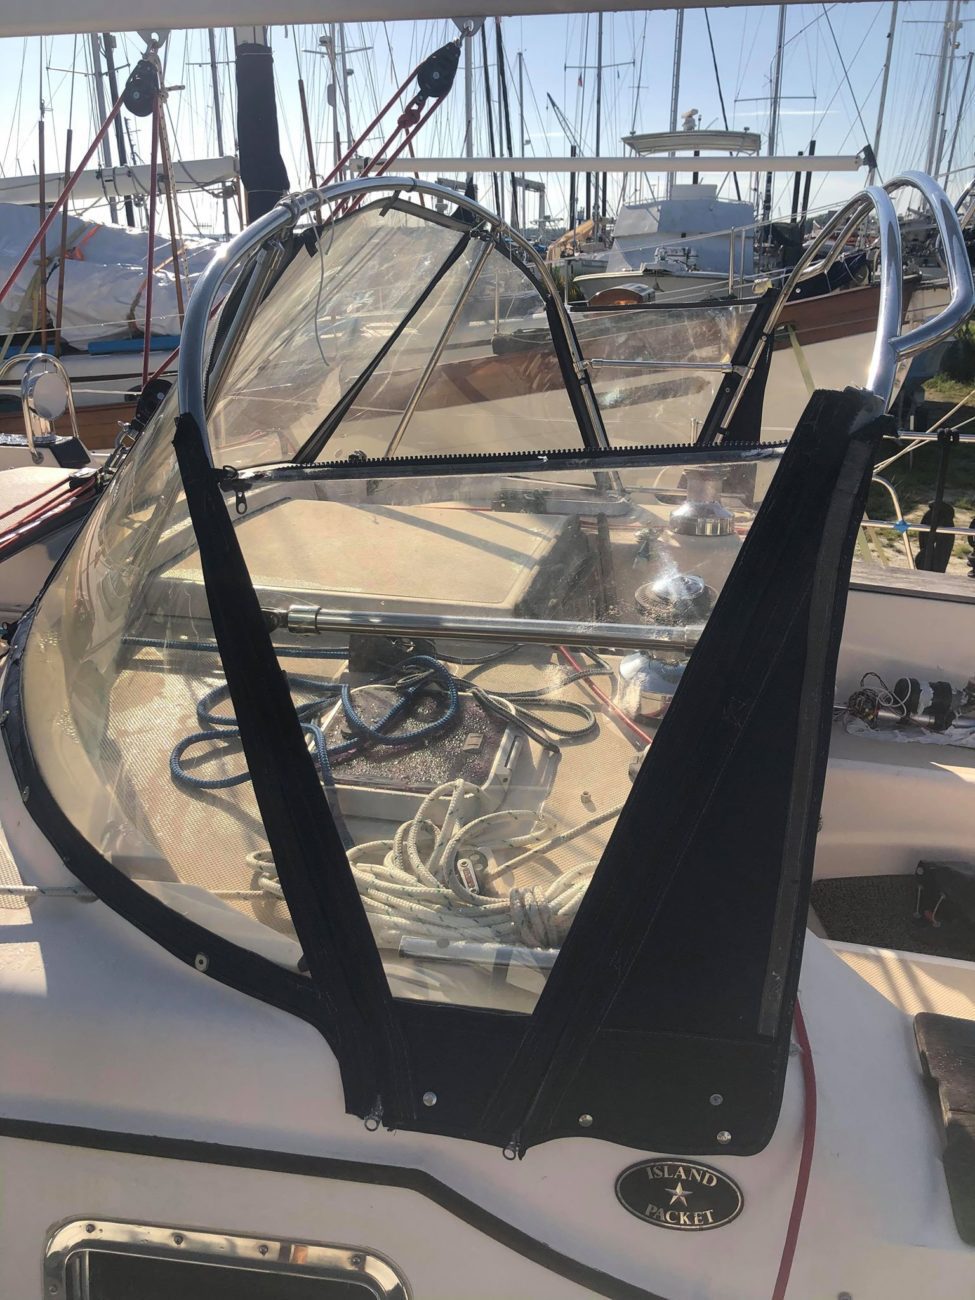
It doesn’t look like much now because it’s just a bare piece of foam on top. It’ll get there! We covered it with the old cover we found a while ago because the foam is actually sensitive to sun exposure and it’ll probably get rained on otherwise! Unfortunately, the sun came out and really got unbearable outside. Might as well head home and get some dinner!
