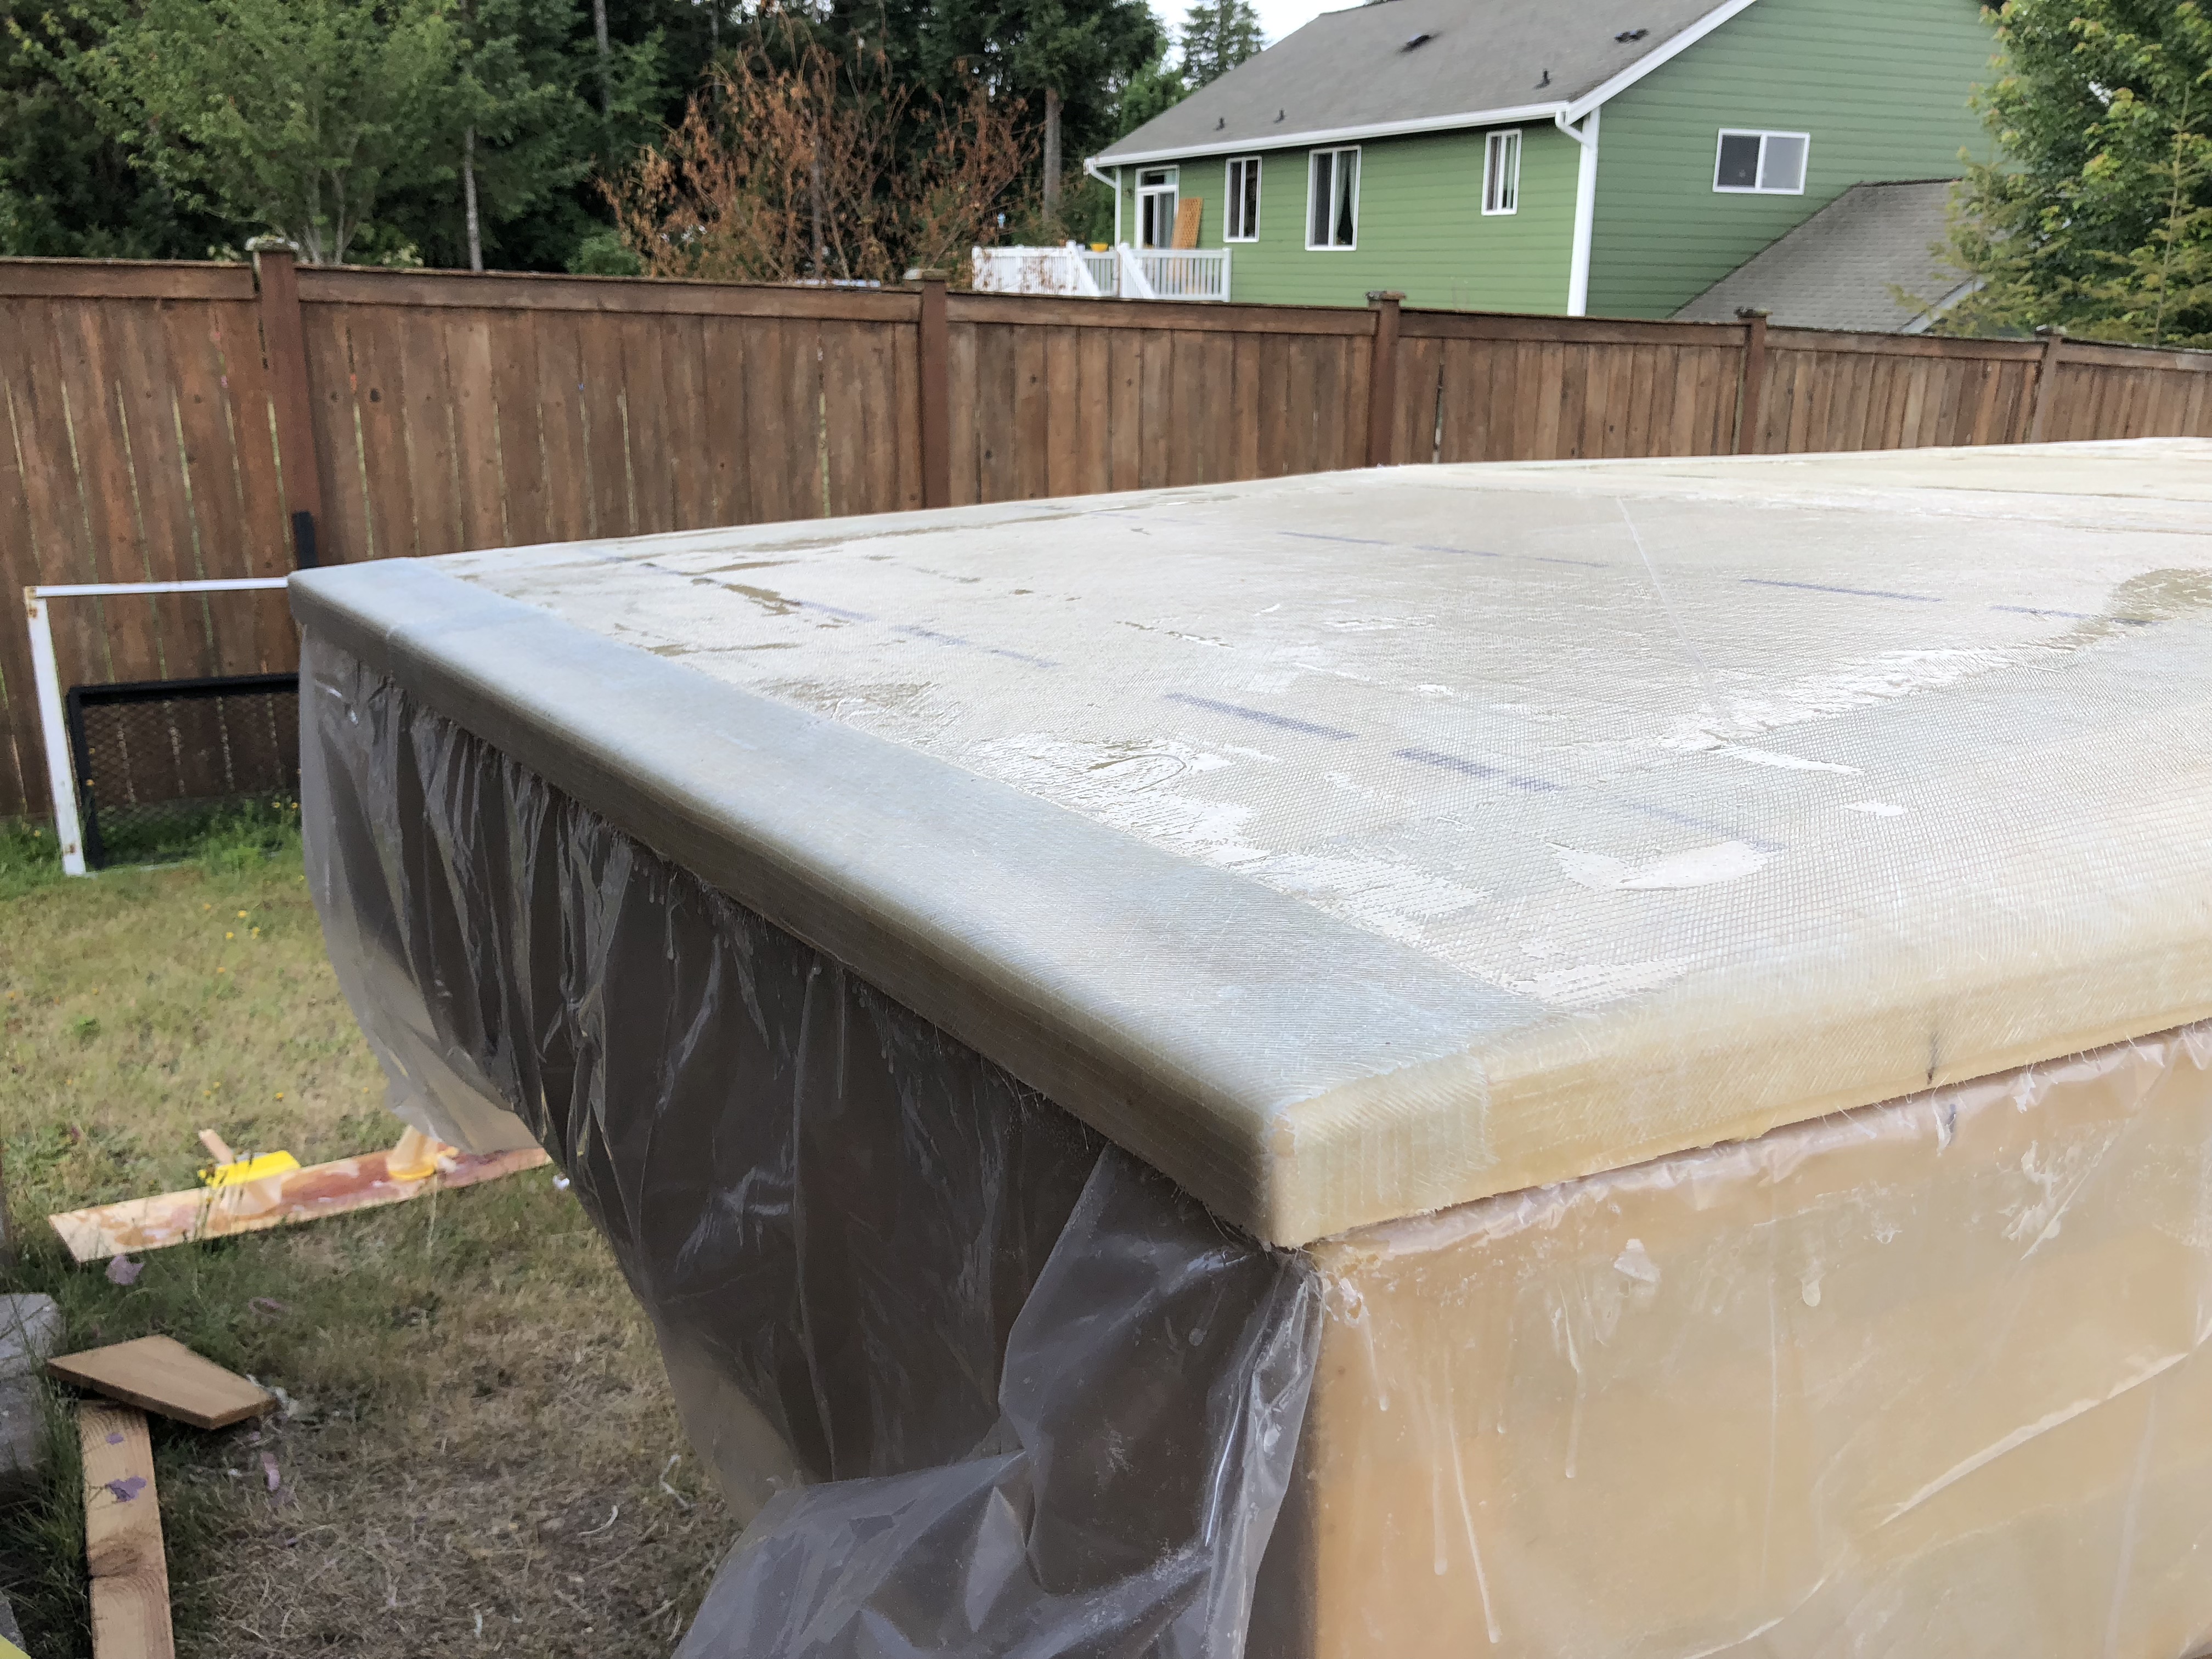
I put in for this friday off at work, and then plans changed leaving me a free day! Instead of sleeping in like a normal human I got up and was working on the camper before 7:30. After a little cleanup and sanding, I got a layer of fiberglass on the front and back edges, which is the only thing we didn’t have time to do last night.
The polyester resin we had been using sets up in an hour, maybe two if it’s cold outside. The epoxy tends to take a little longer, especially since it’s a balmy 60 degrees outside. I messed around with other stuff for a while and then decided that I’d had enough and was going to hit it with the heat gun and go ahead and get it to set up so I could move on to other things. I had just made it outside when it started sprinkling. Luckily I had the cover that we had on it overnight just sitting beside the shed. I barely had that on before the wind kicked up and the sprinkle turned into actual rain. I ended up having to hold the plastic down with whatever I could find, which turned out to be various brooms and a tie down strap.
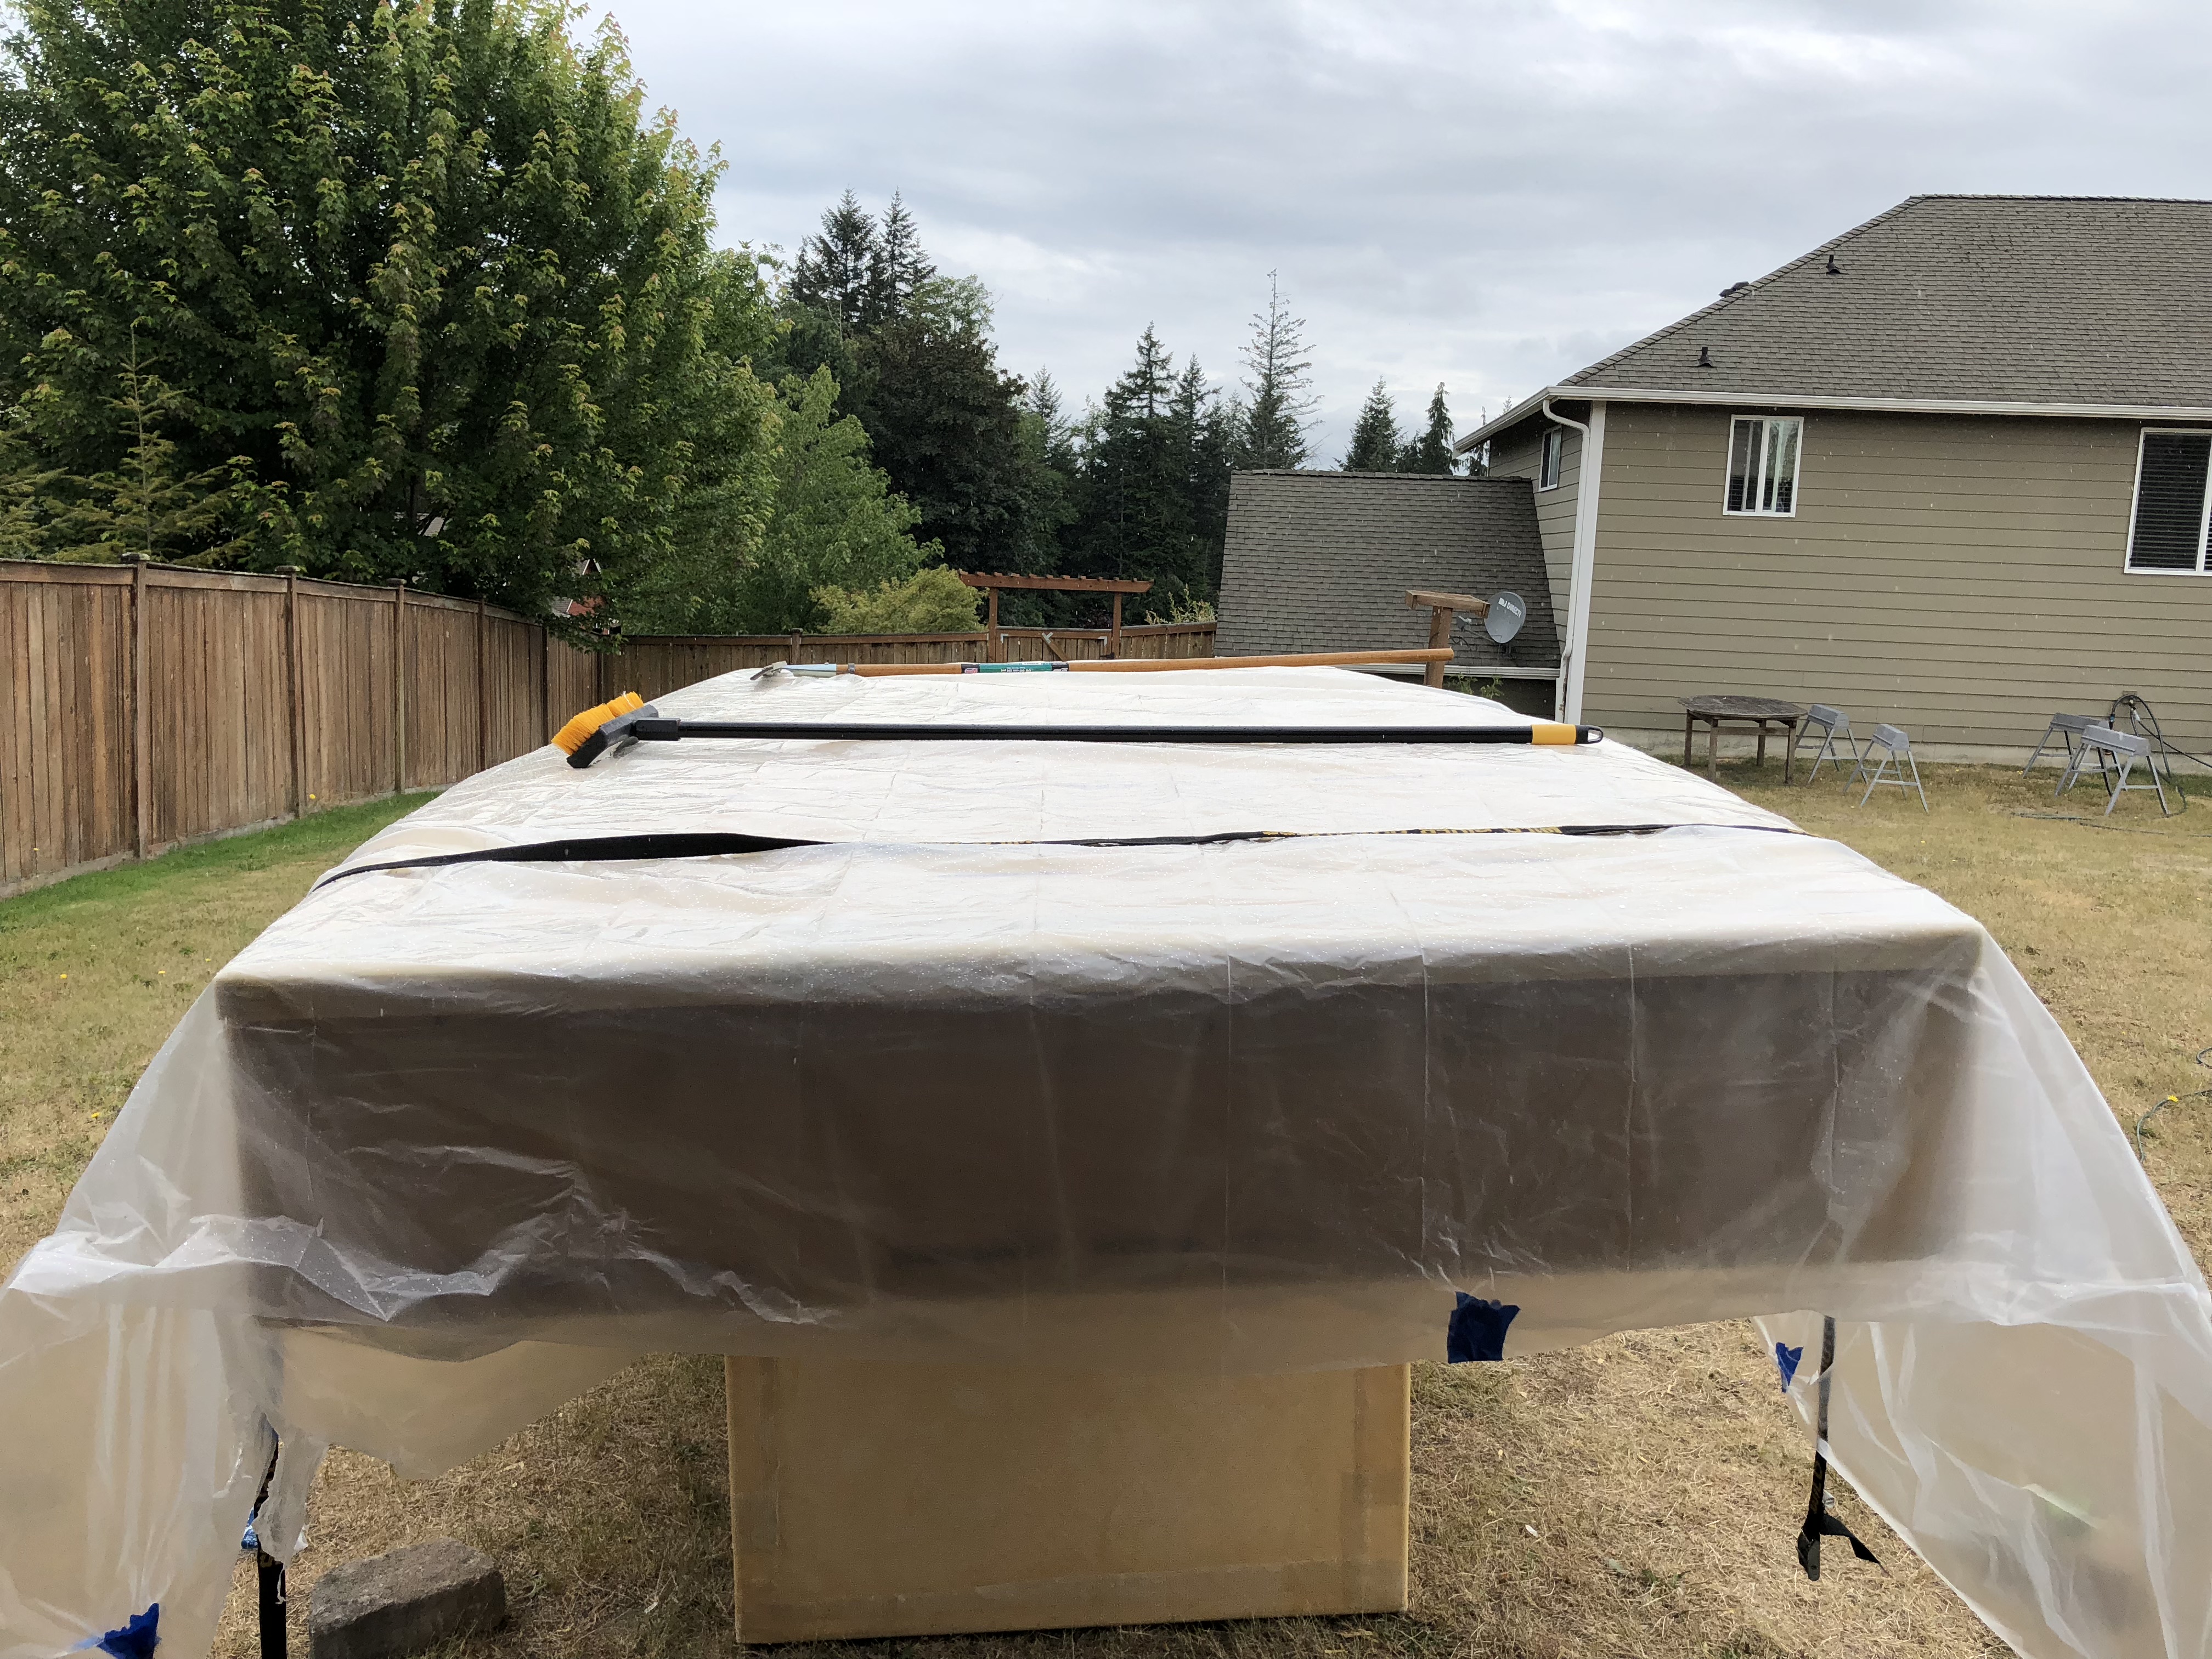
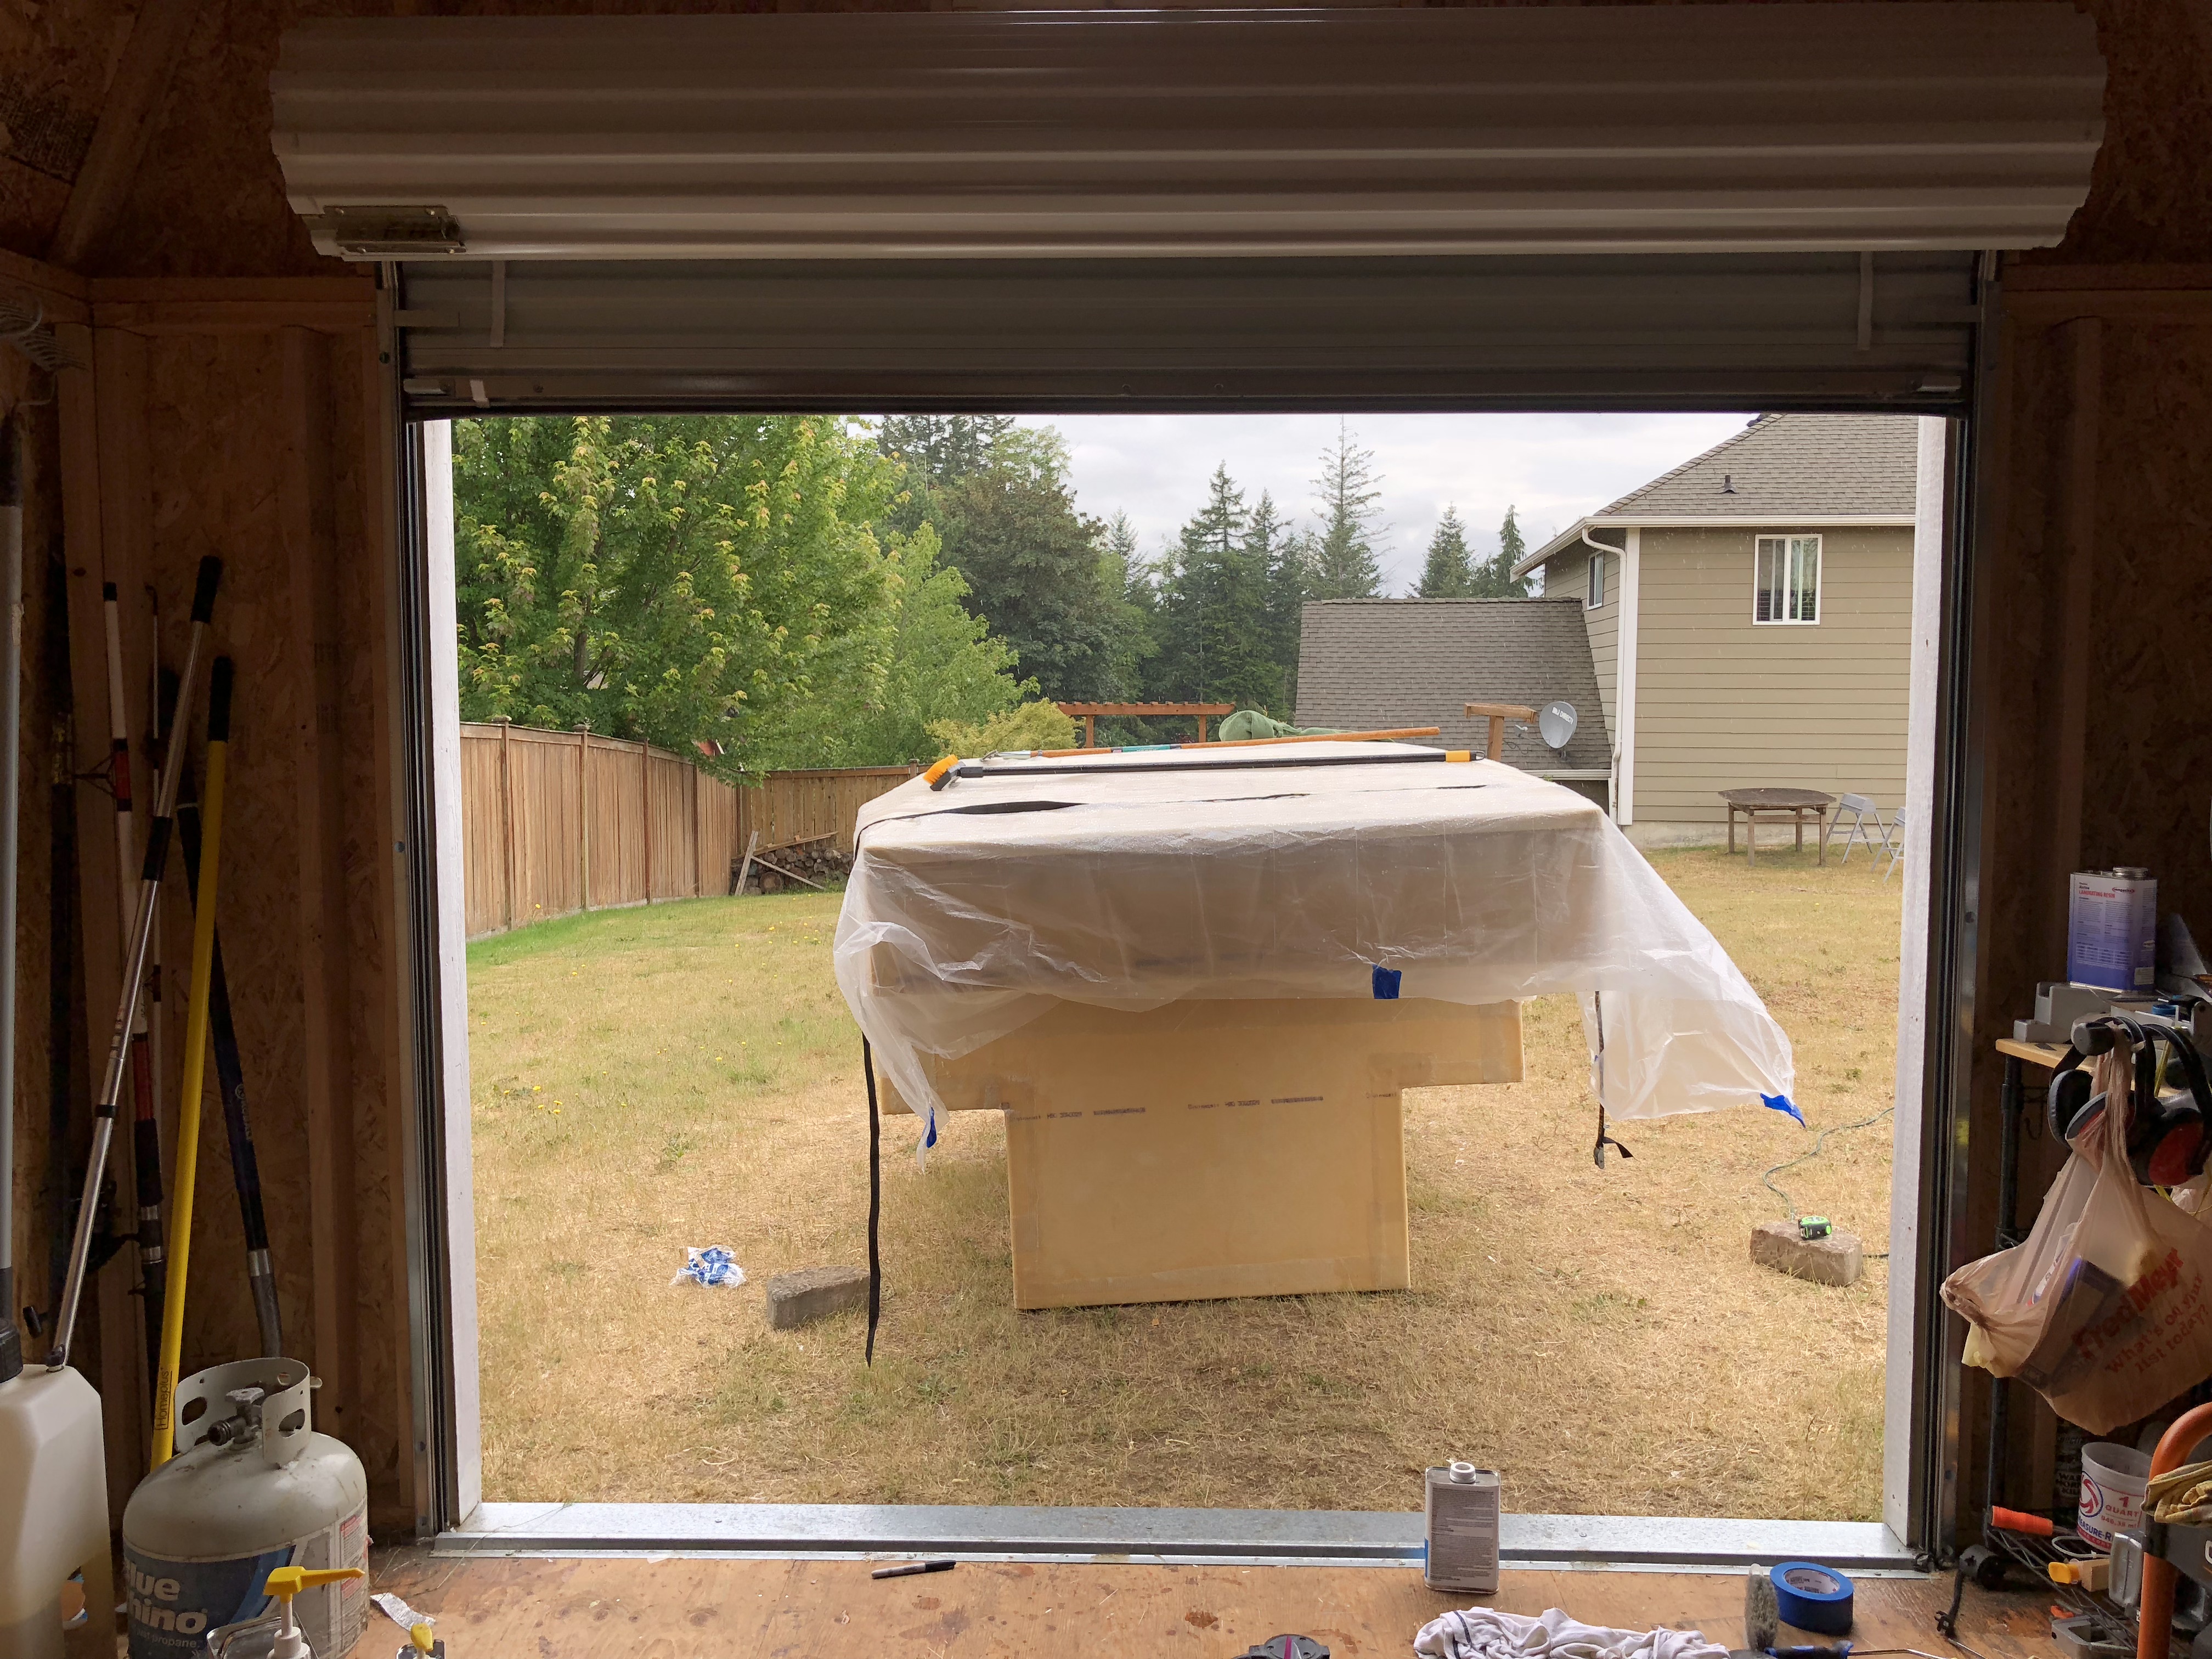

So yeah, it’s not even bolted together and it survived its first rainstorm!
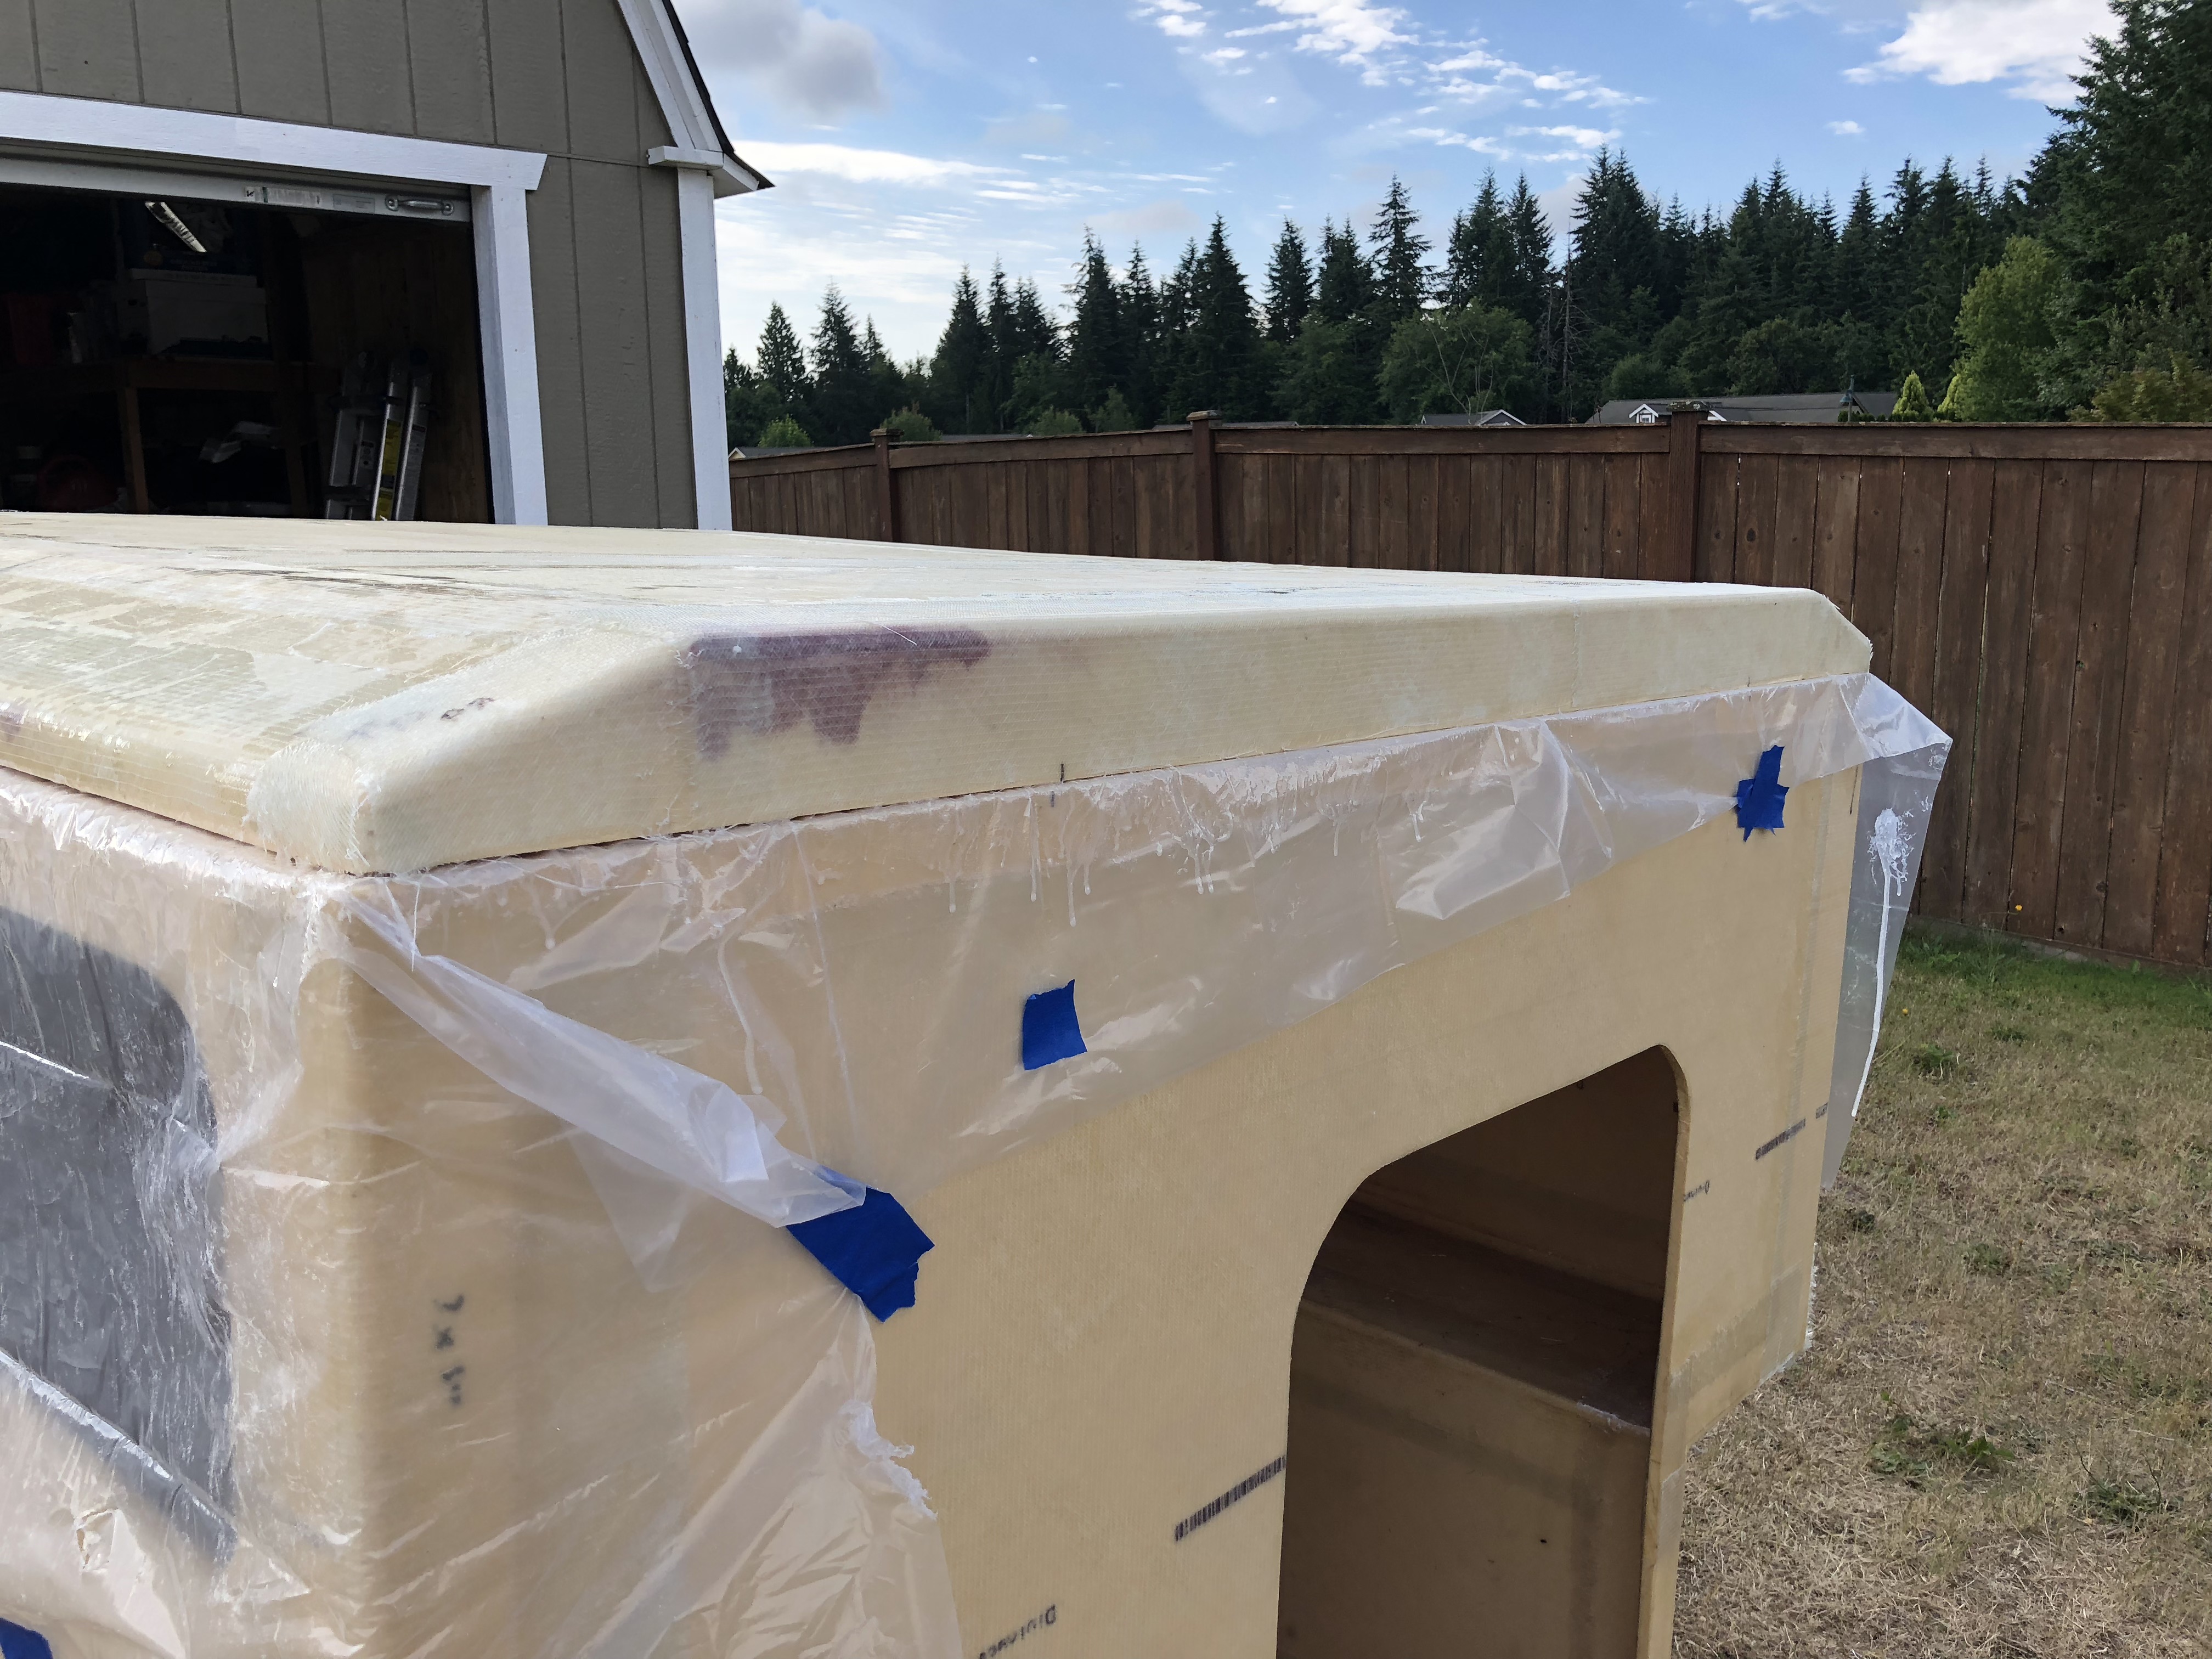
The rain finally stopped and I pulled the cover off with no damage to the roof. There wasn’t even any water on the floor. Excellent. I bribed dad to help me move the roof into the shed so I could start prepping it for fiberglass.
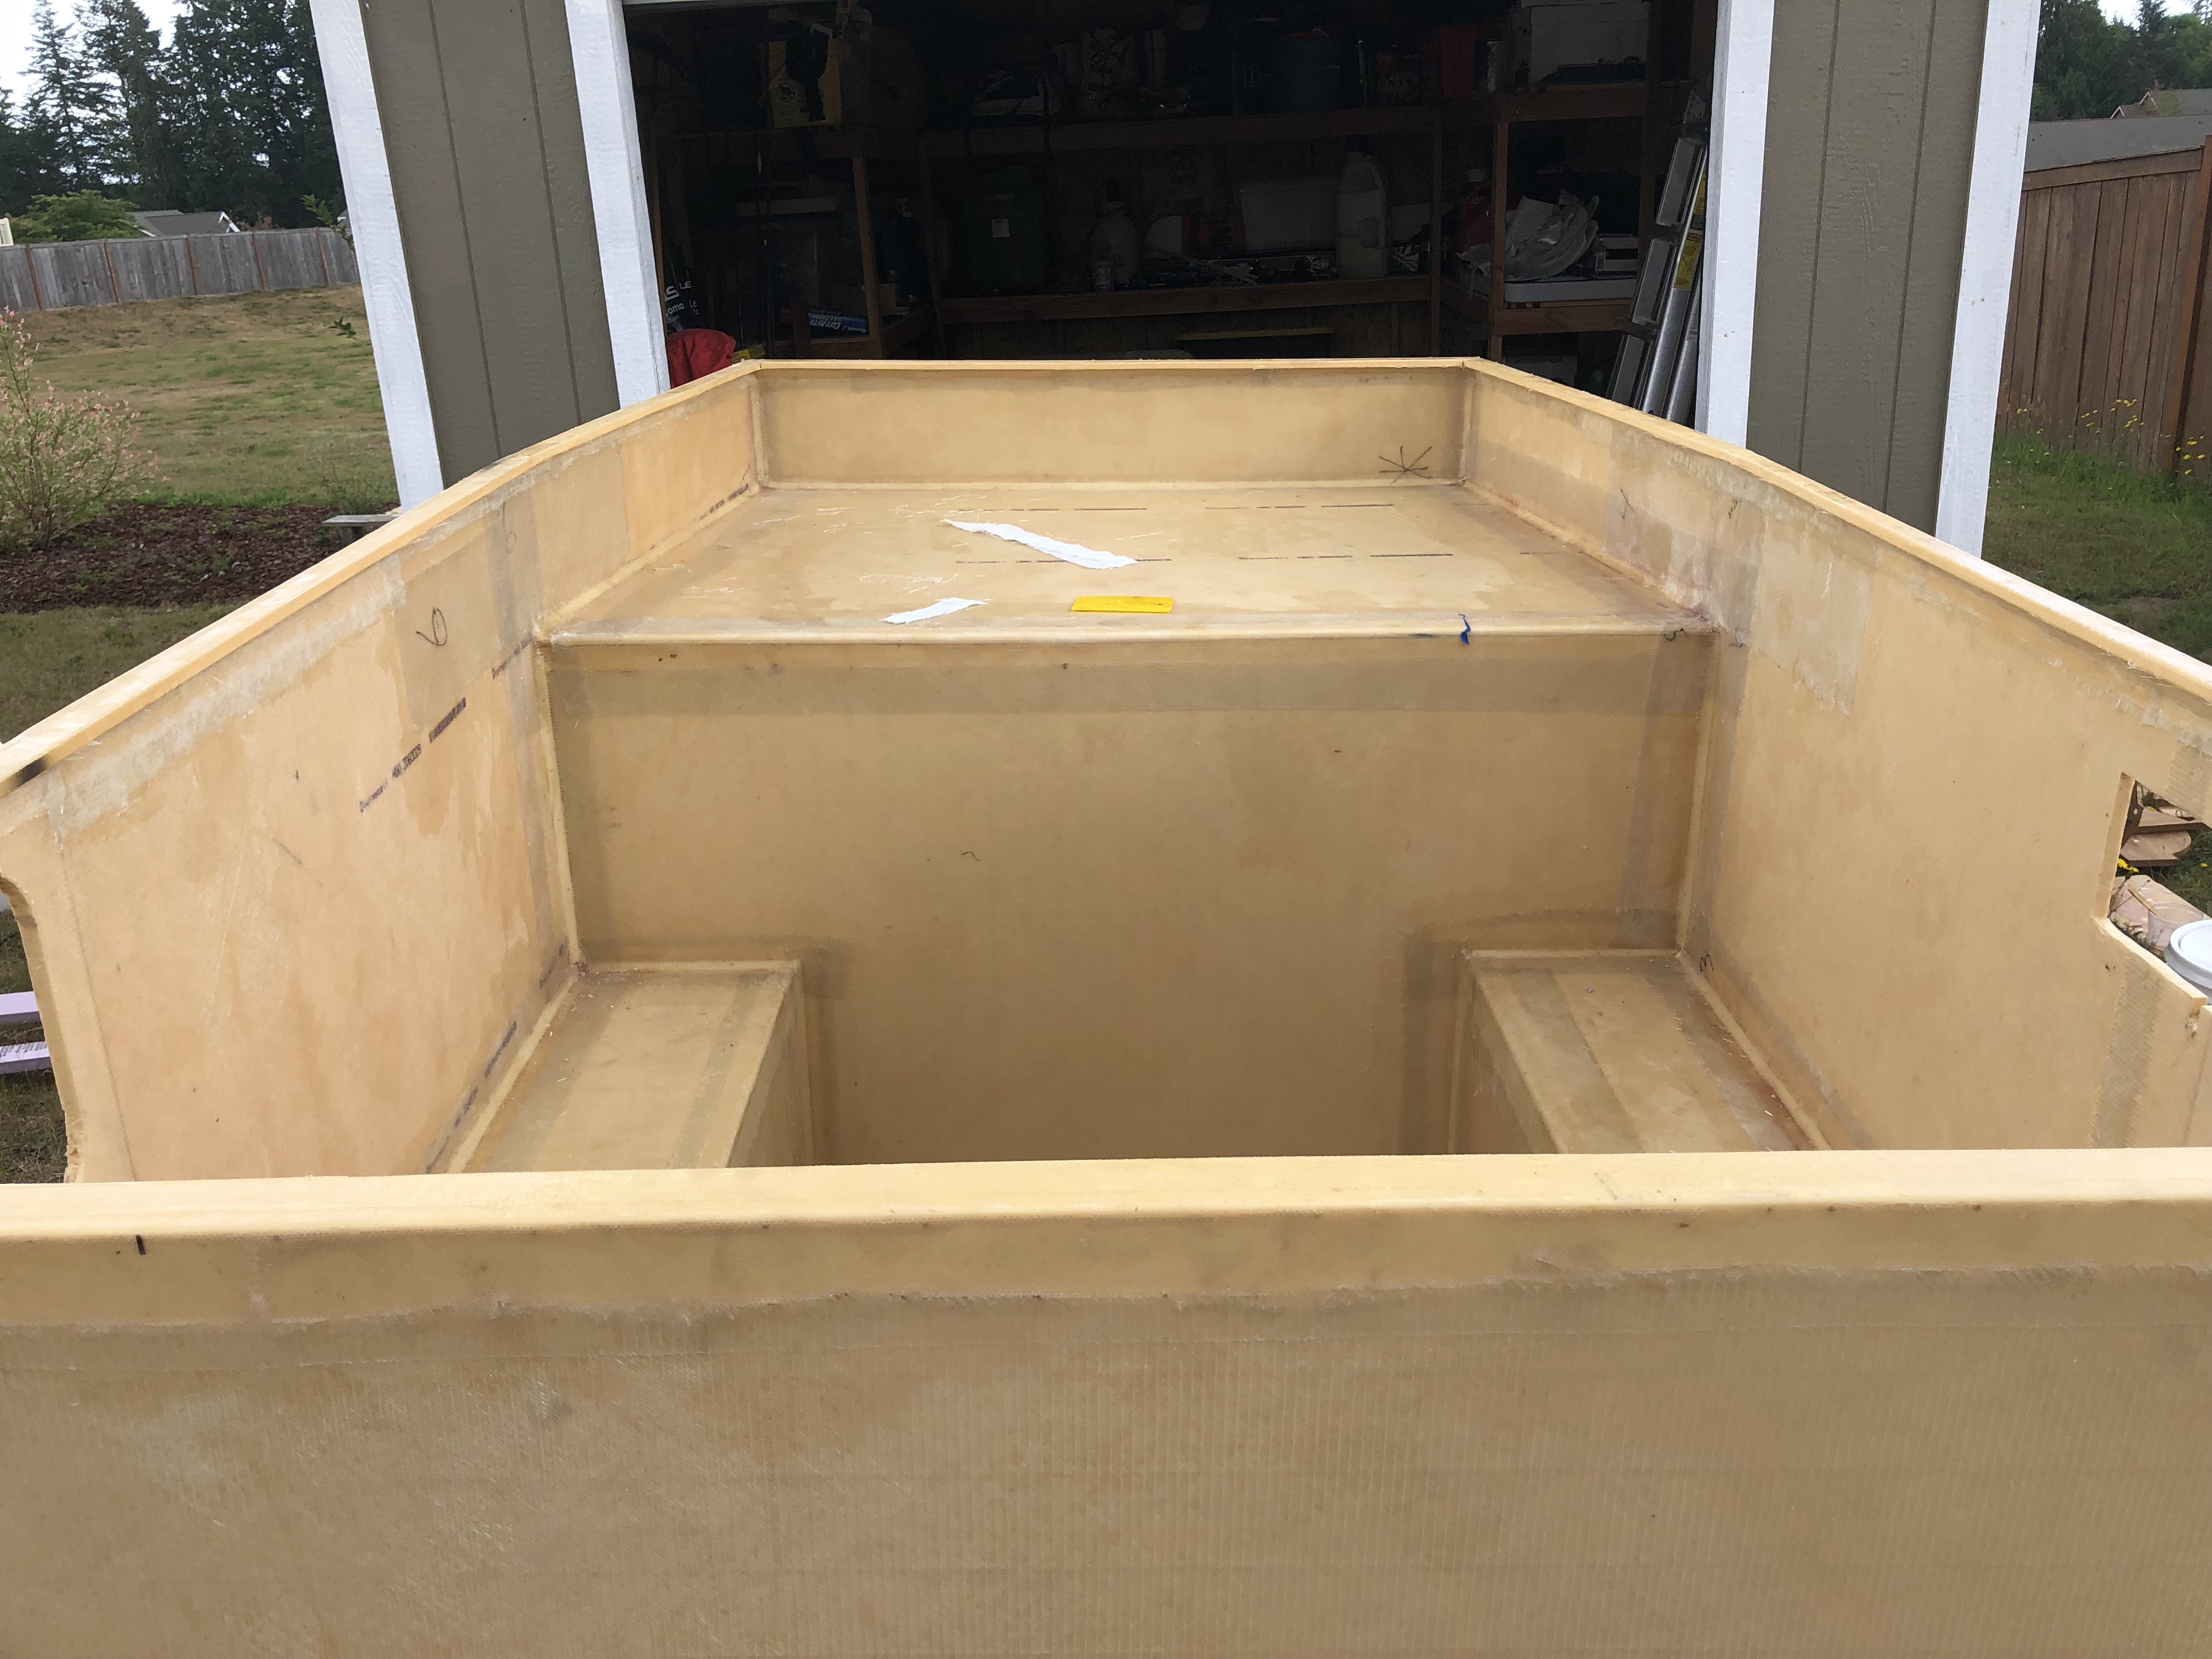
The roof is a LOT stiffer with the outside all fiberglassed in, but the front still flexes way too much. I’m hoping that once we get the bottom done it’ll be stiff enough to bolt on. Otherwise We will need to add some more structure back in.
I didn’t want to deal with it so I cut some scrap fiberglass and finished up the top of the shell by where the gasket is going to go.
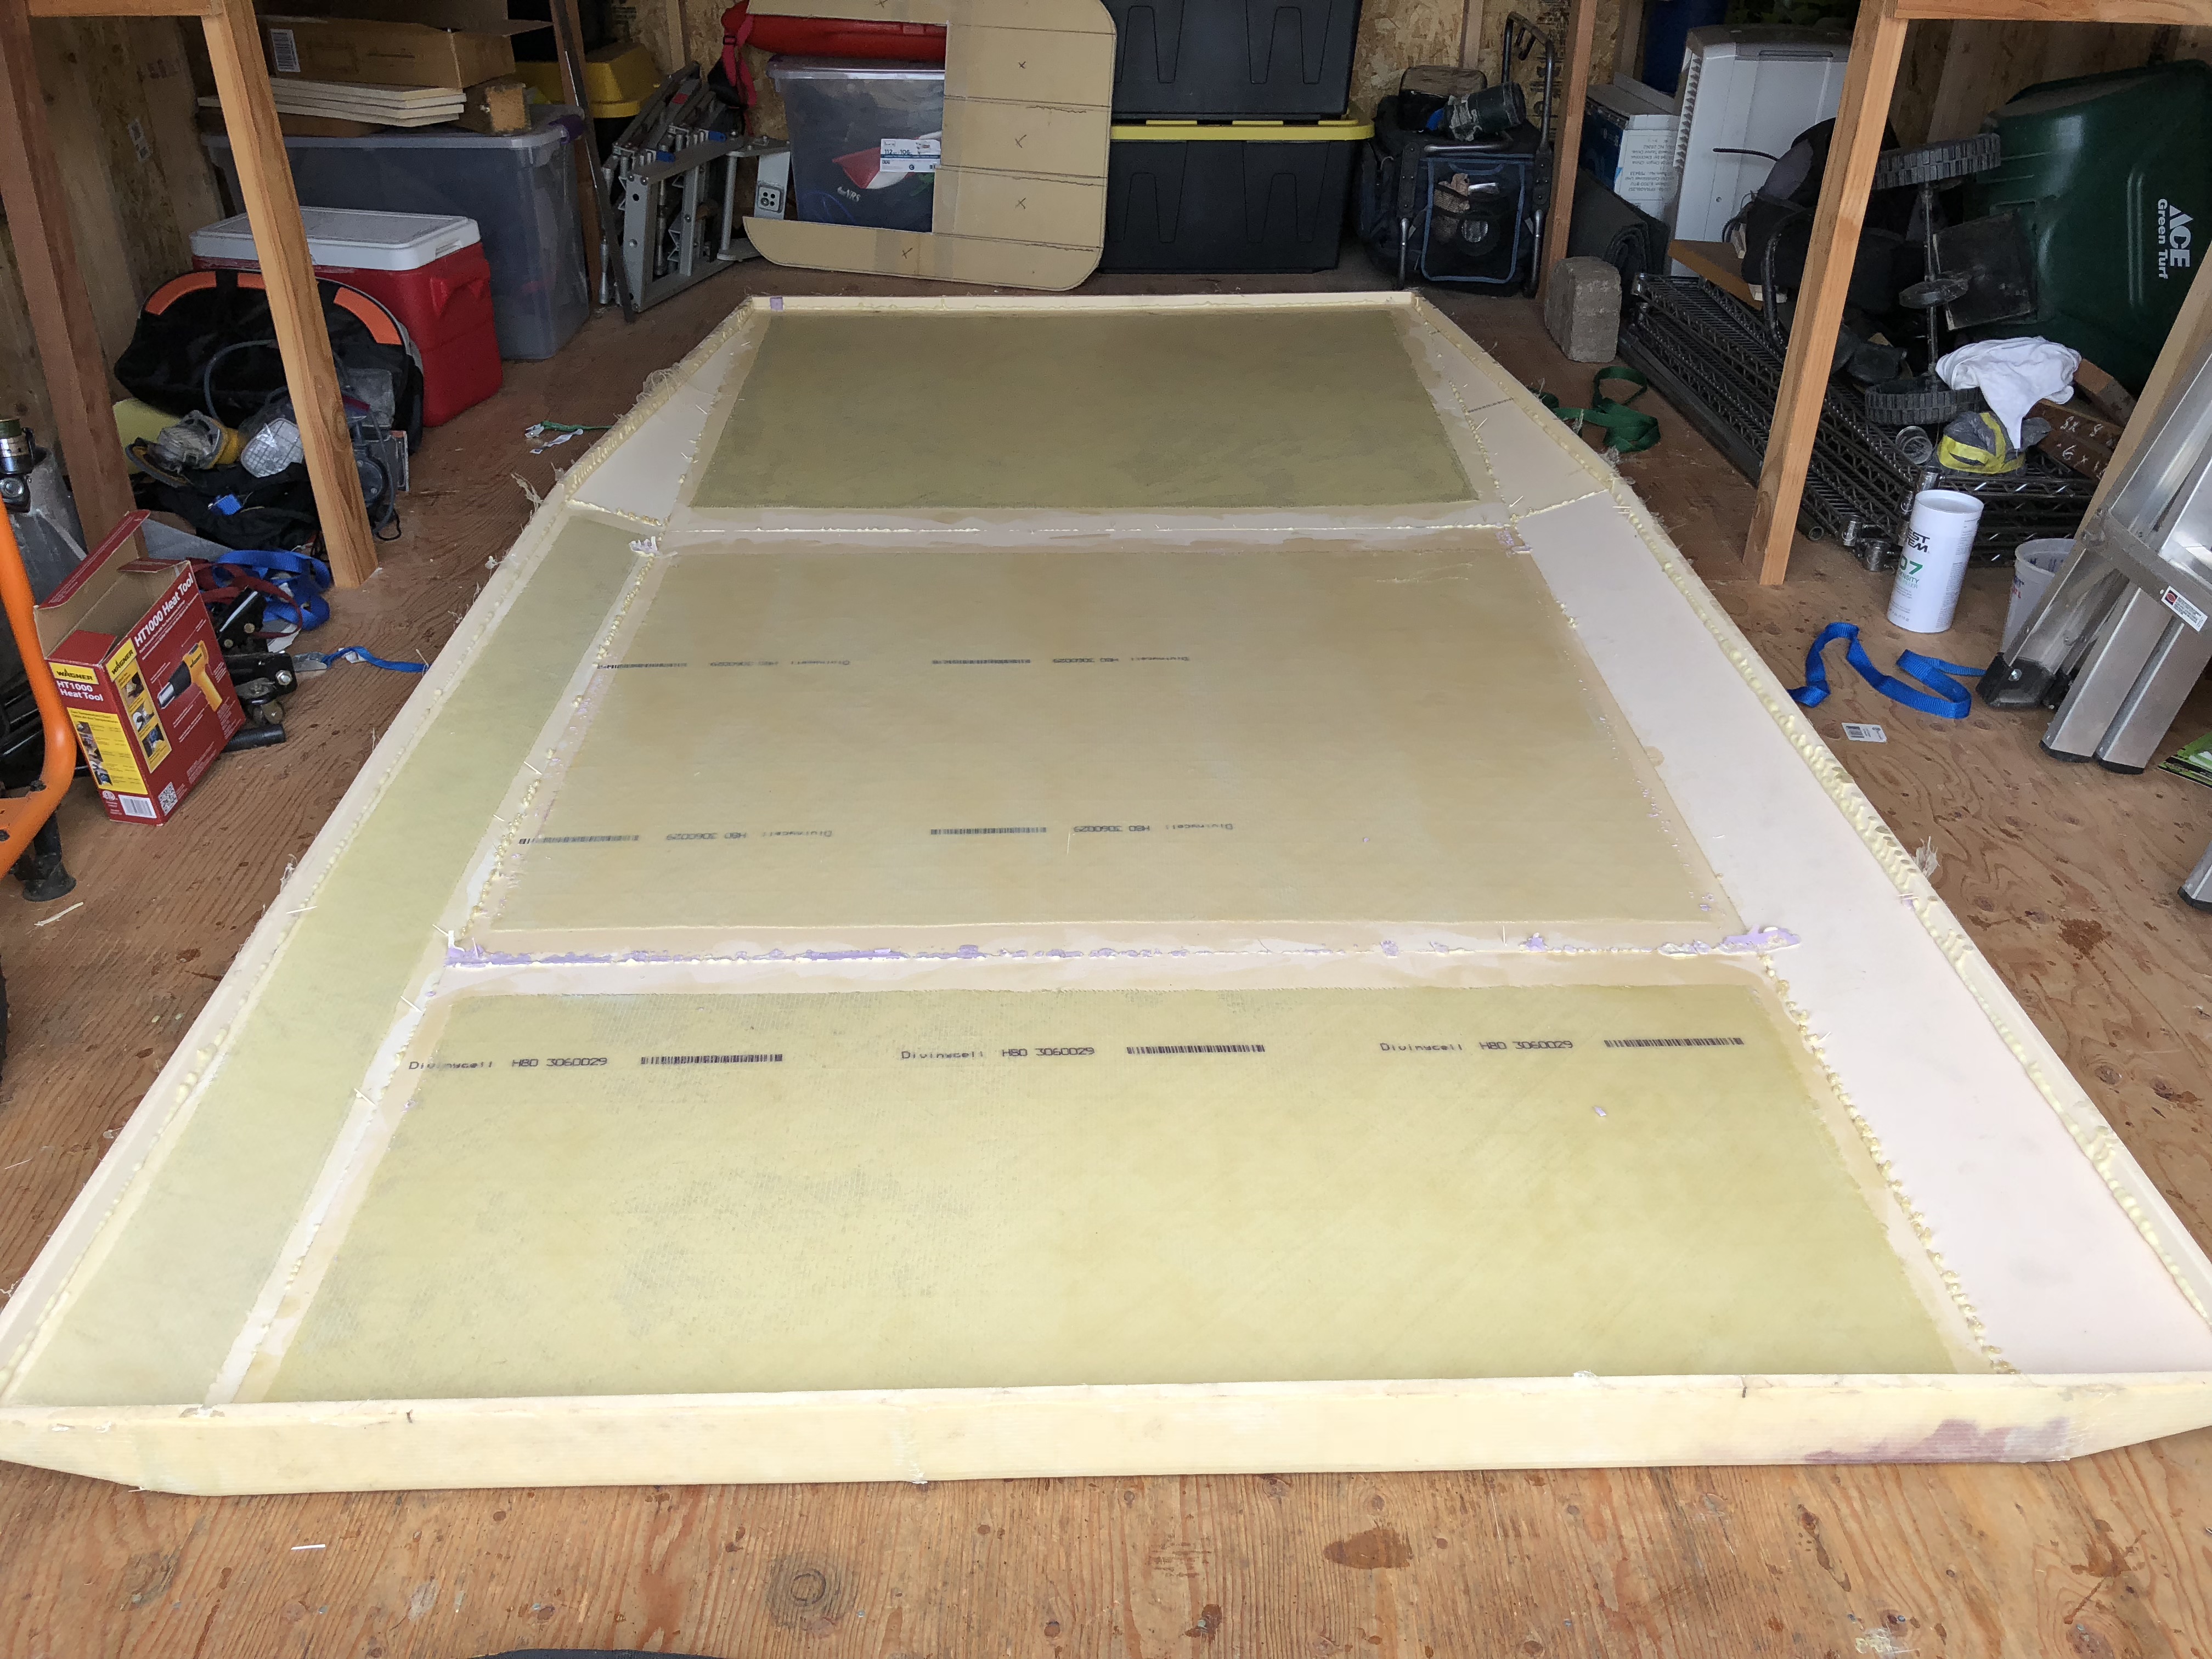
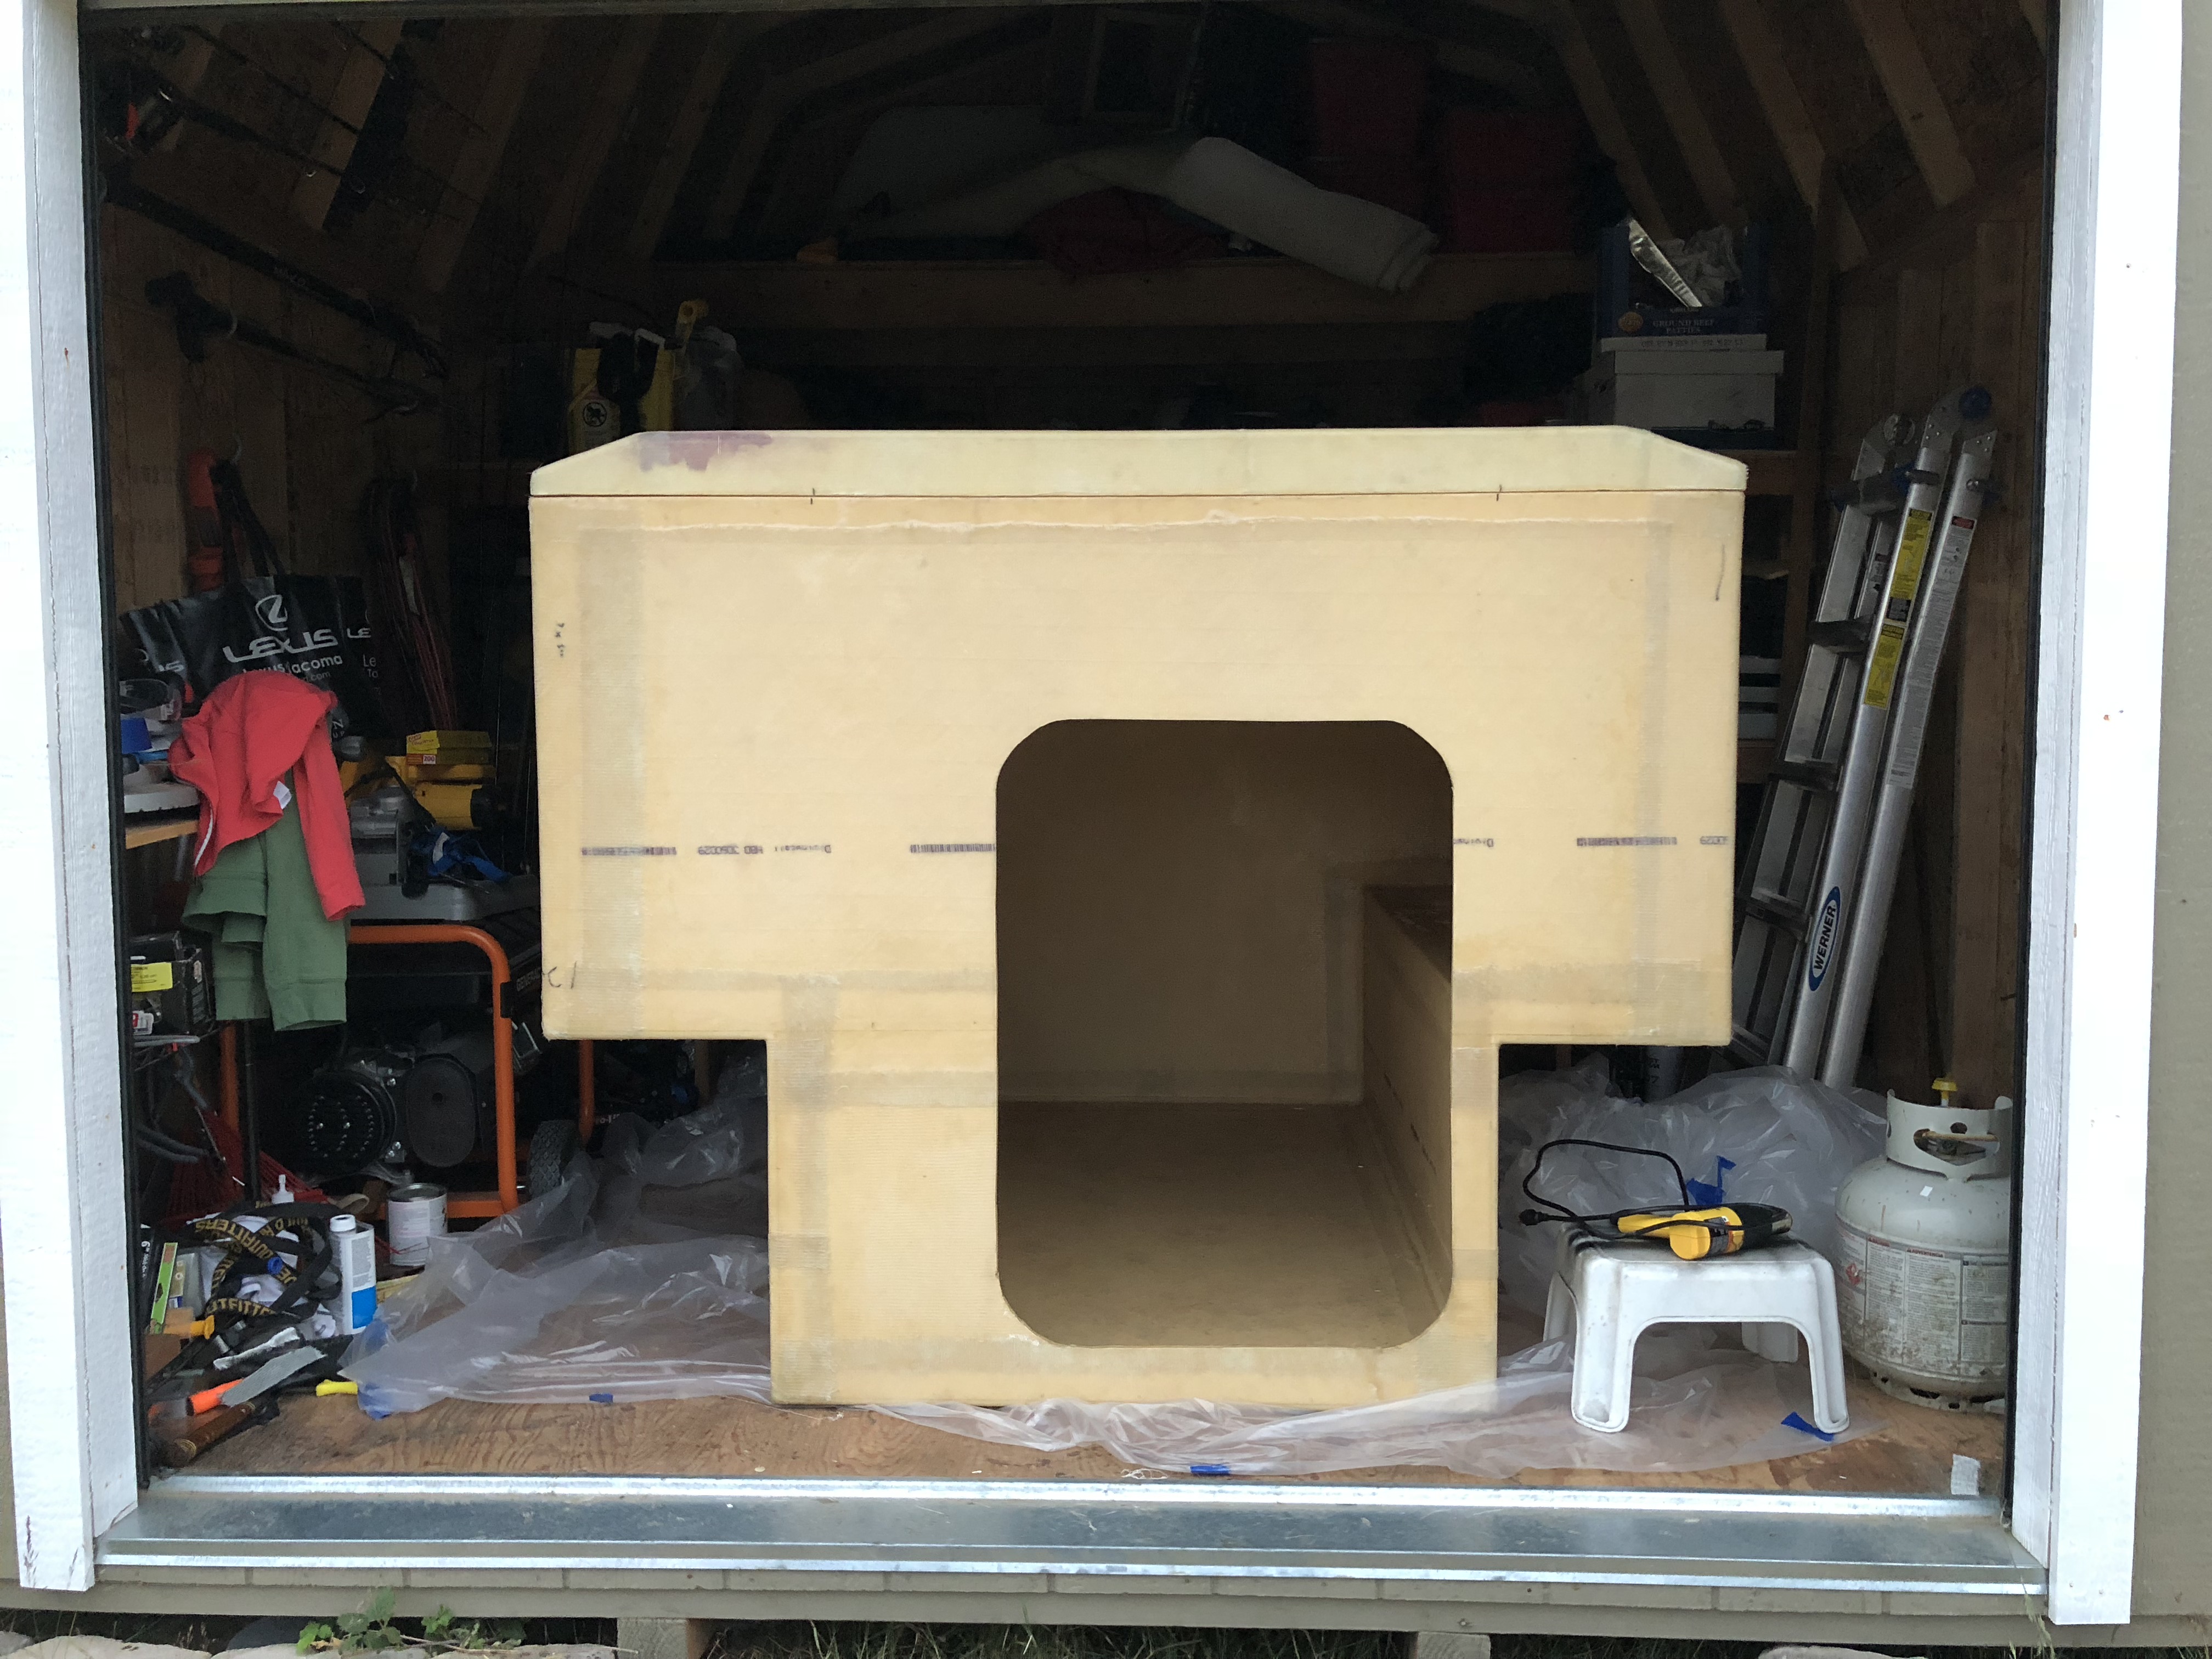
I took a short break and then went back outside for more fiberglassing! I actually finished the entire underside of the roof, but somehow failed to get a single photo of my accomplishment! Dangit! It’s done though, I promise!
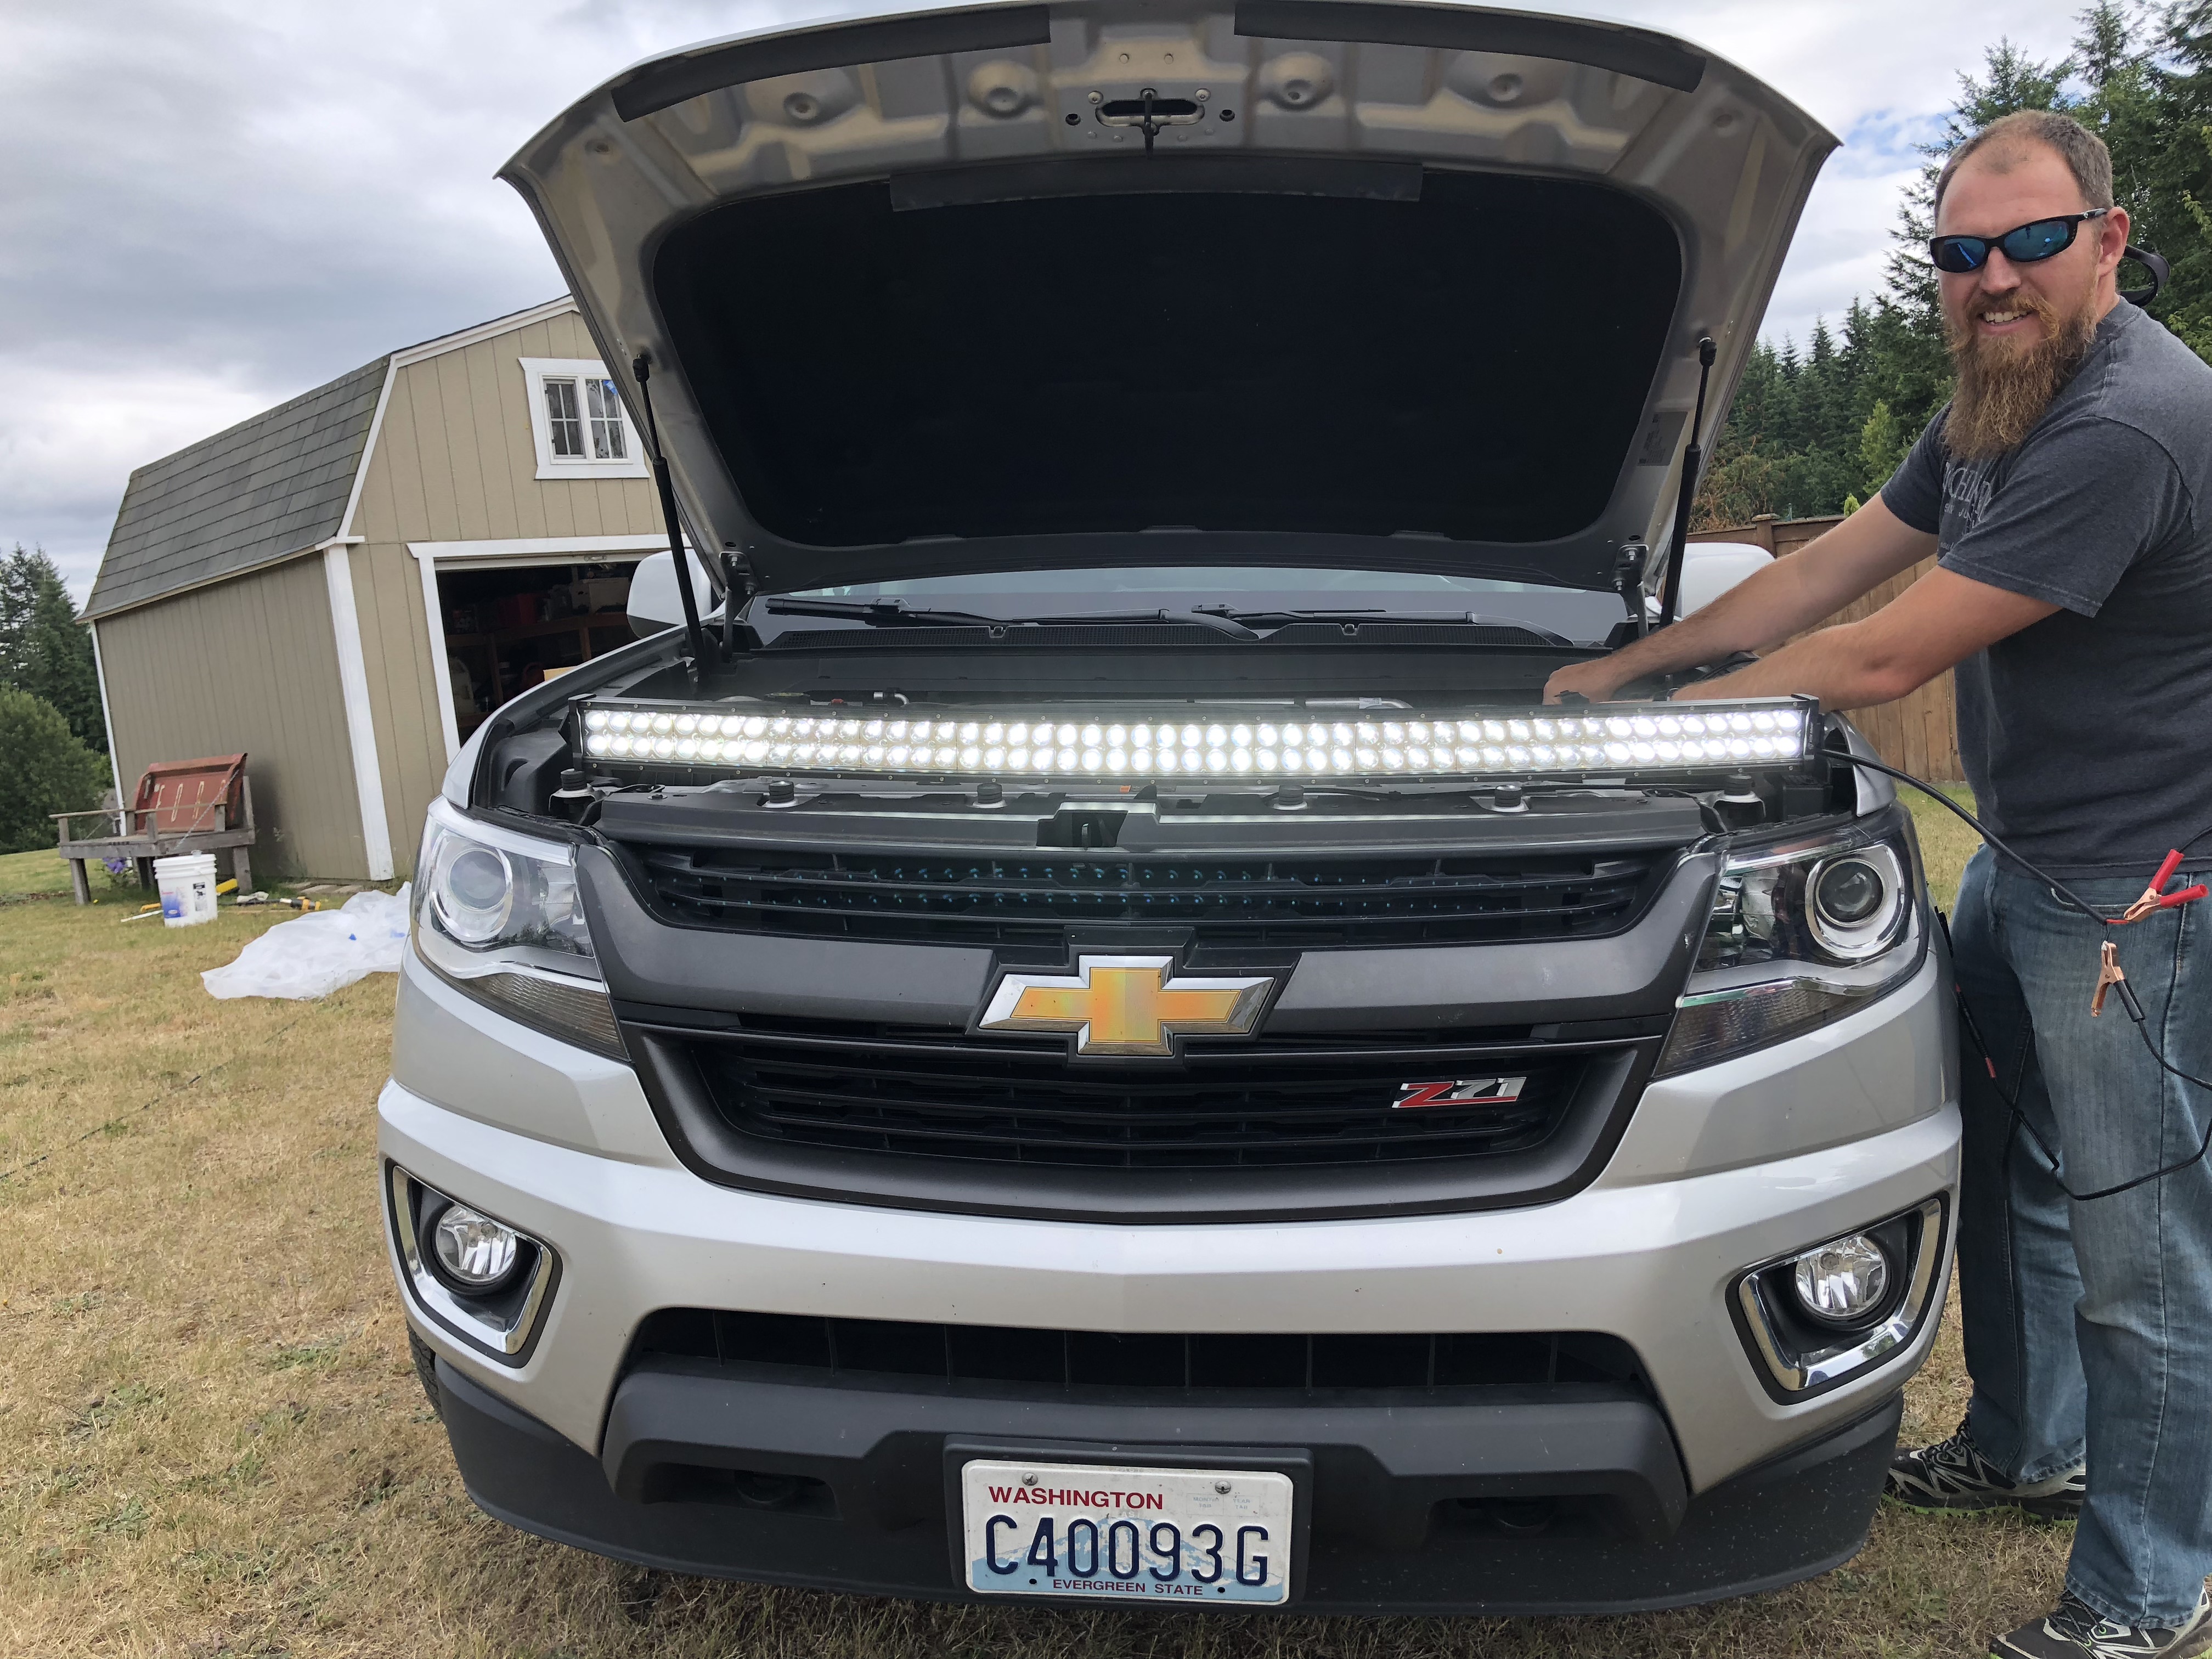
Switching gears for a minute… you may have noticed that the front of the camper is really square. That’s not super attractive, but don’t worry! I have a plan! We’re going to make a “nose cone” on the front with a molded in 51″ curved LED light. Super fancy! I’m still not sure how we’re actually going to accomplish this, but we did get to finally test the light out today. It’s as bright as expected in the middle of the day.

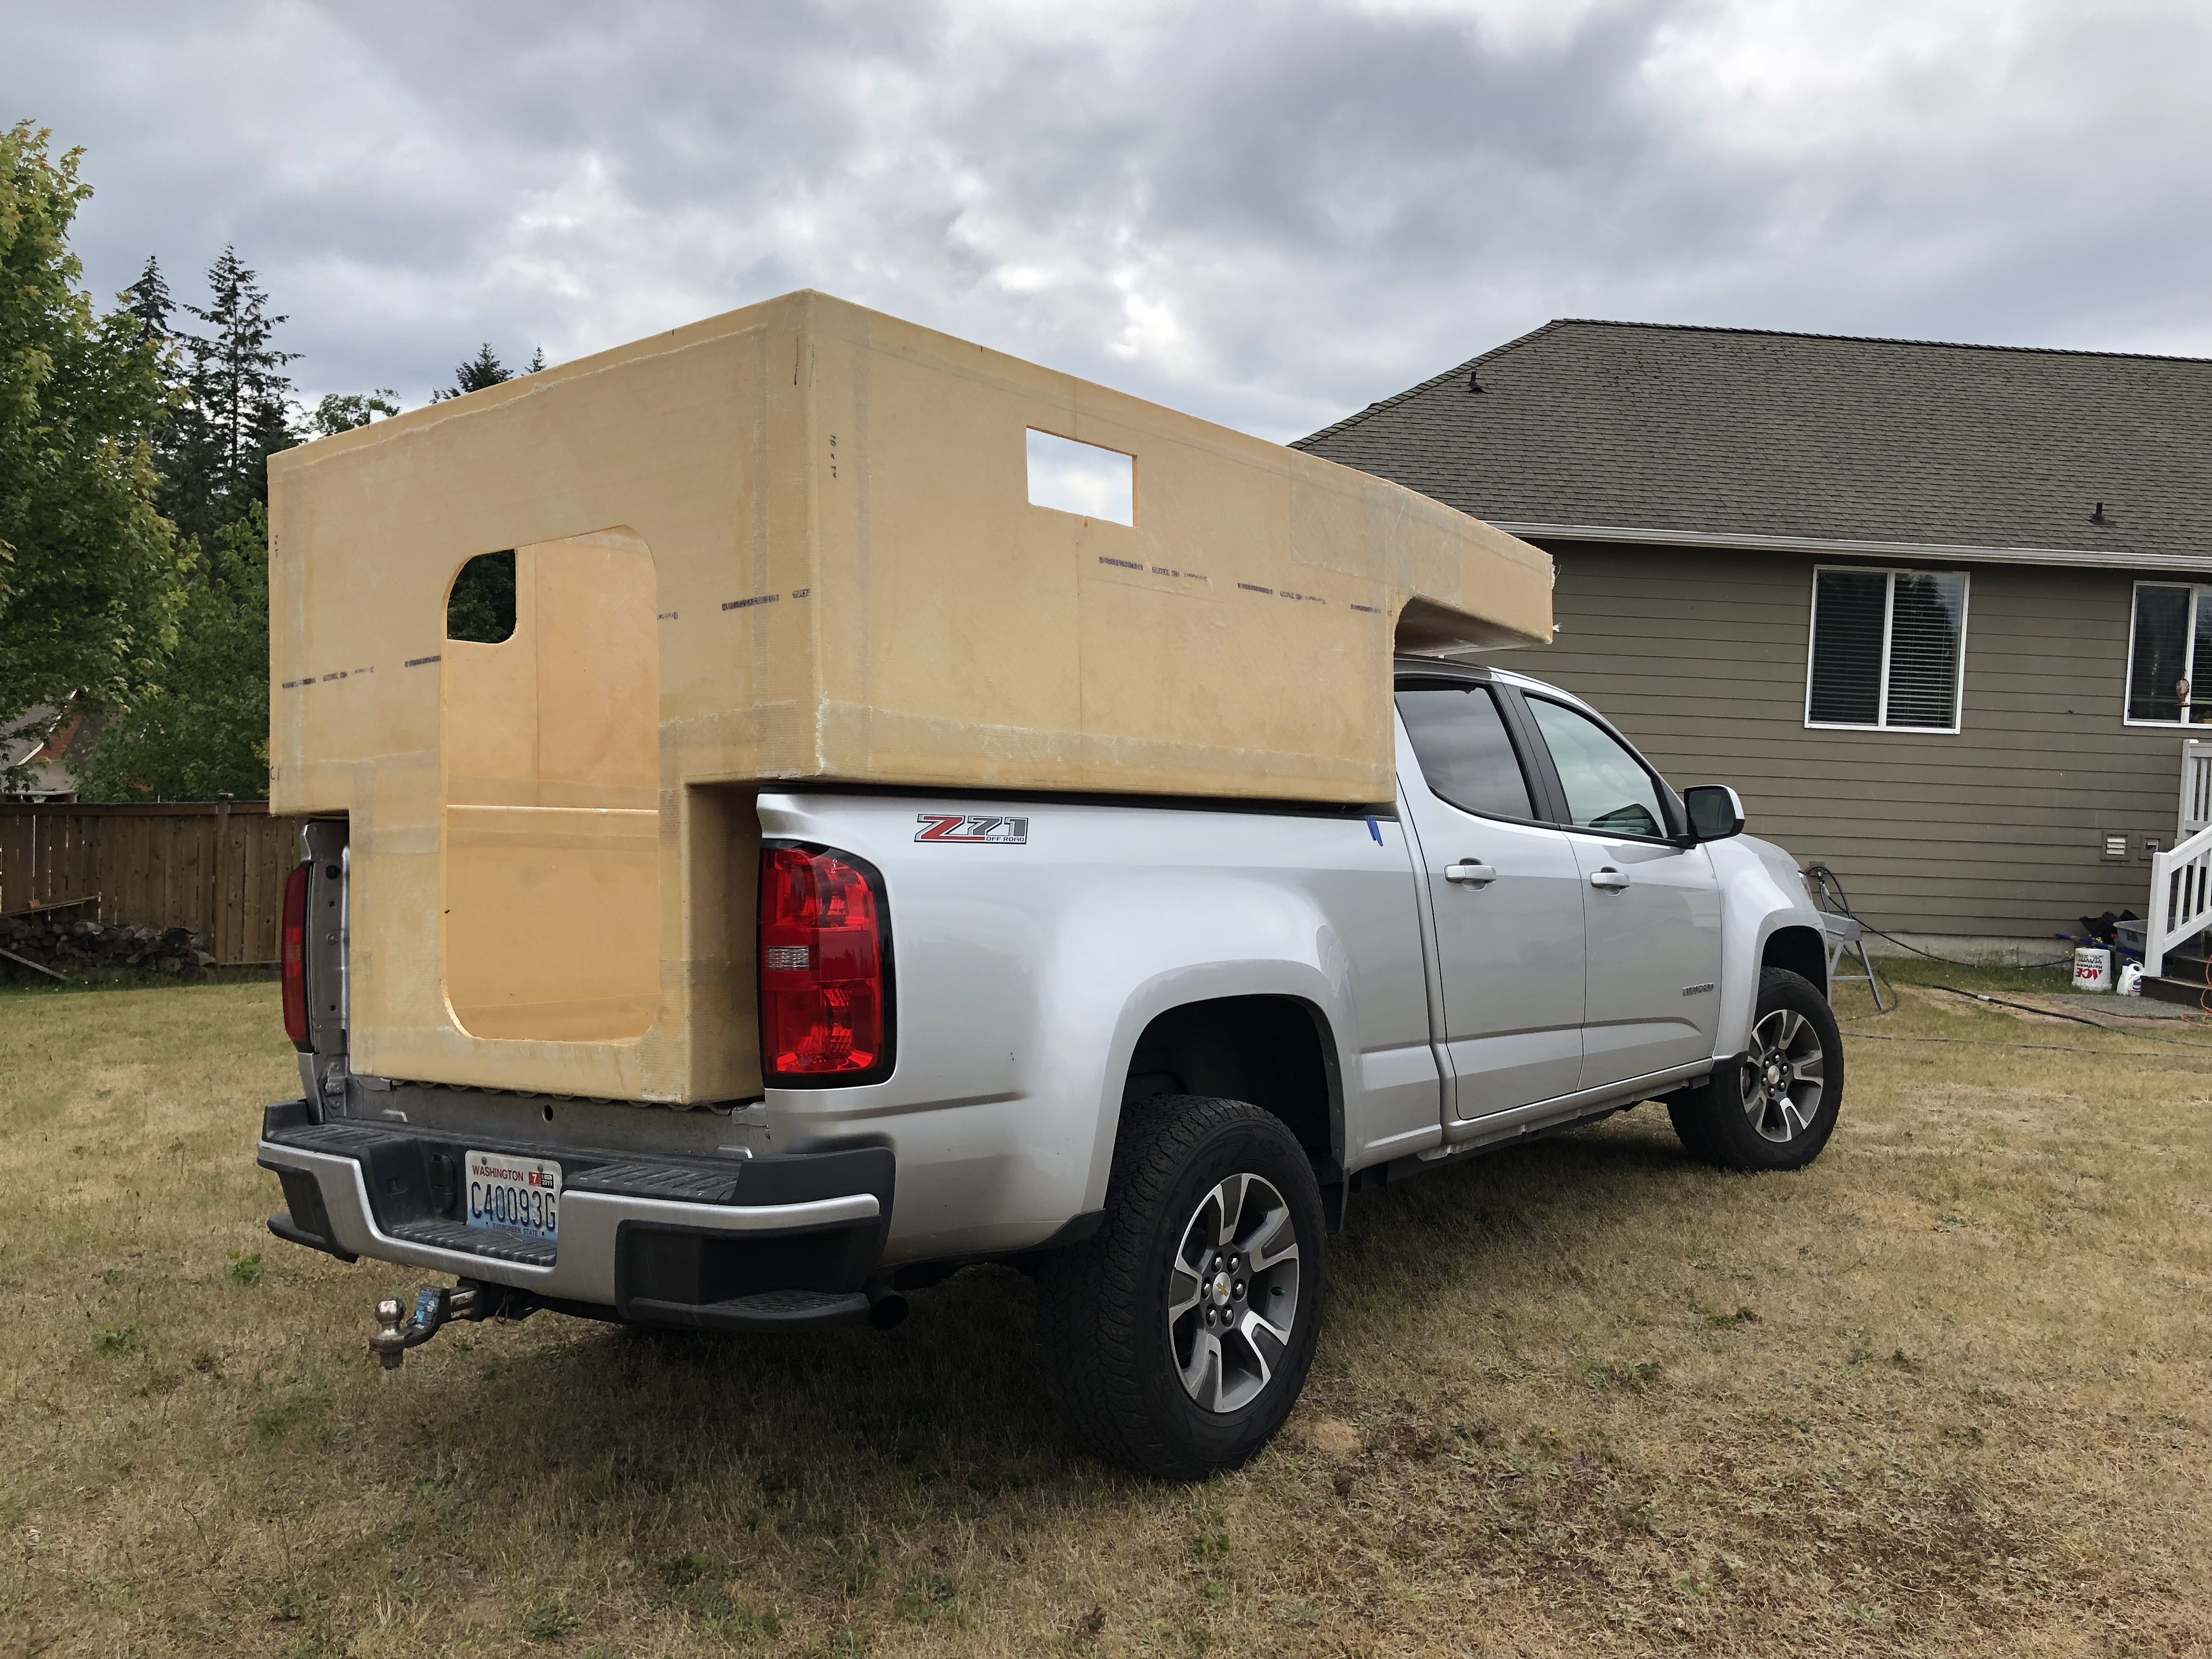
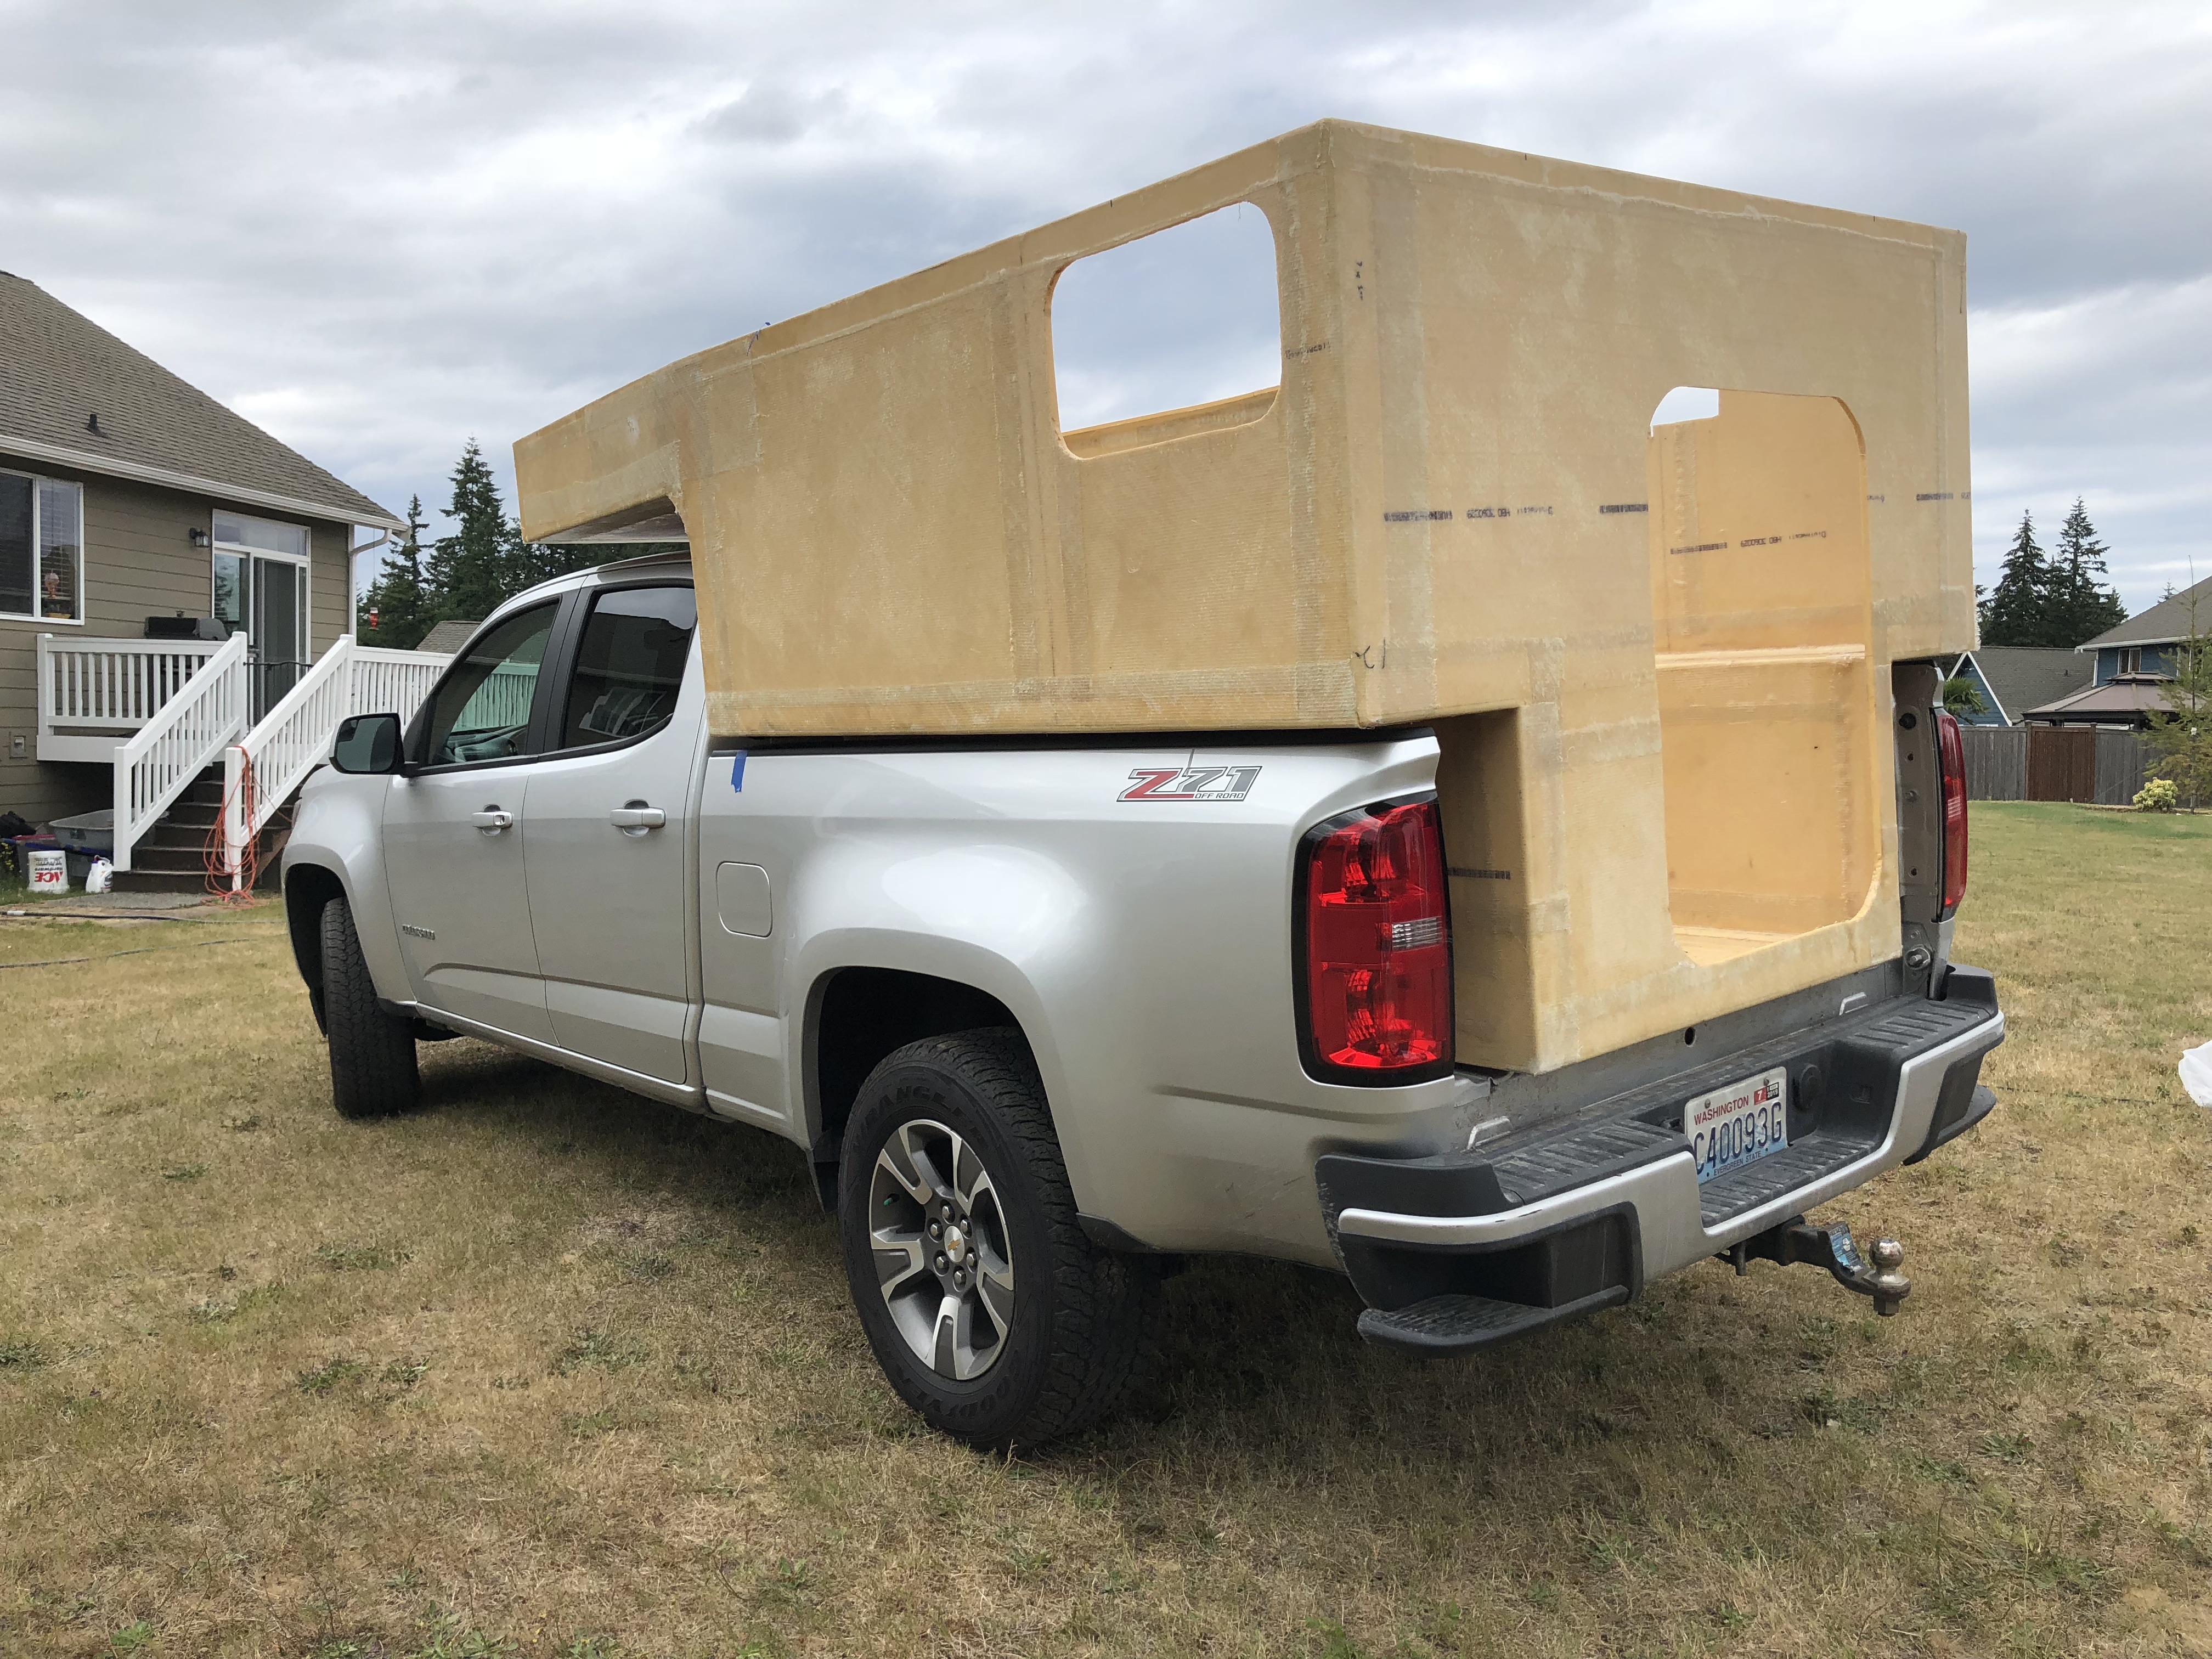
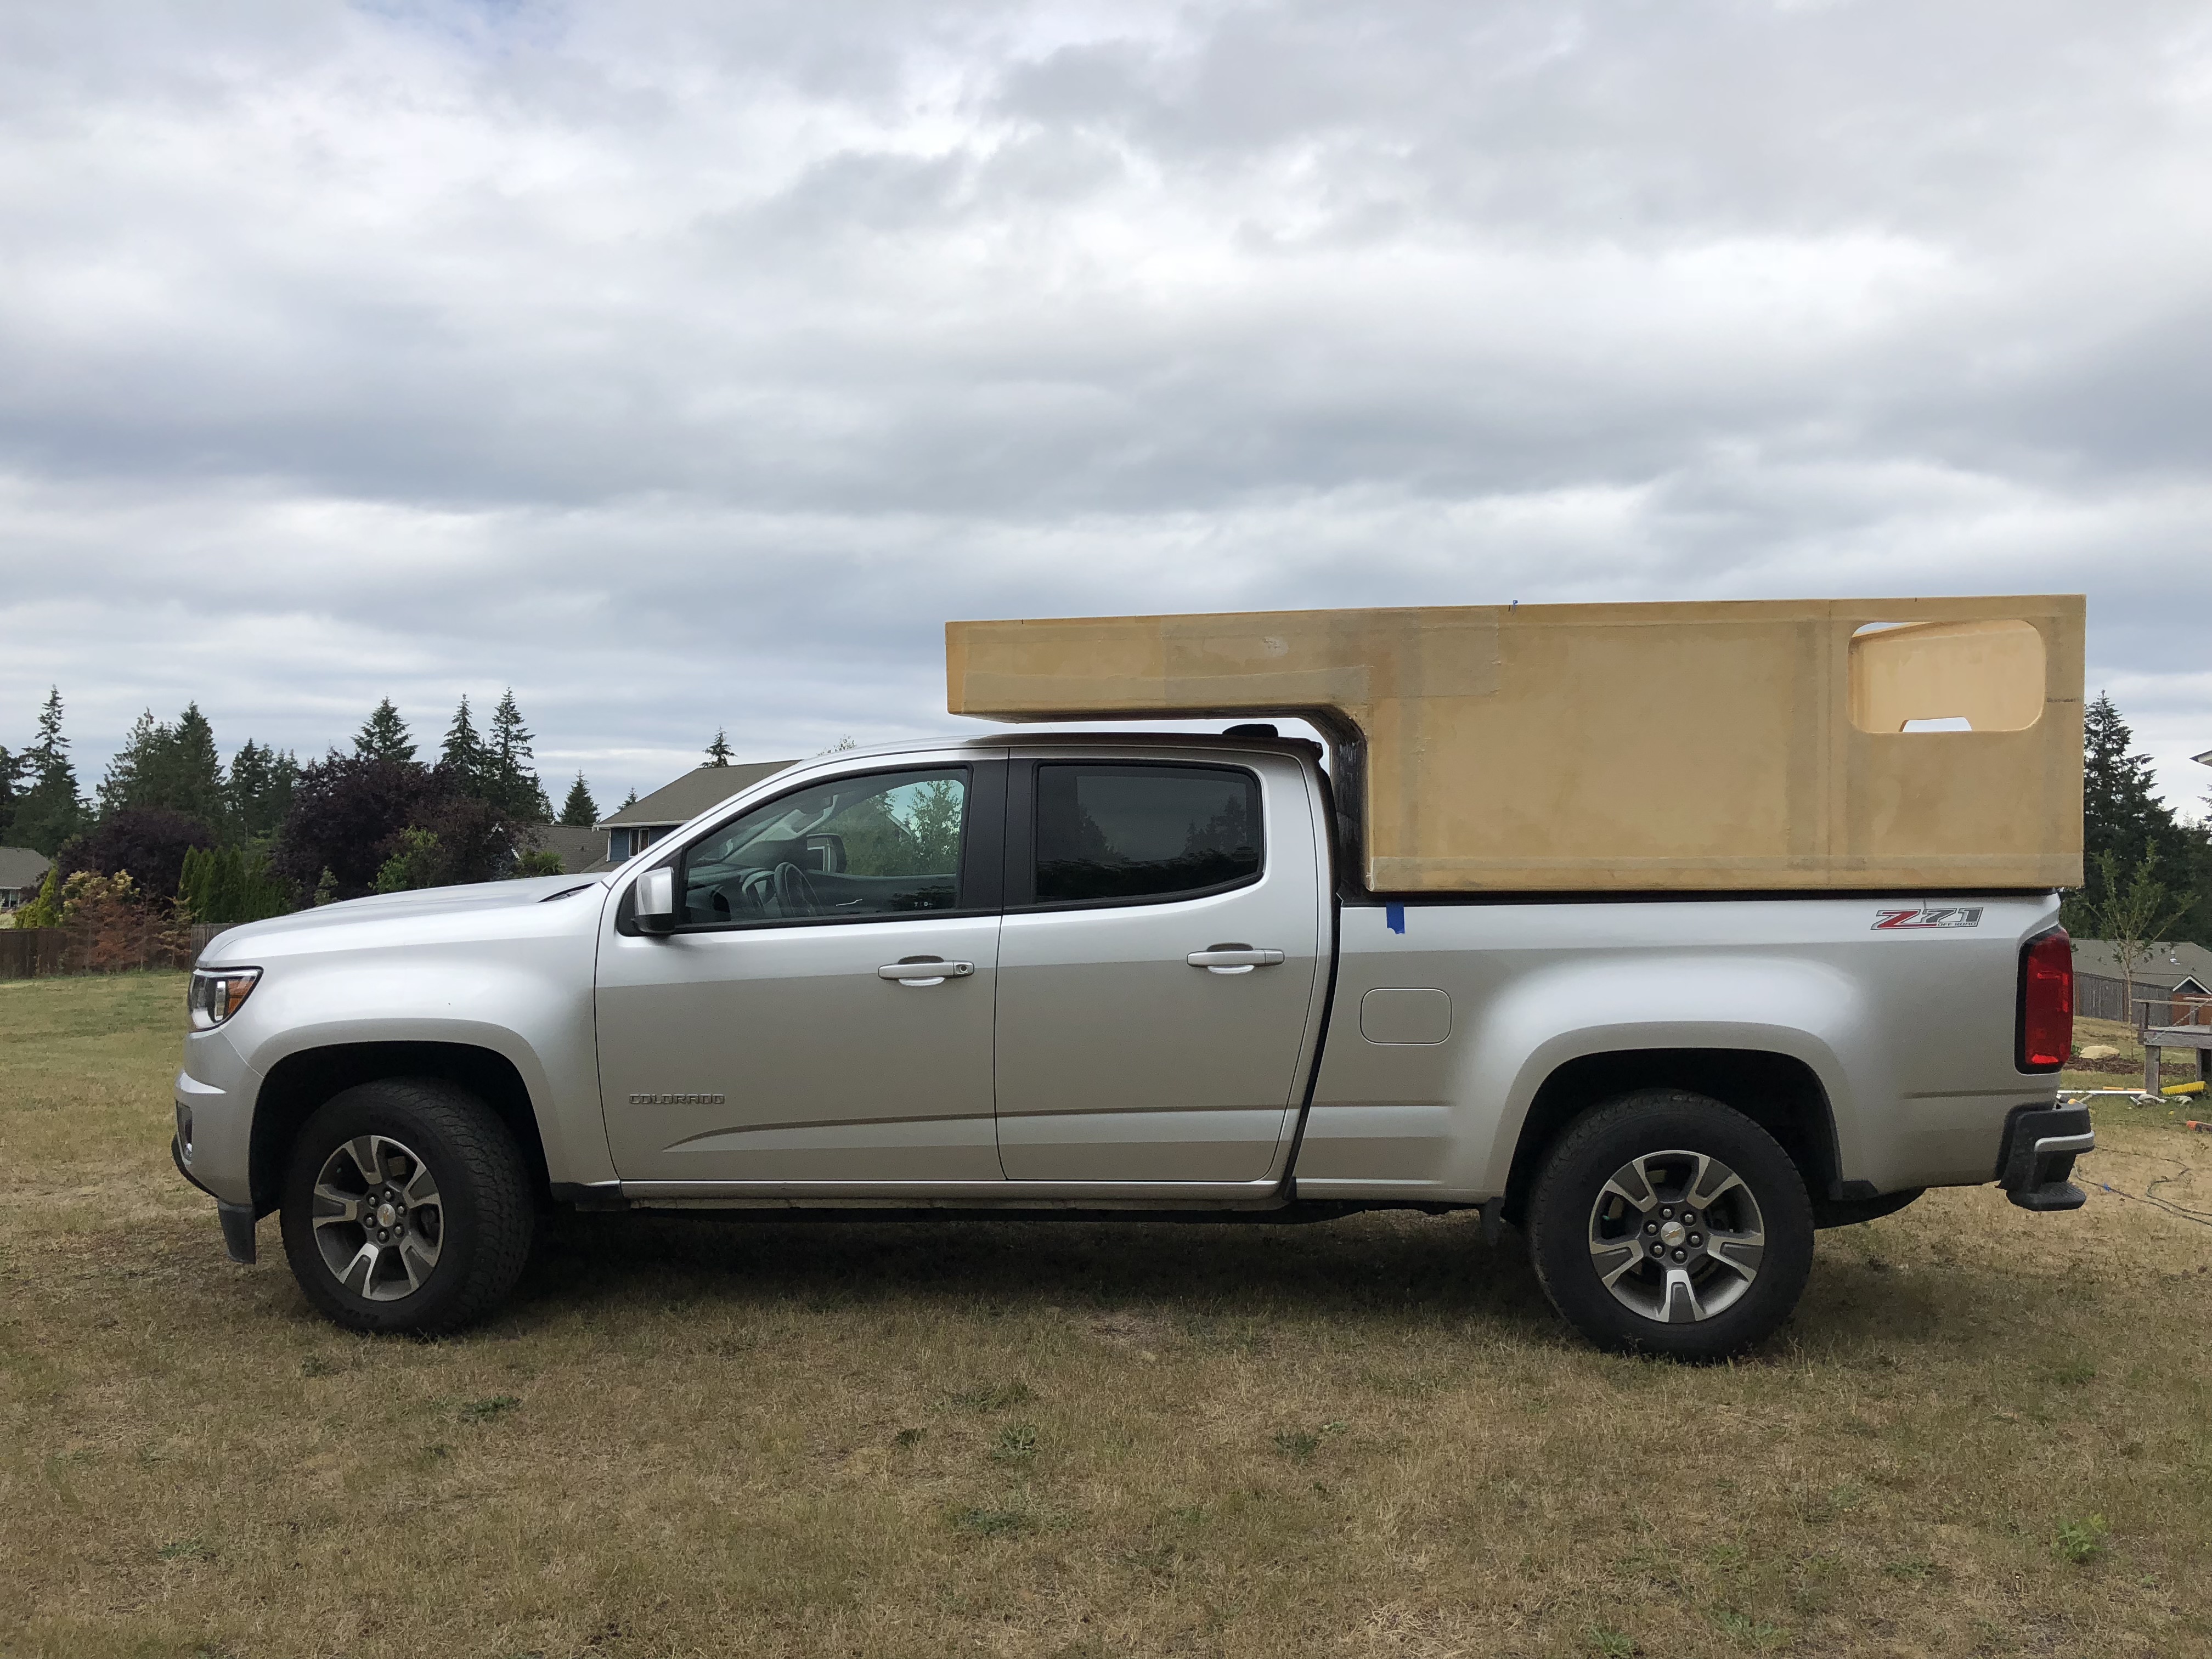
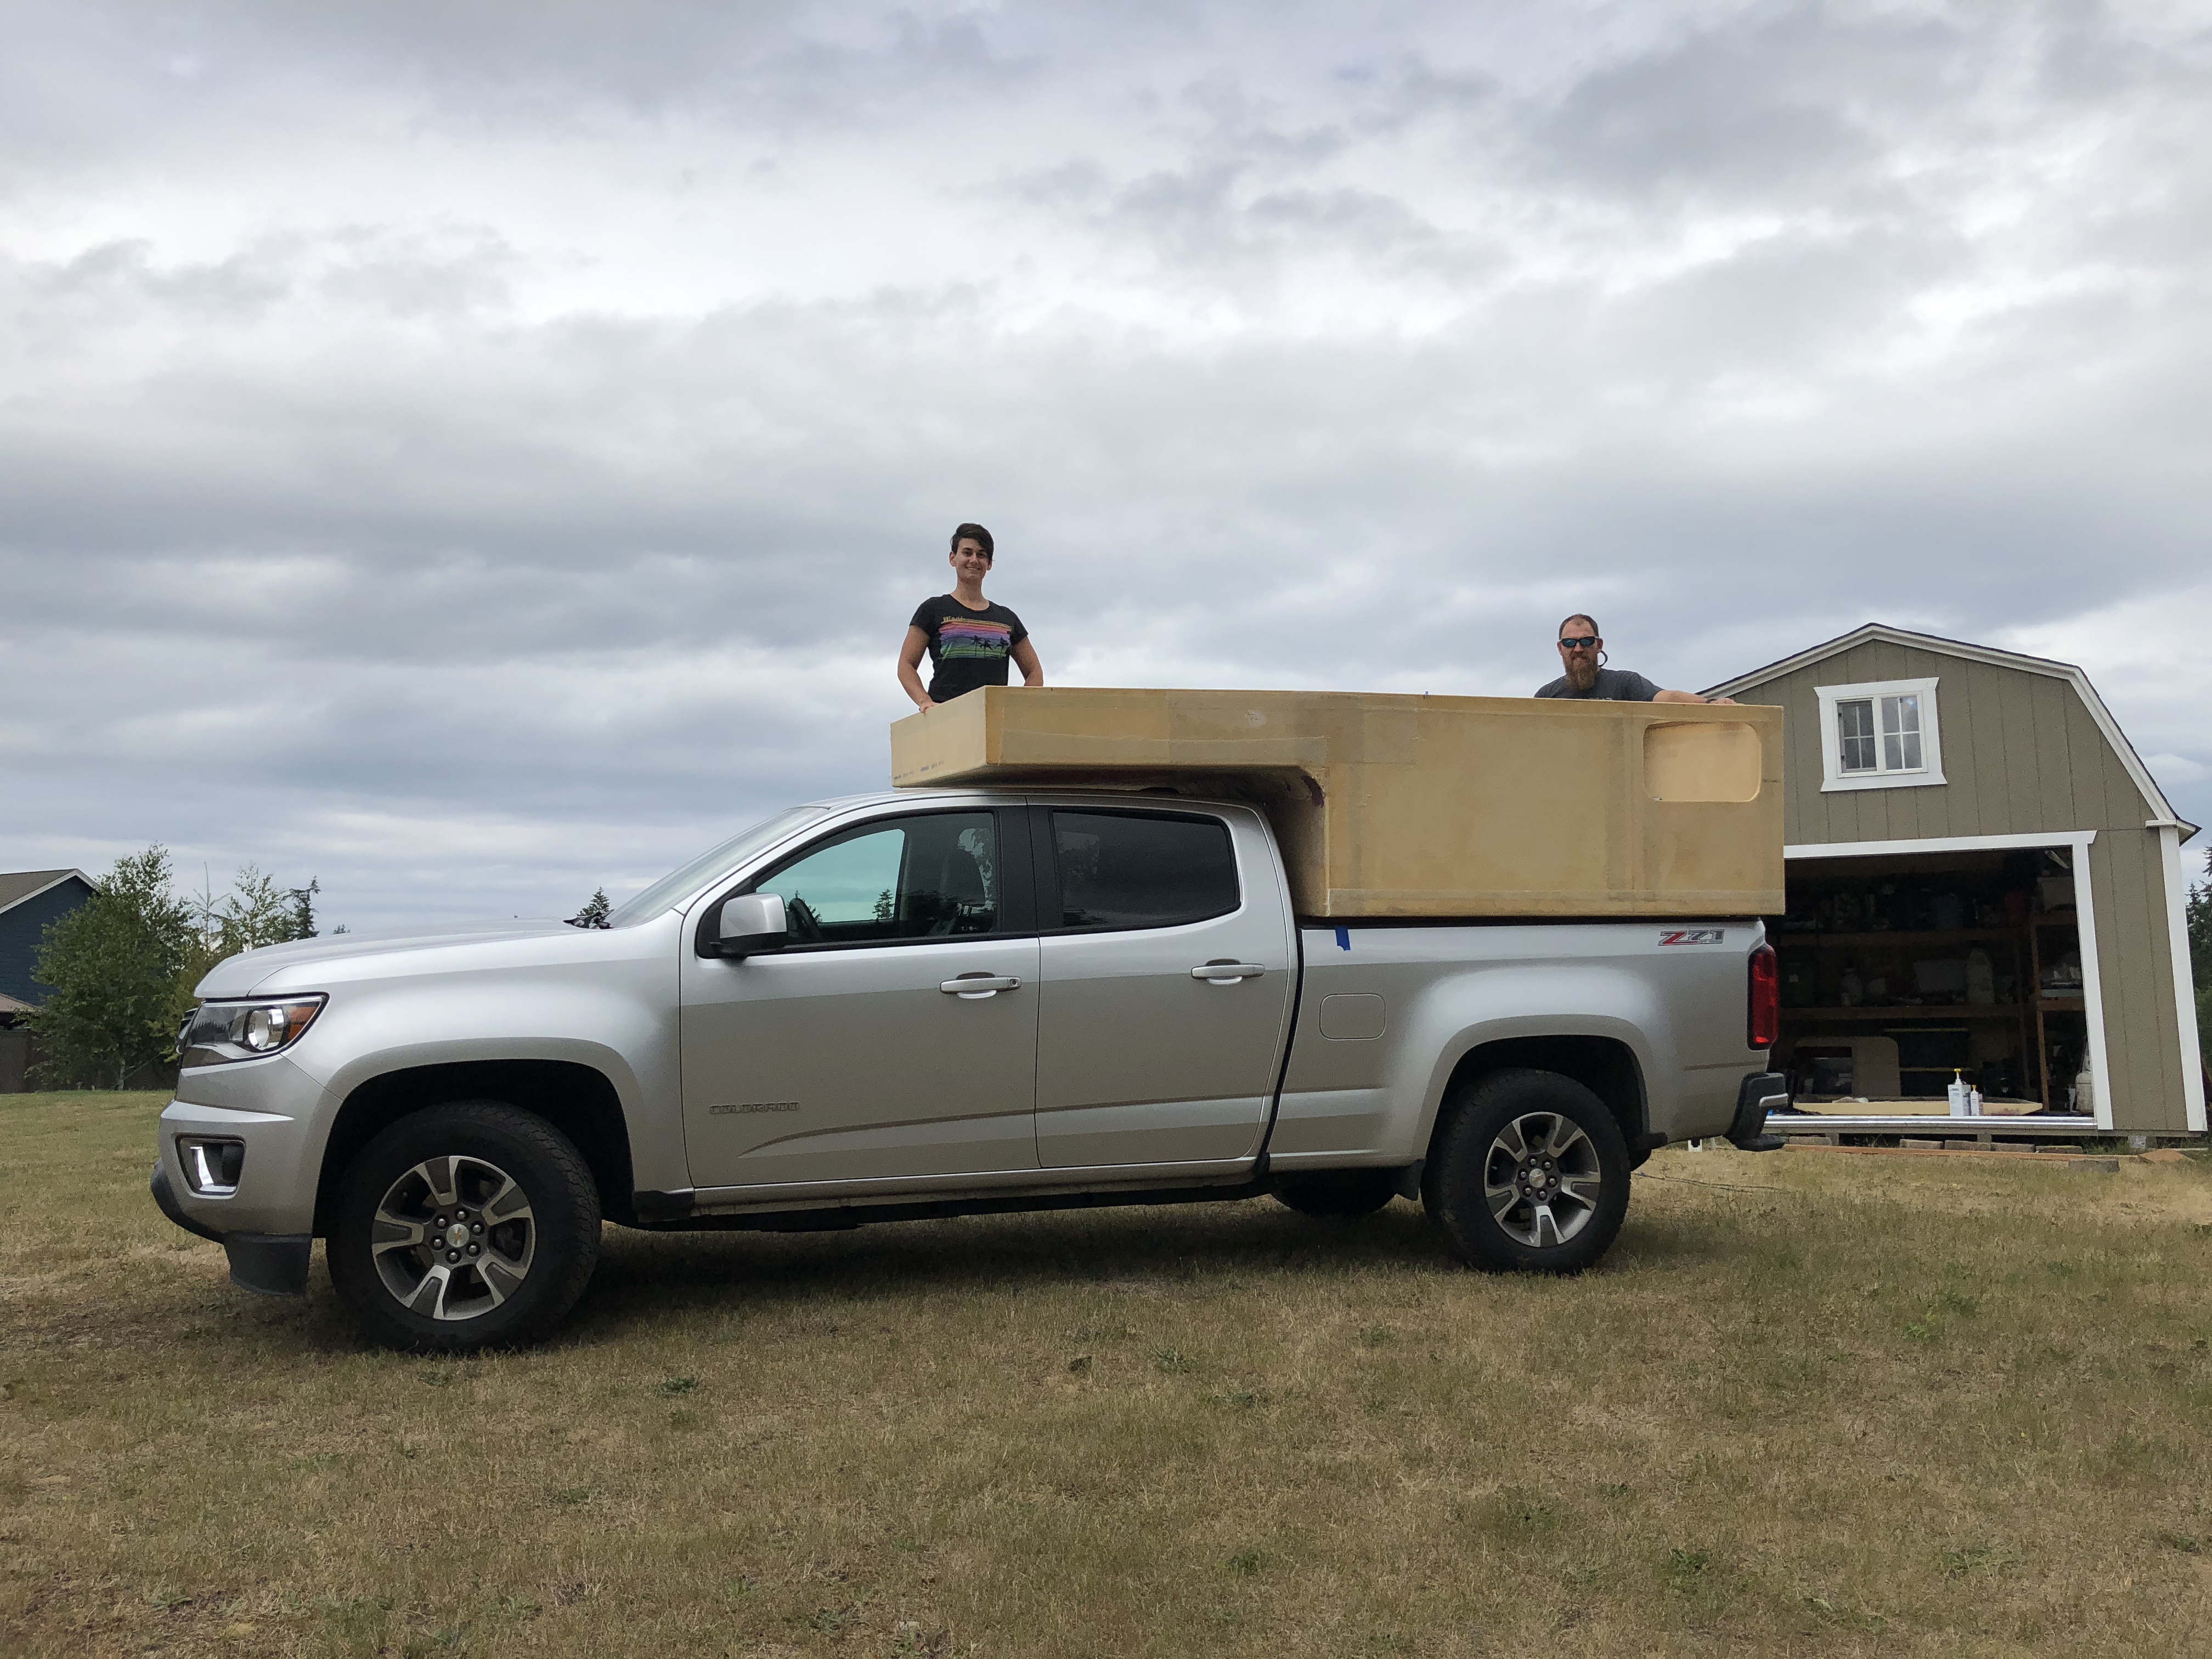
We had a bunch of stuff we needed to measure with the camper in the truck bed, so we tossed it back up in there. It’s much heavier than it used to be, but very very easy with 3 people lifting. I’d imagine we’ll need 4 once the roof is on. Either way, I got to take some pictures of the camper in it’s current state. I wish the roof had been done enough to toss on there as well! It’s always motivational to actually see the camper on the truck instead of in the shed or tossed onto the grass. It fits exactly like I wanted it to. I even climbed up into the front cabover to test deflection. With me up at the very end bouncing (gently) around, we only get about a half inch of movement. Seeing as we’ll never be up there, I’d say the structure is definitely good to go!


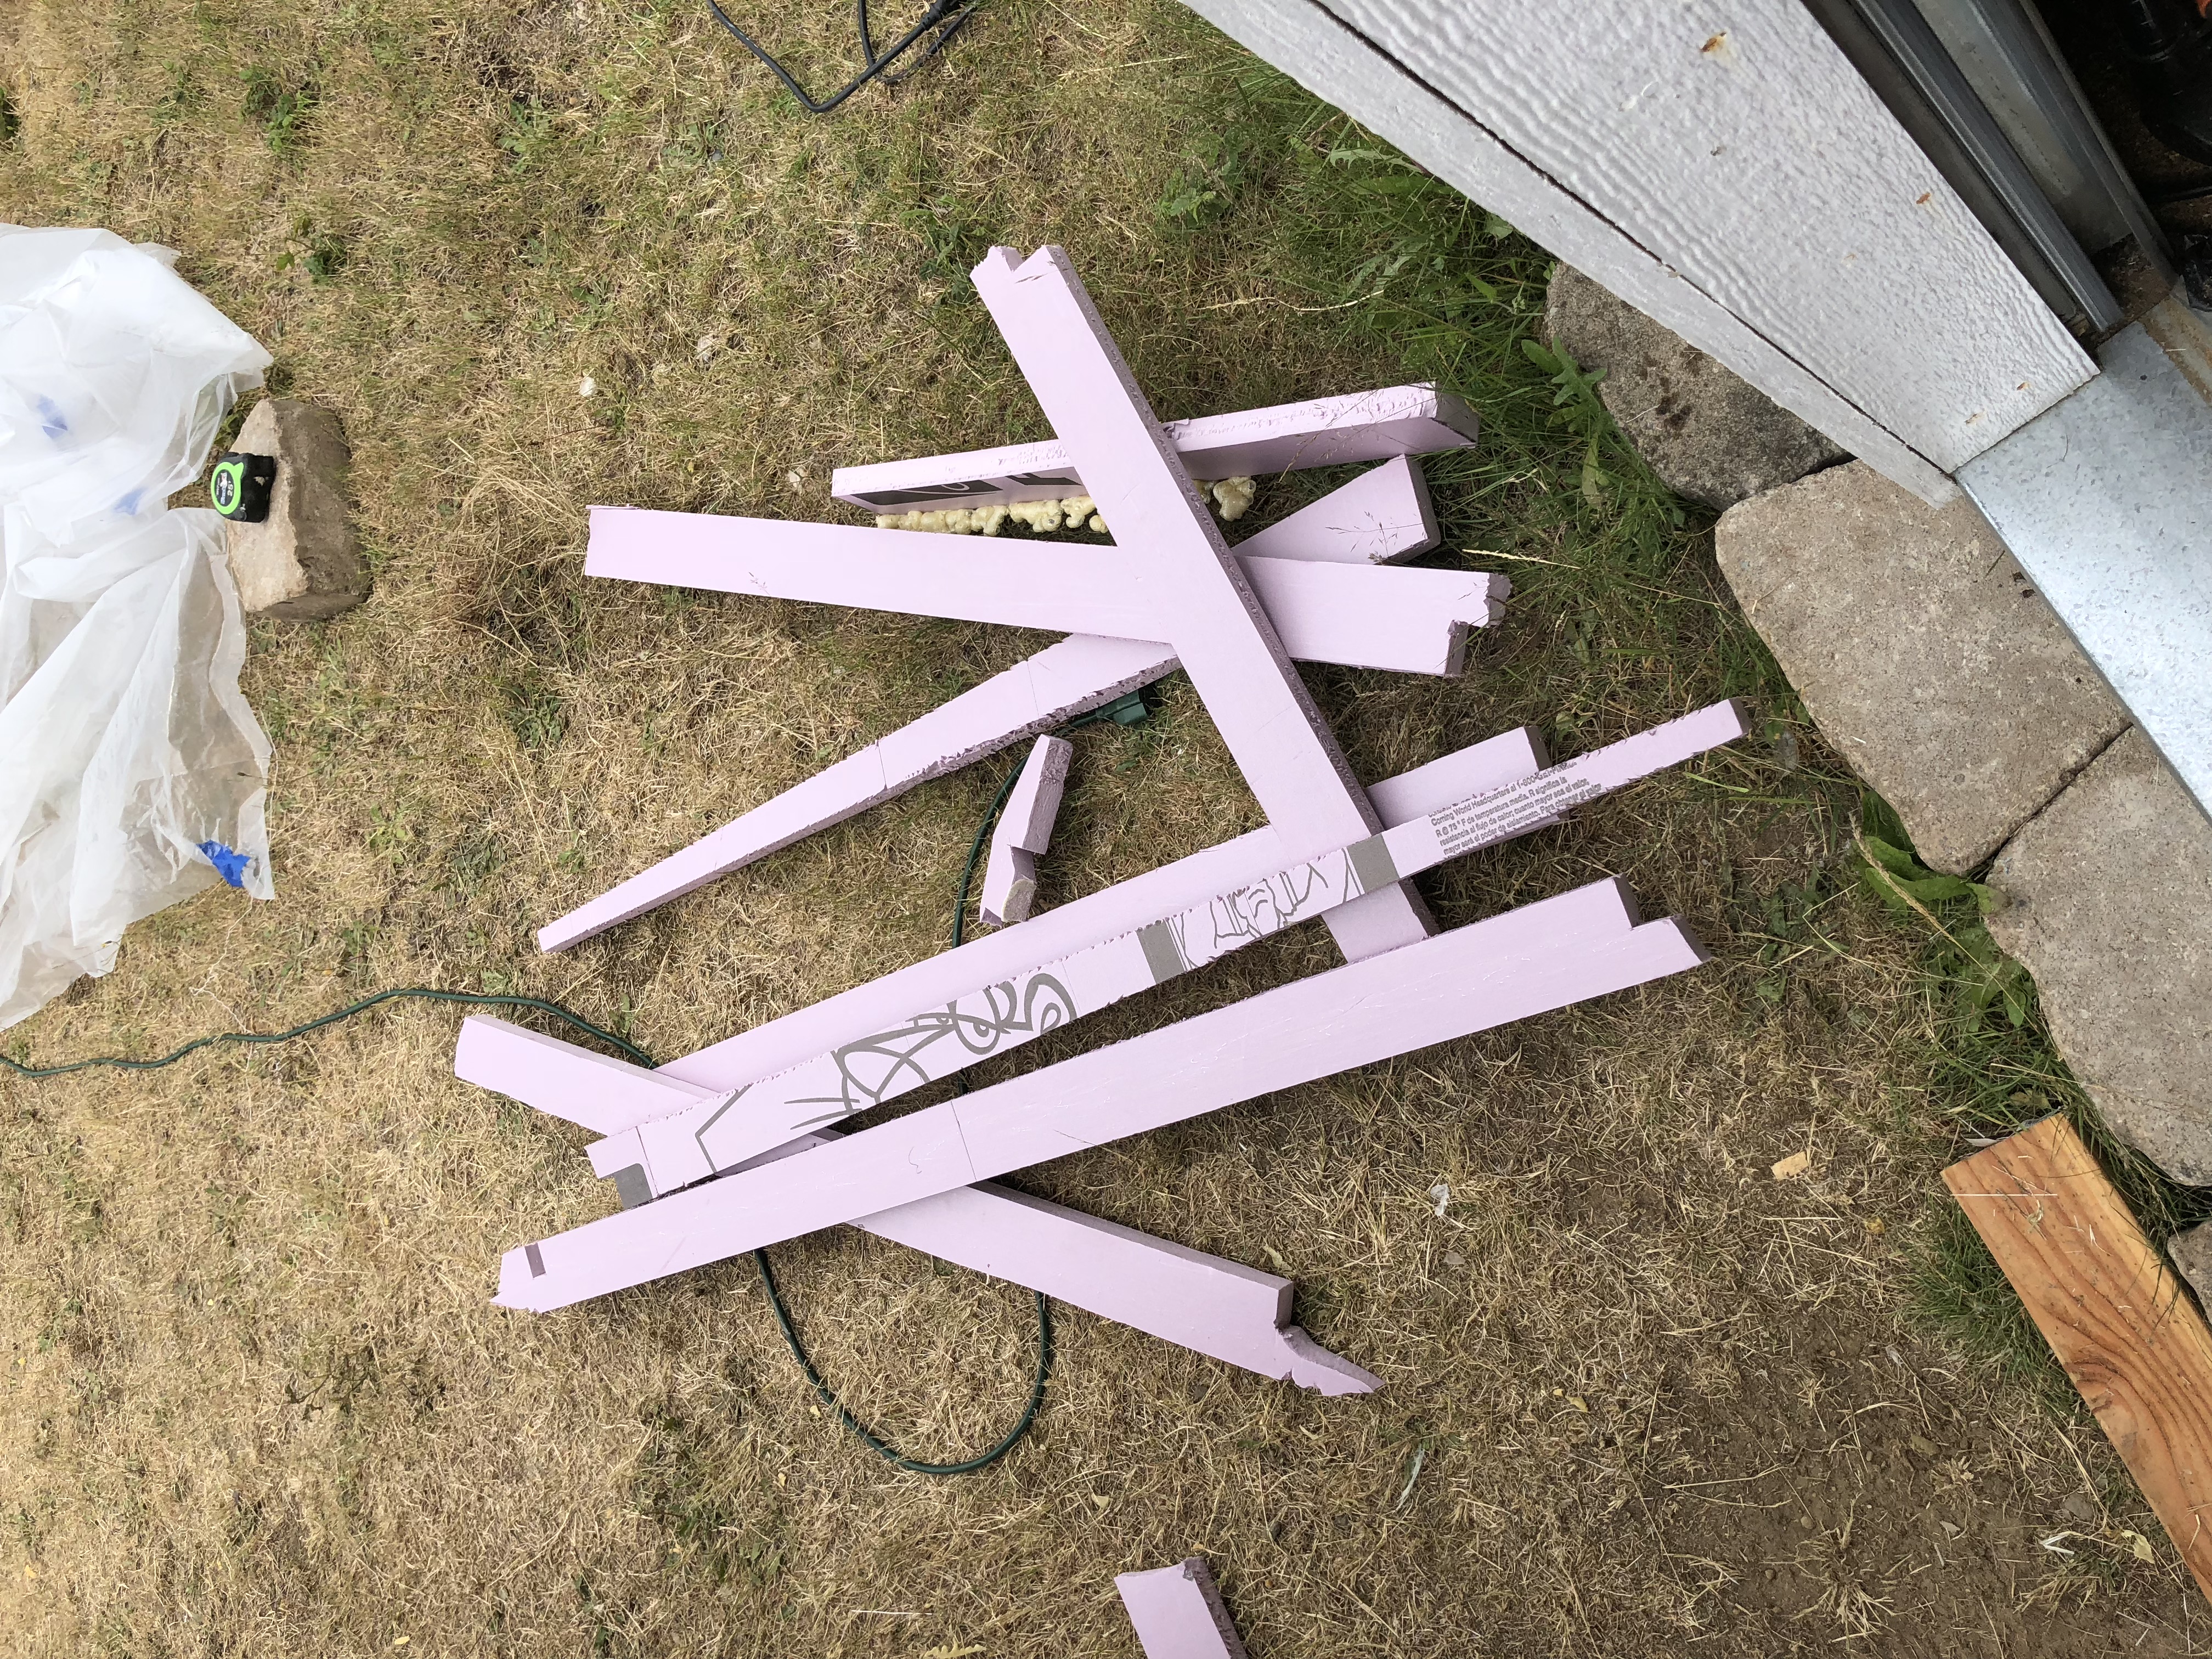
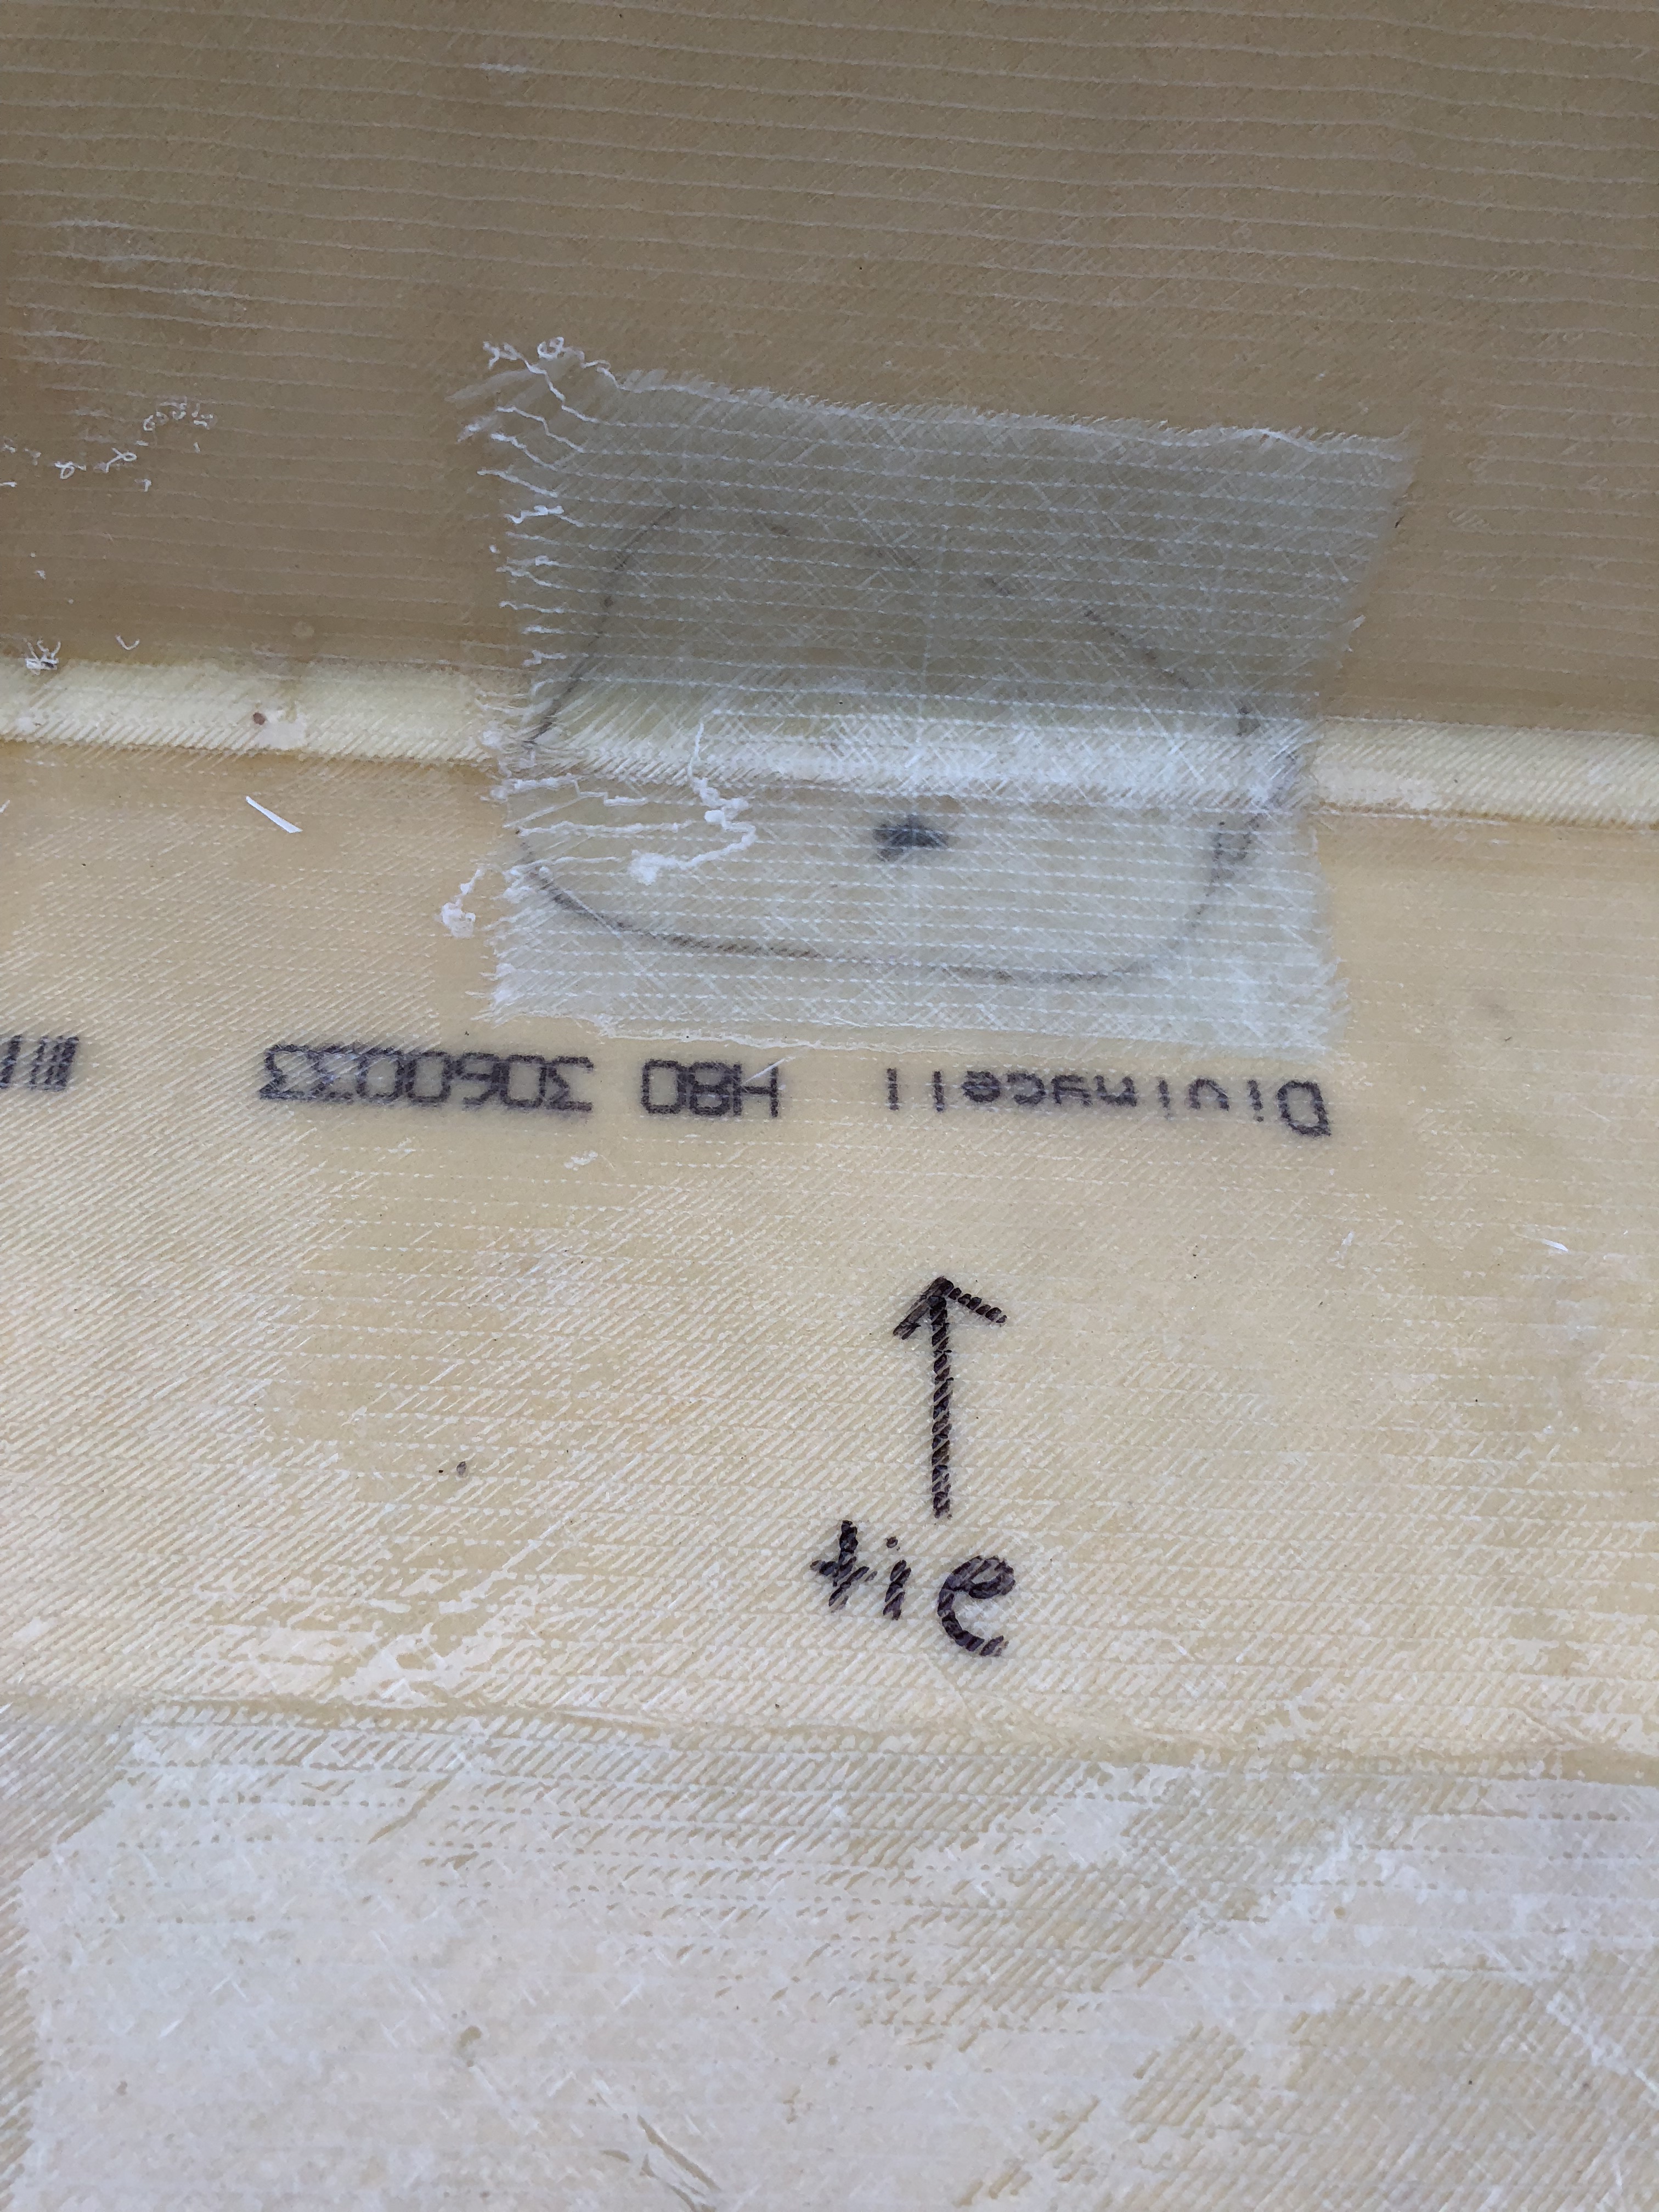
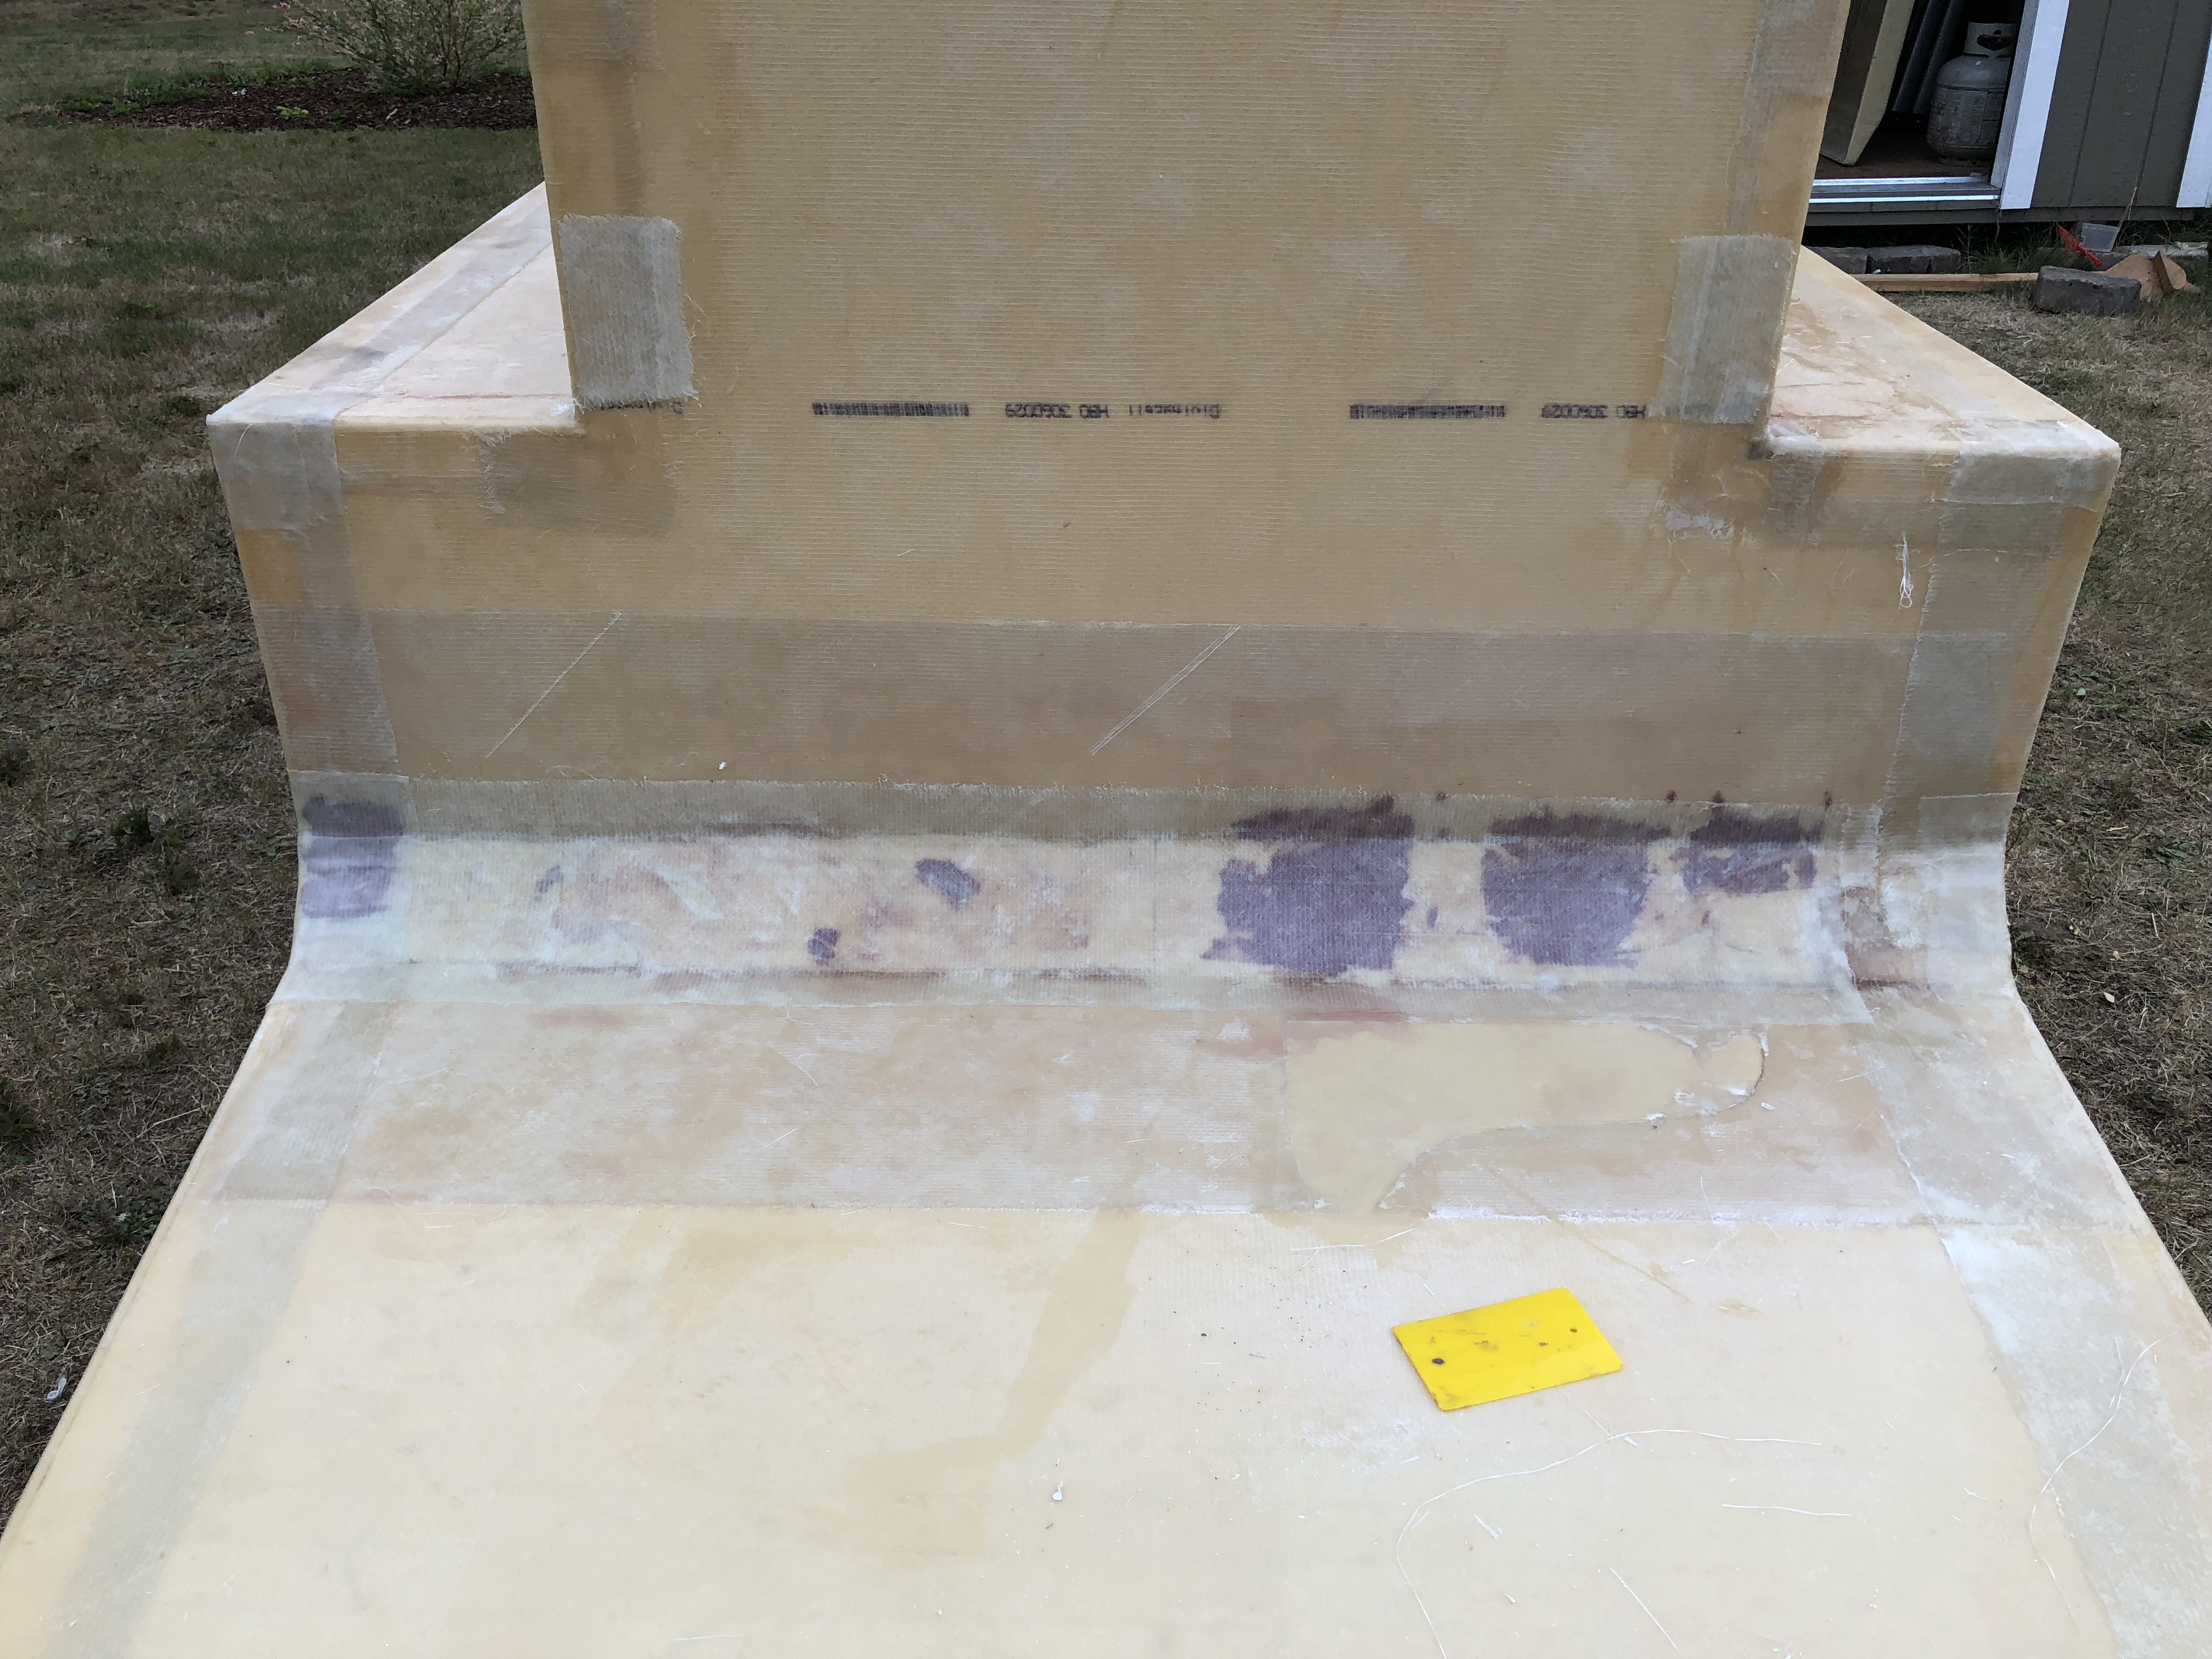
We had a bunch of little tasks to do while the epoxy on the roof set up. We added another reinforcement layer for the points that we’re going to bolt our tie downs to, fixed some corners, and started repairs on the main beam that we had to tear bubbles out of the other day!

So yeah… I worked on this thing for a solid 14 hours today… I’m tired!